
Son’s Bathroom Closet Makeover
This bathroom closet makeover gives us goosebumps! We went dark instead of light with this makeover, and it made all the difference!
At this point, I think I’ve gotten pretty adept at jazzing up a builder grade closet. Since Connecticut, I’ve done 8 closet makeovers and remodels (12 if you include pantries), and I still have a few on the horizon.
The unwavering constant in all of the closets (before I got my grubby little hands on them) has been wire shelves.
At the risk of sounding like Jerry Seinfeld, what is the deal with wire shelving?
Contractors have become so lazy, cheap and complacent that ClosetMaid has infiltrated the home building racket and metastasized like an aggressive, malignant and highly repugnant tumor.
I wonder if a single home builder has ever installed a wire shelving system in a new build and felt even a hint of remorse or regret or even the slightest momentary pause. I wonder when the last real shelf was built. Was it the 1950s? The 60s? Maybe the 70s? I salute that Unknown Worker. I wonder if he ever knew.
Whichever house holds The Last Real Shelf should be enshrined as a Holy Place for those who value quality over mass production. Every modern construction worker should be required to make the pilgrimage to see how Those Who Came Before built, and then they should be sent home to reflect upon their shortcomings as men who measure intelligence by the beer can rather than by the brain cell.
Anyway, this is all a dramatic way of saying ClosetMaid is the hideous spawn of Satan, and though I’m not a pious nor remotely holy man, I do see it as my spiritual duty to slay the ClosetMaid system from any and all closets I own, now and in the future.
So when I finished Part 1 of Baris’s bathroom remodel, his closet’s days were officially numbered.
Son’s Bathroom & Closet Remodel SUPPLIES LIST
Affiliate links are provided below. Full disclosure here.
Bathroom Closet VIDEO Tutorial
Watch our short and fun video below for an overview of our Closet Makeover.
Watch Our Tutorial On YouTube
On Tiktok
On Instagram
We love to see our DIY projects out in the wild! If you try this DIY project and take a picture and post it on Instagram, be sure to tag us – thenavagepatch
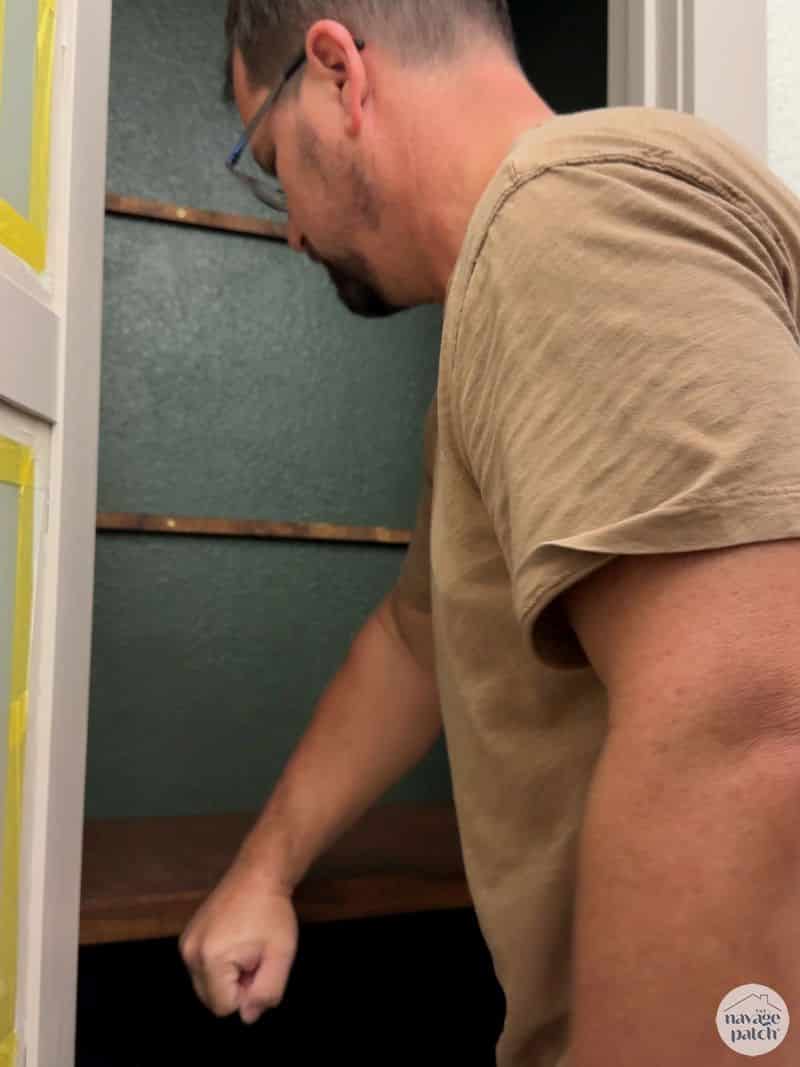
Behold the time capsule. This bathroom closet has been nearly untouched for three years. Yes, yes, The Boy had been away at college for much of the time, but still. About the only items that rotated through that closet were the towels. I’m pretty sure the moving boxes contained relics from both Georgian and Connecticut

First things first – I shuffled the crap into an adjoining room to be sorted and dealt with at a later date.

Next, I engaged in one of my favorite homeowner DIY pastimes – dismantling and destroying the wire shelving. The satisfaction is unrivaled.

In for a penny, in for a pound. If I’m going to blow calories on this thing, I may as well do it right, and that means removing the casing. Yes, I’m aware that the new casing won’t match the rest of the room, let alone the rest of the house, but as we all know, the Shrimp gets what the Shrimp wants!


The unbounded joys of demolition.

I filled in the remaining evidence that wire shelves ever existed here. Soon they would be less than a memory.

Since the existing door had a hole in it and blocked half the bathroom when open, I discarded it and filled the mortises.

There was a moment when my babes and I thought this remodel was going to chug along the same old familiar tracks, but then my brain flipped a switch, and we were off on a different adventure. Instead of the same old same old white closet walls, I decided to go dark.

While the closet came to terms with this radical turn of events, I headed outside to make some new shelves.

I used 3/4 inch plywood to make a mitered top and front edge that would sit on supports screwed into studs.


I glued the mitered pieces together…


And then I held the pieces together with painters tape while the glue dried.

Since creating a perfect miter over a long distance ranks up there with walking on water and squeezing martinis from a stone, I employed my favorite miter hack to make me look like less of a hack. Running the shaft of a screwdriver along the joint helps close up any gaps and make you look like you know what you’re doing.

I stained the shelves with General Finishes Antique Walnut – it’s a beautiful match for the green in the closet.

Back inside I screwed plywood supports into the studs.


To gain space in this crowded are of the bathroom, I hung a bifold door to replace the swing out door.

This door will save a ton of space in here. I also made it open to the left instead of the other right-opening door.
I installed plain casing so the closet would match with the rest of the remodeled bathroom a little better.


Next I caulked the edges, primed the doors & casing and then painted everything with a paint I had color matched to the vanity.


I installed the shelves onto the supports, and then drilled the doors for handles.

As a final step, I added rechargeable-battery-powered motion-sensing strip lights around the inside of the door. They light up the dark green space to show everything inside.
And that was it! My son’s bathroom was finally finished…just in time for him to move out on his own in the real world. Well, the bathroom won’t go to waste because Handan and I moved our offices into his old bedroom, so it gets used every day! Please forgive the pictures – they are not up to my usual standards. When I finished the project and took the final videos, I didn’t have time take proper photographs, as we were leaving for Turkey the next day. When we returned home, we were ready to close on a house for Baris, and when he moved, he took everything from the closet! So these images will have to suffice. But hey, now I have a whole new house to work on!


Looks great!
Thank you, Tracey! 🙂
Greetings, There are very few creators that I anxiously wait for uploaded projects. You are one of them. You are gifted in your creativity, skill and ability to deliver a cohesive knowledgable and humorous online tutorials. Not with standing input from your intellectual bride. I have enjoyed all your projects and anticipate what you offer for our viewing pleasure. If I may, I’am Thankful the Good Lord has created gifted humans such as you. Be well and God Bless you, your family and friends.
Thank you so much, Terry! I will be posting more often – I just got a little bogged down recently – and I hope to keep you entertained for years to come! 🙂
Love the new closet! At one point, I used ClosetMaid wire shelving because it was a project I could do myself. Replaced that with wood when my husband and I could afford it and he had time to build it.
If ClosetMaid was ever cheap, it sure isn’t now, Ju! For that price, I’ll build my own any day of the week!
Your son is so lucky!
He sure is, but I know he appreciates it!
what kind of battery lighting did you use?
Hi Joy, the lights are linked in the supplies section above! 🙌
Jeez, you do good work! I still have your sliding shelves bookmarked, and someday I will find someone who will do them justice. That person won’t be me, however. I don’t have your skillset. Even so, I’ve learned a lot reading your blog and paying attention to your craftsmanship. Thanks for sharing the details.
Thank you so much, Elizabeth! I’m so happy to read this! 😊