DIY Board Game Table
I made a board game table for our family game nights because sitting on the floor around the coffee table just wasn’t cutting it!
In an unexpected and interesting turn of events, we’ve become a board game family. Before this dice-rolling renaissance, my knowledge of board games still extended about as far as Monopoly, Trivial Pursuit and Stratego. I wasn’t a huge board gamer as a kid, and I certainly wasn’t as an adult.
But Baris picked up a few games to play with his friends and girlfriend, and once we played as a family, we were hooked. You might think a family of three isn’t big enough for rivalry, but if there’s one thing my babes excels at more than anything else, it’s know how to push Baris’s buttons, which is just a nice way of saying she pisses him off until his temples pulse. Fortunately the boy picked up a thing or two from his mom over the years, and he has his own subtle ways of making her boil.
And me?
I just sit back, sip my martini and enjoy the show (and every once-in-a-while, win).
There was just one problem with our family feud game nights. In February, Baris absconded with our dining room table and chairs when he moved out on his own, leaving a husk of a room, so our only proper table and chairs was outside on the patio.
Now, normally that would be a perfect place to play this time of year! The nights are warm, the patio is cozy, and all the frogs, nightbirds and insects are a delightful background choir. But My babes and my son are absolute mosquito magnets, so a simple game of Ticket to Ride became a one-way ticket to the depths of Hell. The misery was simply not worth it for them.
That left the coffee table I made in the family room. The table is perfect. The seating- not so much. One game sitting on the floor is enough to lock my knees and hips and nearly paralyze Handan’s spine, leaving us both wailing like banshees as we try to levitate ourselves back to normalcy. Victory is sweet, except when it’s followed by 4 Advil and a trip to the chiropractor.
If only there were somewhere else to play…
A room we could spread out in and really get into the action…
A room where we could put a dedicated game table and comfortable chairs…
Hey wait!
Who needs a dining room (so last century) when we can have a board game room!
So let’s ditch the coffee table and make a simple board game table. This isn’t a fancy table with all sorts of card drawers and hidden storage for small pieces. It’s a simple box cabinet with pole wrap sides and a concealed inset door that opens up for game storage. Shelves optional – I didn’t put any.
I made this game table 24 1/2 inches high. It’s the perfect height for the chairs we bought for it.
Board Game Table SUPPLIES LIST
Affiliate links are provided below. Full disclosure here.
- Table Build Supplies
- Pole wrap (this is the exact kind I used)
- Chairs
- Rug & Brass Side Tables
- Tools & Jigs
- Board Games

DIY Game Table VIDEO Tutorial
Watch our short and fun video below for an overview of our Gaming Table before you read the step-by-step tutorial.
Watch Our Tutorial On YouTube
On Tiktok
On Instagram
We love to see our DIY projects out in the wild! If you try this DIY project and take a picture and post it on Instagram, be sure to tag us – thenavagepatch
DIY Board Game Tutorial
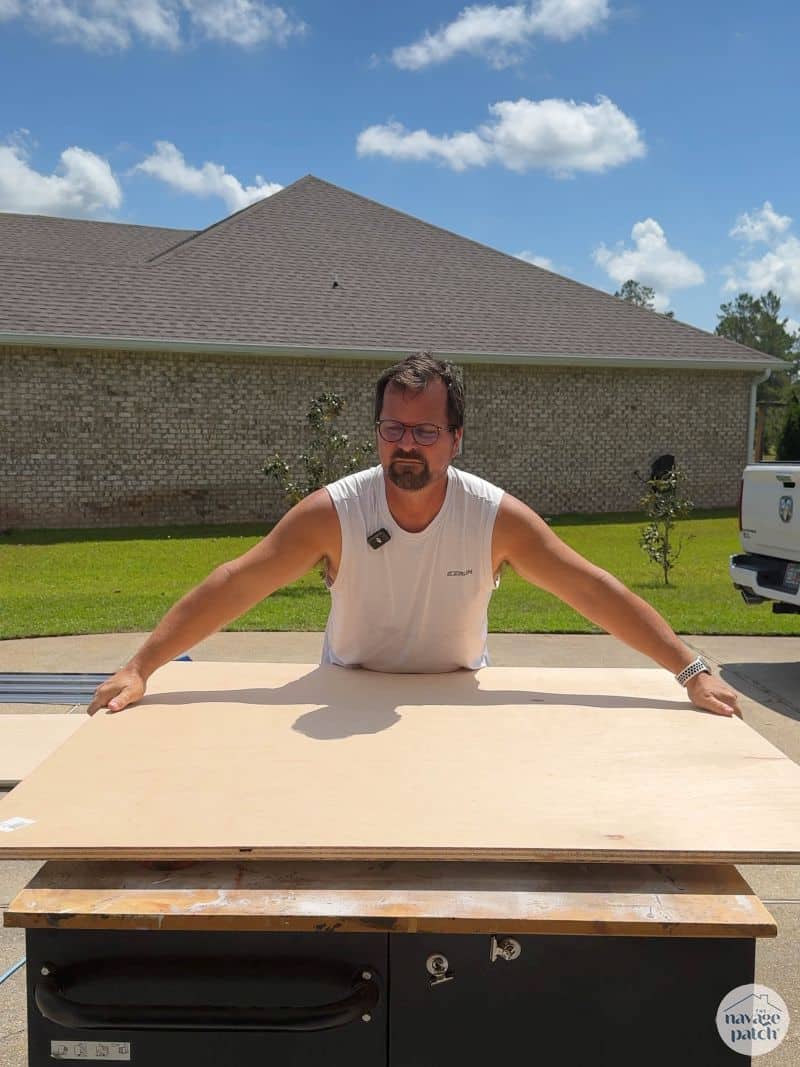
Step 1 – Cut the plywood
I used two sheets of 3/4 inch maple plywood for this game table build. I cut the first sheet in half – that would become the tabletop.
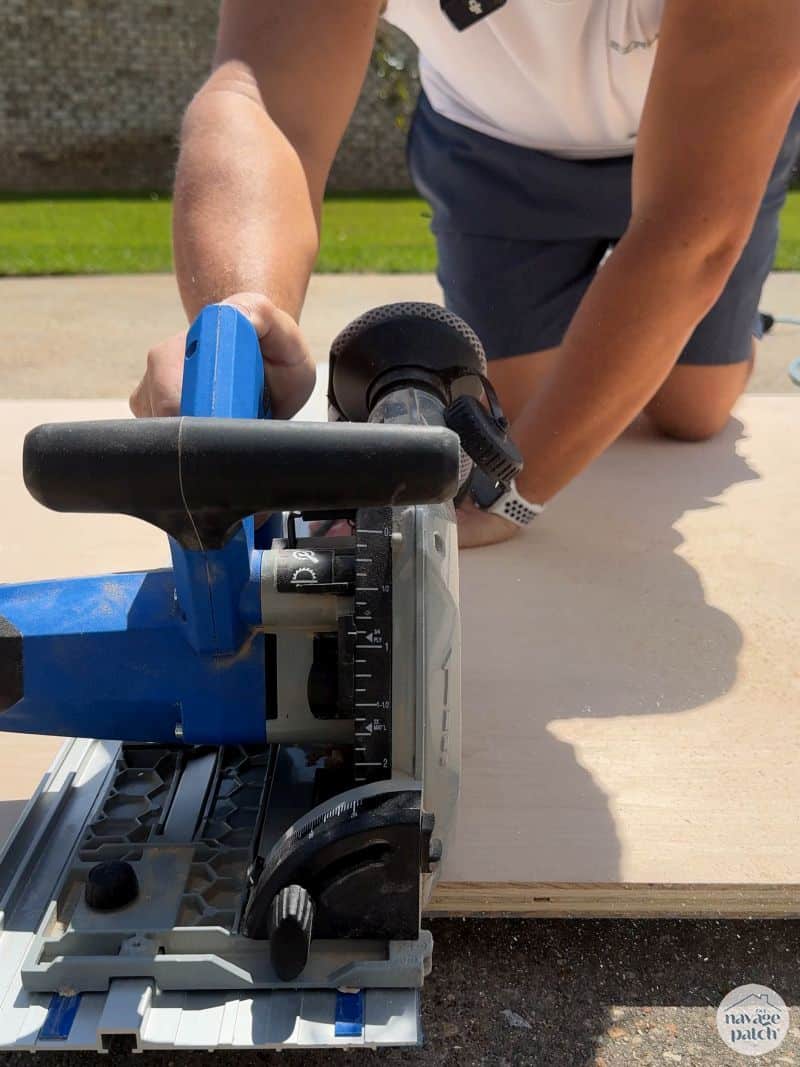
Then I cut the remaining sheet according to this cut sheet:
Back – 24 1/8w x 23h
Sides (2) – 22 5/8 x 23
Bottom – 22 5/8 x 22 5/8
Face Frame Sides (2) – 1 1/2 x 23
Face Frame Top + Bottom (2) – 21 1/8 x 1 1/4
Door – 20 7/8 x 20 1/4
Top Supports (3) – 3 x 22 5/8
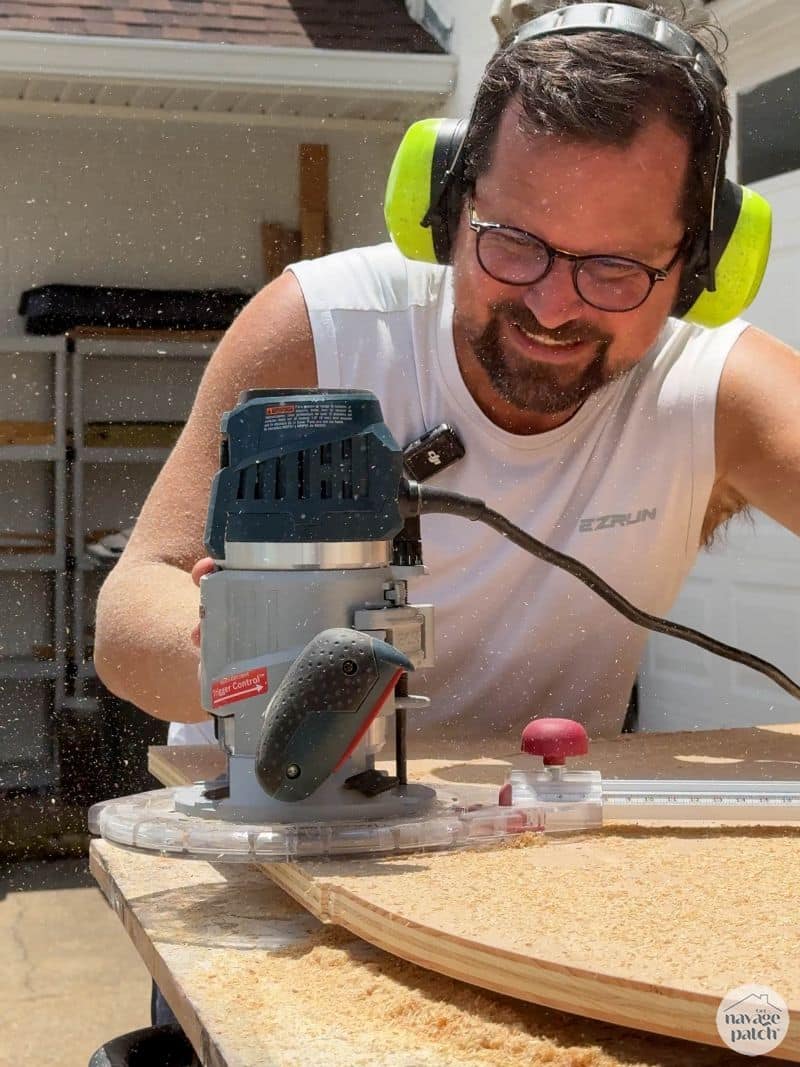
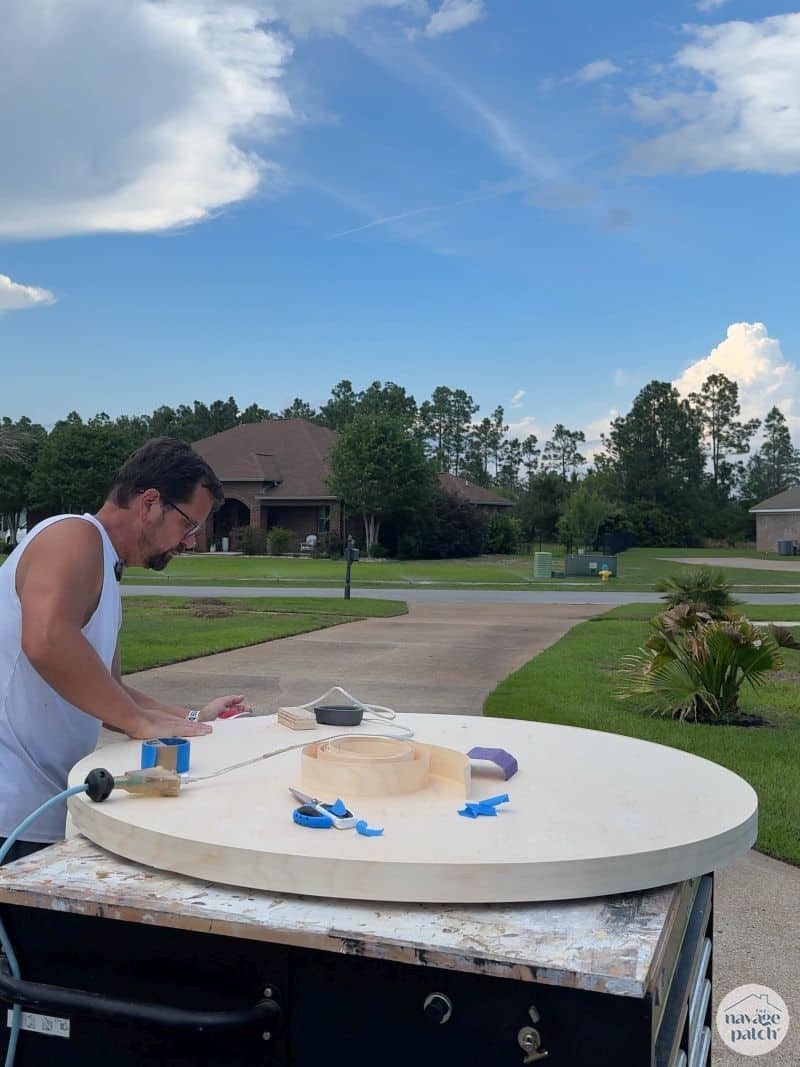
I put one of the two plywood halves on my workbench and used a new router circle-cutting jig I bought for this project.

A circular game table might sound strange to some, but that’s the shape the Shrimp wanted for the game room, so a circle she gets! And the router guide! Wow, what a tool! No more free-handing circles with a jigsaw for this guy!
After cutting the first circle, I did the same with the second half.
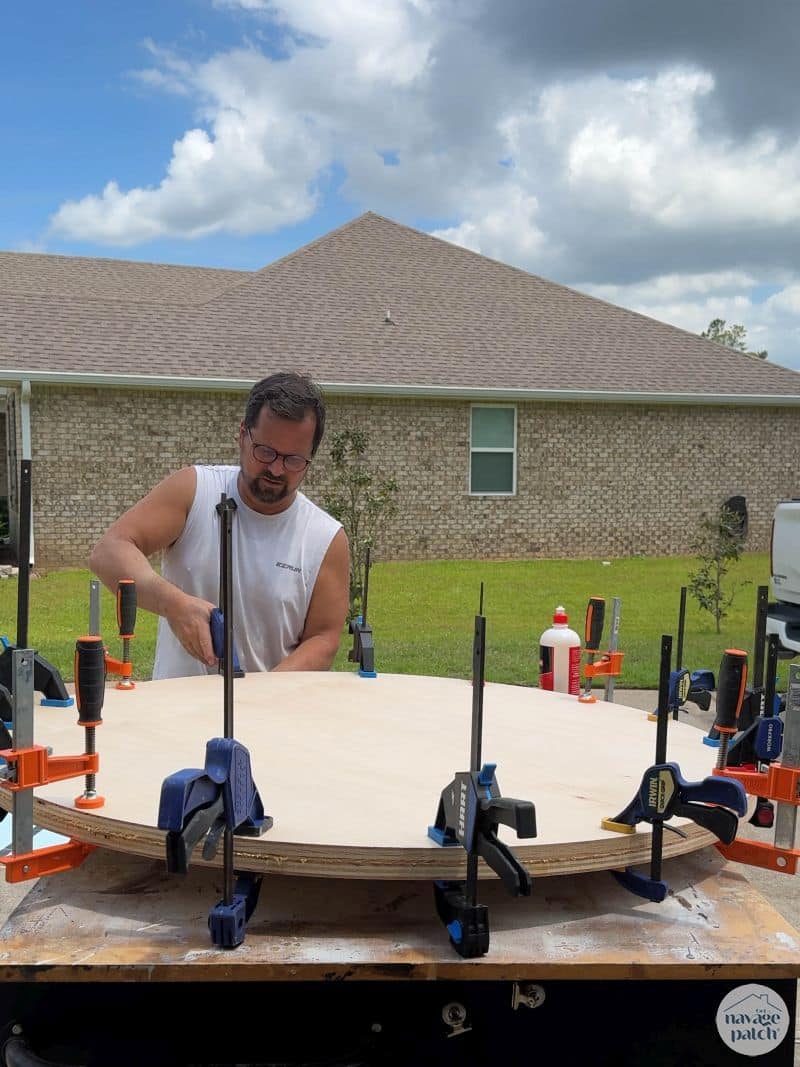
Step 2 – Join the tabletop halves
I used a whole lotta wood glue to marry the two halves.
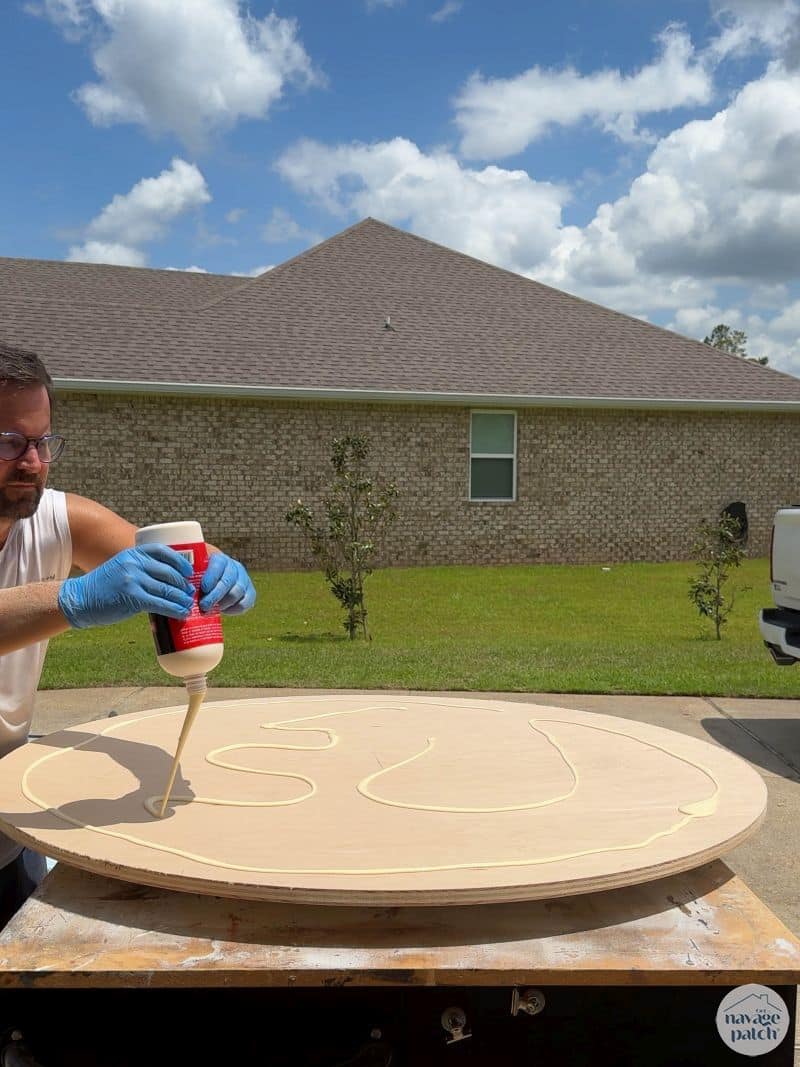
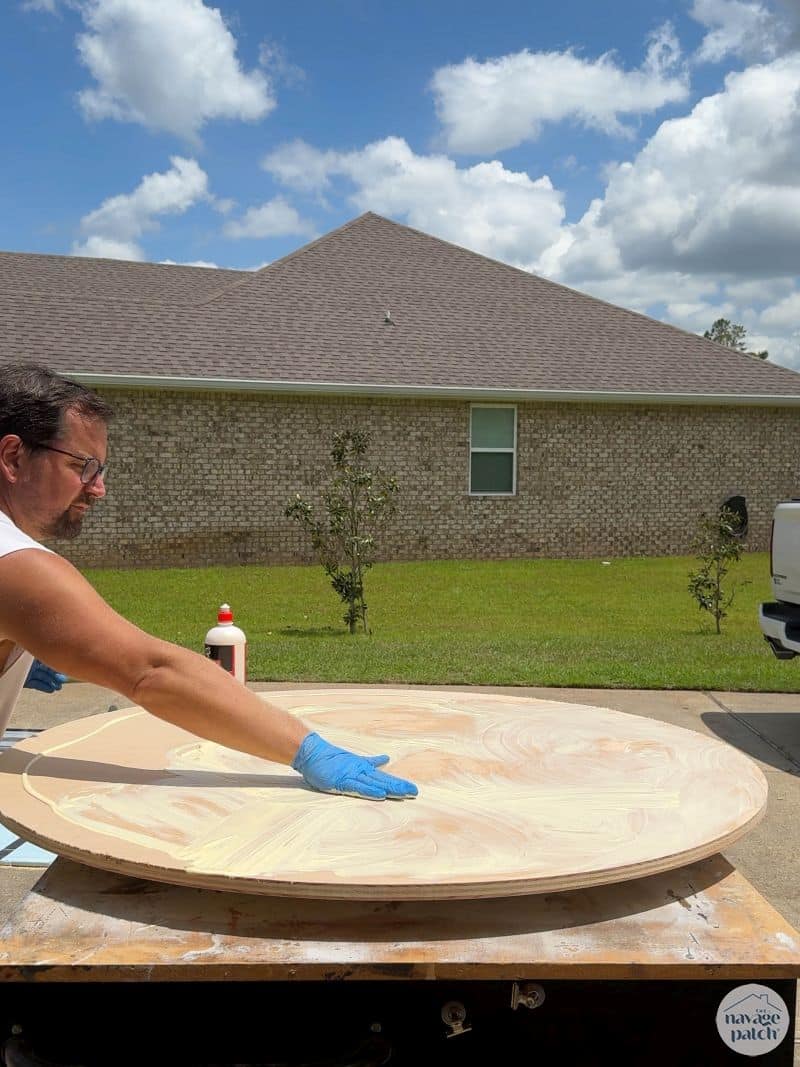
I placed one on top of the other as accurately as possible, because once they’re together, they’re tough to move. Then I used a mallet to tap the edge to get them as close as I could to perfect before the glue set.
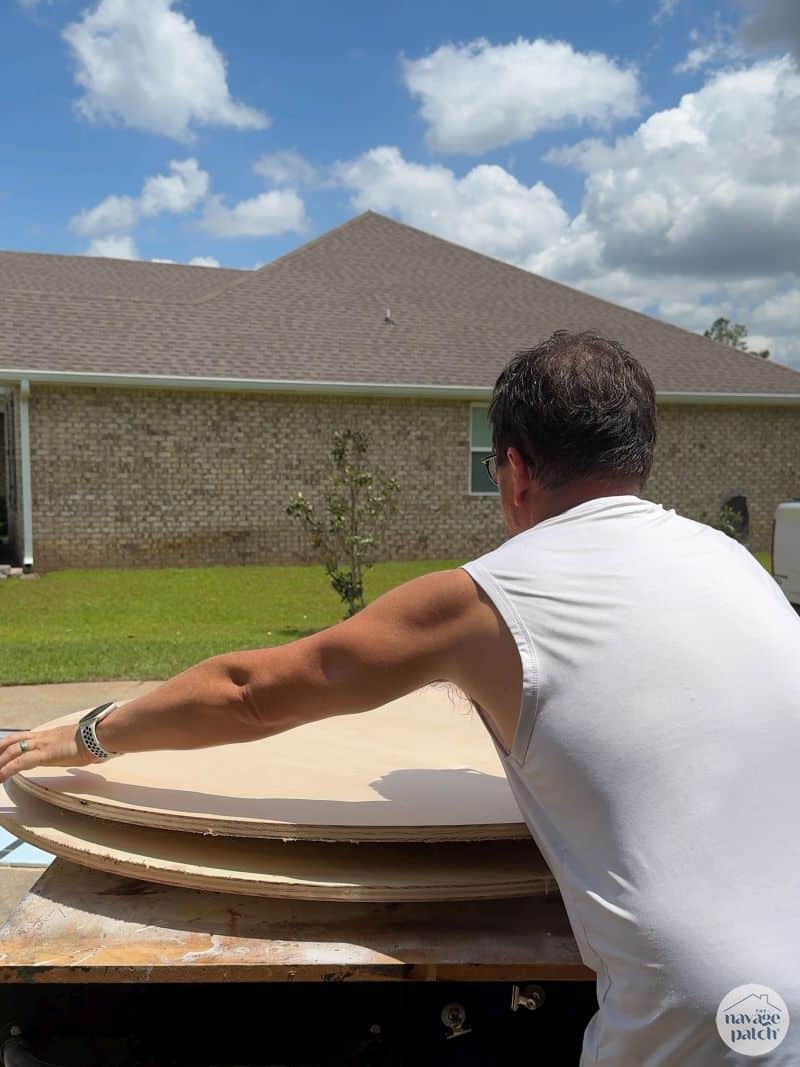
Next I used almost every clamp in my arsenal to glue the halves (and especially the edge) firmly together.
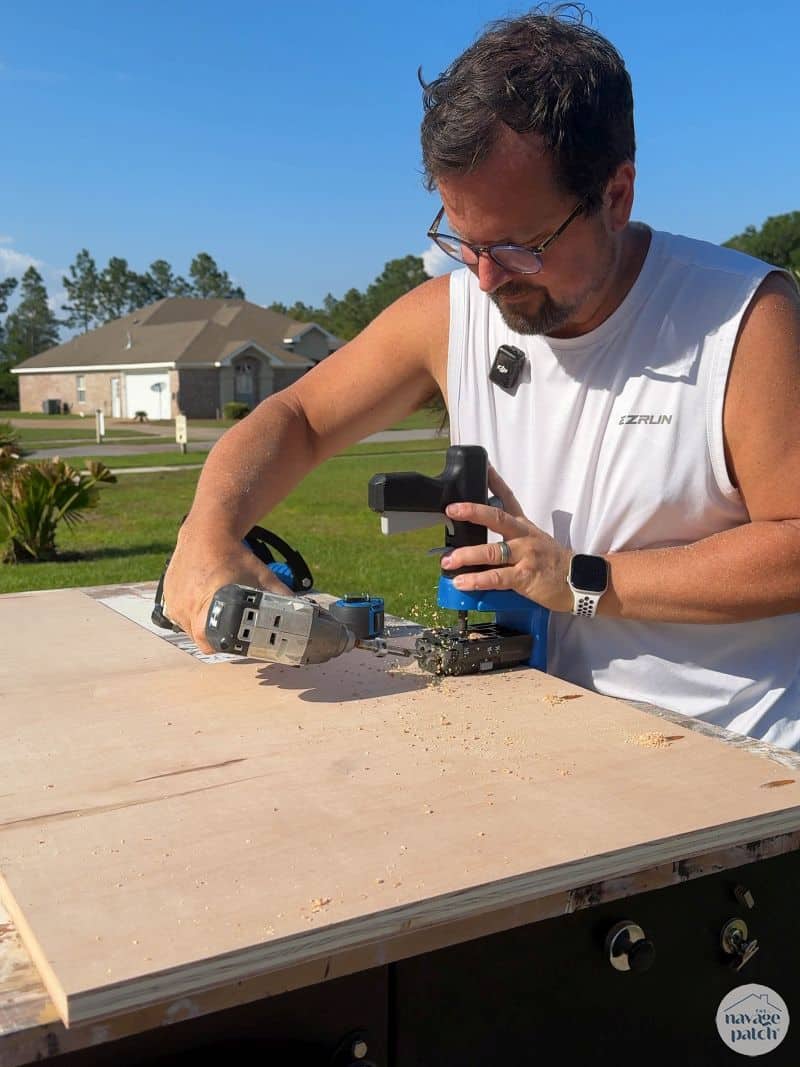
Step 3 – Assemble the cabinet
I drilled pocket holes where needed to join my cabinet together. One thing I would change from my build would be to move the pocket holes to the outside of the cabinet. Mine are on the inside, which is not a big deal, since the inside is not on display. But if you want the cleanest look possible, putting them on the outside is the way to go since they’ll be covered by pole wrap.
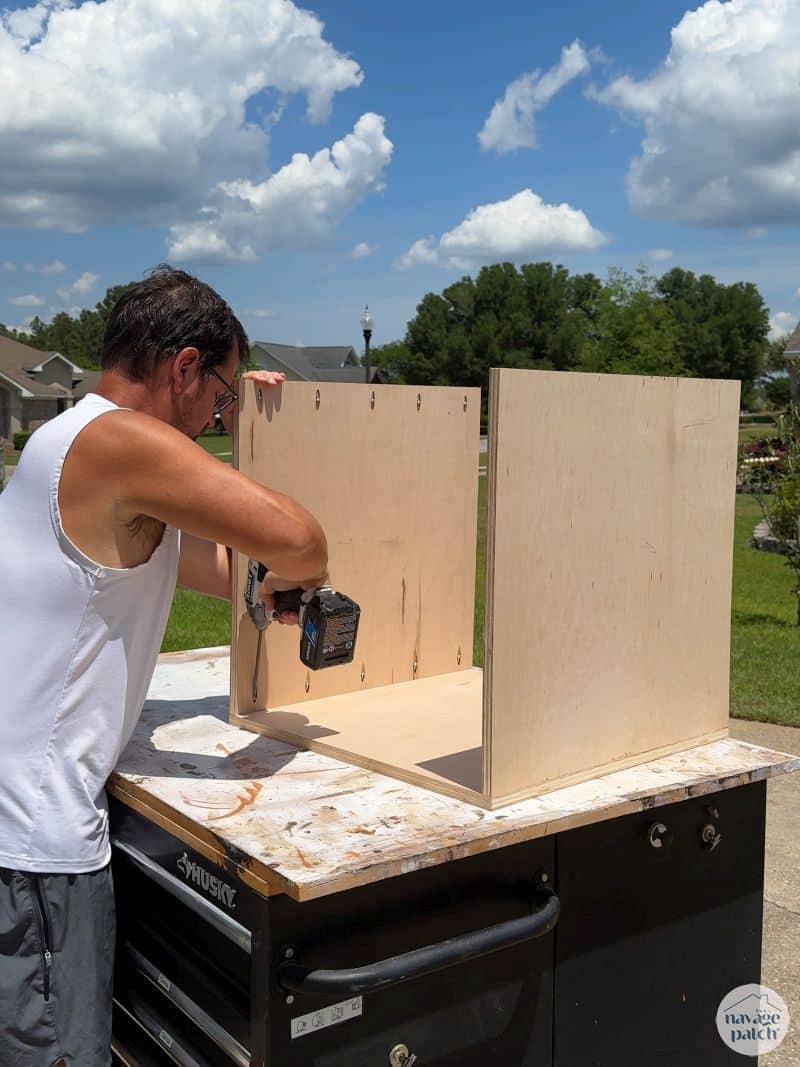
I assembled the box.
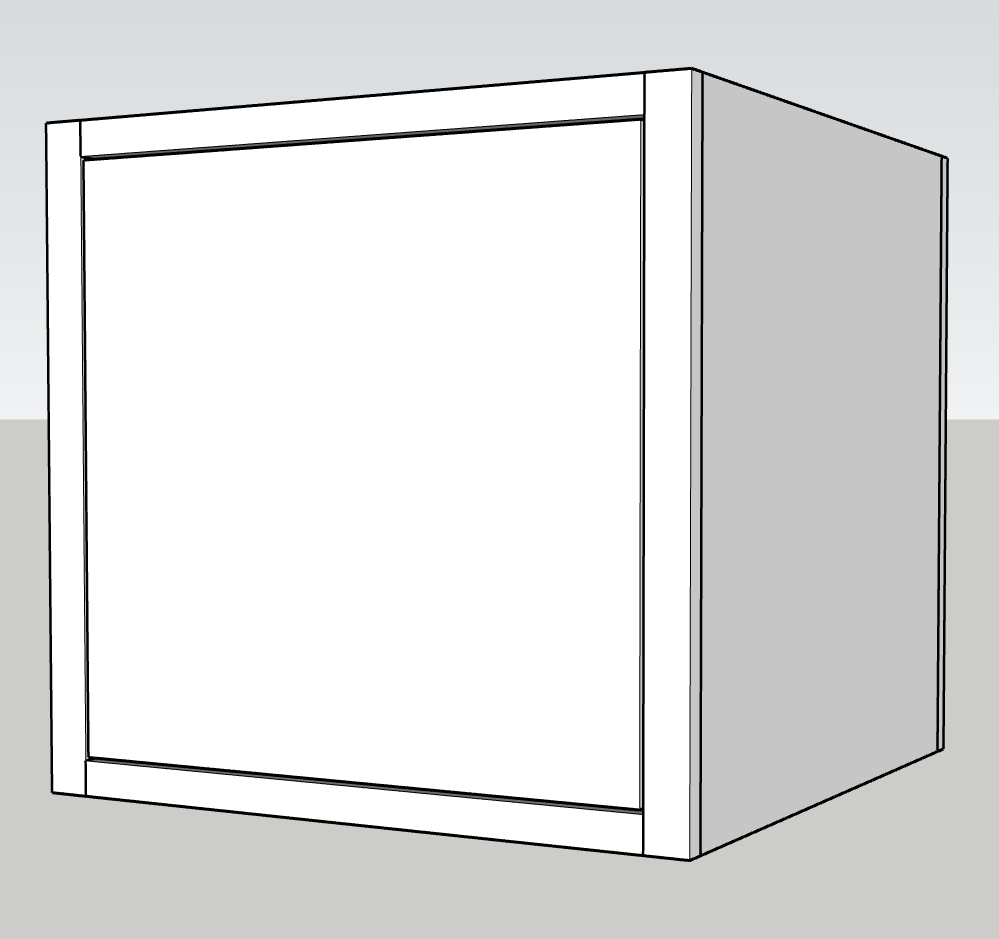
Here’s a few screenshots from my Sketchup model.
Front of cabinet showing face frame and door. There is a 1/8 inch gap around the door.
This is the top. I ended up using 3 supports as listed in the cut sheet. The middle support (not shown) helps with the shape.
This is the bottom. I recessed it 1/2 inch so inside the cabinet, the bottom will be flush with the face frame.
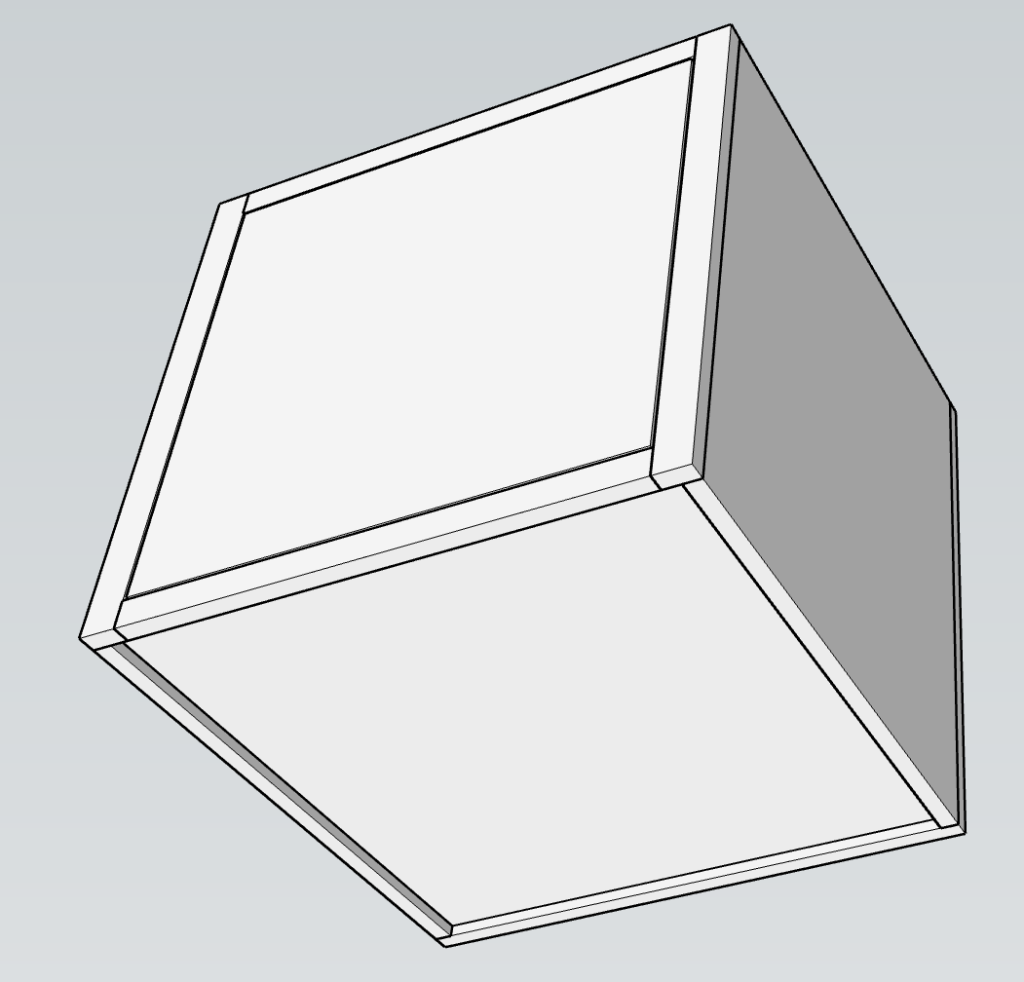
View of the top and back.

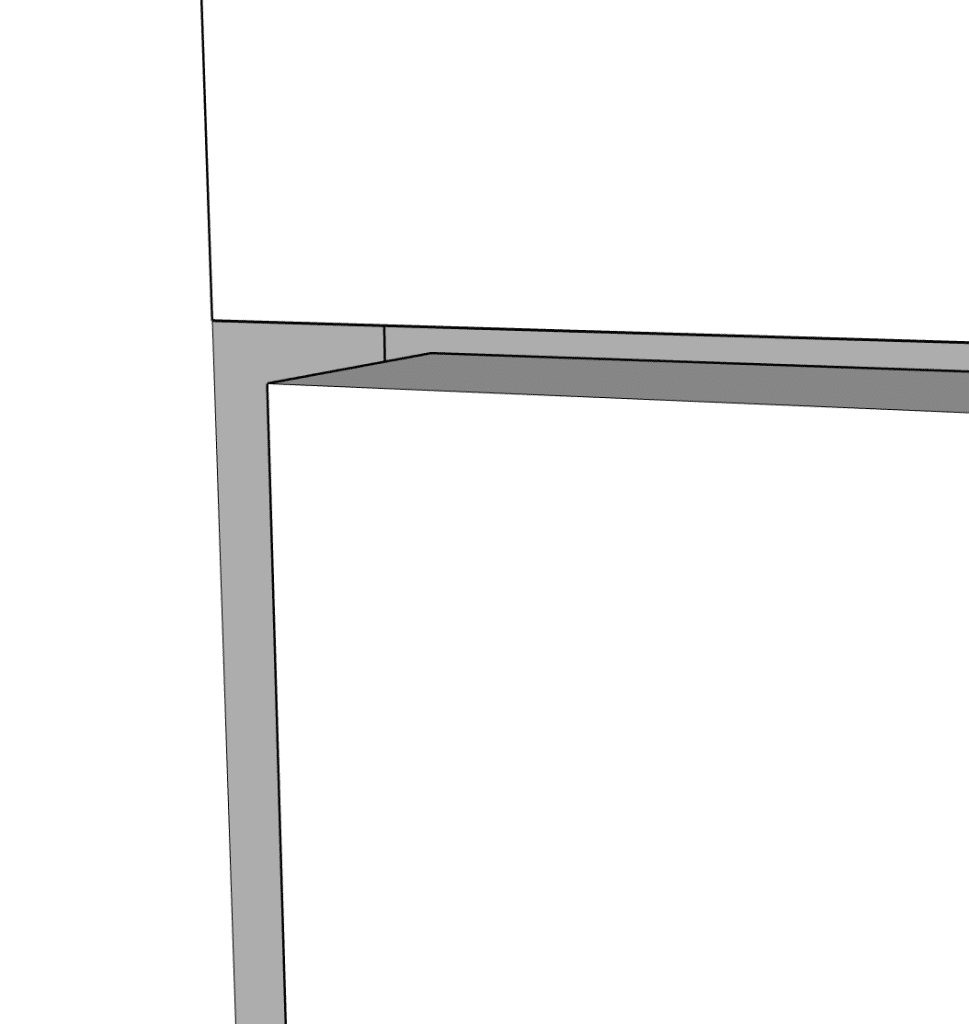
Closeup of the 1/8 inch gap around the door.
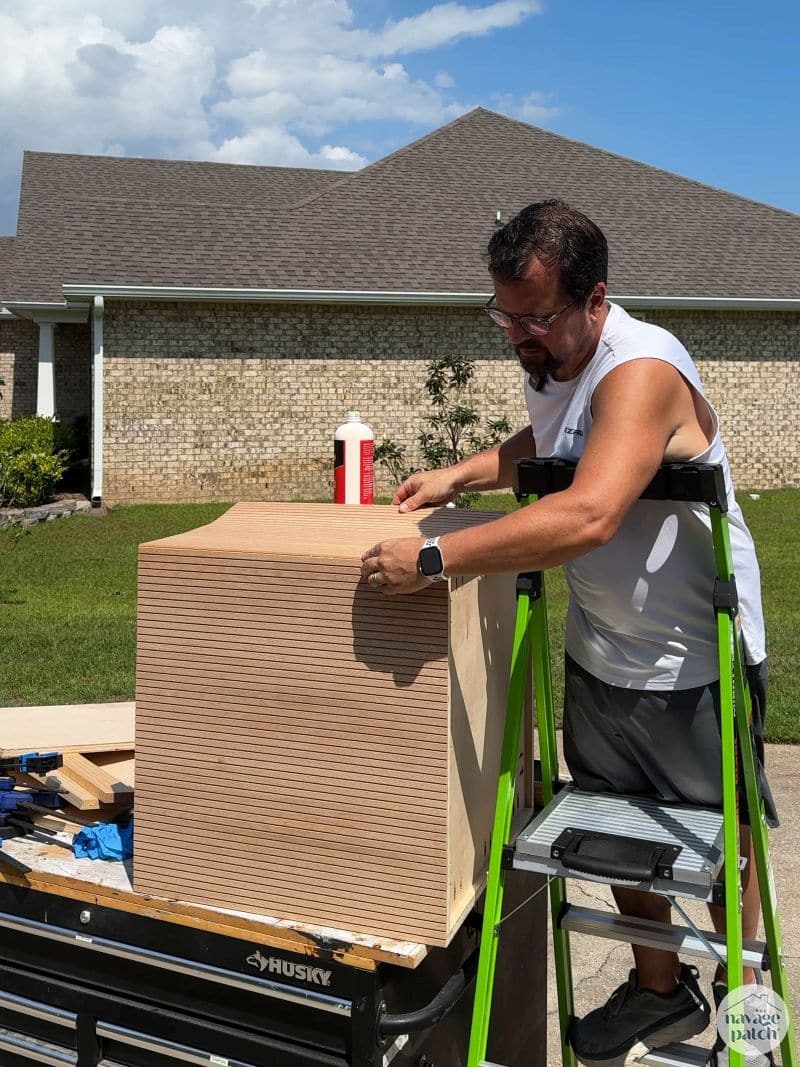
After gluing the face frame together and then gluing it onto the front of the cabinet, I moved on to the pole wrap stage. I chose the width and depth of the cabinet (24 1/8 inches) so that the pole wrap would end its run with a full flute. Originally I planned 24 inches, but after measuring the pole wrap, I discovered I would have to have ripped a flute in half – not only too much work, but it would look amateurish.
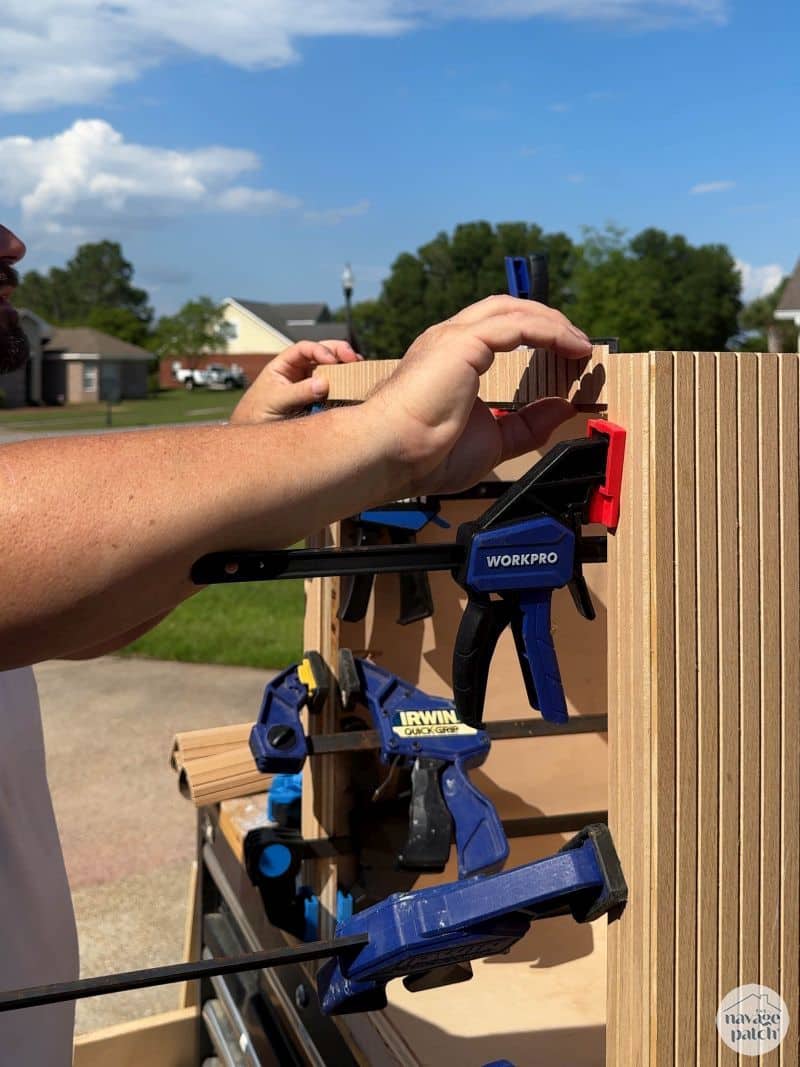
I measured and pre-cut my pieces, so all I had to do was put a good amount of wood glue onto the cabinet face, spread it around and then place the pole wrap. I put a piece of plywood on top and clamped everything down tight.
The width of the face frame sides was also chosen carefully to keep a cohesive look.
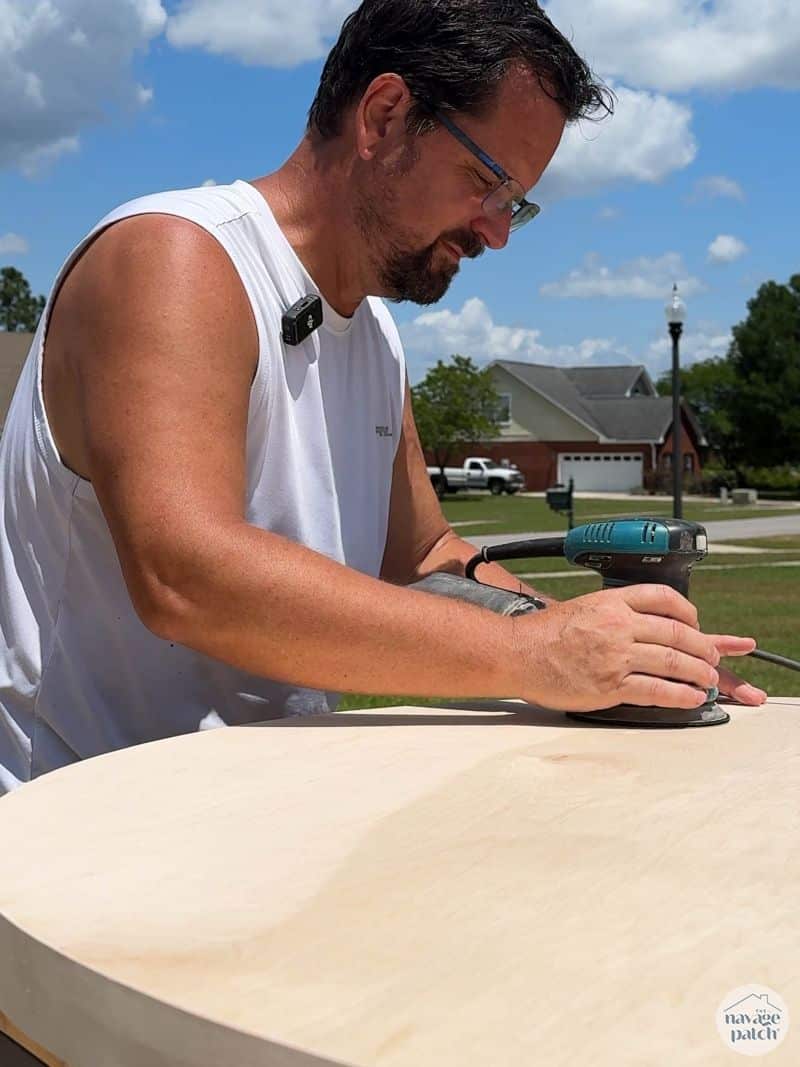
Step 4 – Finish the tabletop
I put edge banding around the table to hide the plywood edge, and then sanded everything smooth.
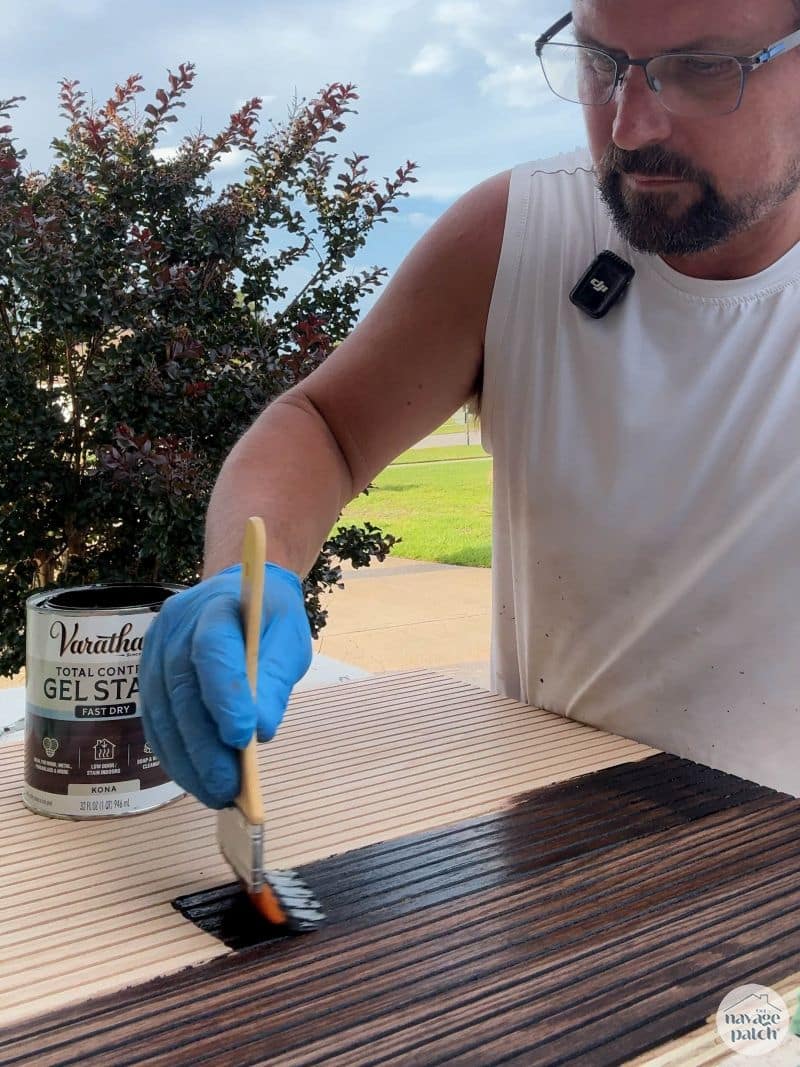
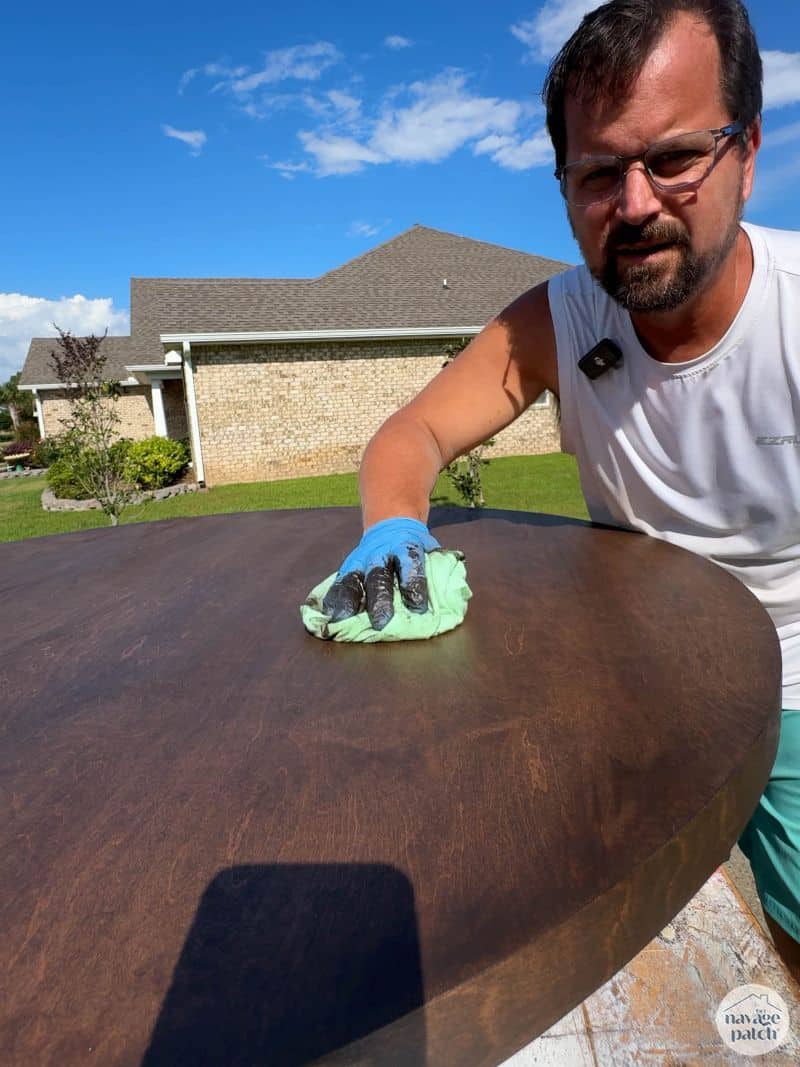
Step 5 – Stain
I stained the tabletop and cabinet with Varathane Kona gel stain. Kona has fast become my go-to stain color – I’ve used it in almost every project this year, either alone or mixed with other colors.

After installing inset hinges, Baris and I brought the pieces inside, and I secured the tabletop with screws driven up through the cabinets supports into the underside of the table.
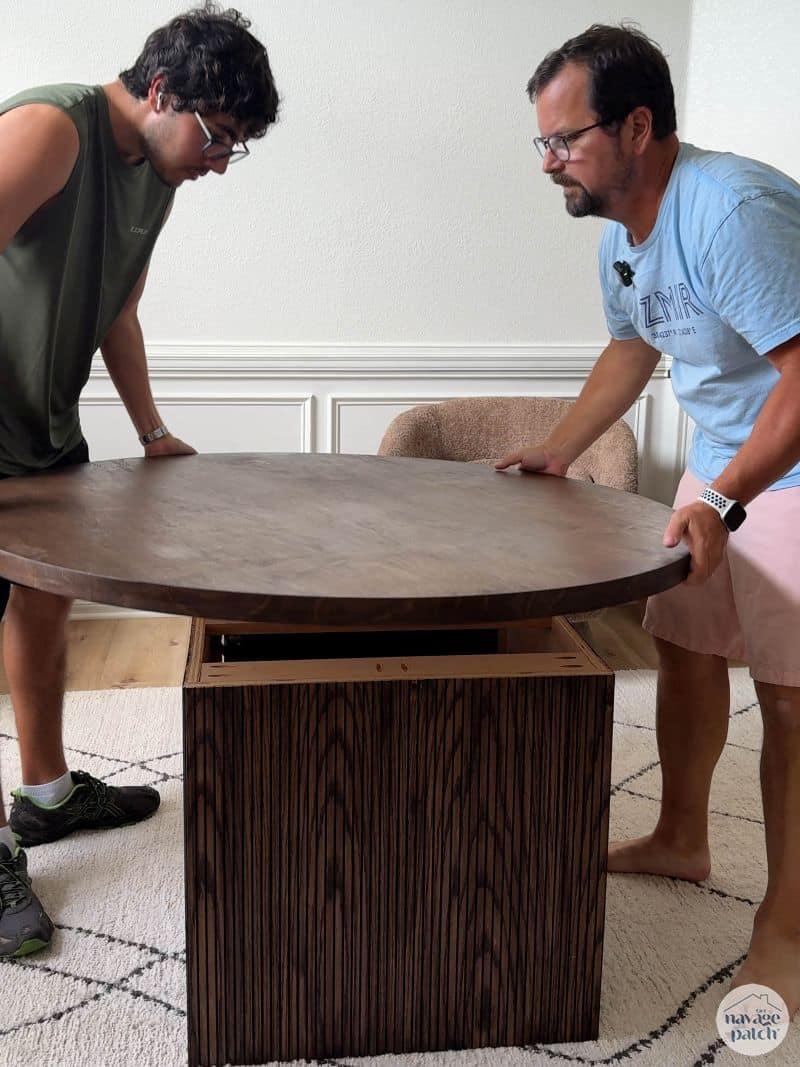
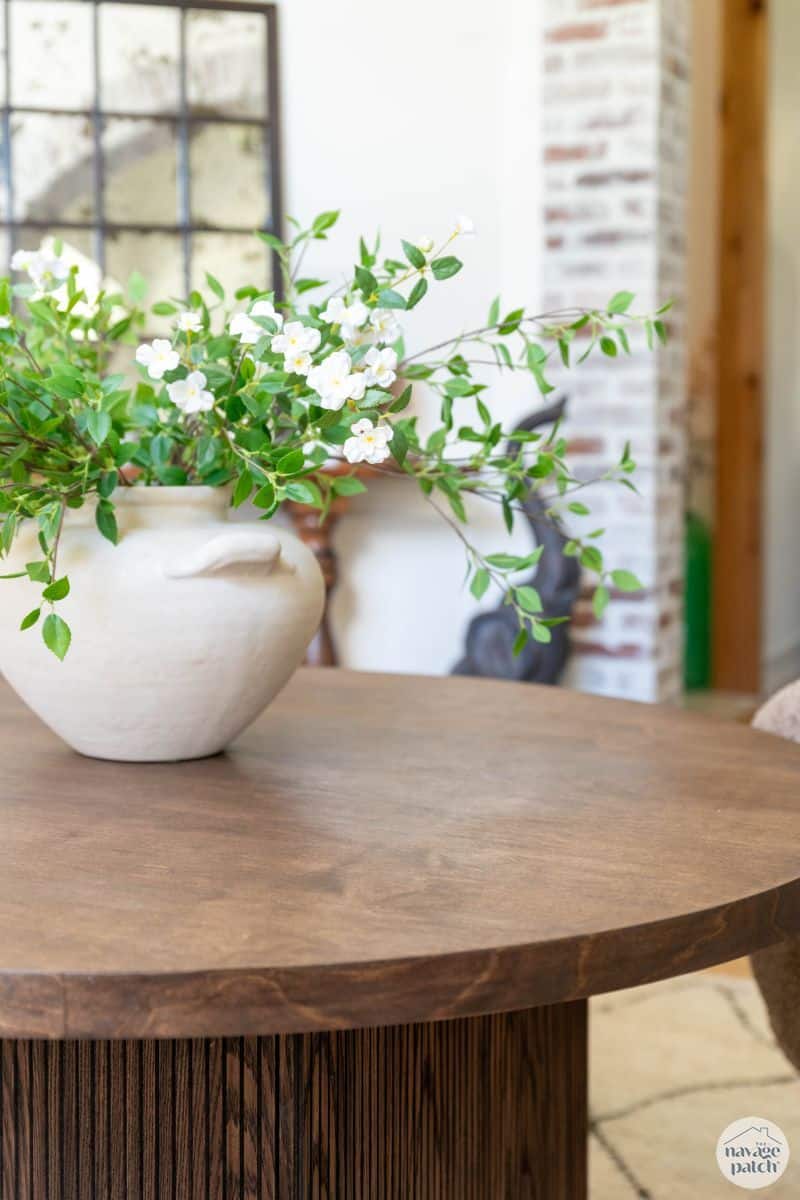
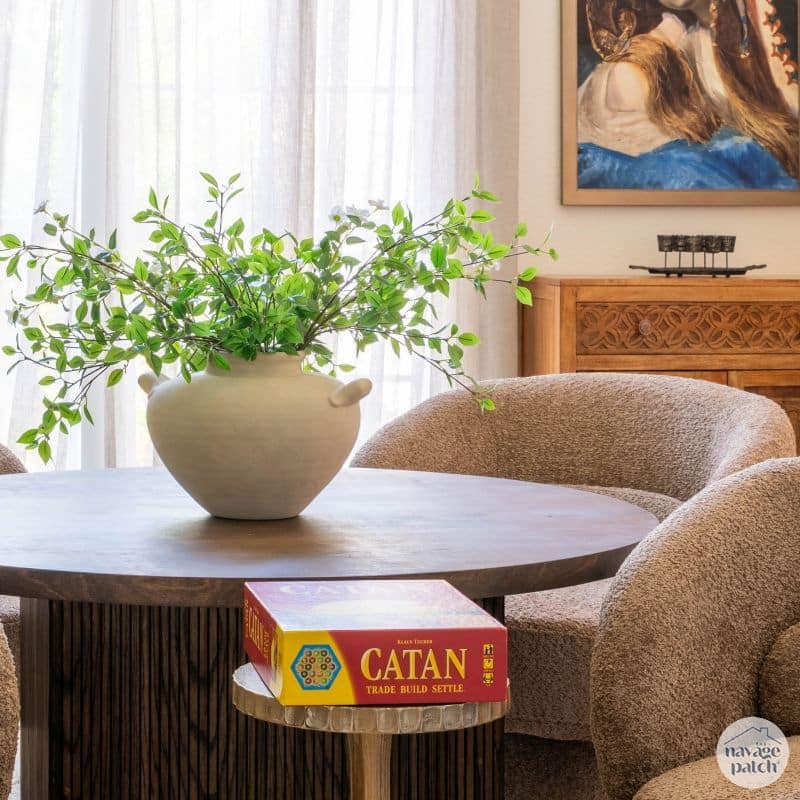
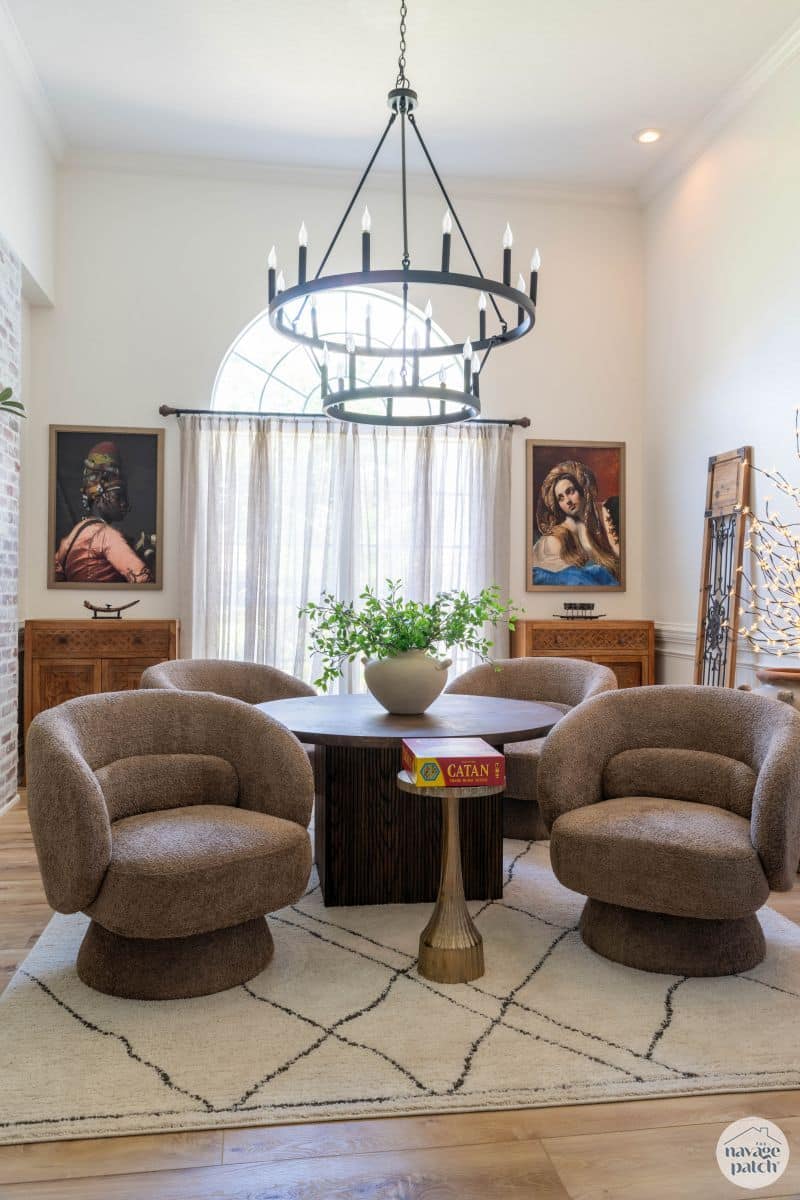
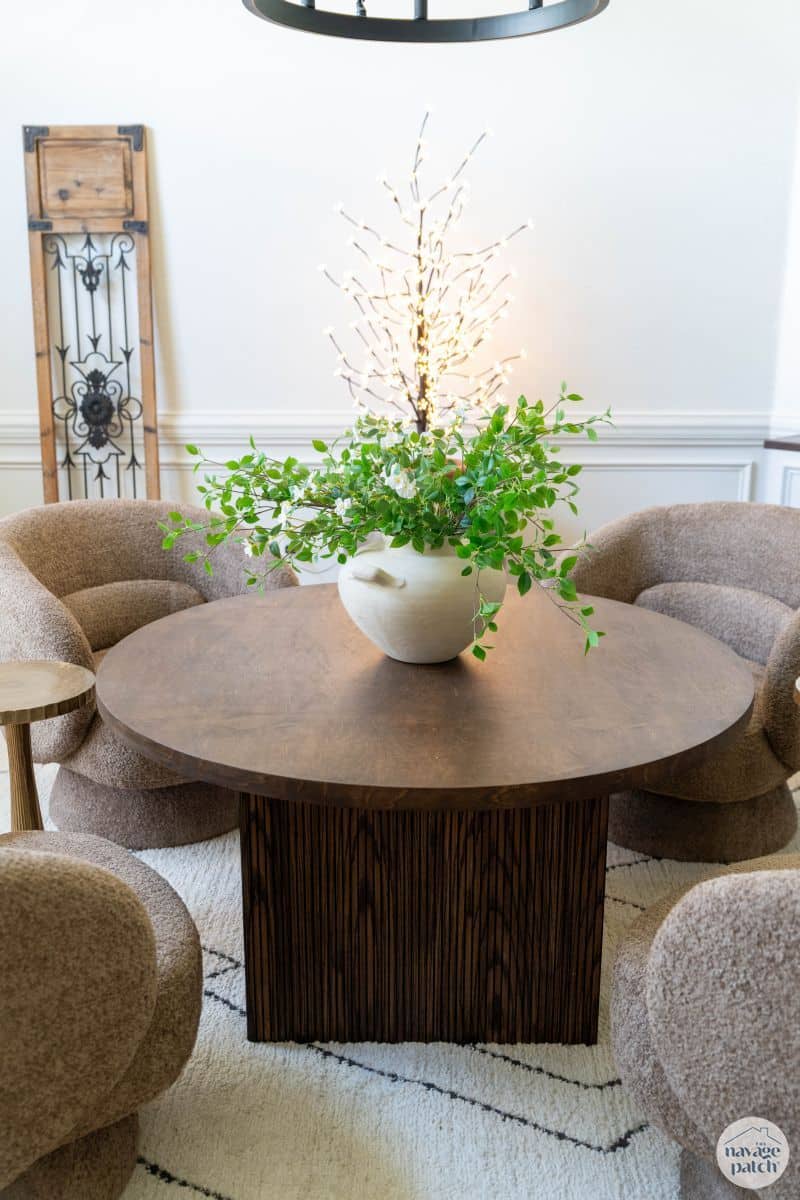
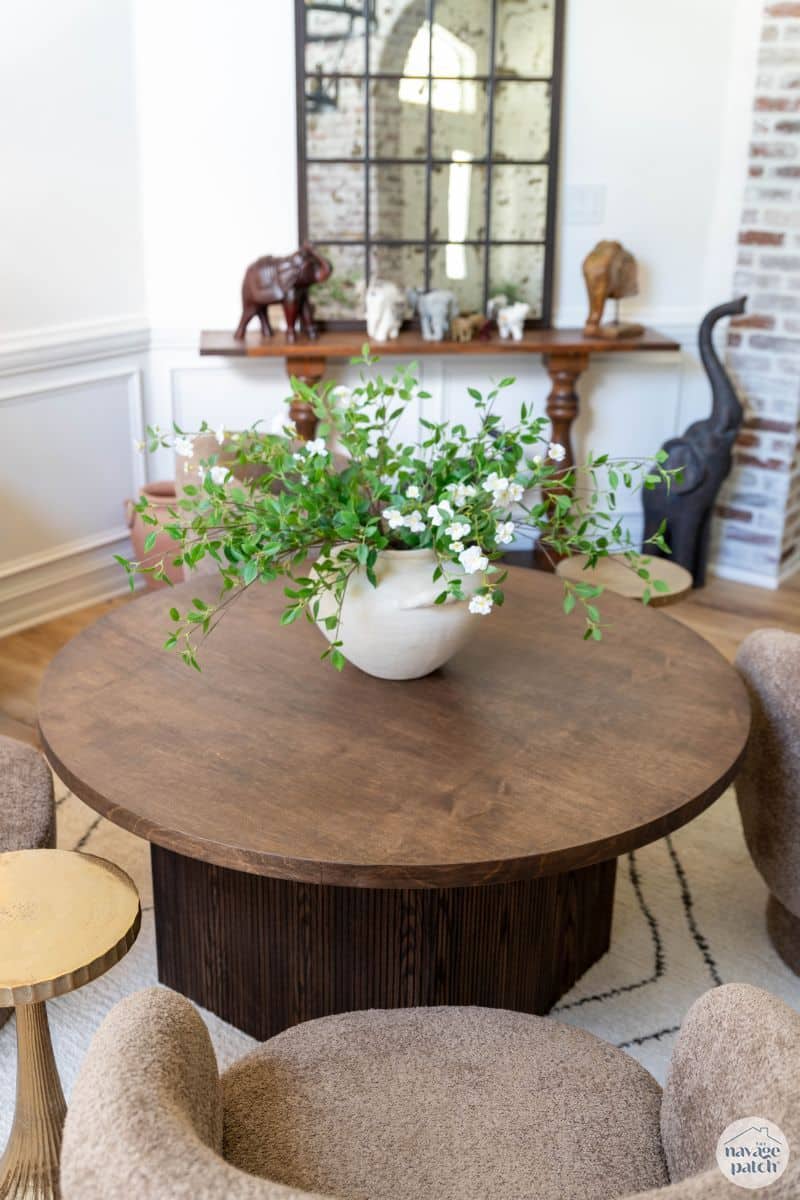
With a new rug, new chairs and some side tables for drinks, this table was ready for some serious board gaming!
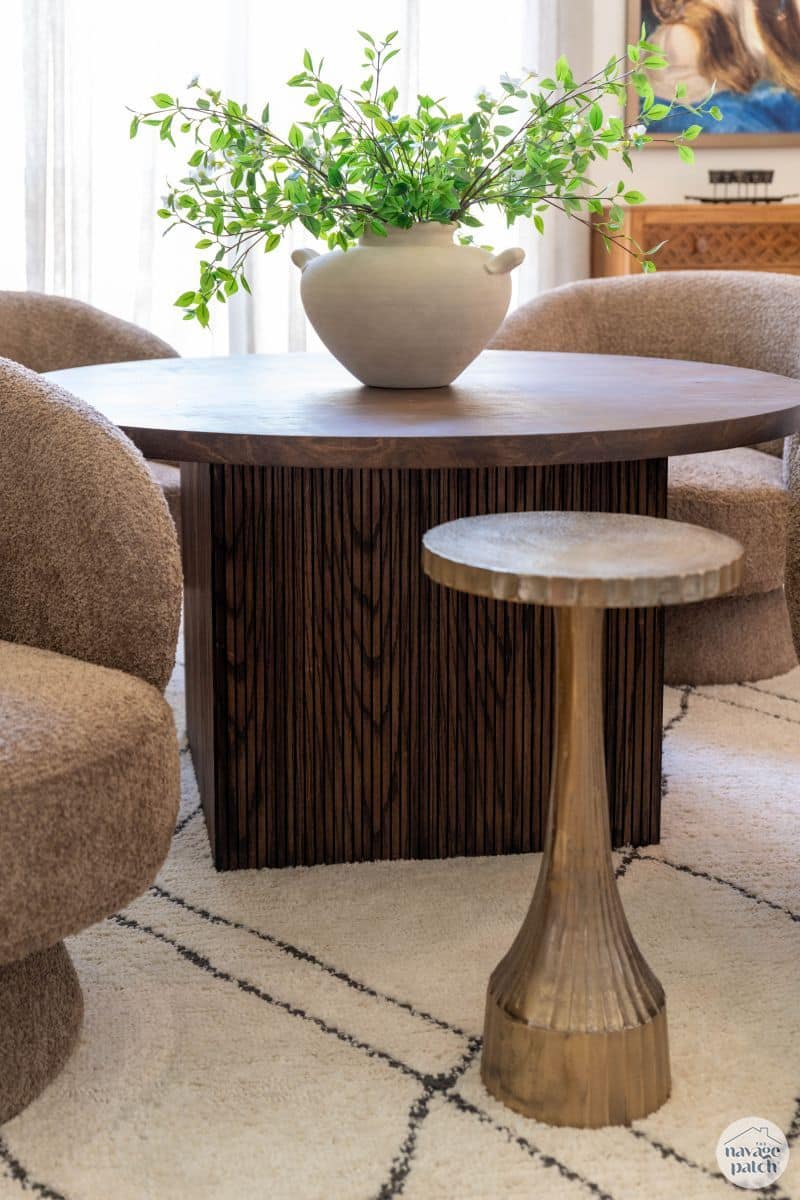
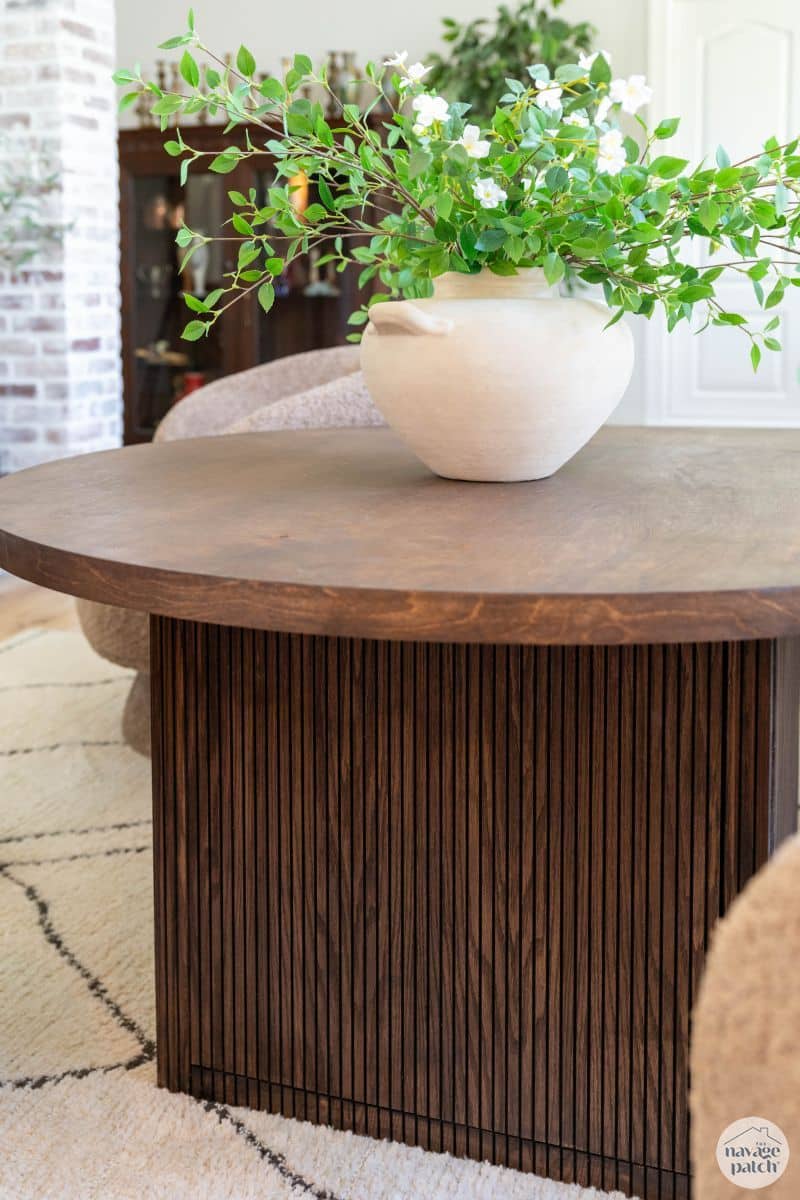
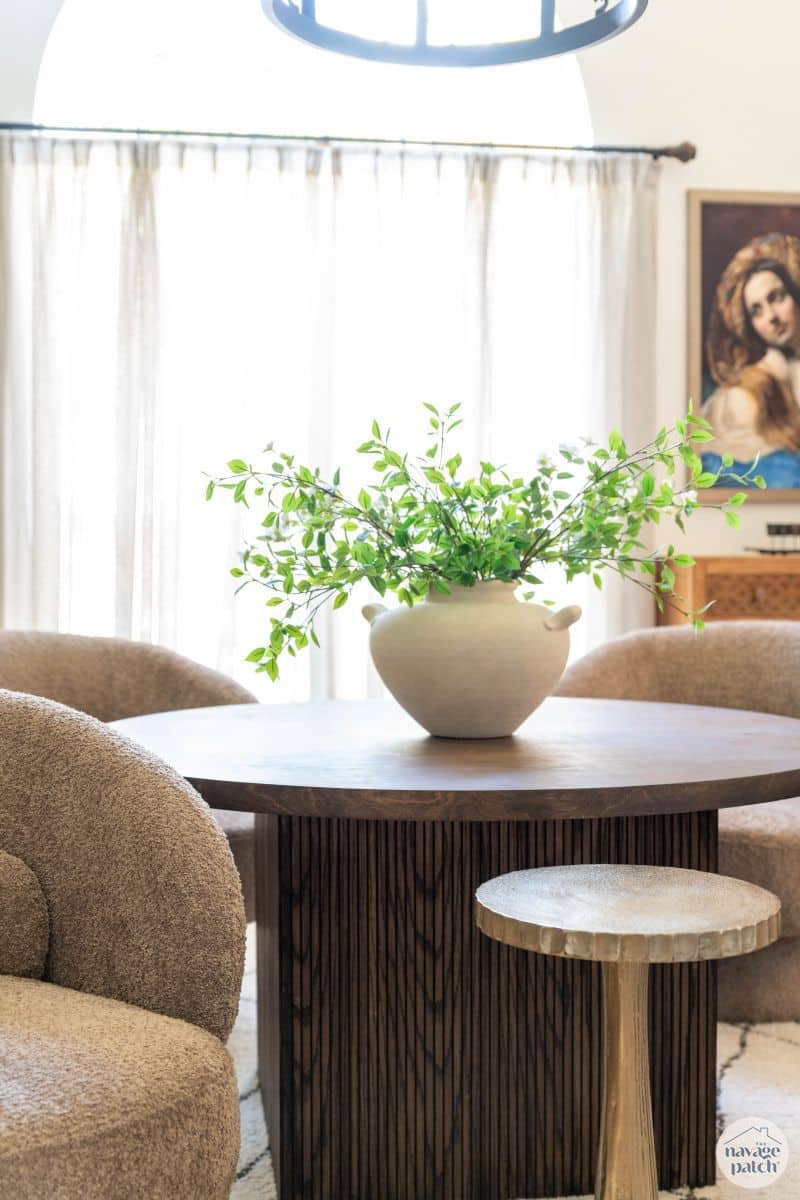
The fluted sides elevate the look.
And here’s a peek at the hidden door – it uses magnetic push-to-open door catches, so there’s no hardware on the outside.
I think it gives luxury hotel vibes, how about you?
If you want to know who won, you’ll have to watch the video near the beginning of the post! 😁
So nice to see an email post. Beautiful table. How’s mom doing with Baris gone?
Thank you, Carla! Mom is doing fine. Baris is only about 40 minutes away, and they both work in the same office!
Beautiful! I’m an avid strategy gamer, and this is a huge step up from my thrift store table with felt covering stapled on. LOL!
Now you need a thin neoprene mat you can lay out on that bad boy to give you the feel of true luxury when picking up your Ticket to Ride cards. Ticket to Ride was my gateway game- I have two rooms of board games now. It was an awesome distraction during covid.
Thanks for sharing these instructions!! Looks so inviting and classy!
LOL, that was our first game too! We haven’t ventured much farther than TtR, Catan + expansions and Munchkin. What I lack in accumulated victories in Catan and Ticket, I more than make up for with my dominance in Munchkin! 😂
You’re table is a lot nicer than our’s – a wobbly old Ethan Allen that’s seen much better days, but we did beat you to the game room instead of dining room idea. We moved into our current home about 8 years ago and just decided to call it a game room. There was a small, narrow closet in one corner that became our board and card game closet, thanks to some shelves, and we have bookshelves my stepfather made to hold our roleplaying game materials. We love it!
Enjoy today’s fancy new board games!
The game room idea is inspired! And yes, I’m floored by how awesome today’s games are!
You did a beautiful job on the table. And I love the chairs. I always love reading your posts and the creativity both of you have.
Thank you so much, Barbara! We’ve really been enjoying this table, but sadly, I haven’t had a victory on it yet! 😂