Son’s Bathroom Remodel Part 2
In Part 1 I introduced you to this booger-hued blight on our house:

After gleefully tearing out the guts of our son’s bathroom, I was left with this glaring green hole which was arguably more pleasing to the eye than what preceded it.

Pleasing though it may have been, we had even better plans for it!
Son’s Bathroom Remodel VIDEO Update
Watch Our Tutorial On YouTube
On Tiktok
On Instagram
We love to see our DIY projects out in the wild! If you try this DIY project and take a picture and post it on Instagram, be sure to tag us – thenavagepatch
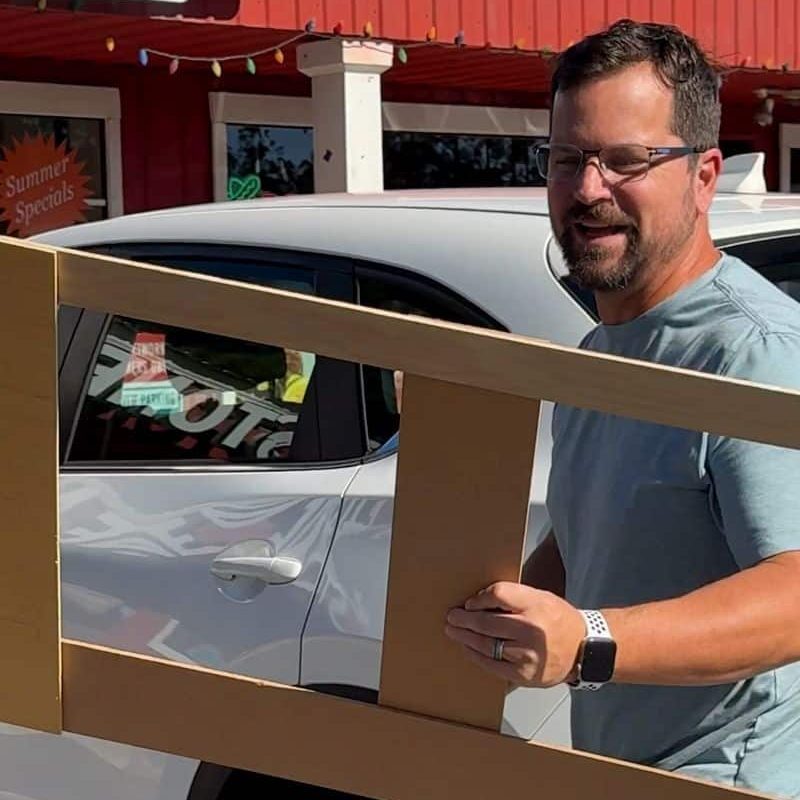
The first step of this bathroom build-back was a new vanity cabinet. We ordered one from RTA Cabinet Store that promised custom quality for roughly 30% less than pre-assembled.

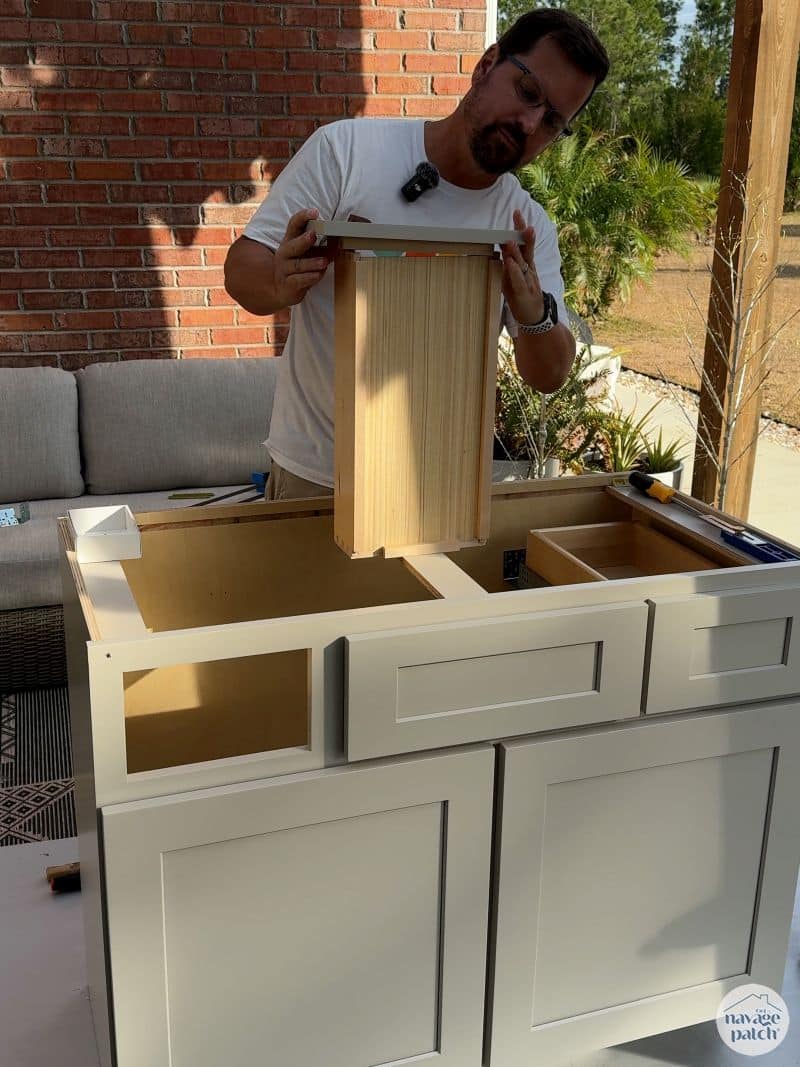
Assembly was simple. The only special tool needed was a narrow crown stapler which I already had.


The drawers are solid wood with dovetail joinery – this was a delightful surprise!

I have a couple more of these to build for our master bath. They will come together even quicker since I’ll know exactly what to do from step 1. I could even see doing a whole kitchen with RTA. Once you get the hang of it, the cabinets come together quickly.

I centered the new cabinet in its alcove – this left some empty space on either side.

My custom RTA came with a filler board I ripped into two pieces to fill each side. I secured them to the cabinet frames with screws and then glued on smaller trim pieces to complete the look.

I should have painted the room before installing the cabinet, but at that time we hadn’t yet settled on a color. After the cabinet was in, we went to Sherwin-Williams and chose a color called Neutral Ground for the walls.
Wow, what a difference! With this, the last of the hideous green is (almost) gone. This is just his bathroom sink – there’s still the adjoining room with his porcelain throne and shower, but that will come a little later.

Now I was ready for a new countertop. I set about making a template using scraps of thin plywood and hardboard and hot glue. We learned this technique from the guys who installed our Georgia kitchen countertops. I previously used the technique for the garage entry remodel I finished last year.


I loaded the template into my truck, and then Shrimp and I headed to Stone Network LLC in Santa Rosa Beach (they installed our kitchen countertops) to find a stone remnant for the bathroom.

This one looked pretty good – it was smooth and shiny on one side and leathered on the other. I’m a sucker for leathered stone, so I convinced Handan that I couldn’t possibly continue with the project without this very rock! Fortunately she likes the leathered look, so it didn’t take much convincing.

Stone Network took my template and had the countertop ready for pickup the next day! Back home, Baris helped me lift it up and shove it into place.

Don’t worry – those green walls will be going away! But look at how classy that vanity looks!

The stonecutters came a few days later to cut holes for the faucet and sink after we determined where they would be. I was only able to shoot a few second of video before the sound overwhelmed my damaged left ear and forced me to run to safety.

The vanity was ready for the sink and faucet, but before installing them, I wanted to get the walls in order.

I installed shiplap wall panels to three sides, securing them to the walls with construction adhesive.

I followed up with brads in the corners and along the edges as well as a few in the middle to prevent the panel from bowing outwards.


I cut out holes for the medicine cabinet and electrical outlet.

Just wait until you see what I put into that medicine cabinet hole!

But first – paint. Carry on to the reveal!
SO FAR, SO GREAT!! franki
Thanks, Franki – you’re gonna love how it turned out!
I’m digging your remodel and picking up lots of tips for mine! Great job!
Thanks, Kimberly! I’m happy to hear it’s helping!
Can’t wait for the big reveal! Love that countertop!
Thank you, Tracey! You’re gonna love it!
It’s looking good!
Thanks, Carmel – you’re going to love the reveal!
Already looking soooo much better! Can’t wait to see the finished results.
Thank you so much, Cynthia! 🙂