Son’s Bathroom Remodel Reveal
Our son’s bathroom remodel reveal is here, and WOW! We knew there was beauty hidden there somewhere – just had to tear out the ugly first!
In case you’re just stumbling into this post cold, I’ve been remodeling our son’s bathroom. I started with this exceptionally bland green turd.

After ripping it all out, installing an RTA cabinet, painting the room, installing a beautiful stone countertop and some wall panels, I had improved the room to this point.

Not pictured above are the holes for the sink and faucet which were drilled a few days after we took the stone home.
Honestly, I could have left it there and called it a huge improvement and a job well done. But considering it was a bathroom and someone would eventually want to, I don’t know…wash a body part or look at themself or something, I figured I’d carry on and make it even better.
Our remaining considerations for the room were alcove color, sink, faucet, mirror, and vanity light. Oh, and the hole left from the medicine cabinet – can’t forget about that! I can’t stand those silly things, and I had something far superior planned for that sad little nook.
Bathroom Remodel SUPPLIES LIST
Affiliate links are provided below. Full disclosure here.

Bathroom Remodel VIDEO Overview
Watch our short and fun video below for an overview of our Bathroom Remodel before you read all about it.
Watch Our Tutorial On YouTube
On Tiktok
On Instagram
We love to see our DIY projects out in the wild! If you try this DIY project and take a picture and post it on Instagram, be sure to tag us – thenavagepatch
The theme for the alcove was turning out to be dark, moody and modern, so we chose a beautiful paint color called Shade-Grown from Sherwin-Williams.

I love the color and the feel it gives to the bathroom. I think you can expect more of this from me in the future!
Thinking “hey, it worked in the guest bedroom,” we decided to paint the ceiling of the alcove the same color as the walls.

I was able to get a perfectly straight line on that textured ceiling by first burnishing the tape and then locking the line with ceiling paint.
When we first moved in, my babes bought a new vanity light for Baris’s bathroom. I think she thought that I’d get around to it muuuuuuchhhhhh sooner than this!
Well, it’s a good thing someone’s memory still works in this house, because neither Handan nor I had the foggiest notion of where the light had been stashed. Thank god Baris has a functioning young brain and remembered we put it…in his bathroom closet!
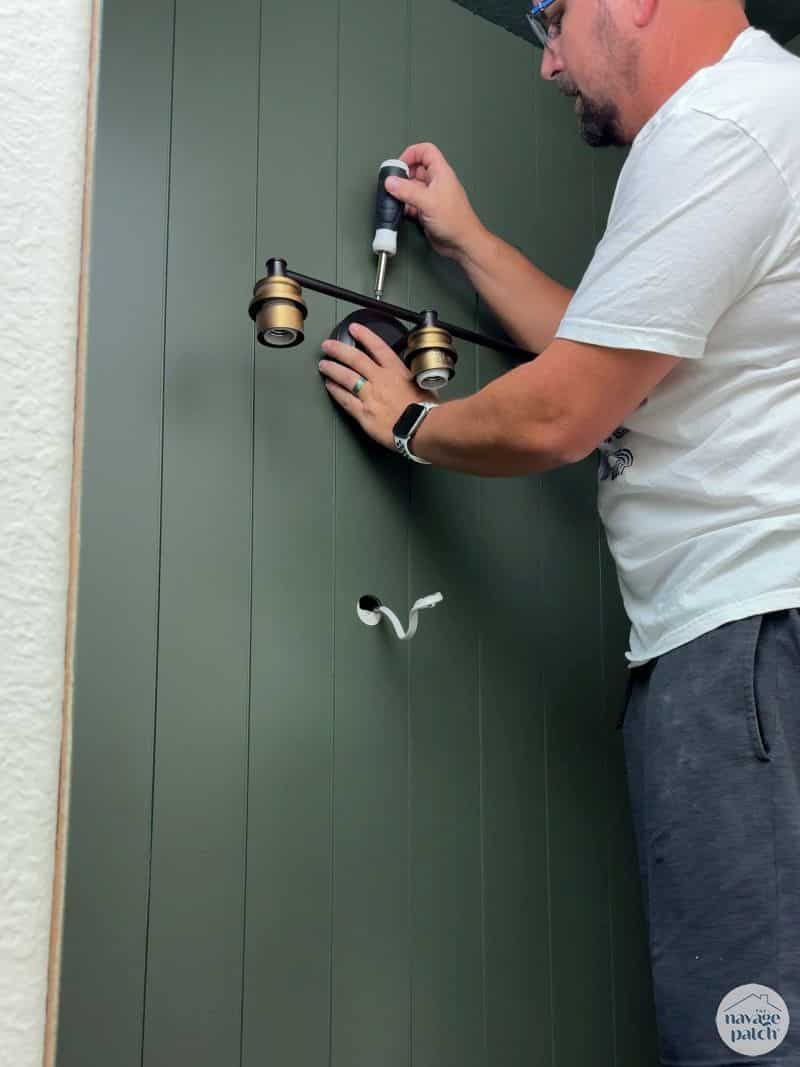
As nice as that vanity light is, it probably won’t get much use, because I totally upstaged it with a backlit and frontlit vanity mirror.

This thing is the Cadillac of self-reflectors. It’s got three temperature settings, variable luminescence, a defogger, and it’ll probably tell you you’re the fairest of them all if you ask it nicely.
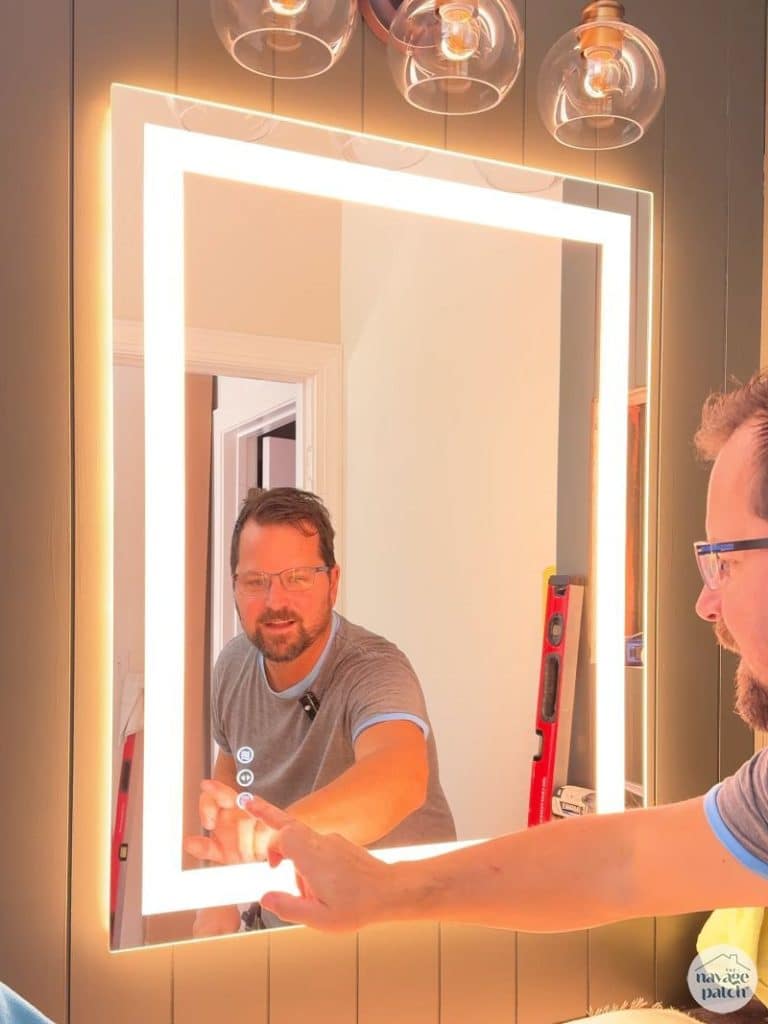
Like I said – who needs a crusty old vanity light, when you have the pimpin’ mack daddy of mirrors hanging right below it??
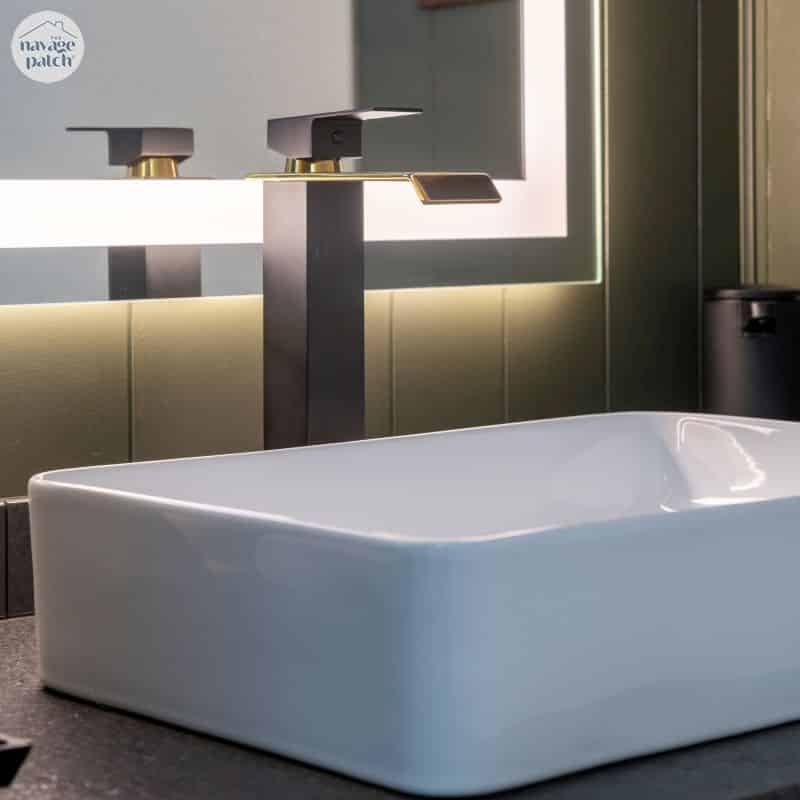
Next I installed the sink and faucet. This was my first vessel sink installation, and I have to admit, I’m a huge fan of them now. I love the look!

The sink came with a flexible plumbing pipe, so I decided to give it a bash instead of traditional hard-pipe plumbing. Everyone hates it and slams it online, which only made me want to try it more. I don’t trust unanimous opinions.
We found some black stone tiles at Lowe’s that I affixed with small dabs of construction adhesive for the backsplash.

I didn’t want to use thinset, mortar, or too much adhesive in case we change our minds in the future. The Shrimp can be fickle. 🦐

Once I caulked the edges, the tiles were as secure as if I used thinset.

I intended to use quarter round trim in the corners, but these days you can’t find small quarter round like the good old days. Everything sold in the big box stores is 11/16 or 3/4 minimum, and I was looking for 1/4 inch. Fortunately, my babes found some other thin trim that worked out just as well.


Next I installed the cabinet hardware – nothing fancy, just some brass stuff from Lowe’s.


All that remained was the hole left by the medicine cabinet. I built a similar (but much smaller) insert to the one I made for our pantry last year.
Now this is my kind of medicine!

I was able to use scrap wood I had on hand. This shelf is a mix of poplar and pine with red oak added later for the face frame.

Because these woods all take stains differently, I used gel stain to get a uniform appearance.
Installing the shelf was the final piece to this glorious puzzle.


Now let’s have a look at how it all came together.


The shelf is the cherry on top.


I still need to address the closet not shown on the left and the room with the toilet and shower.

Stay tuned for the rest of the bathroom and much much more!
Gorgeous Greg!! You knock this out of the park!! Hey just curious, what do you actually do for a living?
Hi Shirley, thank you so much! This is what I do for a living – I’m a social media influencer! 🙂
Would you post where you got the front and back-lit mirror? I’ve been looking at a back-lit mirror and didn’t know there was another option!
Thanks, Laurie
Just wondering if it is possible to replace the doorknob with one that matches or blends with the other metal finishes in the room.
Love the redo. It’s classy and masculine!
I could! We’ll see what the shrimp says.
Looks wonderful, Greg. Very modern. My taste for color would have been lighter. But, the effect you’ve achieved looks great.
Thank you so much, Cynthia! We’re loving the new look!
Baris now has a fabulous bathroom! Fantastic work Greg and Handan the light fixture is gorgeous!
Thank you so much, Abby! 🙂
Oooooh, very snazzy! I like that you painted the ceiling in the space as well. Love the medicine cabinet replacement!
That’s my favorite part! 🙂
This turned out so nice!
Thank you, Lara! 🙂
Why no Gfci outlet? I love the dark colors
That outlet is GFCI. They do it weird down here. None of the outlets are actual GFCI outlets except on in the master bath. All others are wired off of it. It’s so weird, and it took me forever to figure that out when I tripped the one in Baris’s bathroom! 😂
W O W!!! Amazing transformation. Lucky son of yours! You are so talented, of course with the “Shrimp’s” inspiration!
Thank you so much, Tina! 😀
Just love what you have done with this bathroom. The dark color and the shelf in lieu of the medicine cabinet look amazing. Your son must really enjoy the new look.
He absolutely loves it! 🙂
LOVE the vessel sink!!!
But if it were me, I would have made a drawer for the center panel in the cabinet. There isn’t a sink in the way, and everyone needs more storage. You could make one in your sleep!
True! But we don’t really need the storage, so I saved myself some work. 🙂
Robin, he couldn’t turn it into a normal drawer even he wanted to. There is no sink, but the sink connection pipes are in the way of that drawer area. So it would have to be a very shallow drawer that you couldn’t even store soaps.