Blood Candles
Celebrate All Hallow’s Eve with a set of spooky Halloween candles made with paper towel tubes and Dollar Store battery operated candles!
With All Hallows Eve approaching, my focus has finally shifted to the Halloween props. I am panicking a little bit, as I don’t want to end up having countless ongoing projects in hand with none completed. So I put everything else aside and started to work on a Halloween tree project which I’ll post sometime next week. Until then I thought I should give you a little eye candy by showing you the blood candles I made last year.

Although this was a fun and easy project, it was a bit time consuming. But I promise the time is totally worth it as it makes an excellent addition to Halloween scenes.
Here is what I used to make my blood candles:
Halloween Blood Candles SUPPLIES LIST
Affiliate links are provided below. Full disclosure here.
- Cardboard tubes
- A hot glue gun and glue sticks (lots of them!)
- Burgundy red craft paint (or Pinotage Red Gilders Paste) and black craft paint
- Battery operated tea light candles
- Sponge or a paint brush
- Masking tape

How to Make Halloween Candles
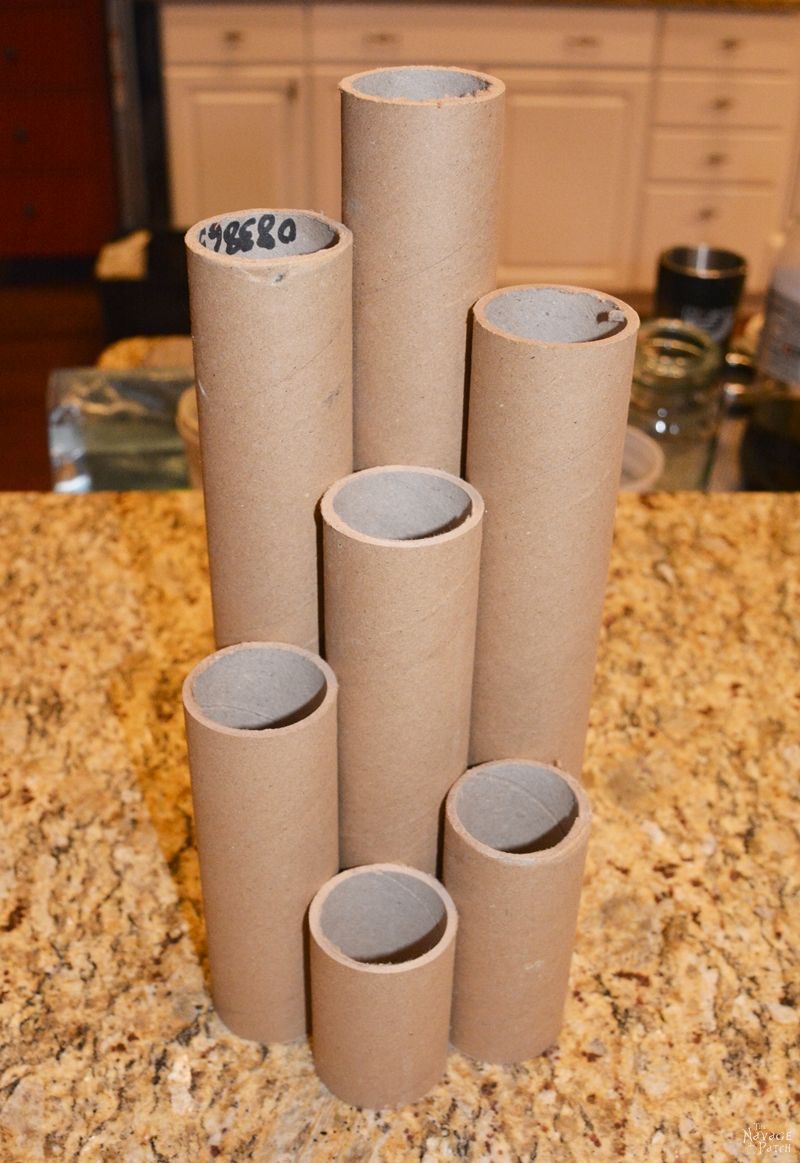
Before we go any further, I just want to mention I used really thick cardboard tubes, because I wanted my candles to be really sturdy. The tubes I used were from rolls of landscape fabric, but anything will do, from toilet paper tubes to paper towel tubes. And if you want your candles sturdier than mine, then you can even use PVC pipes.
If you choose to use paper towel or toilet paper tubes and if you are happy with their heights you can skip this first step. For any kind of thick and long cardboard tube or PVC pipe you start this project with cutting the tubes to the desired sizes.

I asked Greg to cut my cardboard tubes with all different heights, because I wanted to have a little movement in the whole view.

After cutting the tubes, cut a piece of masking tape and turn the sticky side down. Then cut another piece of masking tape and stick it on the first piece, making a cross sign.

Then place a tea light candle in the center of the non-sticky side of the tapes. Then push the tape and the tea light down into a cardboard roll. Once the tea light candle is flush with the top of the roll, stick the masking tape on the outer side of the cardboard tube. This is to provide a good support for the tea lights so they would sit in the rolls properly.

Once you have the top part done for all cardboard tubes, take the tea light out and start hot gluing the cardboard tube to create the dripping wax affect. This is the part where you get creative. You can choose to do those drips short to finish the project quick, or you can go nuts like I did and make them really long which makes this step rather tedious. Basically step by step you keep building on until you are happy with the dripping wax effect.

I forgot to take pictures of the painting part, but when you complete the drips you can start painting your cardboard tubes with black craft paint. While you are at it, you might as well paint the sides and top of the tea light candles, because then they will look a bit more realistic. I know, I know!… We are preparing a Halloween prop with cardboard tubes and battery operated candles. How realistic can you get, right? But still… I think that little effort there completes the look.
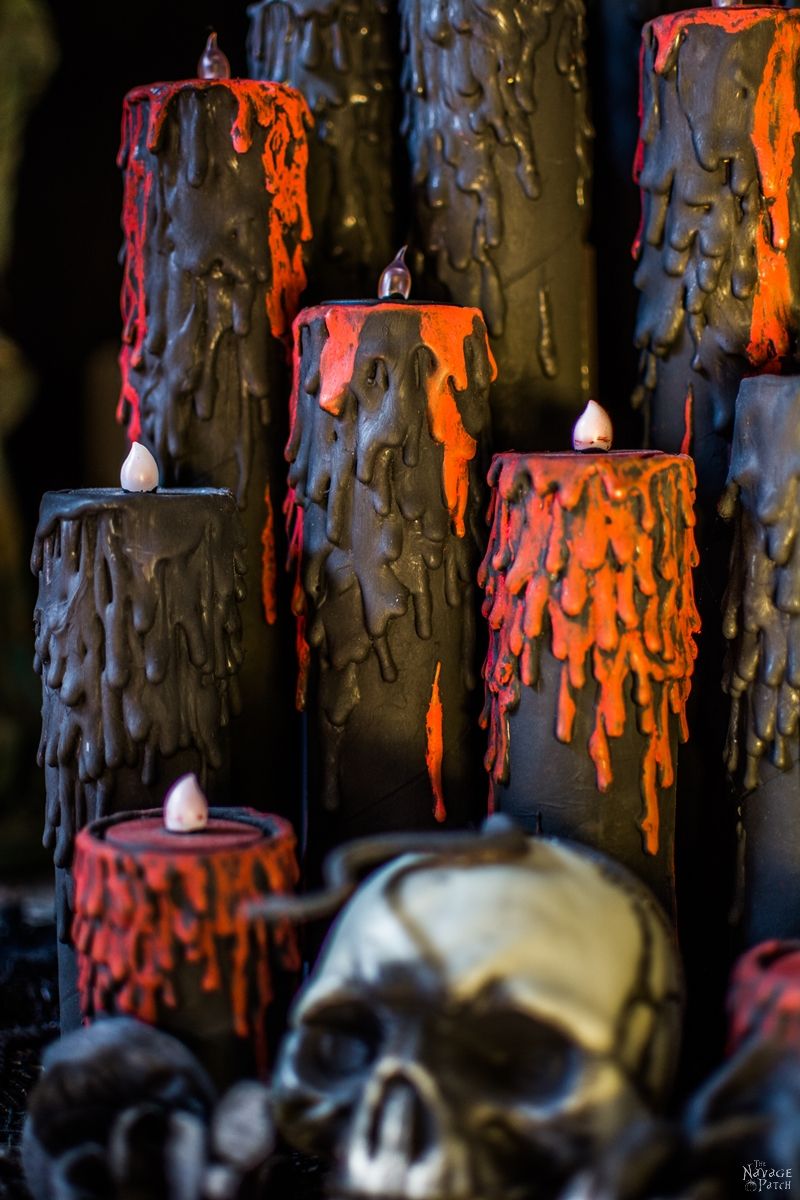
After the black paint, I started adding the blood effect on some of the drips and on some of the tea lights. I used Pinotage Red Gilders Paste, as I had it on hand, but you can give the same effect with burgundy red craft paint. I didn’t apply red gilders paste to every drip, because I didn’t want to end up with a uniform look all over. But it totally depends on your taste. If you like a uniform look better, then go for it.

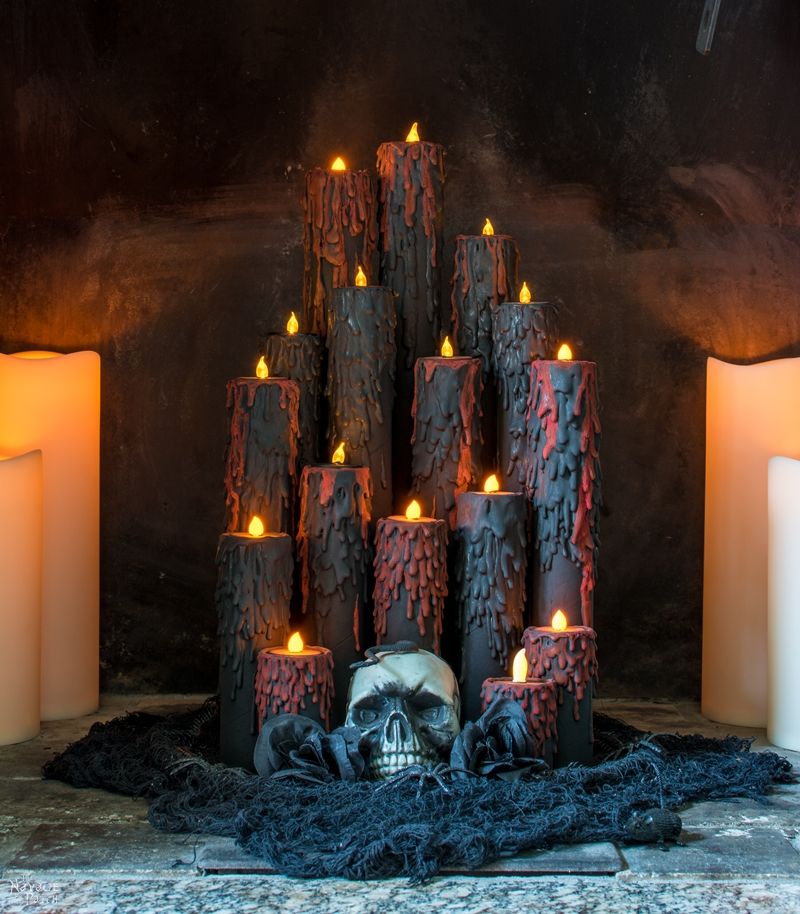
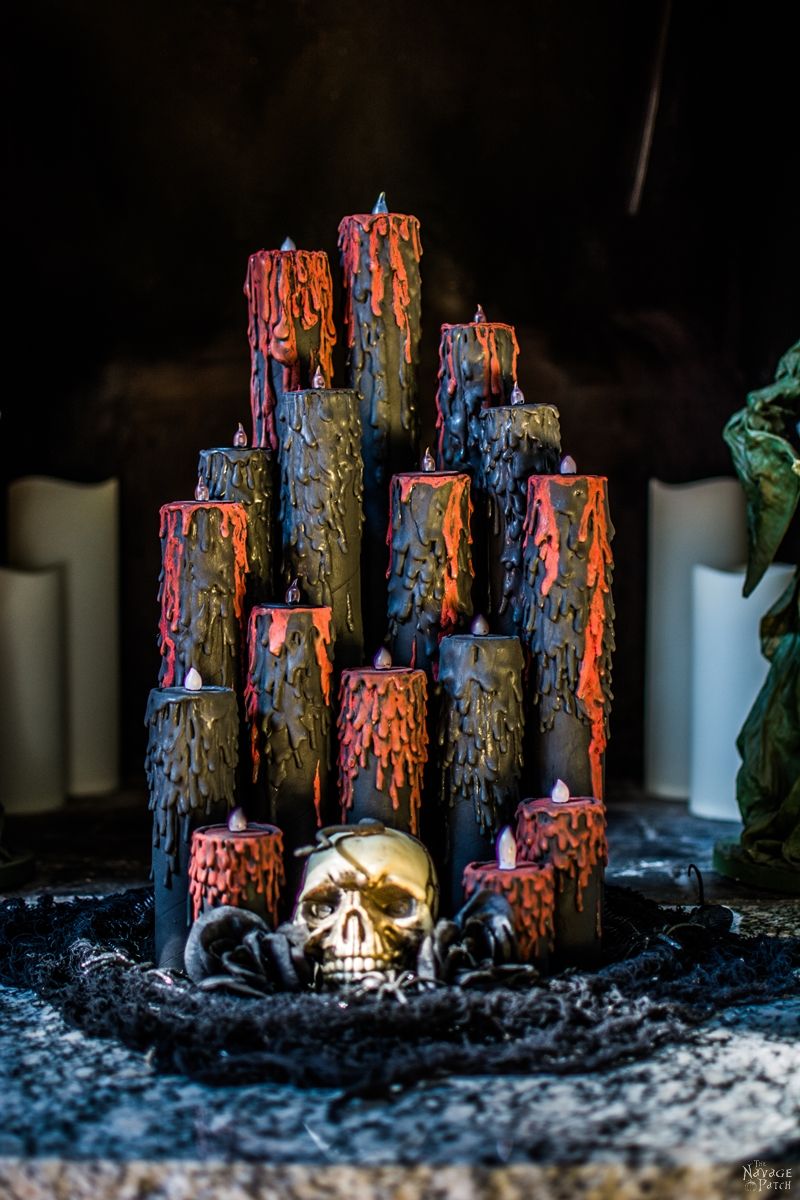
Now that your candles are complete, let’s jazz it up a little bit… A plastic skull, a creepy cloth and some plastic Halloween creepers here and there make all the difference!

Here are some beauty shots for you.


I hope you liked our easy and creepy blood candles Halloween prop!
Handan, xo
We love it when you share our posts on Facebook and Pinterest!


Thank you for sharing your creativity and I will be making the candle centerpiece for a backdrop to our Christmas decor…lots of white w/sprinkles of RED and country blue. I will hunt down the heavier tubes.
Thank you, Jacqui! That is a great idea! I am sure it will turn out fabulous.
Ask some of the local factories or even a lowes or home depot. The tubes are useind in carpet or linoleum and companies use film that wraps product and it is on those tubes.
YES CHRISTMAS THATS A GREAT IDEA I DIDNT EVEN THINK OF THAT! THEY WOULD LOOK AMAZING AMOUNG OTHER CHRISTMAS DECORE! THANKS FOR THE GREAT IDEA!
What a cute couple you are! Great project too.
Thank you so much, Donna!
Were did you get the pages for your Bbook of Shadow?
Hi Sharon,
I found them online. If you search for “Book of Shadows” on Google it should bring up all the pages as high quality pictures 🙂
Since the tubes are long & not wide enough to get your hand in, how do you turn your tea lights on & off?
Hello Karen,
The tea light candles are just sitting on the masking tape, meaning that they are not glued in (4th and 5th pictures from the top shows it best). Since they are not glued in, you just pick the tea light candles from its flame part and turn them on & off easily while they are in your hand.
This is awesome! I HAVE TO MAKE THIS!
Thanks so much, Maria! 🙂
I just made this and it is awesome. I cut up cereal boxes for the tubers, they work good. It is sturdier after you put the glue on it as wax
Oh that is great, Bethany! I never thought of that, but yes – you are right! Hot glue would definitely make them sturdier 🙂
I did it and it was easy and fun! Thanks for the idea!
Thank you so much, Anne! I am so glad you enjoyed your time making these candles! 🙂
Love the project. Where did u get the figurines on each side?
Hello Colleen,
We found them at Put & Take. It is a section in our town dump where people leave the things they don’t want, and others take if they need/want. There were three of them and they are tapered candle holders. So I am thinking they could be for Christmas and most likely representing the three wise men. If you search for “three wise men candle holders” maybe you can find them or something similar on Ebay or somewhere else online 🙂
Are your tubes glued together? Also are they glue to something on the bottom? Thank you! Can’t wait to make this. ?
Hi Vickie, no I didn’t glue the tubes together. What I did though (just to save time setting the prop every year) I bought a circular plastic tray from the Dollar Store and I put the creepy cloth on the tray. Then I hot glued the tubes in to their places on that tray. So there is that plastic tray underneath that creepy cloth you see in the pictures. I hope this helps!
Please post a picture or two of your finished blood candles on our Facebook page as I’d love to see it! 🙂
ALWAYS LOVE SEEING THESE! I’M IN THE PROCESS OF MAKING MY OWN BUT I USED POOL NOODLES AND PAINTED THEM, AS ON THE POOL NOODLE SITE IT SAYS TO PAINT THEM FOR LONGER SELF LIFE INSTEAD OF SPRAY PAINT AS IT COULD DETERIORATE THEM OVER TIME! SO I PAINTED THEM WITH A GLOSS BLACK TOOK MORE THEN ONE COAT FOR SURE AND SEALED IT WITH SATIN SEALER BY DECOART. IM NOW IN THE PROCESS OF GETTING THE WAX (GLUE STICKS) STEP DONE HERE SHORTLY, CANT WAIT TO SEE THE FINISHING PRODUCT. IVE DECIDED TO WORK ON HALLOWEEN DIYS ALL YEAR TO BE READY FOR HALLOWEEN IN OUR NEW HOME IN NORTH CAROLINA NEXT YEAR 2022!
It’s never too early to start on Halloween crafts, Taylor! Best of luck with your new home! 🙂