Cedar Chest Makeover
Believe it or not, I have been a very good girl this summer! I’ve made no craigslist purchases, I only went to one (one!) tag sale, and the situation is pretty similar on the Put & Take front, too. This summer, Greg must have taken me only two or three times to Put & Take. What a great change, right? Well…it’s partly to do with me trying to please Greg and partly to do with the basement being almost full. [*Ahem* -Greg] Alright! It’s only because the basement is entirely full and Greg had forbidden me to put a single thing in our garage [yet, if you were to look, you’d find it piled with her crap stuff -Greg]. But he did promise me that once I start clearing up my potential projects from our basement, he will lift his “no more junk” ban 😉 [So I’m good for another decade. – Greg]
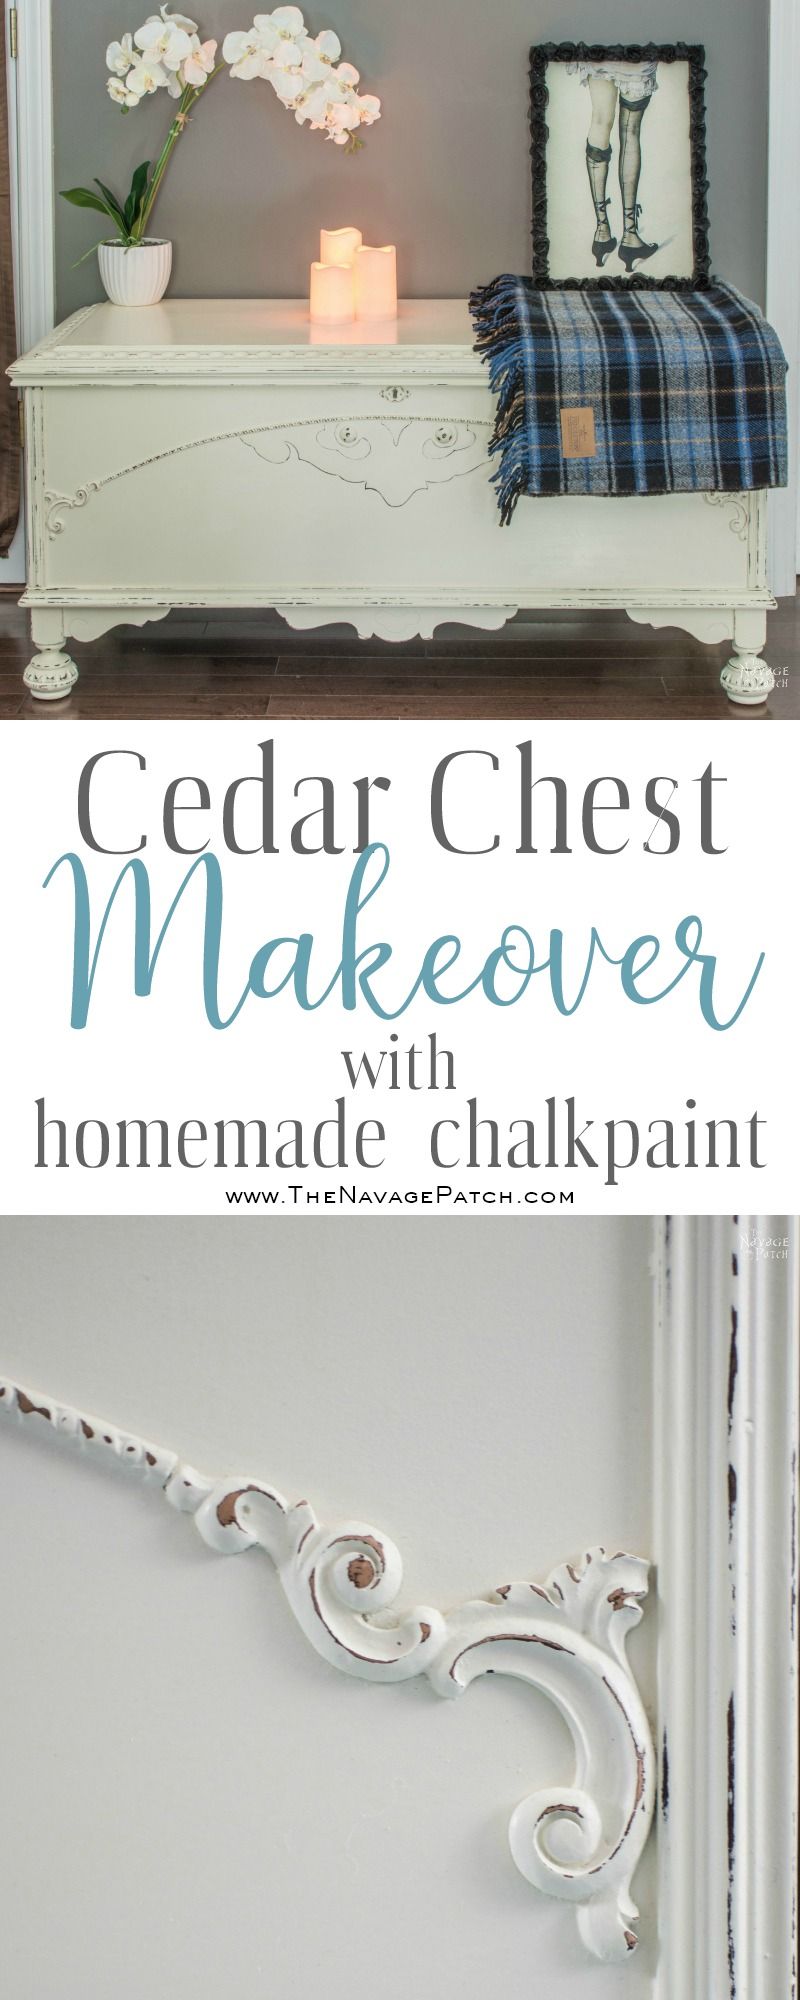
Circumstances being what they are, I started picking bigger items for my projects, such as this beautiful cedar chest. We bought this lovely lady last summer for $50. It is a Lane Cedar Chest, so the price was totally agreeable. Look at her lines…look at her sweet onlays…look at her elegance…beautiful right?
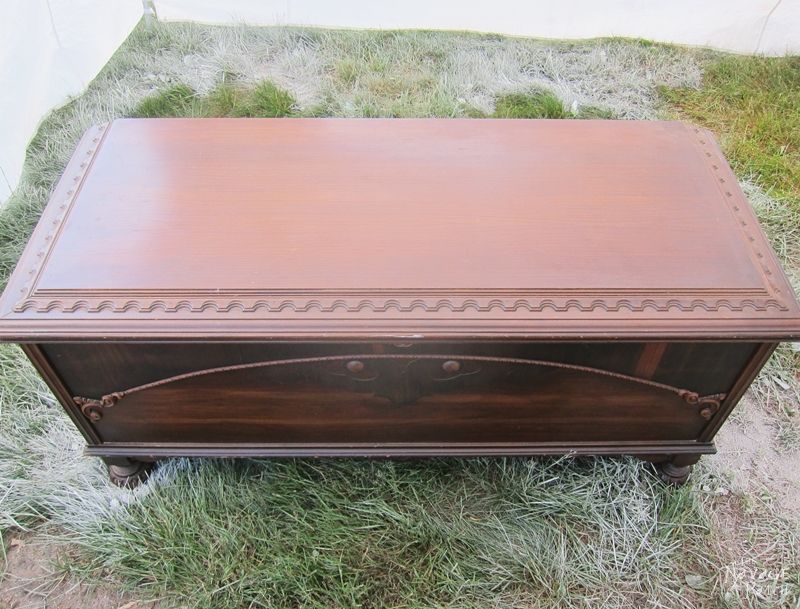
Now, look at her scratches…
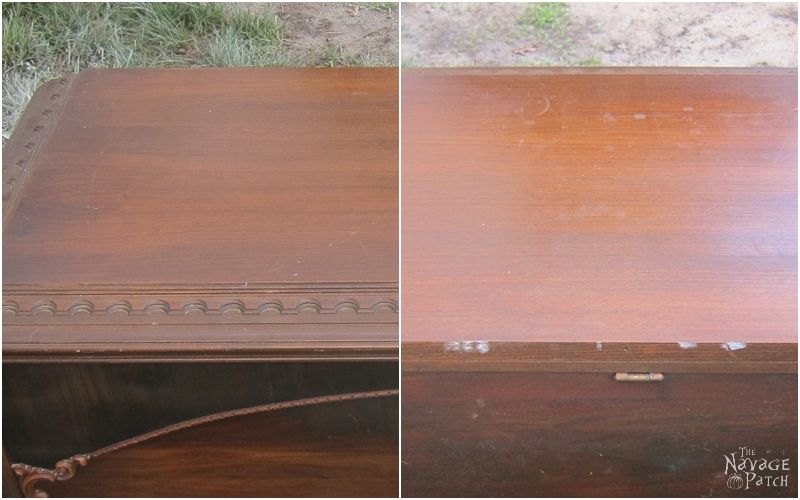
…look at her dinged areas, weird little paint marks and broken veneer…
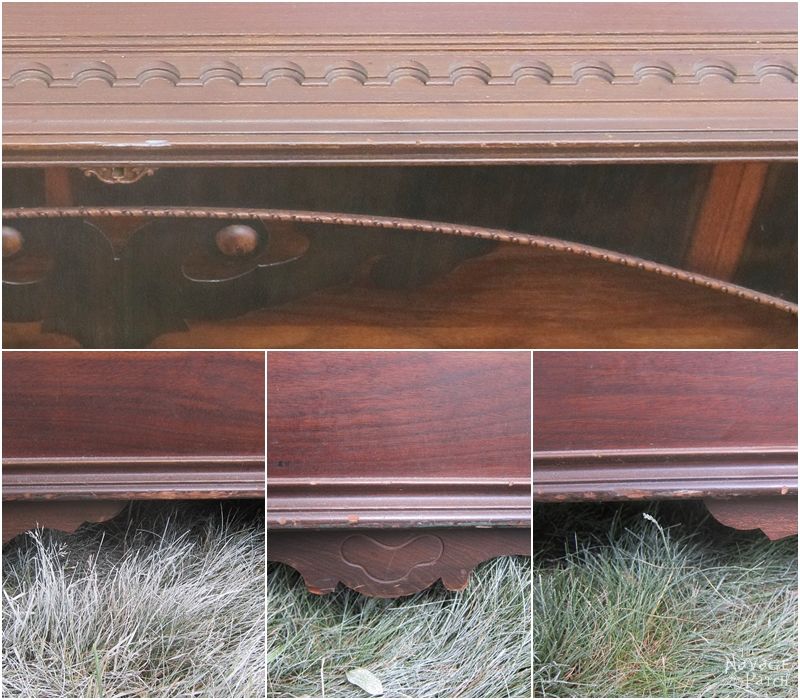
…look at the glass marks.
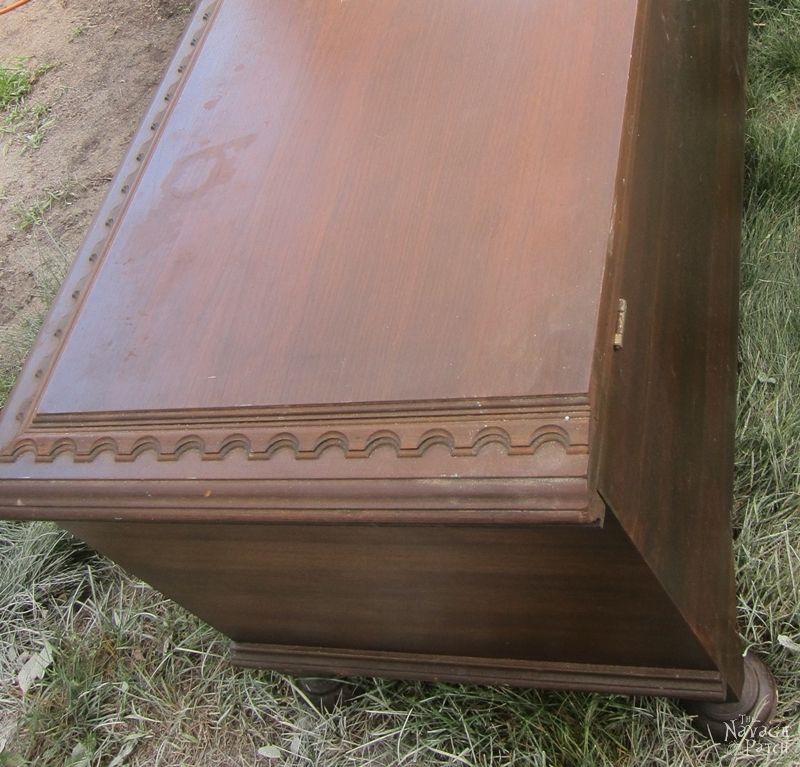
You get the point, right? She needed a little filling work and a nice paint job, so I got on with the prep work. I didn’t take pictures of the prep work as the process is pretty boring, but here is what I did: I filled the area where the veneer was broken and every dinged spot I could see. Then, I cleaned the chest in and out, first with my vacuum cleaner, and then with a damp cheesecloth.
Next, I prepared my homemade chalk paint custom color matched to Old White and using my paint sprayer, I painted the cedar chest with a single coat.
When spray painting, first I check if there are any knotty areas on the wood I will be painting. If there are, then I apply primer to those knotty spots, as they will surely bleed through the paint. If there are no knotty areas, then I do a single thin coat of paint to see whether the wood will bleed or not. This saves me time from applying shellac or oil based primer all over the piece of furniture during prep. Sometimes I get lucky, and the wood does not bleed through the paint, so I carry on with spray painting. But this time, I wasn’t so lucky. In some areas there was very slight bleeding…
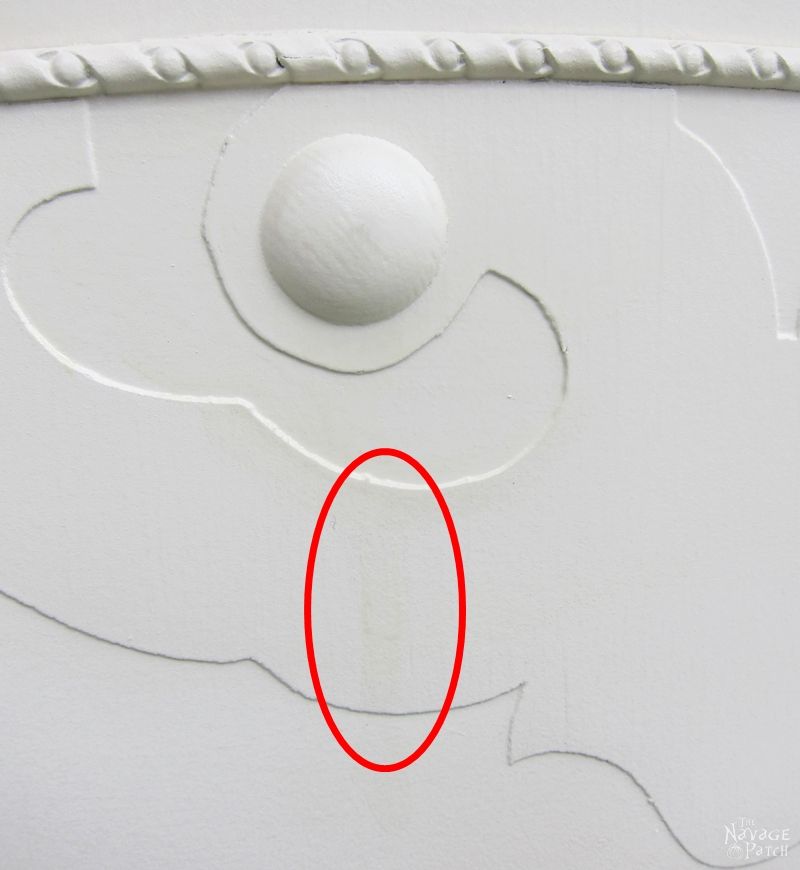
…and in some areas it was just terrible.
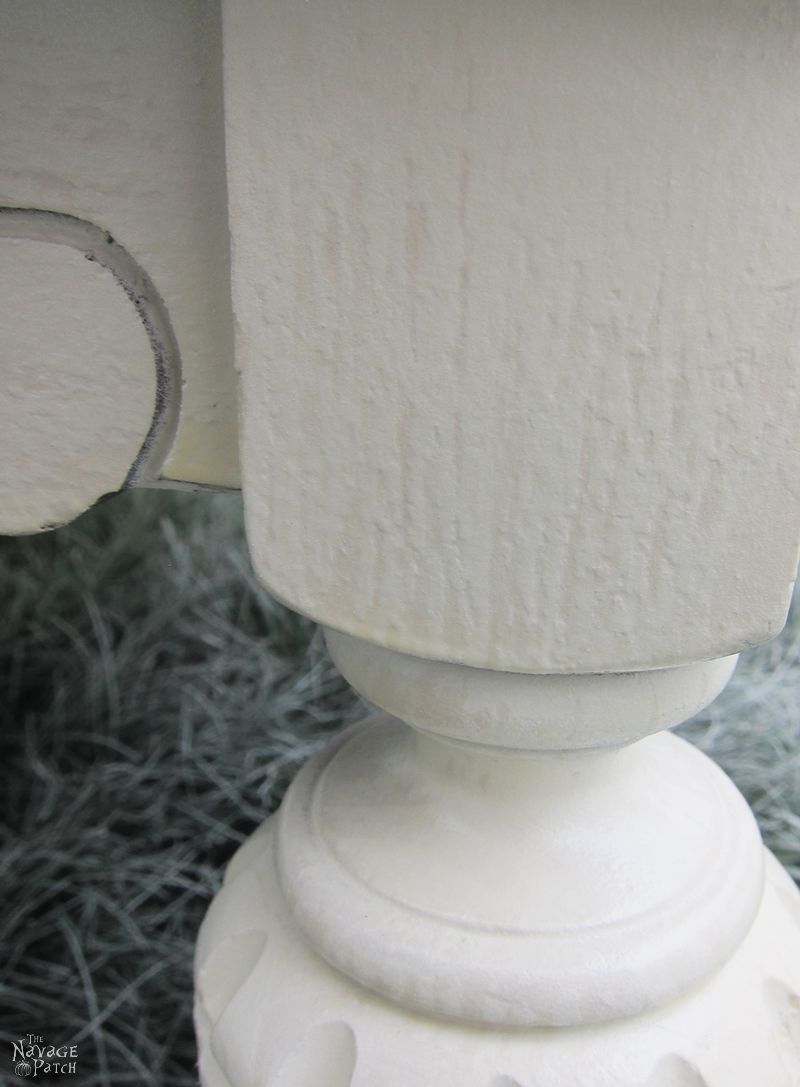
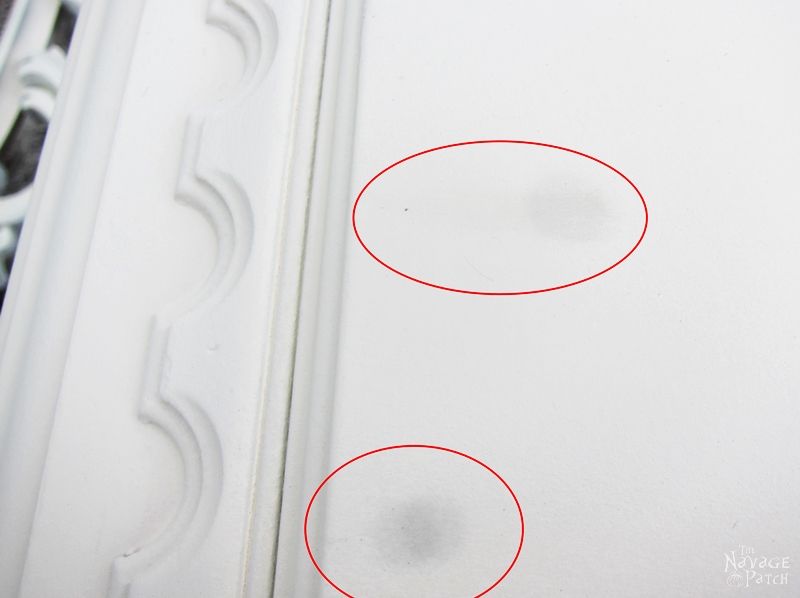
Still… not as terrible as Greg’s Banjo Clock project. Good God! What a pain I went through with that banjo clock, but it turned out gorgeous, don’t you agree? Anyway…compared to the banjo clock, this lady’s problem only called for maybe a couple of shellac coats, if that, and she should look as good as new…and I was right! I sprayed shellac to the bleeding areas, waited for it to dry, then sprayed the chest all over with another thin coat of chalk paint. More than half of the spots were gone. After the paint dried, I did the same steps once again and managed to get rid of all the spots.
At this point, the cedar chest was spray painted with 3 thin coats. Since I was planning to do a good final sanding, I went ahead and sprayed it with 2 more thin coats, giving enough time for each coat to dry. A little hint here: when spray painting, applying thinner coats of chalk paint is not only good for adhesion for the end result, but also a great time saver since thin coats dry in almost no time.
After the paint dried, I gave it a good final sanding to smooth all the surfaces and also a bit of distressing to highlight her reliefs and curves. I first used 320 grit sandpaper, which I wrapped around an old sanding sponge, and sanded the whole thing. Then I brushed the dust off with a wide brush and went over the first sanding with a superfine sanding sponge to smooth all the surfaces even better. As it was a lot of sanding, throughout this process some places got naturally distressed. But then I followed it with the highlights that I wanted to give and the final result tured out to be slightly distressed and almost as smooth as a baby’s butt 😀
Did you know every time I do the final sanding on a project, Greg gets more tired than I? Well…as I start getting all giddy about a project, I keep calling Greg to come outside and take a look at the curves as I sand. Like every 5 minutes! 😀
H: Babes!? Come…come here! Look at at this gorgeousness! Didn’t I tell you it was worth getting it?
G: Yep. Looks good, my babes. (turns around, goes inside and sits back down)
H: (5 minutes later) Hey babes? Can you come here a minute?
G: (groans, slowly rises from the sofa and shuffles outside) Yeah…???
H: Look at it! How wonderful those curves are! Don’t you agree?
G: (totally not into it) Mmmhmmm (yawns, scratches his belly, turns around and shuffles back to the sofa.)
H: (5 minutes later) Hey babes?
G: (knowing that this will go on forever) Woman, leave me be! I’m trying to relax!
H: Okay, okay! You relax! You do seem a little stressed… 😀
Don’t worry, I am not going to do the same to you, but seriously, would you look at this? No wonder I am a sucker for ornate and curvy furniture, right?

Once I was finished with my yapping and sanding, we carried it inside for me to wax. I used Annie Sloan’s Clear Wax as I always do with the furniture that won’t need super-duper protection. Working section by section I waxed it with my waxing brush, wiped the excess off, and buffed it.

Then I moved to next area and did the steps all over again.

Here is another hint for you: other than the final sanding, I also take my time with buffing. Generally, it takes me around an hour, if not more, for a piece of furniture like this, and that is with a buffer. But I have to say, buffing makes such a difference on a finish. Let’s look at the next picture, as it will speak for itself better than I can ever explain.
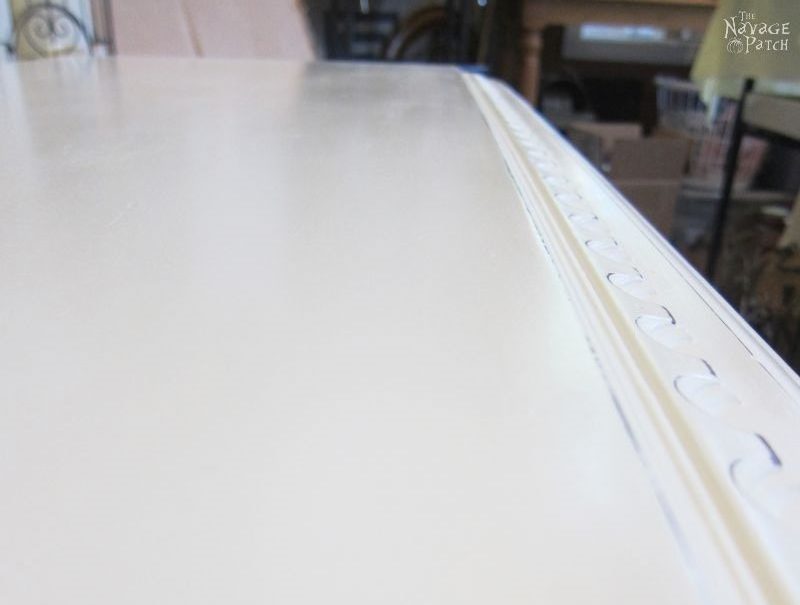
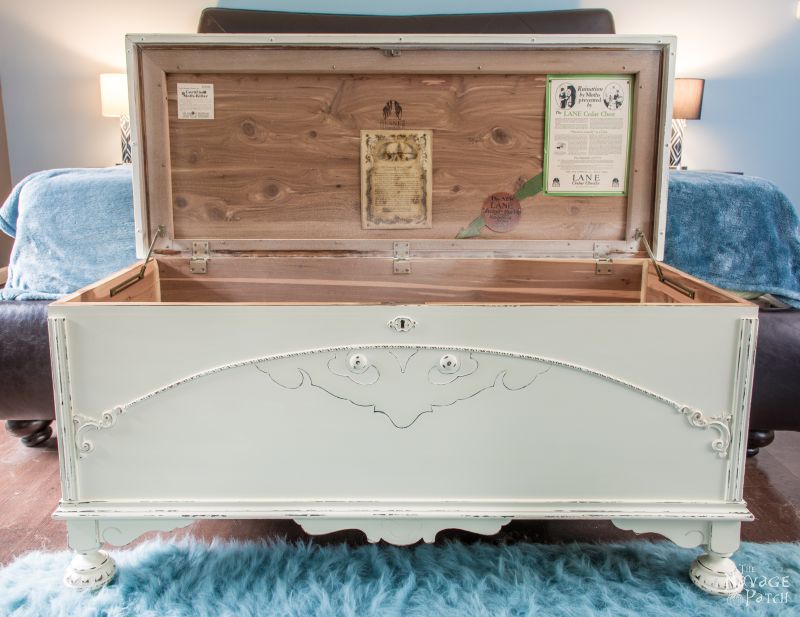
After the waxing and buffing were finished, we carried the chest to our bedroom (aka the master’s bedroom), and that was it.
Before we go into the beauty shots, I want to give another hint about painted furniture: we never start using our painted furniture straight away, as there is a chance that the finish will get ruined. Therefore, we put that piece aside for a month and just forget about it. After a month, the furniture’s paint and wax would cure and harden, which would be enough to withstand our normal use 🙂
Now let’s get on with the beauty shots, shall we?

All the credit for these beauty shots goes to my babes, and that includes the staging and tidying our bedroom.

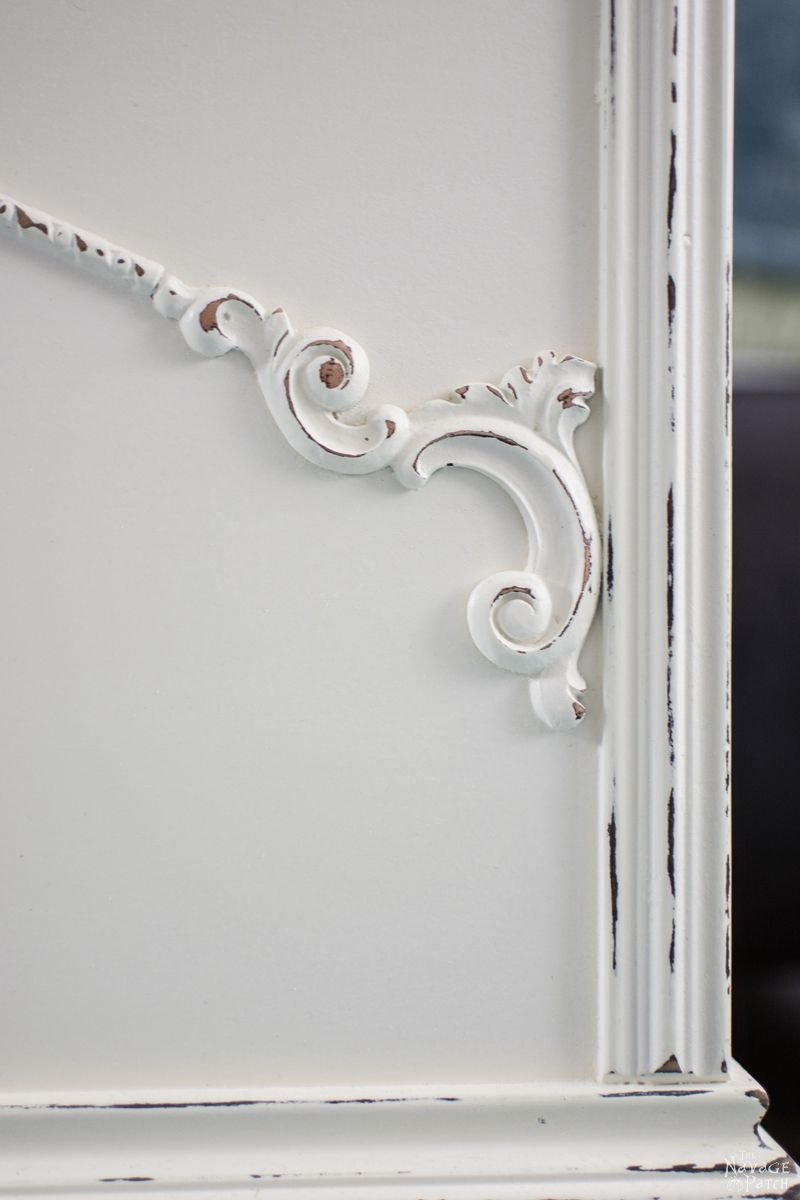
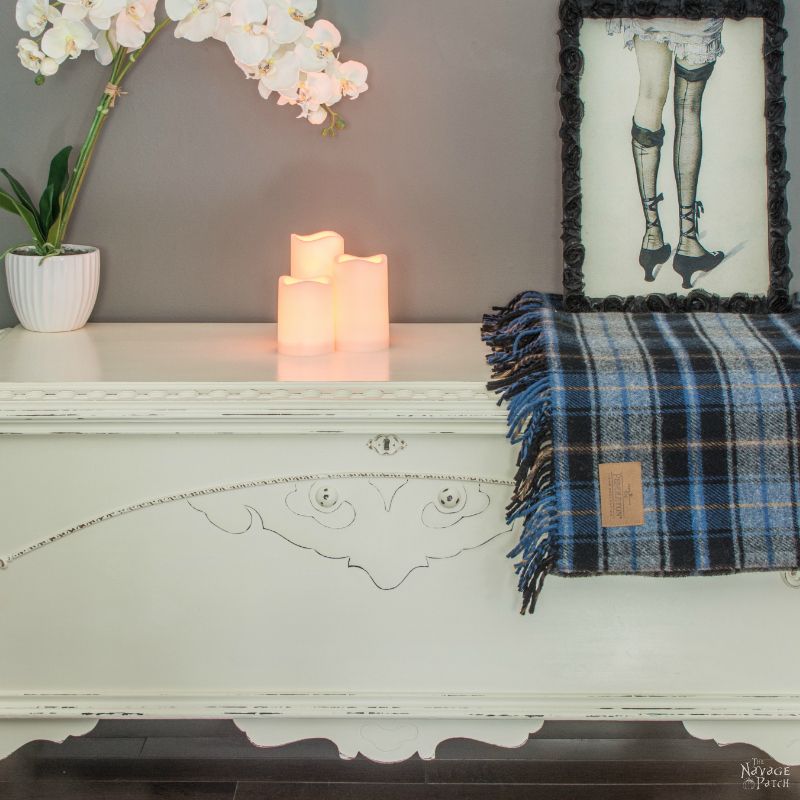
And here are the close-up shots as usual.




I love the way Greg staged following pictures. He is getting really great at this, don’t you think so?
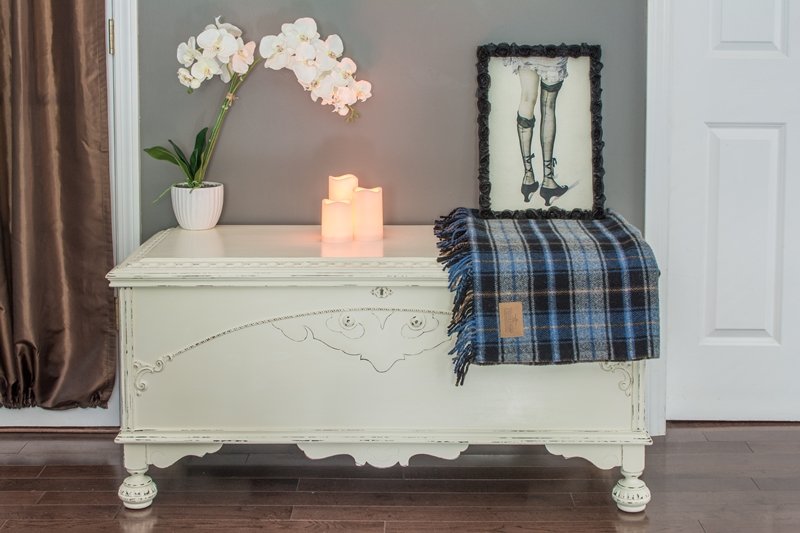
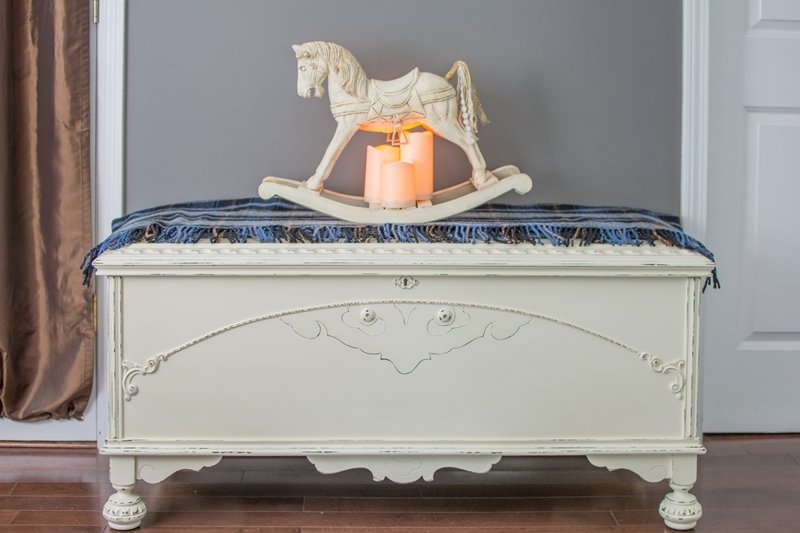
Excellent staging, huh? Yes, that is entirely my babes! I was thinking maybe next weekend, we should go to that tag sale I was hoping for, so we can get some more vintage decor items to use in his picture staging. No, I mean so he would have more choices 😉
(I’ll let you know if this worked to lift my “no more junk” ban…hehehe)
Handan, xo

I LOVE HER FEET!
Me too! 🙂
Wow that turned out great. I have had my Great Grandmothers cedar chest since I was a kid. It also has ‘issues’ . You’ve inspired me to paint mine. Thanks.
Thank you so much, Kathy! Send a picture when you finish yours. I would love to see how it turned out!! 🙂
Have you thought of adding those cool inlays you do in those lines in the front?
No, I didn’t think of it when refinishing this project. But now you mentioned it, I think that would look really cool! Luckily we have another cedar chest in our basement which is rather plain, so I’ll try to get Greg do an inlay to that one 🙂
Handan , Conrad and Sue are two of your great admirers; what wonderful work you both do!
Thank you so much, Dick! I’m looking forward to meeting you and Amy next time you’re in town!
gorgeous as usual handan, i have an old lane cedar chest, i got for free from a house that went through the big flood we had here in nashville area a few years ago, i worked my butt off cleaning all the mud and mildew from her and got her looking and smelling good and now the lid split all across the top and my feeble attempt at repair haven’t worked, so we are just careful with it, wish i had the skills you and dear greg have xx
Thank you so much, Chris! Have you thought about filling in the crack with wood filler and then painting it? I know it would be a pity to lose the natural wood after you put so much work into it, but you’d be giving it a third lease on life!
She is absolutely gorgeous and you did another amazing job, Handan! I’m starting to think that you guys never sleep to be able to keep knocking so many lovely projects out of the park.
Thank you so much, Susan! With a paint sprayer furniture painting really doesn’t take that long, especially if you don’t have a lot of prep work to do. I was lucky with this chest as it was structurally sound, so I only had to some filling and cleaning in terms of prep work. 🙂
You are a woman after my own heart, white is my go-to color! And the distressing is fabulous. I wish we had enough space at the end of our bed for a trunk….Thanks for joining Vintage Charm! xo Kathleen | Our Hopeful Home
Thank you so much, Kathleen! I am not sure why, but there is something about white that always makes me feel serene and happy. 🙂
Thank you for the inspiration to tackle my grandmother’s truck! I’ve had it for almost 30 years! I’m unsure how old it is, but my grandmother was born in 1901! It’s been well taken care of over the years and and I’m so excited to breath new air into this lovely piece! Thank you!!!
Thank you so much, Patti – and good luck with the makeover! 🙂