DIY Faux Velvet Ornaments
These DIY faux velvet ornaments are the spitting image of Studio McGee’s with one big difference: price! See how easy they are to make!
I’ve got a problem with my balls.
I’m not sure why I haven’t noticed until now, but they’re just so smooth and gray and uninspiring.
Occasionally they’re shiny and brittle like glass, and I need to handle them with the utmost care.
Other times, they’re dull and plasticky, and they hang lifeless like waxy dead fruits from an old gnarled tree.
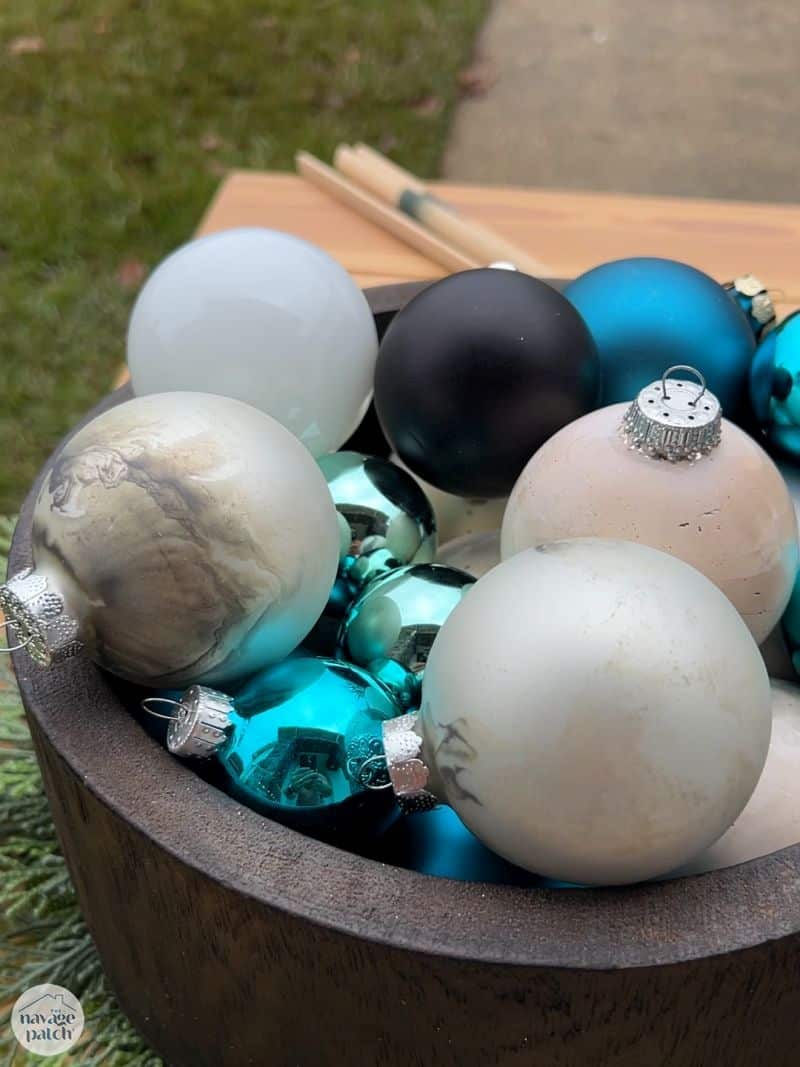
Yep, these ornament balls are ready for the retirement home and an endless loop of Matlock playing on the television.*
But instead of consigning them to an eternity of mushed peas, prune juice and golden oldies, we’ve decided to kickstart their heart and make each and every one the Belle of the Ball.
And it couldn’t be easier.
Once I show you how to turn your Moldy Oldies into hip Swagger Balls, you’ll be rooting through your attic for old ornaments like a truffle pig digging for delicacies in the soil.
Not because the end product is so beautiful – beauty is rarely enough of a motivating force.
But because they are easy.
Ahhh, easy and beautiful, now there’s a winning combination!
Let’s make some velvety Swagger Balls!
*To be fully transparent, Handan and I just finished a months-long marathon of all 9 seasons of Matlock. I can’t believe I’d never seen it before! Needless to say, we’re huge fans and sad that we’ve now watched them all.
Before we begin, I just want to acknowledge that I’m not the first guy to paint an ornament and sprinkle baking soda on it for a flocked and velvety look. Actually, I may be the first guy to do it – I don’t know for sure, as I’ve only seen women doing it online.
My point is, I’m not the first to combine paint and soda on an ornament.
But.
But I may be the first to use spray paint.
Every other person on social media I’ve seen making faux flocked balls like these first paints the ornament with craft paint. Not only is this time consuming, but it gives a less-than-perfect finish.
With my spray paint method, the ball is painted in about 5 seconds with a flawless paint job – it’s the perfect base for the baking soda to create a perfect faux velvet Christmas ornament!
DIY FAux Velvet Ornaments SUPPLIES LIST
Affiliate links are provided below. Full disclosure here.
We love to see our craft projects out in the wild! If you try this seasonal craft project, take a picture and post it on Instagram, be sure to tag us – thenavagepatch
Faux Velvet Flocked ornaments VIDEO Tutorial
Watch our short and fun video below for an overview of our velvety ornaments before you read the detailed step-by-step tutorial.
Watch Our Tutorial On YouTube
On Tiktok
On Instagram
DIY Faux Velvet ornaments Tutorial
Step 1 – Put a ball on a stick
After pulling the top from an ornament…
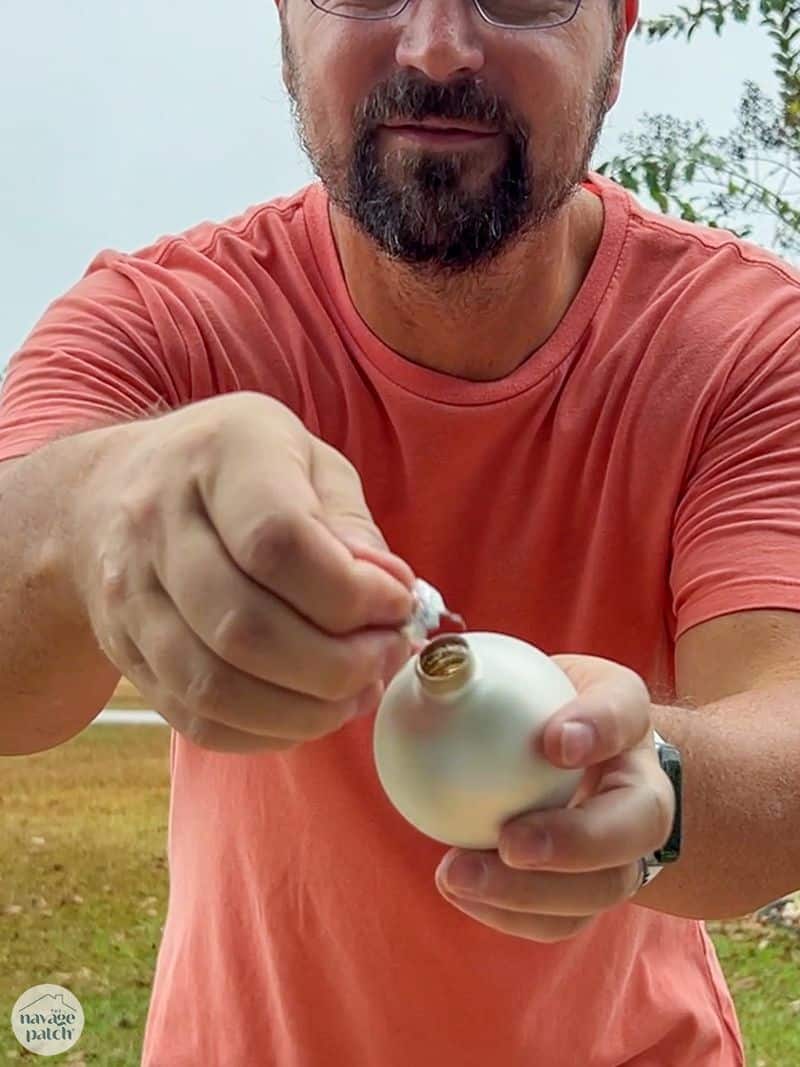
I stuck a dowel into the hole.
I found it easier to work with the ornament when the dowel was snug in the hole. This allowed for turning the ornament up, down and all around without any chance of it falling. If the dowel wasn’t quite enough, I added a skewer or two until the ornament was firmly on the stick.
Let’s paint!
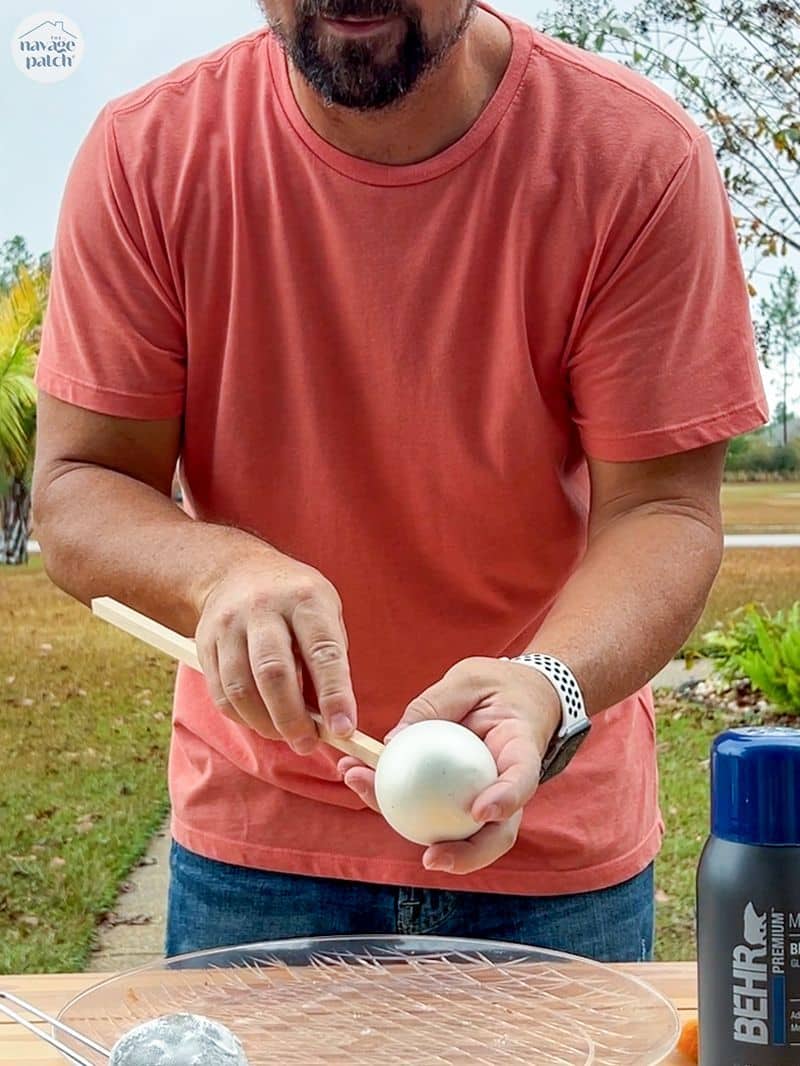
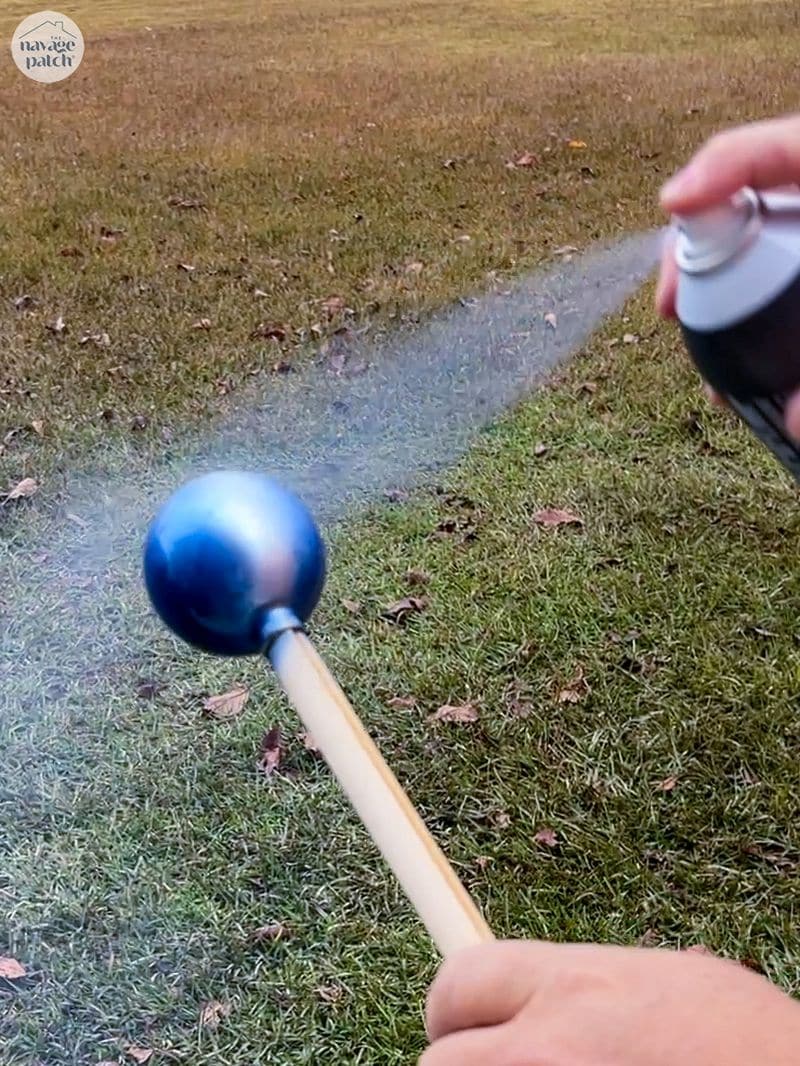
Step 2 – Spray paint the ball
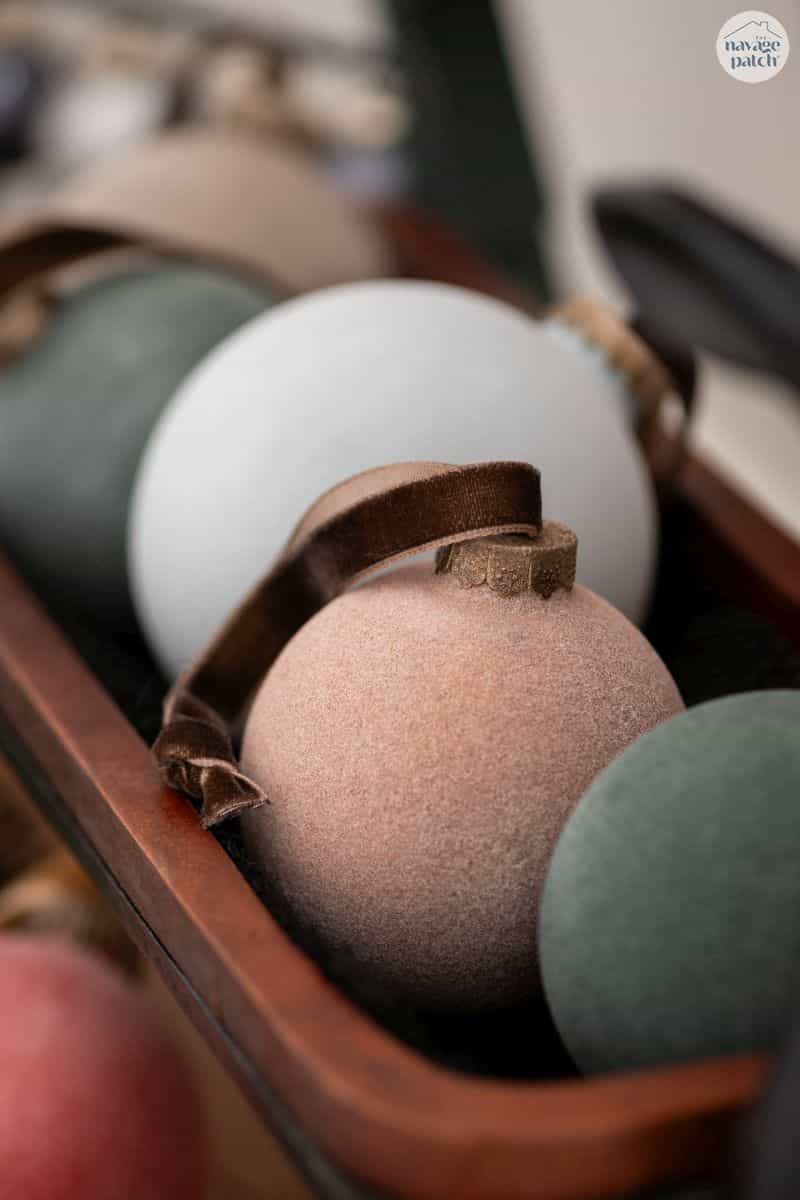
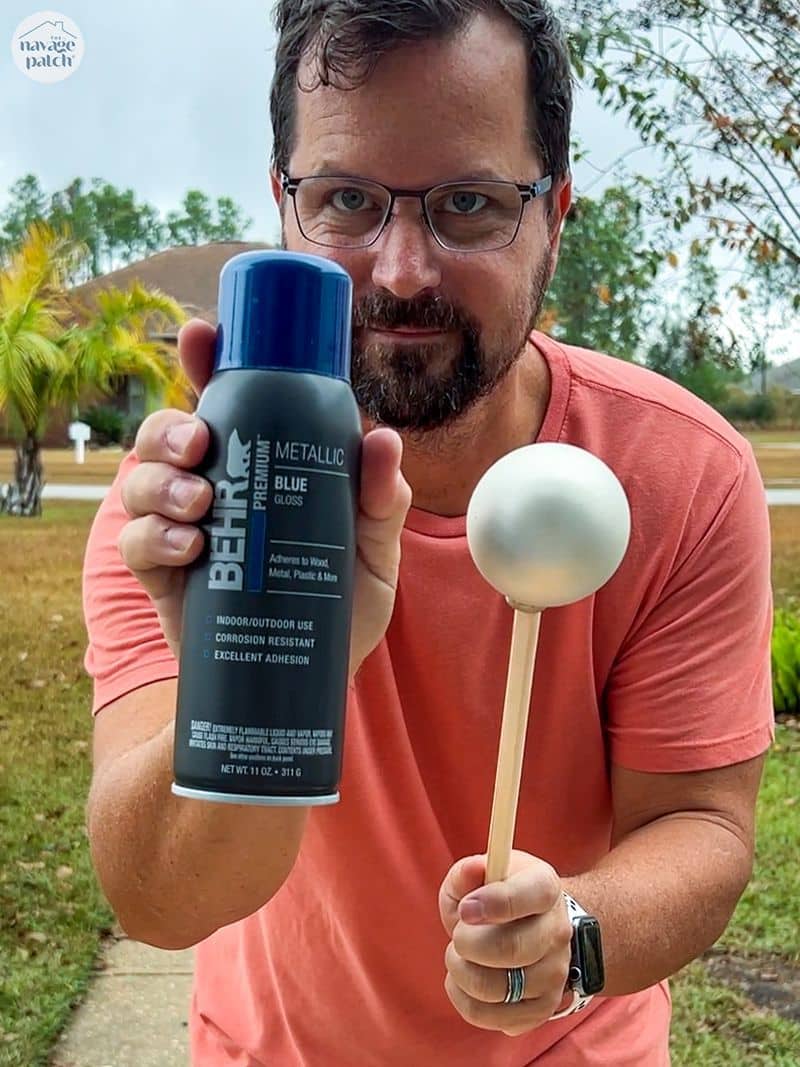
I used Behr spray paint for these faux velvet ornaments. I really like the colors they offer, and they look especially good with this project.
A little hint: interestingly, when you use this “flocking” method with metallic colors, you end up with beautiful neutral-color ornaments. Be sure to try copper, brass or any other of Behr’s metallic colors – you’ll be pleasantly surprised!

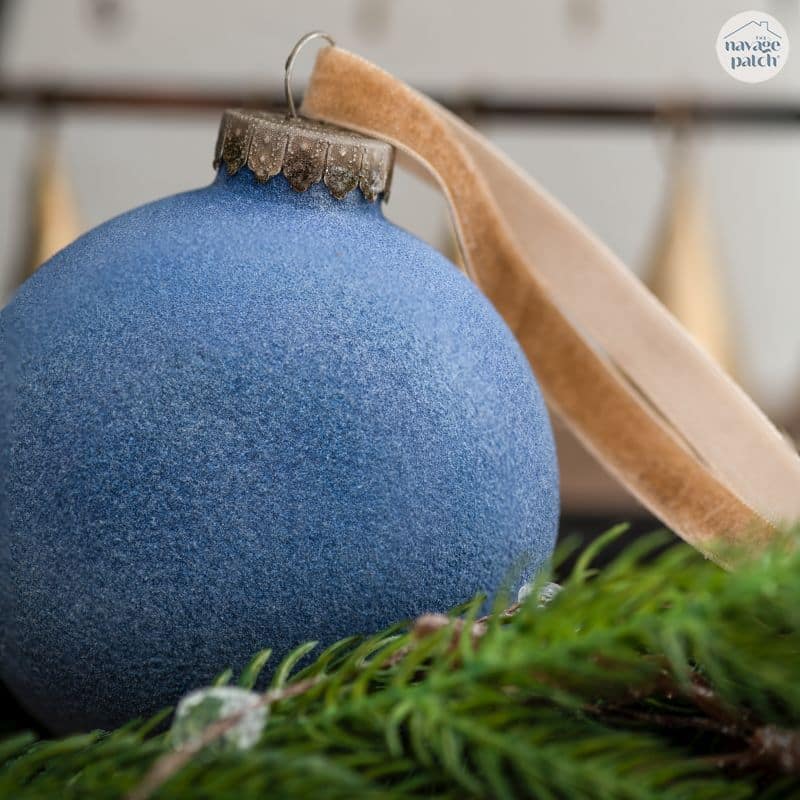
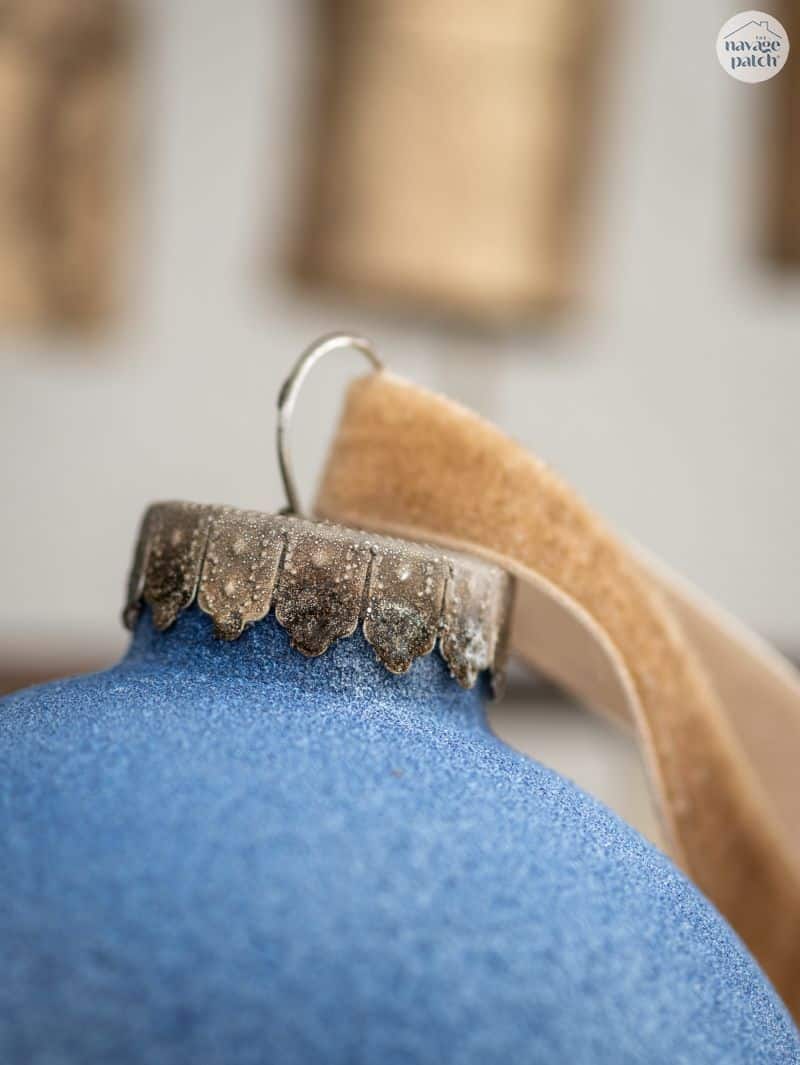
In a few seconds, I turned a silver ball blue.
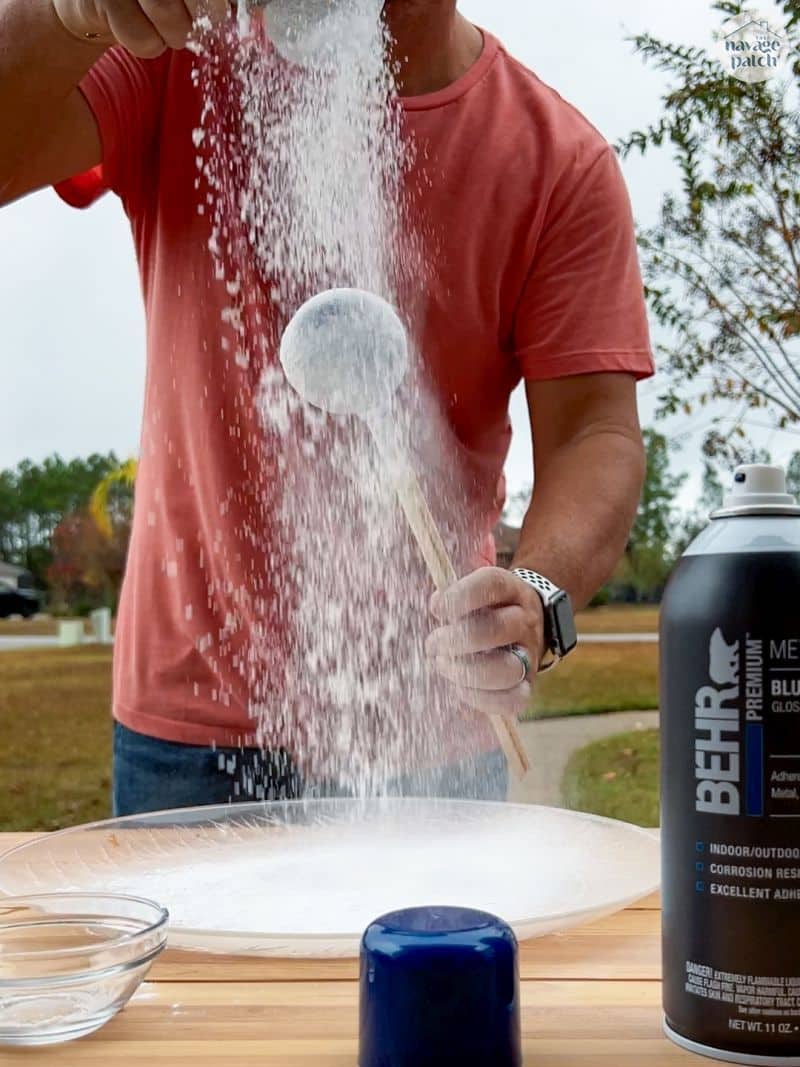
Step 3 – “Flock”
After spraying, I brought my blue ball over to a tray and sprinkled baking soda on it until it was looking more like a snowball than a Christmas ornament.

It’s flocking awesome!
Step 4 – Let dry
I set the balls aside to dry.
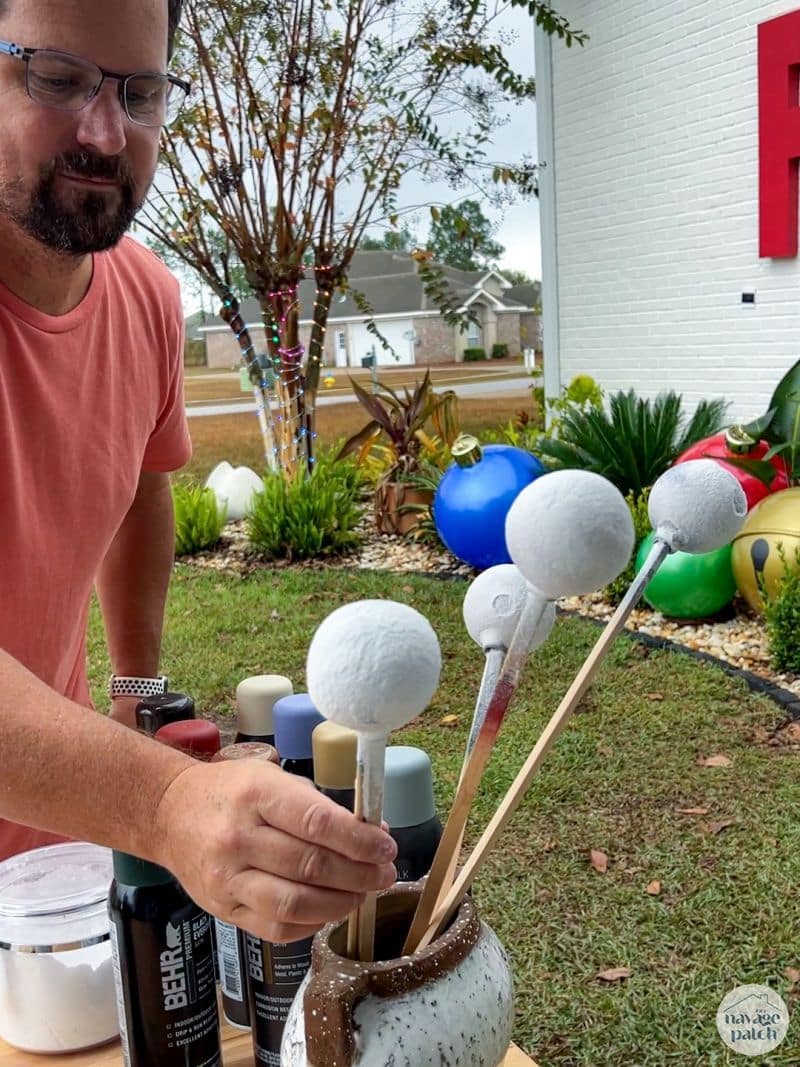
How long they need to dry depends on your temperature and humidity. I made these on a muggy and saturated Florida winter day, so they needed a good hour or more to dry. Normally they’d only need about 5-10 minutes.
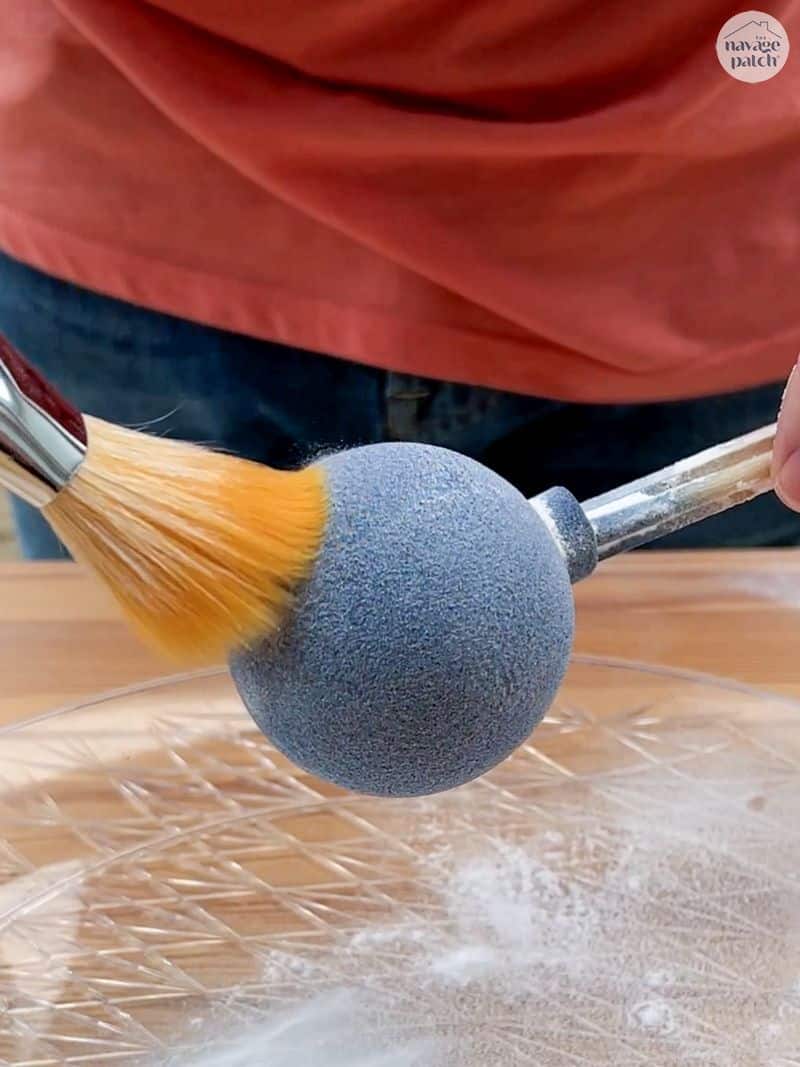
Step 5 – Brush
When the paint had sufficiently dried, I brushed off the excess baking soda with a soft-bristled paint brush.

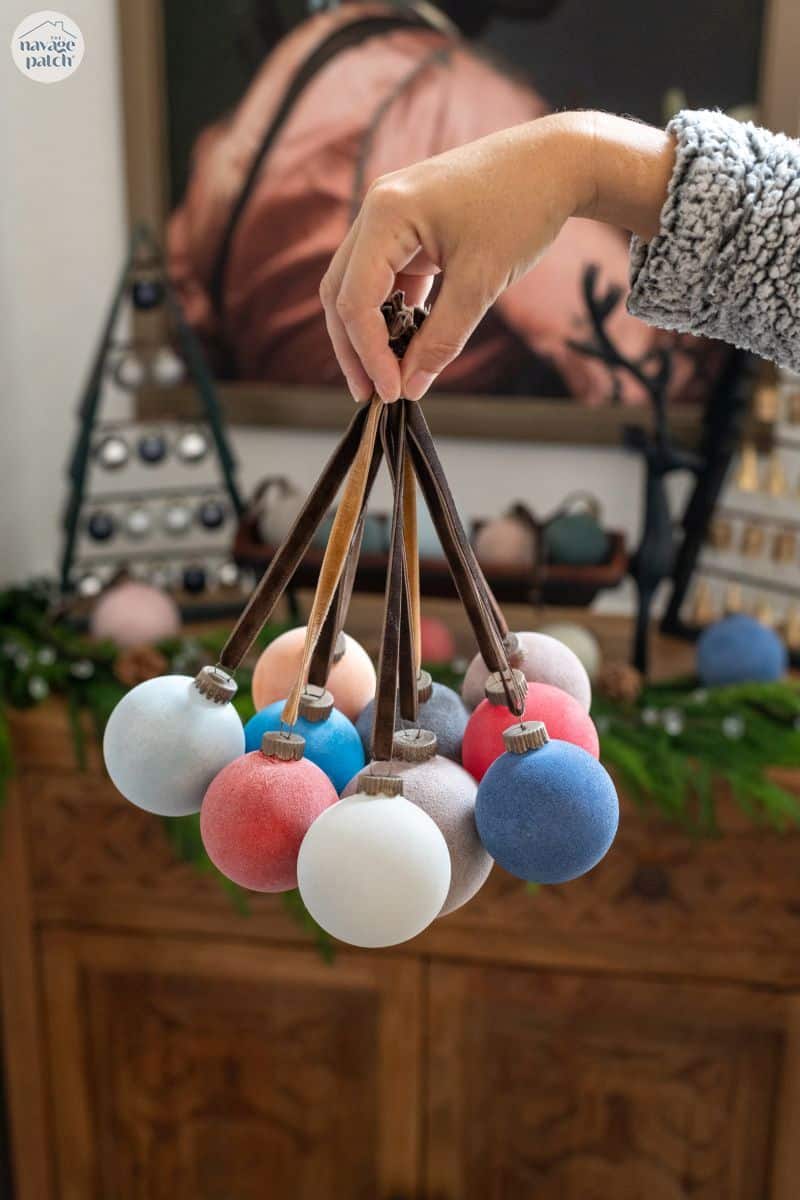
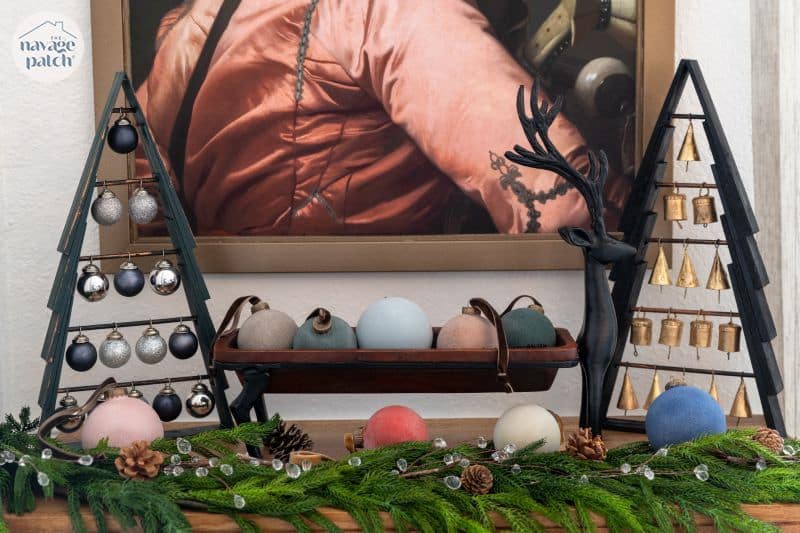
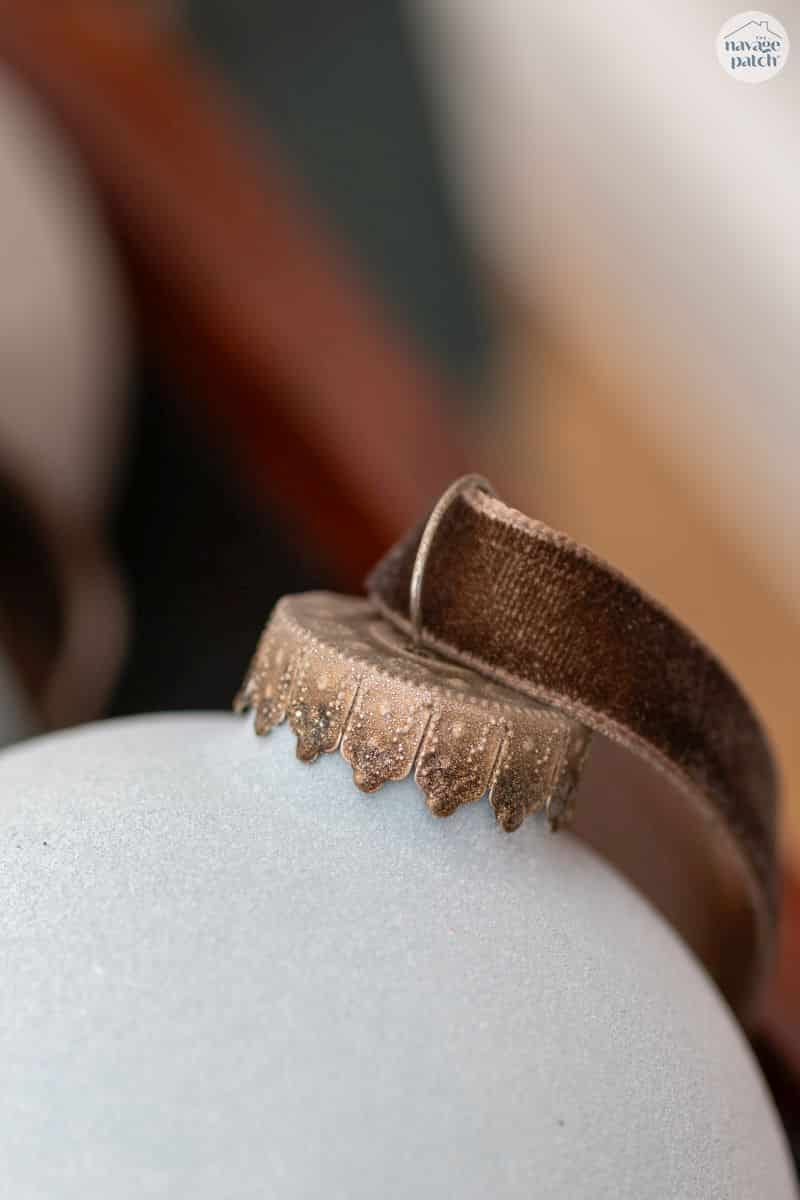
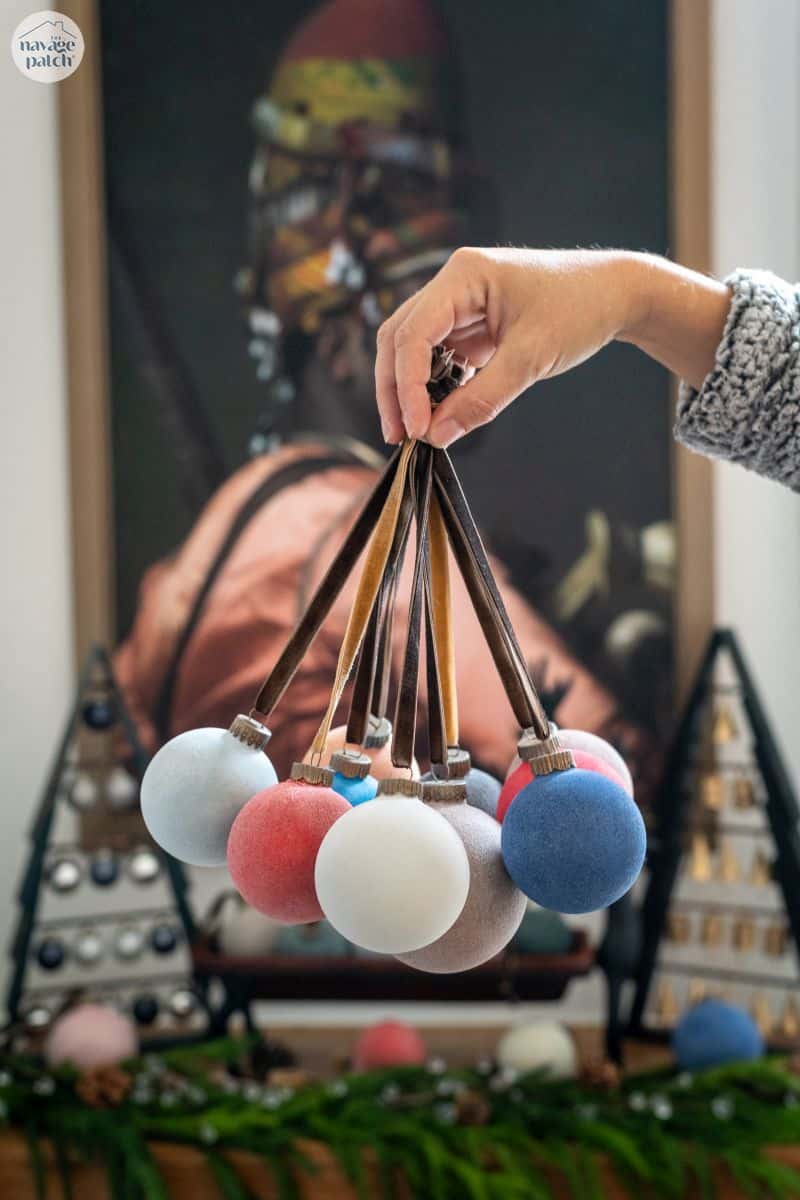
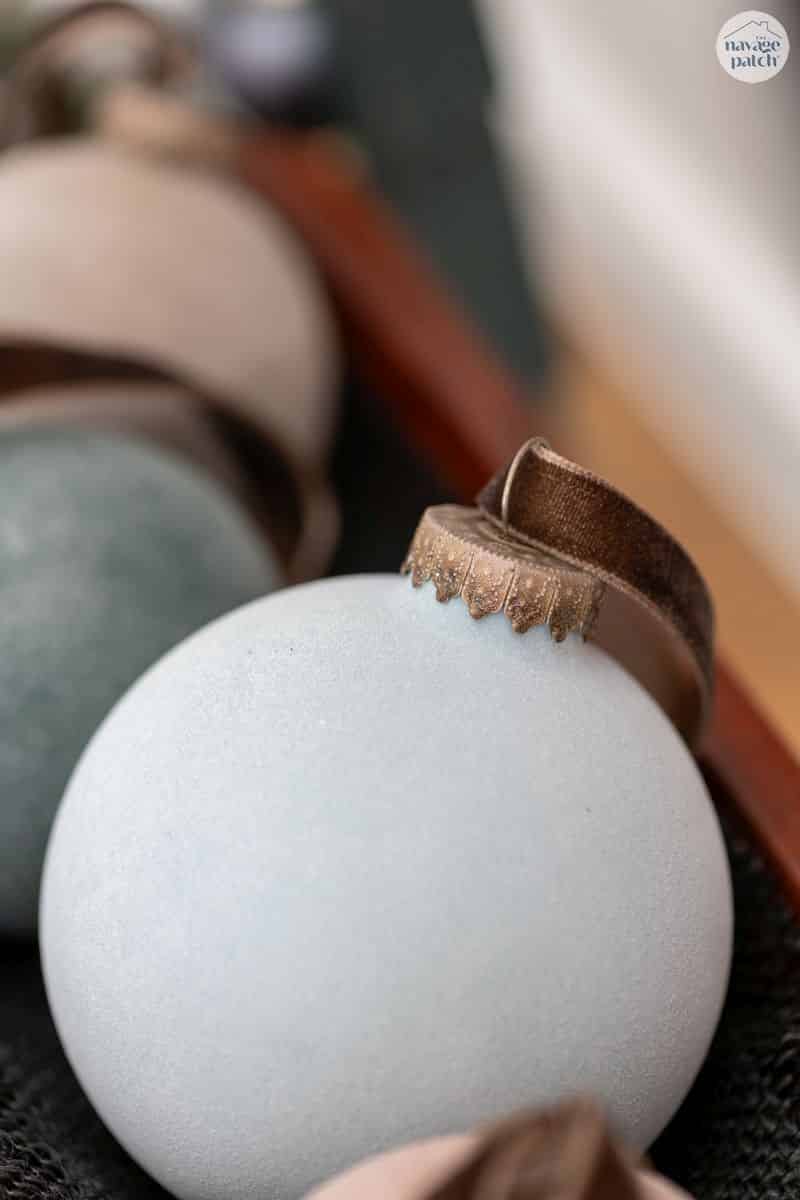
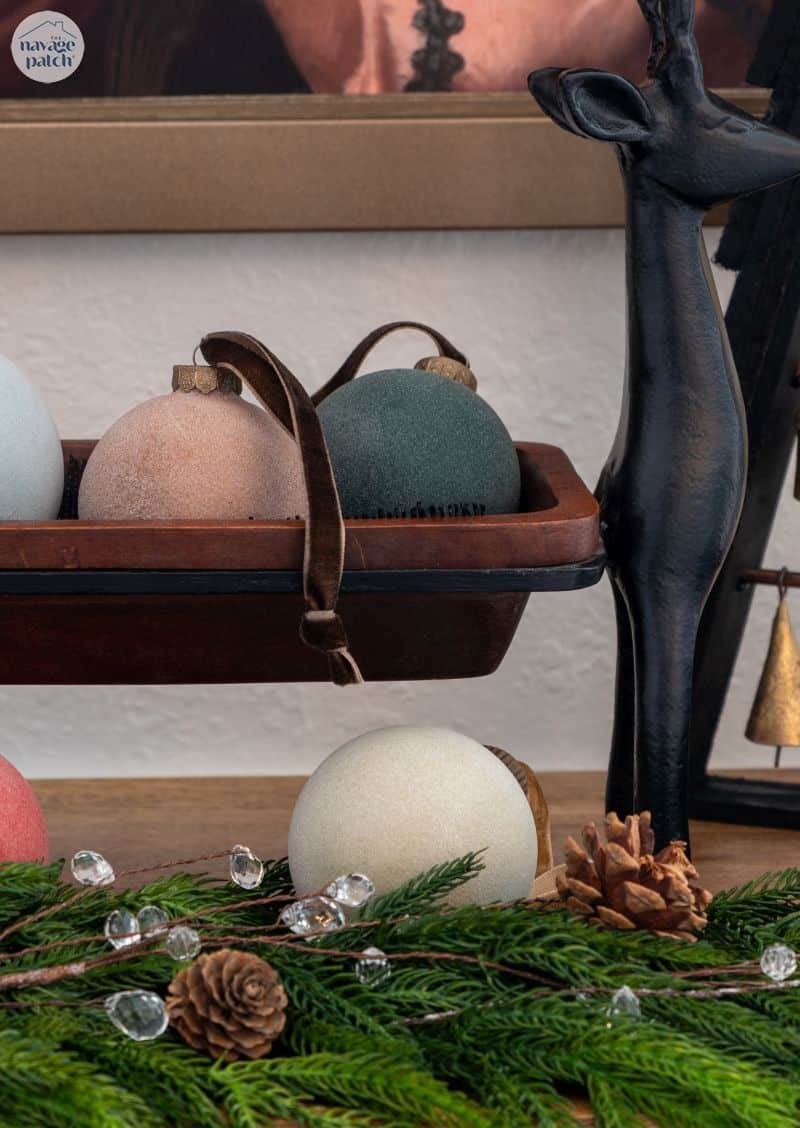
I painted the metal tops with Metallic Antique Brass spray paint and then ran a ribbon through them to hang. We don’t have our tree up yet, so until then, we have our beautiful faux velvet ornaments displayed like any other Christmas decor!

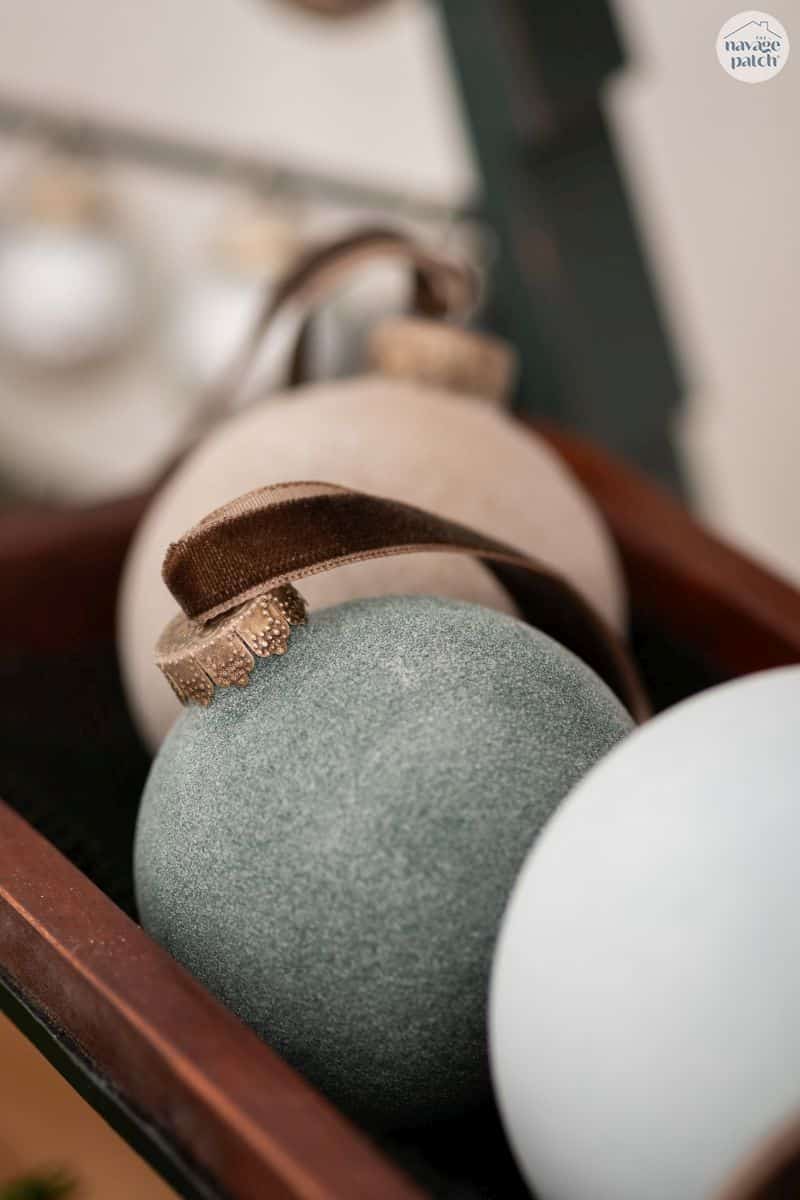
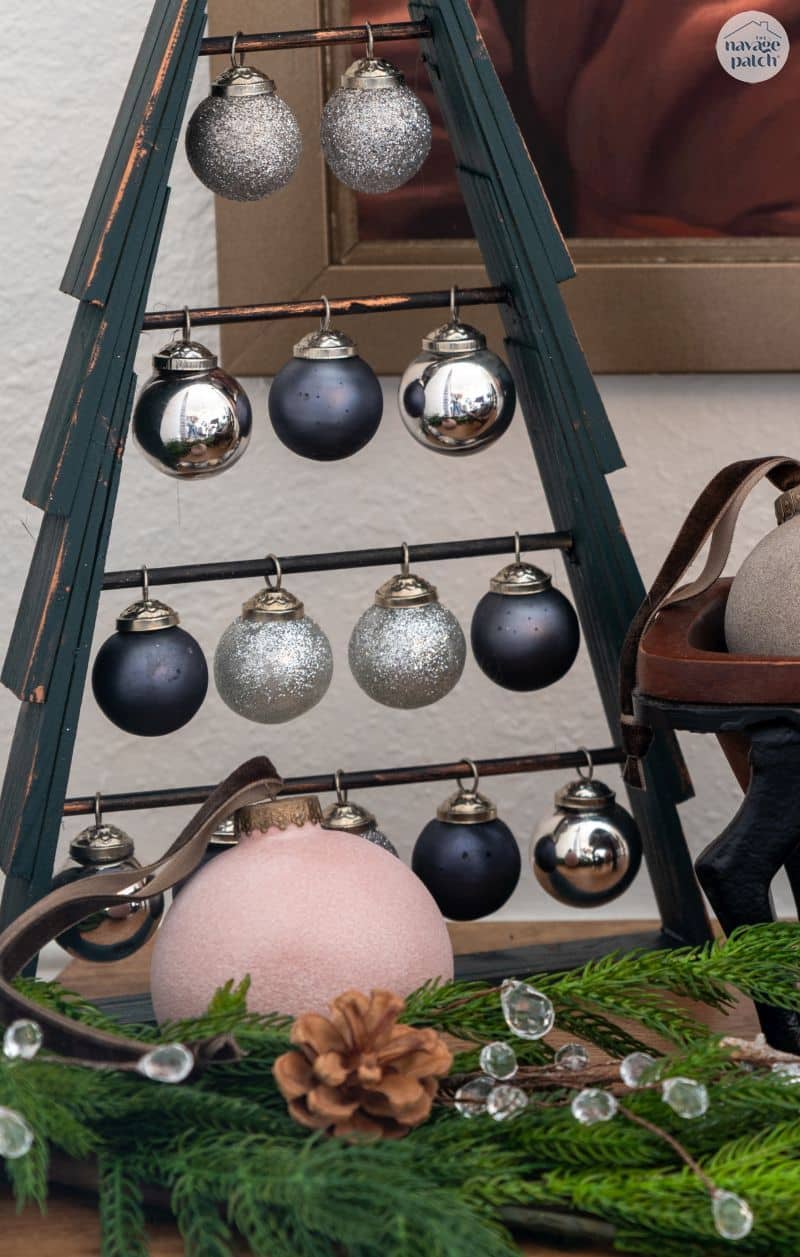
The cheap metal tops look luxurious when painted and paired with nice ribbon.

LOVE these!! Did you seal them with anything? Or does the remaining baking soda seem to be ‘sealed’ within the spray paint? Just wondering how they hold up to little fingers and stuff! Thanks!
Thanks, Kim! Once the paint fully dries, the baking soda that’s left is locked in. I did try spraying one with a matte sealant, but it took away the velvety look and left me with a sandpaper-feeling ornament.
Love these! They look amazing and pretty simple to make. Quick question, did you find any difference in the type of spray paint? Like matte vs glossy vs flat?
Thanks for sharing your talents and humor!
Thanks, Robin! Whatever sheen you start with, you’ll end up with beautiful matte ornaments. And don’t shy away from metallic colors! Those yielded the best results of all!
Hi y’all! In the email for today, Friday, Dec. 8th, you stated you weren’t getting as many replies. For some reason, I was not getting your emails for a while. Since I bookmarked your site, I would use that to check up on what was new. I began receiving the emails again 2-3 weeks ago. Maybe other subscribers were having the same problem???
Making the ornaments this weekend! Thanks so much for the tutorial!!!
These are so pretty! And who knew baking soda would do that?!!!!
I don’t know if you received my response from today 12/8/2023 but after I pressed the ‘Post Comment’ button I received 3 screen responses. I couldn’t screen shot of them to send to you. I remember I entered my response, clicked the Post Comment button. A message displayed to reenter my email address, I entered my email address, pressed to send and then I was kicked out of your blog. There is definitely something wrong with sending email messages to you. Hope this helps!! I couldn’t get screen shots because the messages popped up too fast. I will try again later.
These ornaments are beautiful! They are a great dupe of the Studio McGee’s ornament. I’ll be looking for sale ornaments after the holiday to create a trees worth. Thanks!
Greetings!
Greg
I really hope you have resolved your ball problem!! 🤣 🤭
PS I love these!
Have an awesome Christmas!!
Merry Christmas to you!
These are really lovely; on my idea list for next year. The tree this year is almost ornament free. The hubs is in charge of that…he is a theatre set designer, so I leave a lot of the “set” (living room) decorating to him. This year’s tree is all red; faux berries, poinsettia leaves, jingle bells, and adorable small red birds. All out of our accumulated stash. It looks great. Thanks (as always) for excellent content!
Thank you, Angie! I love the red tree theme – I’ll be it looks awesome!
These are beautiful! I just may give this a DIY try ♥
Awesome! 🙂
Beautiful! Thank you!
Thank you so much! 🙂
These are absolutely gorgeous! Can you share some of your favorite colors that you used? I’m particularly in love with the green and lighter blue. Thanks!
Hi Natalie, we loved the Antique Copper Metallic, Morocco Red, Gingham, and Metallic Blue!
I need to see how you made these I’m doing a theme sugar plums and this would be perfect a video of how you did it would be great thank you again for being so crafty.
It would be perfect for sugar plums, Sue!
These are so pretty! Which color spray paint did you use to get the light pink? And the dusty blue? I am going to try these for sure!!!