DIY Pipe Shelves
These DIY pipe shelves are perfect for any corner in your house. They’re inexpensive, easy to build, and they’ll help maximize the usable space of any room!
Hey, remember our laundry room renovation? (Update: It’s finished!) Yeah, you know – that project we started about a gazillion months ago, shortly after the dining room makeover. (Update: it’s also finished!)
Well, both projects are still “ongoing,” though the dining room reveal is very close, I promise! The laundry room reveal is a little farther off, mainly because I still have to build the cabinets, and building cabinets is about as much fun as swimming with fire ants.
Maybe less so.
But we’re still plugging away at some other details in the laundry room. Handan will be throwing down some world-class laundry room printables that are sure to get your detergent flowing, if you know what I mean 😉
See what I did there?
I actually made detergent dirty!
Anyway, I think I was about to tell you about my big iron pipe.
Wait, what?
No, that didn’t come out right.
What I really want to tell you about are some quick and easy DIY pipe shelves that Handan and I made for the corner of the laundry room. I want to stress the “quick and easy,” or as Handan would say, “Simple stupid!”
That’s her new catchphrase for quick and easy projects. She’s of course referring to the old engineering adage, KiSS, or Keep it Simple, Stupid! Somehow, the first two words got lost in translation, along with the comma.
So here it is, folks, your Simple Stupid project of the day!
We only wanted two shelves in the laundry room, so all we needed for supplies were:
DIY Pipe Shelves SUPPLIES LIST
Affiliate links are provided below. Full disclosure here.
- (4) 1/2 inch black pipe flanges
- (2) 1/2 inch x 3 inch black pipe nipples
- (2) 1/2 inch black pipe close nipples
- (2) 1/2 inch black pipe elbows
- (1) 13 inch square x 2 inch thick piece of pine
- (16) wood screws
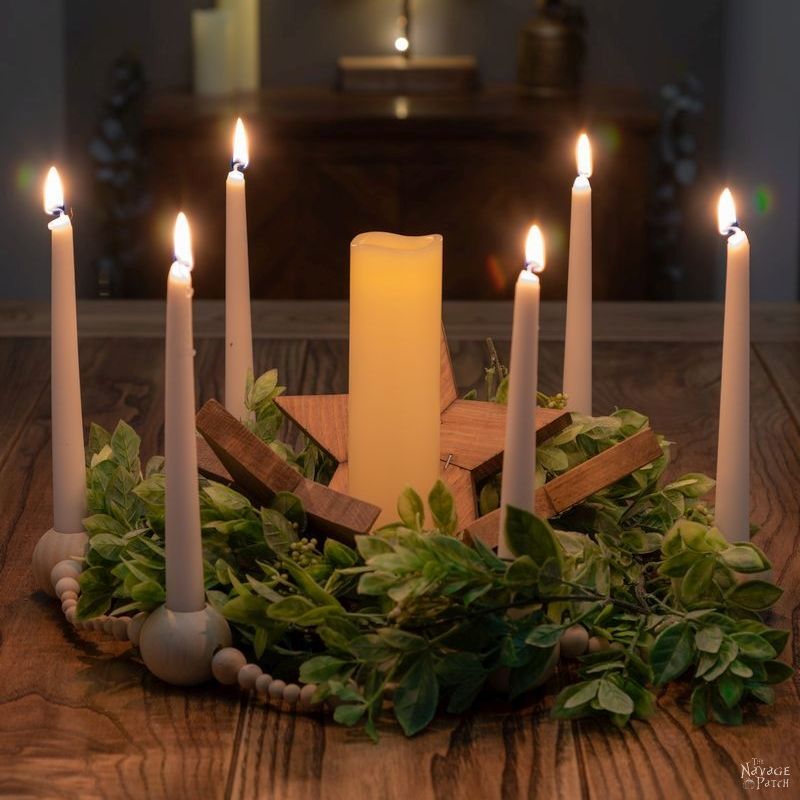
Since pine with those dimensions is not readily available at Home Depot or Lowe’s, we went to my local wood shop and bought a 3-foot length of 2-inch-thick pine. The board we selected was 14 inches across, and we only needed 13 inches, square, but we bought three feet just in case we messed up.

I cut the piece in half, diagonally, using my table saw.


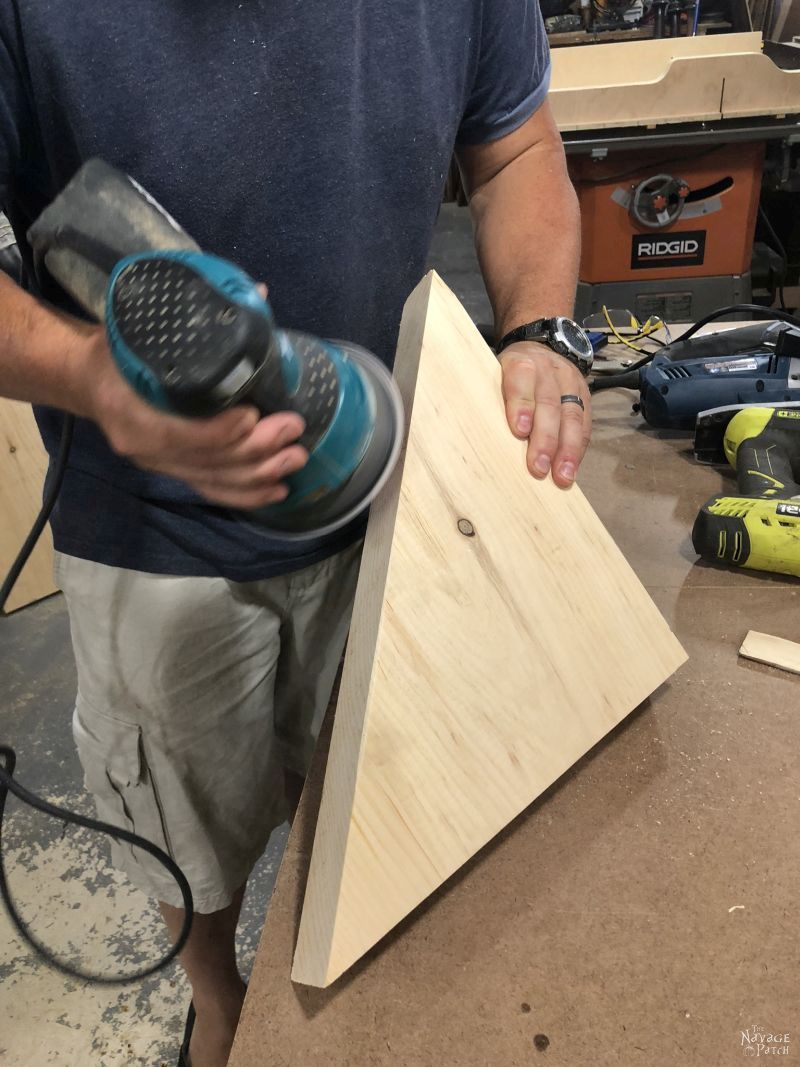
I gave the pieces are real quick sanding.
Remember: Simple Stupid.
Also remember: Farmhouse!
Next, I quickly stained the pieces with Minwax Special Walnut.

It’s a great color and could do just fine on its own, but we wanted a little bit of gray in there for a “vintage” look.
I used Minwax Classic Gray, and rubbed it on here and there, removing it immediately with a rag.
All told, we’re talking about 10 minutes of work here. Time for installation!
No, we didn’t wait for the shelves to dry! Simple Stupid got no time for drying!
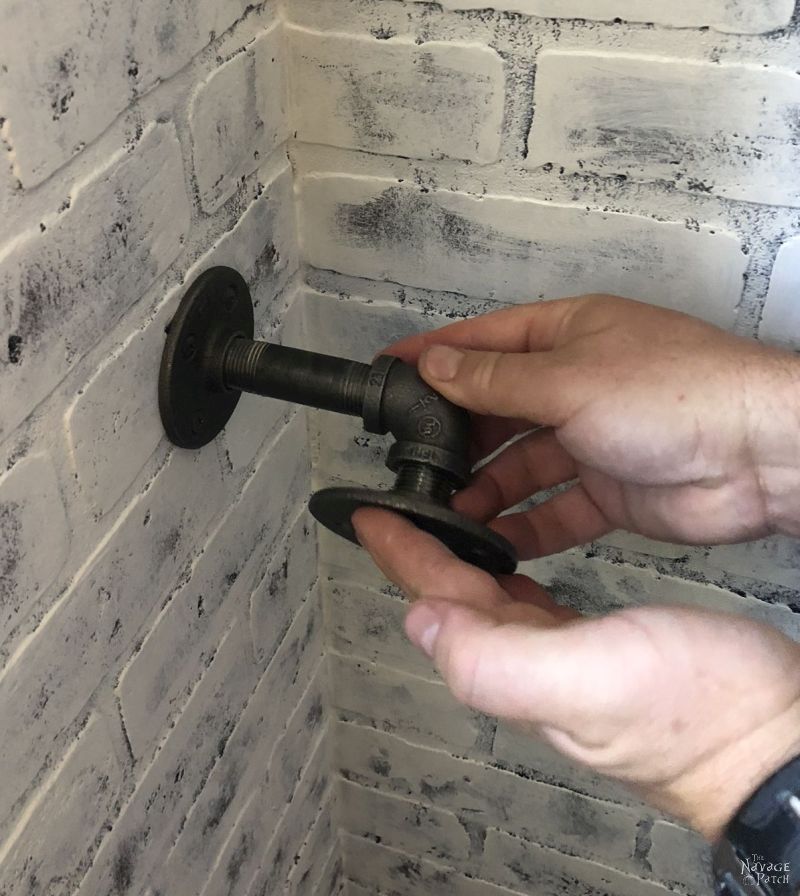
After determining the heights for our two shelves, I marked and drilled holes for the flanges that would sit flush with the wall. The edge of the flange is 2 1/2 inches from the corner.

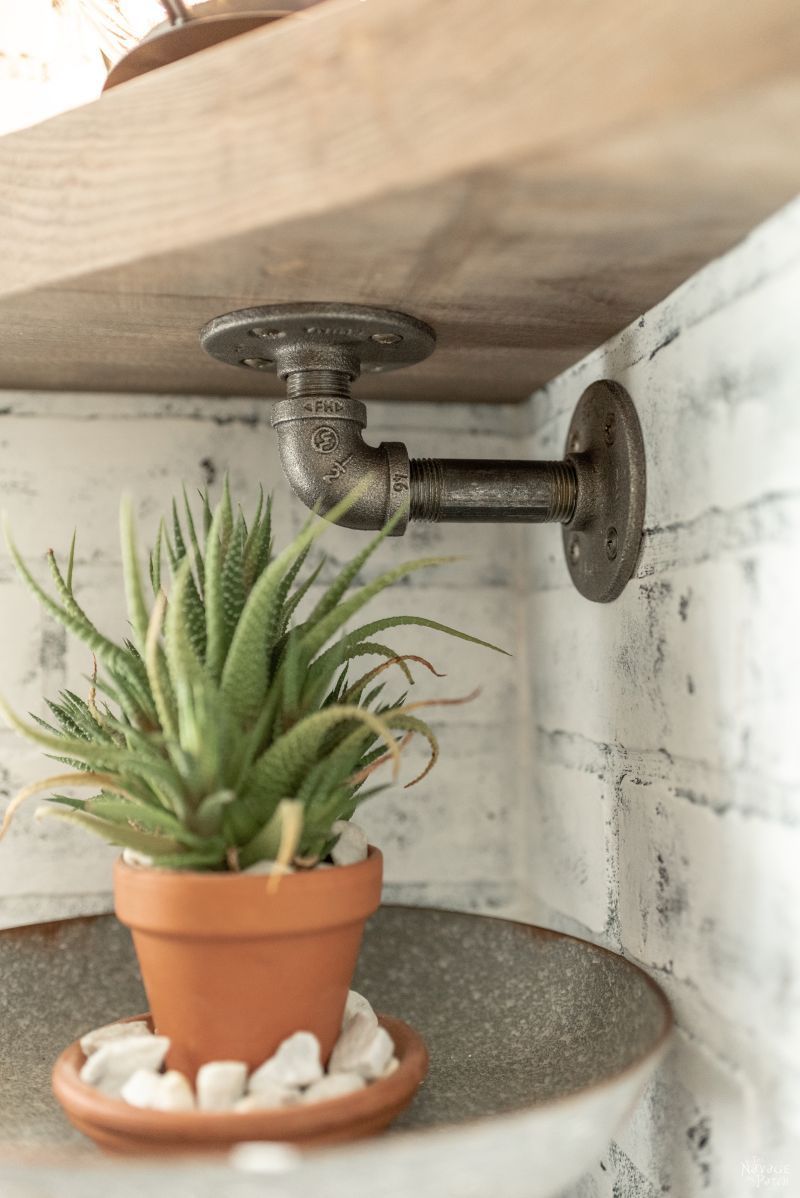
Then I screwed the nipple-elbow-nipple-flange assembly onto the wall flange.
I sat the board on top of the flange, leveled it and then marked the screw holes with a pencil.
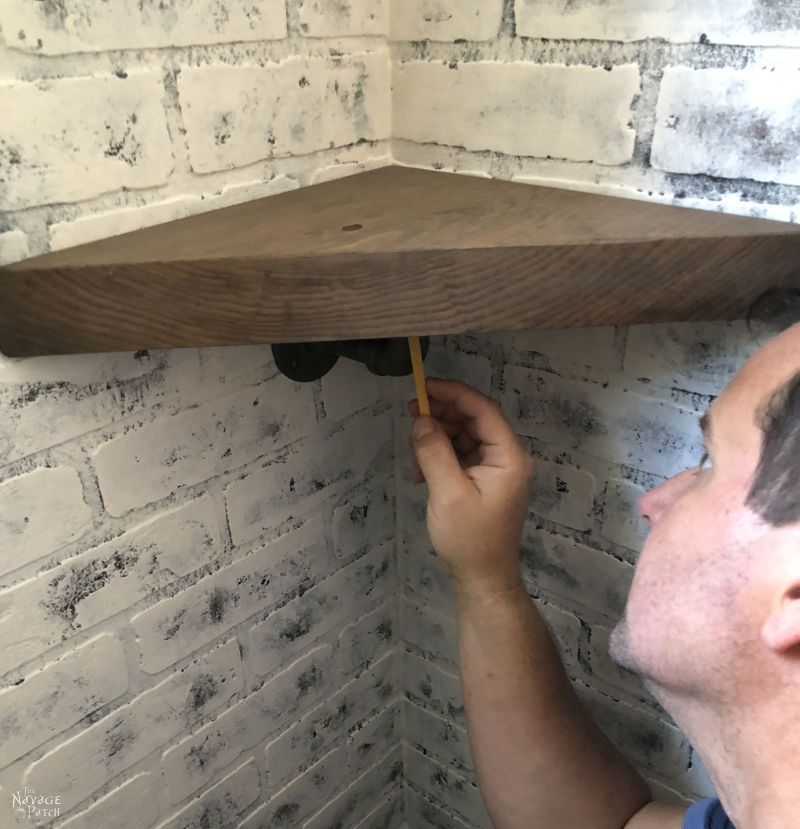
I drilled the holes. Oh boy, this was getting exciting!

I installed the shelf…
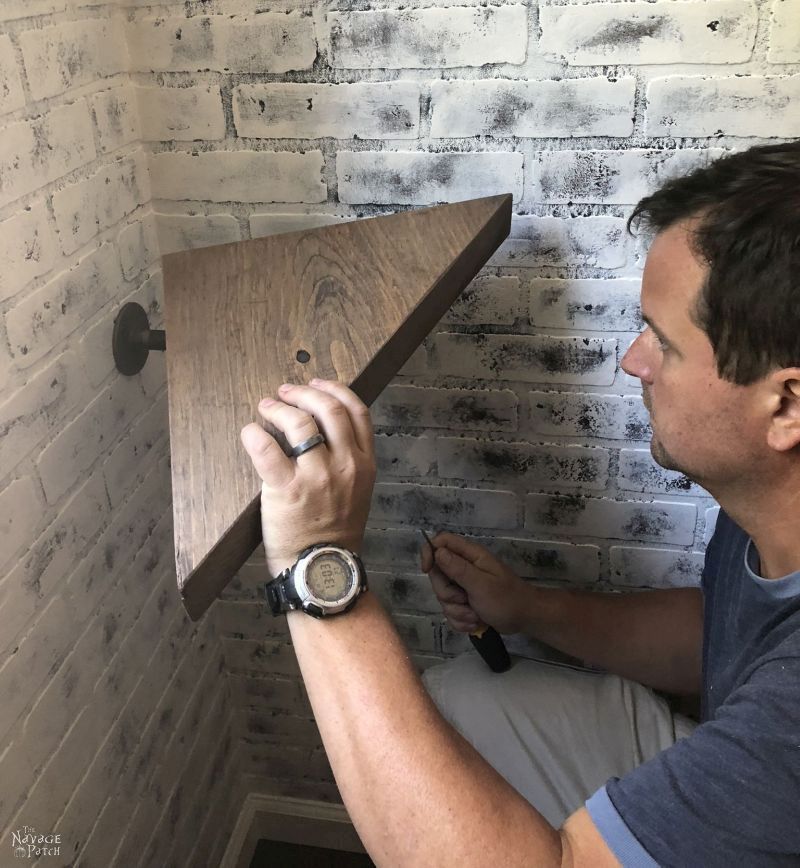

Now, I don’t know if I look like this much of a doofus all the time, or whether Handan has just perfected catching me at my dopiest after 8 years of marriage.

Seriously! Judging from my expression, I may have just seen a ghost. I don’t know, but honestly, I don’t think Simple Stupid DIY pipe shelves warrant that kind of terrified look!

Let’s see if she caught any other winners…

Yep, of course she did. I call this one, “Shhhh, I’m Defusing a Nuclear Warhead!”

And another thing, where the hell has my jawline disappeared to? I’m pretty sure I had one when I was younger. Bah! Getting old sucks.
Anyway, where was I? Oh yeah, pipe shelves. Right.
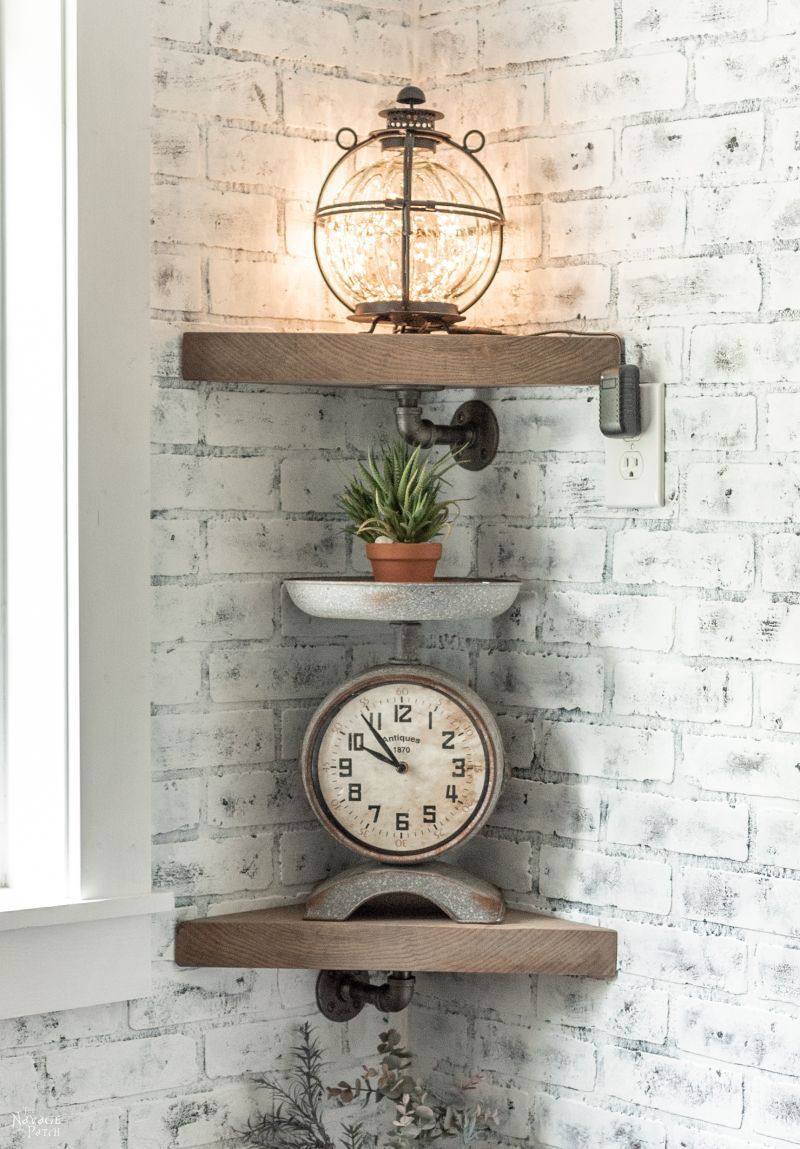
They’re done! YAY! How’s that for Simple Stupid? You can fly off on a tangent mid-project and still finish them in about 30 minutes.
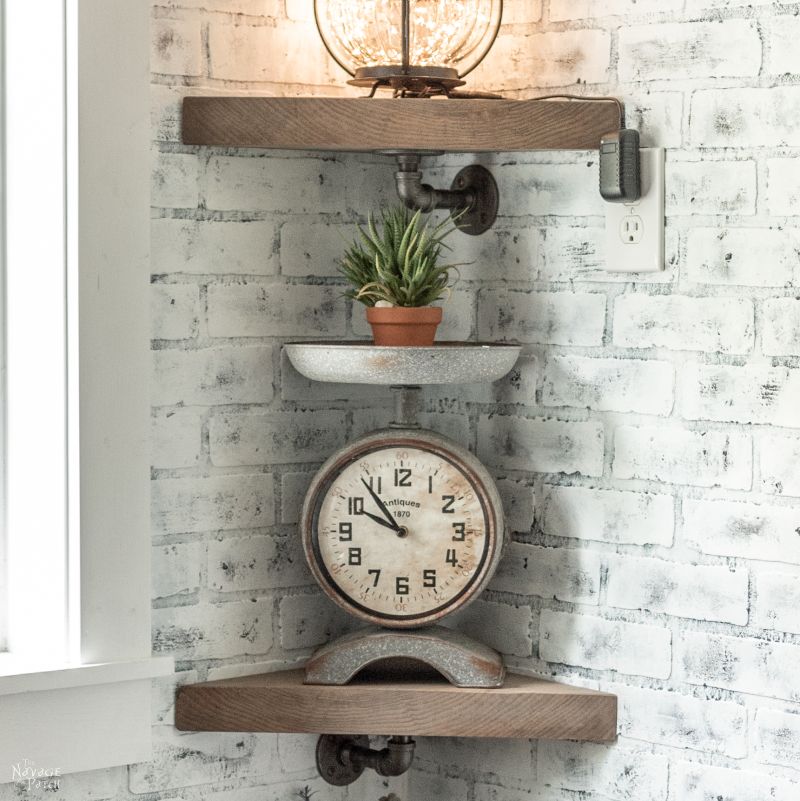
Let’s have a gander at how our DIY pipe shelves turned out, eh?


We love it when you share our posts on Facebook and Pinterest!


WOW!! Looks great! also-i love your humor!
Thank you, Anne!
They look amazing!
Thank you, Nancy!
Love it! I want to do this in every corner of the house where the walls meet 🙂
Lol, thanks, Sara!
Looks great. I love your sense of humor – I laughed all the way through!
Thank you, Jane! 🙂
Your creativity is never ending, what an amazing vision for an otherwise wasted space.
I absolutely LOVE it!!!!
Thank you so much, Donna!
You are so funny Greg. LOVE IT!!! I’m going to find a place for these shelves.
Thank you, Cheryl! Send us a pic when you do!
dang it greg now you have us all walking around our homes, looking for corners to put these simple stupid shelves in lmao I adore these a ton xx
Thanks, Chris! That’s our new motto around here. Simple Stupid! 😀
Dang! So clever and so simple even THIS “stupid” could do it! Alas, I live in an apartment. Somehow don’t think my property management people would appreciate the simple beauty!
If you ever come up with things people can do in apartments that are non permanent, you would double your audience! Though I love to look and dream…..
Thank you, Jana! I used to hang stuff all over my walls when I rented. When it was time to move, a little spackle and touch up with paint was all it took to get the walls back in shape. Are your walls a standard color like white? As long as they’re not doing surprise inspections (god I hope they aren’t!), you should be able to put up shelves like these and still leave no trace on the walls when you are done.
what a cool corner! clever, simple, effective, decorative and a definite beaute.
Thanks, Dodie! 🙂
Way cool ! Thanks! U guys r great !!!!
Thank you, Ellen! 🙂
Simple terrific!
Lol, thanks, Aletheia! 🙂
That looks awesome, I love those simple shelves. It doesn’t hurt that you have that great painted brick wall to… just beautiful!
Thank you, Susan! That’s faux brick paneling that Handan painted. Looks pretty good for fake, right? 🙂
I can’t get over your video with the birds, especially the hummingbirds. I live just outside of San Francisco, so maybe the birds around here are more wary of people. I can’t believe the birds near you are so trusting. You must be very gentle! From now on I am going to call you the “Bird Whisperer!” Love your site and your love story. ?
Thank you so much, Christina, lol! Well, if you liked that video, please go check out the new bird video that I just posted!
I love these shelves! I am filing away this idea. 🙂 Thanks!
On a different note…now that all those trees are down, what did you do (or what are you going to do) with the stumps left in the ground? I imagine that must be a big issue to deal with?
Thanks, Claudine! We got the stumps ground, so now I’m left with some holes to fill with soil and re-seed.
Hi, love your pages, just one question, did you screw into studs? I hate when it all falls off the wall cause I didn’t get it in right. I love the look and want to do it but only have gyprock to work with here.
Annie
Hi Annie, we didn’t go into studs, but since we did drill through the faux brick panel, we didn’t need to use drywall (gyprock) anchors. You should have no problems with these using good gyprock anchors for the screws.
Ooh that’s so simple but clever and stylish,i think even ‘toolbox Tony could manage that 😉
It’s a perfect project for almost anyone, Catherine! 🙂
Love the shelves, but also love that table under the shelves. Did you build that? Can I get a picture of it as well?
Yes! You can find the whole tutorial here!