DIY String Light Posts
These DIY String Light Posts are a sturdy, moveable and removable solution for hanging string lights around your patio, deck or yard!
She wanted them in Connecticut, but we never had the chance to fit them into our deck before we moved out and headed south. Six summers, but only one with the deck of my babes’ dreams and not enough time for all the grand plans. That’s the problem in those chilly northern climes. My babes had to spend half the year hibernating under blankets and cursing the snow and wind, which left very little time for outdoor projects!
She planned on having them in Georgia – if only we stayed long enough to realize her vision of a southern backyard oasis on our small southern plot. Georgia was a stone’s skip on a calm lake for us – barely a blip on the radar. Most of our efforts went towards interior projects there – which is weird when you think about it, because the weather was so much warmer than Connecticut.
Warmer, but not warm enough…
Warm enough came with our move to Florida.
So the first time we had them was on the balcony of our Jacksonville apartment, but the only one who ever enjoyed them was…me – when I cooked on our little grill overlooking the parking lot.
Now we’re in the Florida panhandle on a piece of land that just begs for them, and she’s gonna have them.
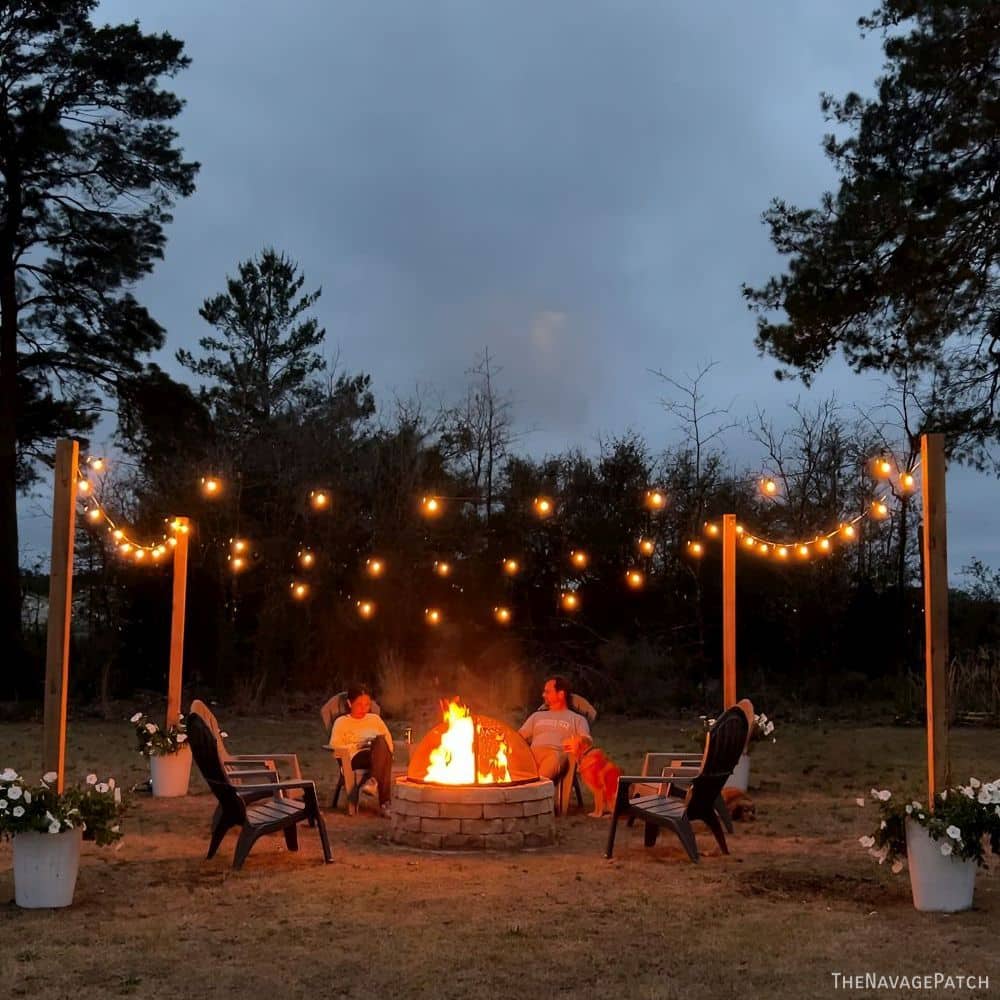
Oh, yes, my babes is going to have string lights coming out the wazoo, because I’ve got big plans to light up her life as we transform our back yard into an oasis unlike any other we’ve had. And it all starts with some DIY string light posts I made for our new fire pit.
I tried already, you know – back last summer, when I didn’t know any better. I made my babes four string light poles concreted into buckets and stuck in four planters. It was a grand idea – I even used cedar because it’s so weatherproof. 🙄 But 6 months in the Florida sun warped those 2x2s like they had rickets, and one post snapped in a windstorm that brought an unceremonious end to my first concerted attempt at string lighting.
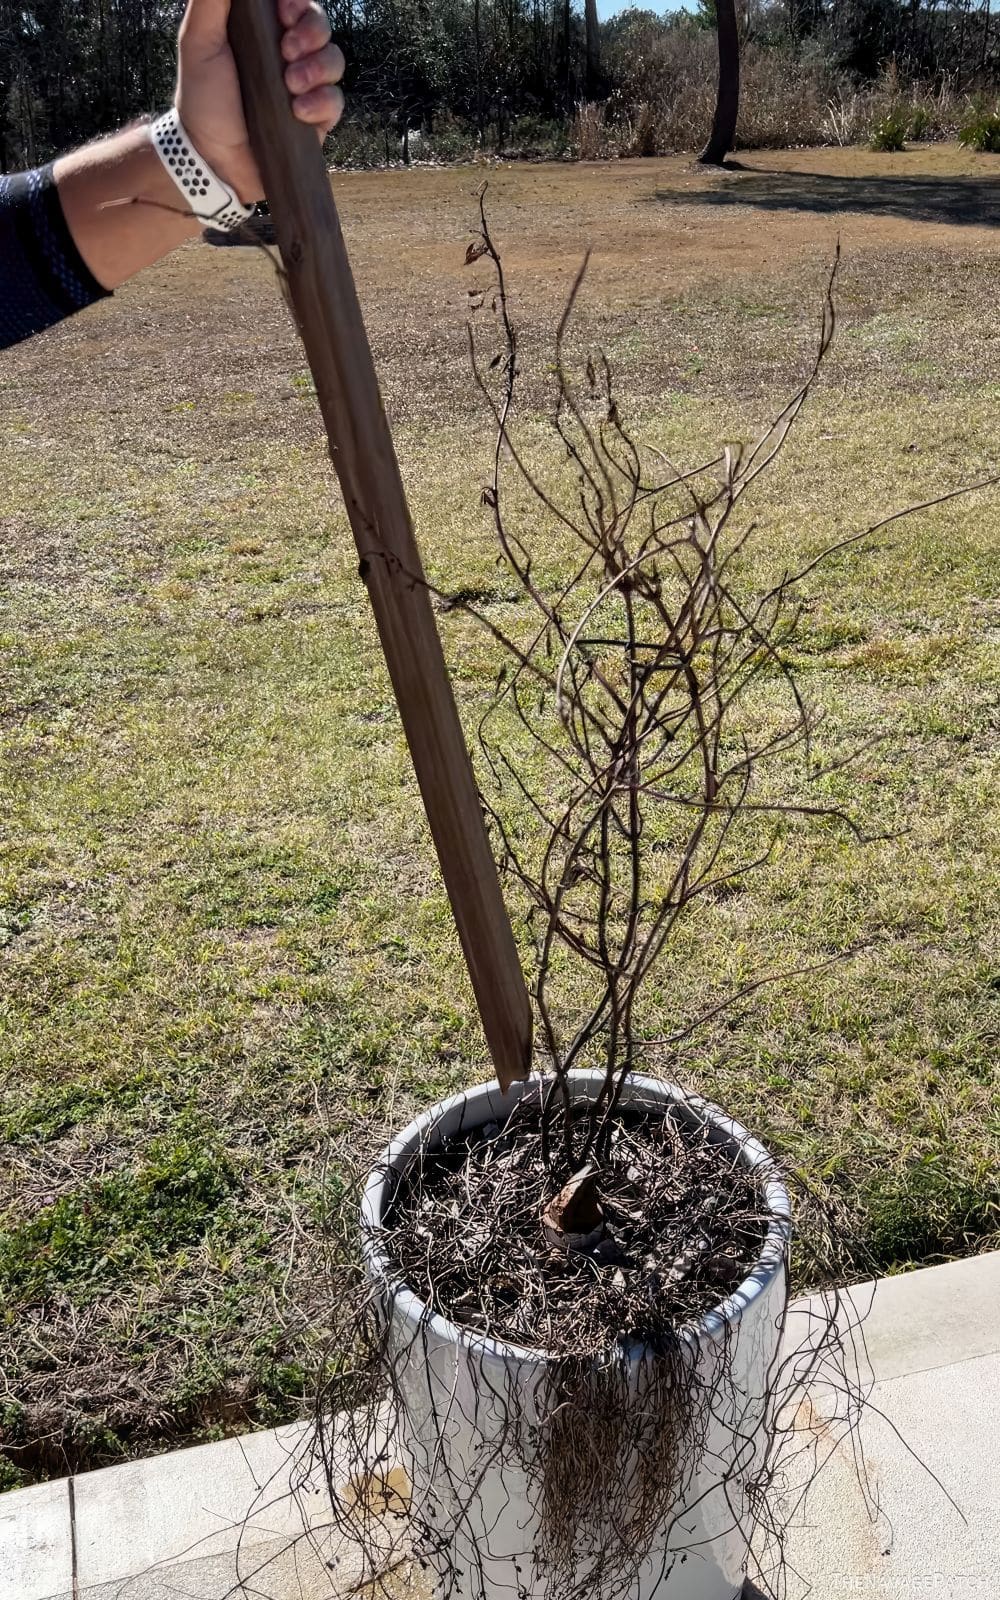
So much for wimpy sticks masquerading as posts.
This year, I know better.
2x2s are chump lumber.
It’s time to step it up to 4×4 posts.
DIY string light posts can be made with pressure-treated pine, but we decided to kick in the extra money for cedar. Though pressure-treated can be stained and painted, it just can’t compete with cedar when it comes down to looks…and smell!
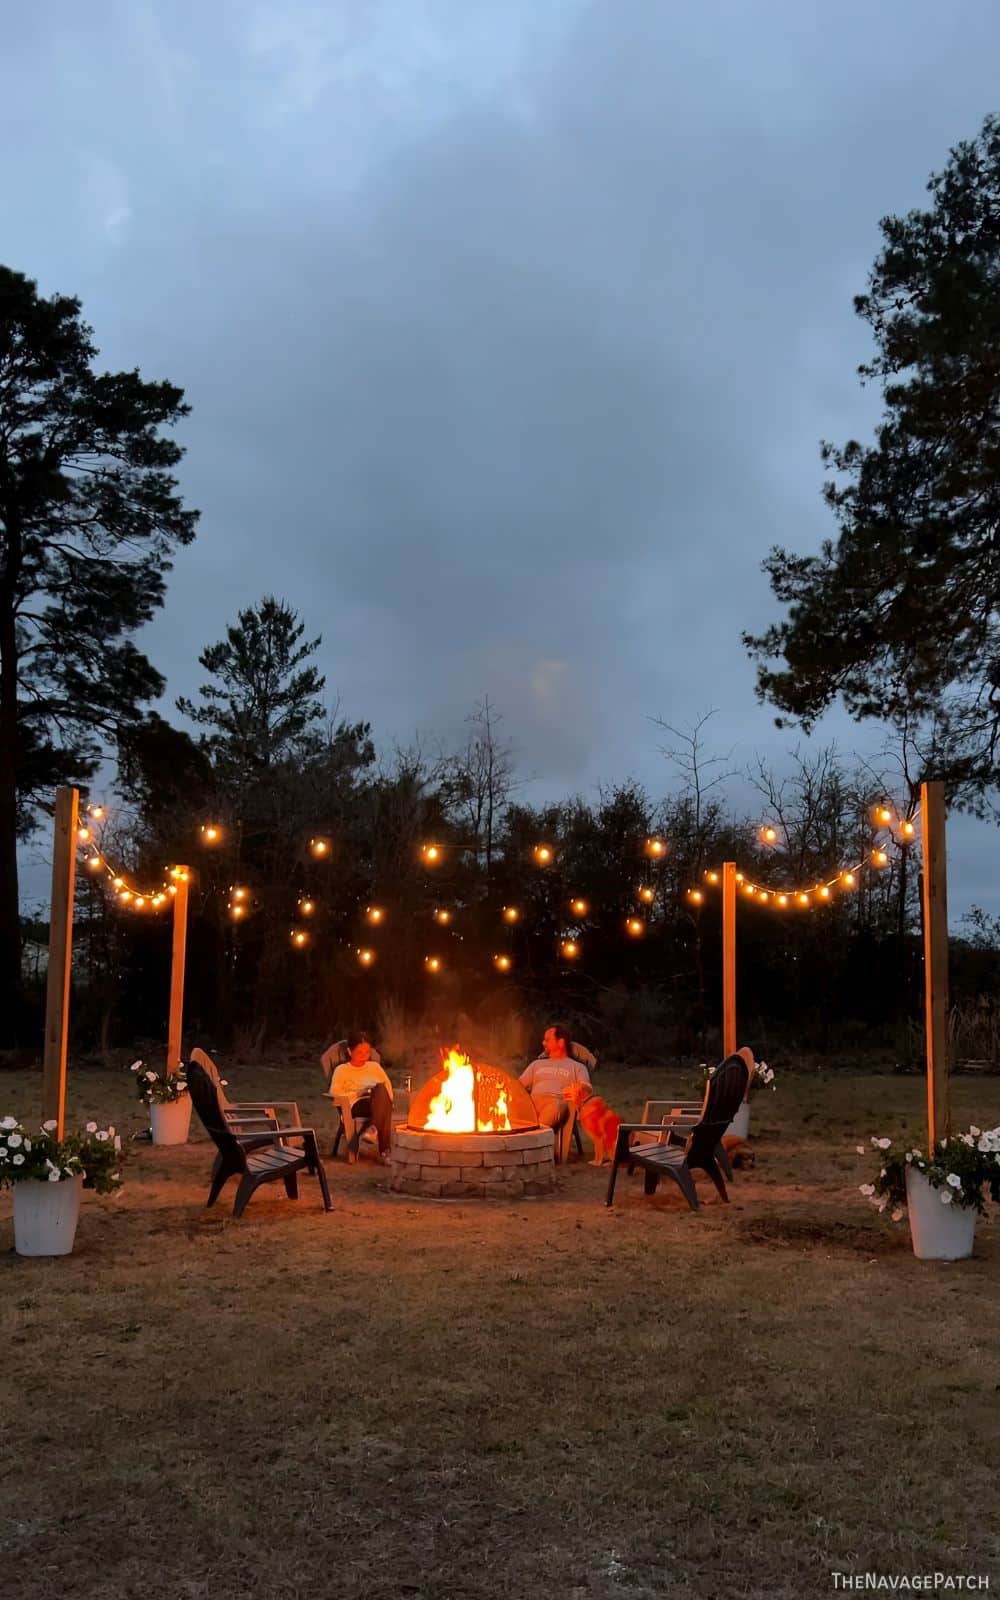
So without further ado, I’d like to show you phase 1 of The Summer of Lights. These string light posts surround our fire pit, but they’d be just as perfect defining a patio or deck. Let’s have a look.
DIY String Light Posts SUPPLIES LIST
Affiliate links are provided below. Full disclosure here.
- 4x4x8 cedar or pressure-treated pine posts
- 2-gallon buckets (one for each post)
- Fast-setting concrete mix (~25lbs for each bucket)
- Planters large enough to accommodate the 2-gallon buckets (see our favorite indoor/outdoor planters)
- Potting soil
- Flowers, herbs or other greens
- Screw hooks
- String lights (we like these and these)
- Stain or exterior dead flat varnish

DIY String Light Posts VIDEO Tutorial
On Tiktok
We love to see our DIY projects out in the wild! If you try this DIY project and take a picture and post it on Instagram, be sure to tag us – thenavagepatch
DIY String Light Posts Tutorial
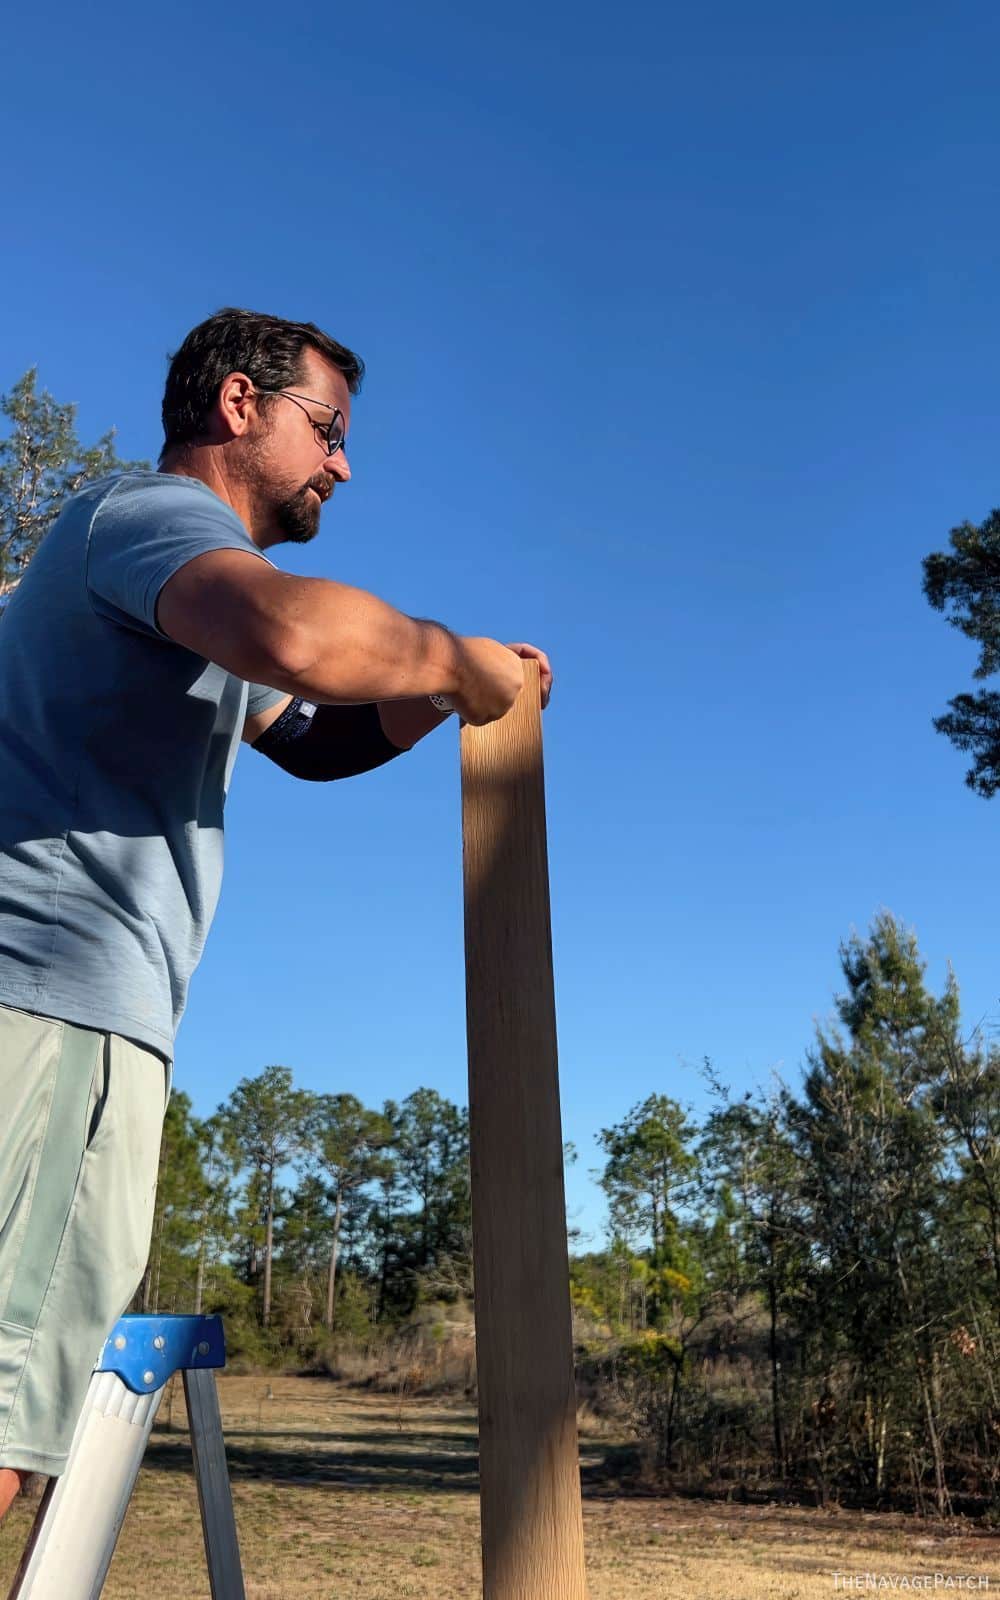
After choosing 4 good cedar posts from Lowe’s, I brought them home, sanded off some of the “fur” (it’s rough-cut cedar) and then slathered on a coat of exterior dead flat varnish. This will help protect the natural cedar color from bleaching to gray. I grew up in New England, so I’m okay with weathered cedar, but to my babes, it just looks like the cold region where its favored! 😂
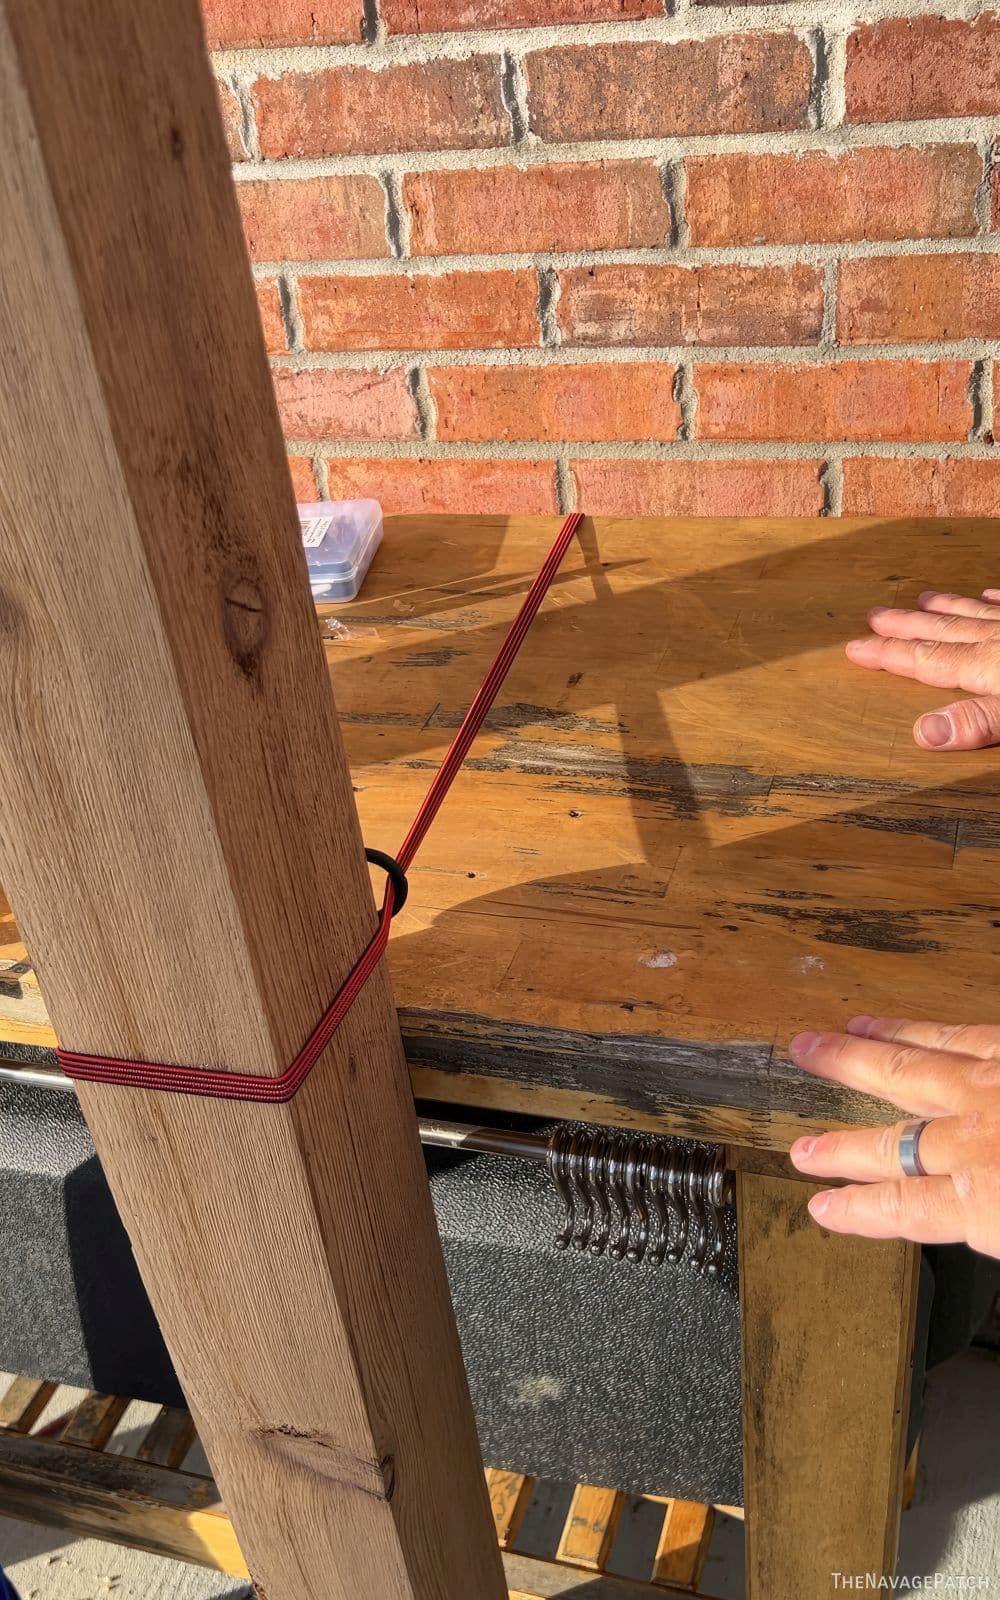
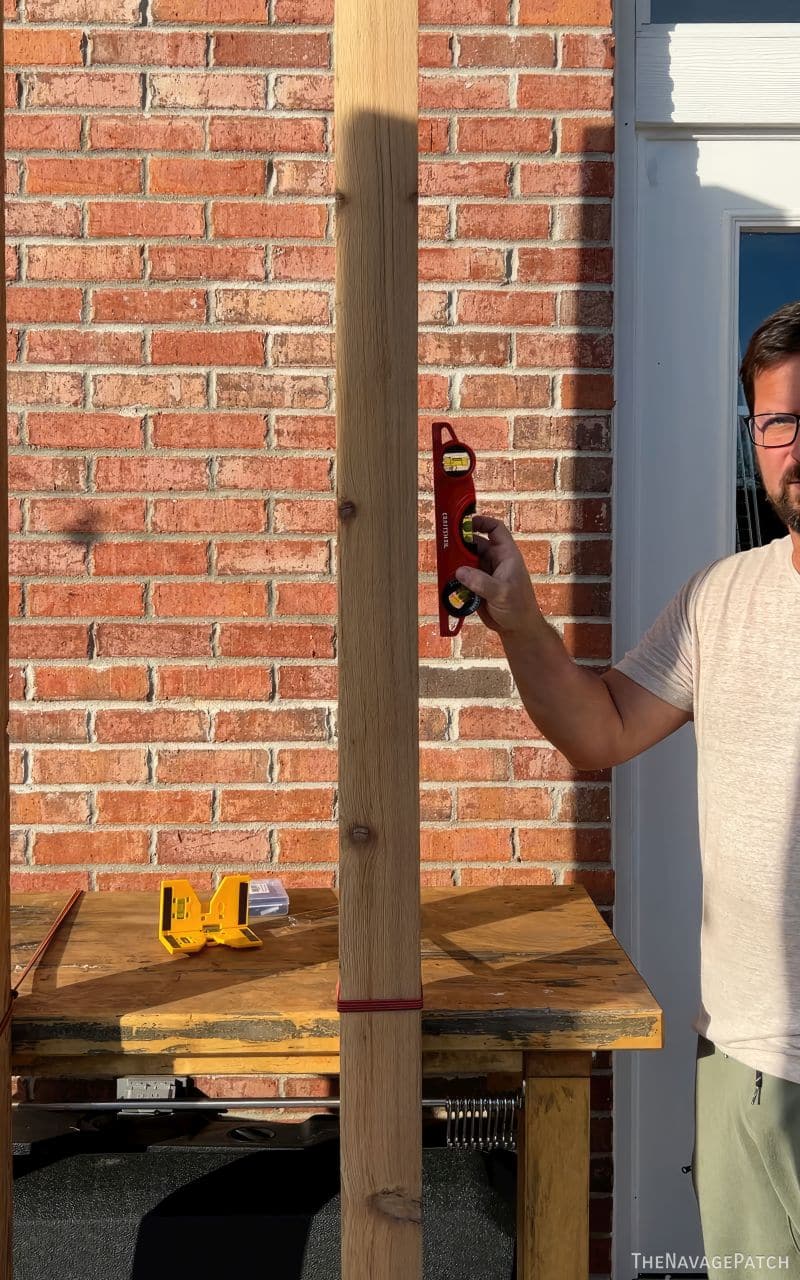
I placed the posts into their buckets and then snugged the posts against a table.
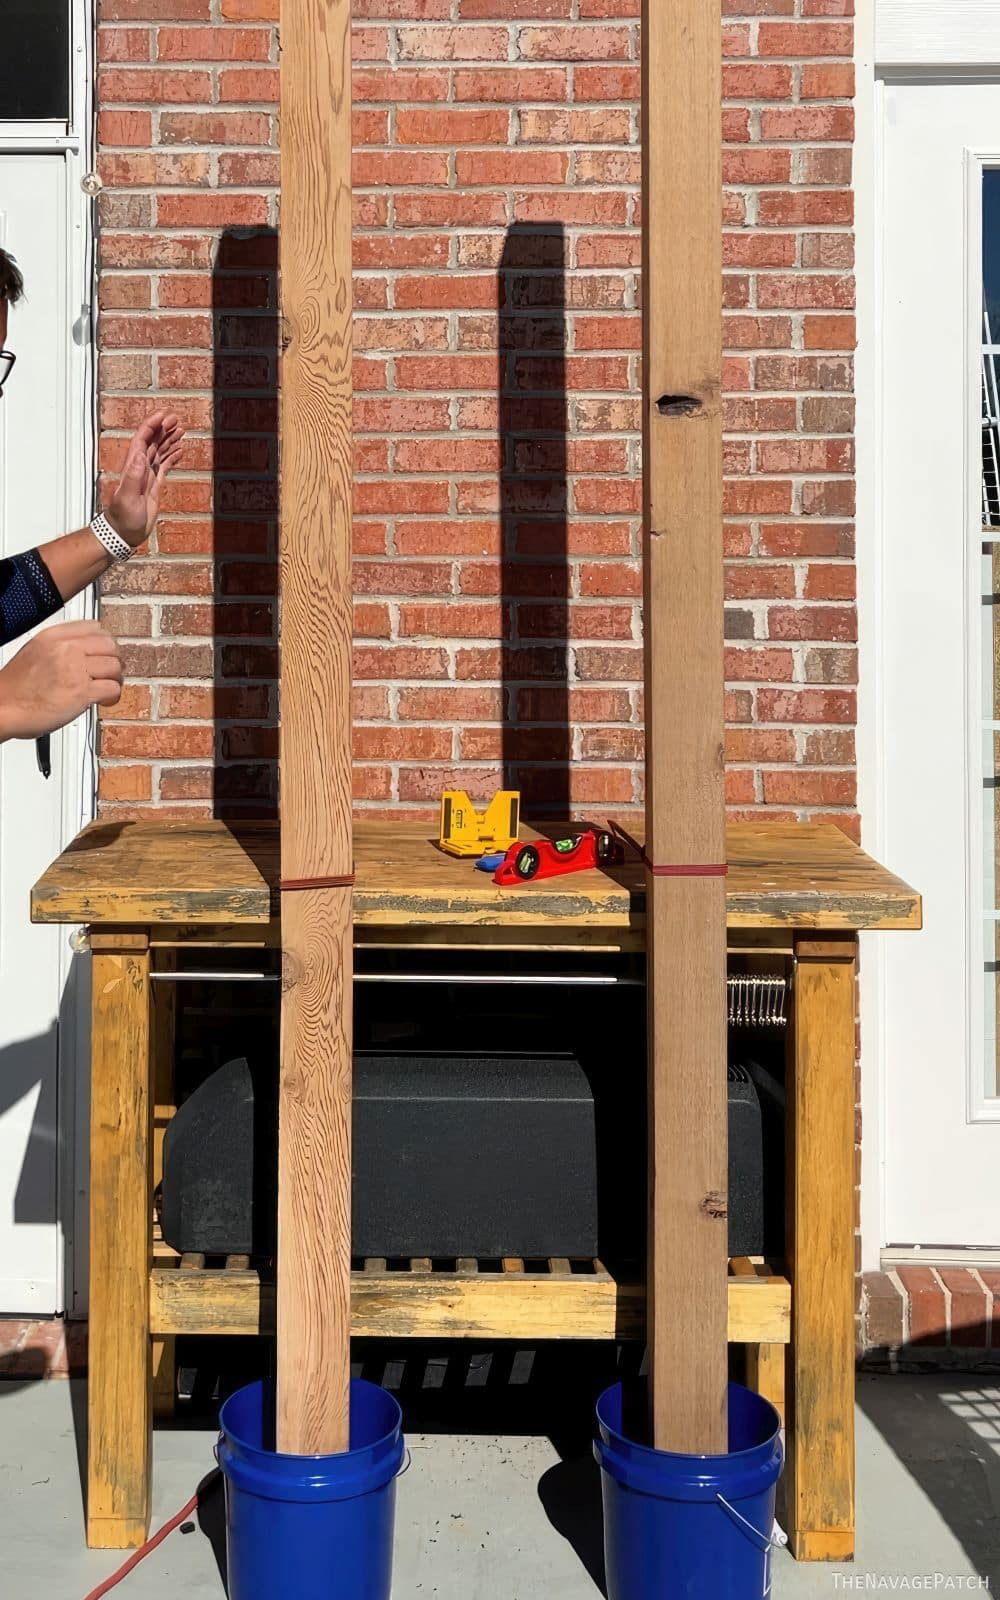
Before leveling, I snugged the posts against the table with bungee cords. This not only keeps the posts in place when concreting, but it makes initial levelling much easier.
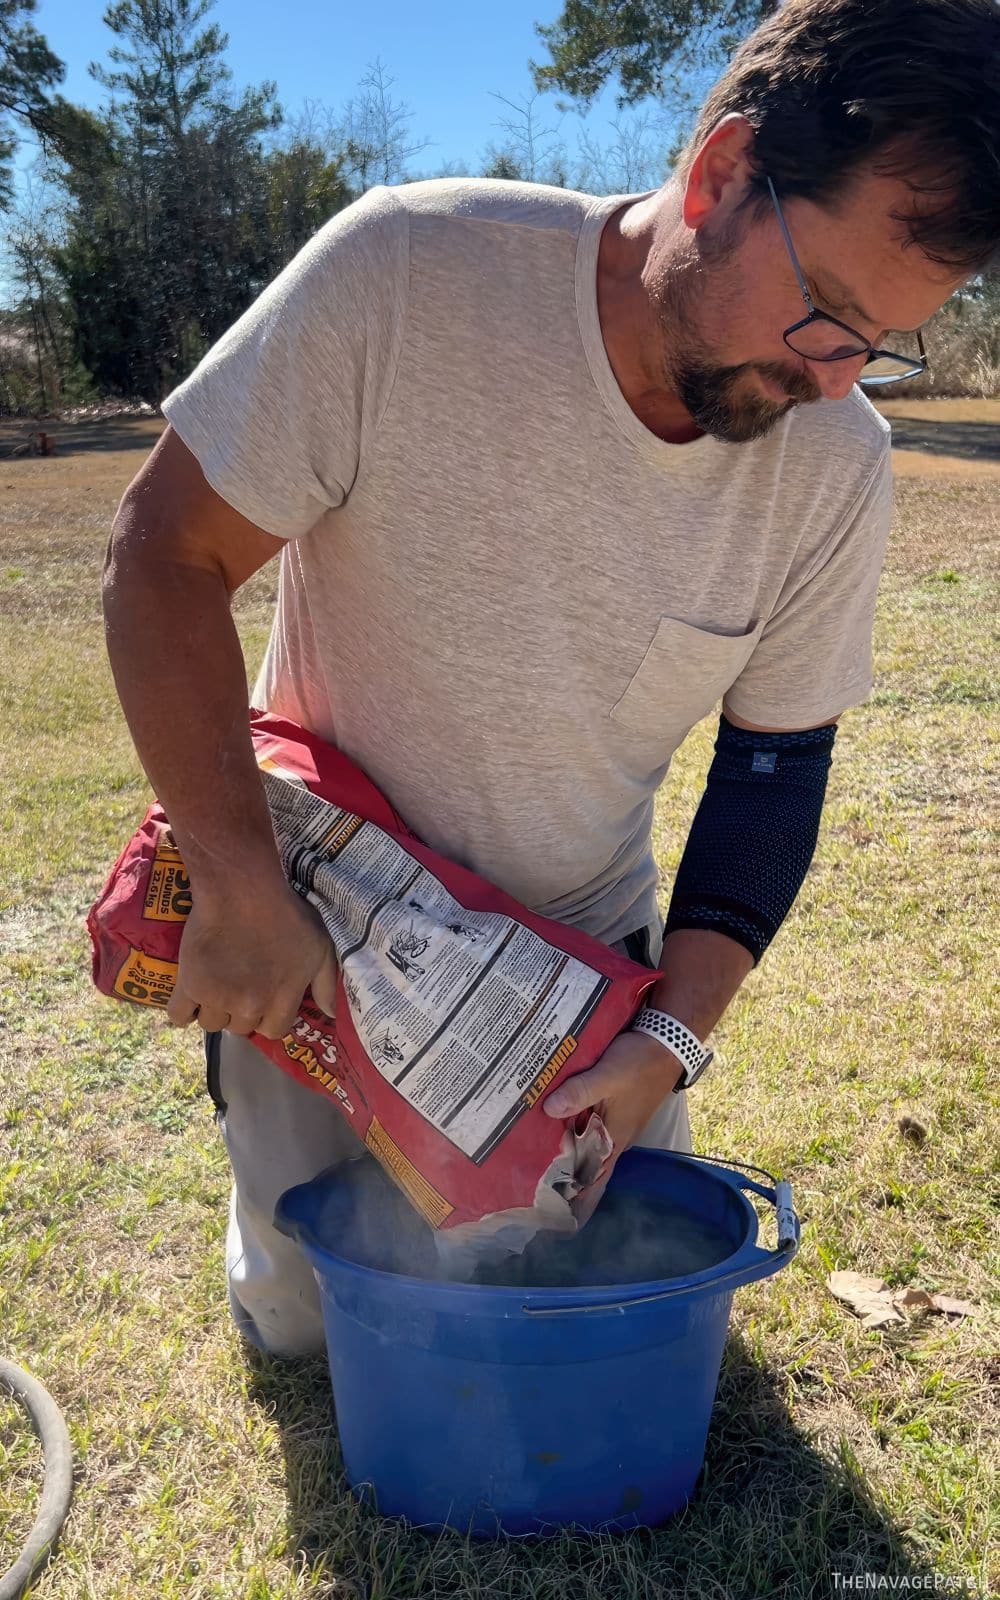
After levelling the posts, I mixed half a 50lb bag for each bucket.
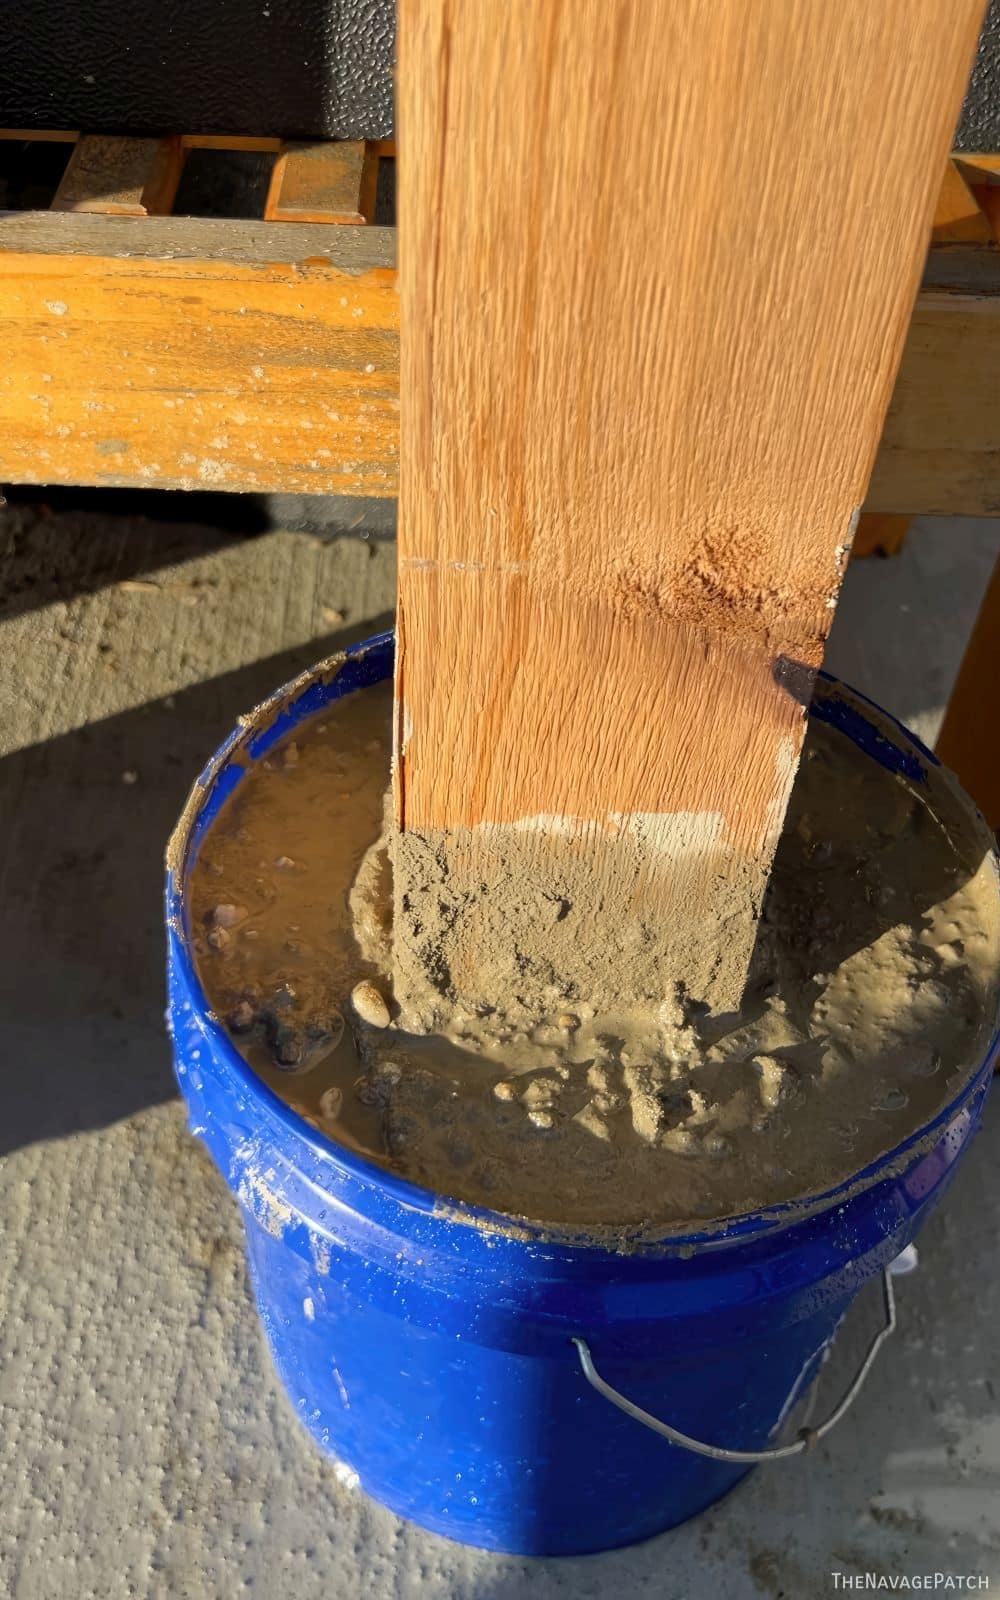
Then I carefully poured the concrete into the buckets.
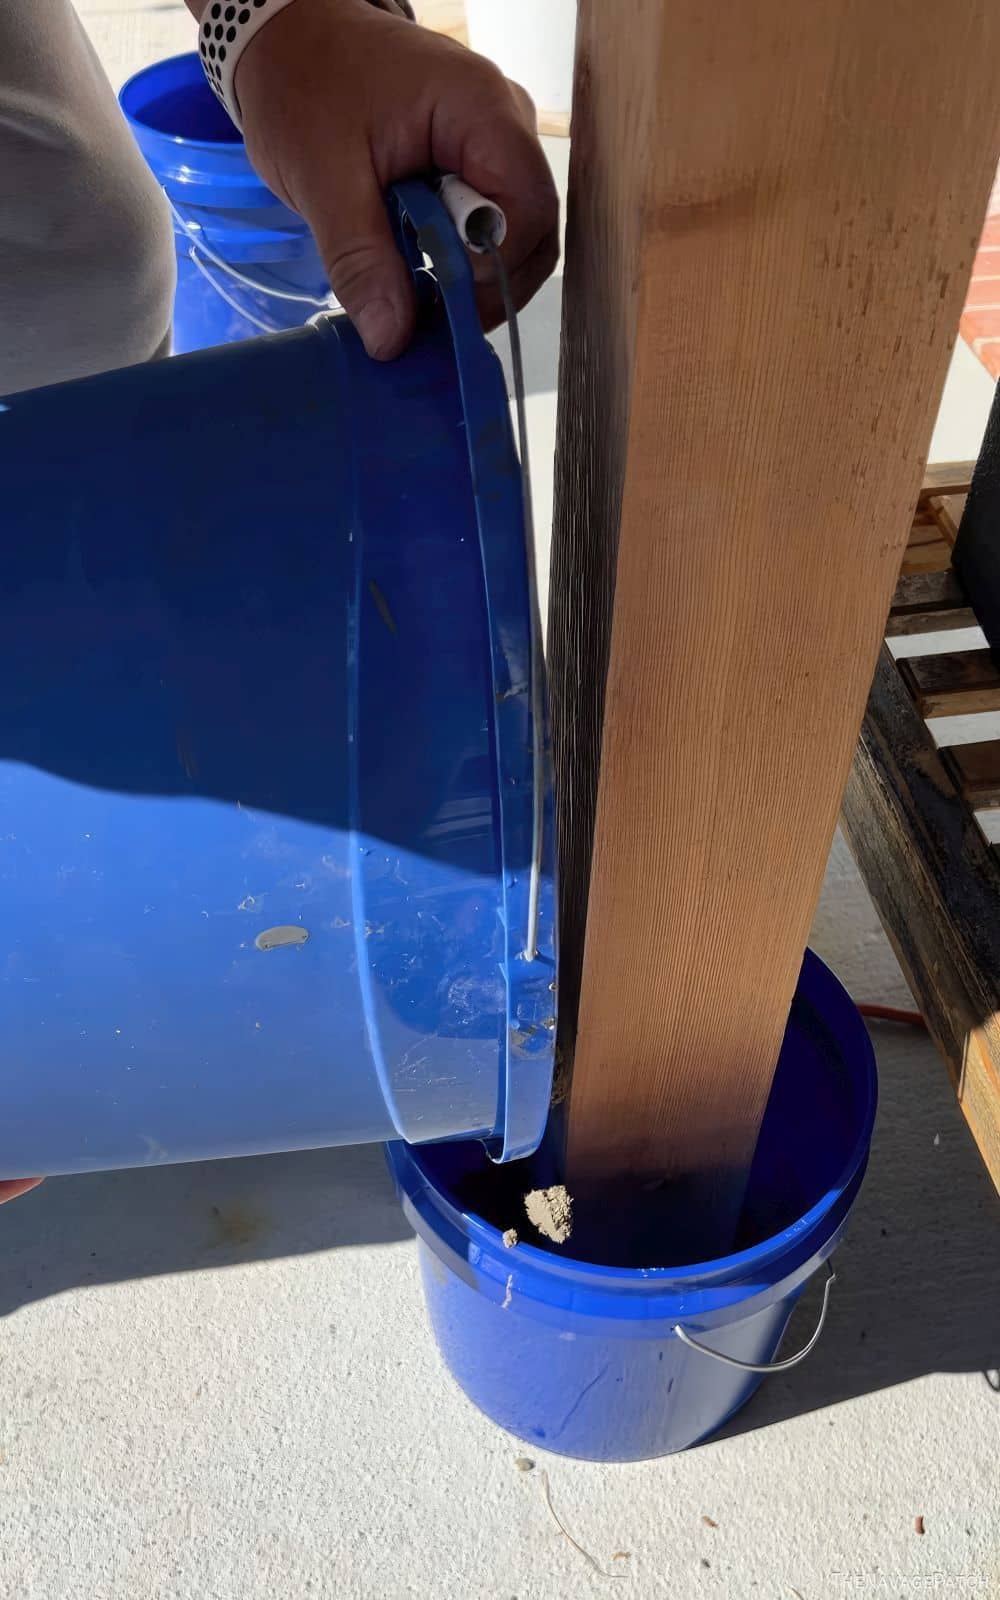
I did a final level check and then left the concrete to harden.
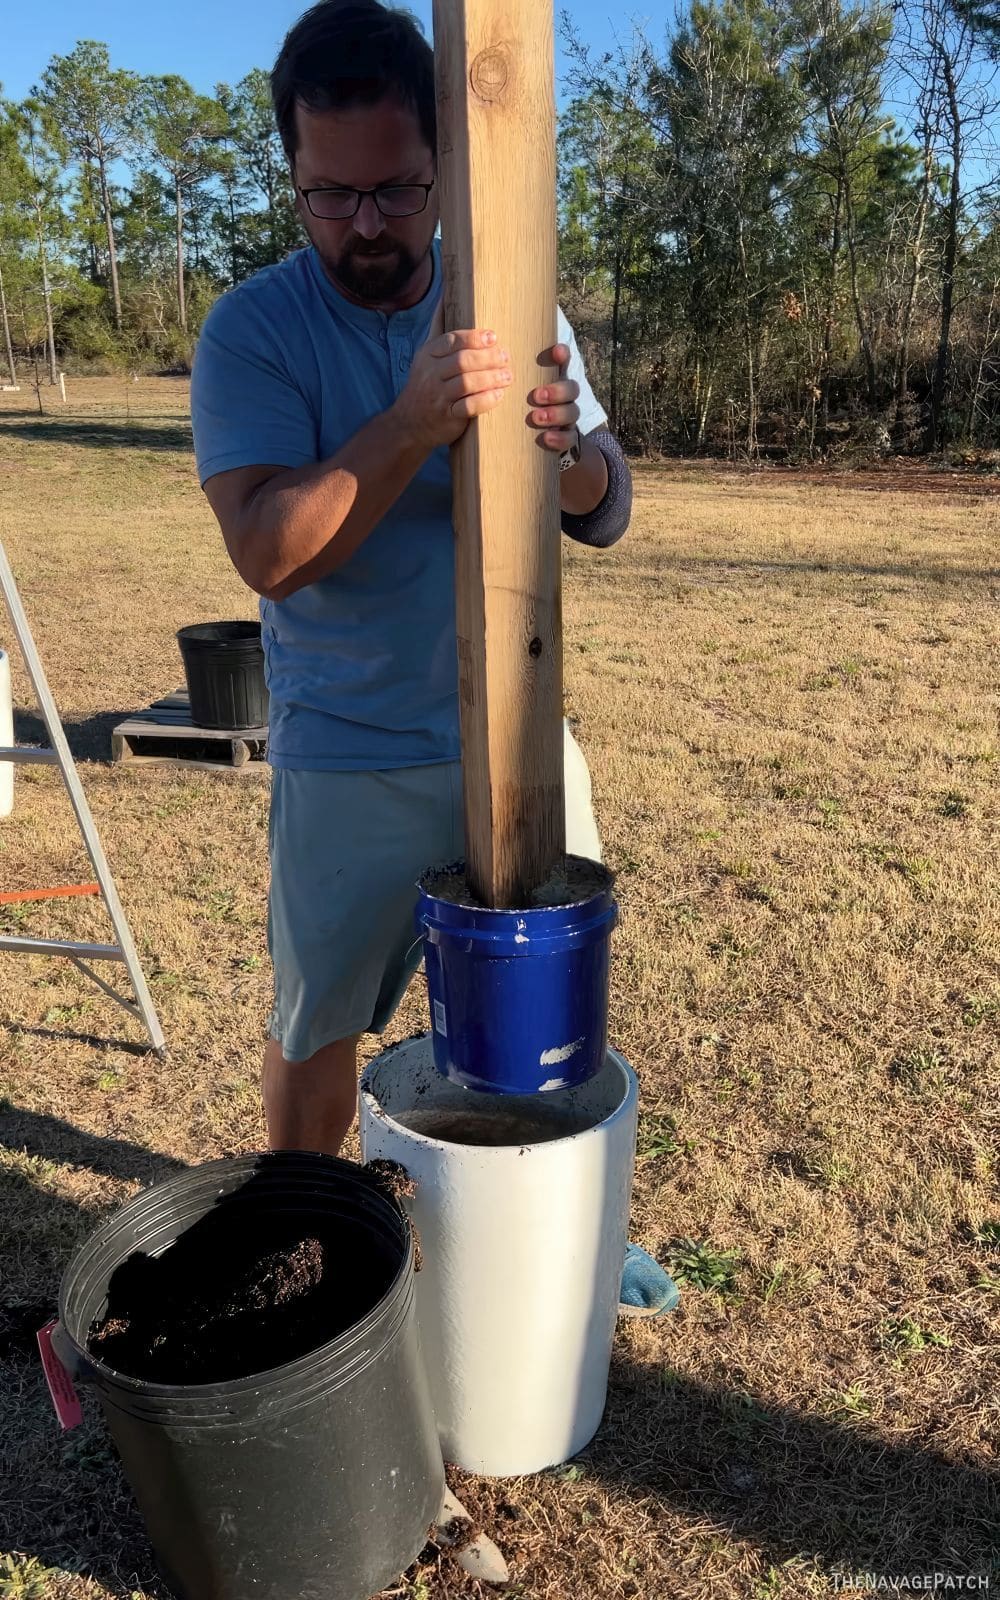
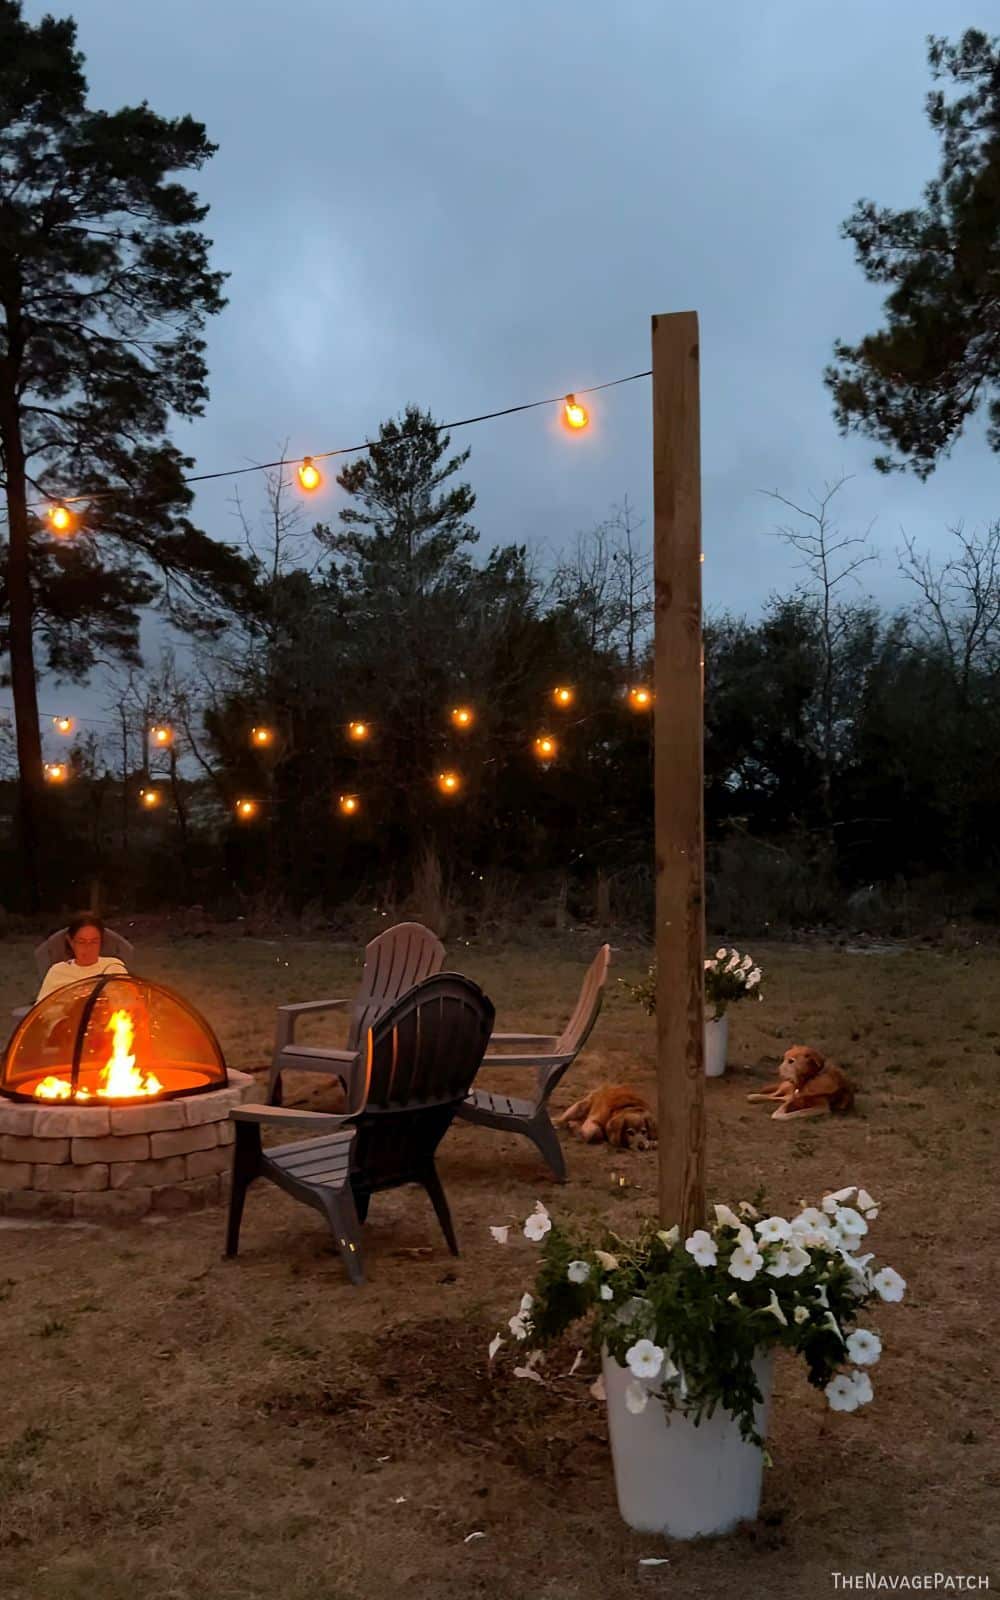
When the concrete had cured, I placed each post into a larger planter. The ones shown below are ceramic, and we found them at Lowe’s.
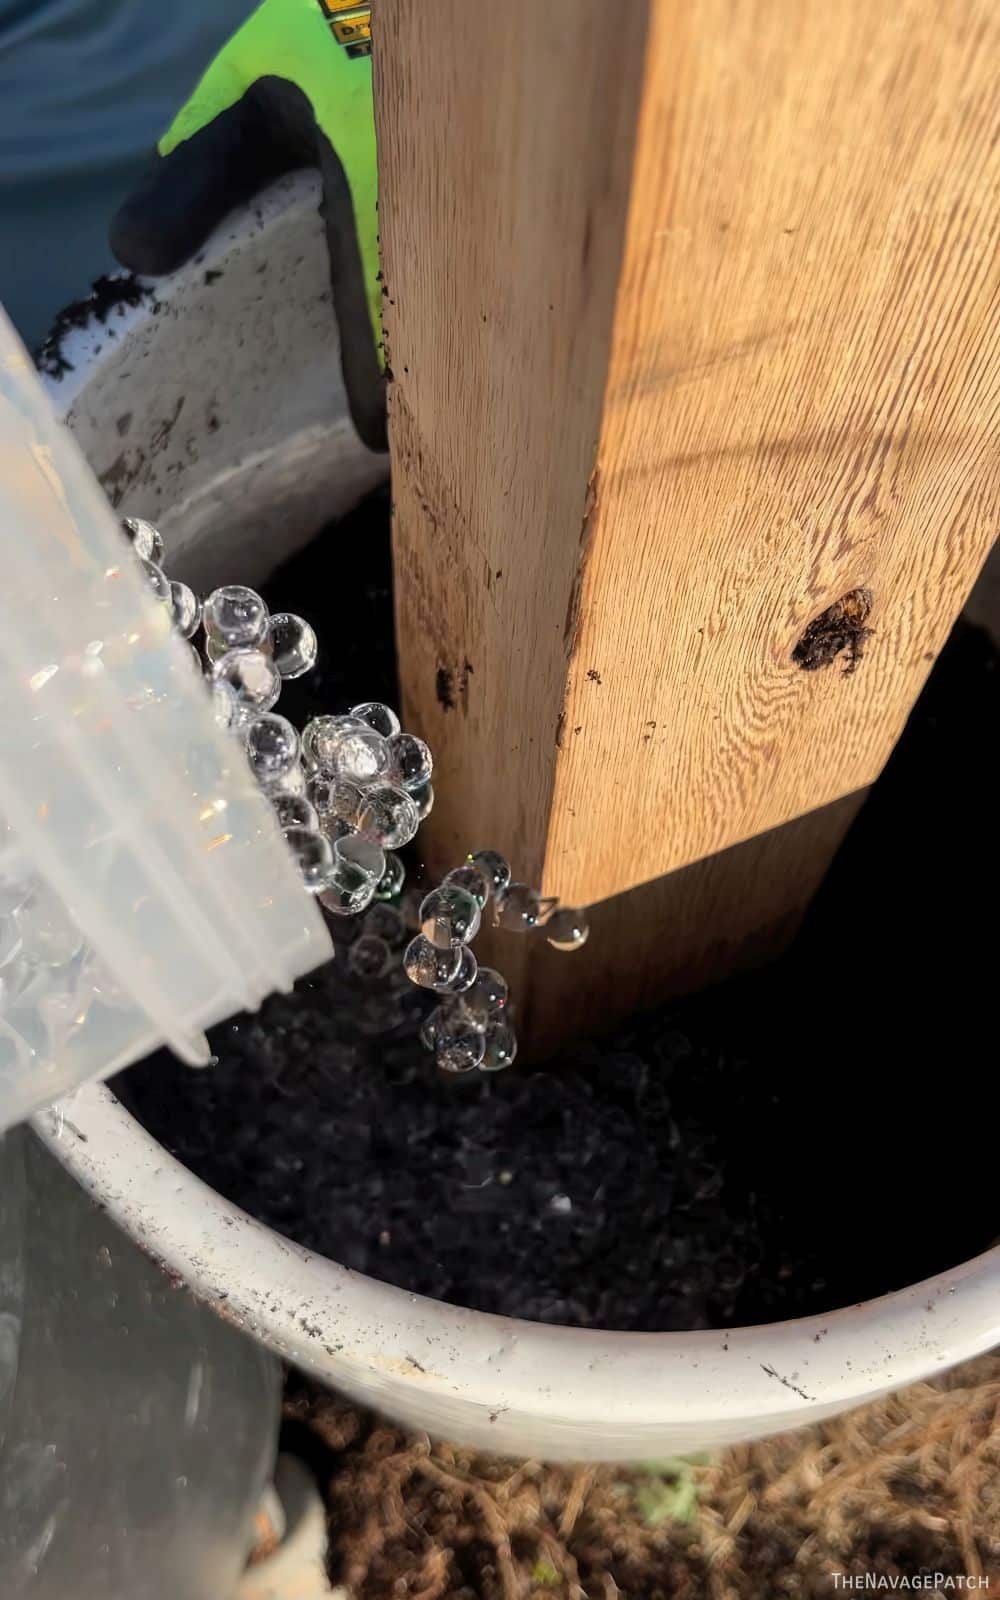
I filled each planter with soil and water beads we had left over from Christmas.
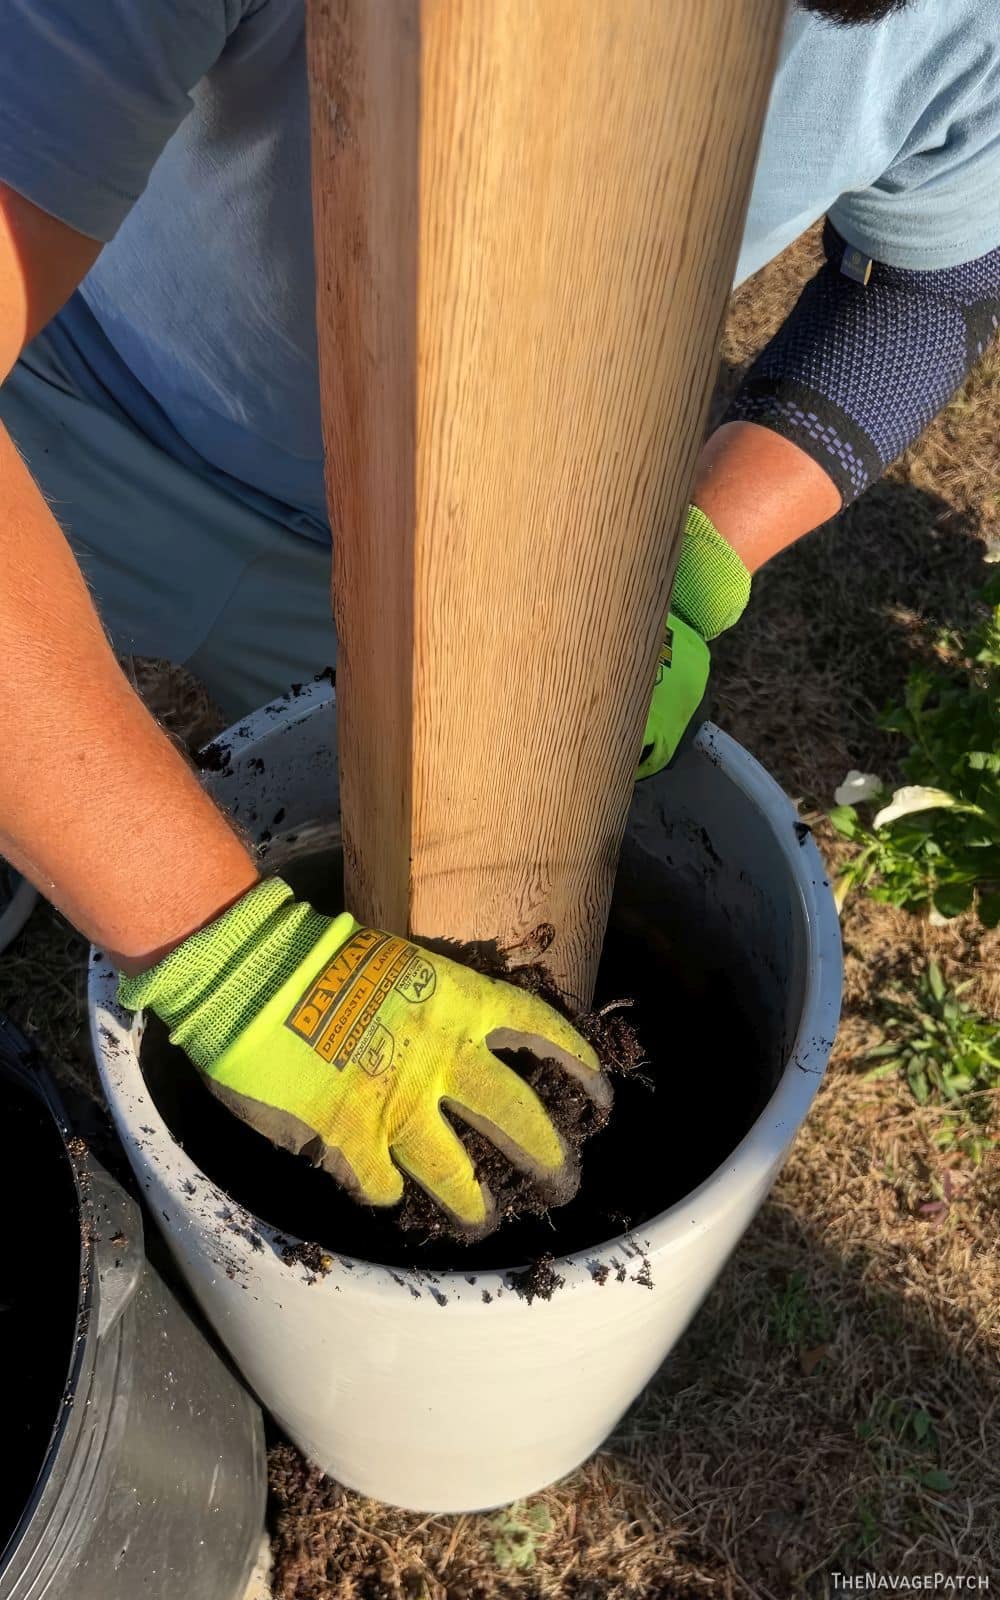
These water beads will help hydrate the flowers between waterings.
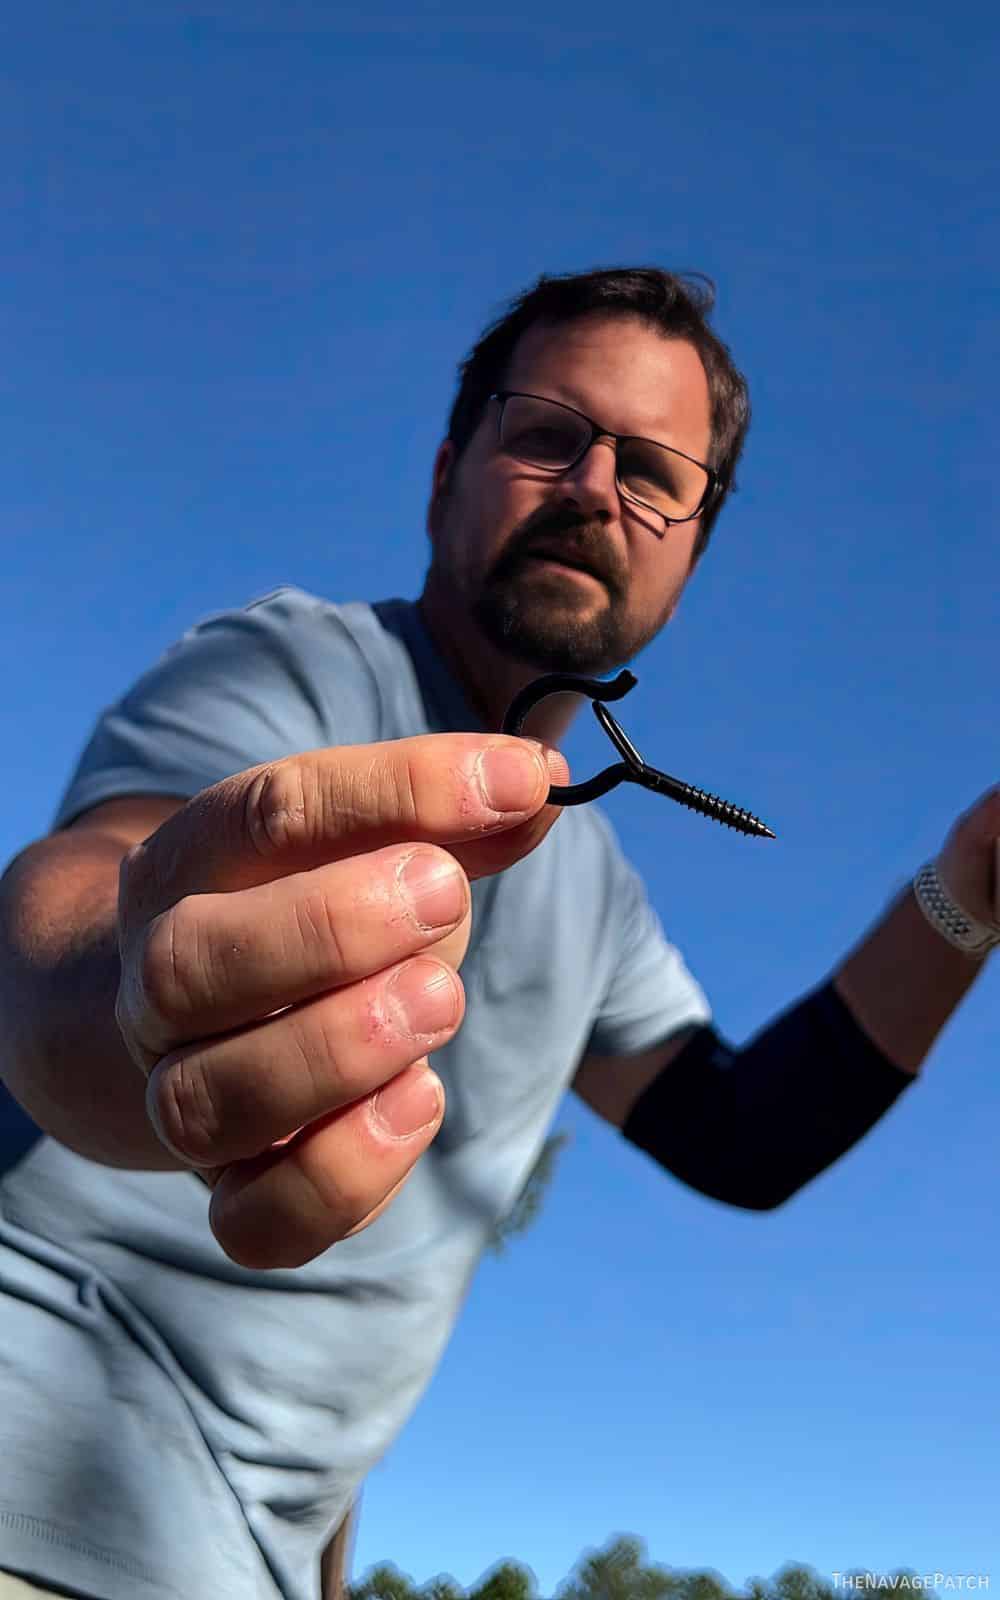
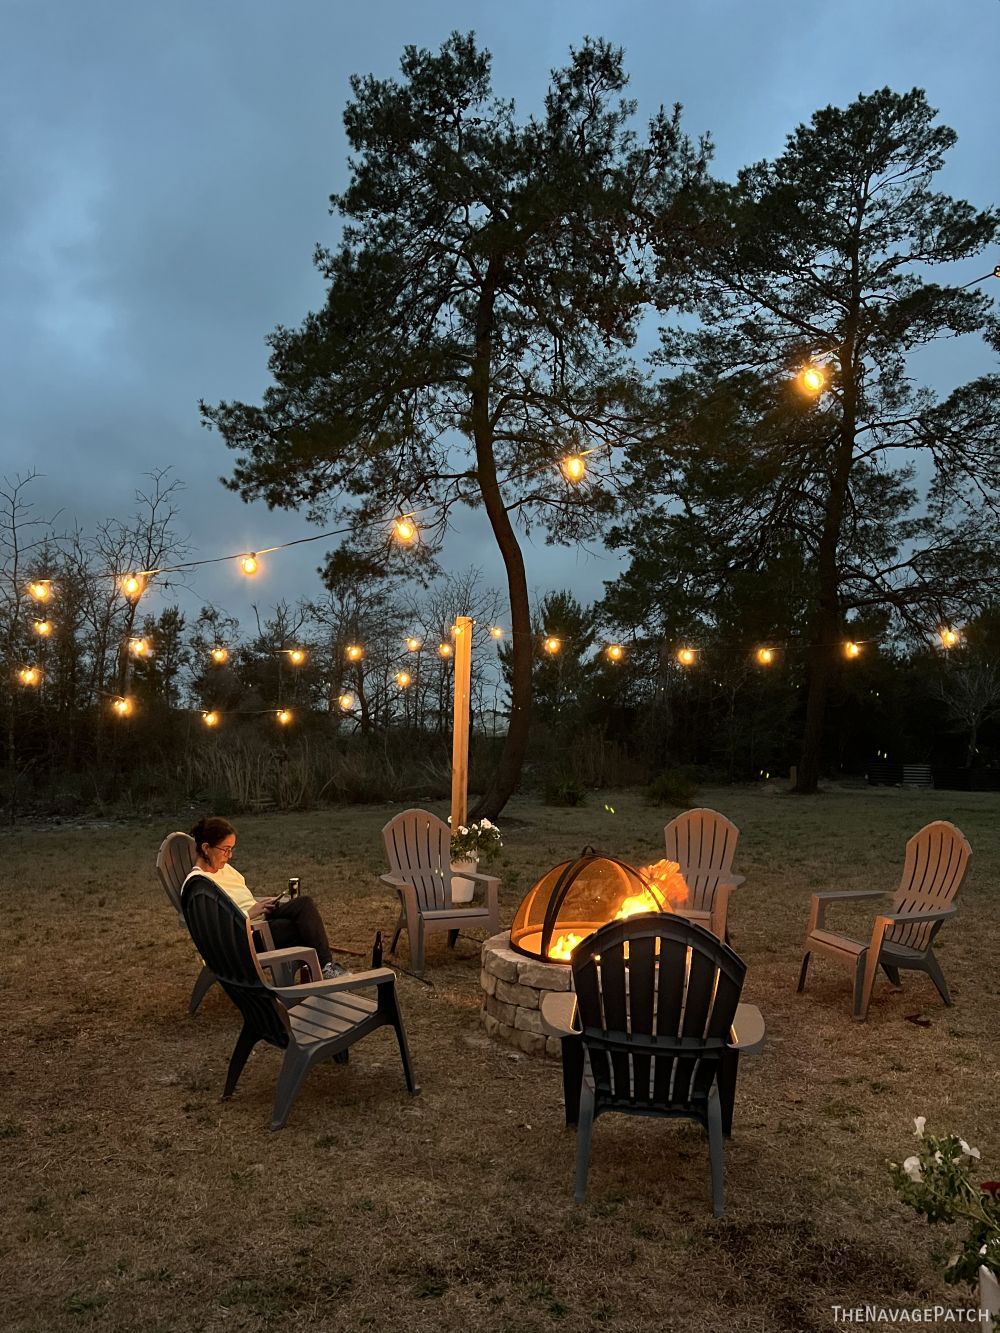
After planting some flowers (we wanted mint, but it’s too expensive this early in the season), I screwed a string light hook into the top of each post.
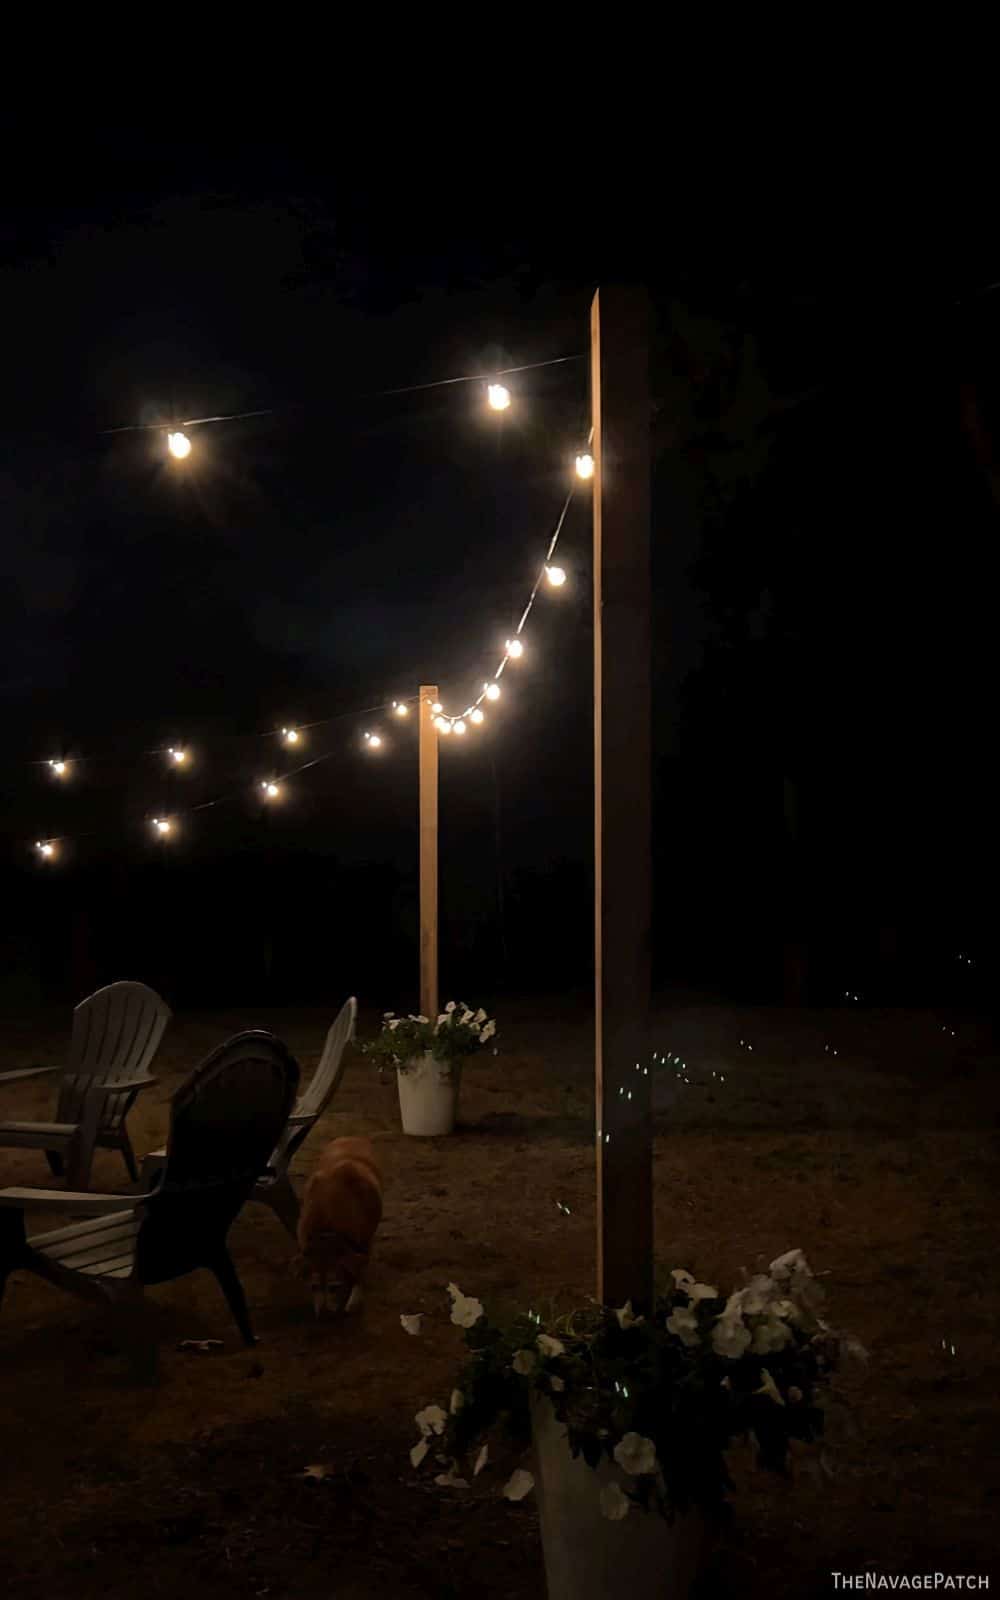
The final step was putting up the string lights!
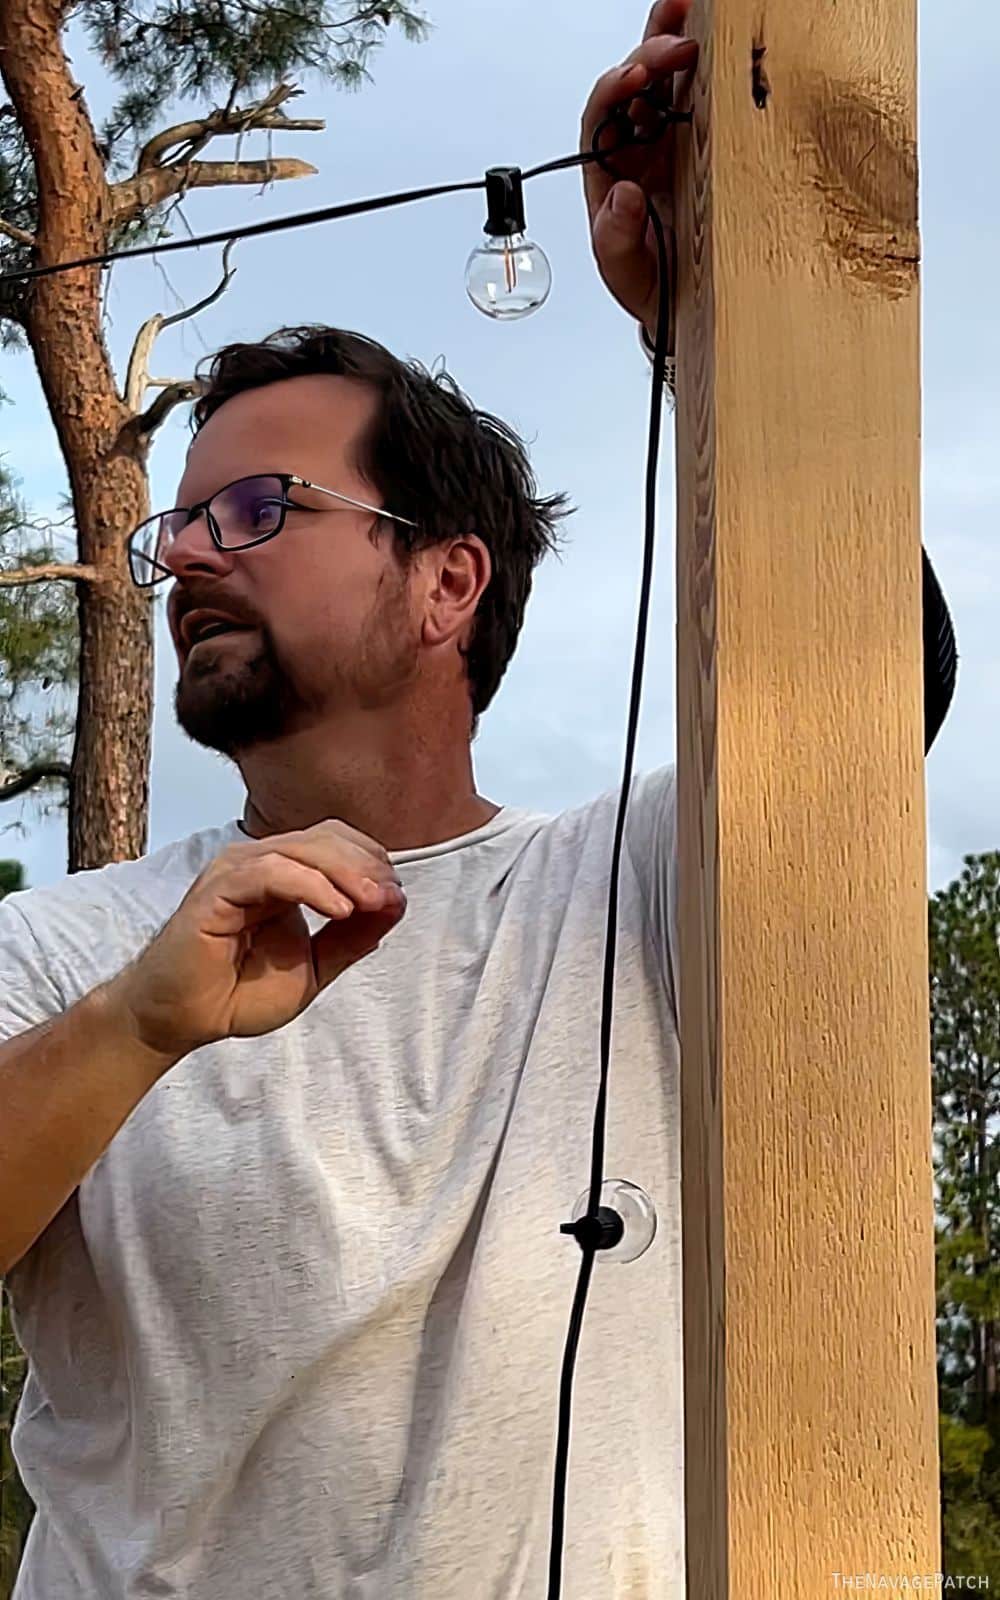
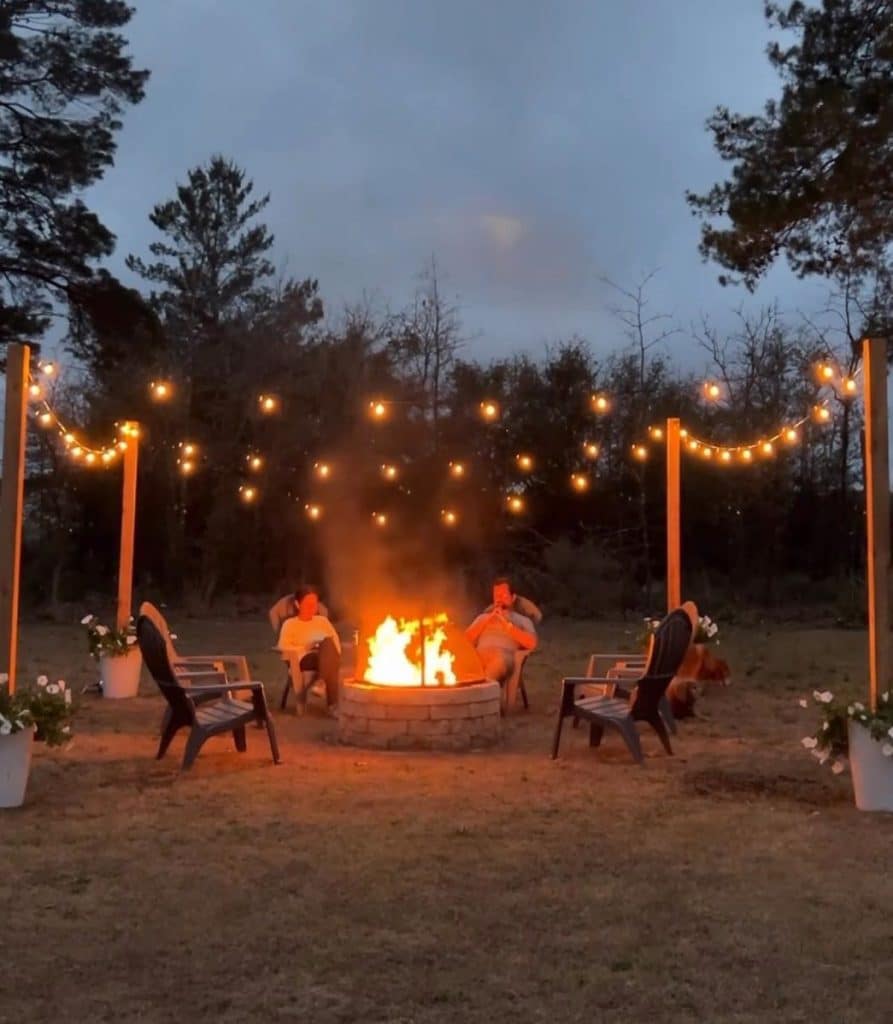
And phase 1 of our Backyard Oasis is complete!
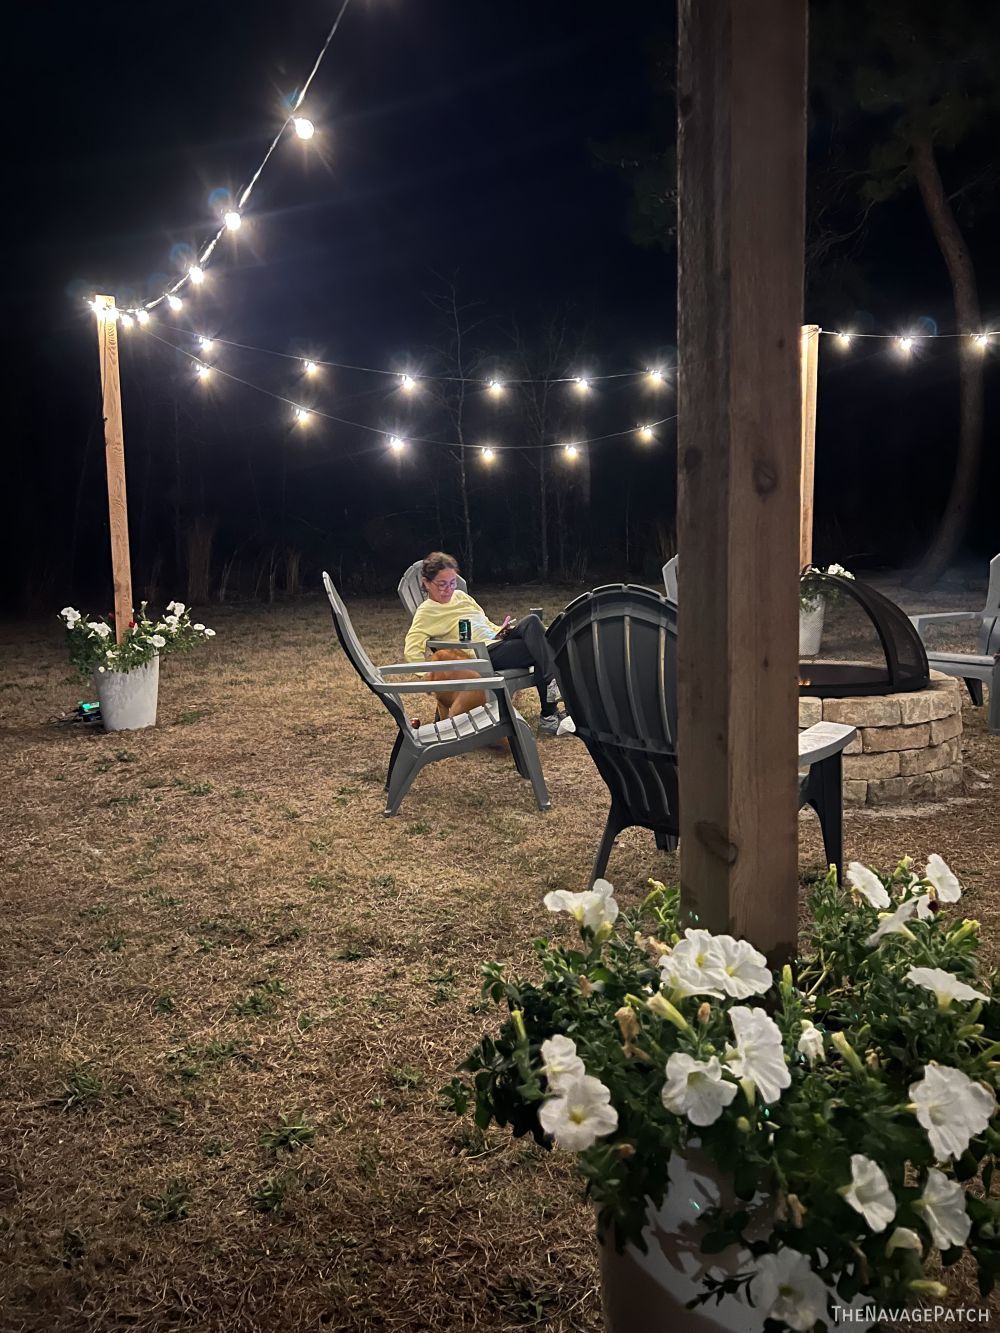
We’ll have so much more to share as we expand upon our oasis.
Spoiler Alert: there’s a DIY pergola in our very near future!!
BRILLIANT!!!! 5 ***** franki
Thanks, Franki! Just wait till you see how it all turns out!
Hi Greg!
You completed another great project. Well done! You give me so many great ideas for my house and my outdoor spaces.
Thanks, Michele, this backyard project is going to be epic!
These look great! I like the ceramic planters you used. We used whiskey barrel planters for the ones we made a few years ago. We capped them off with premade 4×4 post caps, and added brackets so we could have hanging baskets as well.
Oh, that’s a great tip about hanging baskets, Audra! 🙂
Now time for pavers or gravel around the fireplace. Grass is gonna die anyway.
We’ll be doing something around there soon!
I absolutely love reading about your projects!! I also love lights outside. I plan on coming up with something for my small patio!
Thank you! Outdoor lighting is so much fun to play with!
Great project!! Well done !! I’m interested in your power source set up . Would be a super surprise for my husband bd, if I could get it done w/o calling the electrician😆 Thanks for all your hard work , truly inspiring!!
Hi Stephanie, the inverter is a great solution for low-power-consumption items like LED string lights. HART makes a bigger inverter for their 40V outdoor line, and I’ll be showcasing that soon.
I have a quick question for you, Greg. How did the string lights work out from post to post? I mean when you get to the end of a string, did it make it to a post or did you have to just plug in another strand and keep going? Then at the final end, how did it work out? Did it reach the post? Did you have to use extension cords and tie them in somehow?
Hi Karen, we used a 100-foot strand, so it went all the way around, and we had enough to double the back. There was still about 15 feet left over that we didn’t use. You can also buy smaller strands. Either way, the strands connect to one another, so you can get a whole lotta light going!
Lovely. Been planning to do this. Like your idea of the smaller bucket to cement in. Time to break out the marshmallows!🙂
Absolutely! We bought 2 bags in anticipation of our son’s return for spring break! 🙂
Hi Greg! Just stumbled upon your post while researching DIY methods for the string light poles. I’m just wondering how this has worked out for you? I’ve read some say they fall over easily or rot quickly? Are you’re still holding up well?
Hi Shawna, They held up well, but I’ve taken them down because I’ll be re-doing that whole area soon with something different!
Love your ideas. This lighting is beautiful. One of our sons did this but used whiskey barrels. They added quite a bit of character!
I love that whiskey barrel look!
Hello Greg! I am a bit late for a comment, but here it is: Are the string lights hard wired or are they solar? I have been thinking of putting up some lights using solar for ease of installation. Any experience with solar lights? Many thanks!
They are battery-powered using an inverter!
I love string lights especially ones with the vintage Edison-style bulbs. I plan on putting them on our deck once it’s in the budget to rebuild it into something that’s pretty and I actually want to sit out on it. The current one is small and ugly so not worth decorating especially since I don’t sit out there. Plus we are on a corner lot on a slight hill so we are on display for the neighborhood on our high deck (the garage level in underneath it so it sits at a higher level.)
I would love to surprise my husband with this. Is concrete easy to mix ? Do I need any special equipment ?
It’s very easy to mix. I use a drill with mixer blade, but it can also be hand mixed!
Thank you for the DIY details, they look great!! Have you found the 8’ posts to be tall enough? If you buy a pre-made steel pile set they seem to be taller. But maybe end up bending??
I think 8 feet is tall enough – any taller and they wouldn’t be as stable
I love it! I am planning a mini backyard makeover & I would love to recreate this. We are having some fencing installed soon too & I can’t wait to see how it all comes together.
Thank you, Jackie!
How far away are each post from the the other? Can it support if the post are as far as 20 ft apart?
I don’t have them up anymore, but I’d say that 20ft might be pushing it. It would depend on the weight of the strand.
Hi! We followed this tutorial but when we go to hang our lights the posts want to fall over from the weight…any suggestions on preventing this? We have very similar pots, did concrete in buckets and each post is about 18’ from eachother. Any help appreciated.
Did you drill holes in the sides of the blue buckets above the concrete fill line? Doesn’t the blue bucket hold water against the pole at the top of the bucket?