DIY Spray Paint Cabinet
This DIY Spray Paint Cabinet makes use of a deep, narrow space that’s perfect for our ever-growing spray paint collection!
Just call it the Hydra House.
In Greek mythology, Typho (the last son of Gaia) and Echidna (a charming half-woman, half-serpent monster) had a wonderful and joyous child named Hydra.
Like her mother, Hydra was a monster – feared and reviled by mortal men – but what her mother only possessed one of (namely a head), Hydra had in spades. And if that weren’t enough to put on the next family Christmas card, Hydra had the ability to grow back two heads if some hapless fool attempted to kill her by cutting off just one of her many heads.
I’m reminded of Hydra often around the Navage Patch. No, no, I’m not talking about Handan – she only has one head!
I suppose it started back in Connecticut. Every Saturday, we’d go to the dump to drop off the week’s trash. But our dump in Glastonbury had Put & Take – a local drop-off point for unwanted treasures. So each week I’d dump a few bags of trash and load the car with castaways.
The same theme has played out with many DIY and crafting supplies, but none so often as with spray paint.
Each time I finish a can – especially if it’s a commonly used color, it gets replaced with two more (and sometimes 3, 4 or more!)
It wasn’t long before our spray paint collection needed a bigger shelf, then multiple shelves…then its own bookshelf.
But eventually it grew out of its bookshelf, and cans littered the garage floor and accumulated in old cardboard boxes. Hydra needed a new home.
Here in Florida, where space is at a premium, every cubic inch of potential storage space must be explored and evaluated.
So when we found ourselves with a narrow void – only 12 1/2 inches across, but 24 inches deep – my babes declared it to be the Future Home of Hydra, aka our new spray paint storage cabinet.
We love to see our DIY projects out in the wild! If you try this DIY project and take a picture and post it on Instagram, be sure to tag us – thenavagepatch
Of course, a space of these particular dimensions, plus the fact that my babes wanted a single pull-out 7-foot drawer made this the custom build of all custom builds.
I sat down at my computer to try to cobble something together on Sketchup, but my engineer babes got tired of waiting for O’l Dunderhead to finish his figgerin’ and calculatin’ so she grabbed the nearest pad of paper and within minutes had my blueprint.
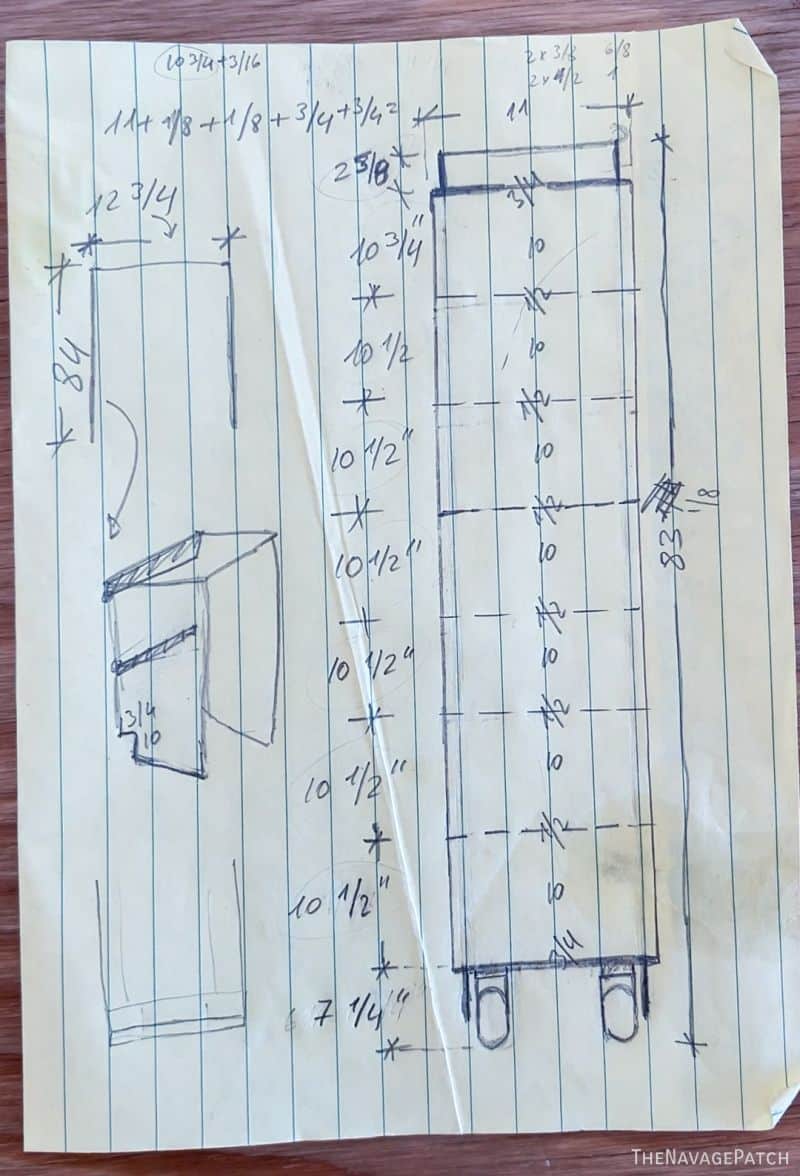
It can be painfully annoying being married to an engineer, but it can also be incredibly helpful.
Armed with this detailed plan, I set out to build a spray paint cabinet.
DIY spray paint cabinet SUPPLIES LIST
Affiliate links are provided below. Full disclosure here.
- 3/4″ plywood
- 1/2″ plywood
- Utility panel
- Kreg Foreman
- Kreg Rip-cut circular saw guide
- HART 7 1/4-inch cordless circular saw
- Miter saw
- Table saw
- HART brad nailer
- Ryobi caulk gun
- Construction adhesive
- HART random orbit sander
- HART drill and driver set
- DrillBlock drill guide
- 22″ drawer slides
- 4″ heavy duty fixed plate casters
- Cabinet pull

Cabinetry is a project that needs proper thinking and planning, but once the planning is done, it’s best not to dawdle, but to jump right in and start cutting.
Otherwise, you may psych yourself out or get caught in an endless revise-and-perfect loop. Sometimes you just gotta let the sawdust fly and see where it lands.
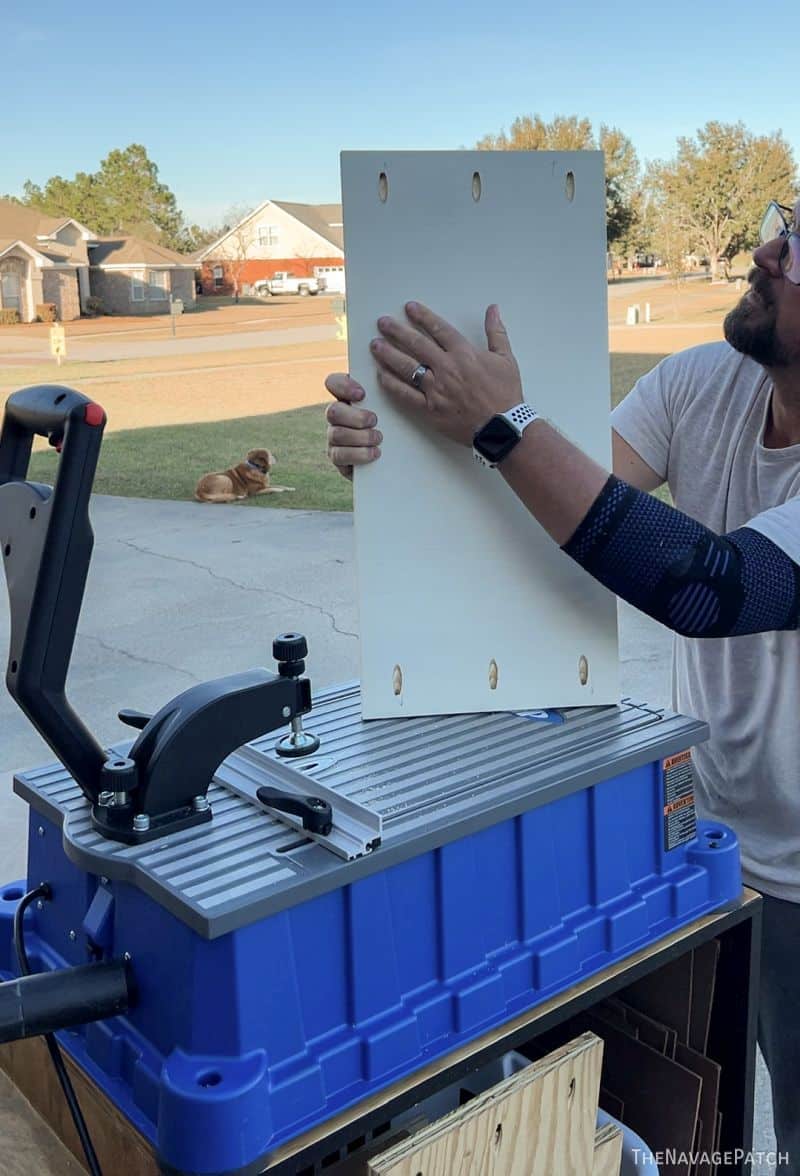
Cutting plywood is a relative breeze with the right tools and technique.
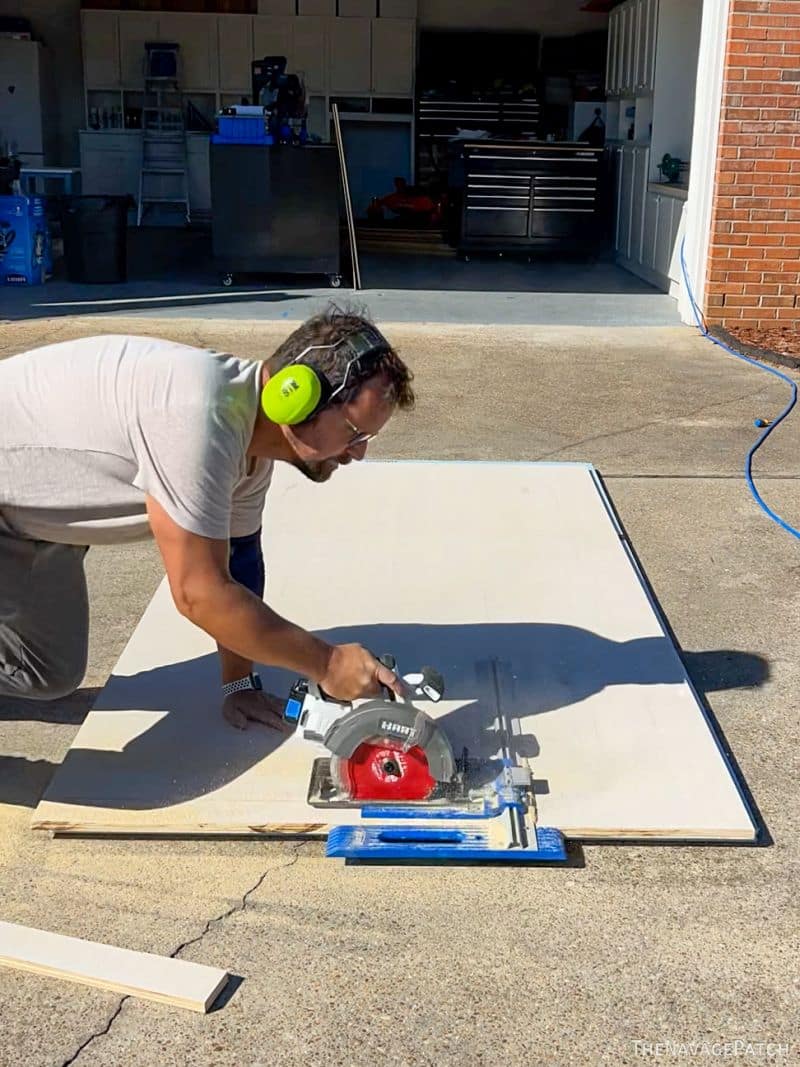
Since cutting a full sheet on a table saw is no longer an option due to my advanced age and smaller table saw, I cut plywood on top of a 4×8 sheet of insulating foam. This is the perfect solution, and as long as I’m spry enough to scamper around on my hands and knees, I can cut with no problems.
To keep my cuts straight, I use the Kreg Rip-Cut Circular Saw Guide along with my HART 7 1/4-inch cordless circular saw.
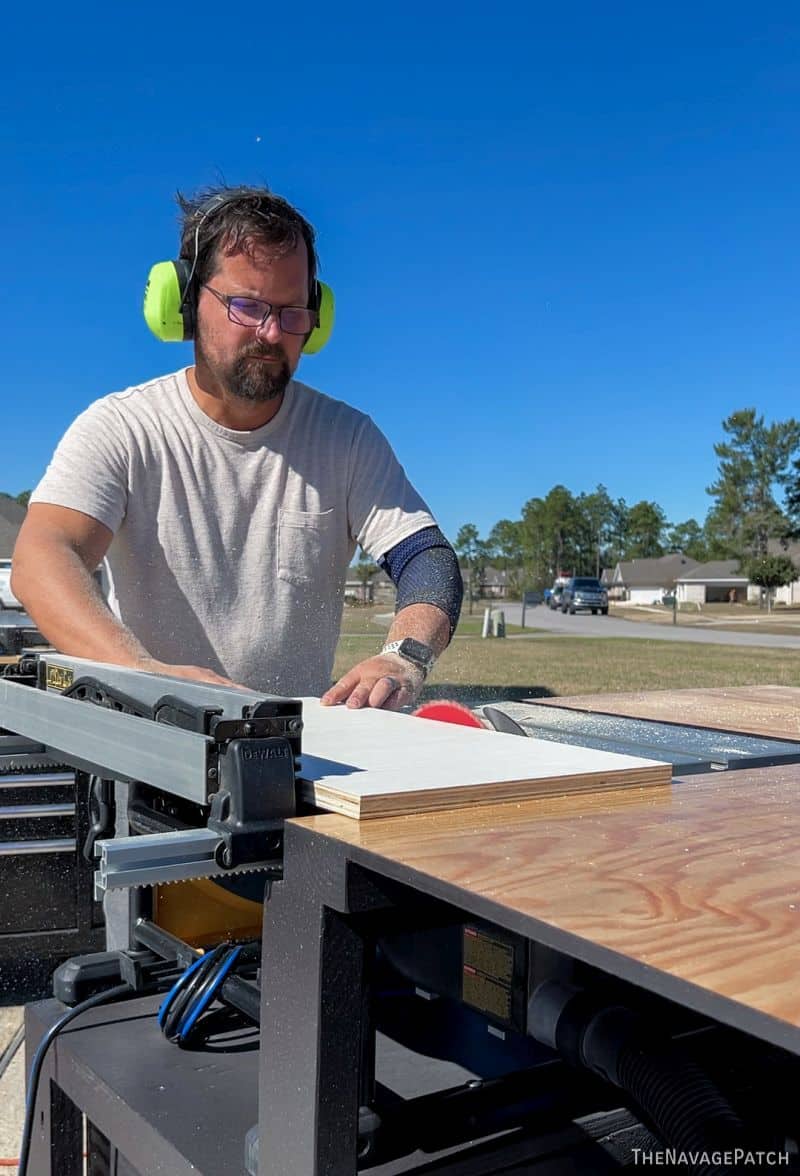
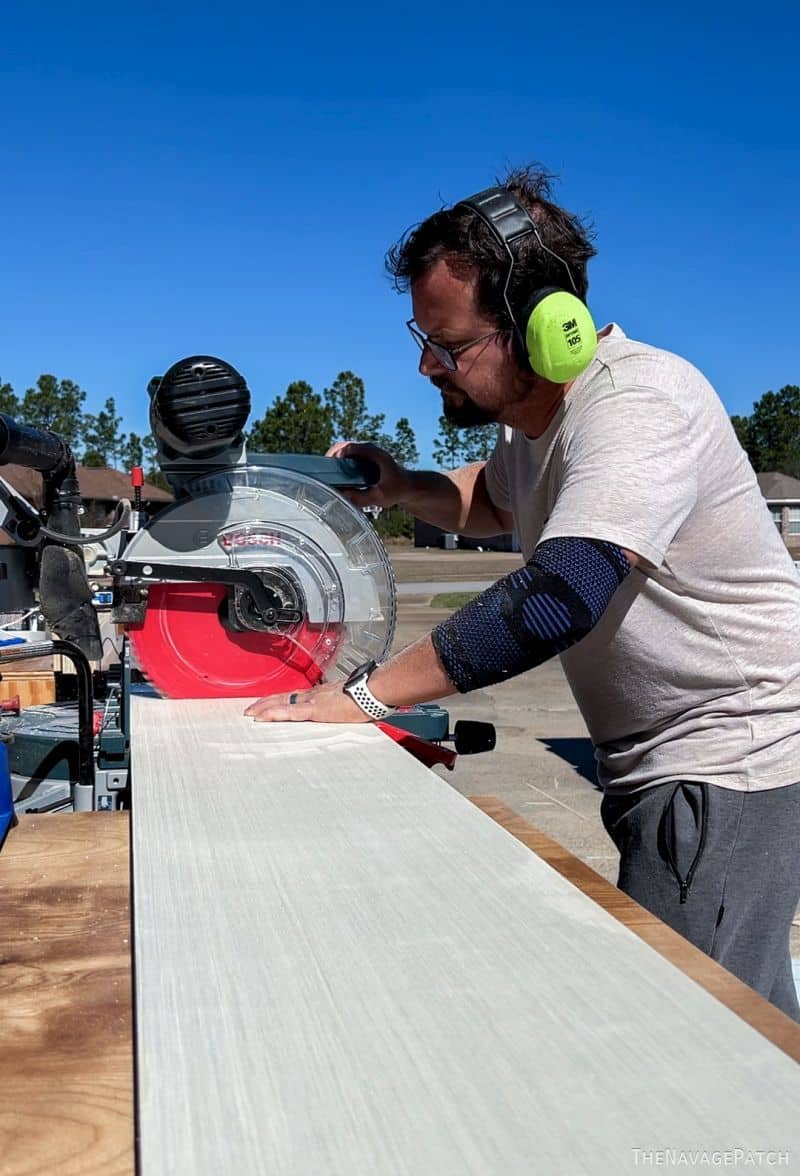
If the pieces are small enough, I use my table saw and 12-inch miter saw. I may still be spry enough to scamper like a monkey, but I’ll take standing up over crawling any day of the week!
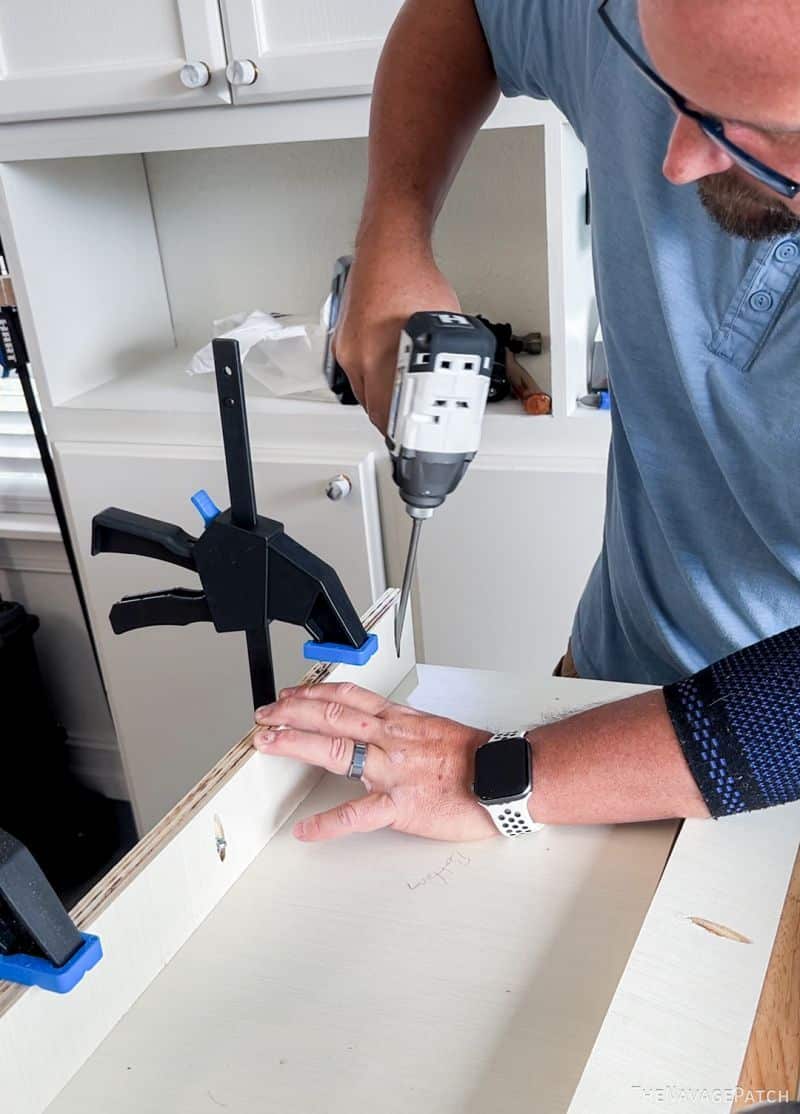
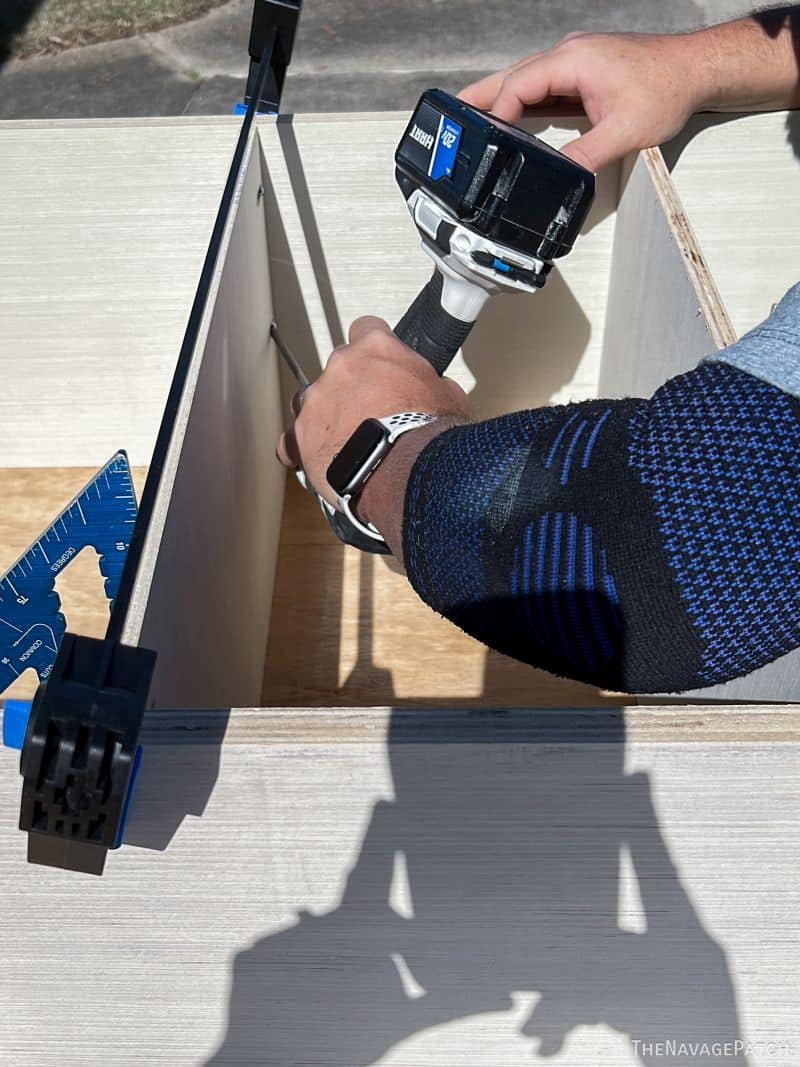
Once I had all the pieces cut, I drilled pocket holes so I could join together the pieces for the sliding/rolling cabinet. The Kreg Foreman is a game-changer when it comes to pocket holes – especially for plywood. And with a lot of cabinetry in my future, I’ll be getting a lot of use from this tool!
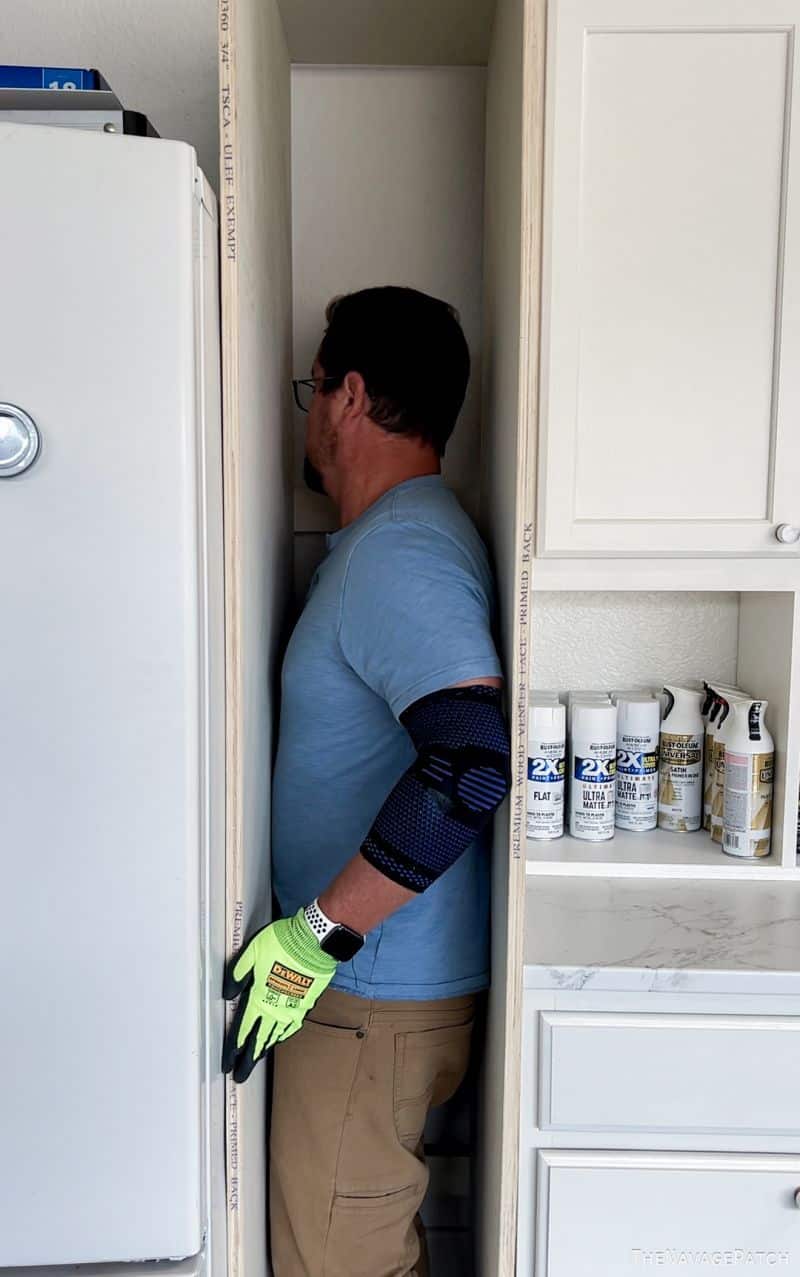
I assembled the carcass first – two long sides and a top with four support strips running along the back. It fit like a glove into its space, and I fit like a mashed potato into it.
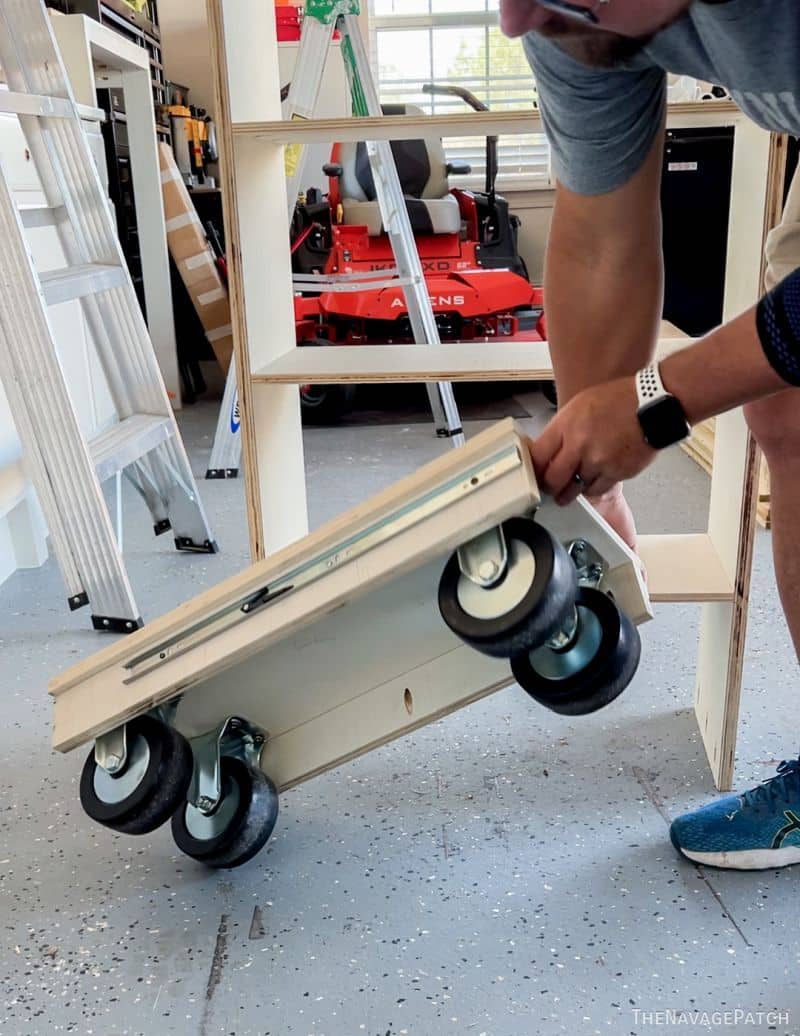
Next, I built the rolling base upon which the paint cabinet would sit. Because it’s nearly 7 feet tall, I would be stabilizing the rolling cabinet with a set of drawer slides on the top and bottom of the cabinet.
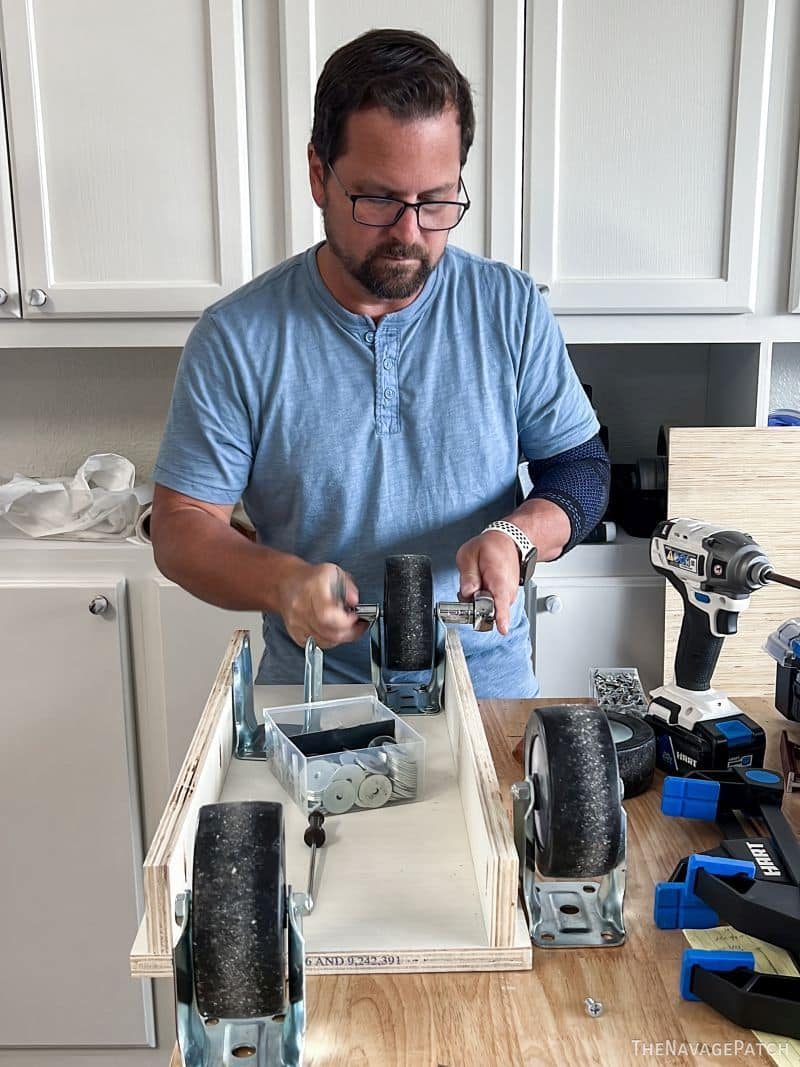
I used 4 very large and heavy duty casters to make rolling easier. Before I could screw them into the base, I had to remove the wheels.
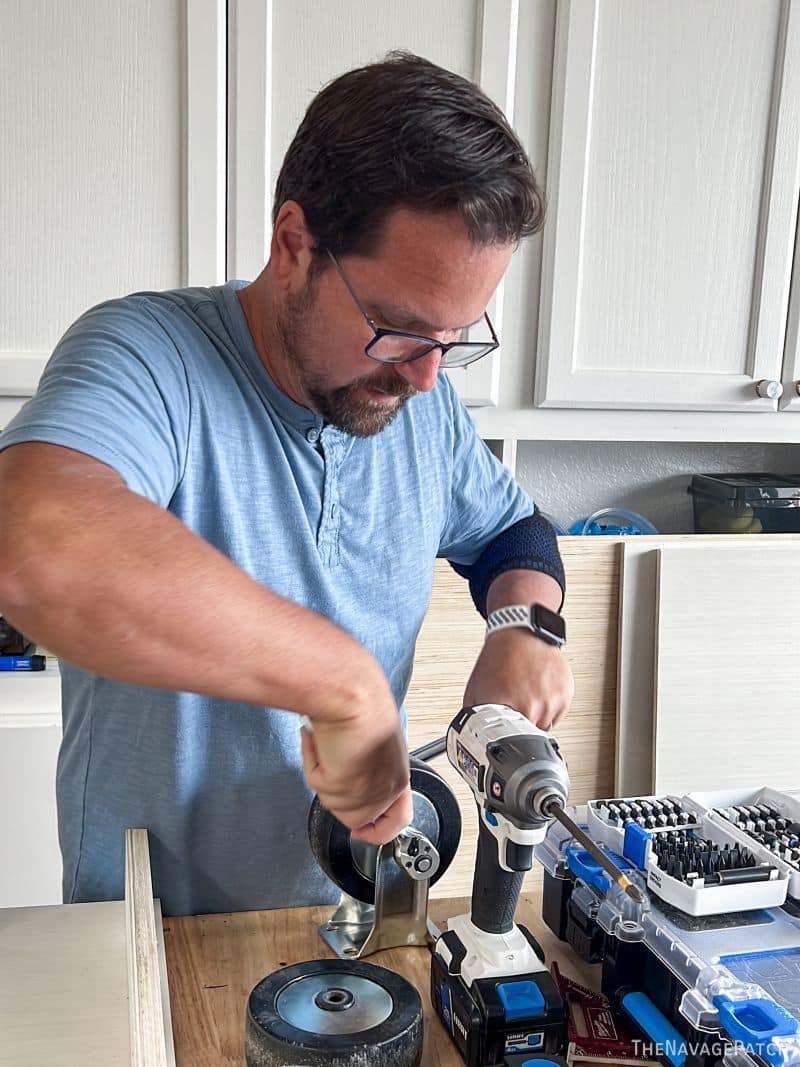
Below are two wheel supports installed. The long pieces of plywood are inset from the bottom of the base to accommodate the drawer slide.

Re-installing the wheel to the caster.
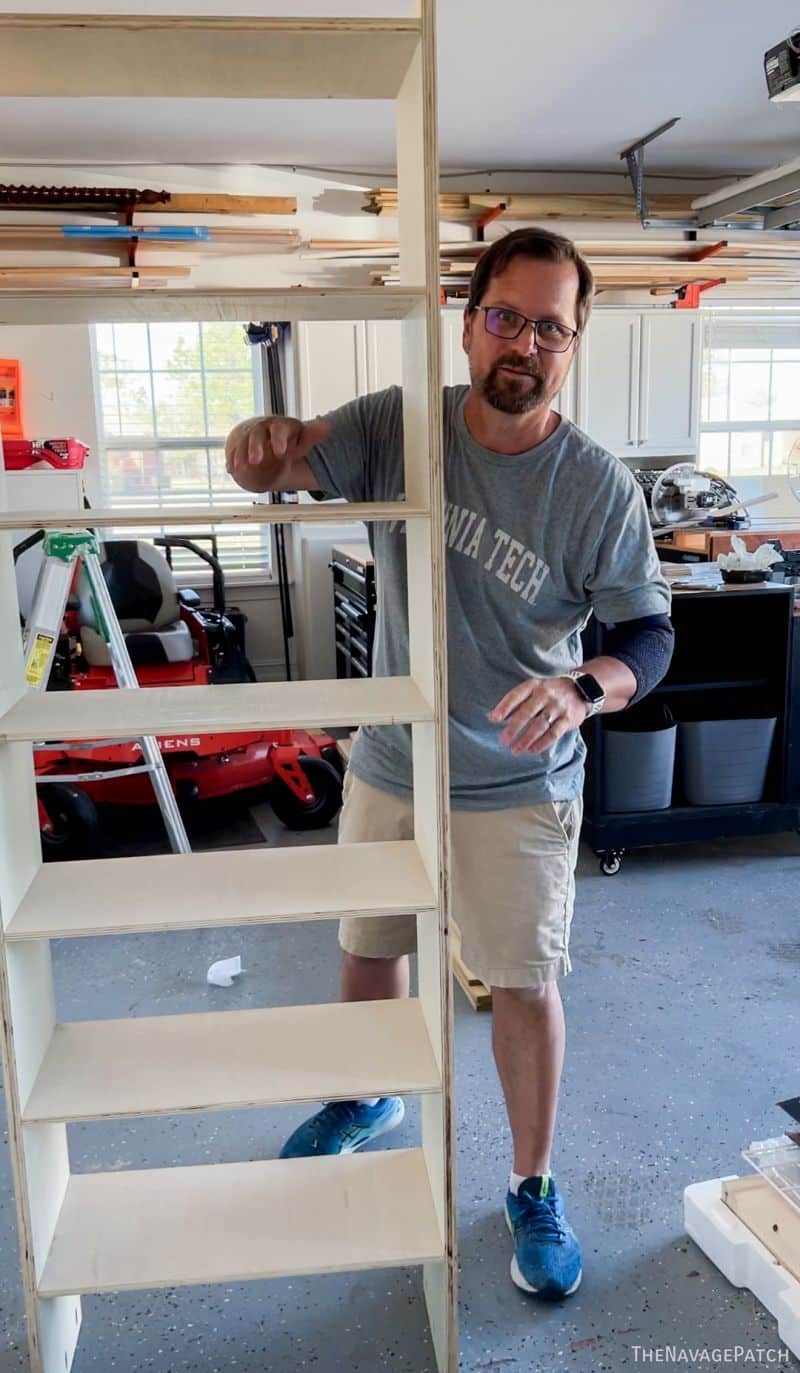
Back outside, I assembled the cabinet frame from 3/4 inch plywood and pocket screws.
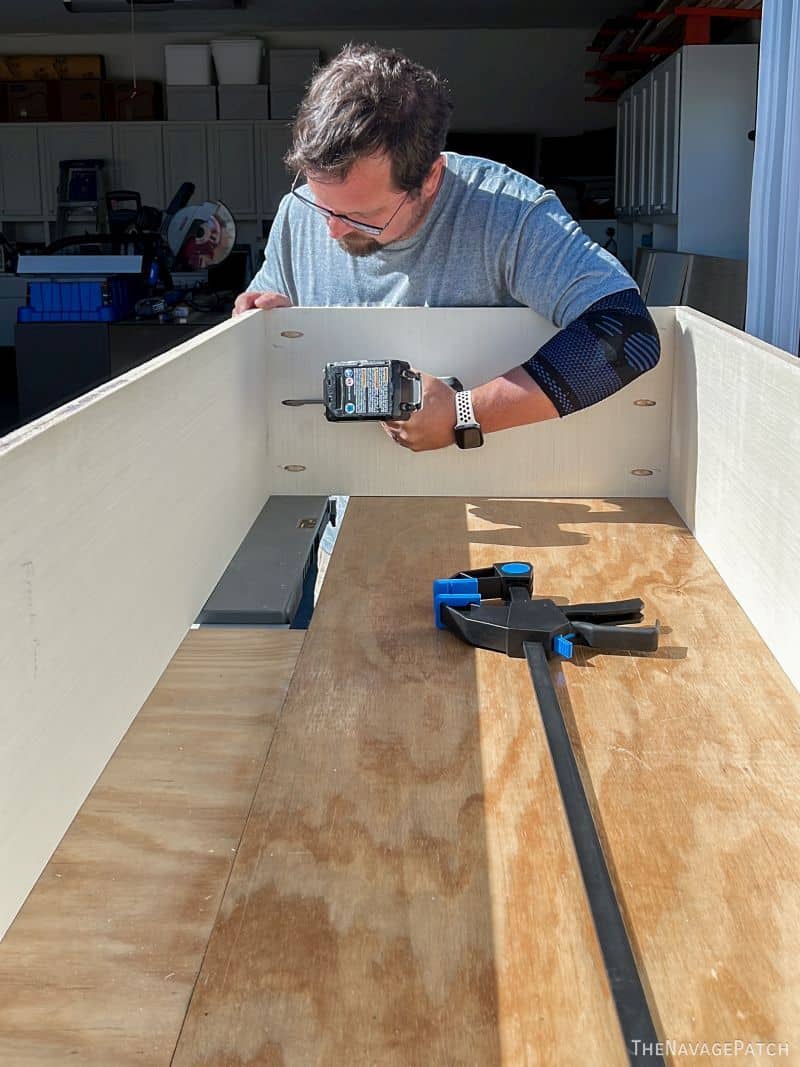
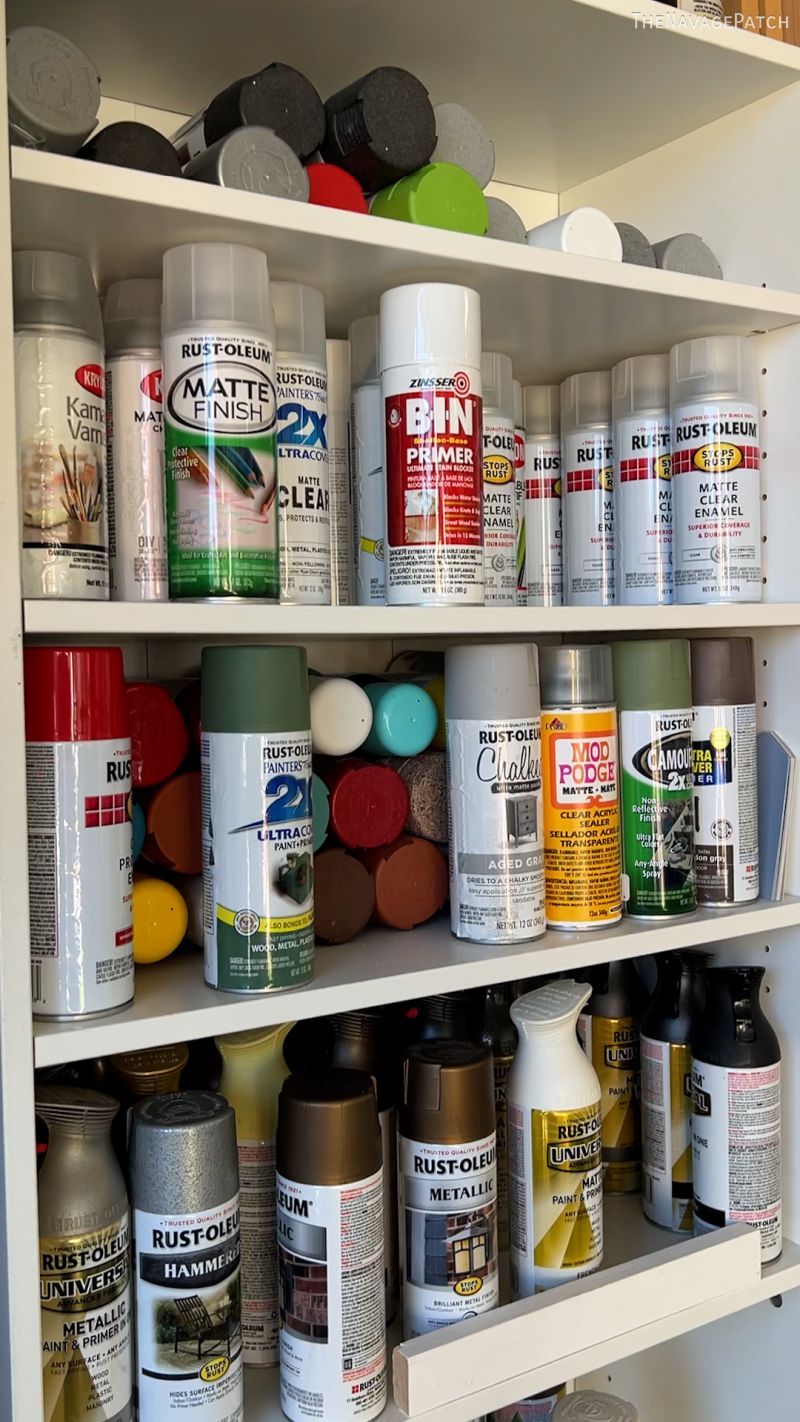
I installed 6 shelves made from 1/2 inch plywood.
This is the rolling cabinet base with drawer slides attached. Let’s call it Exhibit A.
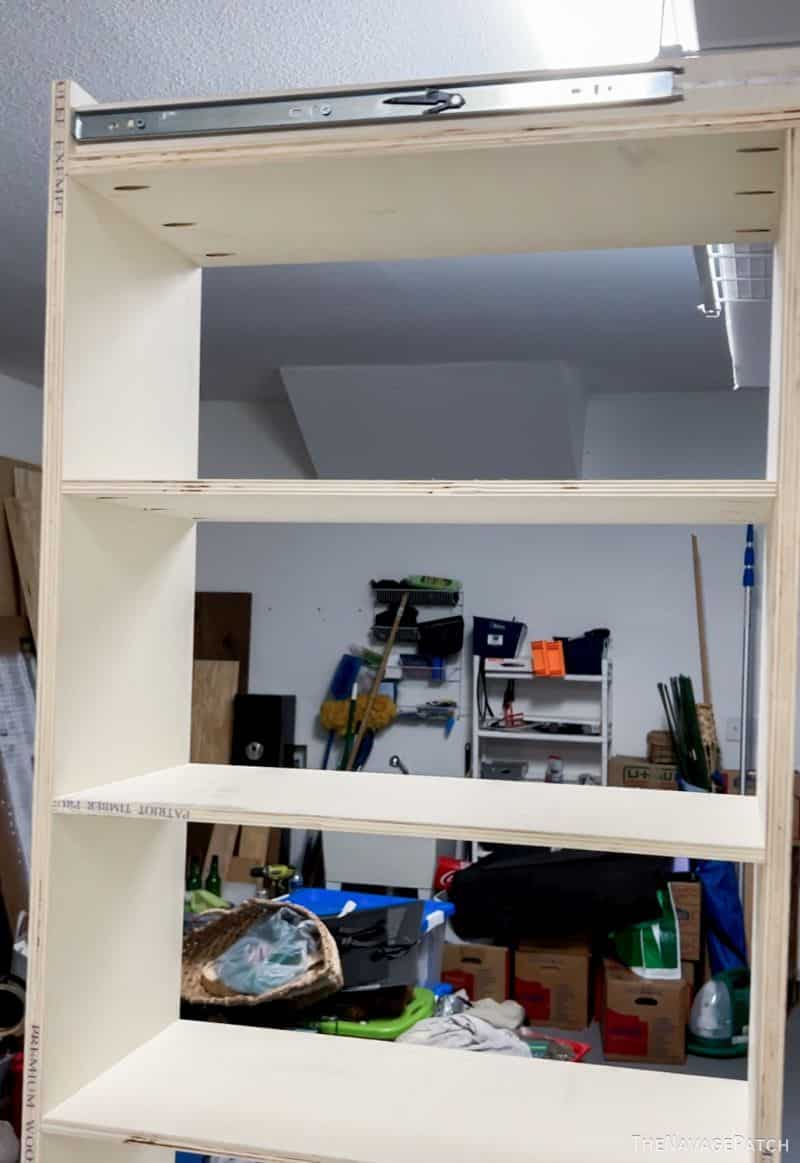
And this is the spray paint cabinet. Let’s call it Exhibit B.
In theory, Exhibit B should fit perfectly on top of Exhibit A.

And it did! Phew!
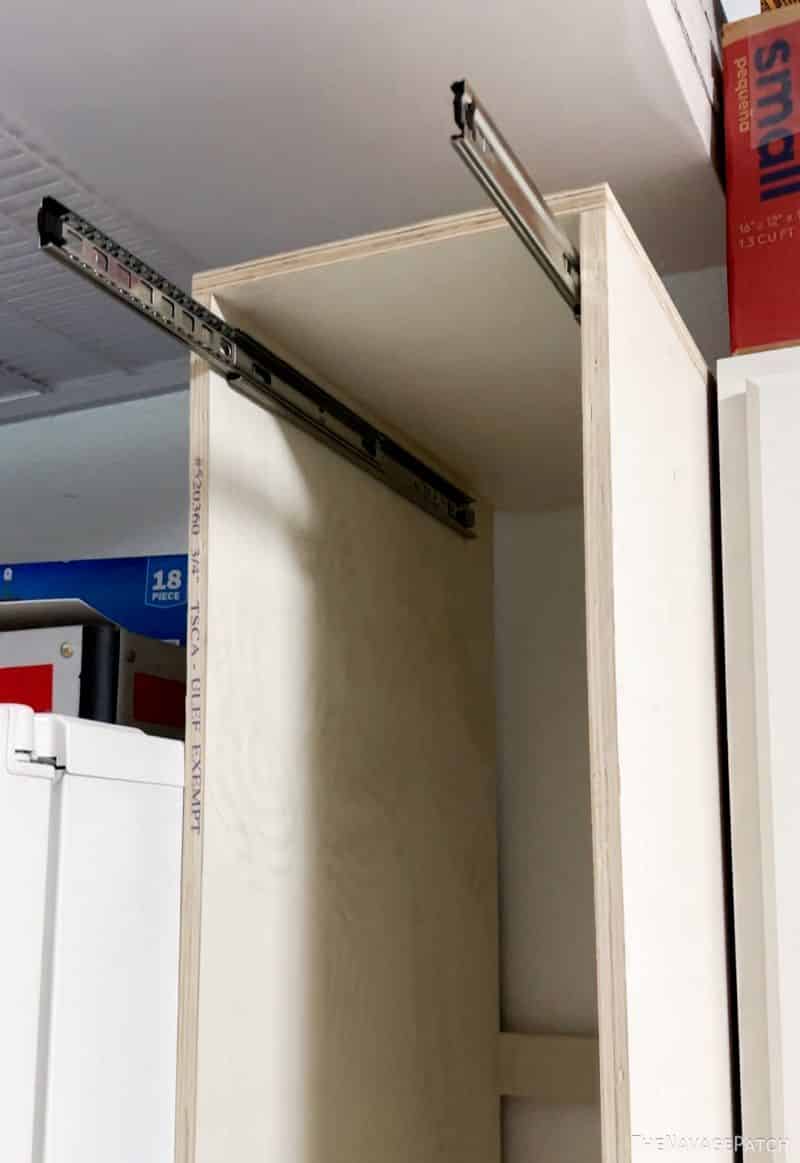
I Installed drawer slides to the top of the cabinet carcass and to the top of the rolling cabinet.
I cut 14 pieces of project panel to act as shelf rails.
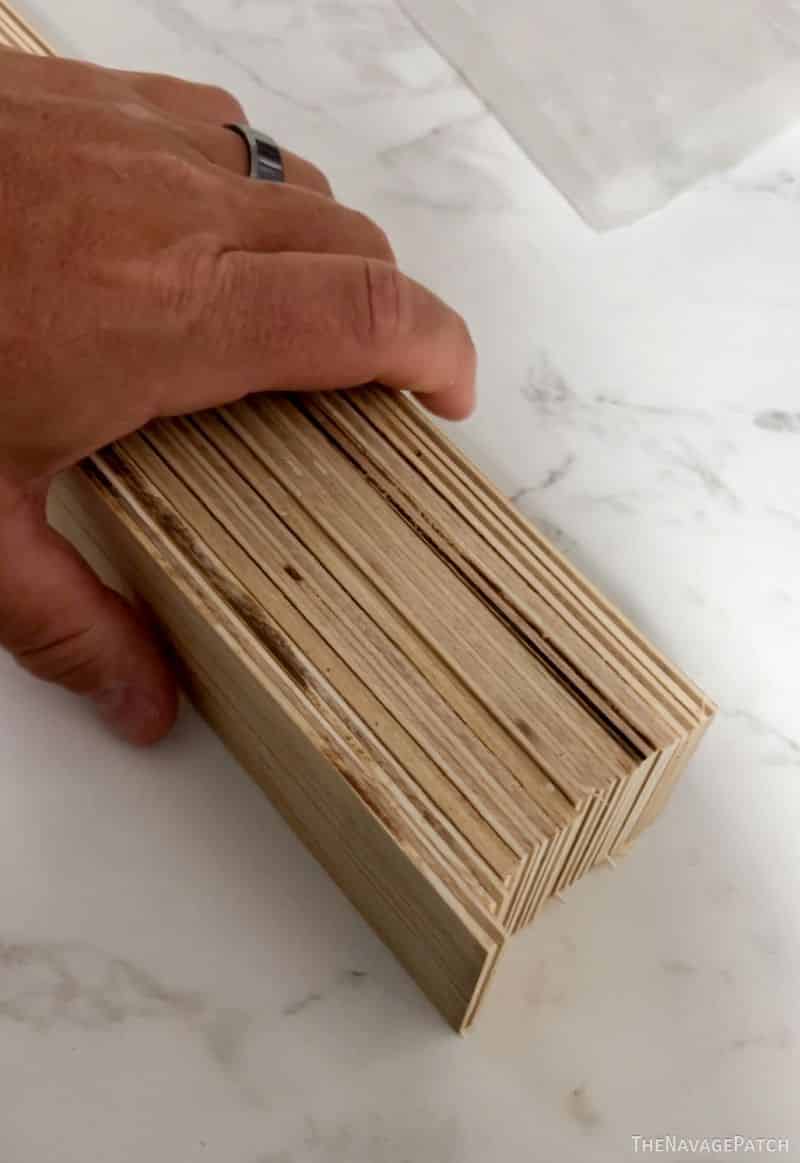
I put a little wood glue along 3 edges and pressed the rails in place.
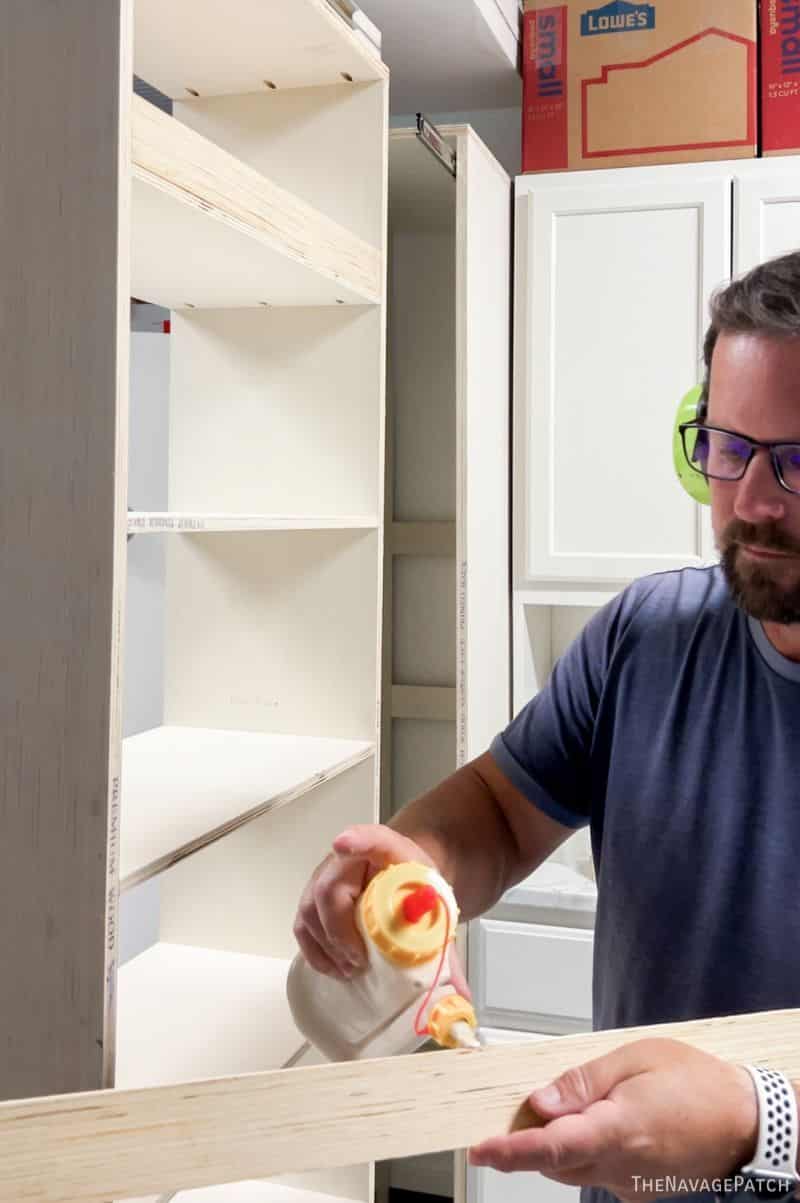

What a difference the rails made to the overall look!

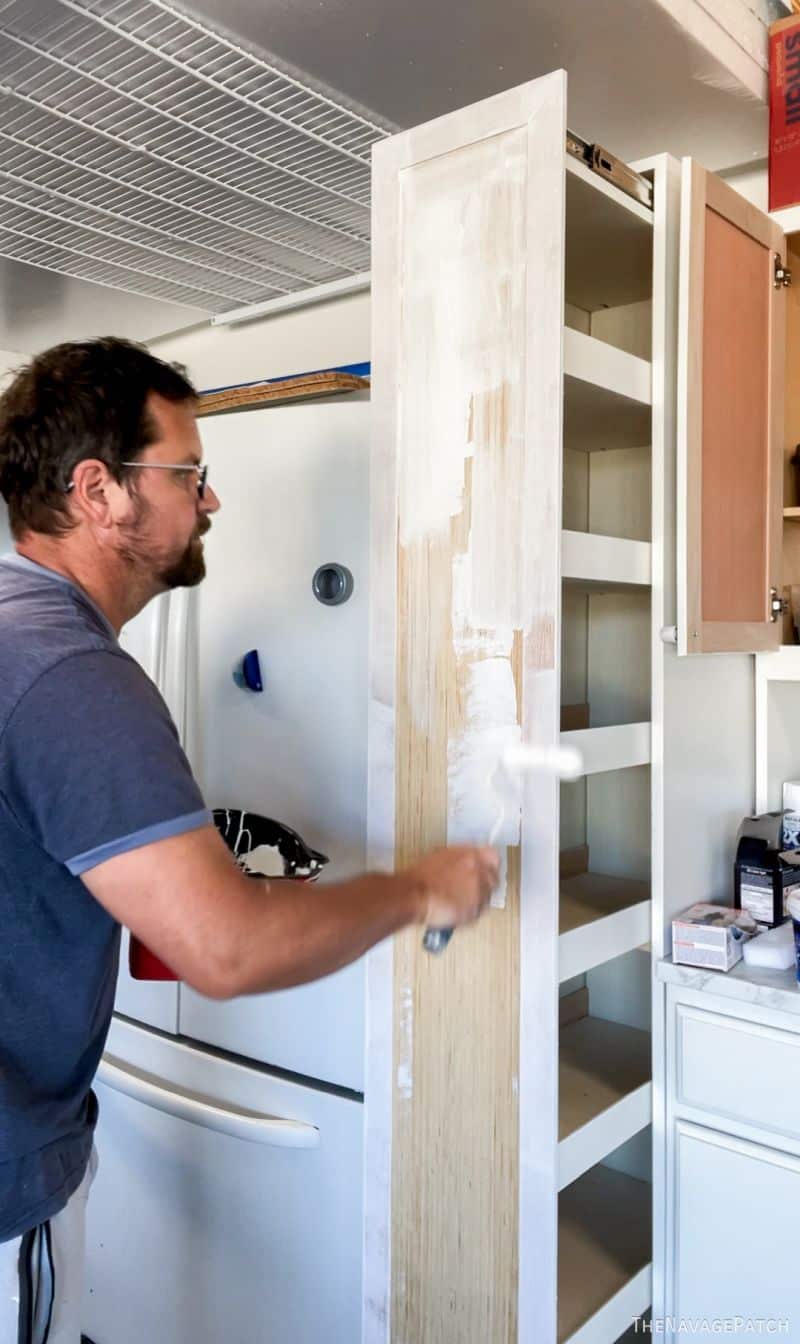
Before making a face frame for my spray paint cabinet, I primed and painted the carcass and the outer-facing parts of the cabinet.

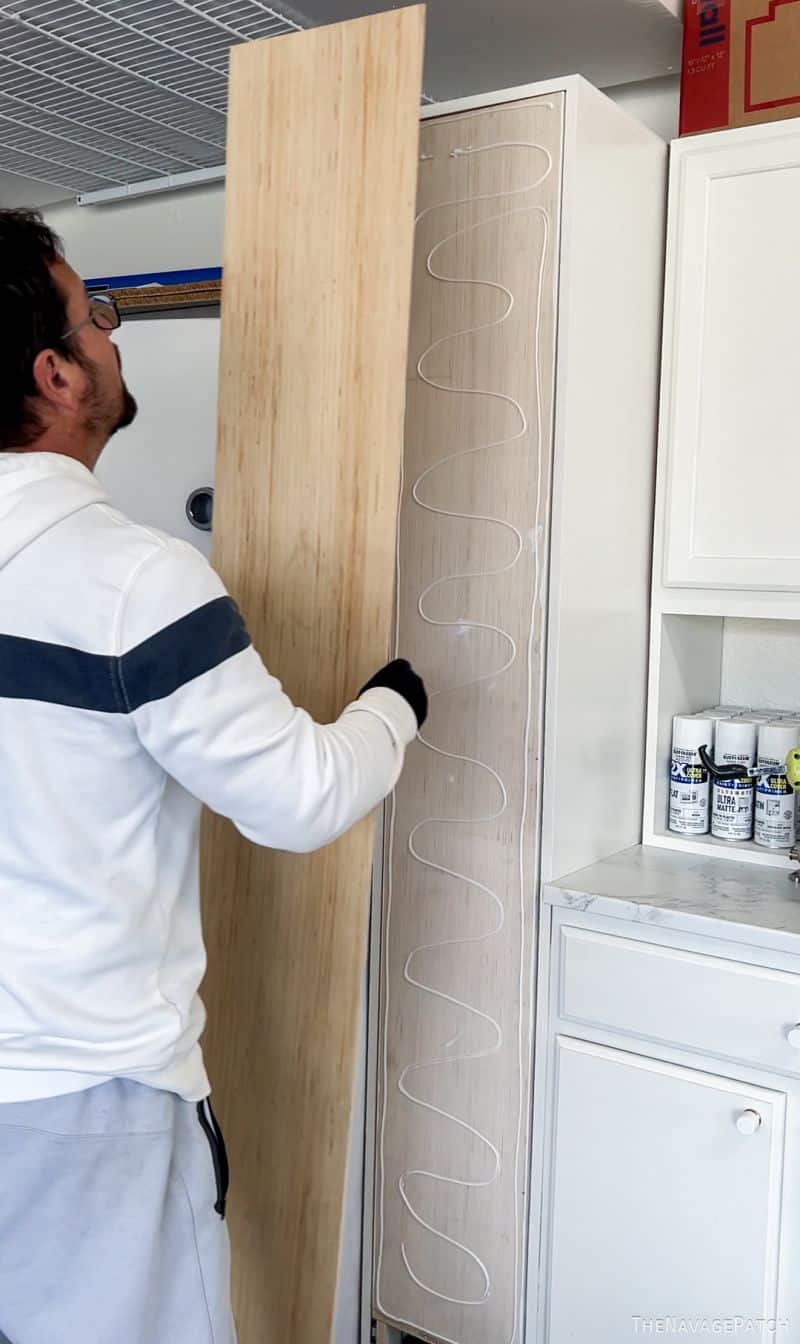
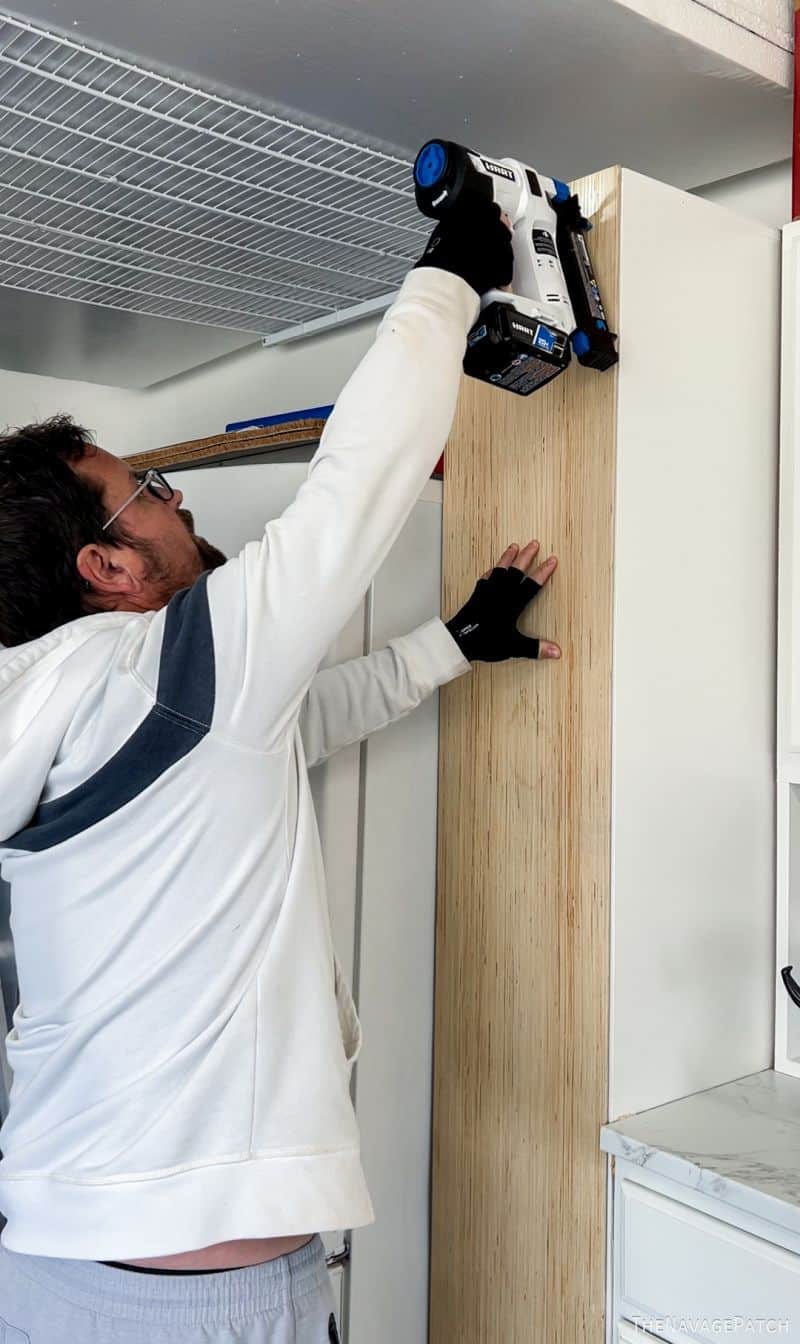
I cut a piece of project panel a little larger than the existing cabinet face and secured it with construction adhesive and brad nails.
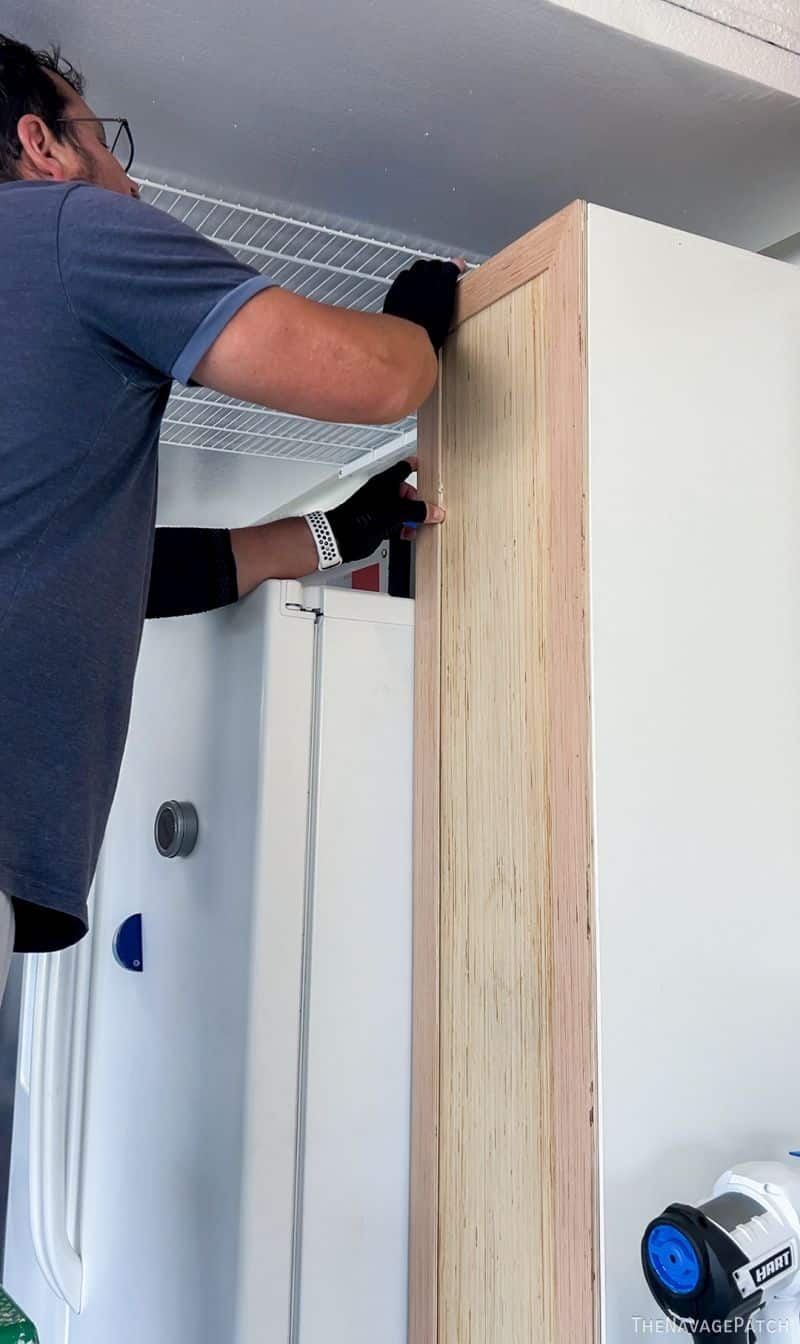
To add a little interest to the monolithic face, I miter-cut more strips of project panel and placed them around the edge.
It may be a lowly paint cabinet in the garage, but it deserves to look as good as it can, so I filled the brad nail holes with spackle.
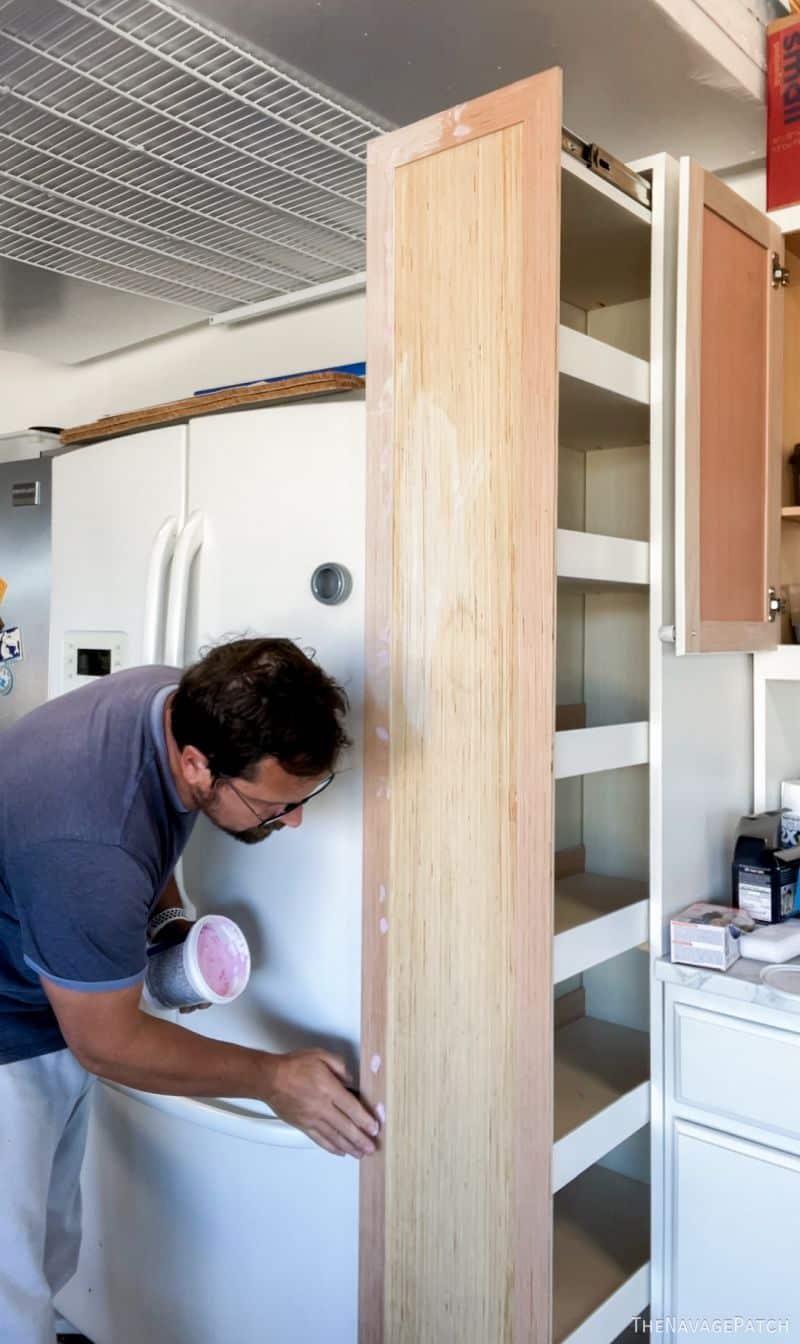
Then I primed, caulked and painted the front.

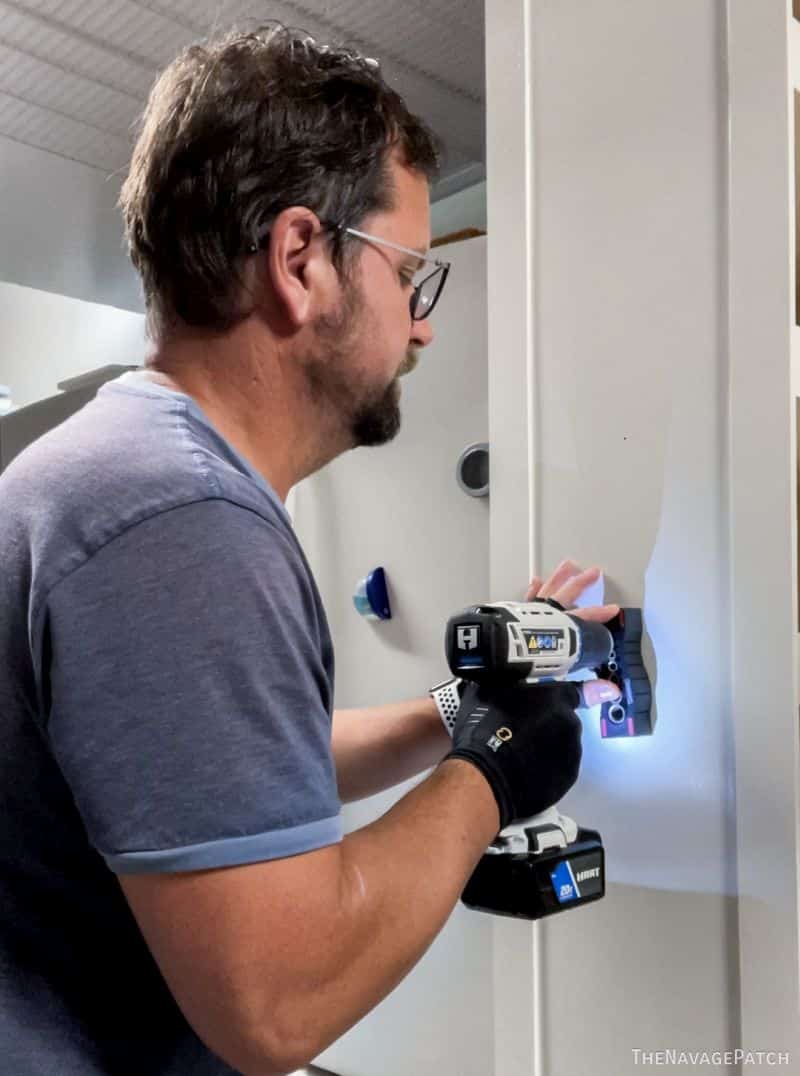
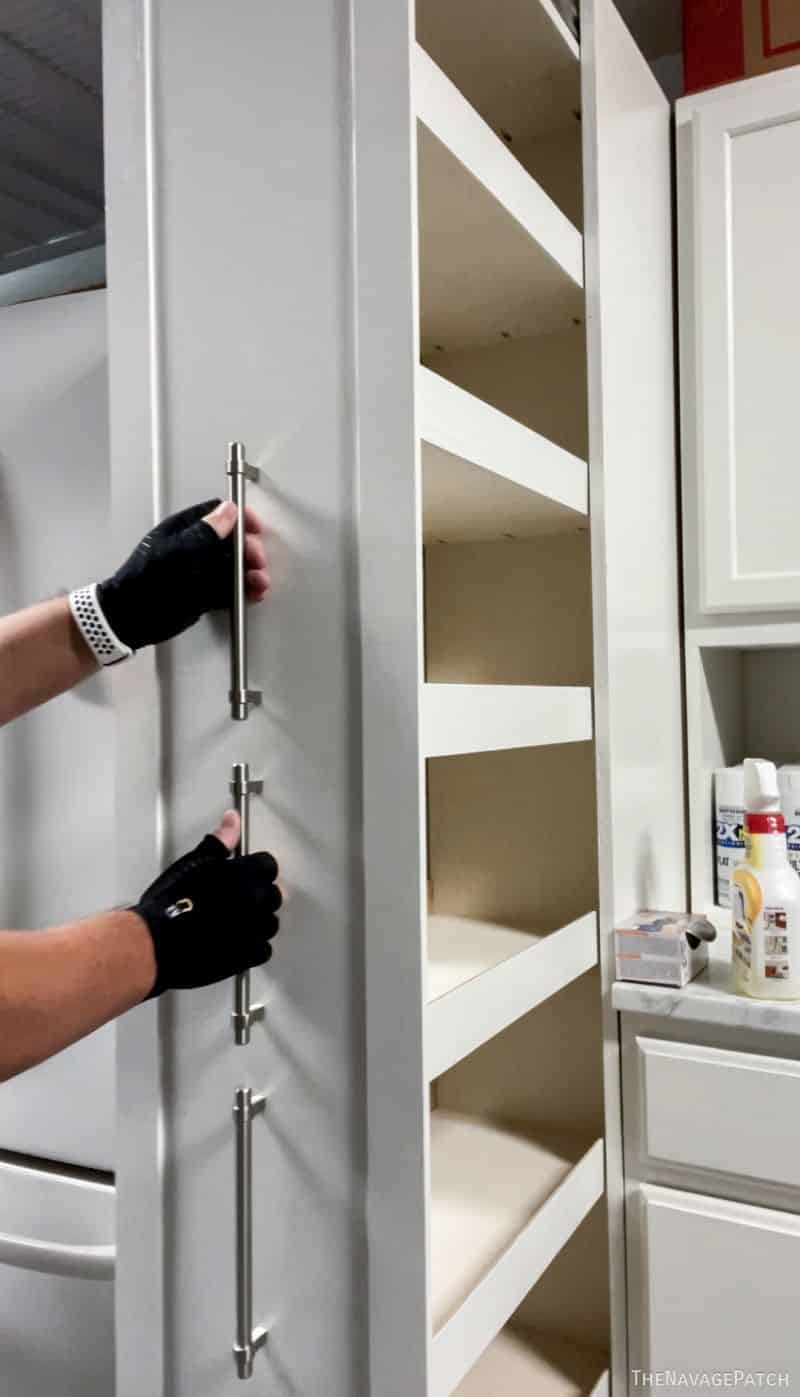
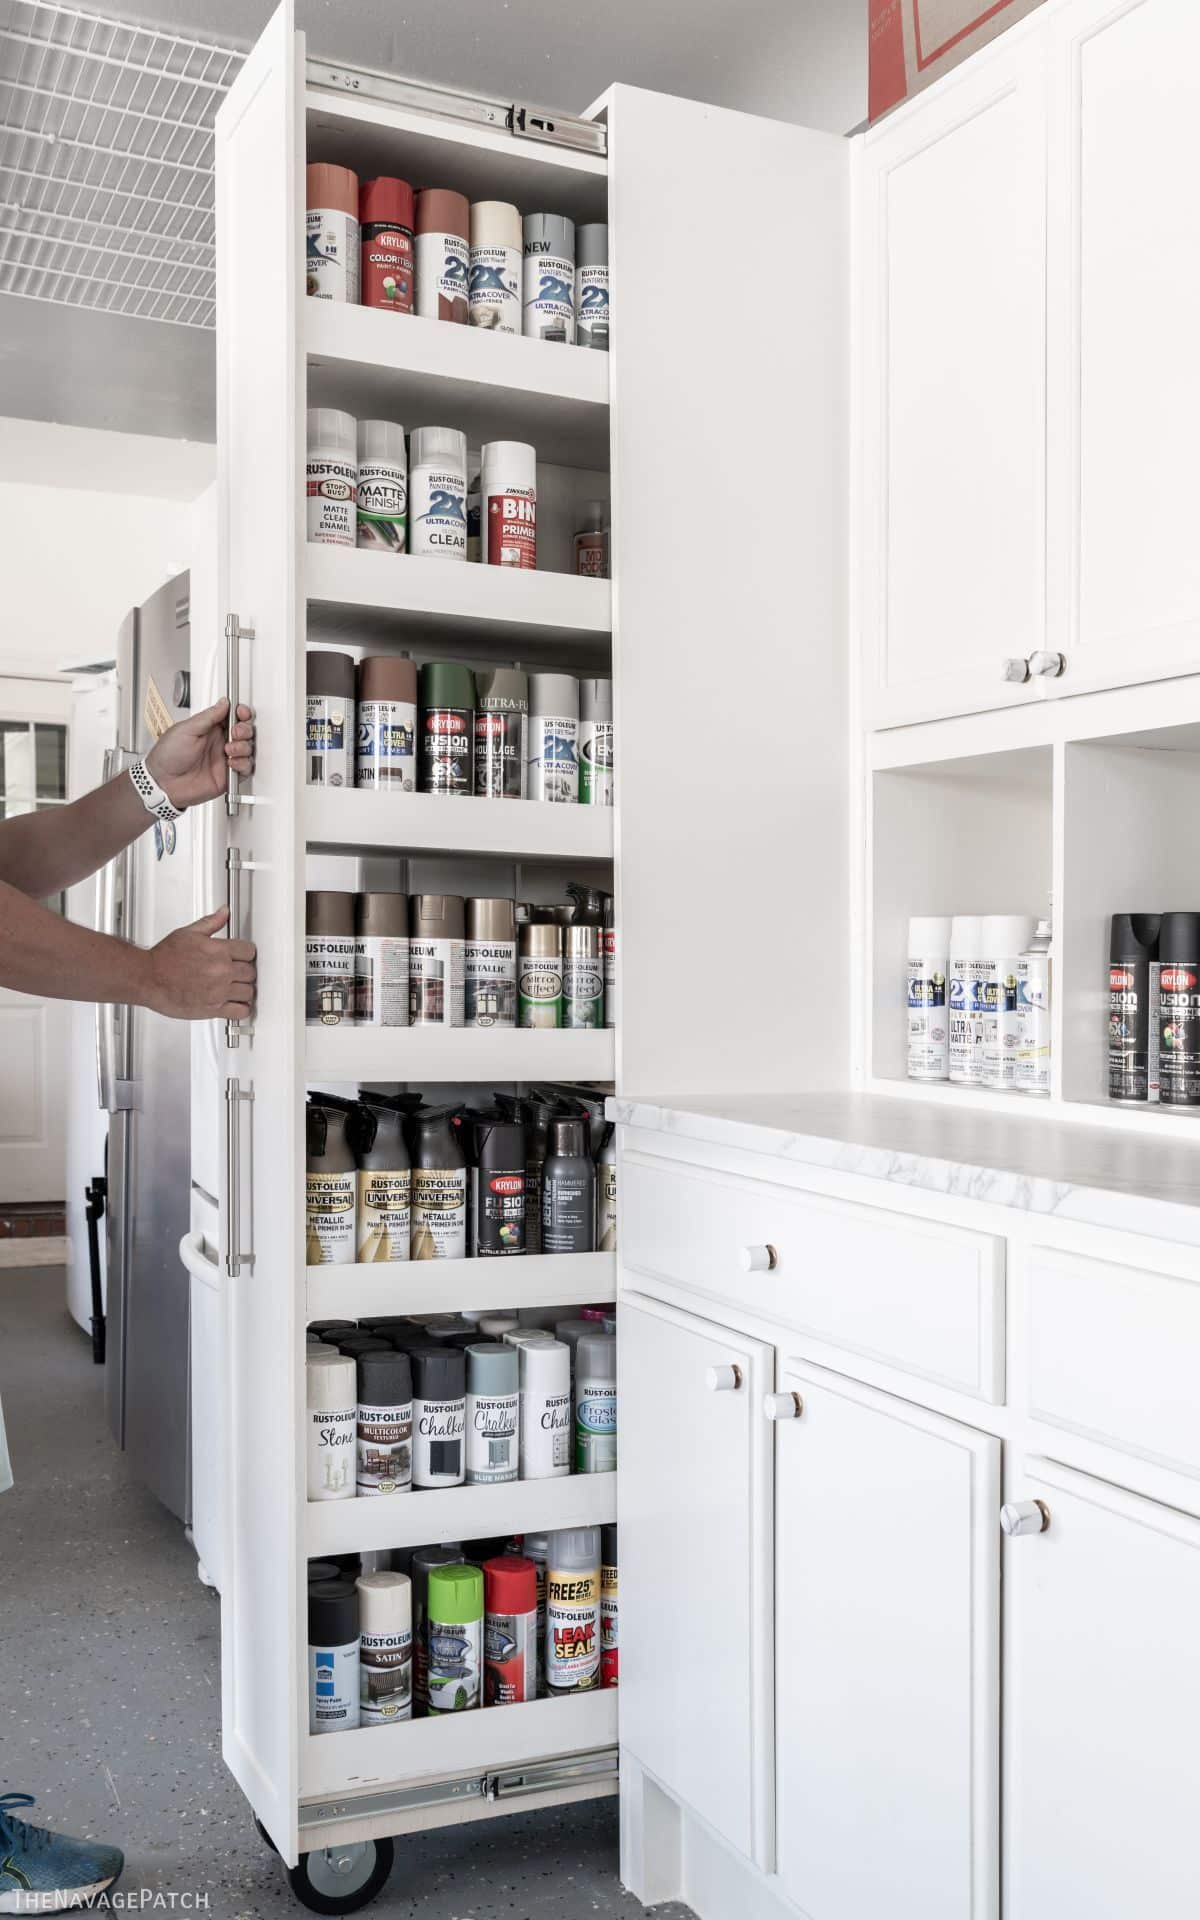
At last, the final step was at hand! Handan and I considered a few options for a handle, including a towel bar and an old IKEA rod for hanging pots and pans. In the end, we used three cabinet door handles we had left over from our Georgia kitchen renovation.
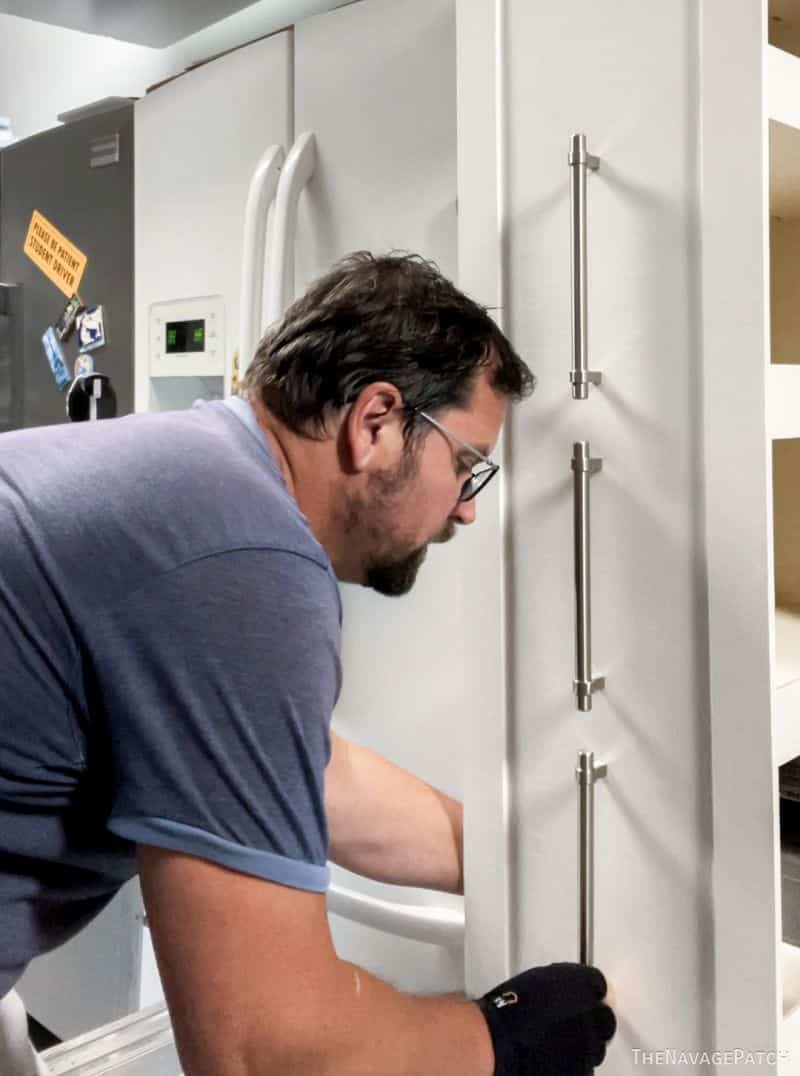
And with that, our spray paint cabinet, aka Hydra’s New Home, was finished and ready to be filled with cans!
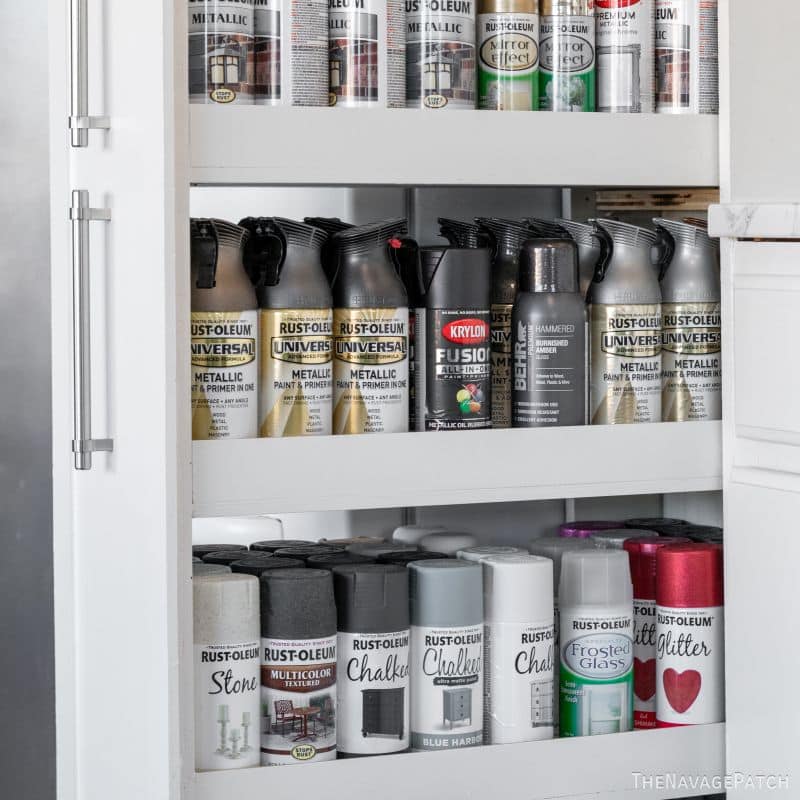
I started filling the cabinet but quickly realized this was a job for my babes. She’s the organizer in the family, not me!
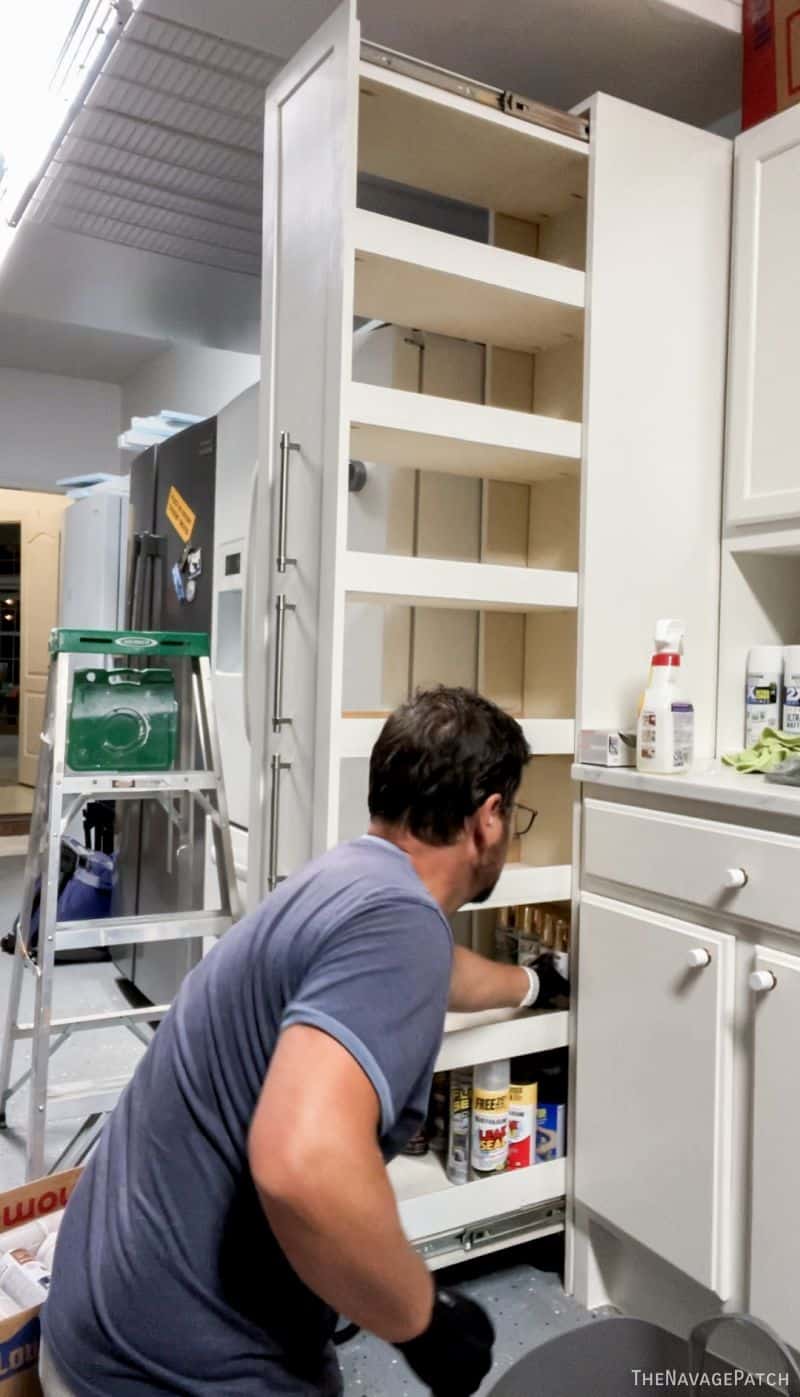
Let’s take a look!
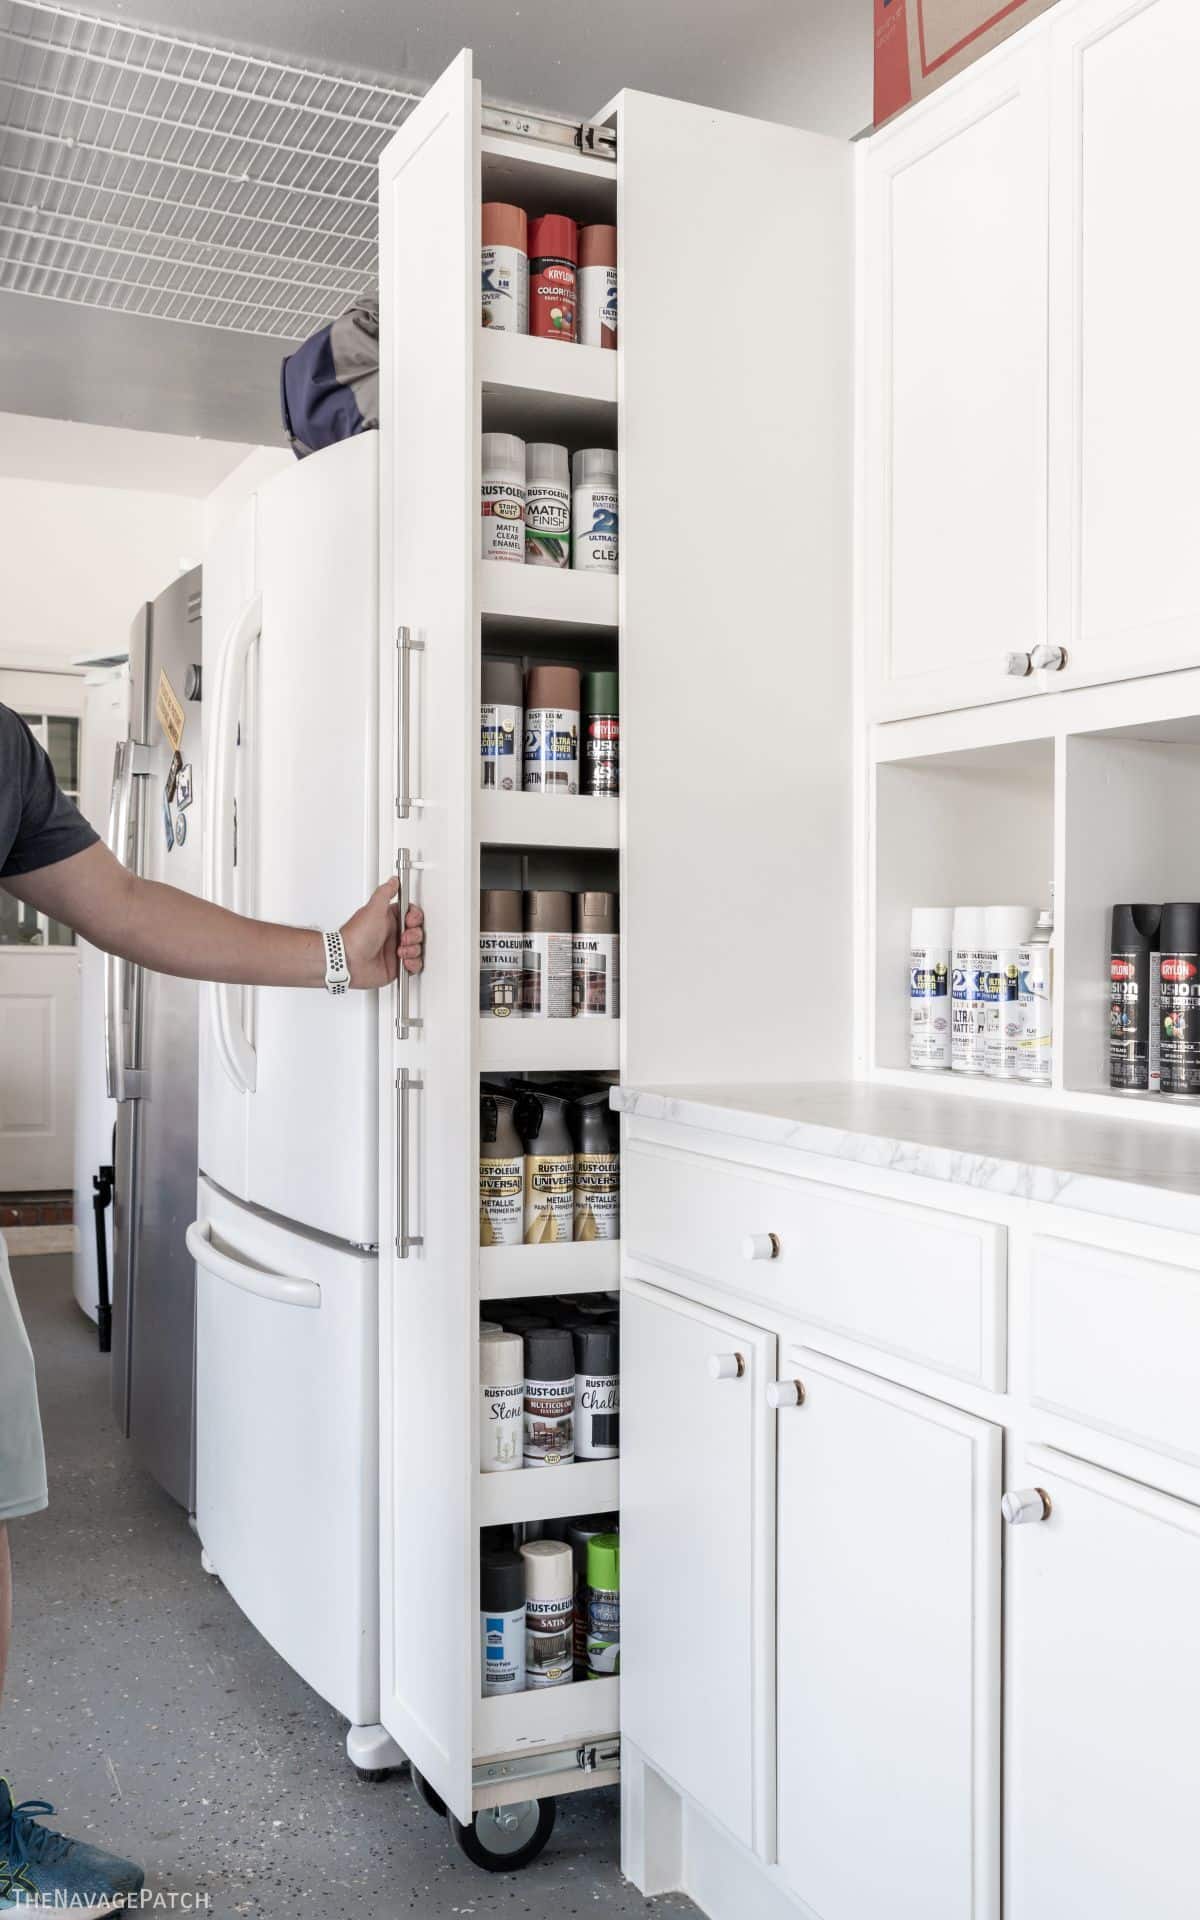
So much storage, and not a moment too soon!
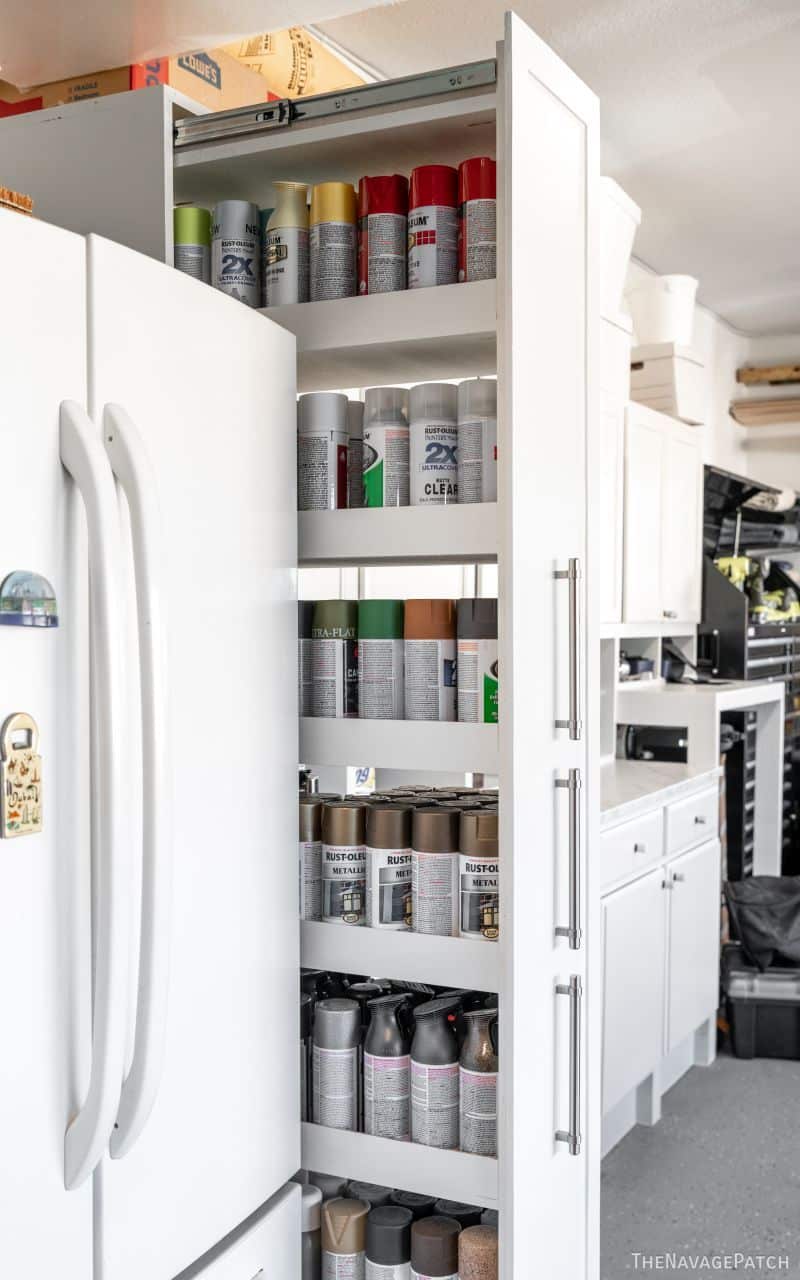
The slides/wheels work beautifully.
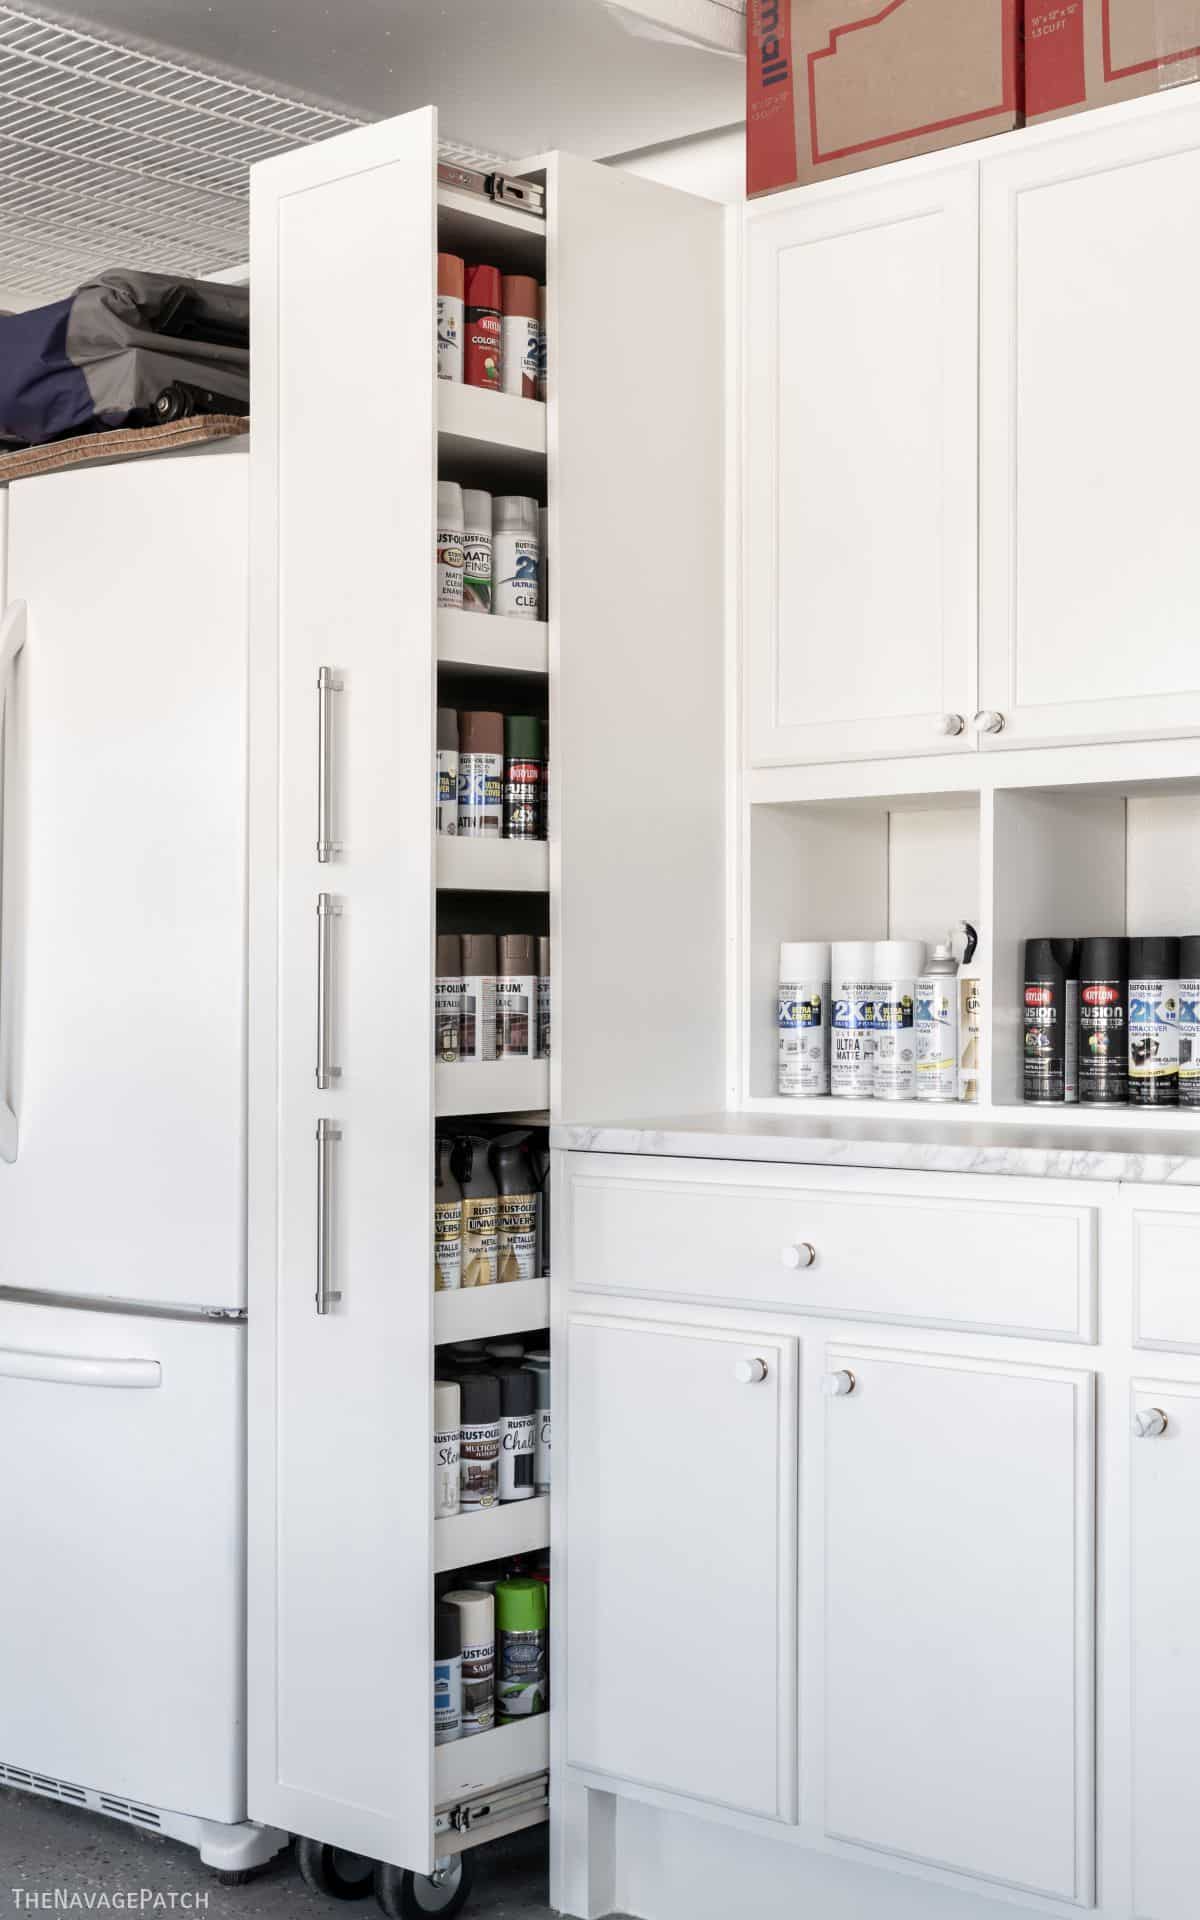
With this DIY spray paint cabinet, we’re one step closer to finishing our garage and workshop makeover.
Stay tuned for more!
What I would give to have a set up like that! Kudos my friend! I probably have just as much paint as you do and it’s scattered into oblivion! Never enough room for all of it and in many small bookcases throughout my home, (craft room and a few closets) and the garage. Never ever enough space for all of it! I can no longer build, (age and health got me) and hubby, um no! Not what you’d call a handyman. I’ll figure it out just like I’ve had to do with many other things around here. I’m sooooooo envious but what a beautiful job!!
Thank you so much, Shirley! I’m sure you’ll find a way! 🙌
Love it. Reminds me of a built-in kitchen pantry. I’m a little disappointed you didn’t use spray paint on the spray paint cabinet to indicate the spray paint stored inside, but that would have been going a little overboard. 🙂 Excellent idea and execution, sir!
LOL, if I could have without spraying everything else in there, maybe! 😁
Wow, in the race to “how many cans of spray paint can I possibly have and store” you guys are the clear winners! The cabinet is fantastic. My lowly 15 cans are stored on a closet in my craft room.
Great job on this one, it is a storage solution that will help many people!
Great job on the spray paint cabinet!
I now want to present you with the title of ‘The Greatest DIY Champion in the Universe’. Until, of course, the first terrestrial nominated for the ‘Greatest DIY Champion of the World’ reads this and decides to contest your title. Good Luck!!
😂😂😂Thanks, Mona! I accept!
Thanks, Jean! I hope it does help! 🙂
Awesome looking, reminds me of my spice roll out for my spices my son made for me I gave him dimensions as he lives 2 hrs away and made it and brought it down installed beside my refrigerator and counter in my tiny kitchen. Works great not quite as big as yours though you alway do an amazing job.
Yes, Bunny! I know the kind of spice rack you’re talking about, and this is a bigger version of it!
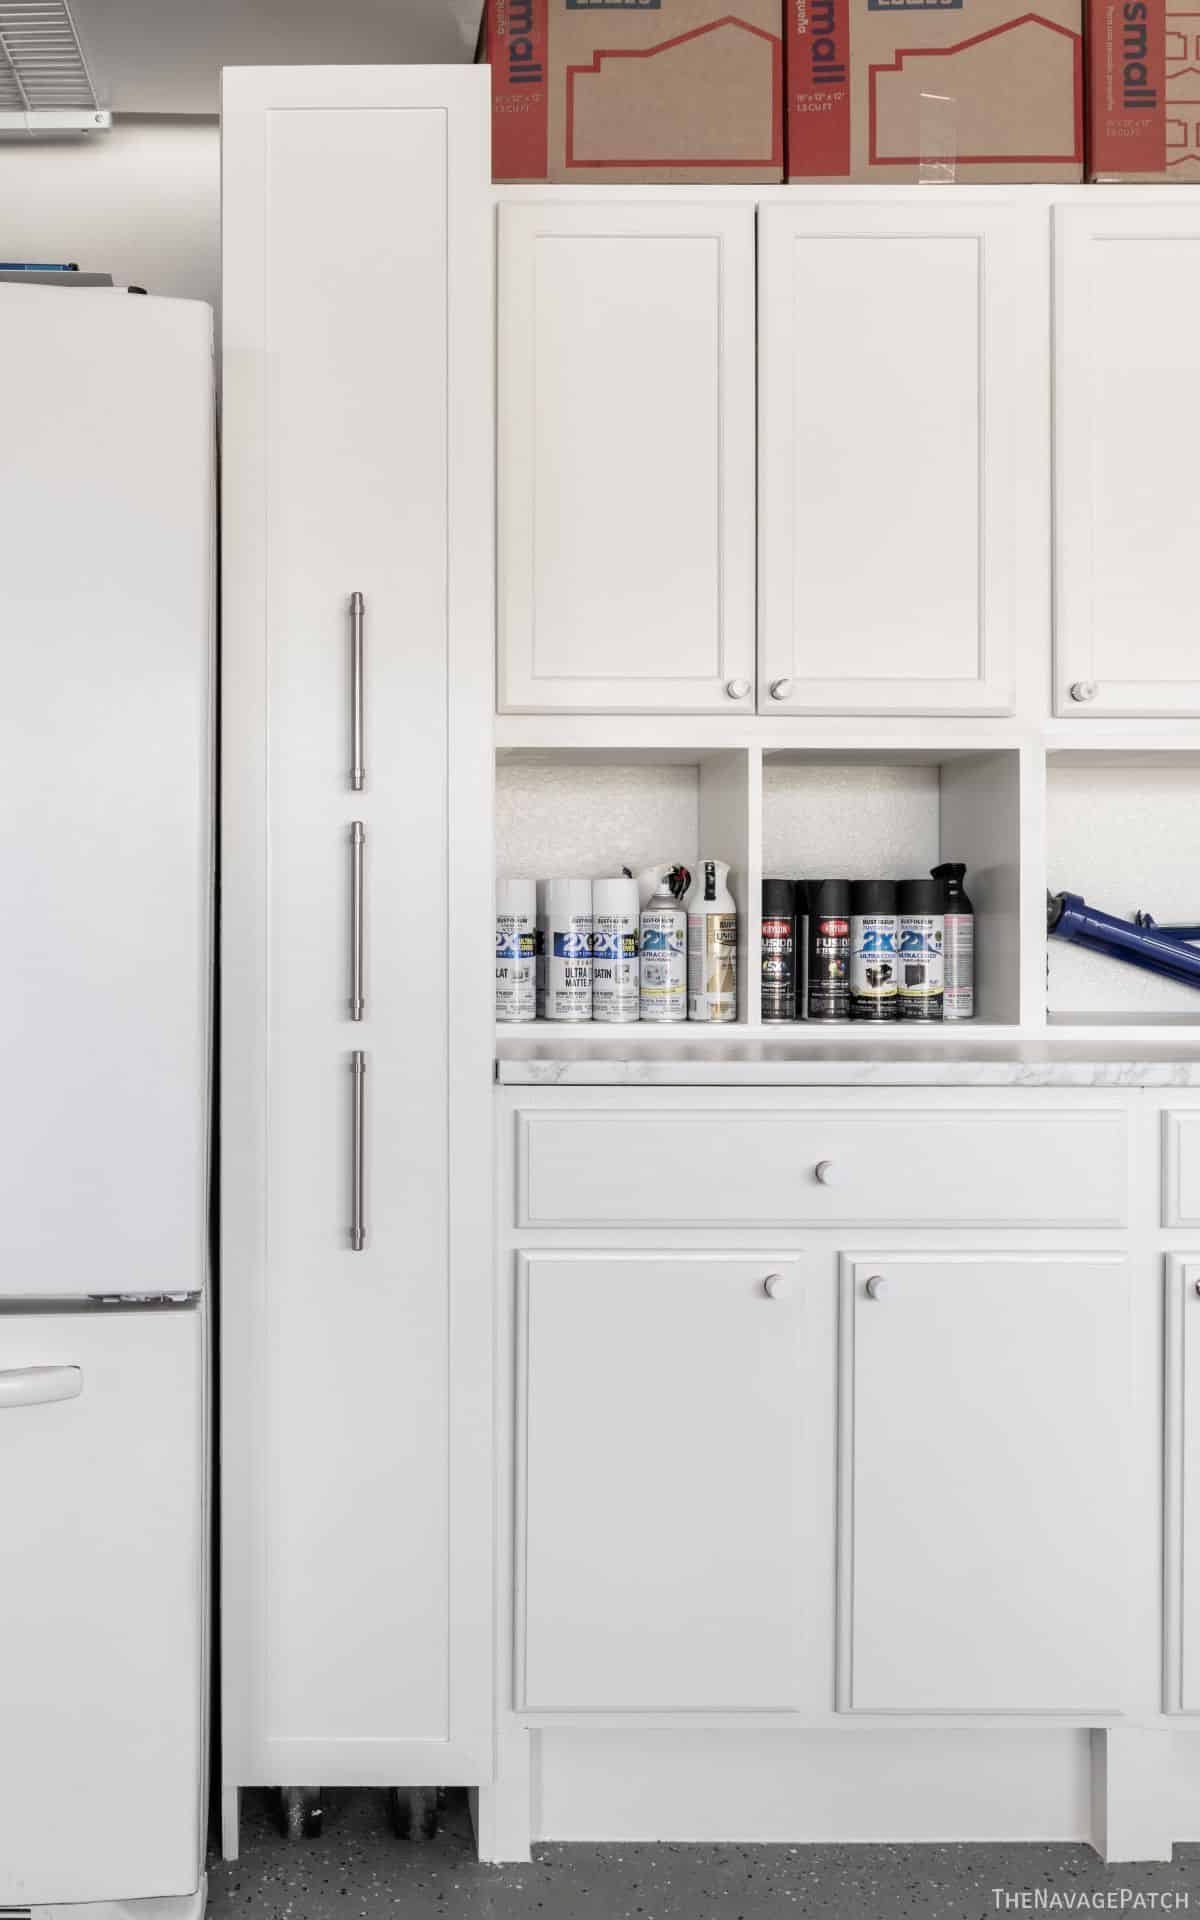
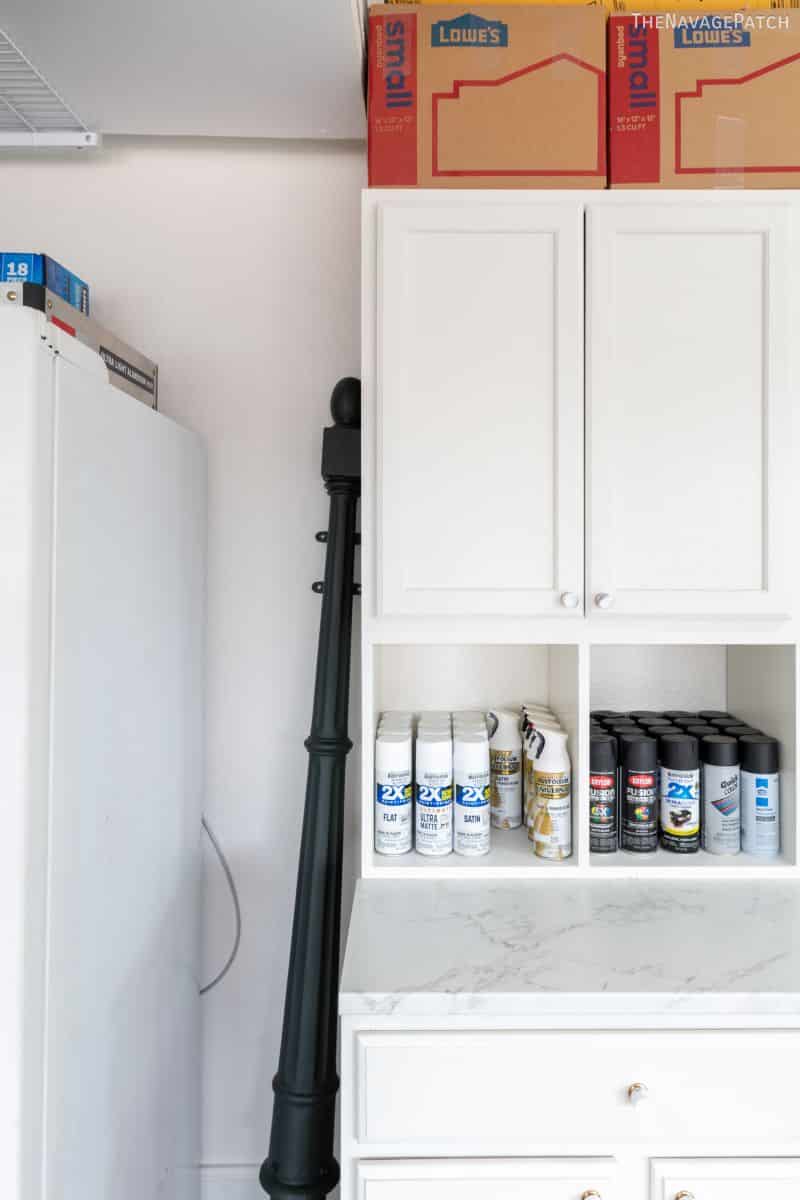
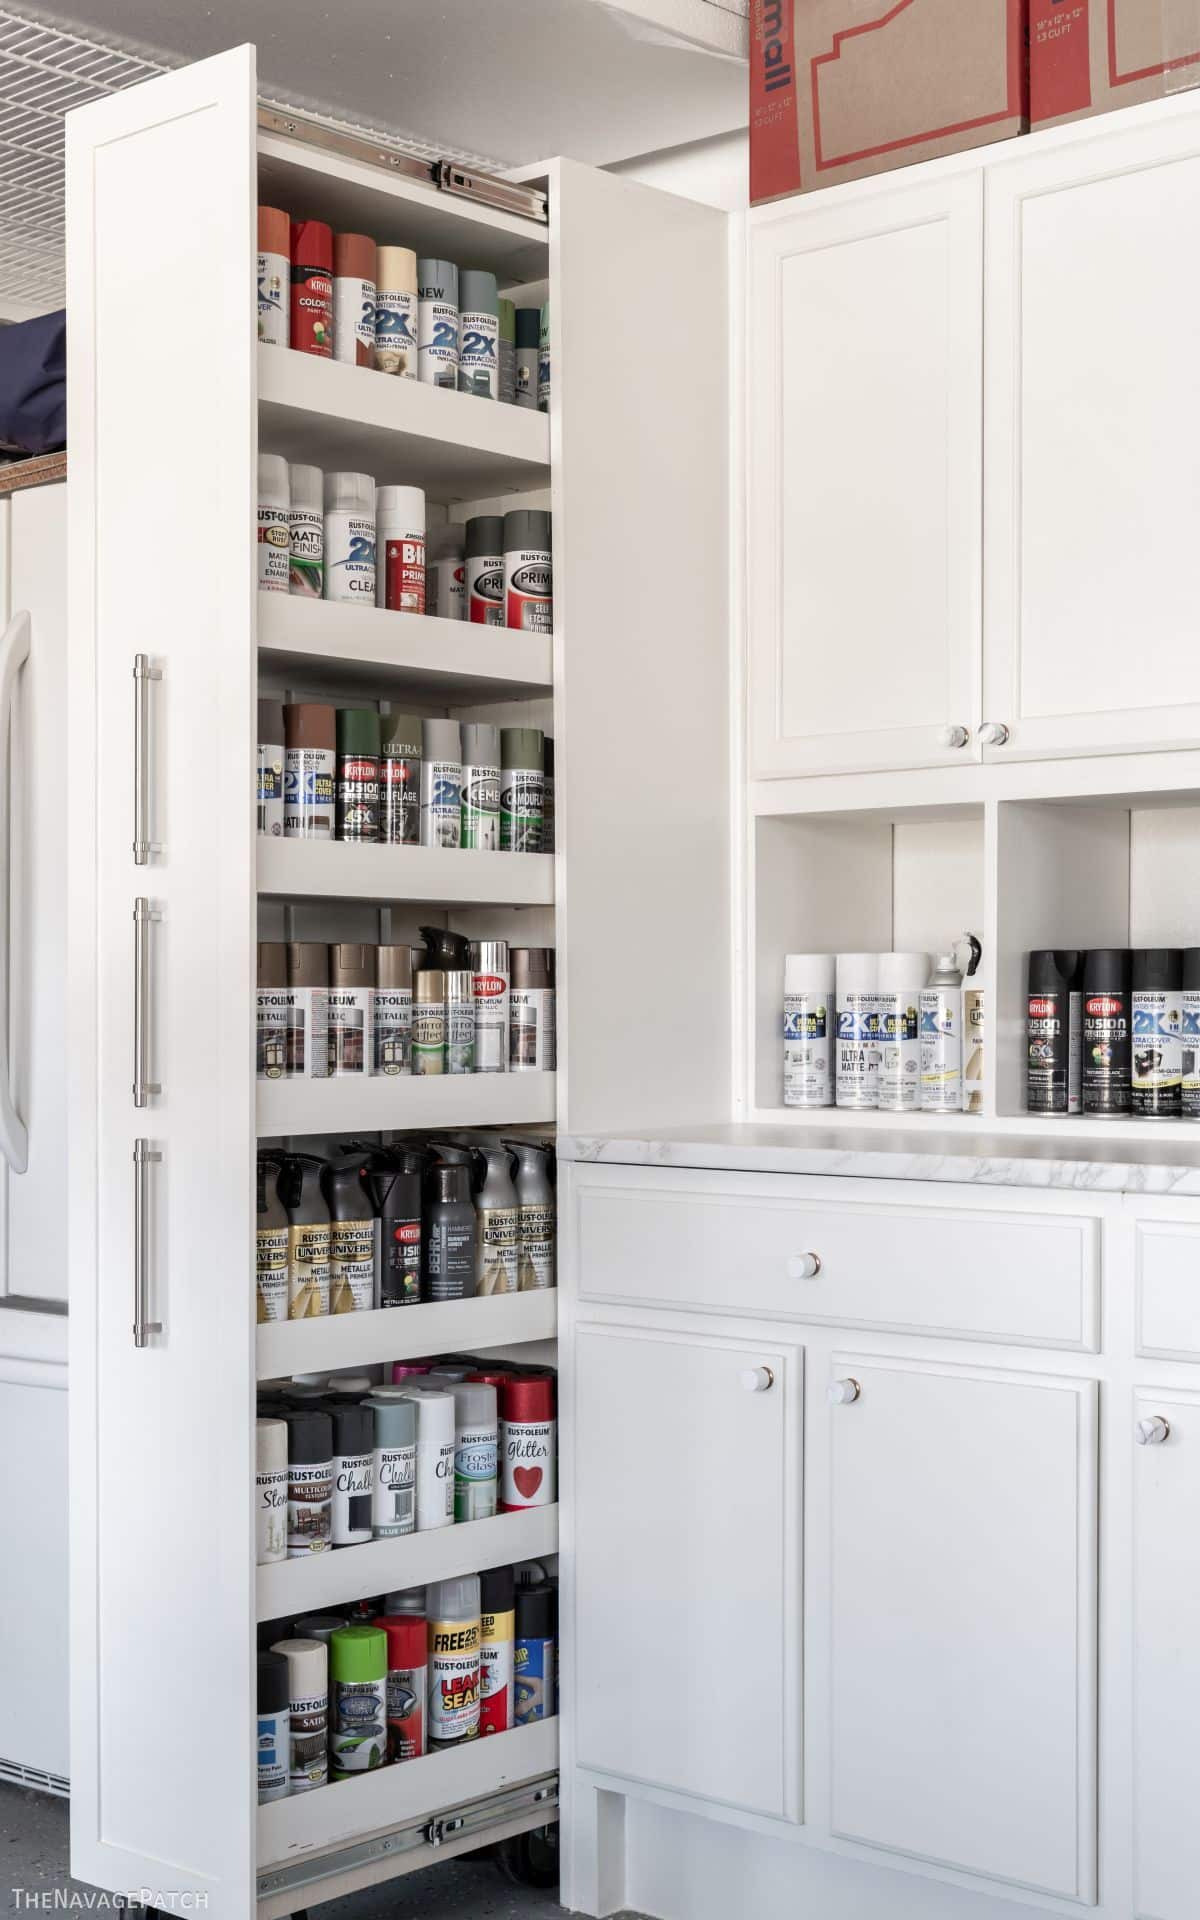
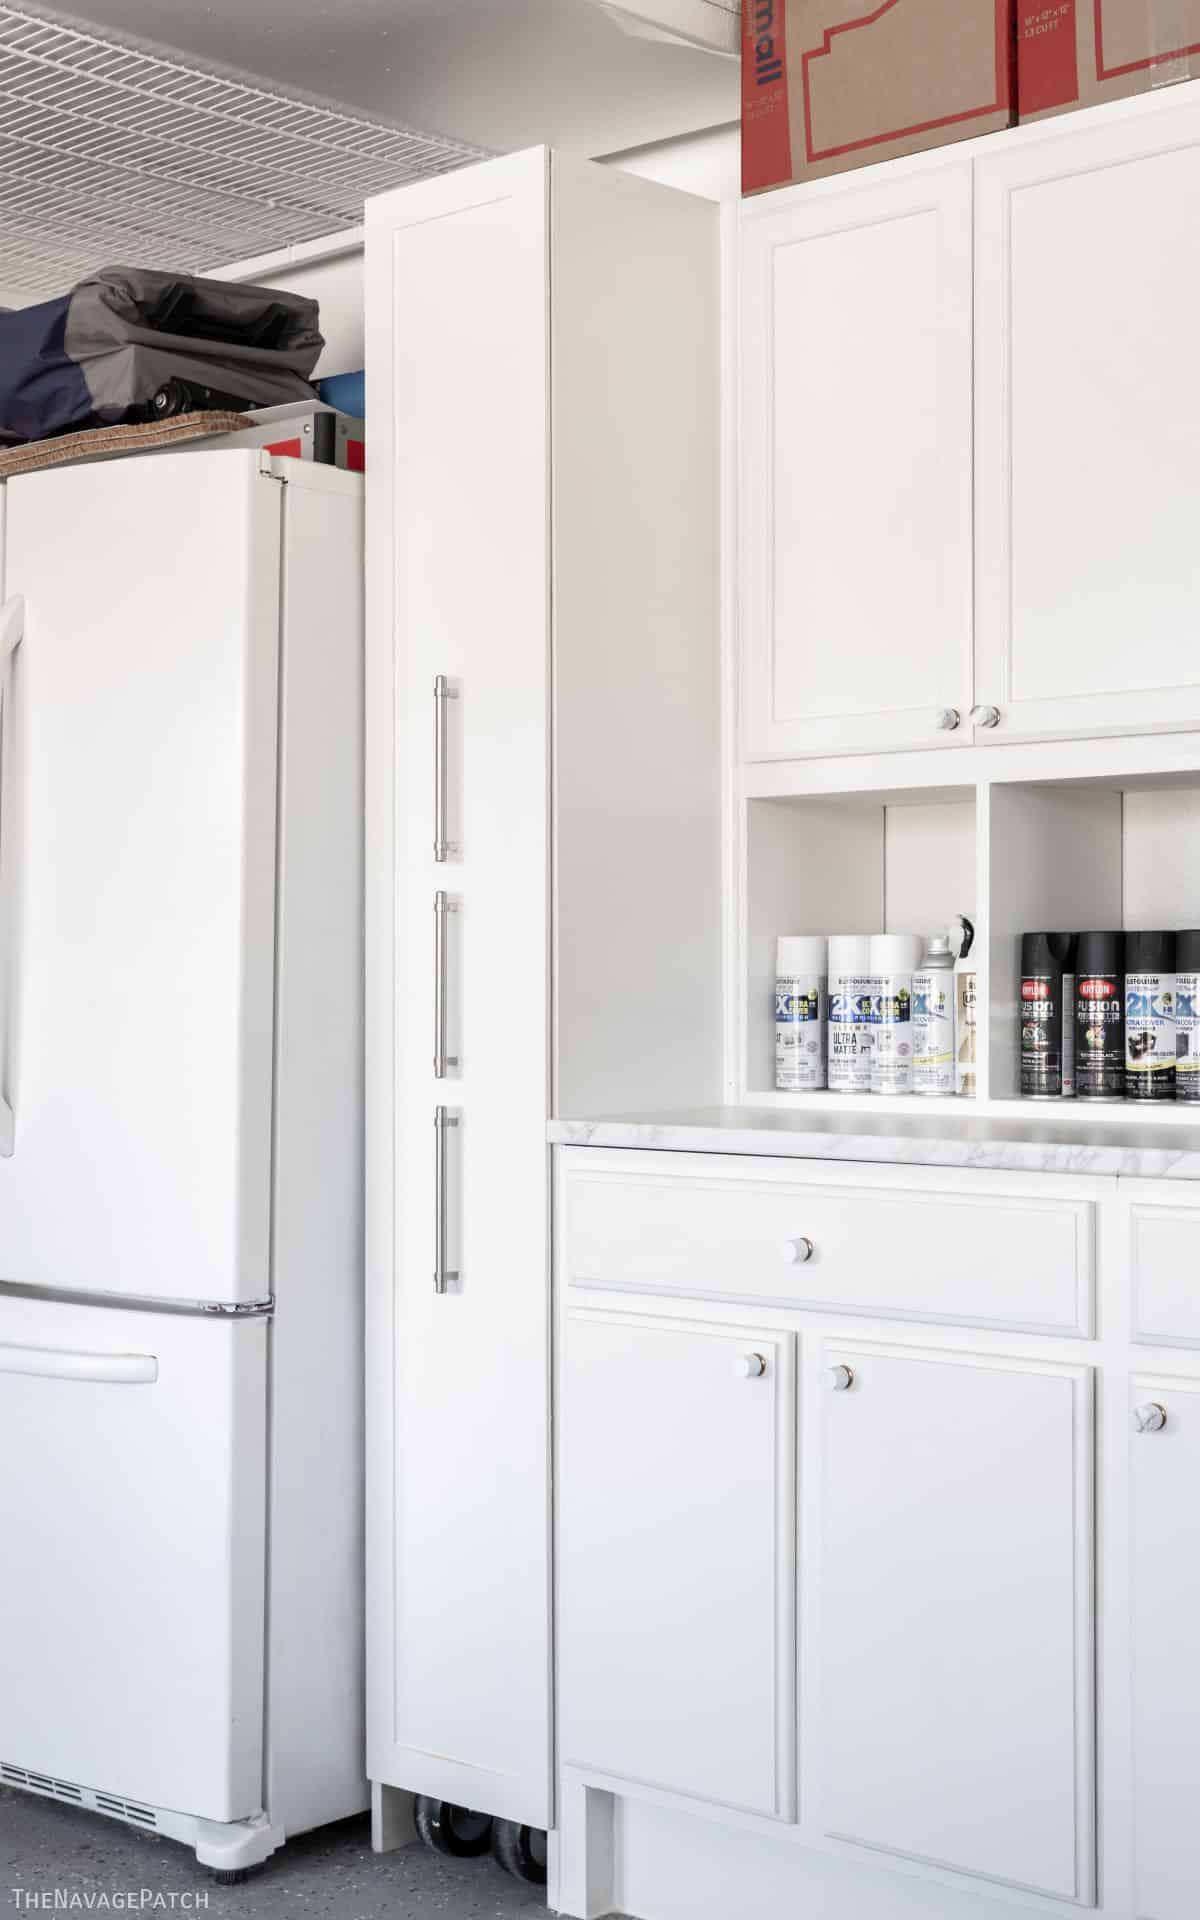
Excellent job! Is that more paint on the other cabinet that didn’t fit?
LOL, yes, we couldn’t fit the black and white paints – they’re are most used, so we have tons!
Greg and Handan: You really are the best when it comes to organizational ideas. This is a greatly detailed explanation of how to duplicate your project. Just curious; did you use 3 handles due to the weight inside or was it a design choice or ….? Thanks for bringing us all of the information about how you are transforming your new home.
Thank you, Phyllis! The 3 handles is a combination of design and weight. Though it can be opened with one hand, it is easier with two. I use the top two handles, and Handan uses the bottom two! 🙂
Drool – I am green with envy. It’s such a great feeling to have things ‘at a glance’. The only problem we would have here in the Tundra (aka Minnesota), is that we can’t store paint outside in the garage in the winter. Maybe I’ll have to convince the hubs that this would be great for in the utility room downstairs… thanks for the tutorial!
Oh, yeah, they wouldn’t fare so well up there in the North Pole, lol! But it’s perfect for a basement or utility room! 🙂
Looks amaze-balls! (If you throw in a toe-kick it will match the others and look like the fabulous built-in it is.) Relationship goals…. 😉
Thank you, Natalie! Relationships are always a work in progress! 😀
That’s a great use of a small space! The question that worries me though is the amount of airflow around the refrigerator, and how much the heat build up will affect the paint! Your ‘fridge must run a lot cooler than the ones we have here.
Those cans have survived the heat of storage, so I think they’ll be okay. The fridge has enough space behind that I’m not too worried about that.
That looks fantastic! I thought I had a lot of paint, but I can’t even come close. Even with all that storage you still had to store some cans beside the cabinet. Storage envy!
We do have a bit of a can addiction, Karen! 🙂
Awesome job ! ! ! Does your neighbors always stop by to see what you’re making now? Sometimes can’t get anything done for them checking on my projects. If only they would help. Thanks for sharing.
They do, Joan! We’ve inspired one of our neighbors to start doing a lot more DIY! 🙂
Now THAT is an awesome use of dead space. Oh for an engineer in the family….and a Greg! But wow. D’you think it might be time for “Spray Painters Anonymous”? 😂
Thanks, Sue! Yes, it’s definitely time for help! 😀
This is a great idea. Hat down to Handan for calculating in imperial measures 🙂 I always have to convert them to metric, LOL 🙂
LOL, she has me to translate and do the fractional math for her. My years on Wall Street made me very good with fractions. One trick pony, lol!
Absolutely Brilliant!! And the only place I have ever seen more spray paint cans is at the store, but not all stores! Great job!!
I suppose I could start a side business, Jennifer! 😂
THAT is a WOW!!! And, aren’t castors da bomb!! KUDOS!! franki
Thank you so much, Franki! 🙂
I have been following you for a long time and love your posts. You and Handan are an amazing team and come up with brilliant and amazing projects/plans. Normally I do not comment on anyone’s blog post, however when I saw all the spray paint cans (I have quite a few, but “can’t touch that”) I couldn’t help but try and figure out how many cans you have (approx.) and came up with 156 and the reason I did was I wanted to convert those into Cdn. $ and it came out to $2652 – $2800Cdn. Wow!!
Hi Barb, thank you so much! I’m glad you finally wrote! Okay, your estimate is a little low – we have 238 cans in the cabinet and another 37 of black and white on a shelf next to the cabinet – they wouldn’t fit! Yes, we have a problem…😂😂😂