Epic DIY Raised Garden Bed
This DIY raised garden bed is the garden dream gardens dream of, and it raises the bar for all other gardens!
Back in the spring of 2014 in Connecticut, I set out to build some raised garden beds and see what all this gardening and growing hullabaloo was all about.
So like any doofus moronus, I first dug down into the earth before raising it back up and filling with rocks. The result were two “raised” garden beds that towered a mighty 7 inches above grade.

I’ve had zits rise higher than those beds.
But to even the scales, I did have the best and easiest crop of my life that year. Call it Dumbo’s beginner’s luck!
A year later, I added 3 more beds, but I placed them at grade, so they were a whopping 10 inches tall.
Three years later, I rebuilt the first 5, built 2 additional beds and raised them all up to a mind-bending 16 inches above grade. It was an improvement for sure.
But at nearly 52 years old, 16 inches may as well be 16 millimeters – I would still have to bend dangerously and painfully low.
In our Georgia house, we didn’t stay long enough for me to build a garden, so now that we’ve almost settled into our Florida home, it was time to stick my hands in the dirt soil and give it another go.
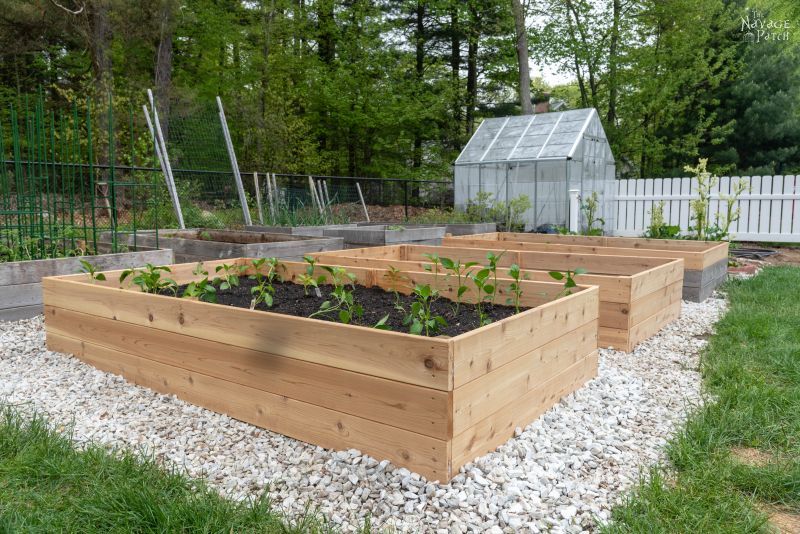
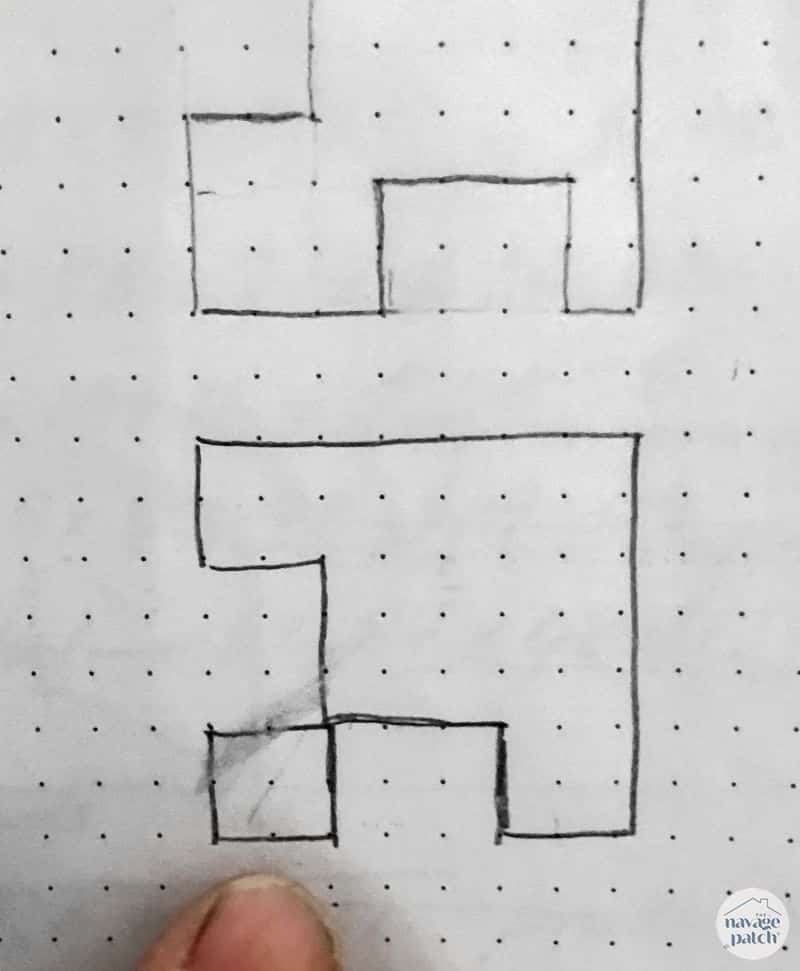
But this time, I have 5 more years of experience under my belt, so things are going to be a little different and a lot more epic! For instance, who needs a bed that’s 4 feet wide? 2 or 3 feet is sufficient. My babes and I whipped up a plan for a tomato Taj Mahal that will turn red bell peppers green and spicy with envy. We mapped out the vision on some graph paper.
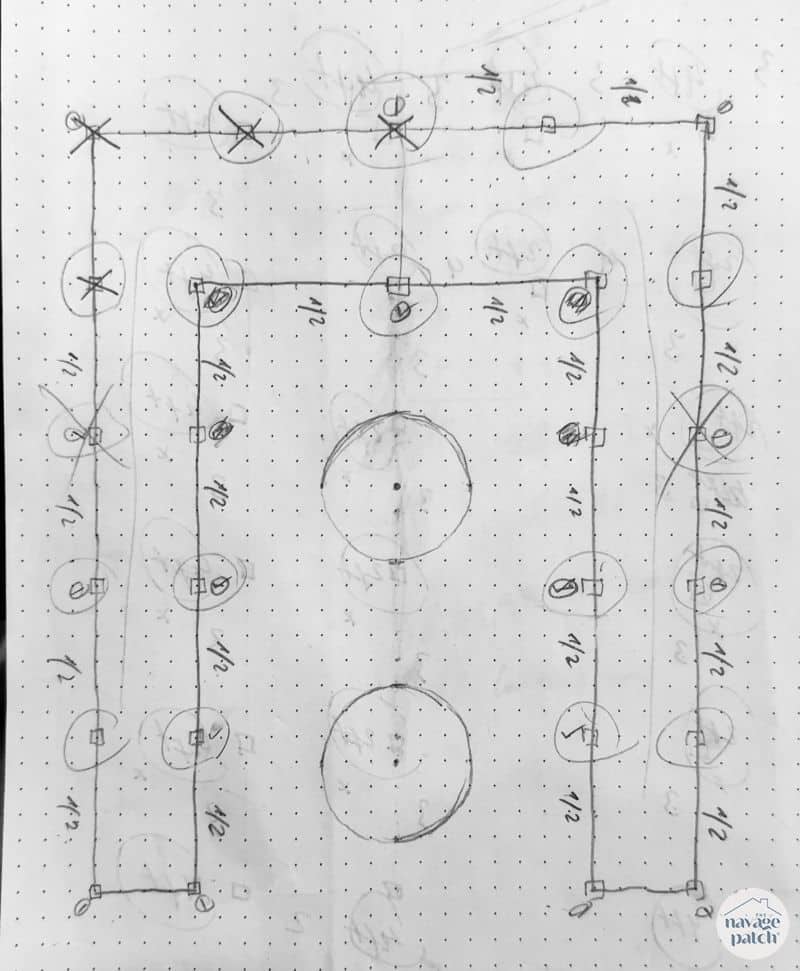
It looks like chicken scratch because I used it as a reference throughout the build and scribbled freely!
The footprint measures 12 feet from left to right and 15 feet from top to bottom. The sides of the “U” are 2 feet wide, while the curve of the “U” is 3 feet wide. The little squares are 4×4 posts, and they are spaced 3 feet apart except on the inner side of the “U” curve where they are 4 feet apart and the two ends of the “U” where they are 2 feet apart. The proposed round beds have a diameter of 3 feet. The plan calls for the “U” bed and the round beds to all be 2 feet tall.
Two feet! Now that’s what I call a raised bed!
DIY Raised Garden Bed SUPPLIES LIST
Affiliate links are provided below. Full disclosure here.
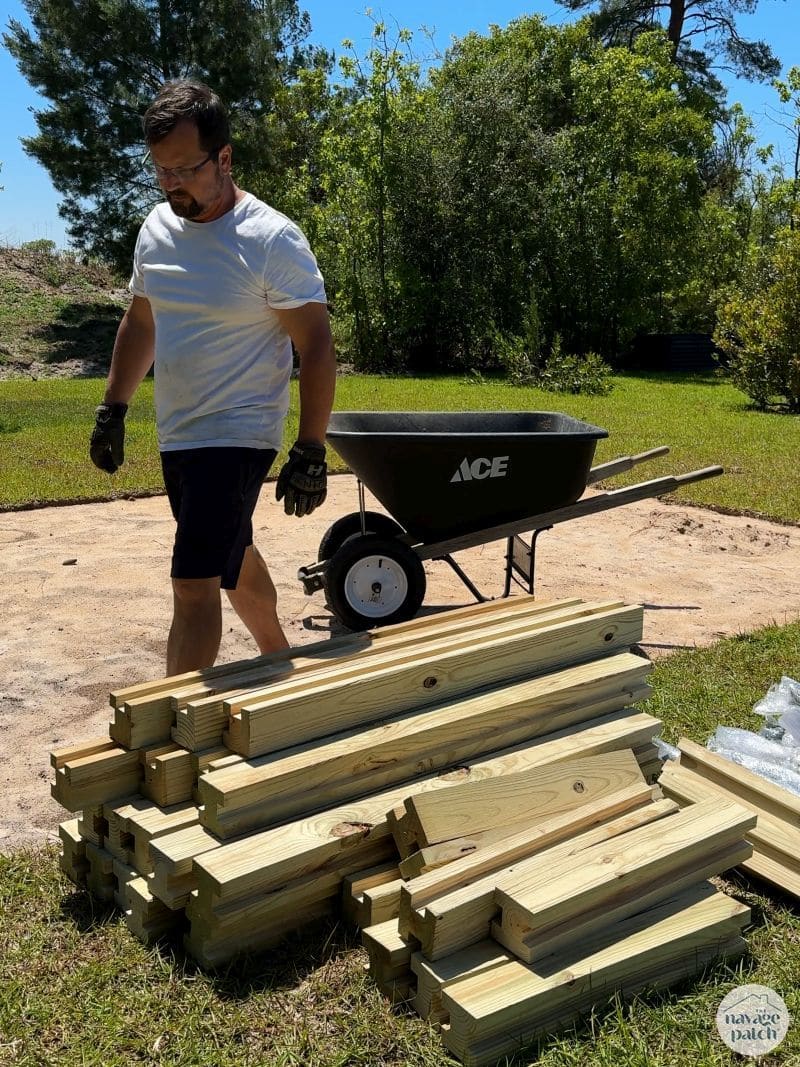
- (11) Pressure-treated 4x4x8 pine posts
- (56) 5/8x6x6 cedar fence pickets
- (56) 3/4x6x6 treated-pine fence pickets
- (4) 3/4x6x8 treated-pine fence pickets
- Circular saw or miter saw
- Table saw with dado blade stack
- 4×4 Ground spikes (optional depending on where you live)
- Deck Stain (I used Cabot Heartwood)
- Exterior primer
- Exterior black paint (I used SW Tricorn)
- Black plastic lattice
- Lattice caps
- (17) Flickering flame solar post caps
- Solar string lights
- Solar deck lights

DIY Raised Garden Bed VIDEO Tutorial
Watch our short and fun video below for an overview of our epic raised garden bed before you read the detailed step-by-step tutorial.
Watch Our Tutorial On YouTube
On Tiktok
On Instagram
View this post on Instagram
We love to see our DIY projects out in the wild! If you try this DIY project and take a picture and post it on Instagram, be sure to tag us – thenavagepatch
Now I’m going to take you on the journey of my DIY raised garden bed build. Your journey will be different. Your yard is different, your soil is different, your climate may be different, and your experience will be different.
You can take this project all the way like I did, or you can stop after the build and skip the paint, stain, lattice, and lights. It’s all up to you, your energy, and your budget.
Let’s see how I built this epic garden for The Magnificent Shrimp.
Epic diy raised garden bed Tutorial
Step 1 – Define and Prep
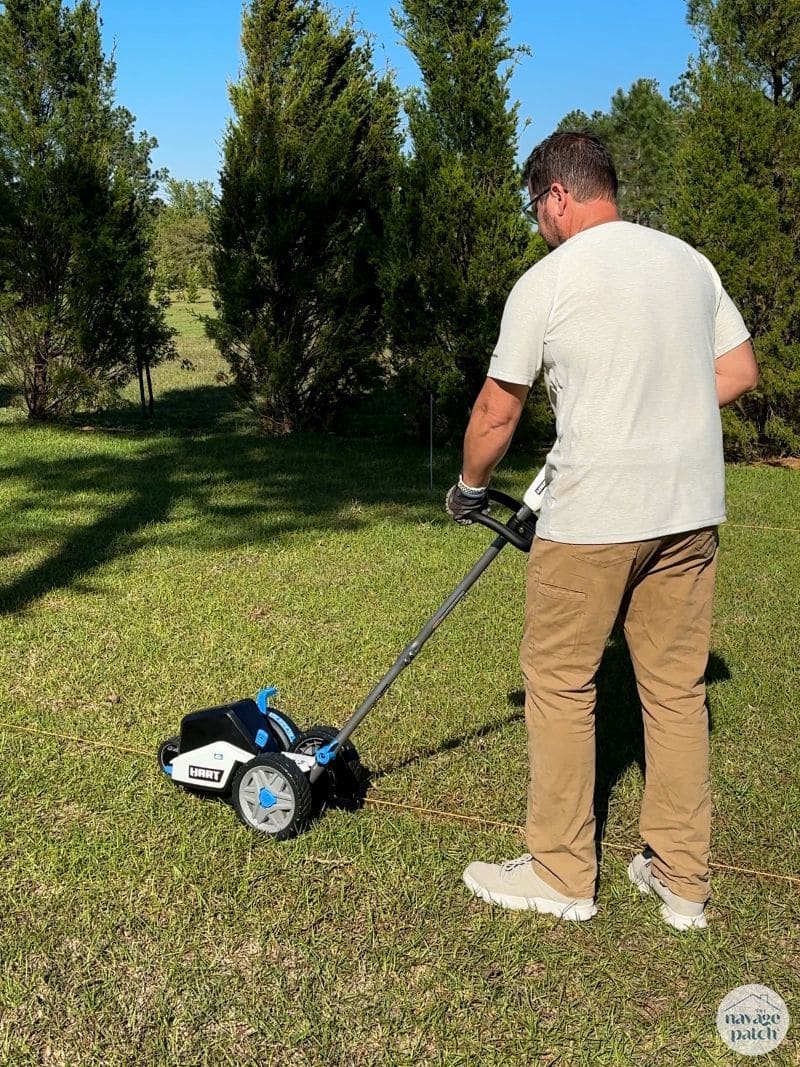
We picked a sunny spot towards the back of our lot to put the garden bed, and I started by defining the area with stakes and string.
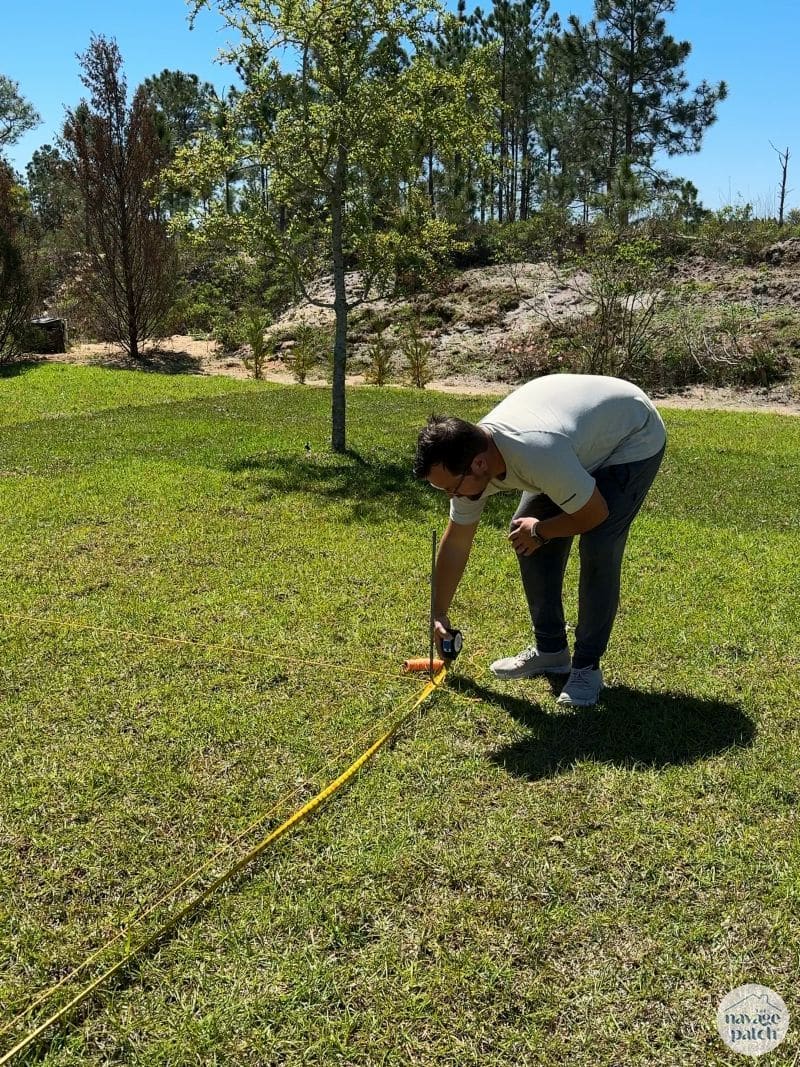
I even measured the diagonals to avoid the dreaded “parallelogram problem.”

While sod removal wasn’t strictly necessary – 2 feet of soil would quickly kill the grass beneath – I wanted a neat and level work area, so I opted to remove it. Besides, this was new sod only 2 months old, so I knew it would come up easily. Besides besides, I could use this sod in another part of the yard that had two small raised metal beds I attempted to garden with our first year. I’ll be emptying those beds and moving them to the back of the property as part of this project.
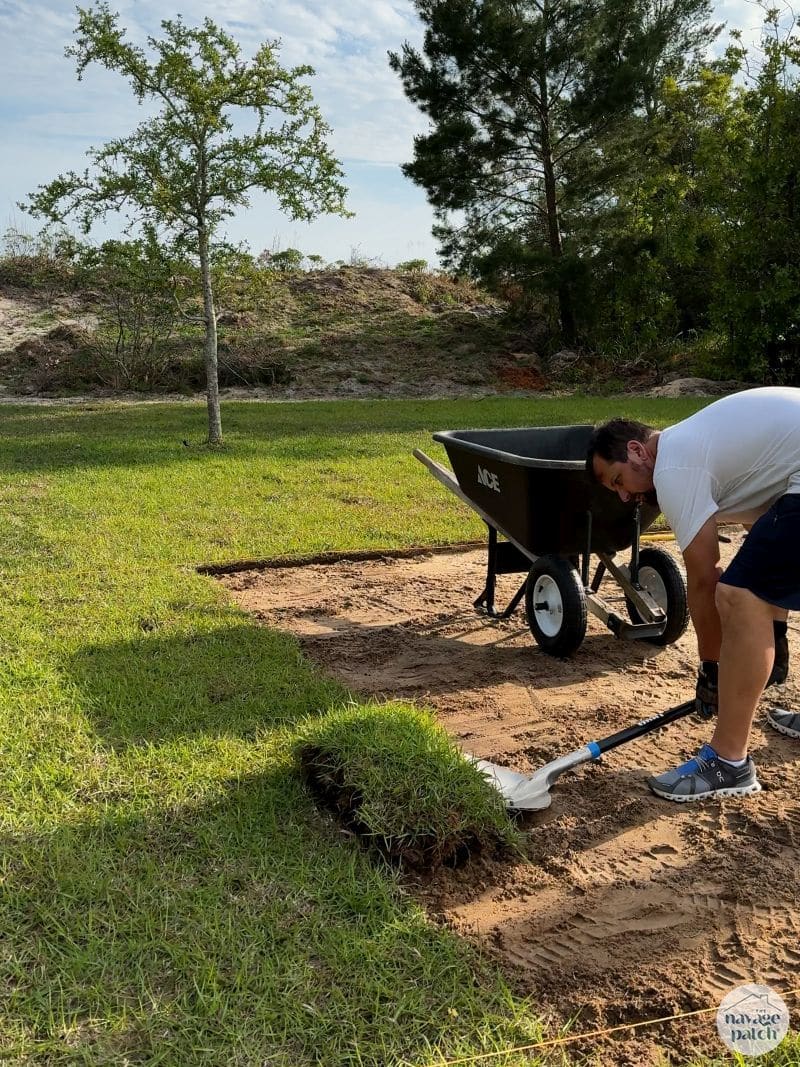
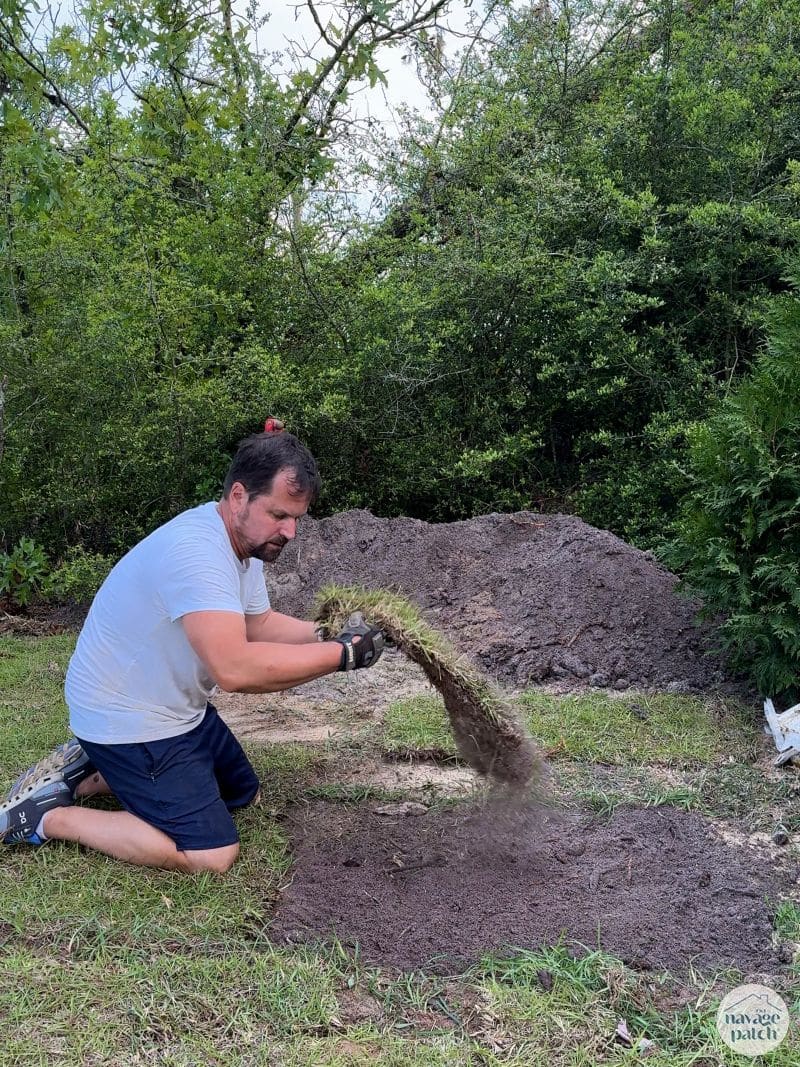
I cut the sod along the string line with an edger.
Then it was a simple matter of shoveling up the pieces and plopping them into a wheelbarrow.

This was one of many many cross-yard wheelbarrow trips.
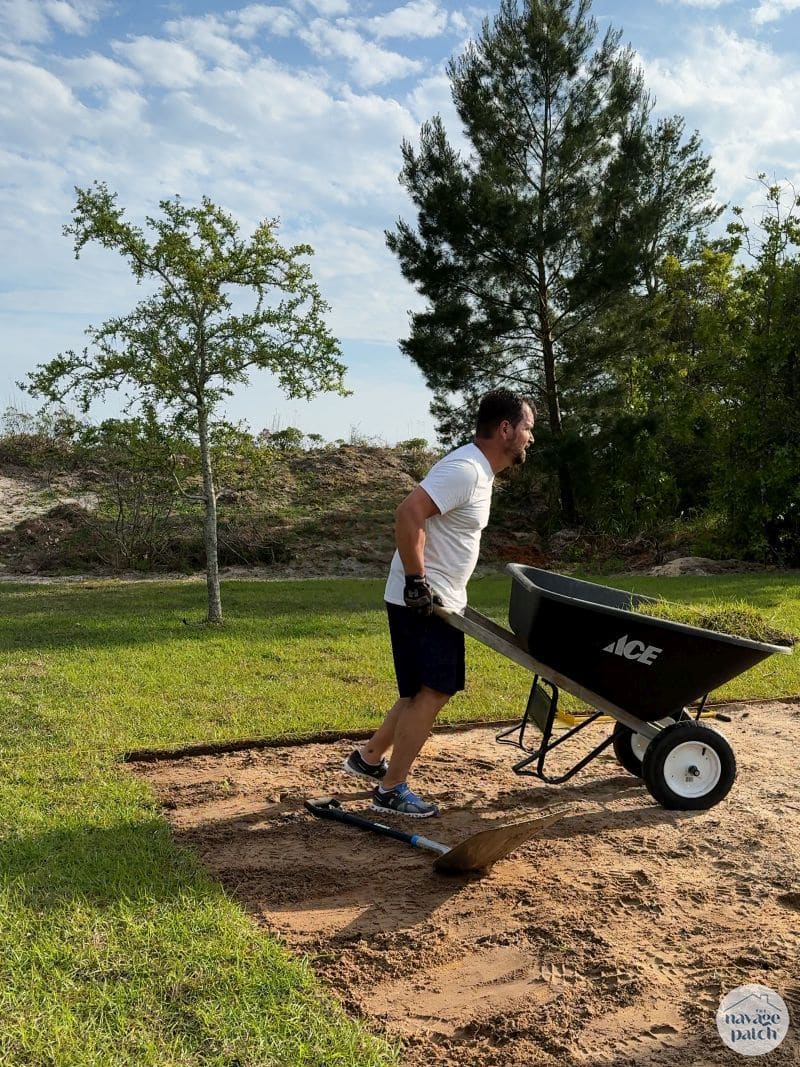
I was really missing my tractor and garden cart from Connecticut!I
I laid the sod under Penny’s watchful eye in the opposite back corner of the yard by the old beds.
The last load.

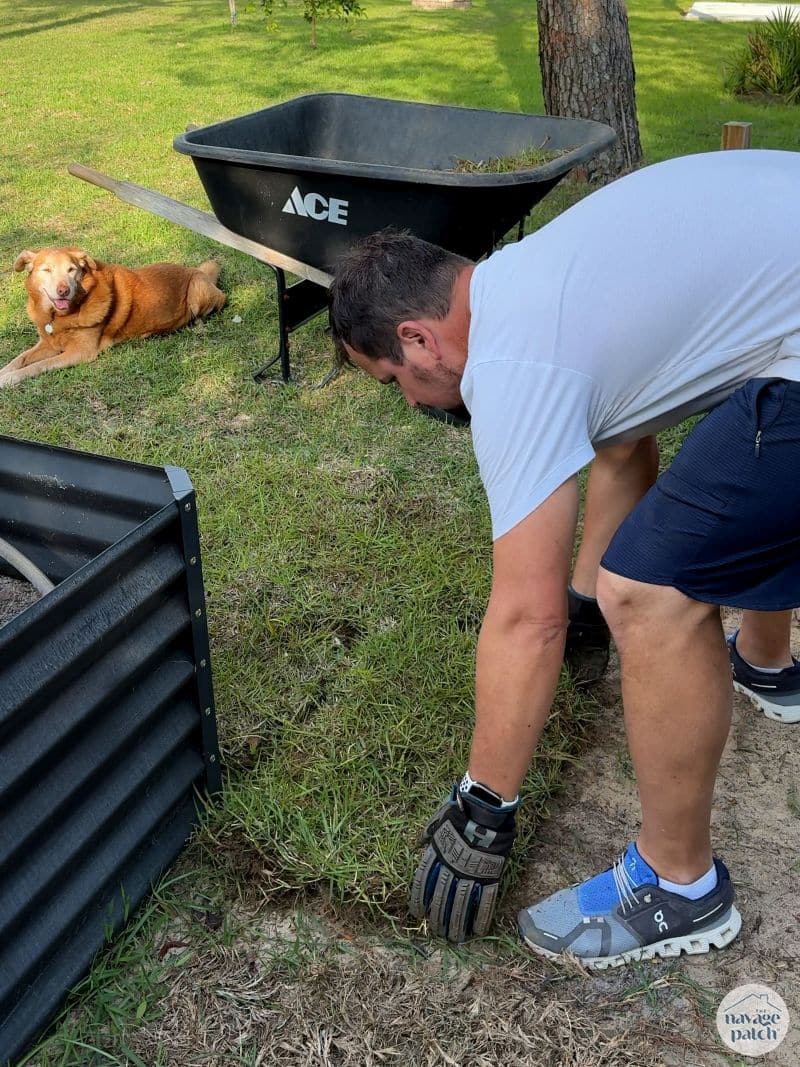
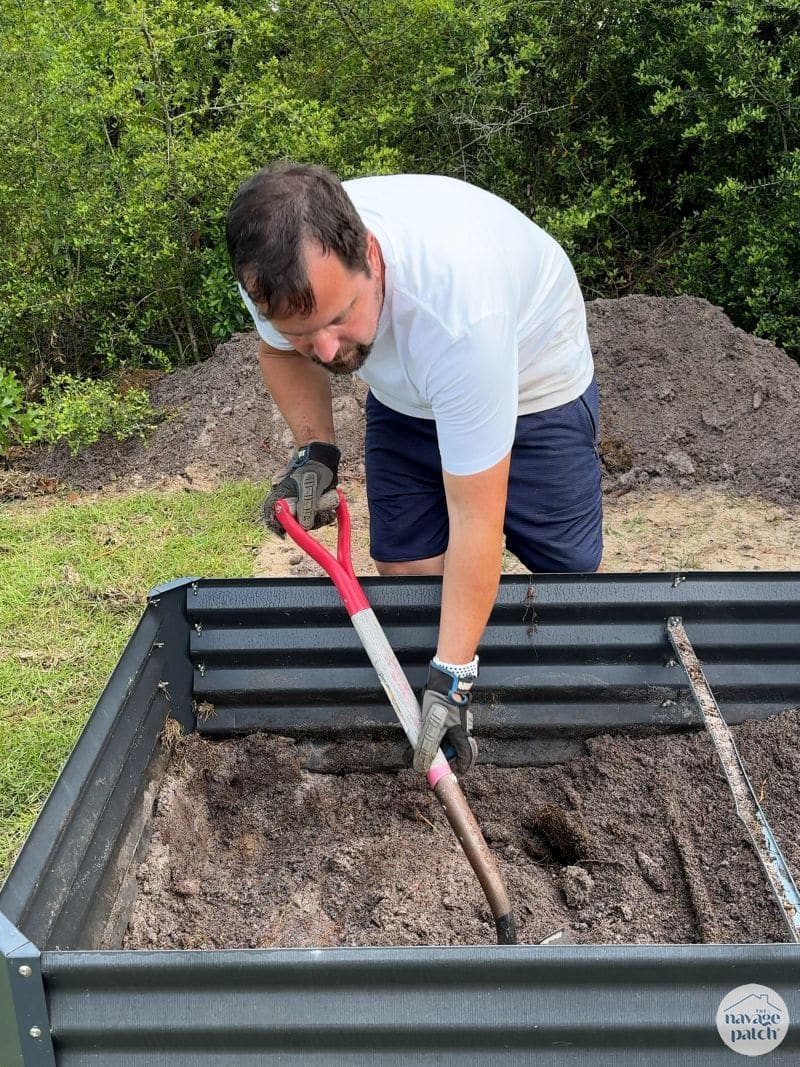
I then emptied the old beds of their soil sand and piled it onto the edge of the yard. I’ll be using that sand later in the bottom of my new bed.
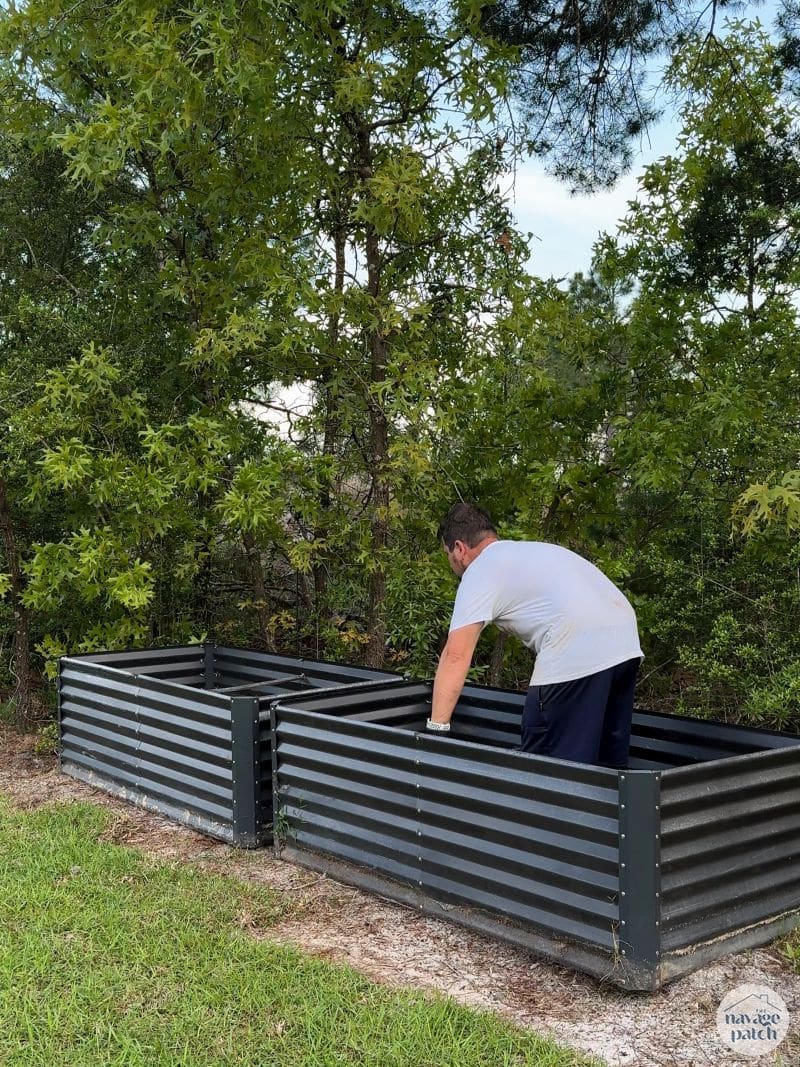
These old beds weren’t in the right spot, so they didn’t get enough sun. They were filled with the sandy soil native to our back yard, so nothing grew properly. Besides, they weren’t any fun to visit since they were so homely looking. I picked them up and carried them to the edge of the yard.

I’m not sure what we’ll do with these old beds, but that’s a question for another day!
I leveled out the area the old beds occupied and then laid the rest of the sod I removed from the new bed area.

Sod isn’t cheap, so I’m happy I could put it to good use!
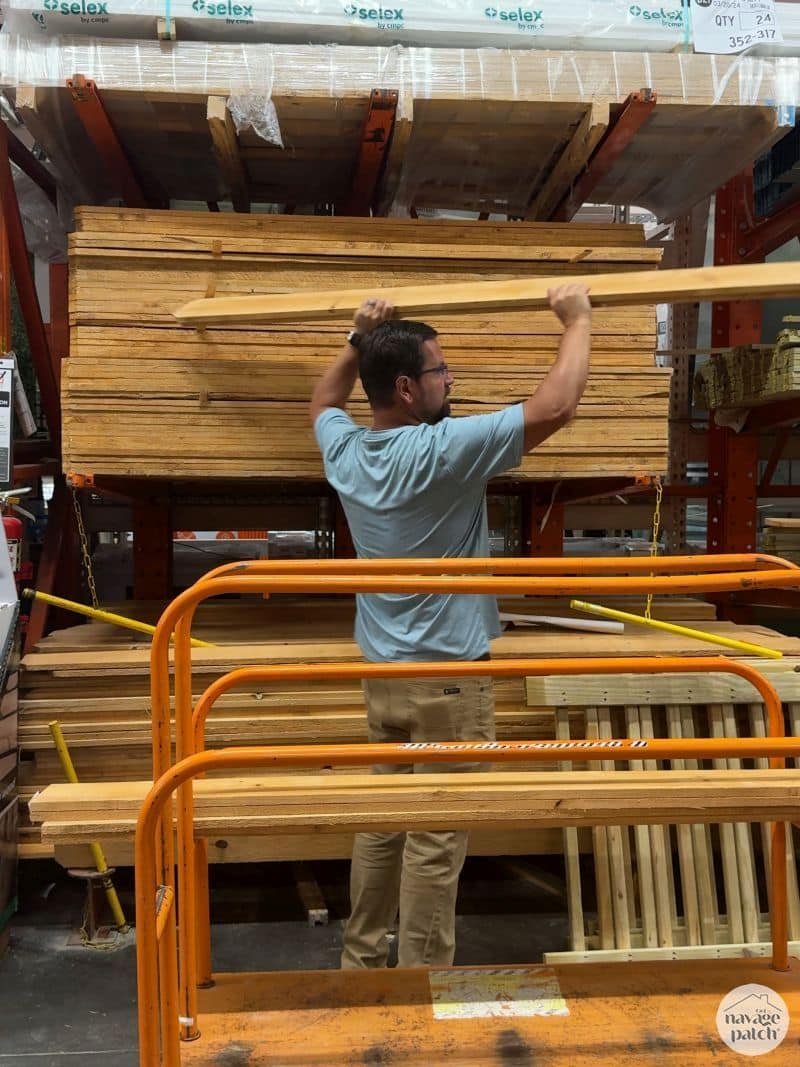
Step 2 – Lumber
This project involves a lotta wood – there’s no hiding that fact! Now let’s talk about why I’m using both cedar and treated pine fence pickets.
There are two reasons: one, the pine pickets are a buck cheaper than cedar, so there’s over $50 in savings, and two, the pine pickets are 1\8 inch thicker than cedar.

That might not seem like much, but it’ll help beef up the walls.

I’ll be using cedar on the inside doubled with pine on the outside. The veggies stay safe, and the walls are sturdier.

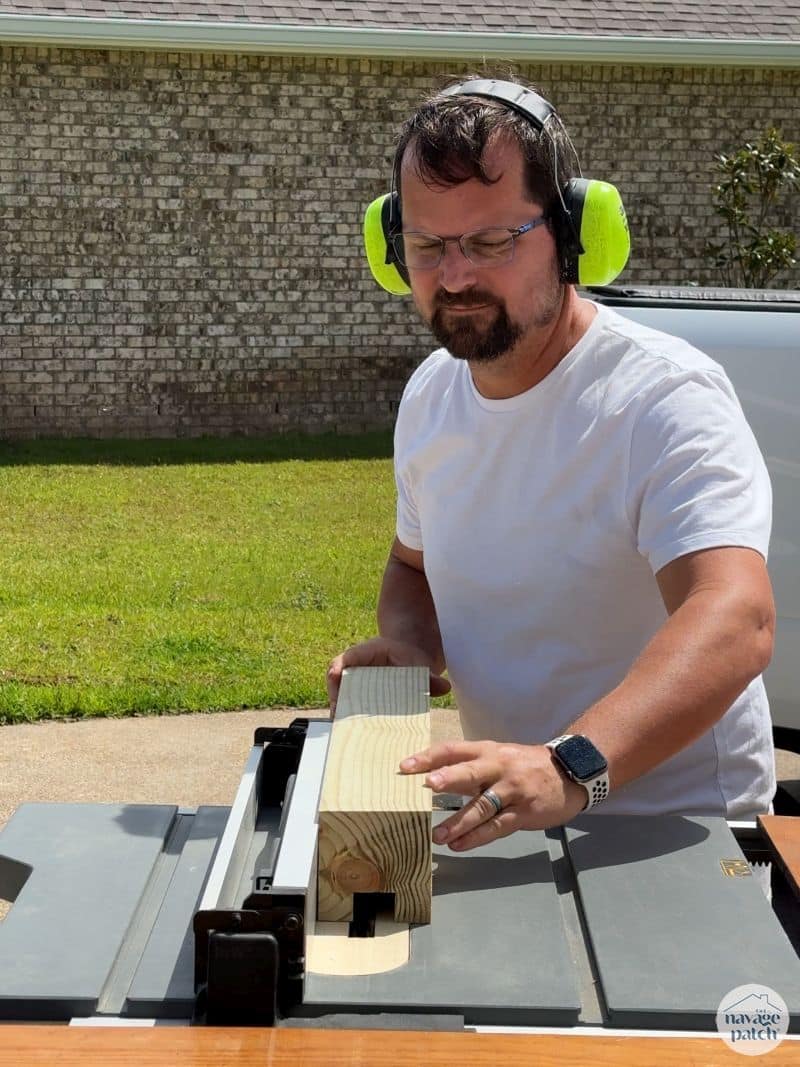
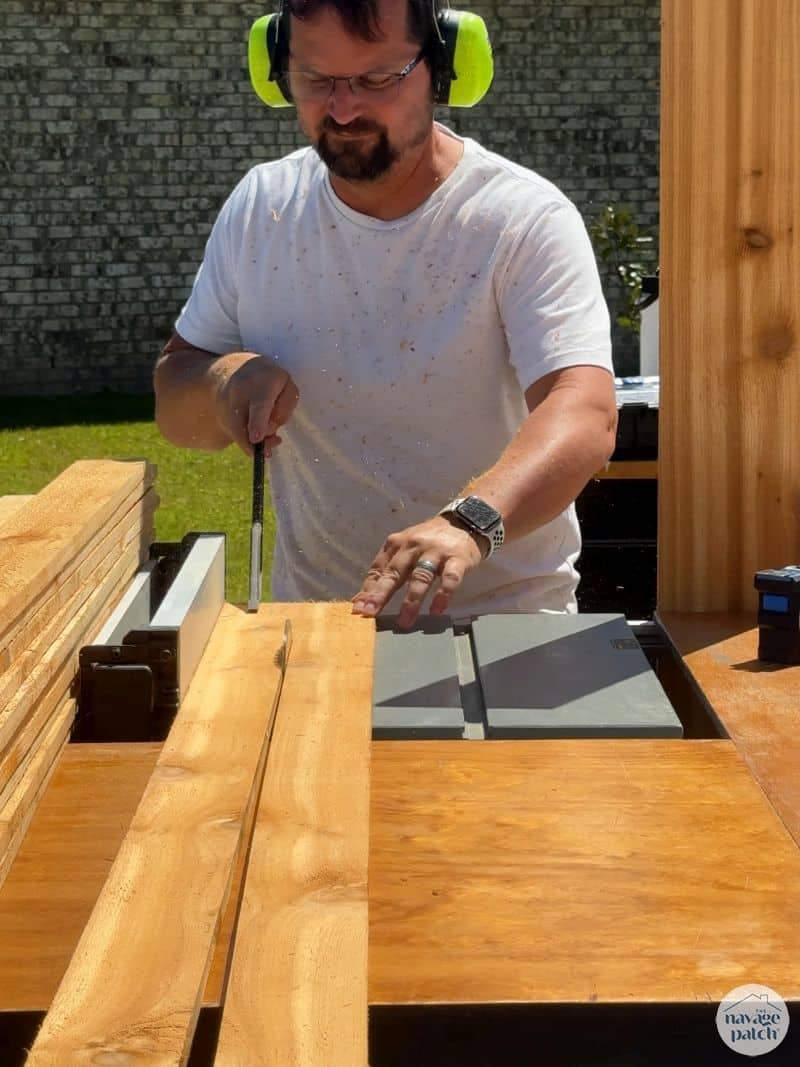
Step 3 – Cutting the lumber
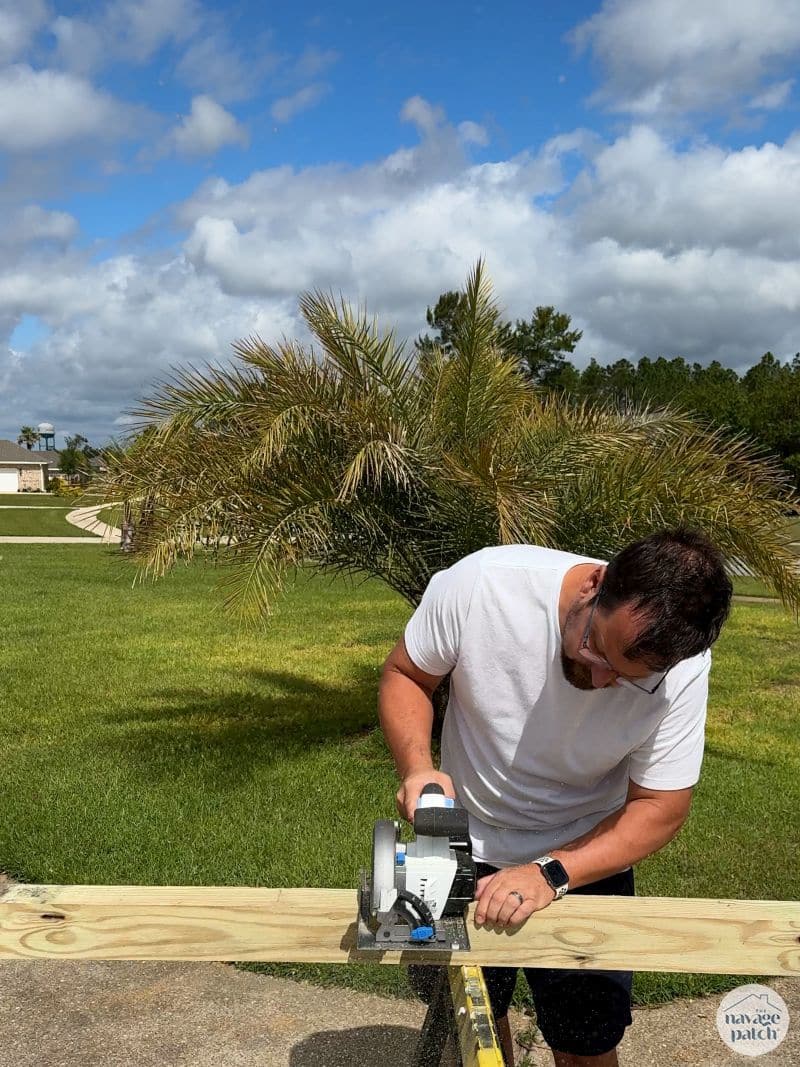
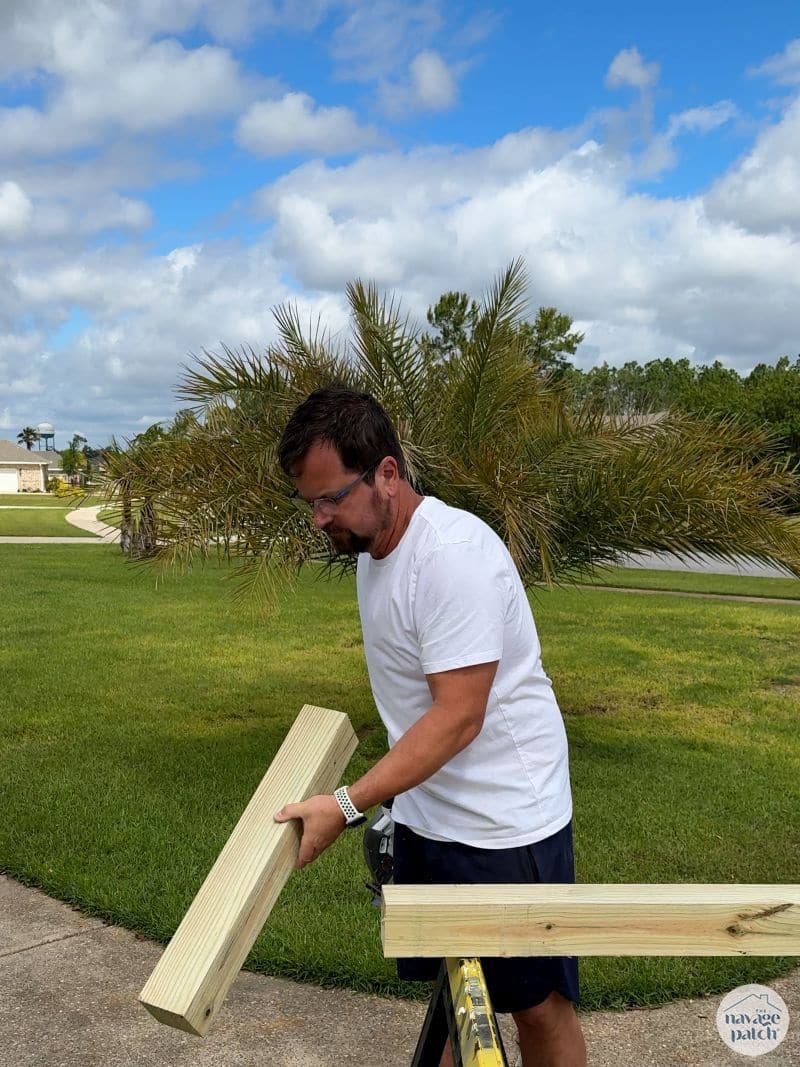
I needed (17) 4-foot lengths of 4×4 and (9) 2-foot lengths, so I cut (9) 4x4s in half. That gave me (18) 4-foot lengths. I cut the 18th in half to give me two 2-foot sections. I then cut the other two 4x4s into 2-foot sections. This is easiest with a miter saw, but it can be done with a circular saw if needed.
I measured my cut.
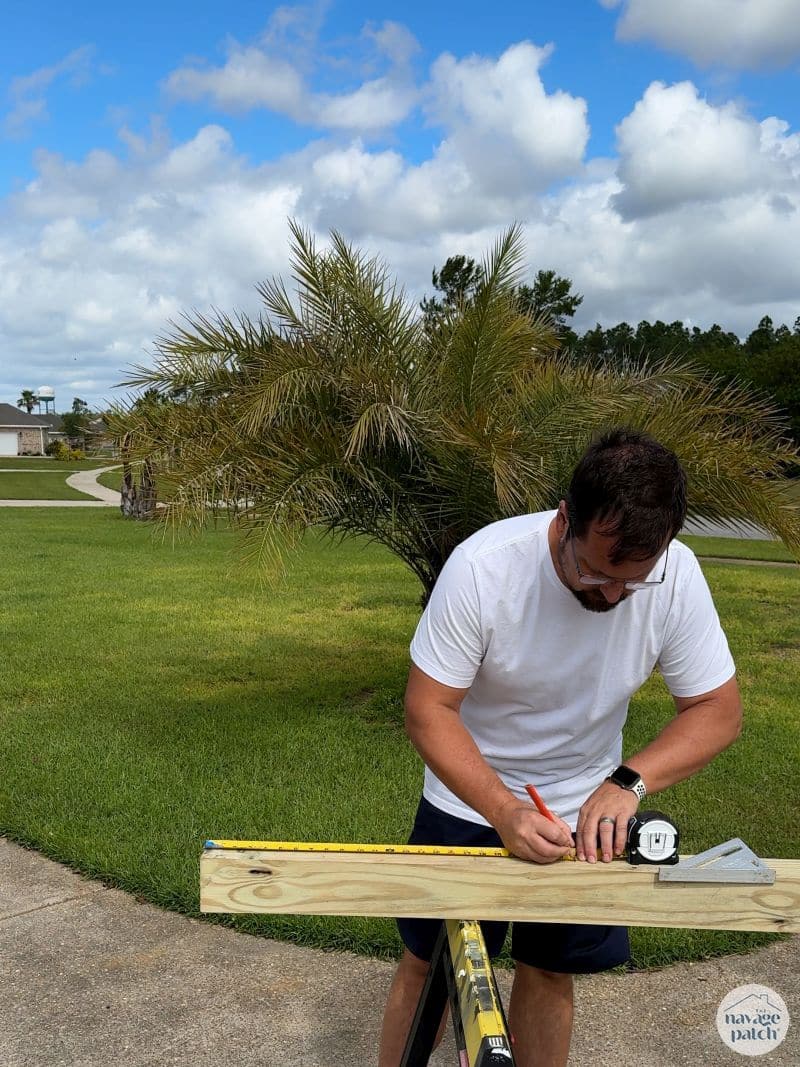
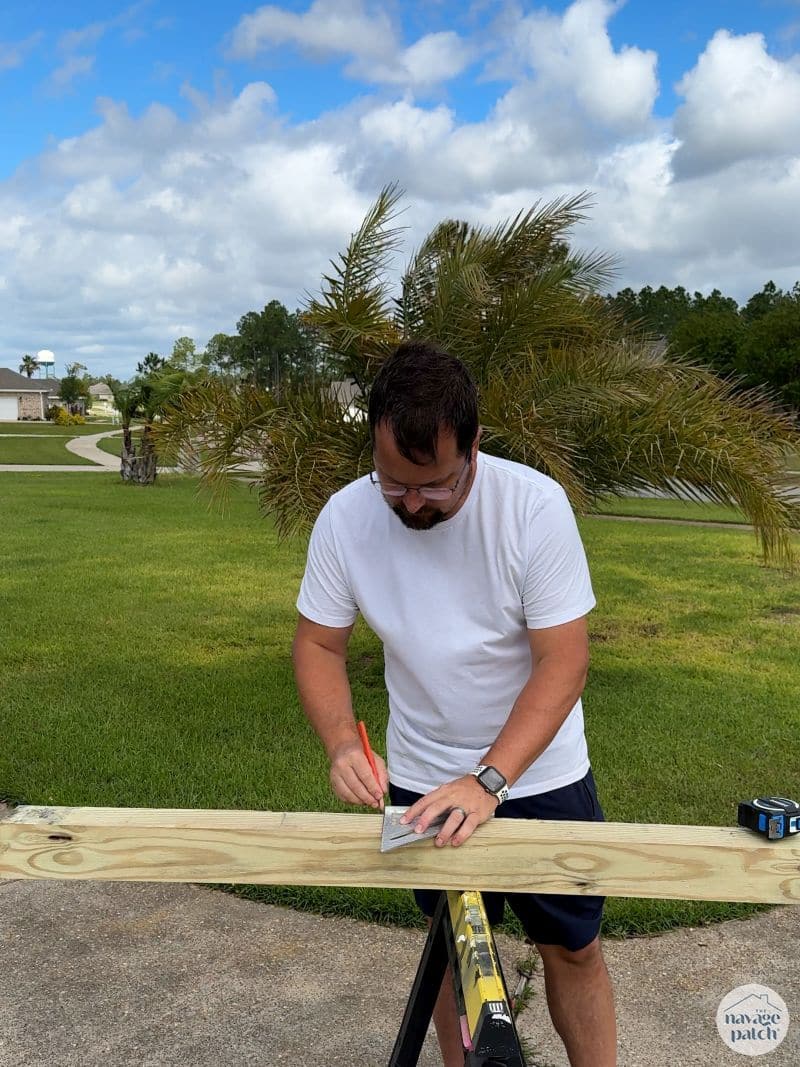
I marked my cut with a speed square.
Then I cut, rolled the post 180 degrees and cut again.
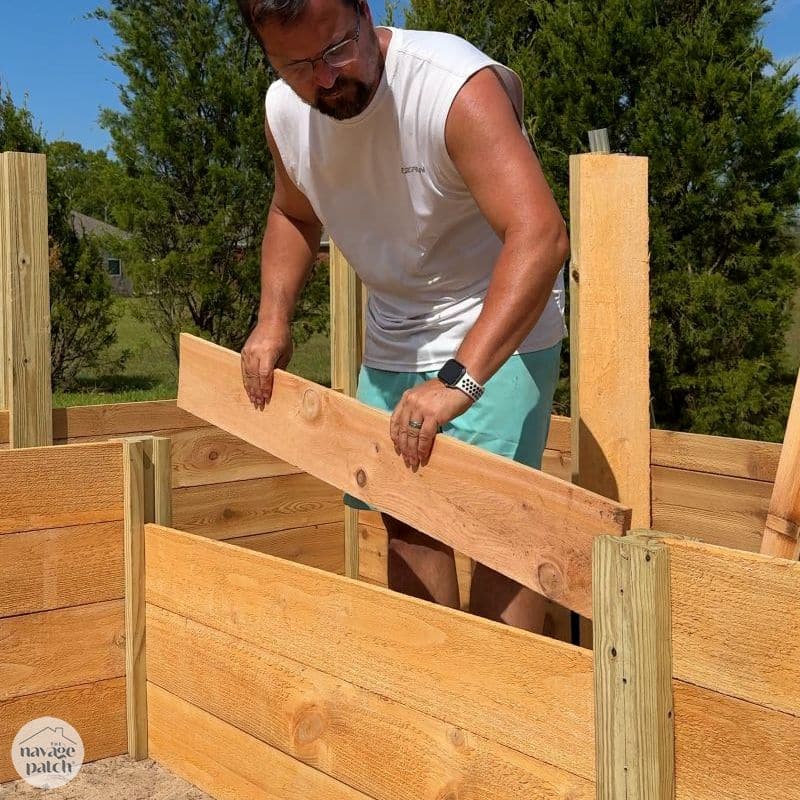
This DIY raised bed garden is like no other DIY garden I’ve seen, because instead of screwing the slats to the posts, I’m sliding the slats into channels cut into the posts. I cut the channels with a dado blade stack on my table saw.

Since I’m doubling up the pine and cedar pickets, and they are 3/4-inch and 5/8-inch thick respectively, I’d need to make my channel 3/4 + 5/8 inches thick, also known as 1 3/8 inches. A dado stack can’t cut a channel that wide in one swoop, so I set the stack to half of 1 3/8, aka 11/16 and made two passes. I set the stack height to 1 inch, so the cut would be 1 inch deep into the post.

Then I flipped it over and cut the same channel on the opposite side.

I did this for 11 of the 4-foot posts and 7 of the 2-foot posts. For the other posts, I made the channels on two adjacent faces as shown in the drawing below.
Tough it looks on paper like that little square is detached, in reality it’s not.
I cut the dog ears off the pickets.

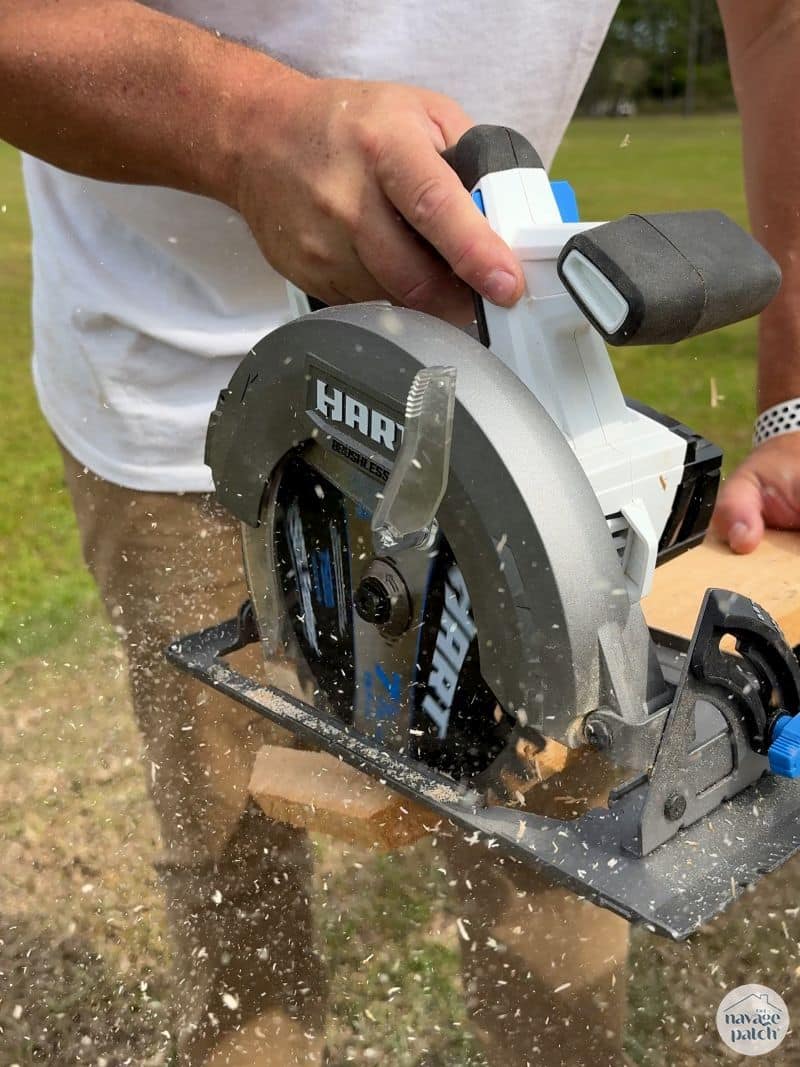
Then I cut most of them in half to give almost-3-foot boards.
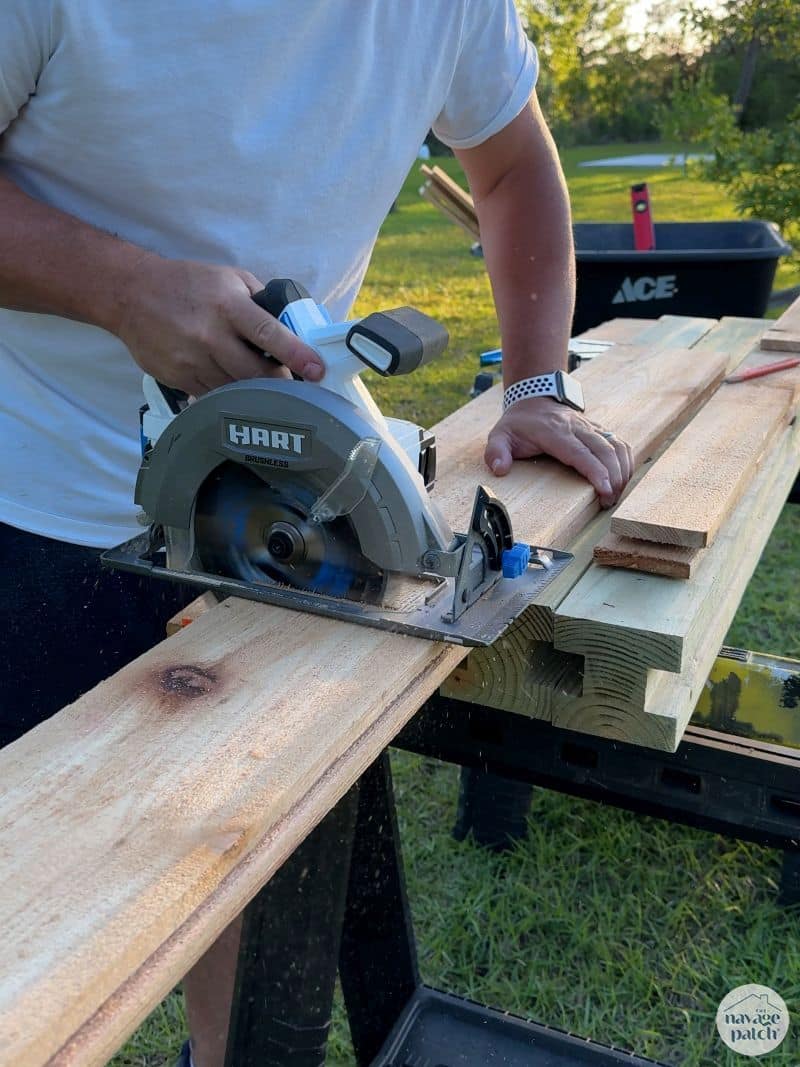
I also cut a few 4-foot and 2-foot boards. Since I wanted to stagger the slats, I cut some of the cedar boards in half lengthwise before cutting them to 3-, 4-, or 2-foot lengths.
Step 4 – Building the bed
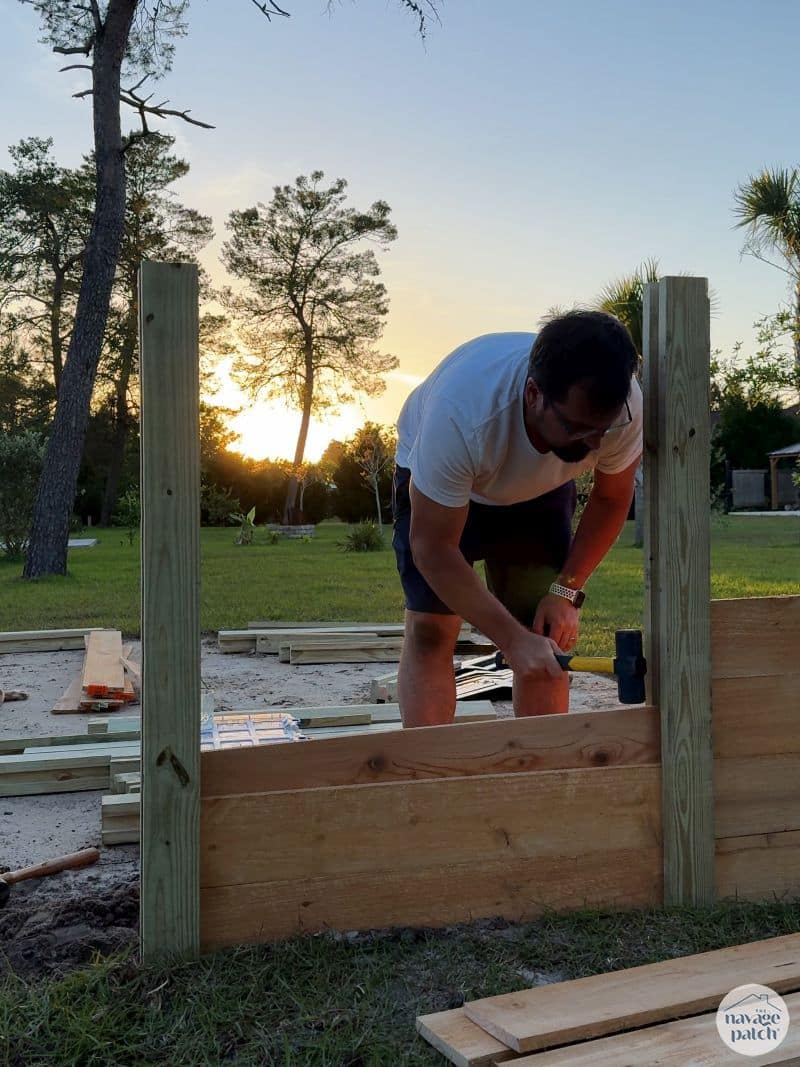
I schlepped the wood out to the garden site and prepared to build.
I started in a back corner and created an “L” shape. Since I was securing my posts to the ground, this wasn’t necessary, but if you’re going to build without ground anchors, I think this is a good way to start.


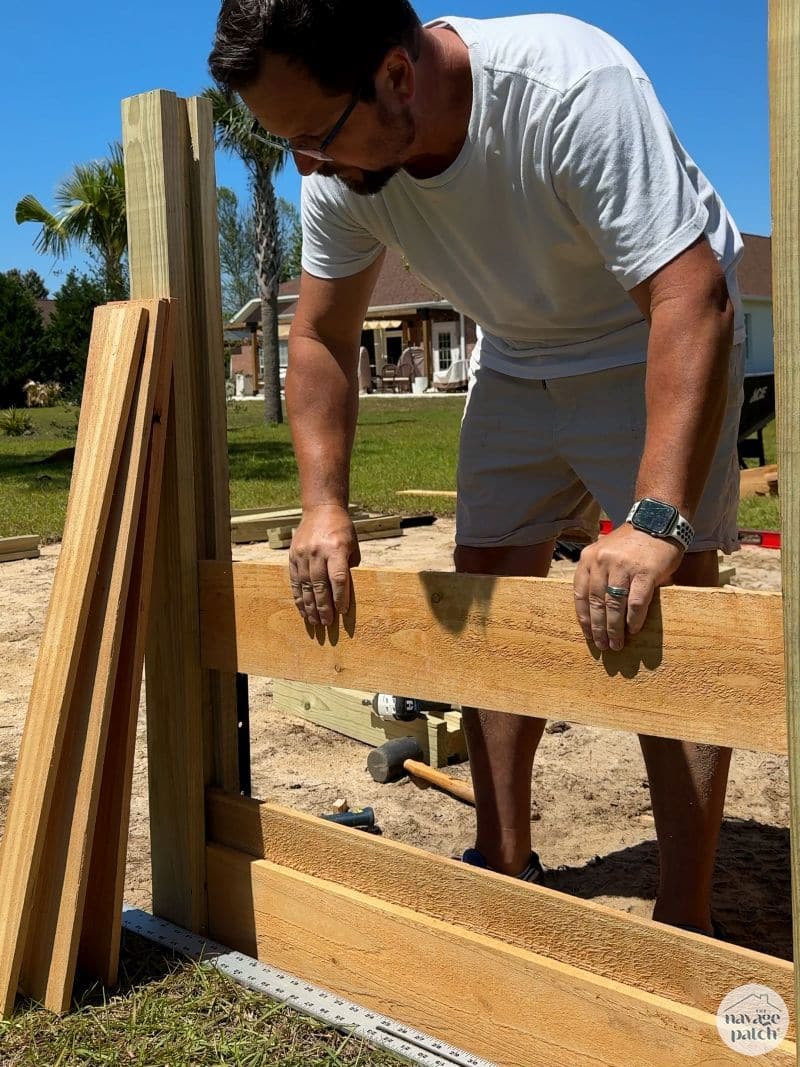
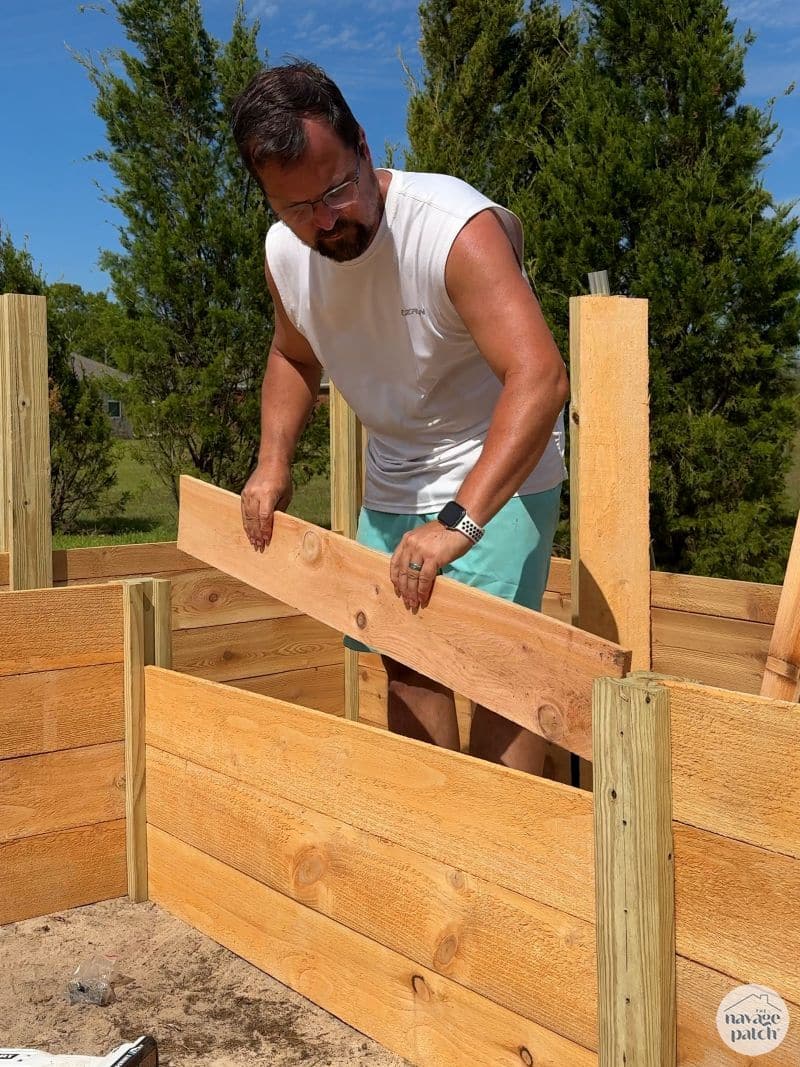
After creating the initial “L,” I carried on with the back wall. I put a half-width cedar on the inside and a treated pine on the outside and checked for level.

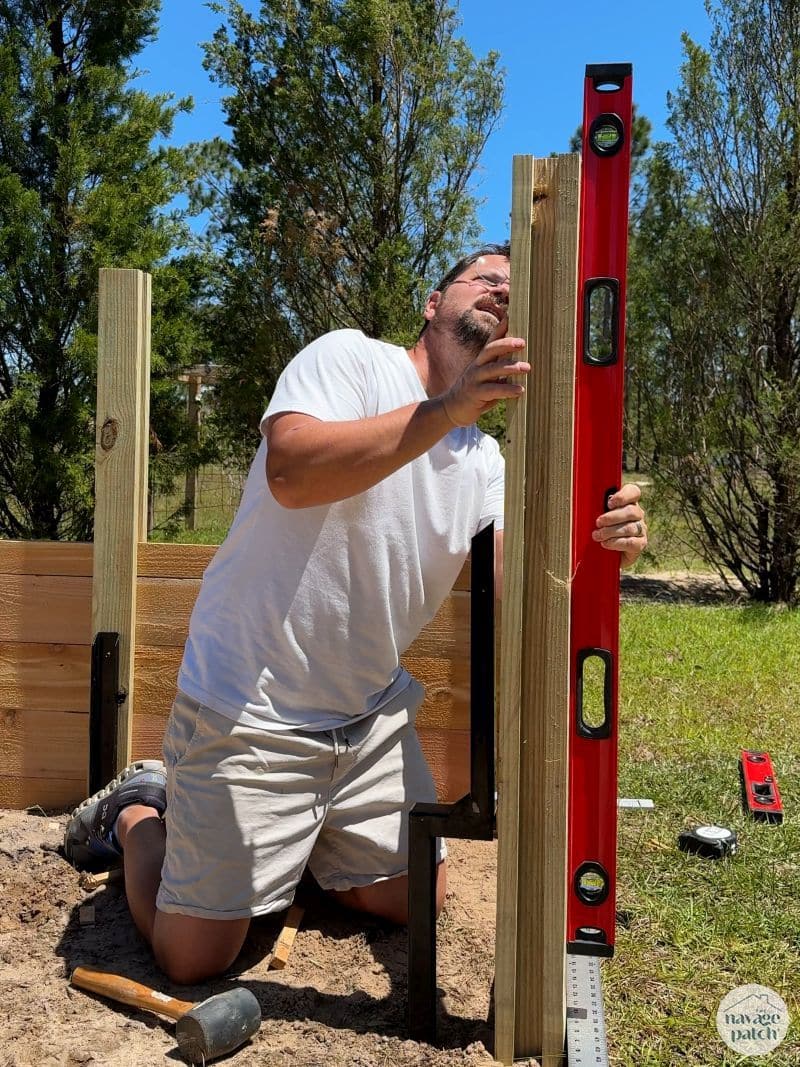
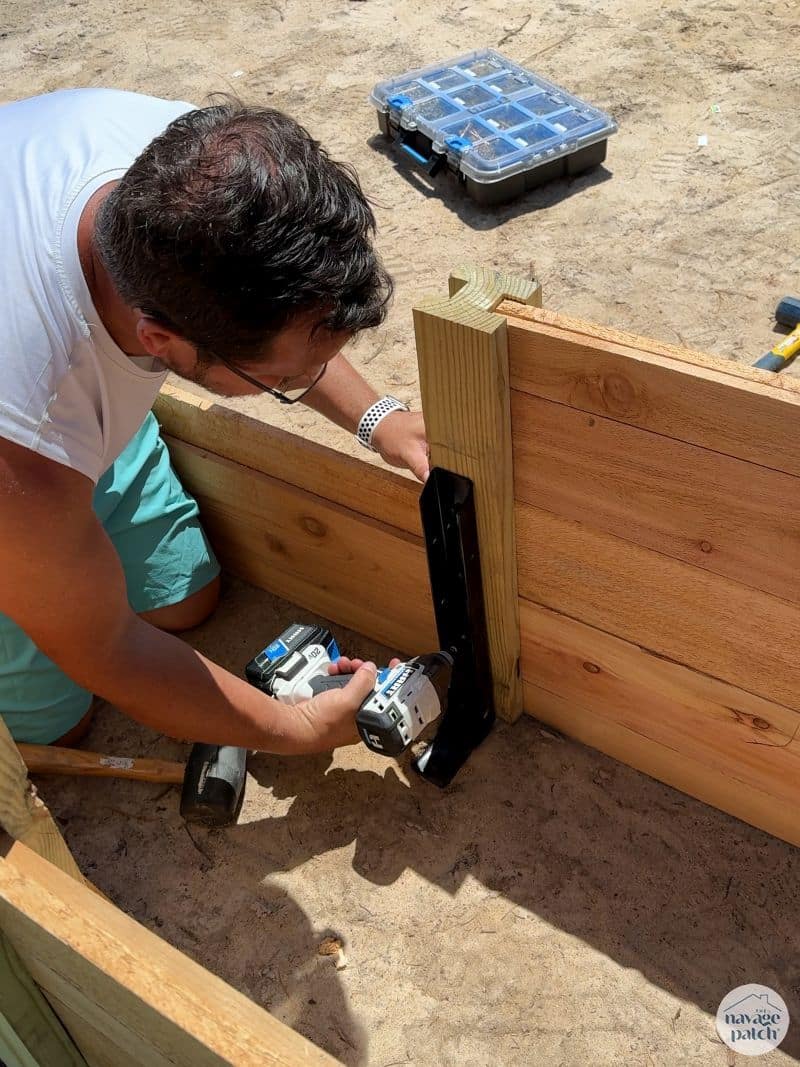
Then I placed a post on the slats and checked for plumb.
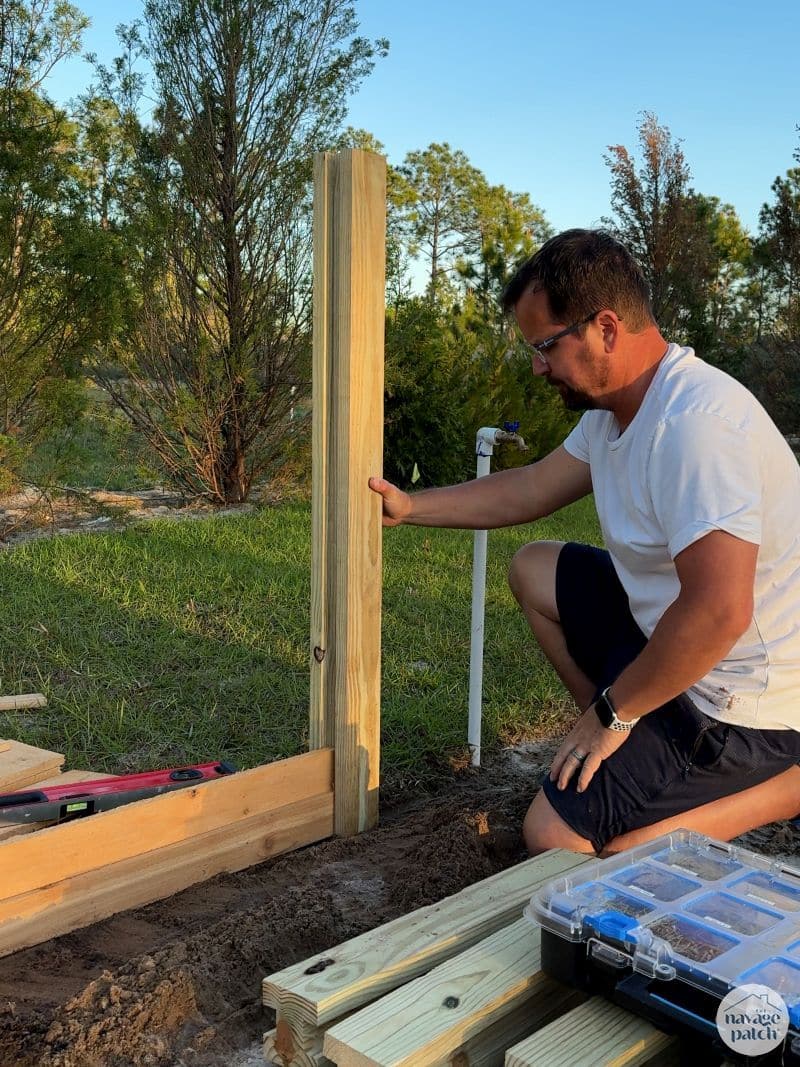

Not shown, but here I anchored the post to the ground.
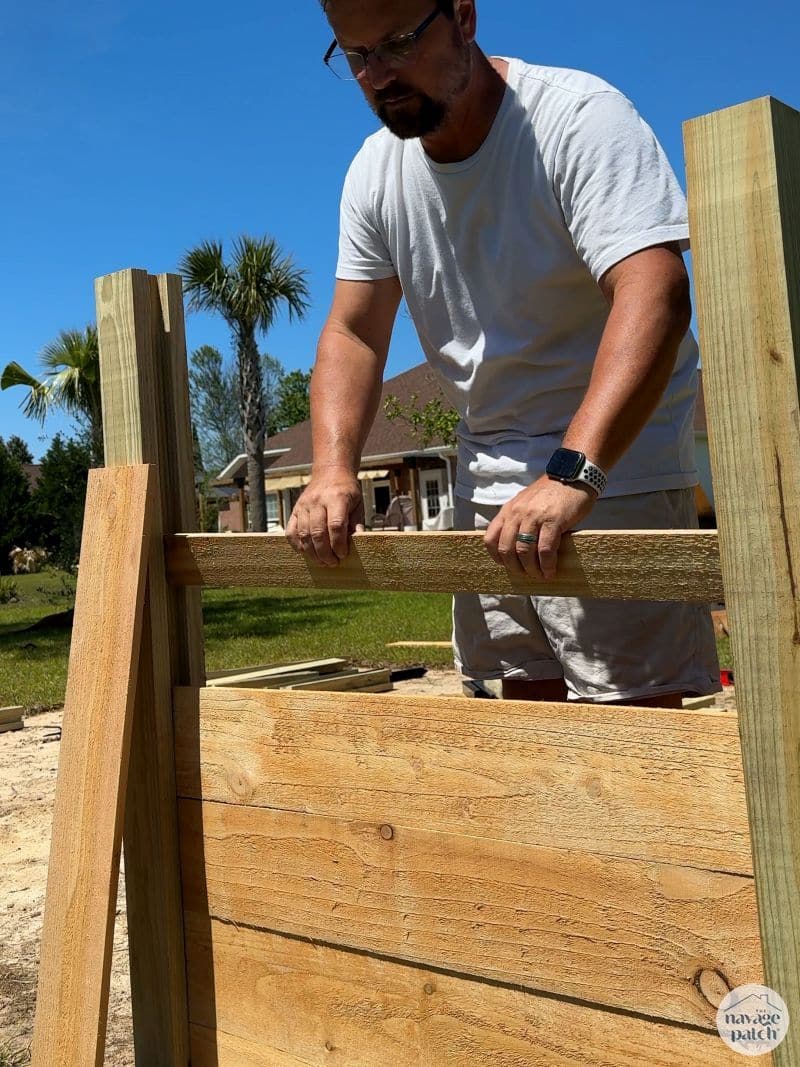
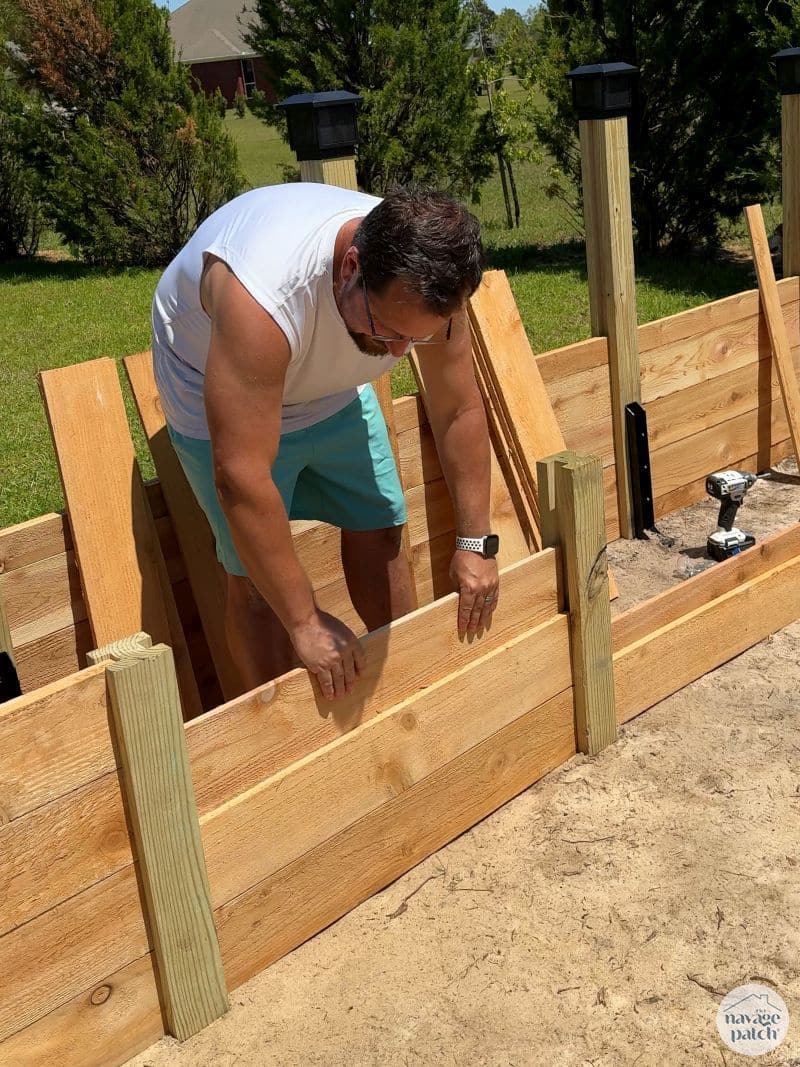
Next, I staggered the slats, cedar in, pine out until the section was 4 slats tall.


The doubled-up slats fit snugly in the 1 3/8 inch channel.


Penny and Pepper danced to show their approval of my work. Or maybe they just wanted dinner. 😂

A view from the back.

I have a lot of build pics I’ll share with you. The technique is pretty much the same from section to section, but the pics will give you a good sense of how it all came together.

The ground anchors were a little pricey, but the cost was worth it to know this garden bed will withstand a hurricane!
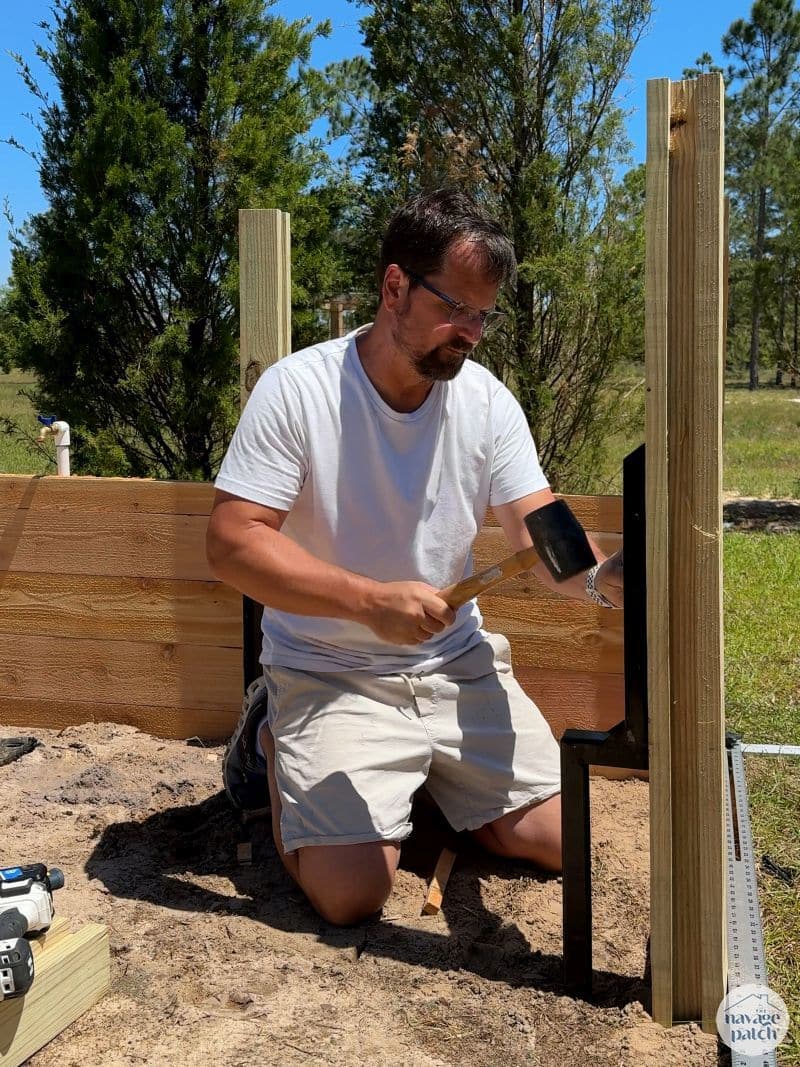
Pounding them in would sometimes bump the post out of plumb, so I checked it every few whacks and made adjustments.
Each anchor has 4 strong lag screws.
I really love the idea of building this raised bed with slide-in slats.
It gives a polished look I haven’t seen on any other DIY raised garden bed.

As usual, Pepper wasn’t much help.
Penny tried a little harder…

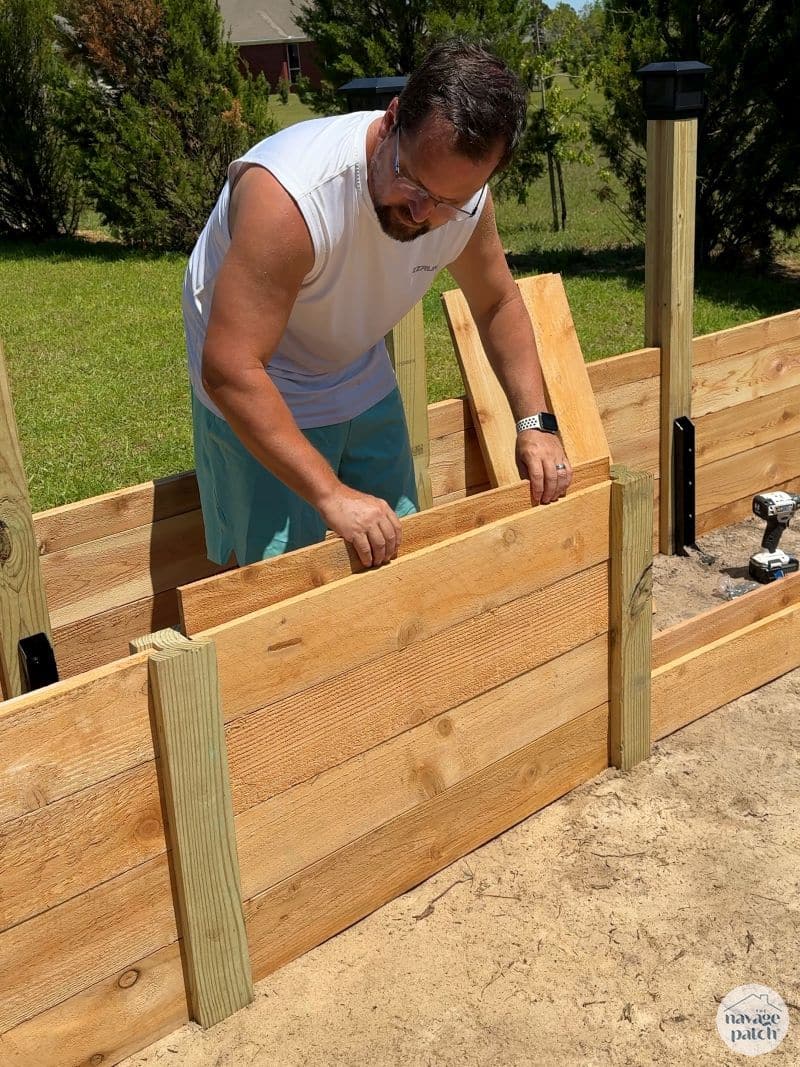
This is one of the two-foot sections.

I used string to make sure I had the front of the bed (the two tips of the “U” square and level.
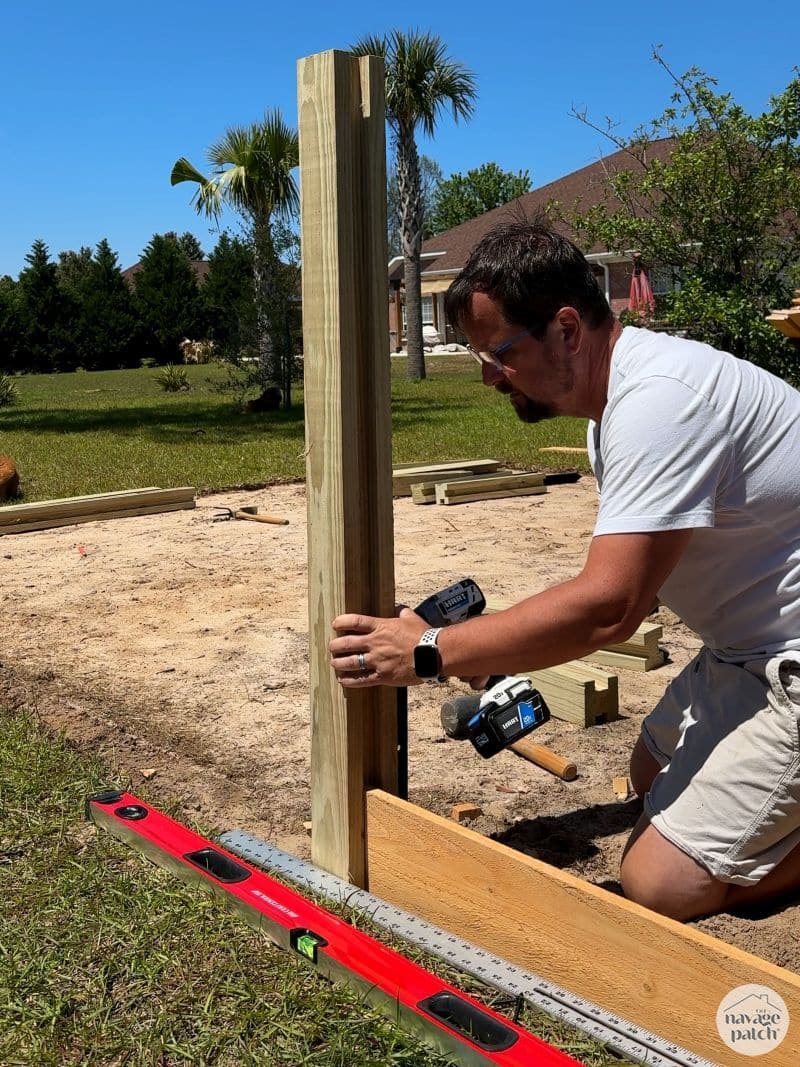
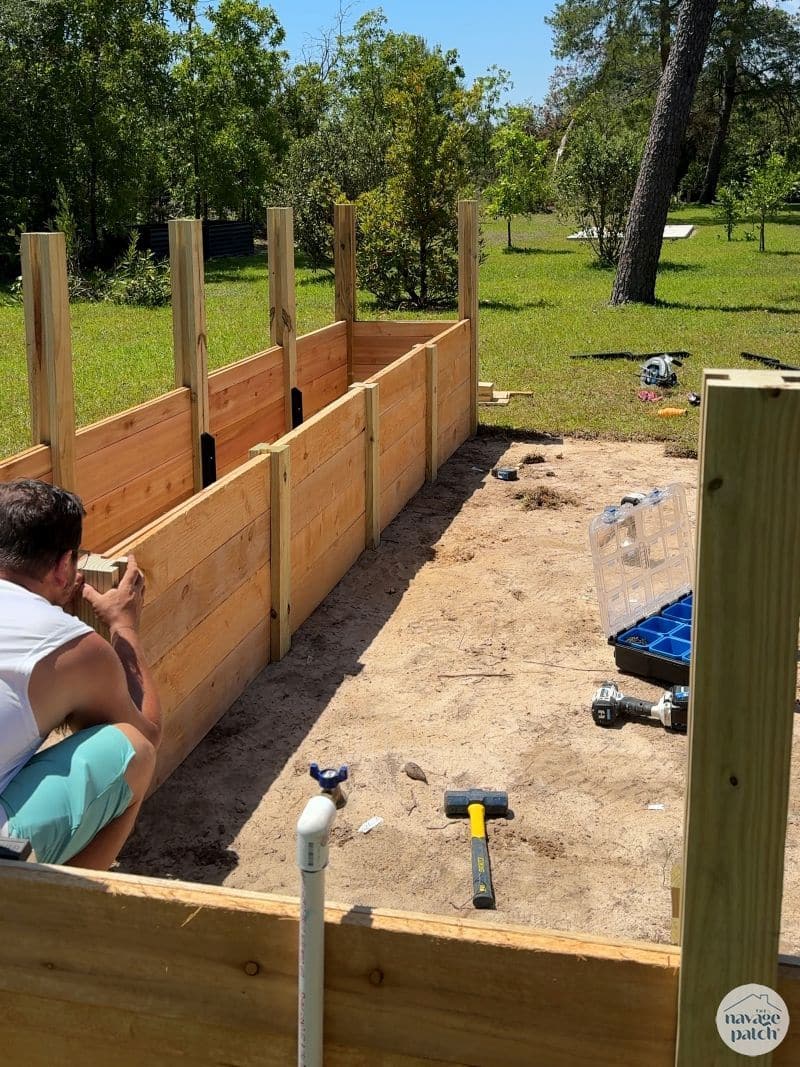
The inner area of the bed has 2-foot posts.
I measured each section against the outer wall with the 4-foot posts to make sure I was keeping things square.
I feel pretty limber for 52, but I wonder where the hell that hunch on my back came from! 😂

Getting old can be horrifying or hilarious depending on your point of view!

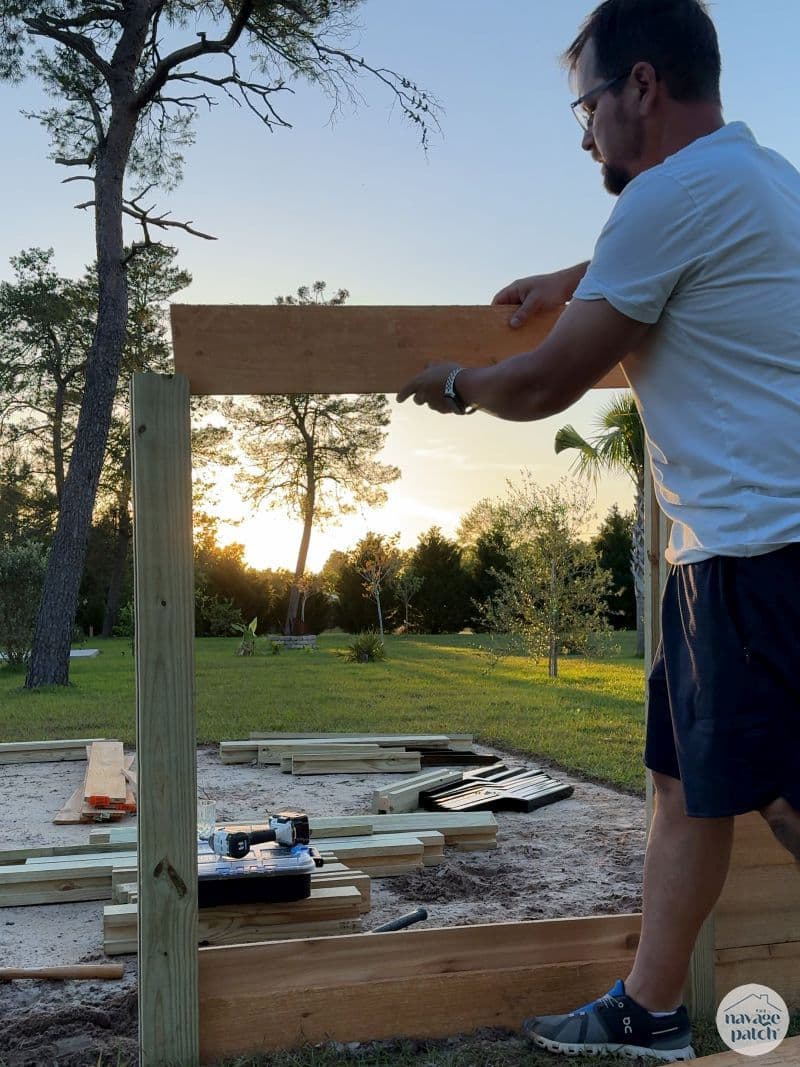
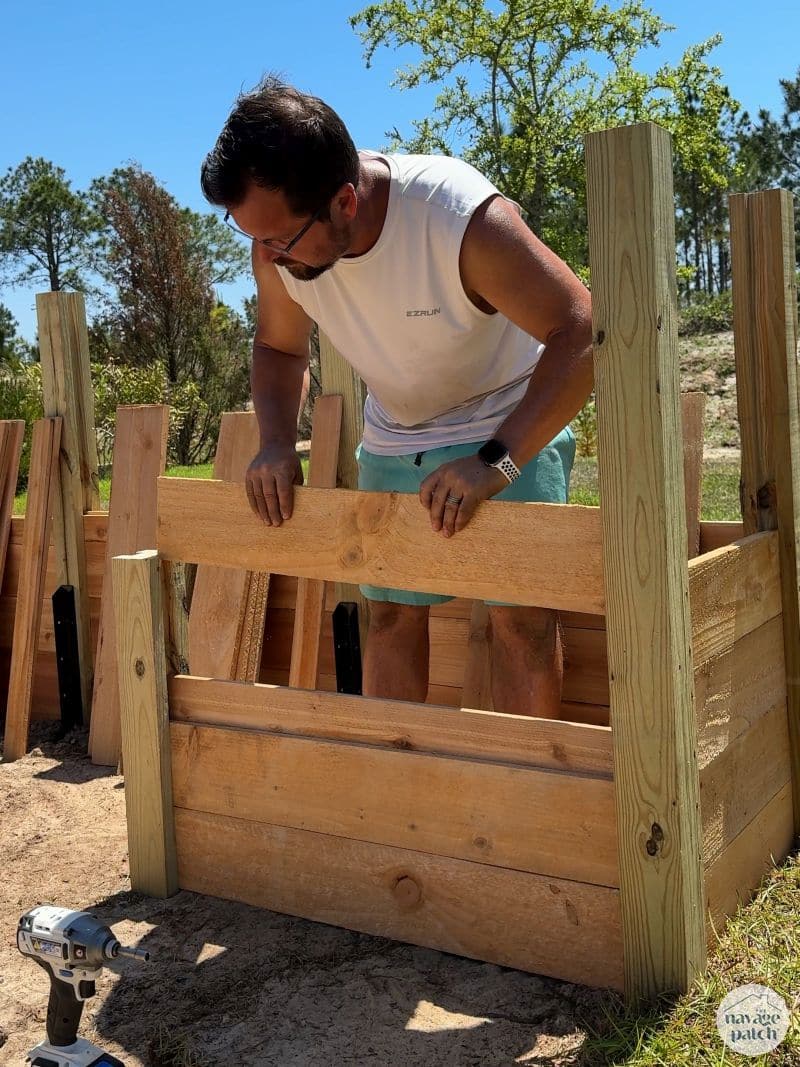
For this wall, I tried a new technique.

I set up all the posts with just two boards between them, but I didn’t anchor them.
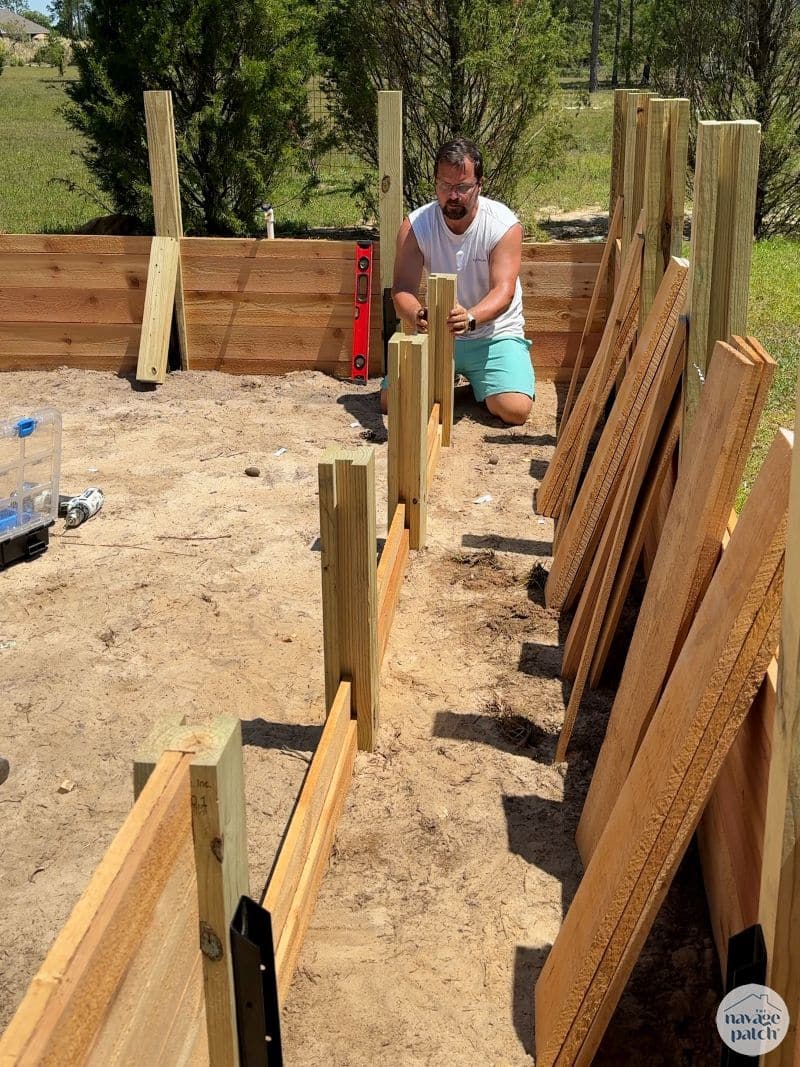
After the last post, I sight-lined them and then adjusted them according to the distance from the 4-foot posts.


When I had the line straight and square to the other wall, I went back and anchored the posts.

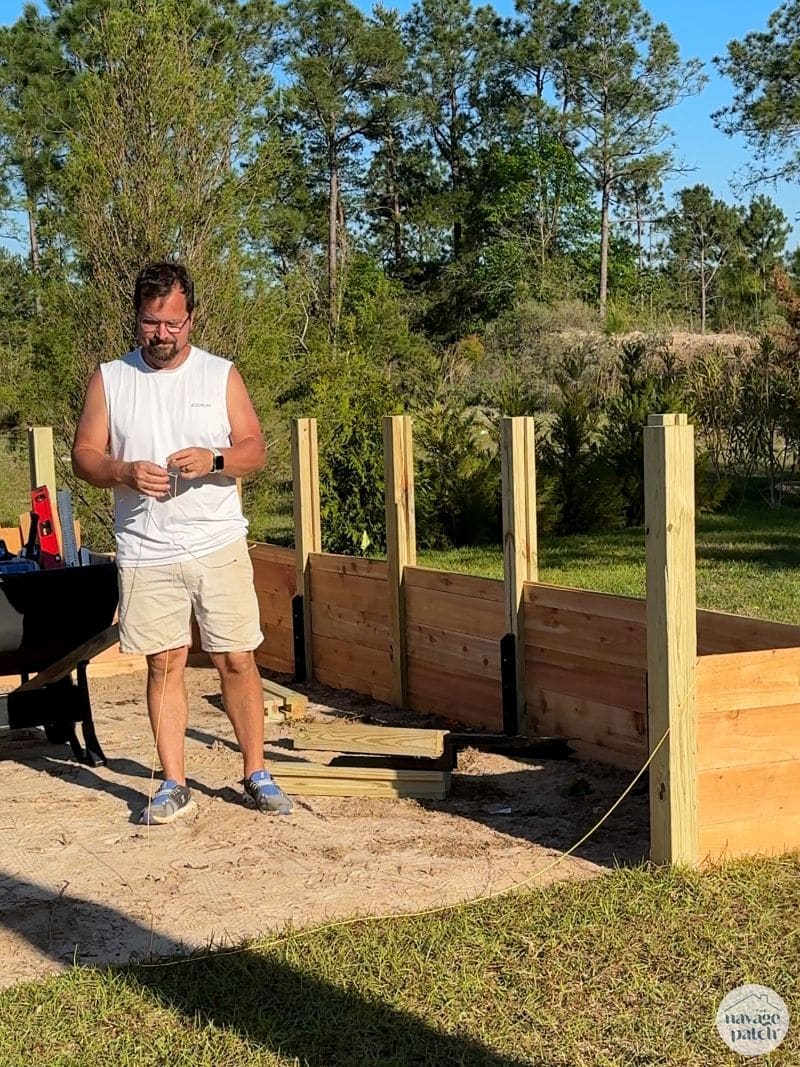
The last two sections of the main bed build were along the inner back wall. Each of those sections was roughly 4-feet long.
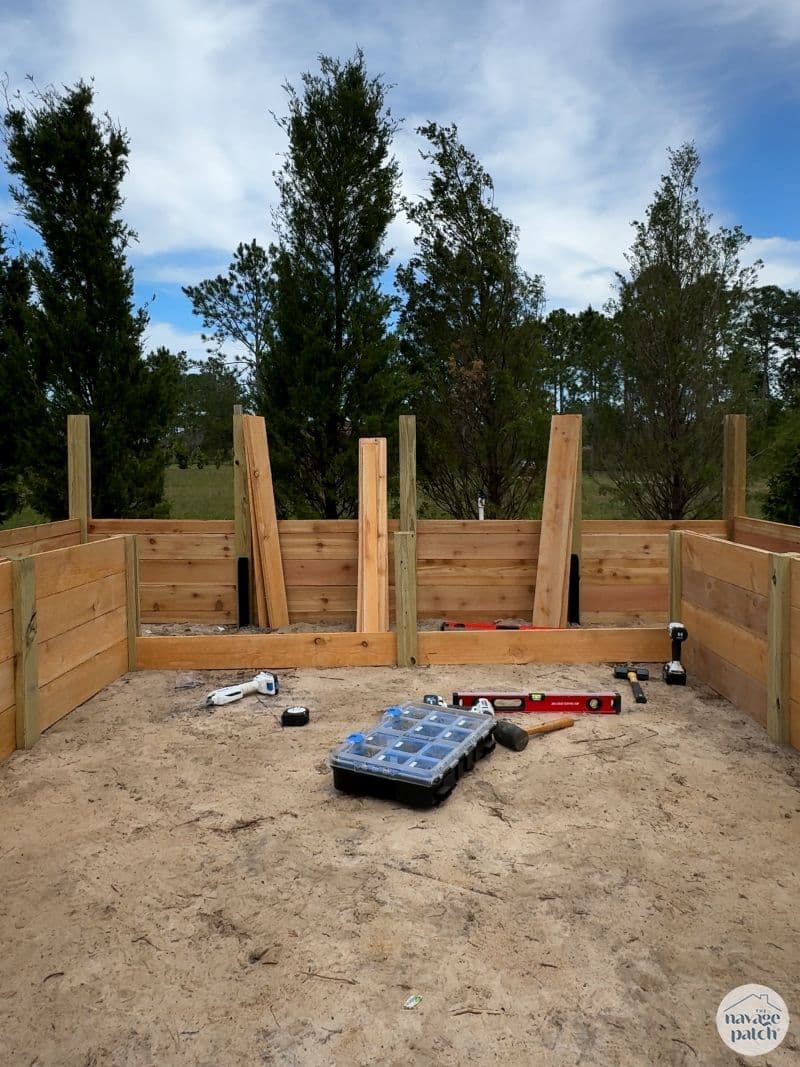
Getting to this point took a fair bit of work, but it was so worth it when I looked at what I’d built so far!
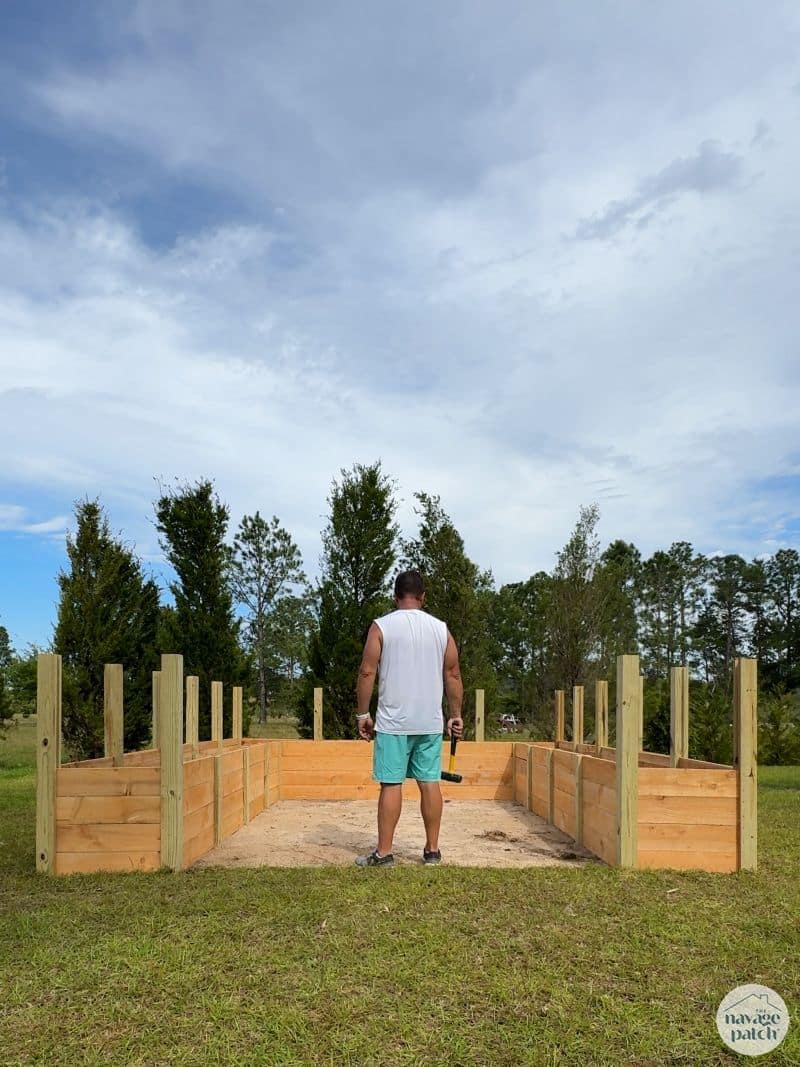


And there’s more to come!
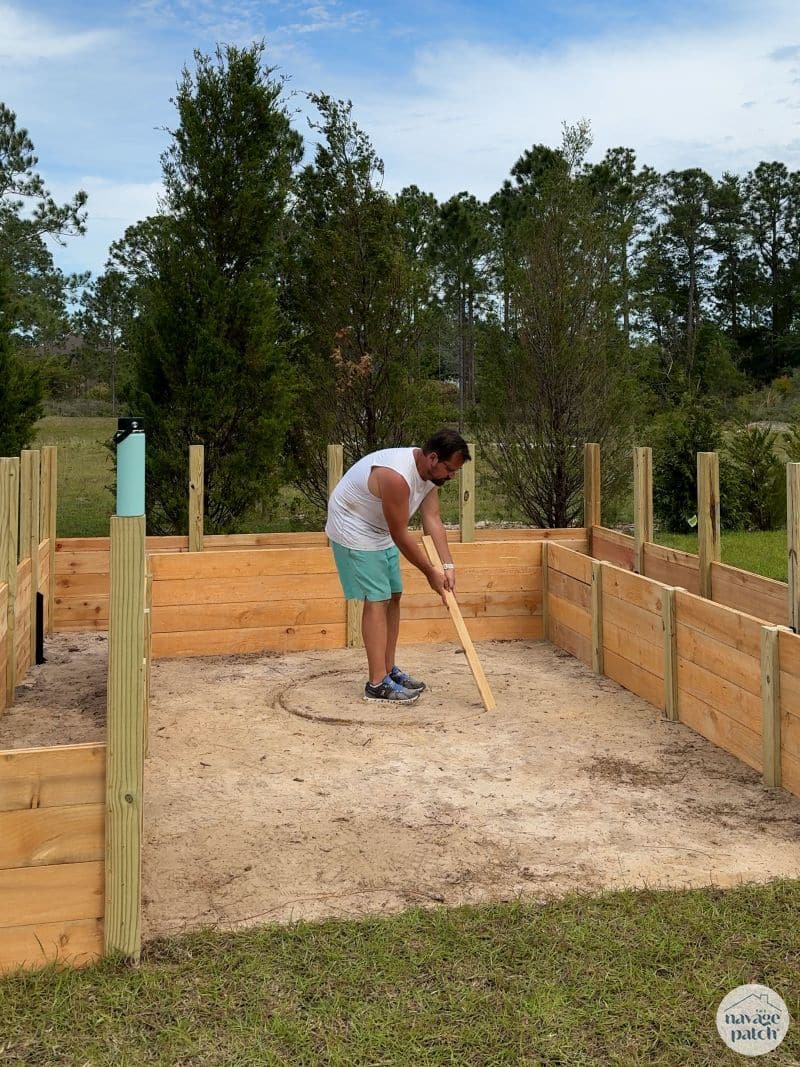
Check out part 2 to learn how to make the easiest round raised garden beds!
The old metal beds might make really good composting piles.
Nice work!
Thank you, Julie! That’s a great idea for the old beds!
Magnificent garden!
Thank you, Carla! 🙂
Wow! Great work as usual.
This will cause major garden-envy for those who have abandoned gardening because of the hands-and-knees not cooperating.
I’m sure that you will have an epic garden this year!
I sure hope so, Denyse! The first crops are already coming in!