
Garage Entryway Remodel Reveal
Our garage entryway remodel is finished! It was once a laundry room, but we had much grander plans for this humble little space!
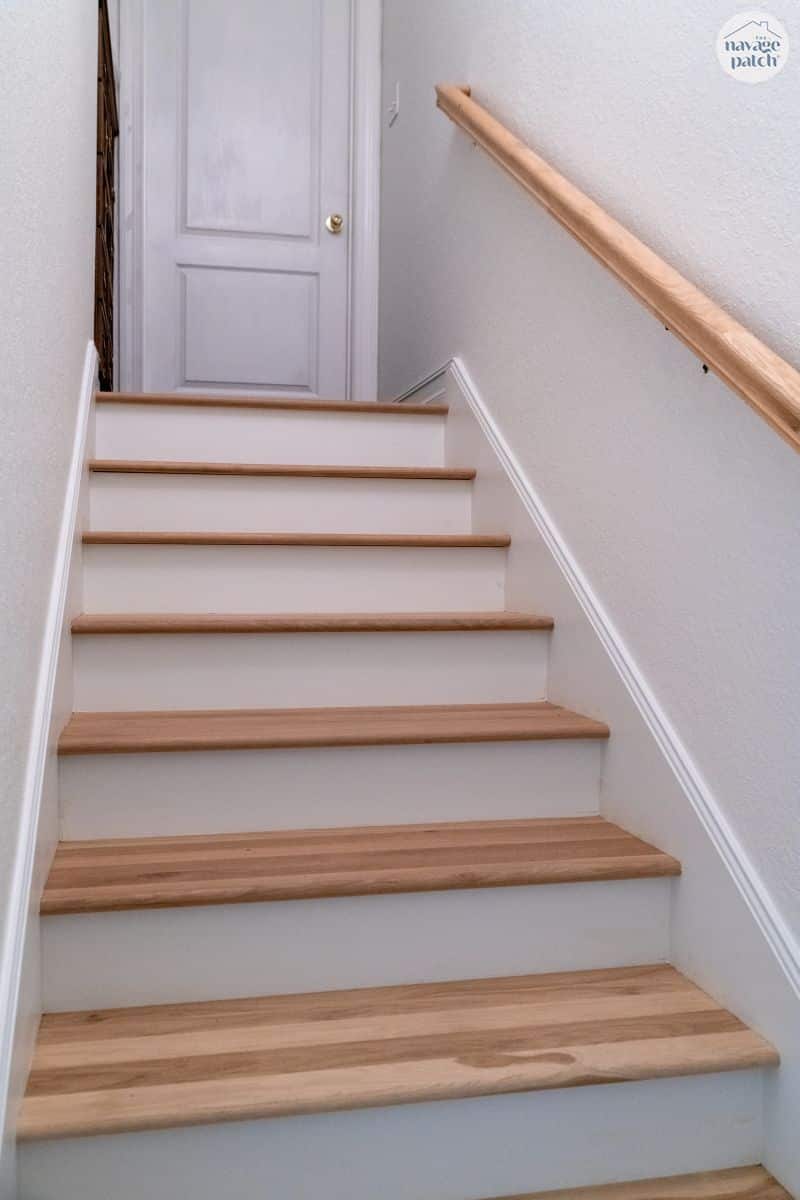
In Part 1, we demolished and re-routed a staircase into our old laundry room, and then I built drawers for a cabinet I rescued from the kitchen. After bringing the new cabinet inside and placing it next to our doggies’ GobbleTrough (aka SnarfStation), I went out to find a stone countertop to sit cover the cabinets.
Armed with nothing more than my iPhone and a half-witted AI named Siri, I set out to find a cheap piece of stone somewhere on the Emerald Coast that someone could sell to me and cut for me that very same day.
Sounds unlikely, I know. But my babes was so excited about the prospect, and she assured me I’d find that someone…somewhere.
And did she come with me on this snipe hunt?
Of course not. She had to be in the office that day, so that left poor little old me to drive around Choctawhatchee Bay all day all alone looking for an elusive rock that could be cut in a day.
I started far far away in Fort Walton Beach. It’s always easier to work back towards home. I pulled into the lot of some stone supplier – it doesn’t matter which. I entered the showroom. It was a smallish affair little bath mockups here and there. While the associate finished up with a client, I nosed around. When the saleswoman was free, I asked without much hope. I explained to her that I needed a white or black rock for a small countertop. I told her I had the template in my truck and that I needed this stone to be cut today or tomorrow at the latest. Would that be possible?
Of course it wouldn’t. Her team was booked out solid for months, but perhaps if I could wait until April?
April? I’ll be 100 years old by April, lady!
I asked by dimwitted copilot to chart a course to the next slabatorium.
Immediately upon entering, I noticed something strange and unsettling: all the slabs on display looked alien and wrong. They looked like cheap facsimiles of rock made by someone who’d only had stone described to them.

Ugh.
It was a shop dedicated to the false god of Quartz! I slowly backed out of that little shop of horrors before the sales-alien spotted me and tried to convince me of the virtues of man-made stone.
I escaped unseen and pulled up to my next target: King Granite. Huh, King, eh? I like the sound of that!
King Granite occupies the back end of a building fronted by one of those sleazy payday loan outfits. You know the ones. They litter just about every town in America whose median home price falls below a certain threshold.
With some trepidation (because I couldn’t see an obvious door or entryway into the establishment), I pulled into the drive and parked outside the loan office. I could see slabs down the hill behind the building, so I meandered down to have a looksie.
Yep, slabs, but no entry to King Granite.
I finally gave up and called. A man named Oscar answered and told me he’d meet me there in 10 minutes. It turns out that this address is his workshop and these slabs out back were all scrap (perfect!). He works with stone wholesalers in the area, so he doesn’t keep an inventory or even a showroom.

While I waited, I perused the scrap pile and found a few candidates for our entryway, one white and one black, and a couple in between.
Oscar arrived with his young assistant, and with the help of a forklift, he and the boy moved some slabs around while I and Handan-via-Facetime had a look.
We couldn’t come to an agreement over the phone, so I drove 20 minutes to Destin, picked her up and drove back to Fort Walton Beach. In minutes we settled on a scrap of Black Pearl Granite. Now, the kicker. Could he cut it for tomorrow (it was too late in the day for that day).
He could! This is why I love small businesses – they are accommodating! Not only that, but he’d do it for $200!
I gave him the template, and he got right to work.

Small entryway Remodel VIDEO Recap
Watch our short and fun video below for an overview of our small entryway remodel before reading all about it!
Watch Our Tutorial On YouTube
On Tiktok
We love to see our DIY projects out in the wild! If you try this DIY project and take a picture and post it on Instagram, be sure to tag us @TheNavagePatch!
The next day, I picked up my countertop, and loaded it into my truck.

Back home, with The Shrimp’s help, I carried it inside and wrangled it into place.
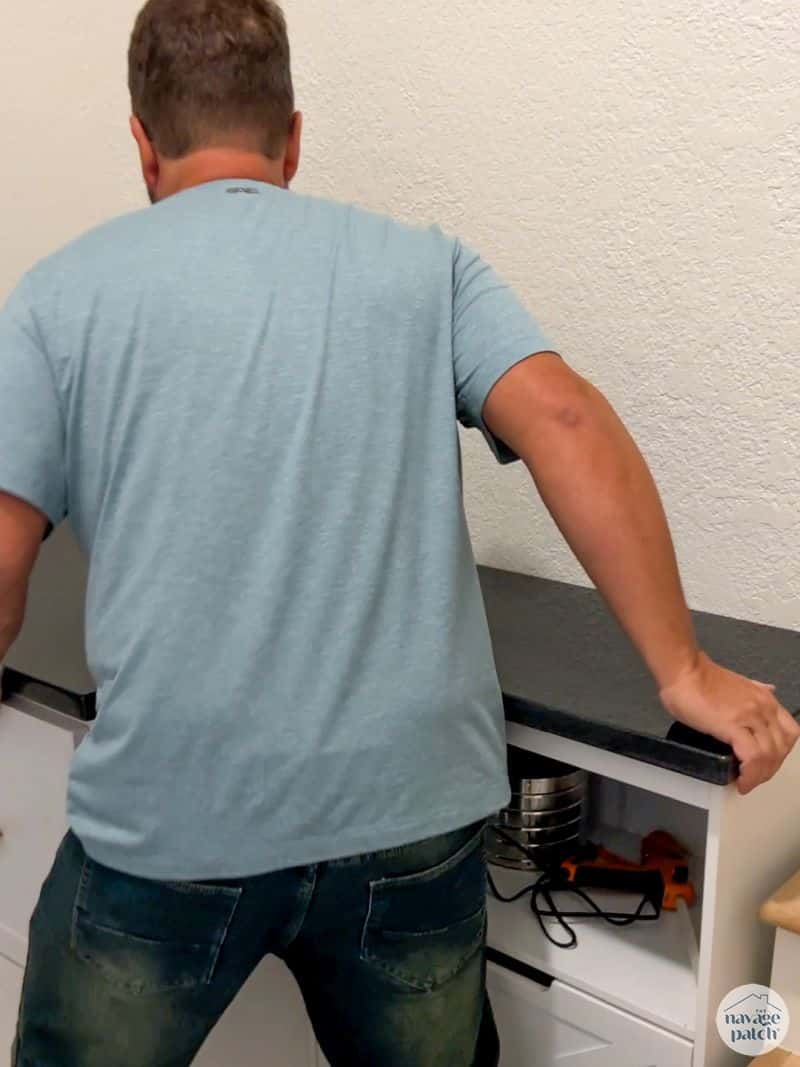
What a difference!

The black pearl really elevated the cabinets, and I couldn’t wait to get those uppers on there, but first I needed to build a cubby with drawers that would raise the two uppers to the ceiling.
I worked up a detailed plan. 😂

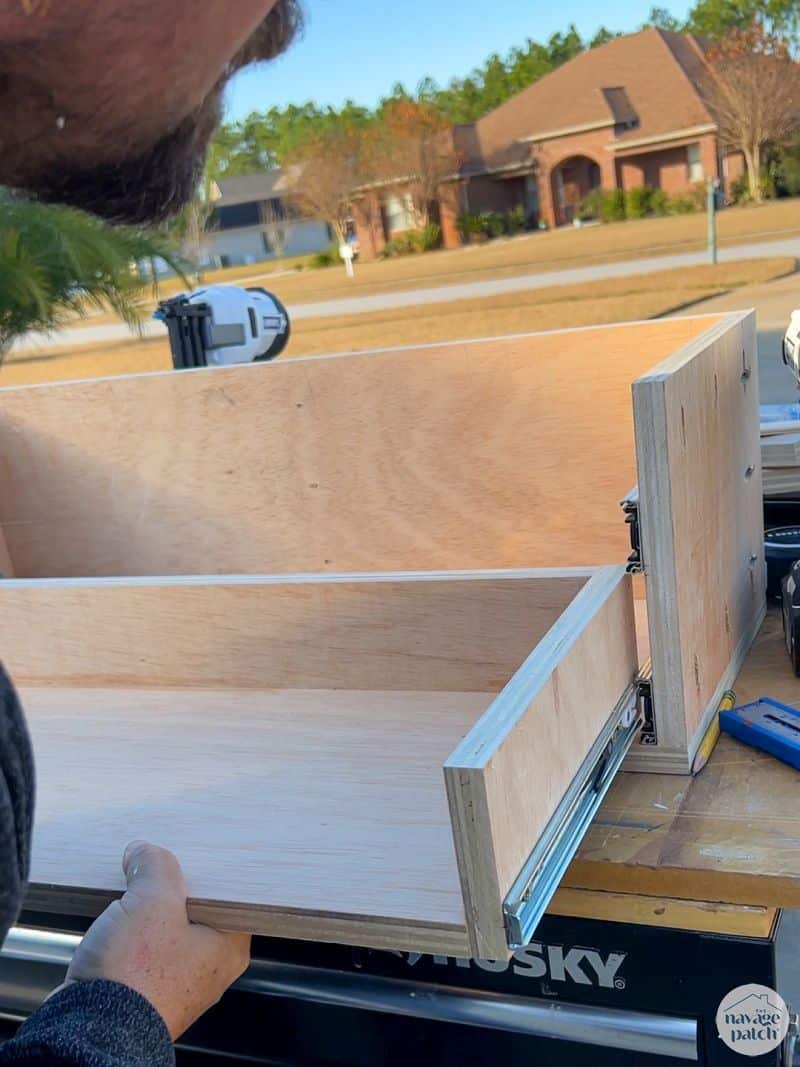
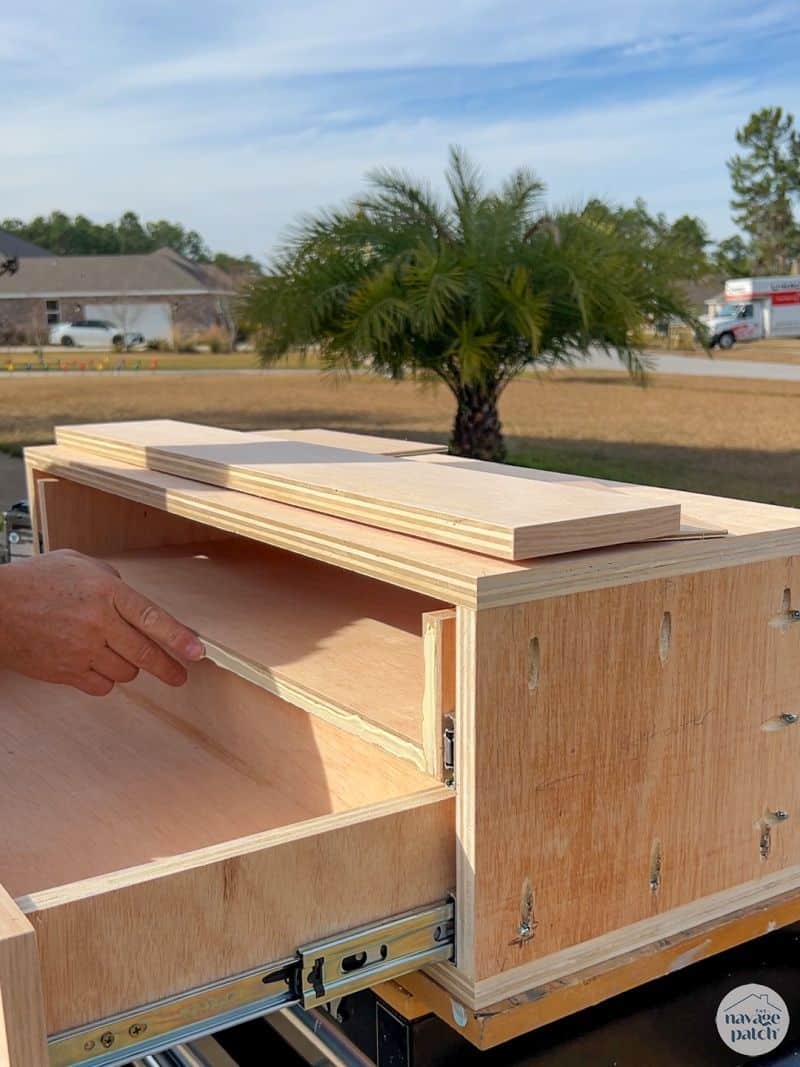
I built the cubby from 3/4 inch plywood and joined the pieces with glue and pocket screws. I then built two shallow drawers from the same plywood and joined the pieces with glue and brad nails. I attached drawers slides and then fit both drawers into the cubby without drawer faces.
I cut more plywood for the faces and then applied edge-banding all around. The Cricut mini press is perfect for this task!

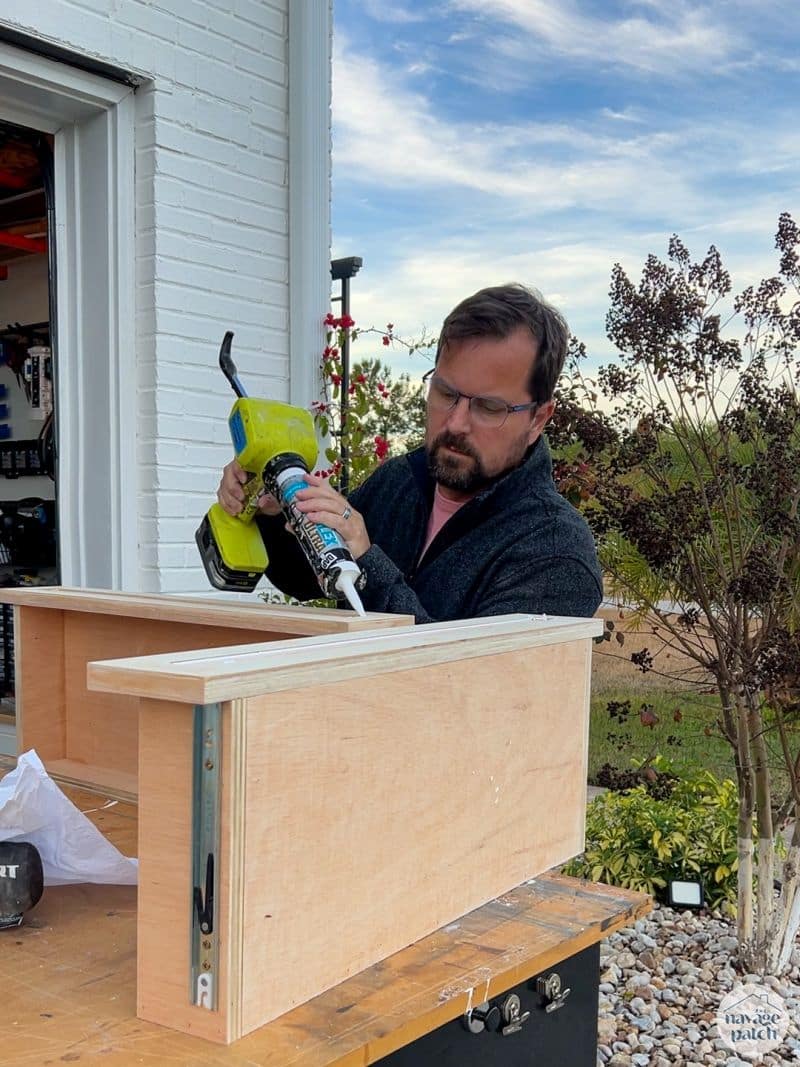
I put glue where the face joins the drawer, and I used utility panel to raise the bottom of the drawer 1/8 inch up from where the countertop would be.

I then shot brads to hold the face in place while the glue set.

I did the same thing for the upper face and used the utility panel to separate the drawer faces by 1/8 inch.

I put edge banding around the edges that will be exposed whenever a drawer is opened.

It was about then I realized I’d forgotten to make the shaker trim. I removed the edge banding, added the trim and then reapplied the banding to cover the trim as well as the plywood edge.

I caulked around the trim to soften the look a bit, and then I primed and painted the drawers.

Back inside, I placed the cubby on the granite and then stacked the two uppers.

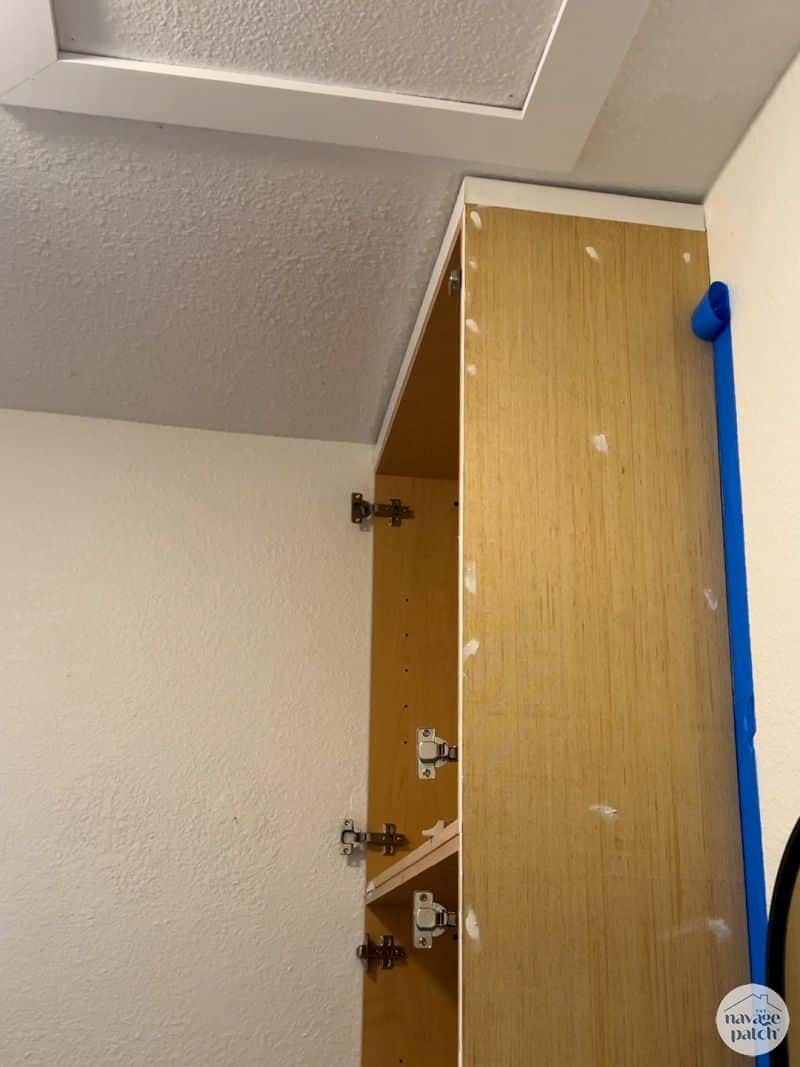
These upper cabinets are not kitchen rescues. They are basic unfinished cabinets from Home Depot we bought well over a year ago for a different project that was swept from Handan’s brain into the Pile of Abandoned Ideas.
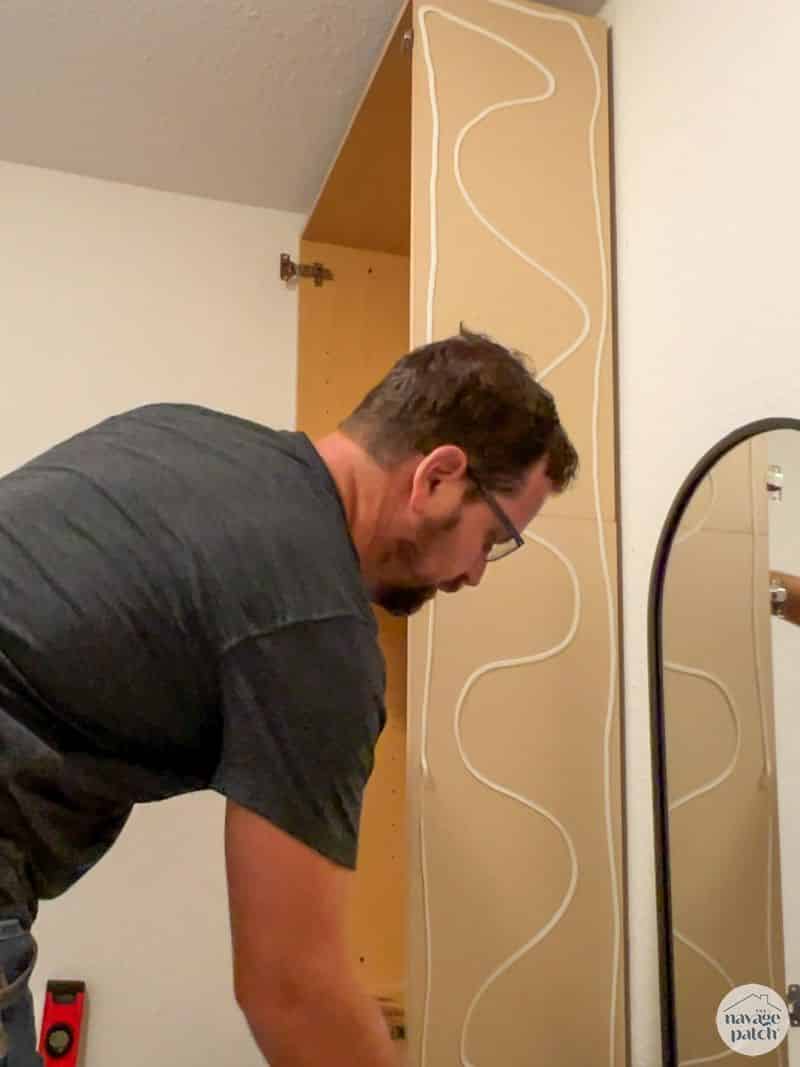
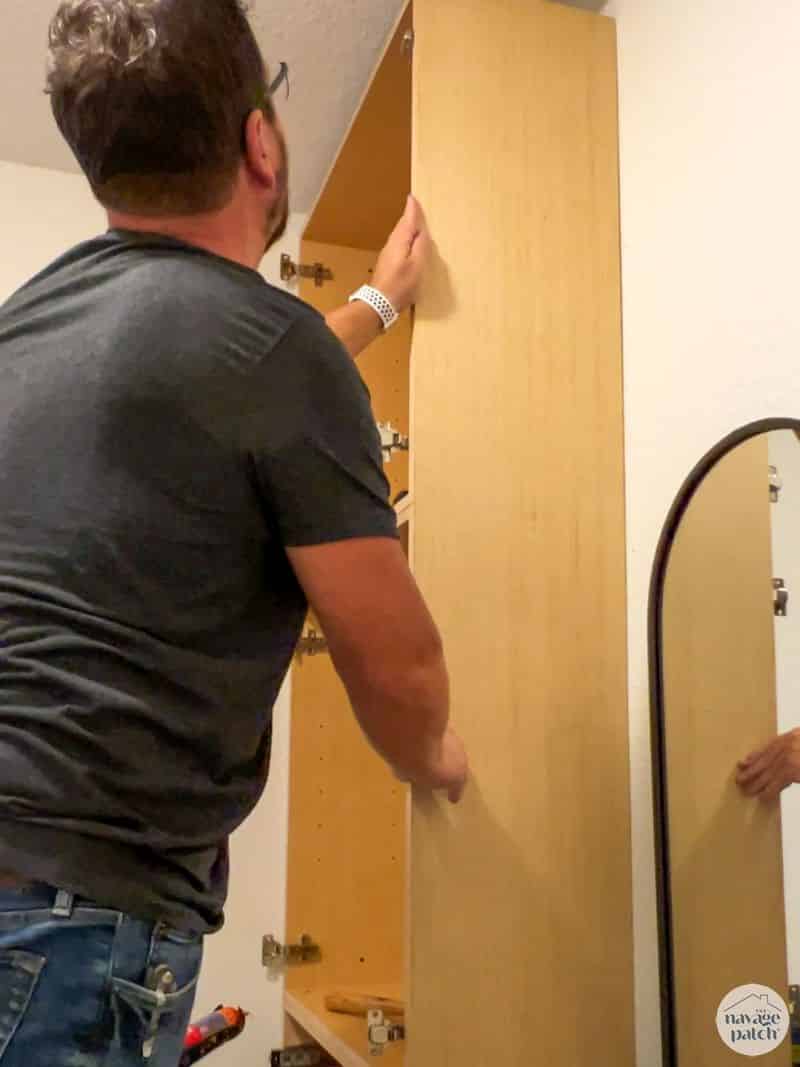
The walls were ridiculously unsquare (naturally), so it took a good 30 minutes playing around with the two cabinets and cubby to find a compromise that satisfied the eye, the level and the house. When I had successfully brokered that compromise, I screwed the cabinets together and to the wall, lest they try to back out of the deal.


As with the lower cabinet, I cut a skin to cover the sides of the three uppers from utility panel and attached it with construction adhesive and brads.
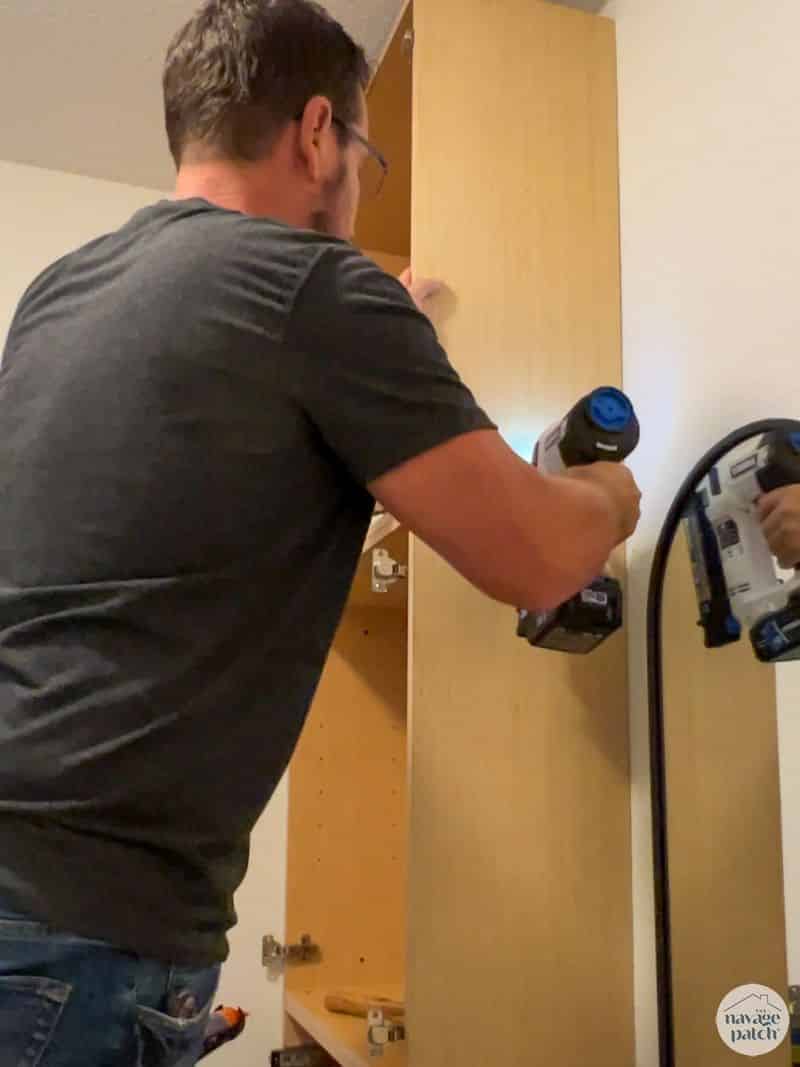
I followed up with spackle to fill the brad holes.

We wanted crown molding up top, but something smaller than traditional big-honkin’ crown. I only had a couple of inches to close, so I decided make a simple crown from scrap primed trim boards and cove molding.
First I glued two pieces of scrap trim to the top of the cabinet.
Then I glued miter-cut cove molding to the ceiling and the trim pieces.

A rare glimpse of a Polish Bearded Cockatiel!

Next I caulked all the edges to give these cabinets a true built-in look.

After priming and painting the cabinet doors, I put all the pieces together, and this garage entryway remodel was finished and ready for my babes’ seal of approval.

It shouldn’t surprise you to learn that she squealed with glee when I showed her the finished room.


We’re using the drawers for rag storage. Dirty in a basket up top and clean down below. We use a ton of rags with all our DIYs, so this makes a lot of sense for us.

The cabinets are dedicated to the dogs and random glass things.

The top shallow drawer holds miscellaneous doodads, but the bottom one is what you’re going to want to see. May I present The Power Station aka The Battery Bazaar.

After three years and two moves, our dog feeding station is still going strong!


Let us know in the comments what you think about our new garage entryway!


Penny seems cautiously optimistic about the new situation.

As usual…you two did a great job. Beautiful! Can’t wait till the next reveal.
Thanks, Nancy, work has already started!
I want to say you do great work! Also it’s heartwarming to know you actually want your family to be happy. I’m working on a divorce from the exact opposite narcissist. He point blank told me he didn’t care if I was happy. He has great woodworking skills but refused to make anything for me. House repairs would also make me happy and he is lazy and cheap.
So y’all appreciate each other and enjoy being in a real marriage.
Thank you, Anne. I’m sorry you’re going through this rough time, but I have a feeling you’ll be much happier in the end! 🙂
The whole project and reveal are spectacular. The black countertop is exactly what was needed to class it up. I’m sure your “babes” and Penny expressed their satisfaction at a job well done, and we all think they are lucky to have you. Additionally, you should be nominated for a Pulitzer for your writing skills. I’m pretty sure those Polish Bearded Cockatiels are only found in western Florida. I wish they would migrate to the northern states…
Thanks again for sharing such a beautiful and useful project. Perhaps you can share why you find quartz so distasteful in another post.
Thank you so much, Phyllis! I agree about the countertop – it took the project to a brilliant new level. As for quartz, I’m not against man-made stone in theory, but I’ve yet to see a quartz (except black and gray) that look remotely real. They all have a dull, lifeless look to them that Handan and I both find immediately unappealing and off-putting. Marble, Quartzite, Granite, Serpentine and soapstone are all a-okay though!
I’d say Penny is admiring the job! It does look wonderful and so useful. I admire how you’re able to envision and then build into a space to suit your needs/wants instead of ‘making do’ with the space you have. It’s an incredibly admirable gift!
Thank you, Rebecca! Handan has a gift for envisioning a space’s true potential. It’s the engineer in her!
Great entryway! We did our whole den remodel using black pearl granite…but we did it shiny side down 🙂 The counter tops….the entry way….the peninsula landing at the entryway and a small step into the dining room. Love it!
Debbie…in water logged California 🙂
We just recently looked at more black pearl for the kitchen, and we learned about the back side. It looks amazing, and we’re considering it for the side countertops!
Absolutely gorgeous! Definitely squeal worthy! And the countertop is perfect.
Thank you, Claudine, we agree! 🙂
WHAT THE MIND SETS OUT TO DO!!!! Truly fabulous!! Your critique doesn’t hurt either…again, “been there, done….. KUDOS!! franki
Thank you so much, Franki! This was a satisfying project! 🙂
You are wickedly awesome!!! This is beautiful! Really beautiful!
Thank you so much, Donna! 🙂
It looks beautiful! You two are masters of diy.❤️
Thank you, Pam! 😊
It looks great. The only question I have is: now the only entry way to the craft room is from the garage entryway, or is there another door at the bottom of the stairs into the house?
You are a master builder….wow – your wife is unbelievably BLESSED!!! 🙂
Thanks, Jaime! The garage entry still leads into the kitchen – I just didn’t photograph that doorway due to the mess in the background. We’ve already started the kitchen/family room remodel, so the house is basically a disaster!
Looks fantastic!!!
Thank you, Nanci!
It looks amazing, and I am very jealous! My hubby is not handy in that way, and I am now disabled and unable to do this sort of thing anymore. Not to dis hubby in any way, he is an awesome mechanic in every way.
We all have our strengths and weaknesses, Anne! I’m sure he could fix a thousand things I couldn’t dream of!
Gorgeous as always!
Thanks, Giselle! 😊🙌
Another outstanding collaboration from the Shrimp💚 and yourself!
What a great use of space. And beautiful too!
Well done.
Thank you, Margie! 🙂
Absolutely Amazing and inspiring! Thank you for sharing
Thanks, Jessica, it’s my pleasure!
It looks amazing! Love the black countertops! And how fantastic that you could reroute the stairs and get more kitchen space out of it!
Yes! Re-routing the staircase was the key idea of Handan’s that made this whole thing happen!
Well done Greg! It’s a great looking transformation of an under-utilised space. The stairs look great too! I can just hear Handan’s squeal of pleasure when it was complete! And the dogs love it too.
Good job!!
It’s a big win for everyone in the house, Carmel! 🙂
Wow! That is incredible and so inviting. Beautiful work. The staircase turned out so cool. Great job.
It is so fun to see what you guys come up with. Thanks so much for sharing with all of us 💕
Hey Mo! Thank you, and I’m sorry for the late reply! 🙂
Gorgeous! The entry, I mean. Seriously amazing design and workmanship (as ever). I appreciate the thoroughness and comedy of your writings and narratives. I always look forward to your posts. Thank you!
Thank you so much, Susan – much more to come!
Very nice!
Thanks, Karen!