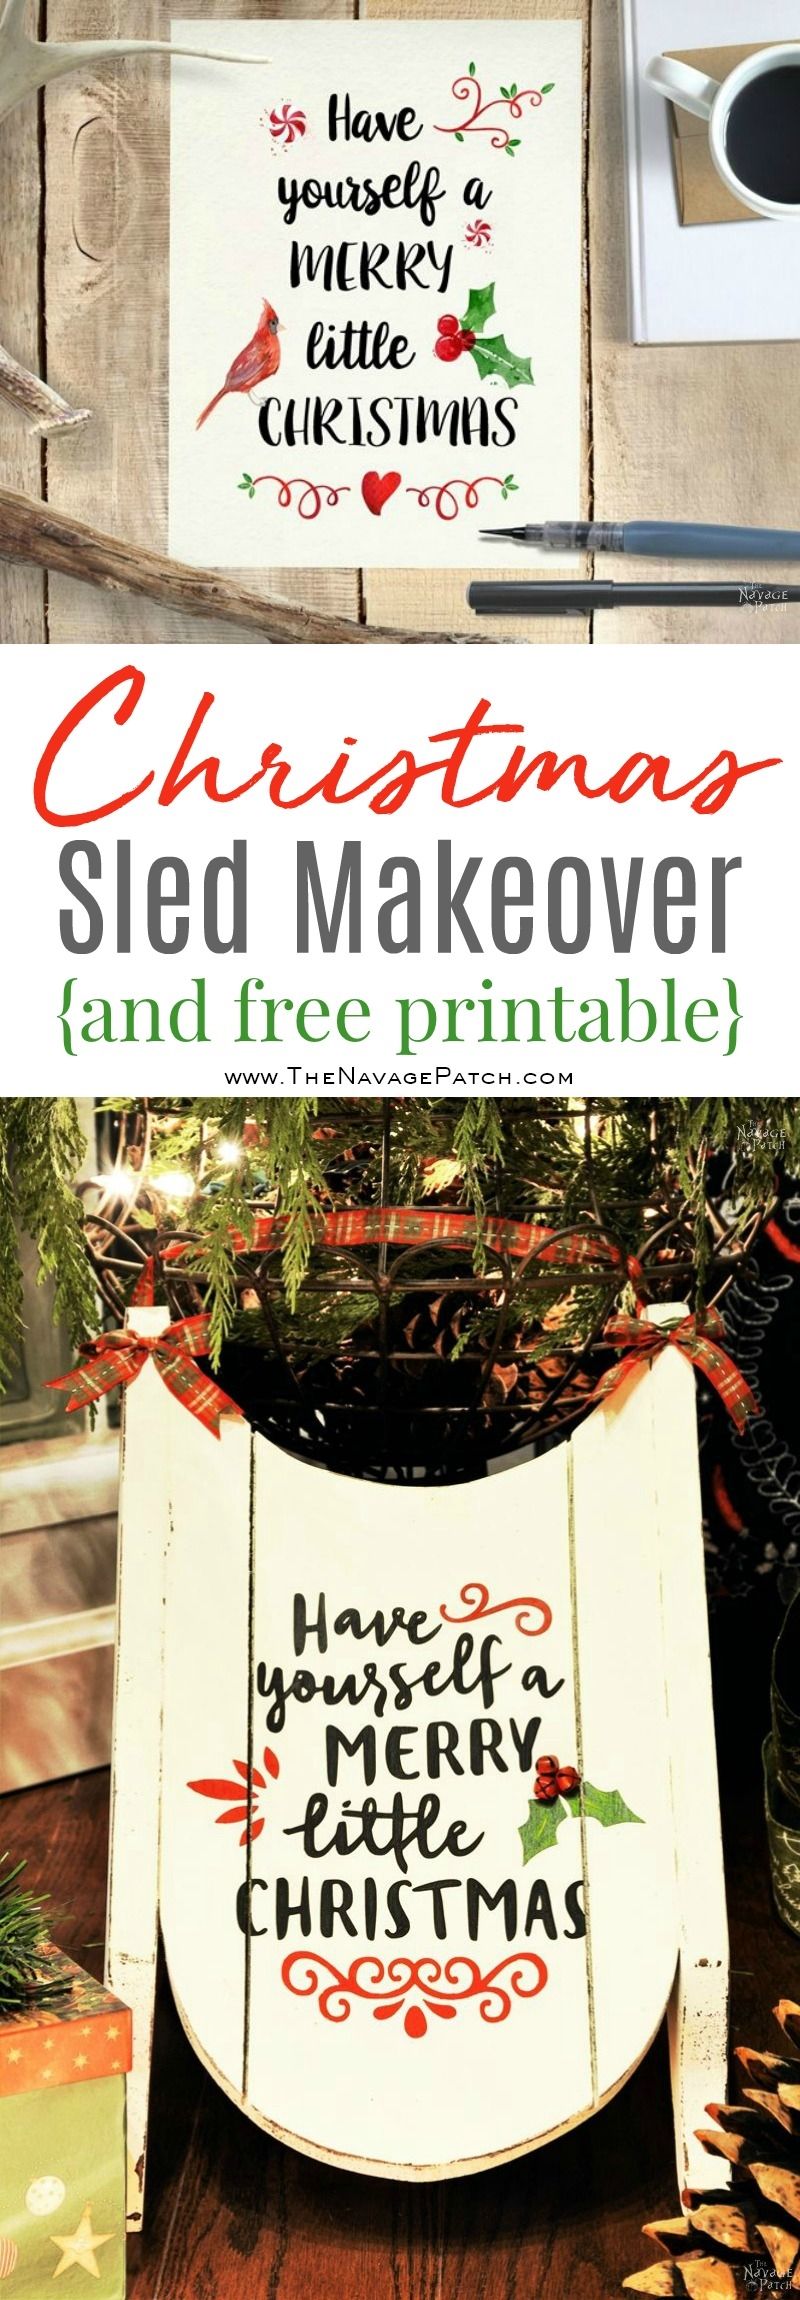
Stenciled Merry Little Sled (And Free Printable)
I love this time of year! I call it “The Official Christmas Carol” season, because every year right after Thanksgiving, we start a ‘Christmas Carol Marathon’ in our home. Every day we listen to carols for at least 3-4 hours, and on the weekends it goes on all day long! Whaaat??? Well, for me there is no stress a cheerful carol can’t cure, so I see it pretty much like taking a daily dose of happy pills! Otherwise, with all the chaos of holiday decorating, shopping, wrapping, more shopping and more wrapping, anyone can go insane… right?
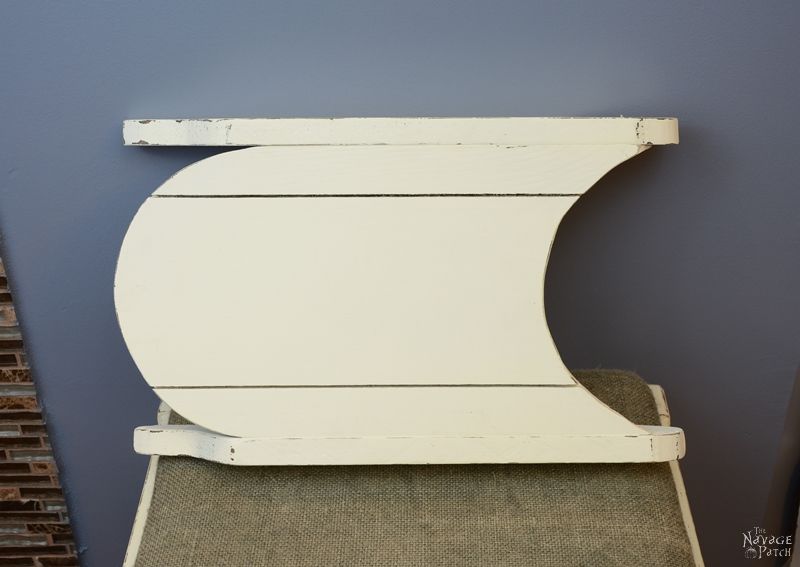
This year, in honor of our annual Christmas Carol Marathon, I decided to make a Christmas carol sign for our home. As I wanted to use something different than a slab of wood, I chose this wooden sled that I got for $2 at a tag sale this summer.

I started by sanding off the previous NOEL painting on the sled. Once I got rid of that oil painting, I painted the sled with my homemade chalk paint in custom matched to Old White color. After the paint dried, I distressed it a little bit.
Now that the base of the sign was ready, it was time to choose a design and create the stencil for it. Luckily, the Silhouette Design website had an ongoing Black Friday sale, so I bought a design for 50¢ and turned it into a stencil with my Cricut![]() . I have to say my Cricut is one of the best investments we’ve made in crafting tools. Especially during the holiday season, it becomes very handy for making boxes and personalized tags, creating stencils, etc.
. I have to say my Cricut is one of the best investments we’ve made in crafting tools. Especially during the holiday season, it becomes very handy for making boxes and personalized tags, creating stencils, etc.
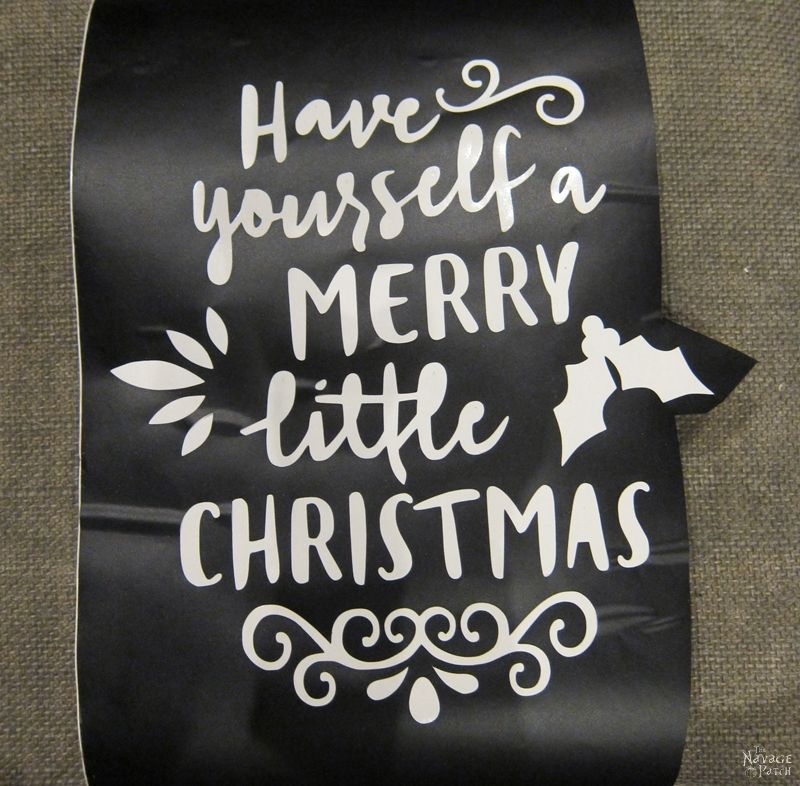
After the Cricut![]() finished cutting the design, I turned the vinyl stencil face down and placed it on the transfer tape. When working with vinyl stencils, I recommend using transfer tape
finished cutting the design, I turned the vinyl stencil face down and placed it on the transfer tape. When working with vinyl stencils, I recommend using transfer tape![]() to place the stencil correctly. Otherwise, a simple stencil placing can turn into a nightmare, as the vinyl used for stencils is generally thin and flimsy. Transfer tape
to place the stencil correctly. Otherwise, a simple stencil placing can turn into a nightmare, as the vinyl used for stencils is generally thin and flimsy. Transfer tape![]() helps your stencil design stay in its original form, and makes it really so easy to place any vinyl stencil on any surface.
helps your stencil design stay in its original form, and makes it really so easy to place any vinyl stencil on any surface.
I peeled off the backing paper and placed the vinyl on the sled. Ensuring the vinyl stuck to the sled, I slowly peeled the transfer tape![]() …
…

…and voila!

Once I placed the stencil on the sled, I started applying a tiny amount of Mod Podge![]() matte to the lines of the stencil to avoid paint bleeding under the stencil. When the Mod Podge
matte to the lines of the stencil to avoid paint bleeding under the stencil. When the Mod Podge![]() dried, which takes about 10 minutes with the amount I apply, I started stenciling. I generally use a sponge for stenciling and use only a tiny bit of paint. I like building up the actual color layer by layer so I won’t need to distress later on.
dried, which takes about 10 minutes with the amount I apply, I started stenciling. I generally use a sponge for stenciling and use only a tiny bit of paint. I like building up the actual color layer by layer so I won’t need to distress later on.

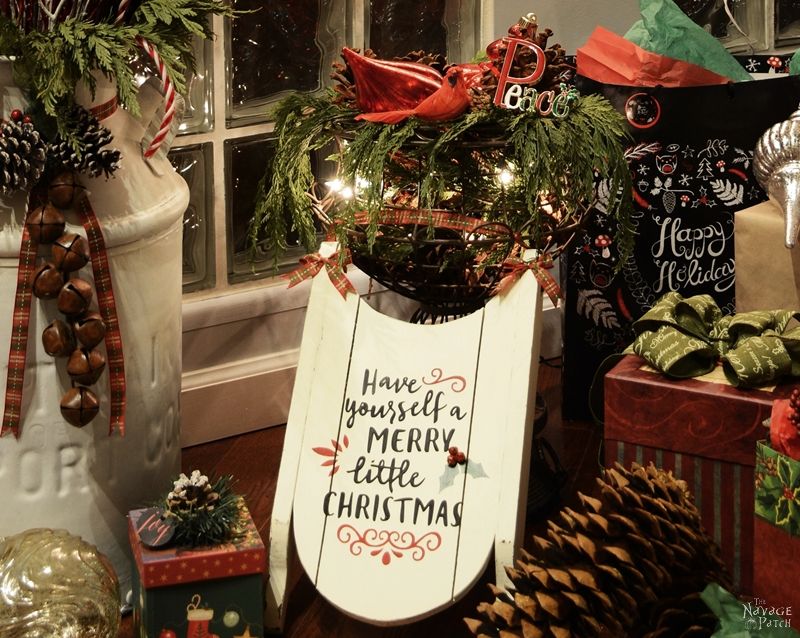
After I was finished with the stenciling, I slowly took the stencil off the surface. To finish, I gave it a coat of water based poly and I hot glued three mini red jingle bells on top of the berries.

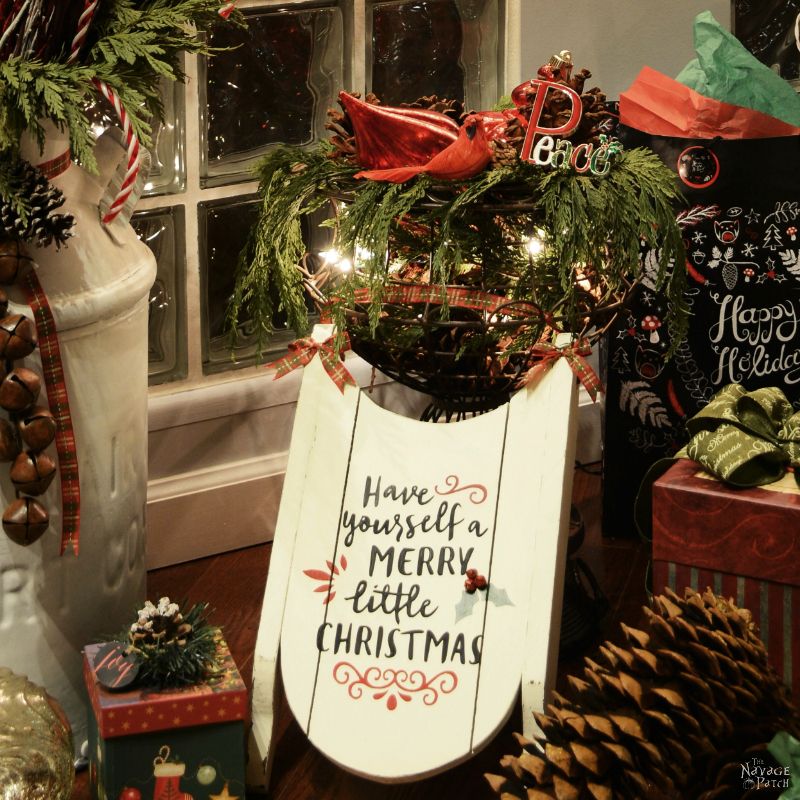
Here is a close up picture of our merry little sled.

I just love the way it turned out!

I love it so much that I made a similar printable for our bedroom.
So what do you think of my printable? I think that also turned out pretty good.

If you like the free printable, you can get your free copy (for personal use only) by clicking on the button below.
Merry Christmas and a great New Year to all!
Handan, xo
take me to your
amazing freebies library
If you’re not a Navage Patch VIP, you won’t be able to access our Freebies Library. But that can be easily fixed! Subscribe for free on the form below and become a Navage Patch VIP. Once you subscribe, a password will be sent to you in our Welcome email, and that will give you access to The VIP Patch [Freebies Library].
I’m going to try again on stenciling, but use your way with the mod Podge. Sounds like I may be able to do it right! Thank you!
Your decorations look beautiful
Thank you, Brenda, and good luck! 🙂