Upcycled: Old Chest of Drawers to Wine Bar
It has been my experience that the road to memorable projects is winding and forked, paved with errors and traveled with missteps. If I had a dollar for every mistake or change of heart, I could afford to hire some other schmuck to do these projects for me while I relax by the pool with a fish taco and a margarita. Then again, what fun would that be…for me or for you?
My latest masterpiece of misadventure is an old chest of drawers I’m endeavoring to upcycle into a wine bar. My old friend, Phil, gave this piece to me over a year ago, knowing that Handan and I are batty for free furniture.
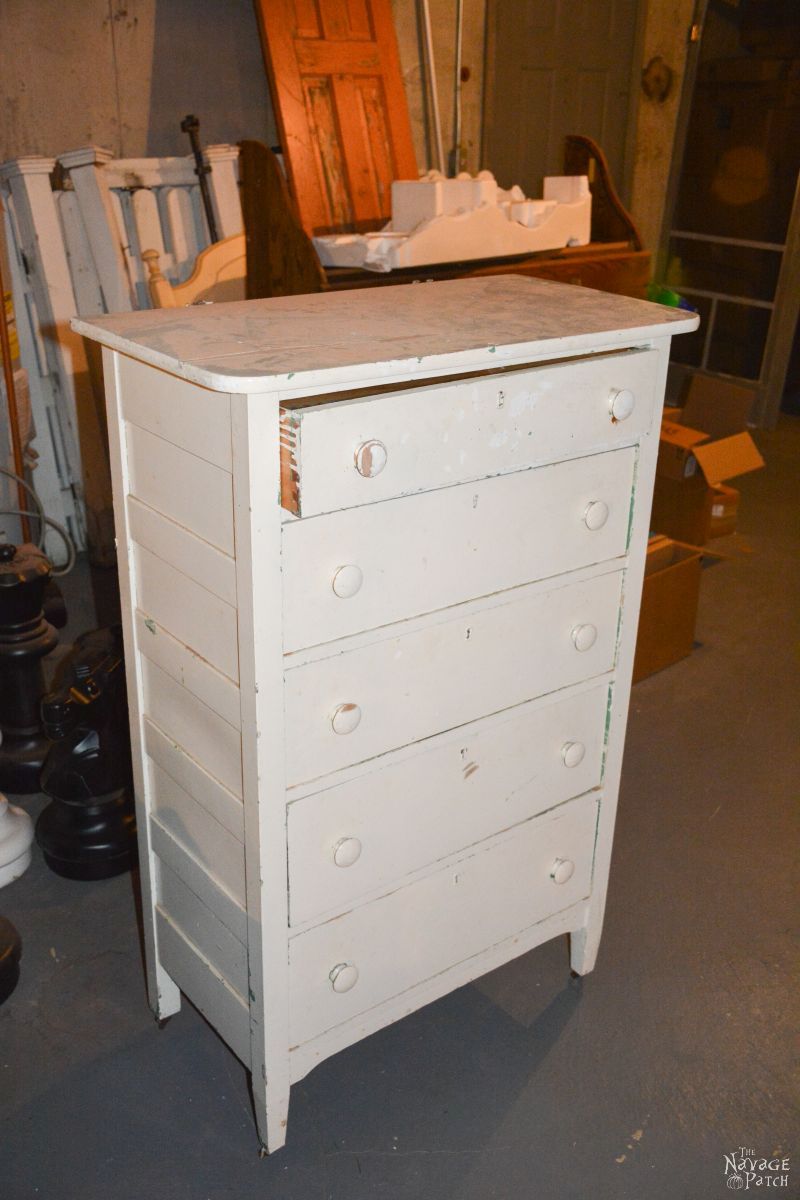
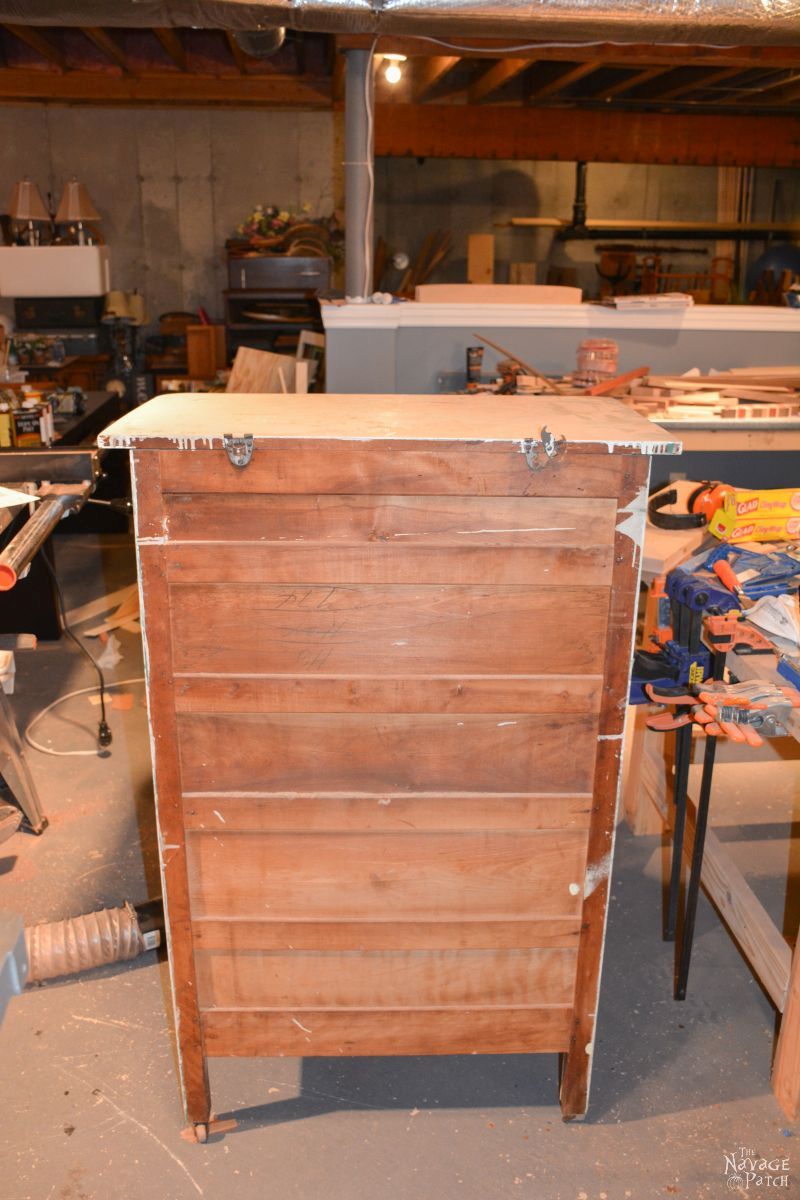
It sat in the basement for half a year before I got a start on it last October. It is a solid old piece made from good hard maple and covered in a few layers of paint. The first order of business was to test for lead paint.
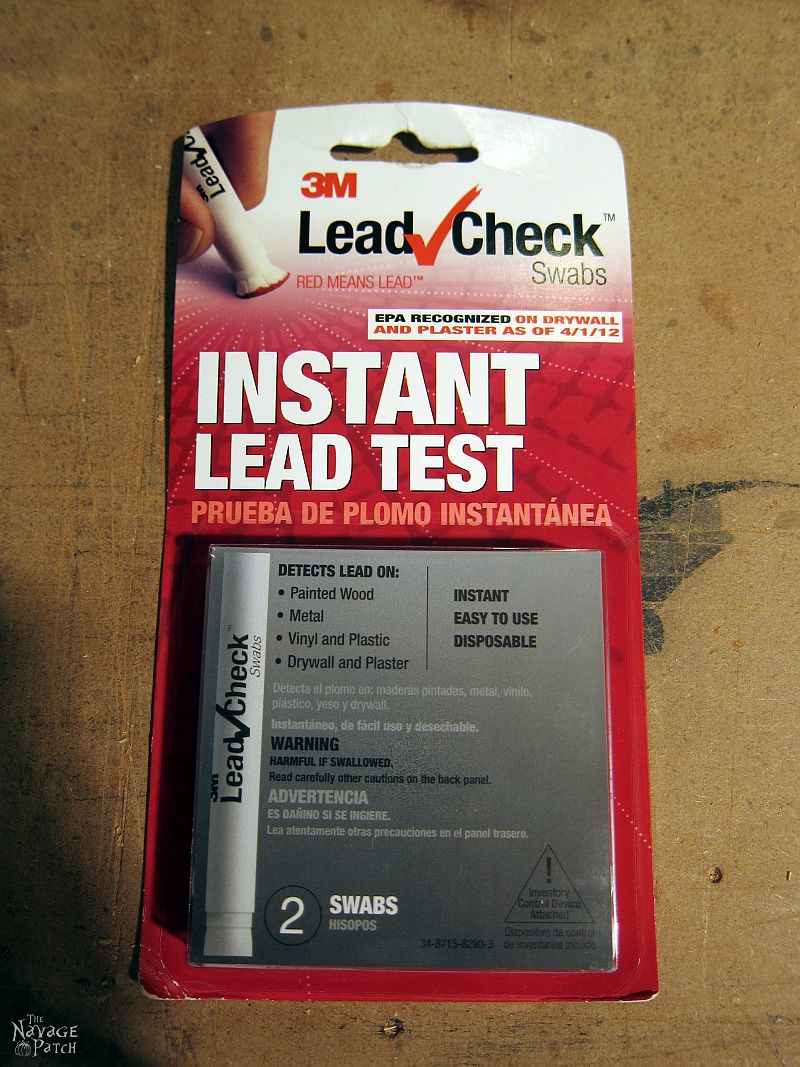
The test was negative, so I was good to go. But at this point, I had no idea where I was going. I decided to start scraping. Just to be safe, I donned a dust mask.
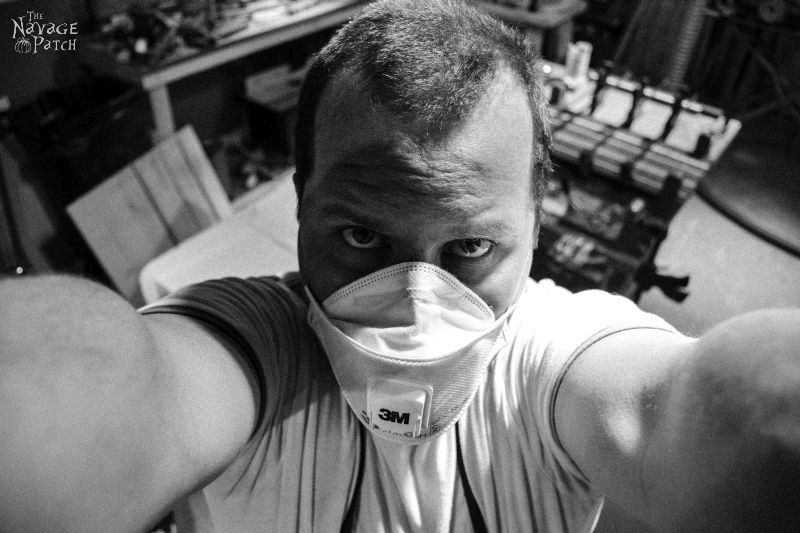
I started scraping, and the paint started flying.
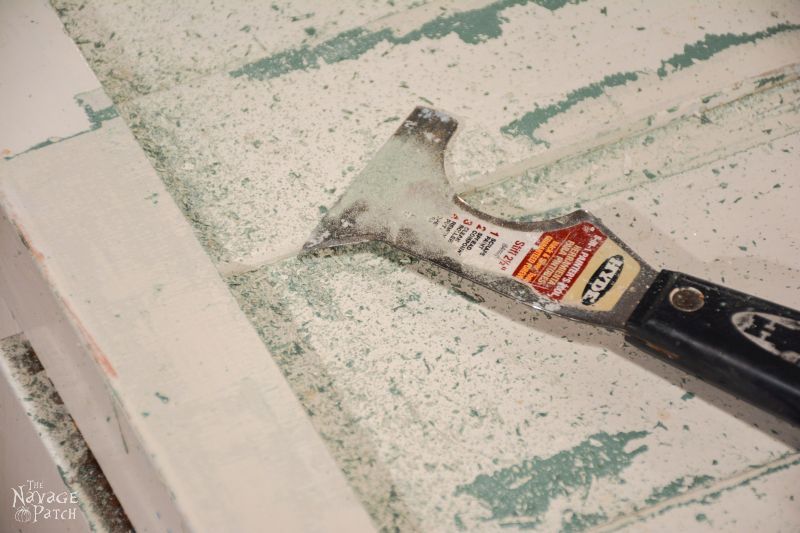
I geared up a little more.

I removed the drawers.
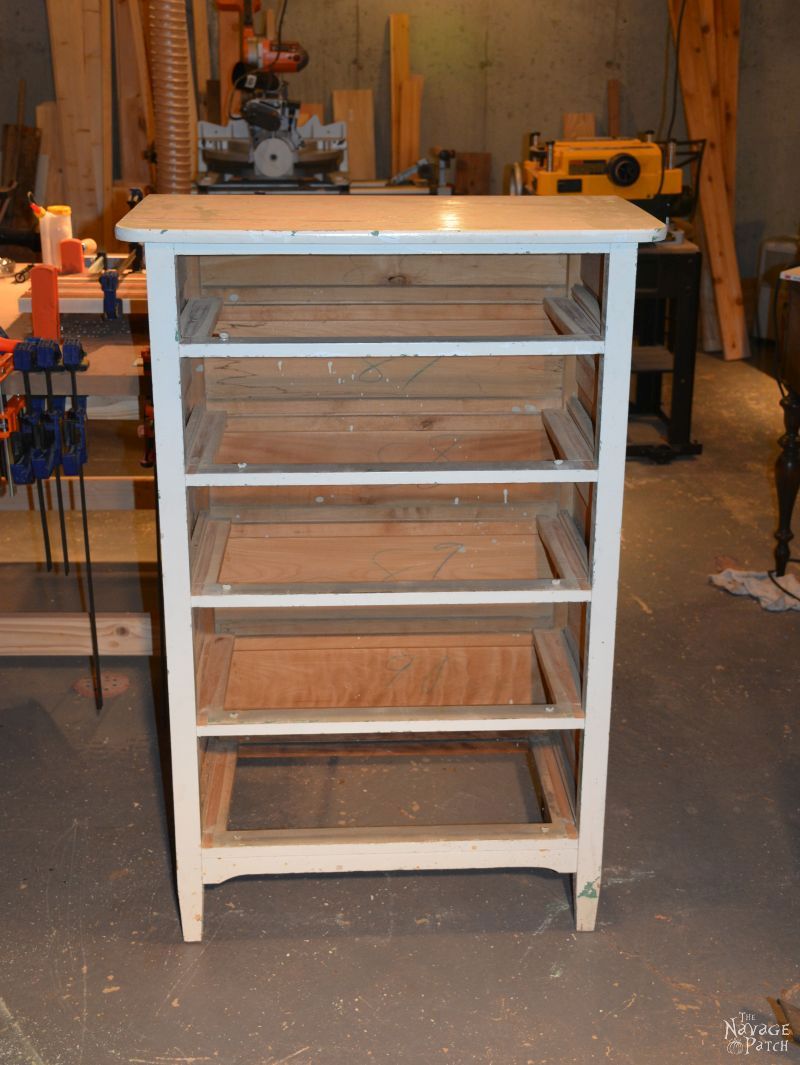
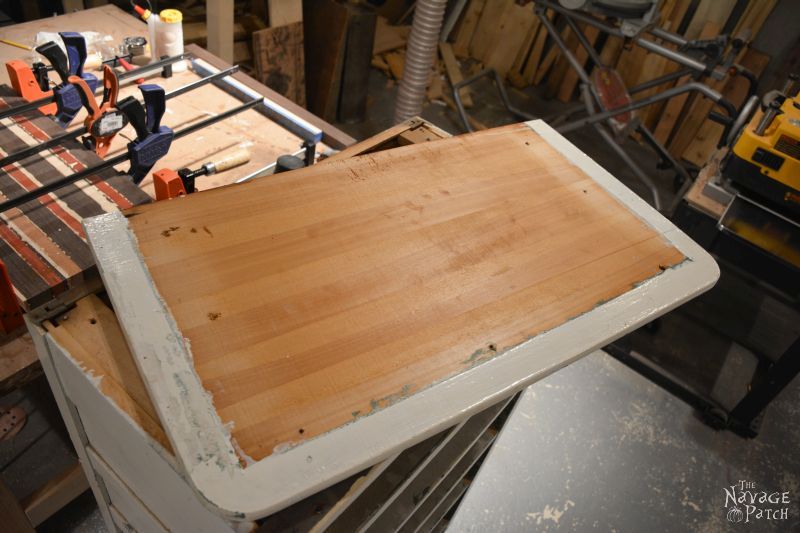
And the top.
I took a peek inside at the bones.
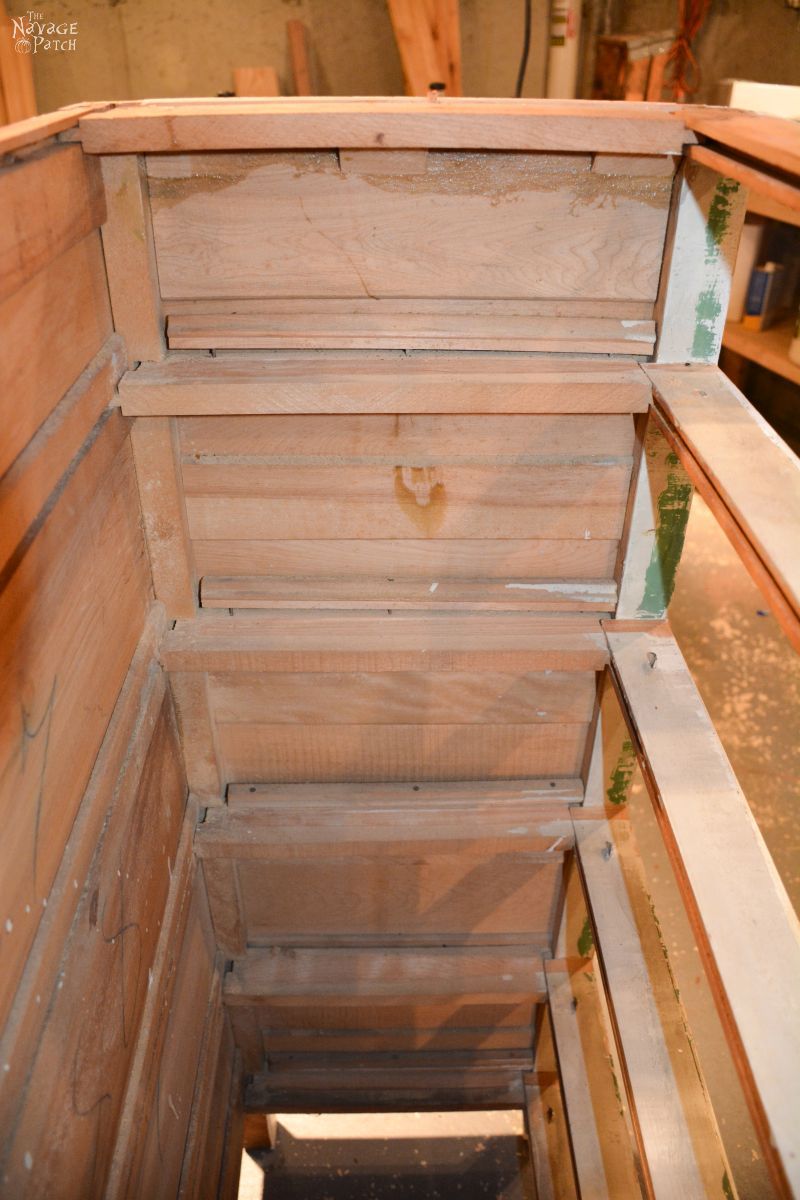
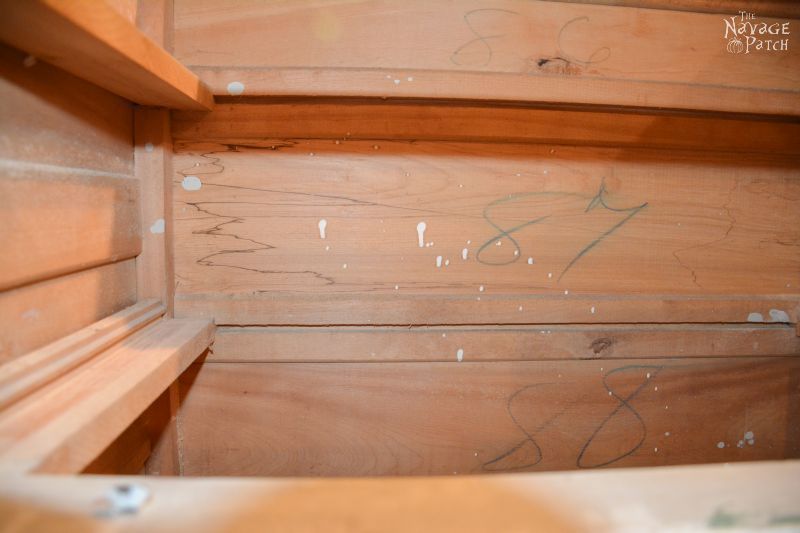
There was some spalted maple in there…good stuff! I still had no idea what I was doing, but I soldiered on nonetheless. Figuring I’d be using the top, I sanded it down to bare wood.
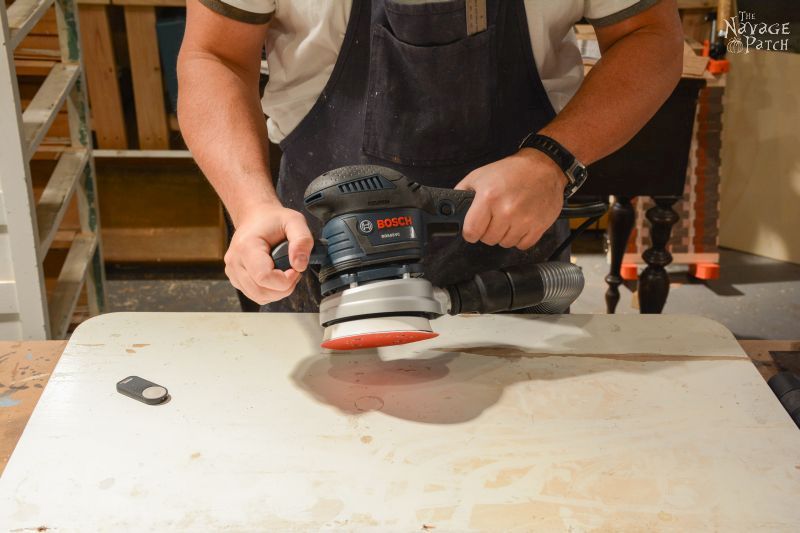
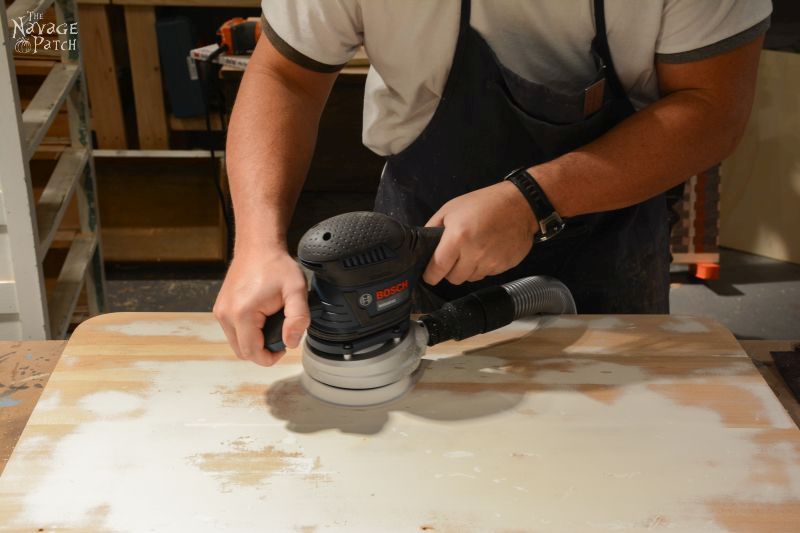
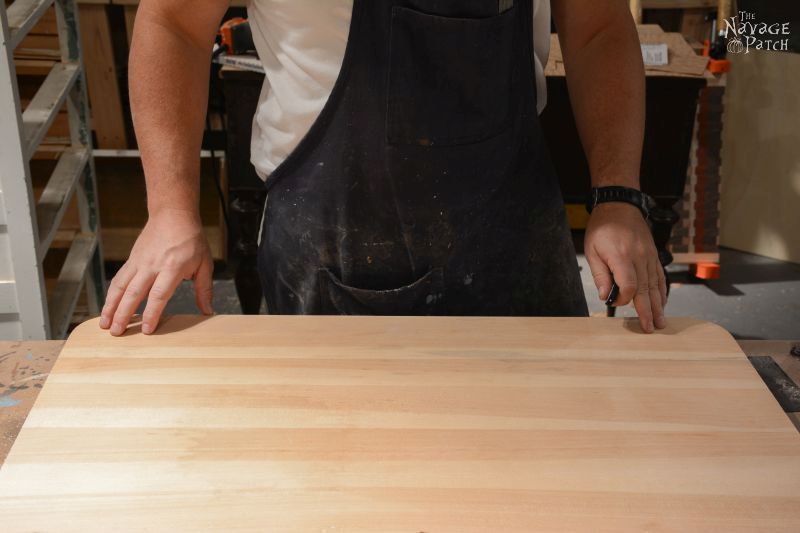
I was underwhelmed by the wood underneath, so I put the top aside and went back to work on the carcass. I scraped and scraped through two coats of old paint until I got to the primer.
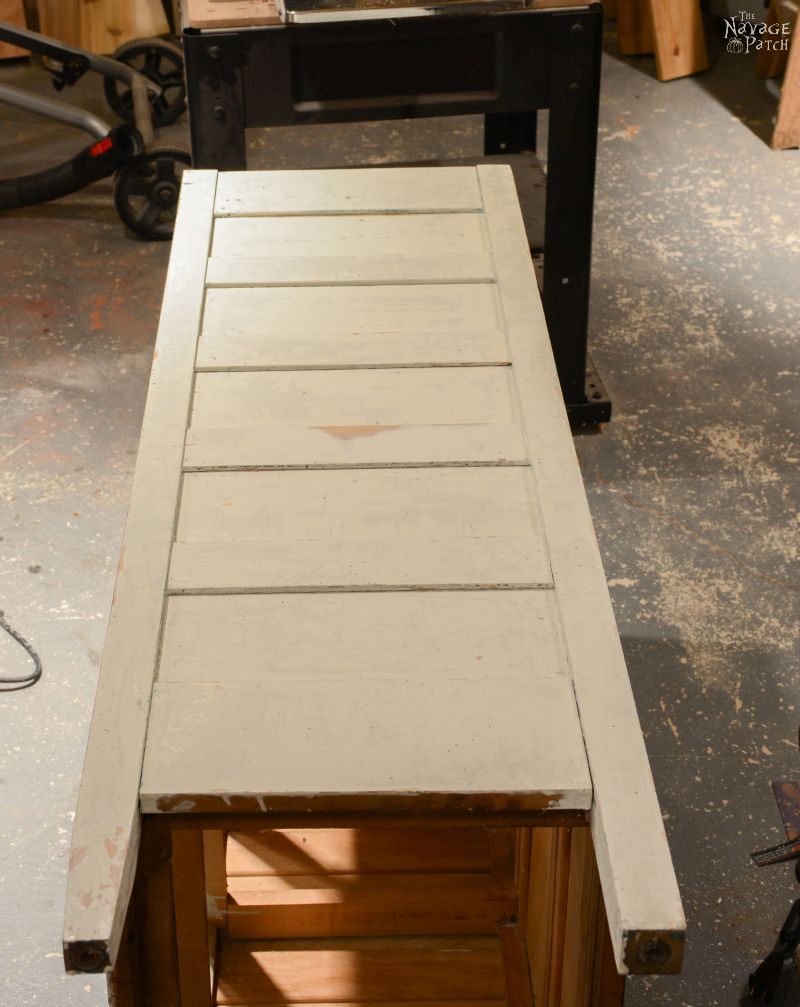
A plan emerged: I would turn this old chest of drawers into a bar. I would sand it all down to bare wood, maybe stain it, maybe paint it…I hadn’t yet decided. I would apply veneer to the indented areas on the sides. With the plan in mind, I got back to work. I started sanding.
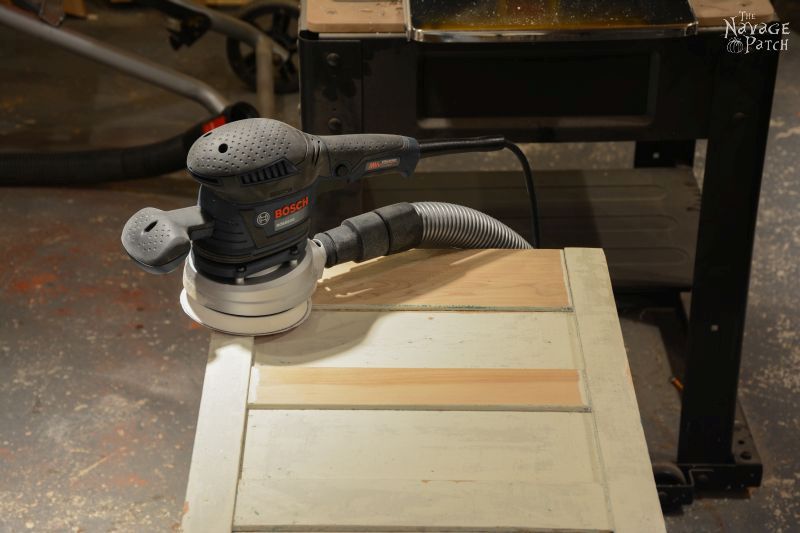
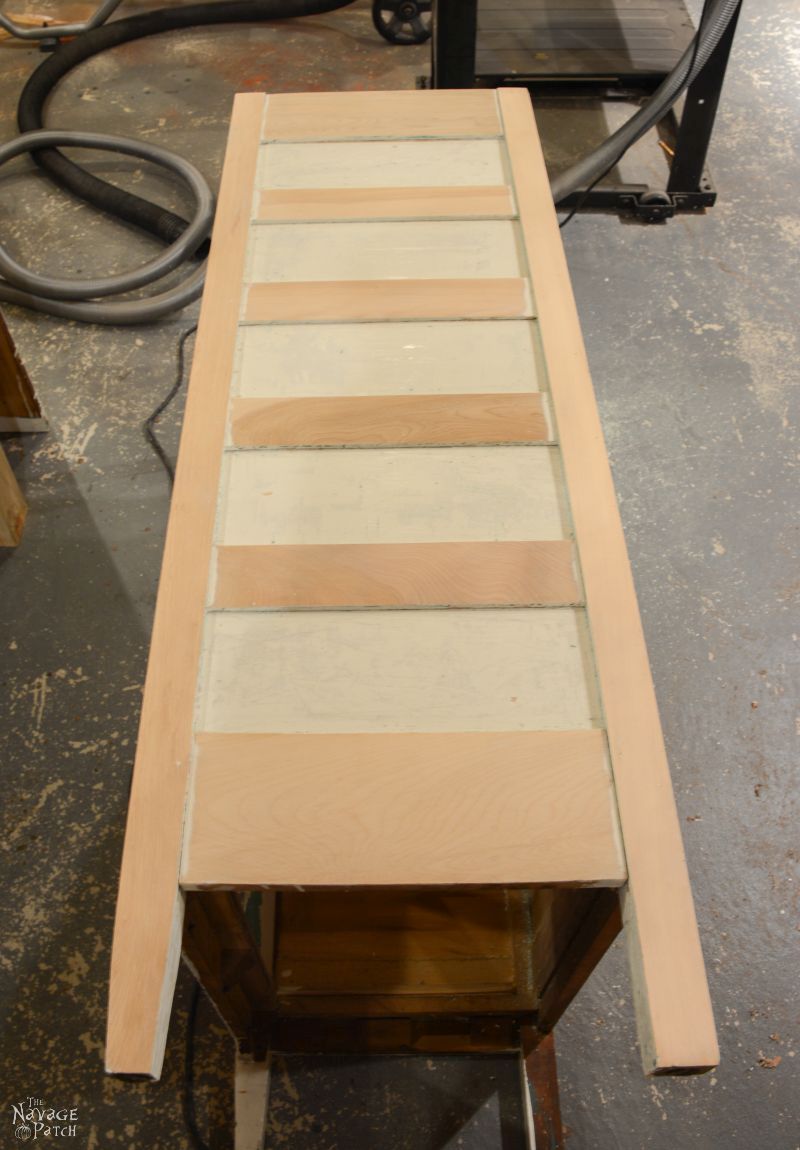
I measured for the veneer. Since I would be veneering over these parts, I didn’t bother sanding them.
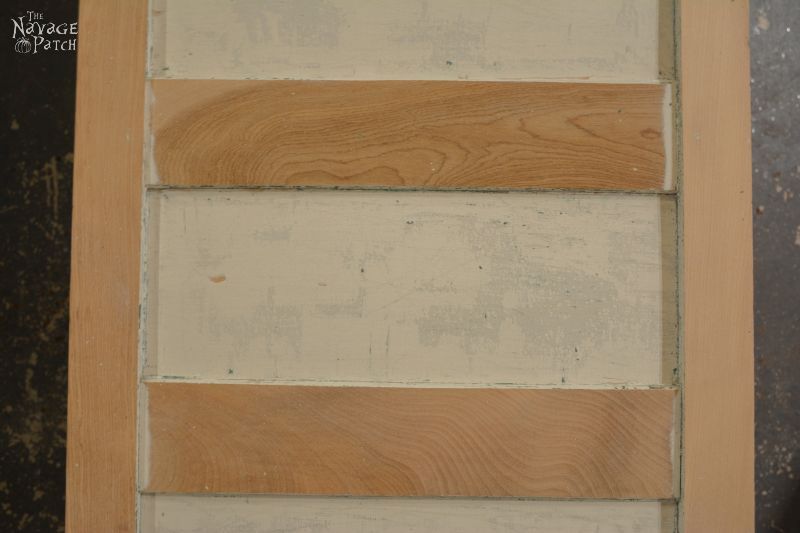
I selected a veneer that I liked and cut a piece to fit. I also cut a piece of 3/4 inch plywood the same size to act as a press.
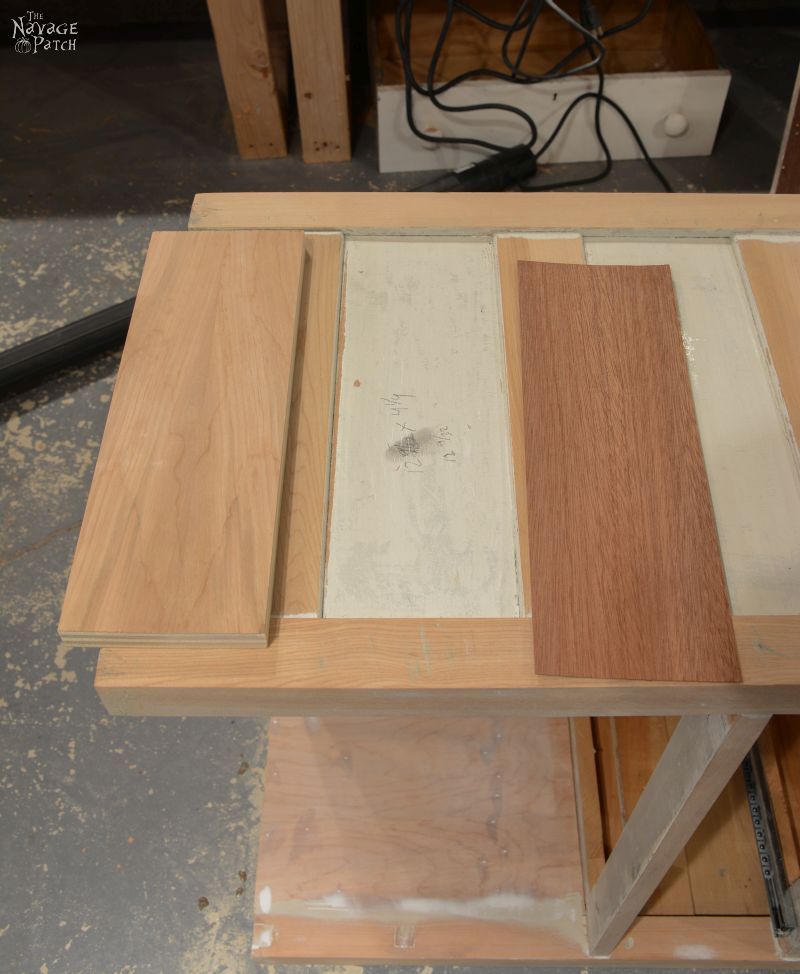
I applied glue to the chest of drawers, placed the veneer, then covered it with cling film.
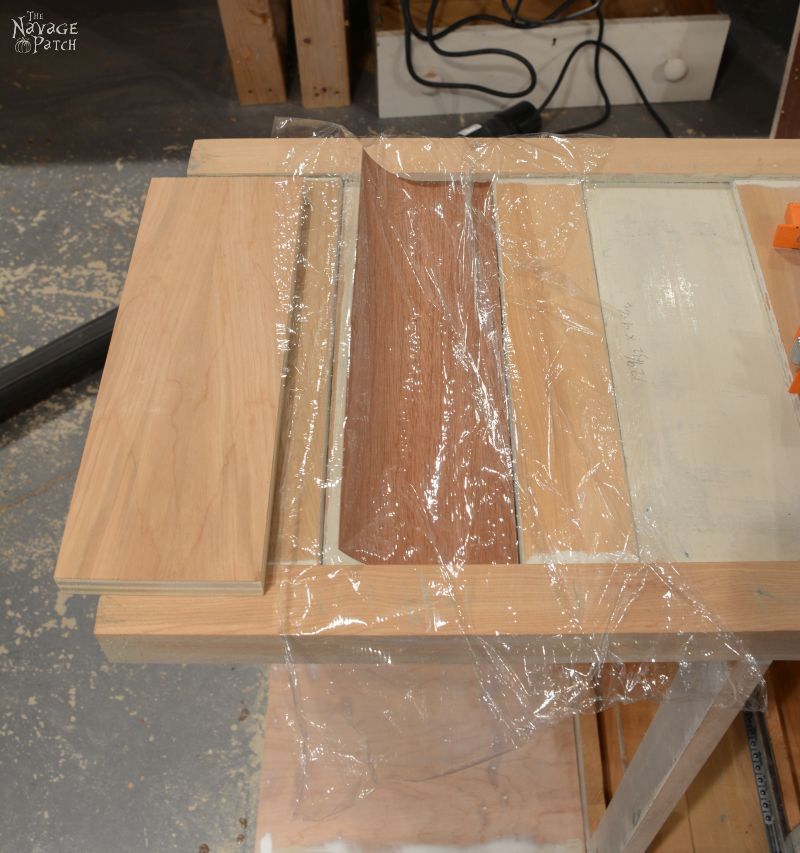
I placed the plywood on top of the cling film and added clamps and weight. I did this so the veneer would stay flat.
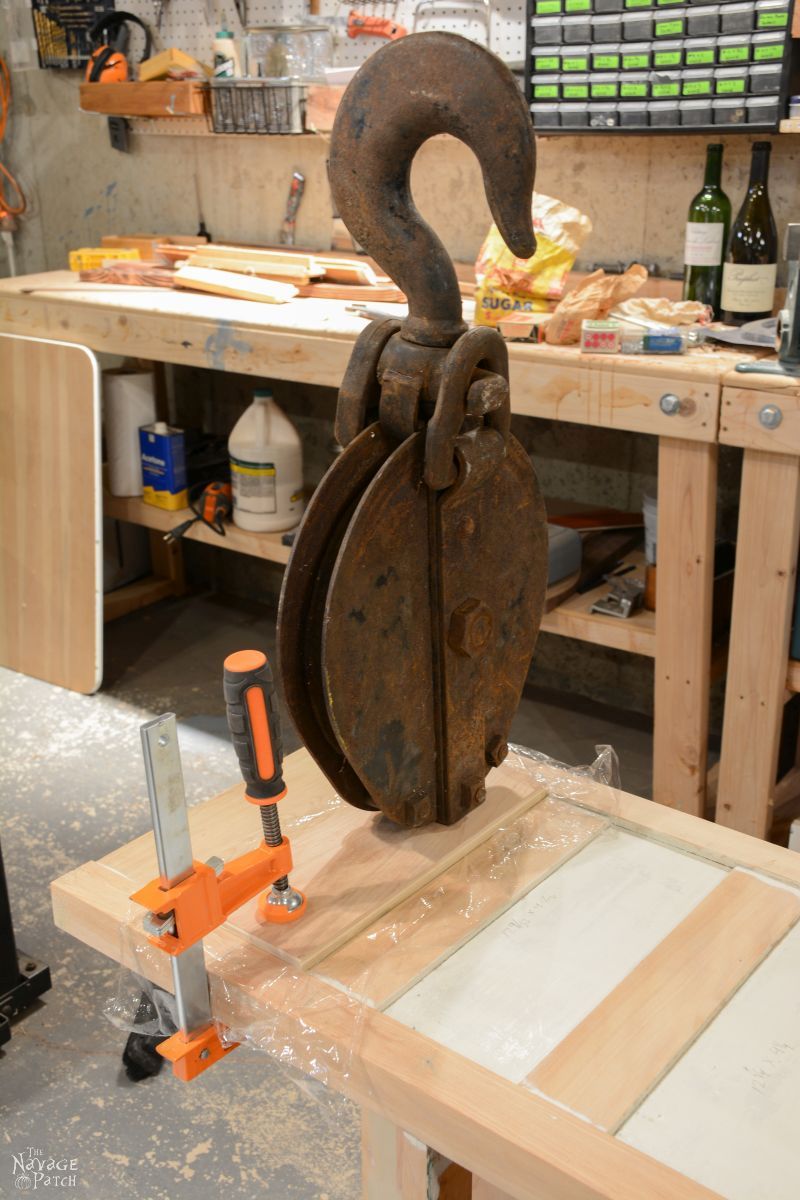
But there was a problem. Those side panels on the chest of drawers were warped. I tried to ignore it. I tried to convince myself that the clamps and the big rusty pulley would apply enough force to flatten the convexity of the side panels and allow for a perfect marriage of veneer and panel. As is so often the case, I was wrong. Though the picture below doesn’t really show it, the veneer was warped and wavy.
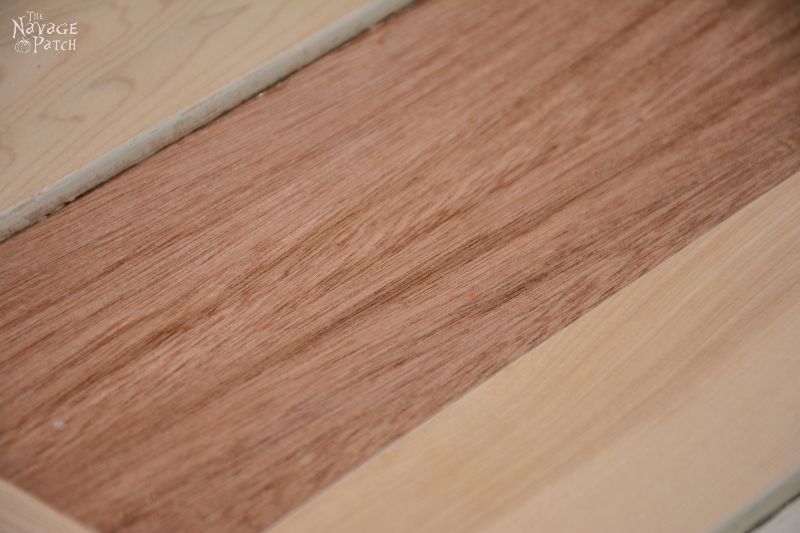
I muttered a few profanities, scraped off the veneer and reset my expectations to zero. I toyed with the idea of veneering all of the faces except those indented panels. Ugh, no way. I had nearly lost my soul trying to finish my first veneer project. I wasn’t ready for that level of veneerial commitment again. Bah! There was no need for an immediate decision. I left the sides and focused my attention on the front and top. If this was to be a bar, I was going to need to do some cutting.
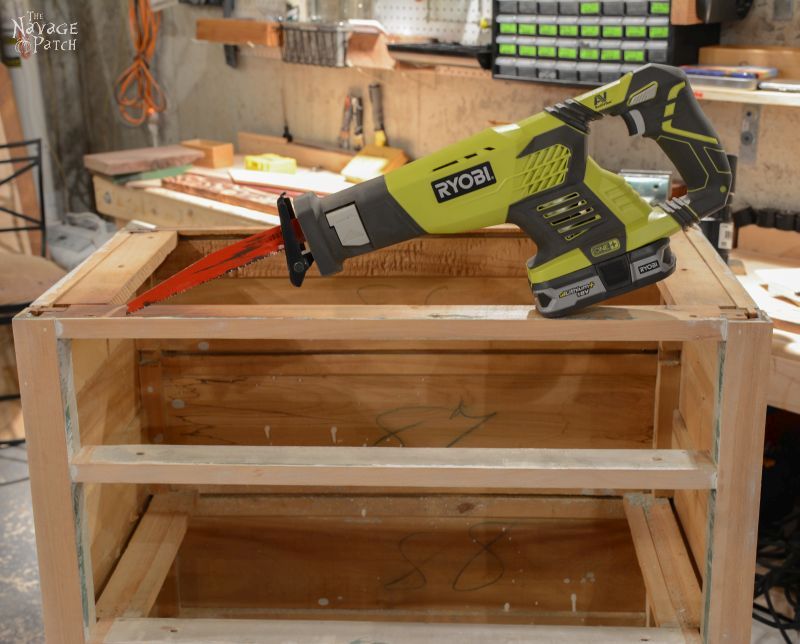
I thought that cutting out the second support and discarding the top two drawers would give me some space inside to have a bar top. I wasn’t sure yet what I’d do at the very top, but I was thinking maybe a hinged bar top. I could figure that out later. Time to chop!
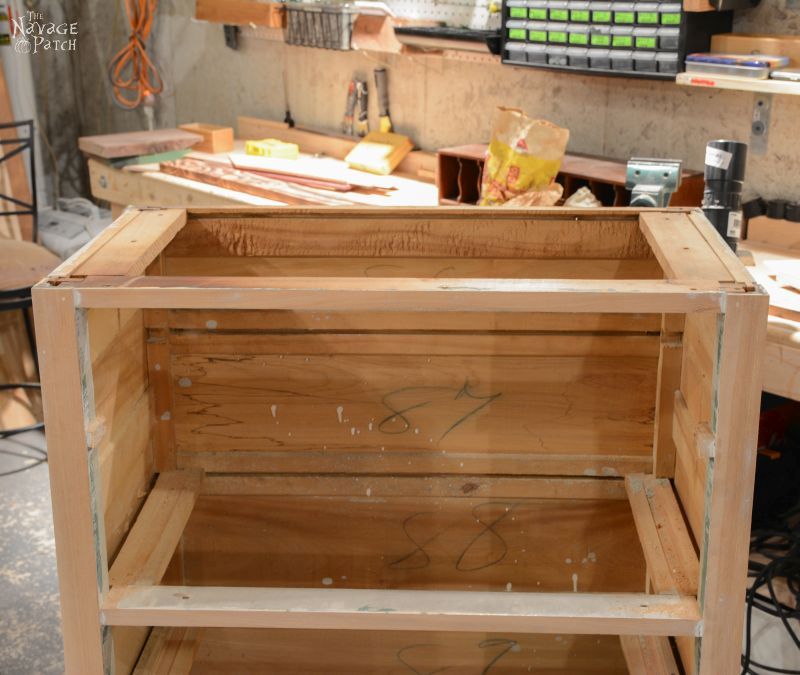
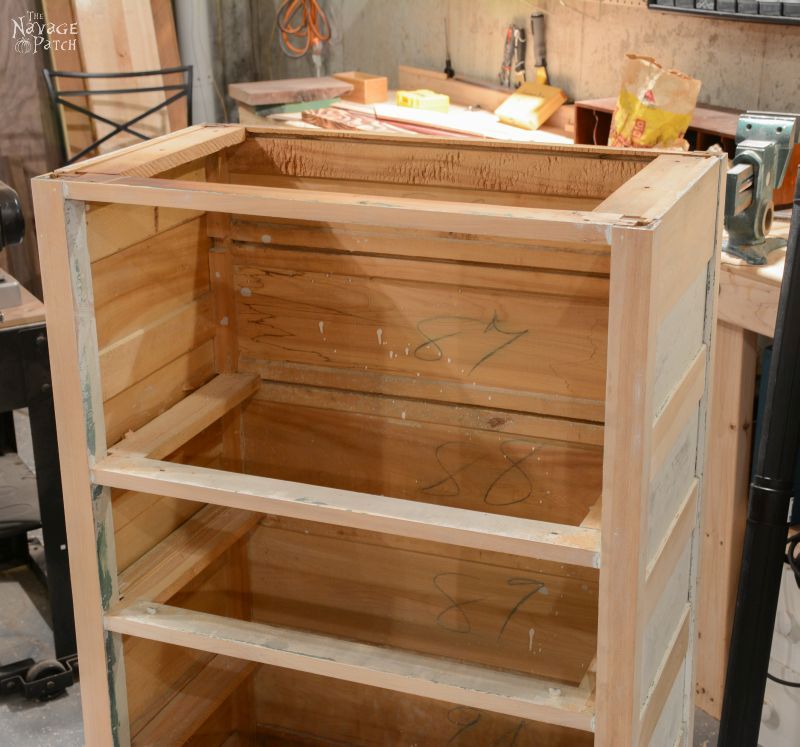
Okay, now I had a little more space to play with. I turned my attention to the drawers. The original drawers fit snugly inside their frames without any sort of drawer slide. They slid out, wood-on-wood. I wanted a smoother action, but there was no room for side-mounted drawer slides.
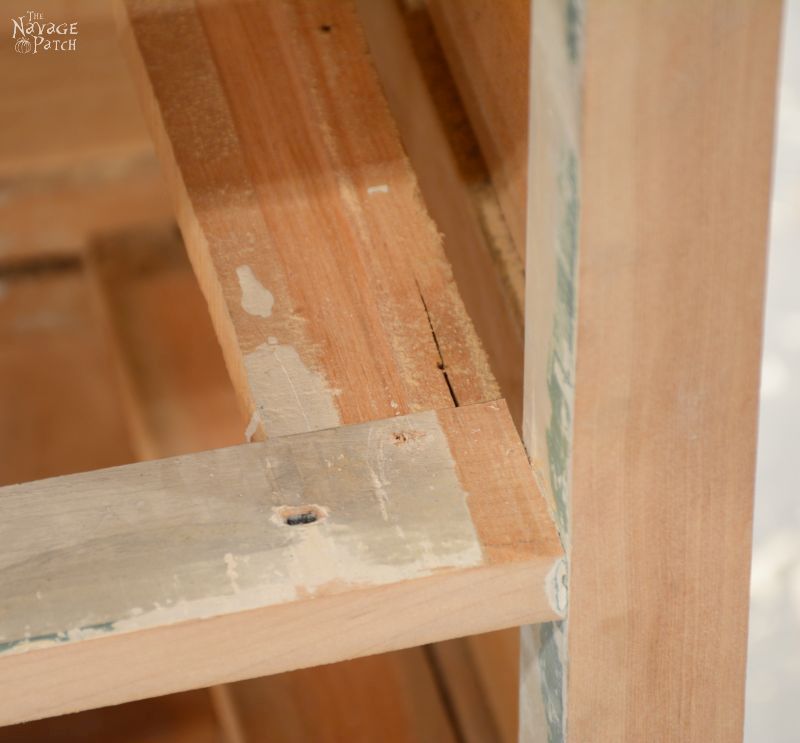
There was a small recess at the bottom of each drawer…enough to fit a slide. I decided to mount two side-mount slides underneath each drawer.
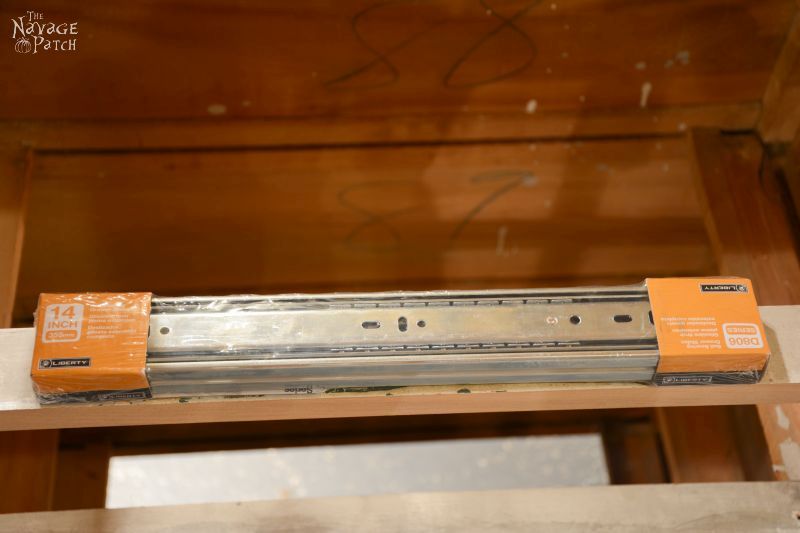
Yeah, yeah, I know…side-mount slides are not meant to be used in that manner. So what? I did it anyway.
The 14 inch slides were just a tiny bit too long for my drawers, so I chiseled out some of the wood underneath to make them fit.
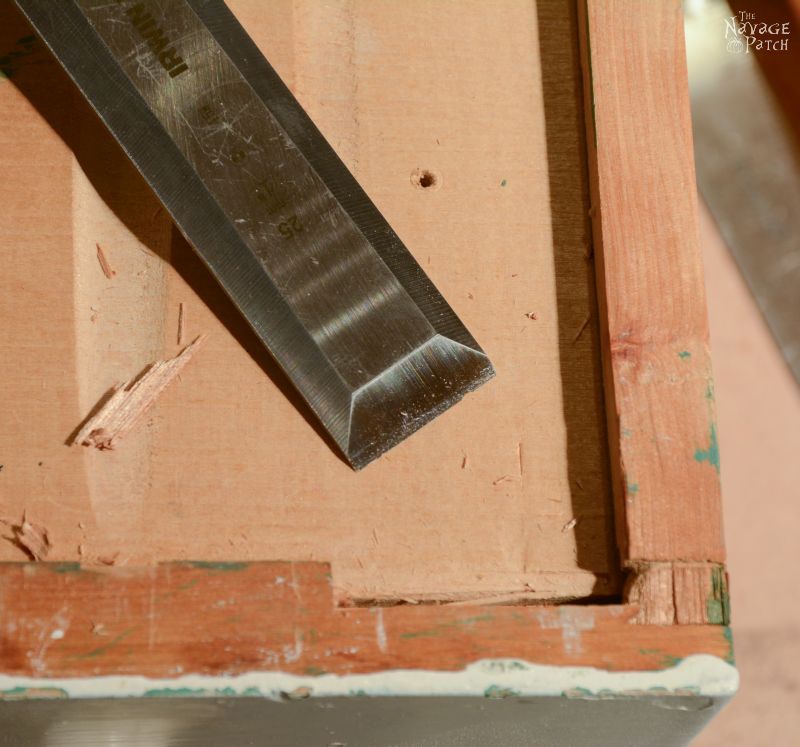
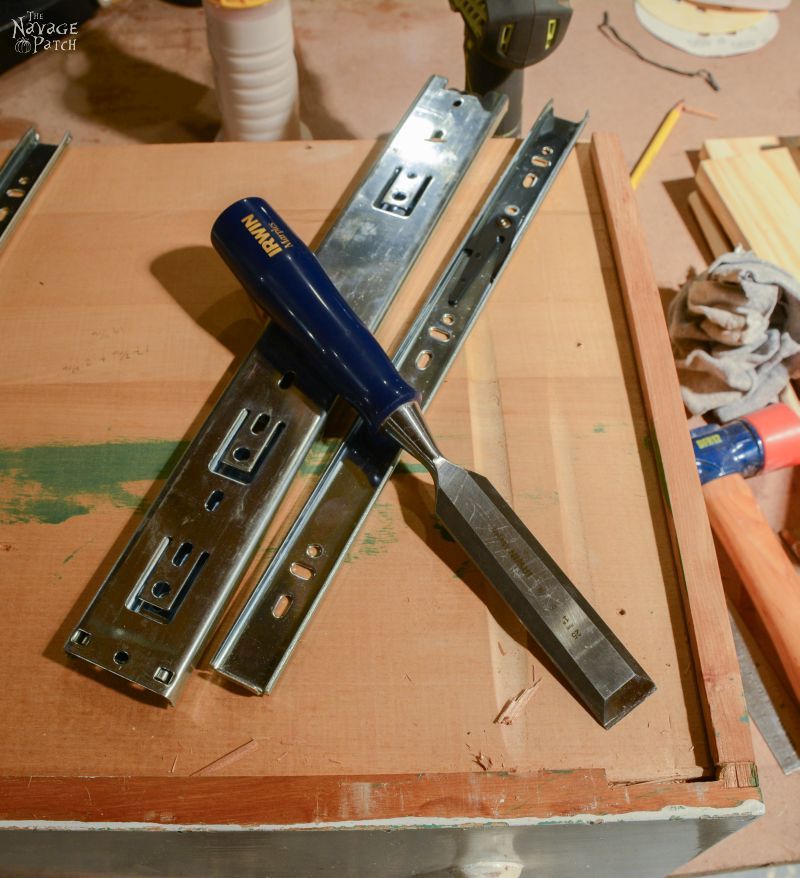
The drawer bottoms were made from flimsy warped wood. They needed to be reinforced, since these drawers would be holding bottles of booze.
Wait a minute. Ah-HA!!
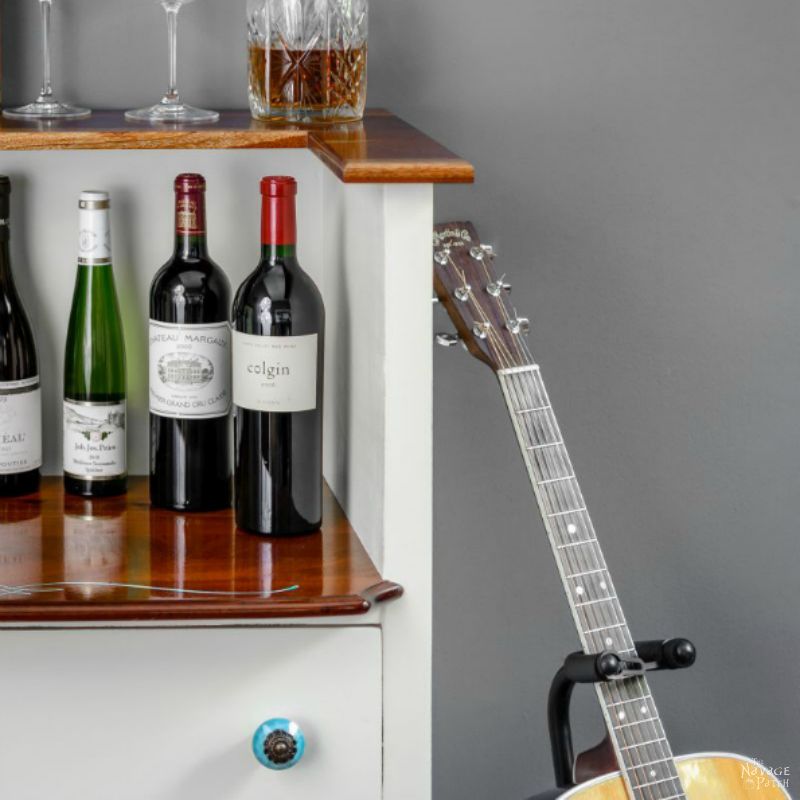
That’s it! I’ll make it into a wine bar! Instead of veneer on the sides, I’m going to make a collage of wine labels! Yes! I have a plan!
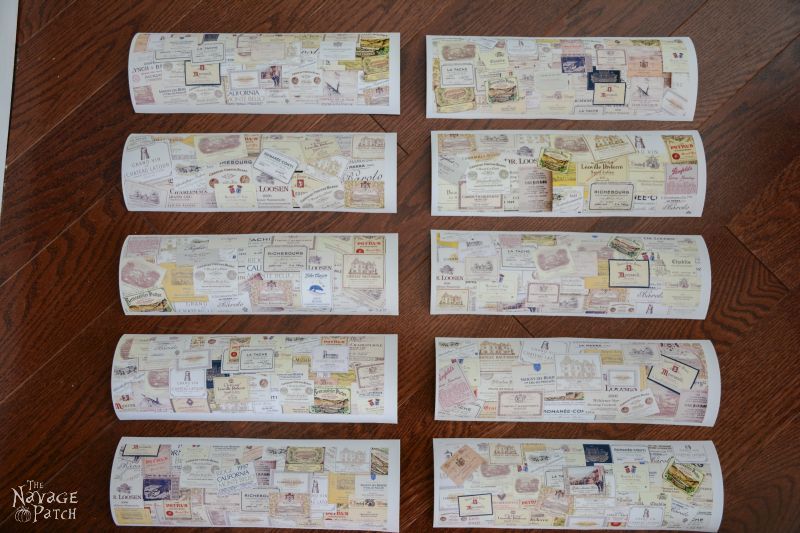
With Handan’s help, I gathered images of all of my favorite wines. Some were wines that I’ve tried and loved, others were wines made by winemaker friends that I also love, and others still are dream wines – wines that are out of my reach now, but maybe someday…
Handan arranged them all and printed them on canvas. Later, we would trim them to size and glue them into their places.
Click on ‘Next’ to continue.

Turned out good Greg but I am going to say something you probably don’t want to hear. It would have been perfect in black! But the stencil in turquoise is beautiful. Love the choice of nobs also. So glad you didn’t rough it up to give that aged look everyone is doing. It looks good and you get the gold star this week buddy!
Thank you, Kat! I also think black would have looked great, but I love the combo of old white and mahogany, too! 🙂
It turned out great! Love the touch of turquoise.
Thank you, Cecilia!
Creative idea Greg, it looks great! Looks like you have fun doing the shoot!!
Thank you, Sandra! Yes, the best part about using a glass of wine as a prop is drinking it at the end 🙂
(And the bottle, too…)
Wow. Before I tell you what a great finished product you did, I have to tell you something I have been wanting to write for quite a while. O.M.G. DO NOT ever give up this blog unless you go pro as a comedian! I laugh till my face hurts! I swear, between the dialog and the pictures I think I will explode from laughter! I not only love the work you and Handan do, I adore you both for your approach to all you seem to do. You talk my talk, you walk my walk!!!
yes what she said xx
Thanks, Chris! 😀
Thank you, thank you, thank you, Linda! Comments like that keep me going! 🙂
Ditto what Linda said. Great way to start my Saturday morning! You need a warning at the top though that reads, “Warning: Do Not Read While Drinking A Beverage”, my computer monitor got a coffee spray. Clever dresser upcycle and gorgeous bar!
LOL! Thank you, Marie!
Once again, you both did an amazing job. I absolutely adore this wine bar. Handan, you’d better get the baseball bat ready to keep the neighbors away. 🙂
Thank you, Susan! No neighbors yet, but Handan is on the lookout! 🙂
You did a fabulous job. What vision you have to come up with this fantastic piece of furniture.
Thank you, Debra! 🙂
Greetings from East TN! I’m visiting this morning from “Inspire Me Monday”. Y’all did a fabulous job upscaling an old dresser to a wine bar. I always enjoy seeing how inventive others can get with old furniture. 🙂 Have a good week and I invite you to hit the dance floor with Curious as a Cathy with sci-fi theme mewsic from my favorite TV shows!
Thank you so much, Cathy, and welcome! I love the music from Stranger Things…and what a great show!
Wow! A lot of work but well worth it. Looks awesome! Visiting from Creativity Unleashed party.
Thank you! Yes it was a lot of work. Too much, really. But, now that it is done, I’m enjoying the result! Thanks for stopping in! 🙂
That really turned out great. I love those wine label collages.
Thanks for sharing at Funtastic Friday.
Thank you, Kimm!
Love this post and the wine bar turned out gorgeous! Love the blue stencil and the labels. It is certainly a beautiful one of a kind piece you should be proud of. Loved reading this post your writing style is so much fun. I think if I would have held up a router and let out a primal scream it would be because I dropped it on my foot. Great job.
Thank you, Melissa! 🙂
You just crack me up! love your style and your projects always turn out awesome sauce! I would like to invite you to share your pieces and sense of humor at my weekly furniture party Fridays Furniture Fix over at my place!
Thank you so much, Brenda! We’ll see you at the Furniture Fix!
Great job you guys. It’s perfect for storing all that precious cargo and thank for the heads up about the turd color. That did not look good
Thanks, Michelle! Yeah, that color was the worst, but Handan found a way to make it awesome with white wax!
What a difference!! (And I think Greg was having too much fun!! LOL) I’m a little behind but I wanted to stop by and thank you for sharing on last weeks Pleasures of the NW’s DIY party
Thank you, Helen! 🙂
Awesome project. Thanks for sharing at the Inspiration Spotlight party. Shared
Thank you!
Very creative ….both the bar and your writing style. Great job.
Thank you, Denise! 🙂
This turned out awesome! I love to see great upcycles! Great post too!
Thank you, Cassie!
That is a might fine looking wine bar and what a story to go with it – I had to read it all lol
Thank you, Amber!
Awesome project! Thank you for sharing at Ravenwould.
Thanks, Kileen! 🙂
Love the turquoise stencil, where’d yo find the stencil?
Thank you, Yvette! I found the stencil just searching online. I was hoping to email it to you, but now I can’t find it on my computer! I’ll see if Handan can find it on hers tonight.
I have laughed so hard reading this post! I’m so glad someone else does stuff like we do! The wine bar is absolutely beautiful! You have a new fan!
Thank you, Susan! If you like to laugh, you’re in the right place!
Perfect post to cheer me up for the night. Honest, you could just start going to open mic nights at some comedy lounges and telling your stories, Greg. If you can recount them as well in person as you do on paper, you’ll be a hit. Just reading the stories behind every (frankly gorgeous) piece you and Handan make is what really sets your work and blog apart from the many others.
And then the final products are mind-bendingly beautiful like this wine bar. Would have never believed it was that old chest of drawers!
Thank you, Jay! Hmmmm….DIY standup comedy…you may be on to something, lol!
Wow, nice job. I’m building a wine bar in a vintage television console and did a search to get some ideals. May I ask where you got your lights. I know it’s been a while. You do beautiful work and love all the steps you show…big help to me.
Thanks, Lois! Those are LED light strips from IKEA.