Double Sided Christmas Pillows
Our house has been filled with holiday chaos for the past two weeks. First I was trying to get the tree ready, then the house decorations, then the shopping and wrapping…then more shopping and wrapping. I was a hyperactive elf these past two weeks! Okay, maybe all year ’round I’m a hyperactive elf, but really…watching me working my way through my “to do” list is like watching a Charlie Chaplin movie on fast forward! Thankfully all that work paid off, as I am almost done with my “to do” list. I just have to finish my homemade gifts.

Last year I made these Jingle Pillows as homemade gifts for Mom, Margo (my sister-in-law) and also one for our home. All the pillows turned out pretty good, but with one little handicap: they were not washable. I used my canvas printer to print the “Jingle”, but I didn’t realize that they couldn’t be washed or the ink would bleed. Unfortunately I only discovered this after I had finished them all. Oh well, I know better now!

Since Mom and Margo really liked their gifts last year, this year I wanted to make some more Christmas pillows for them. But this time I was determined to make them machine washable. Otherwise, what is the point of making pillows as gifts? Instead, why not make a sign or wall art? After some research online, I finally found an easy way to do it. I explain the method in my “Image Transfer to Fabric” post.
As I no longer had to worry about bleeding ink or machine washing, I decided to go with a very light-color fabric for this year’s Christmas Pillows. I bought some white denim fabric from Joann’s and cut the fabric into two equal squares of 18 inches. I was planning to make 17 by 17 inch pillows, so with a 1/2 inch seam line on both sides, the final cut pieces needed to be 18 by 18 inches.

Next I designed the images that I wanted to transfer to the fabric. This part was pretty easy, because Margo and Mom loved the Christmas gift tags I made this year, so I adjusted those designs for the pillow faces. Then I printed the images to heat transfer paper and cut them to a manageable size.

With my printed designs ready, I started transferring the images to the fabric using the “image transfer to fabric” method.

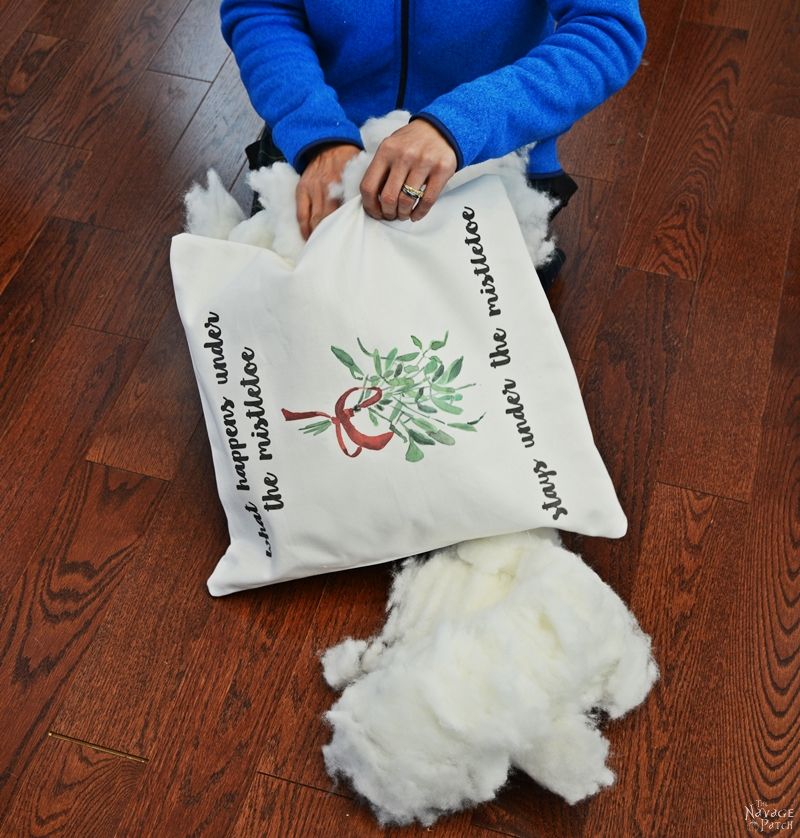
Once the images were transferred, the rest was so easy. I just sewed the two pieces of fabric together but left a little gap to fill the pillows with stuffing.

I used my sewing machine to sew the pillows, but to close off the gaps, I used fabric glue. For those who don’t use a sewing machine, I recommend using fabric glue
or heat bond adhesive
to finish the pillow, as they are equally good for bonding fabric.

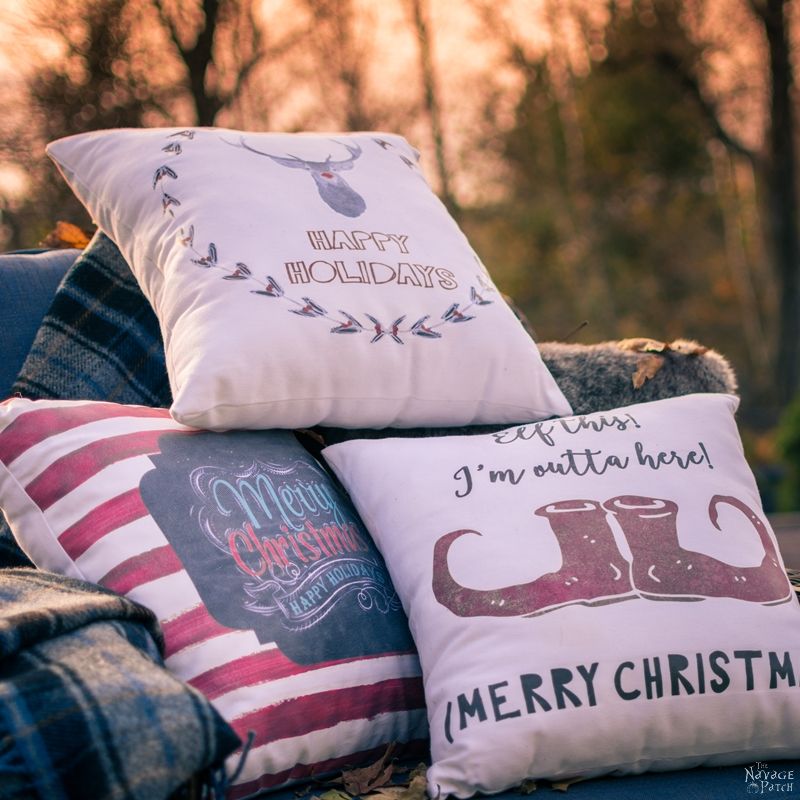
…and here are the finished presents!

I think they turned out really cool, and the best part is each side of the pillows has a different design!

I love the way they look all together.


We love to see our printables out in the wild! If you display our free printables in your home or use our free SVGs in your projects, and take a picture and post it on Instagram, be sure to tag us – thenavagepatch


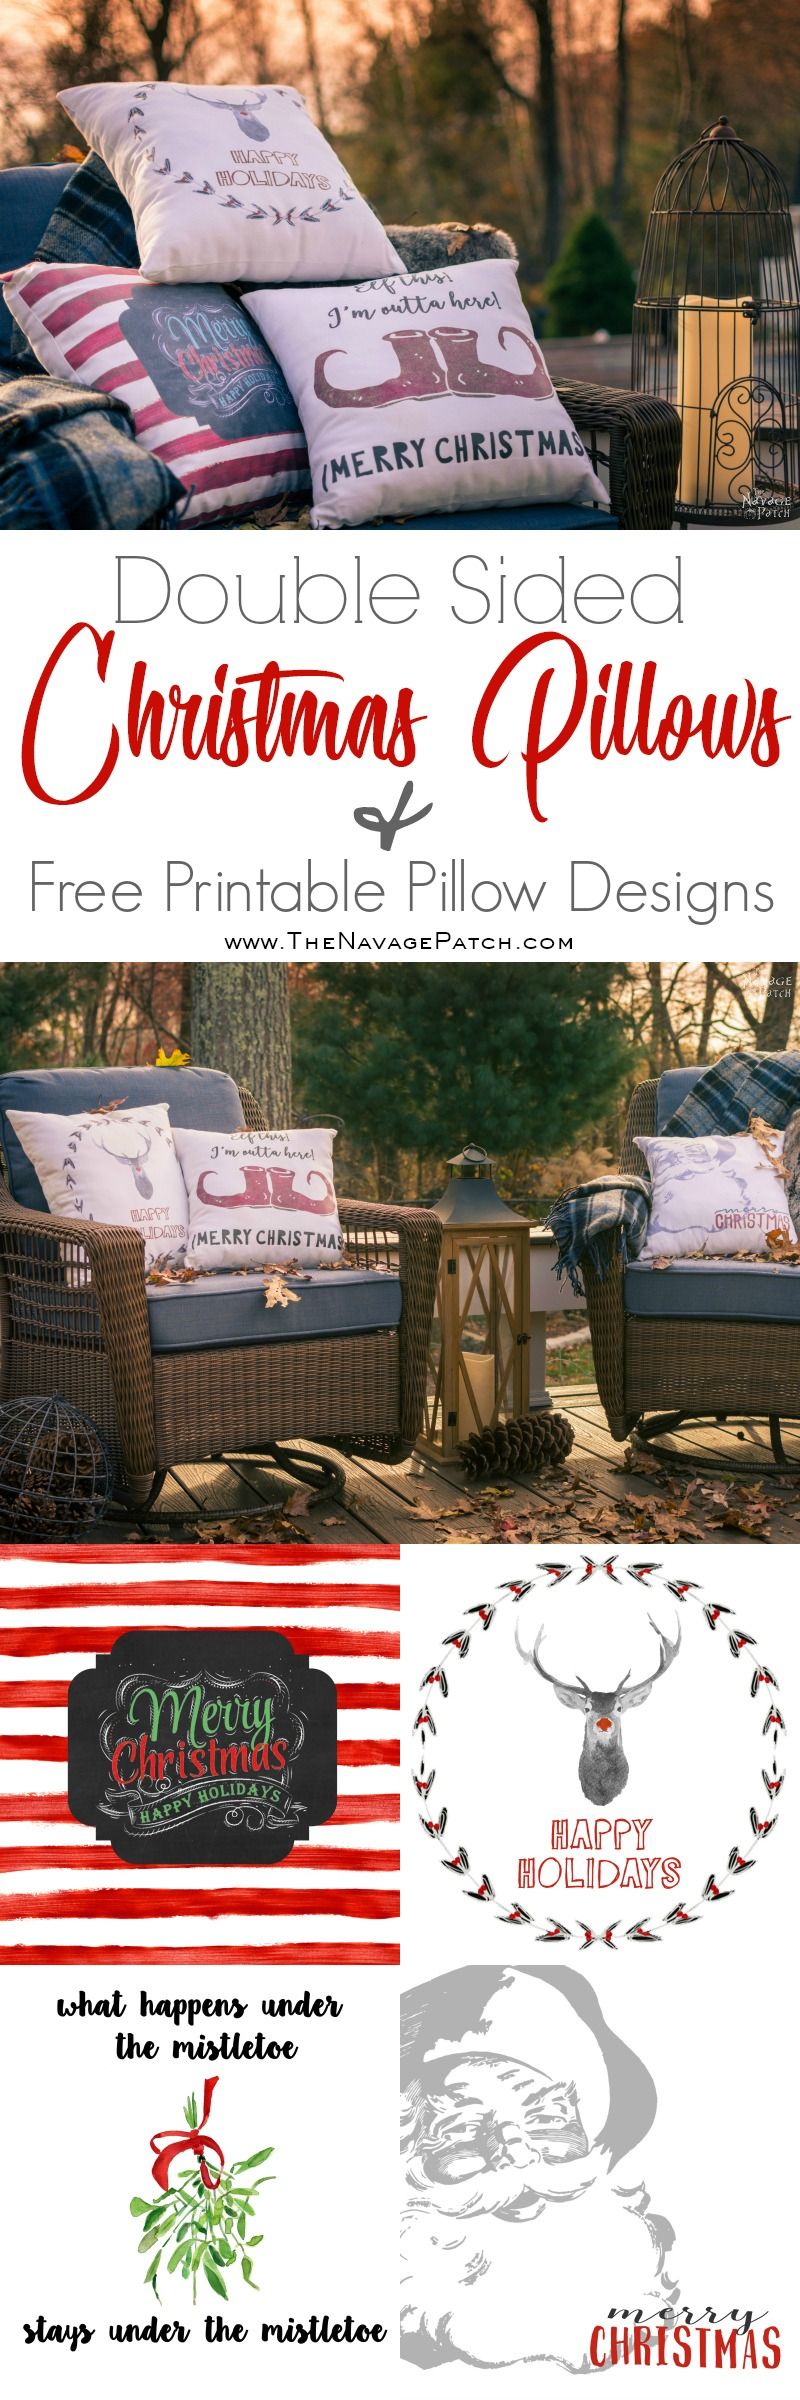
Oh… before I forget – here are the 4 pillow designs if you’d like make some pillows for yourself. Or you can even print them and fill your frames with them 😉 Just click on the button below and get your free copy for your personal use only – they are all in the Christmas section of the VIP Patch!
If you’re not a Navage Patch VIP, you won’t be able to access our Freebies Library. But that can be easily fixed! Subscribe for free on the form below and become a Navage Patch VIP. Once you subscribe, a password will be sent to you in our Welcome email, and that will give you access to The VIP Patch [Freebies Library].
Merry Christmas and a great New Year!
Handan, xo


I love the no sew idea. I used hot glue to put a holiday cover over my every day pillow – then just some iron heat to loosen it and put it away after the holiday! I need to make some of your designs now! Thanks for sharing on the Pleasures of the NW’s DIY Party!
Thank you so much, Helen! Wow, I never thought of that! I must give it a try. I wonder how it holds up and if I can wash it or not. Now that you gave the idea, I will immediately start experimenting 😀
I’m loving your pillows Handan, they’re super cute. Now if only I could find some of that heat transfer paper here in sunny South Africa I’d be all set. Hope you guys have a beautiful festive season.
Thank you so much, Michelle! Merry Christmas to you and to your family too!! 🙂
I’m not getting any reaction with clicking for the downloads……
You need to right click on each picture and select ‘save as image’ from the menu. Or you can use the new download button that I added for convenience. Simply click on the blue button that is above the Christmas pillow designs and it will automatically start downloading all four designs.
I hope this was helpful! 🙂
Love these! Thank you for sharing with us at the To grandma’s house we go link party! Hope to see you there tomorrow when the new party starts!
Thank you so much, Tarahlynn! Yes I will definitely be there to share our latest projects 🙂
These pillows are awesome and what a great idea to put different designs on each side of the pillow!! Have a Merry Christmas!!
Hey Handan, I love the christmas pillows – they are a a great project for the novice seamstress. Can I include it in my roundup post with super easy sewing projects for those just getting started.
thanks, Helen
Hi Helen, yes you can include in your round-up using one picture and giving a direct link to our post. Thank you!
I love the no sew idea. I used hot glue to put a holiday cover over my every day pillow – then just some iron heat to loosen it and put it away after the holiday! I need to make some of your designs now! Thanks for sharing on the Pleasures of the NW’s DIY Party!
I’m a sucker for Christmas decorations, I absolutely love how the pillows look! I never used fabric glue before, does it work well?
It works beautifully, Denisa!
Great, thanks a lot!