DIY Halloween Lanterns (Easy and Creepy)
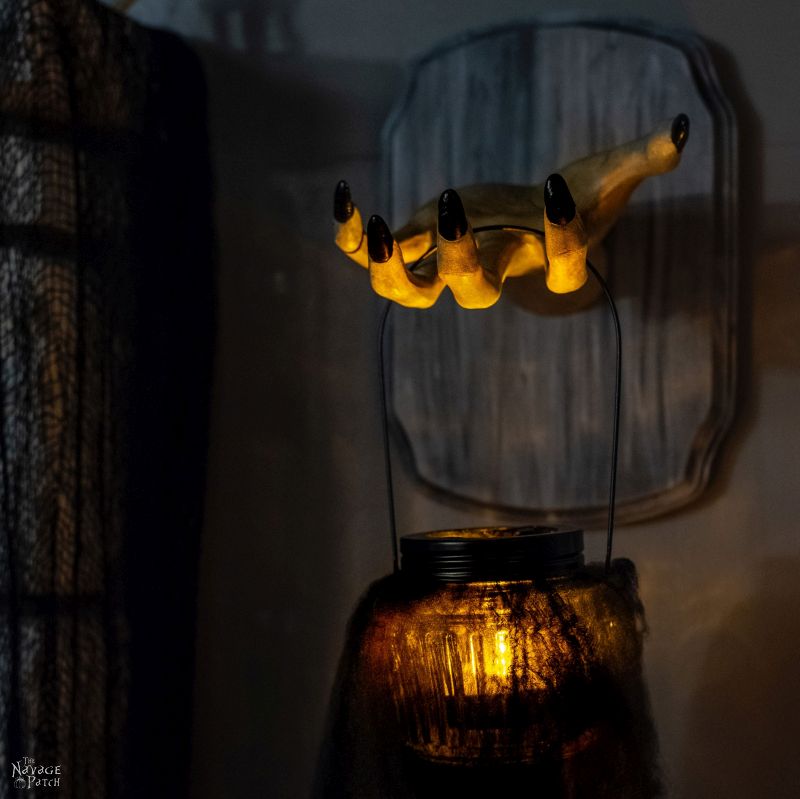
Our hanging Halloween Lanterns are a cheap and easy DIY, and they’re the perfect creepy complement to any spooky Halloween display.
My wife has a thing for swamps and cemeteries.
She’s fascinated by both, and around this time of year, that fascination manifests in various creepy projects that bubble up from the depths of her creepy morbid perfectly normal mind like rotten gas percolating through the brackish and stagnant waters of a black swamp in some forgotten forest.
She’s especially fond of the dark places, shrouded by fog and ground smoke and just barely lit by a cold and lifeless moon.
When the harvest moon rises red in the east, Handan’s blood turns to bog water, and her hair becomes the Spanish moss spilling from a bayou cypress.
Her eyes are foxfire, and ravens gather at her feet.
Yep, that’s my babes. She’s the Belle of the Bog and the Cemetery Sweetheart.
But it’s not all mossy logs and frog’s legs.
I mean, she does love a creepy swamp and all, but I can usually convince her to dial back the whole Swamp Thing shtick just enough so she’s content to make a few simple Halloween props for The Navage Patch,1 like the easy DIY Halloween lanterns I’m about to show you. They have that swampy creep going on with just a touch of the grave to keep things classy.
And the best part?
They’re cheap!
I’m going to show you two ways to make them: cheap and cheaper.
Take your pick! The choice is yours!
Just remember to choose wisely, or the Swamp Queen will get you!
Have fun!
1Fun Fact! – Handan’s original idea for a blog name was “The Navage Swamp.” What do you think? Should we have gone with that?
Nah, I’m just kidding. She actually wanted to call it “The Pumpkin Patch,” (no joke!) since she considers both Barish and me to be her pumpkins.
How To Make These Easy DIY Halloween Lanterns
There are two ways to complete this project – with creepy resin hands available on Lakeside or with plastic Dollar Store skeleton hands. I’ll show you both ways.
First, let’s have a look at our lanterns.
Making The Swamp Lanterns
The ones we used are readily available at the Dollar Store. They are designed to hold an LED tea light. You can also get a two-pack of those tea lights at the Dollar Store. Price? You guessed it.

To achieve the swamp lantern effect that Handan so adores, we wanted to wrap the lanterns in black spider webbing, which again you can find at the Dollar Store. I’m guessing the price will be about a dollar.
I stretched out a piece and ripped a hole in the center.

I then inserted the lantern (with the top off) into the hole.

I pulled a bit of cloth over the mouth of the lantern…

…and then screwed on the top.

I placed the LED tea light inside, and that was it for the lantern part of this project. I told you it was easy!


The lanterns look great on their own, and you could even use these outside, hanging from a shepherd’s hook.
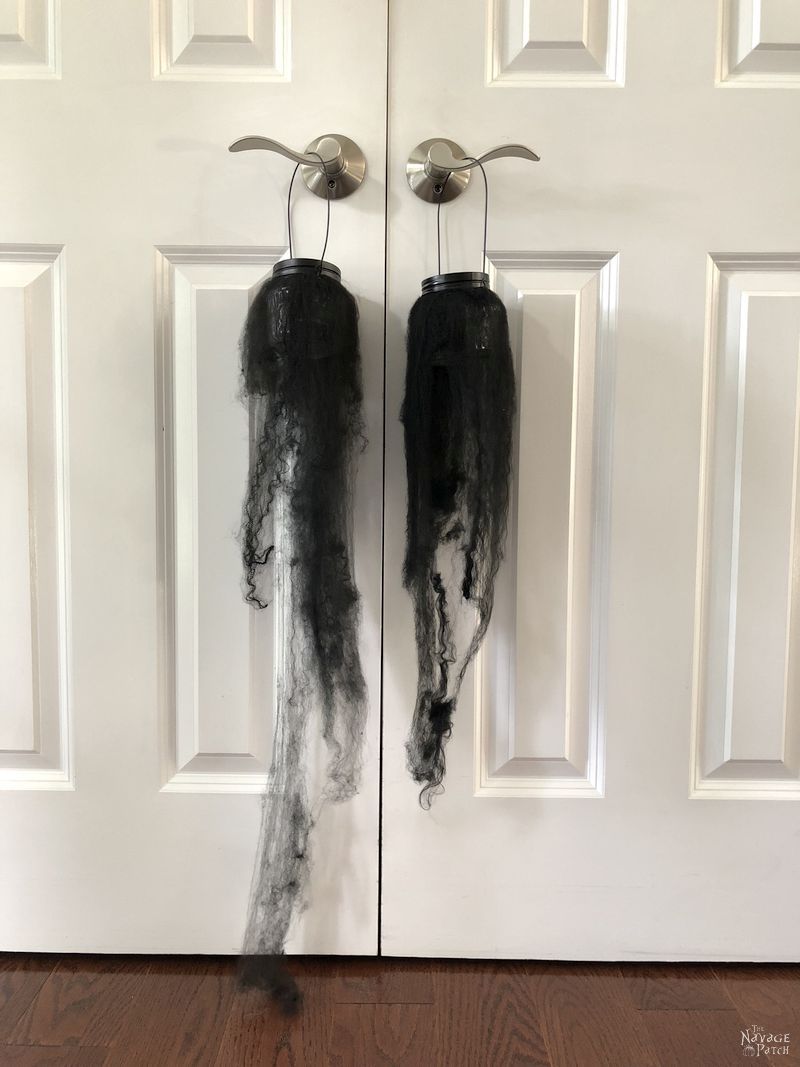
If you don’t have a Dollar Store nearby or if you can’t find these exact lanterns, you can create the same look with mason jars and these solar mason jar lids we found on Amazon.
The Mounted Creepy Hand
Instead of cutting a piece of scrap wood and routing it, I decided just to buy a ready-made wall mount from Michaels. I think they’re about $1.50 each, so it wasn’t worth my time to build one.
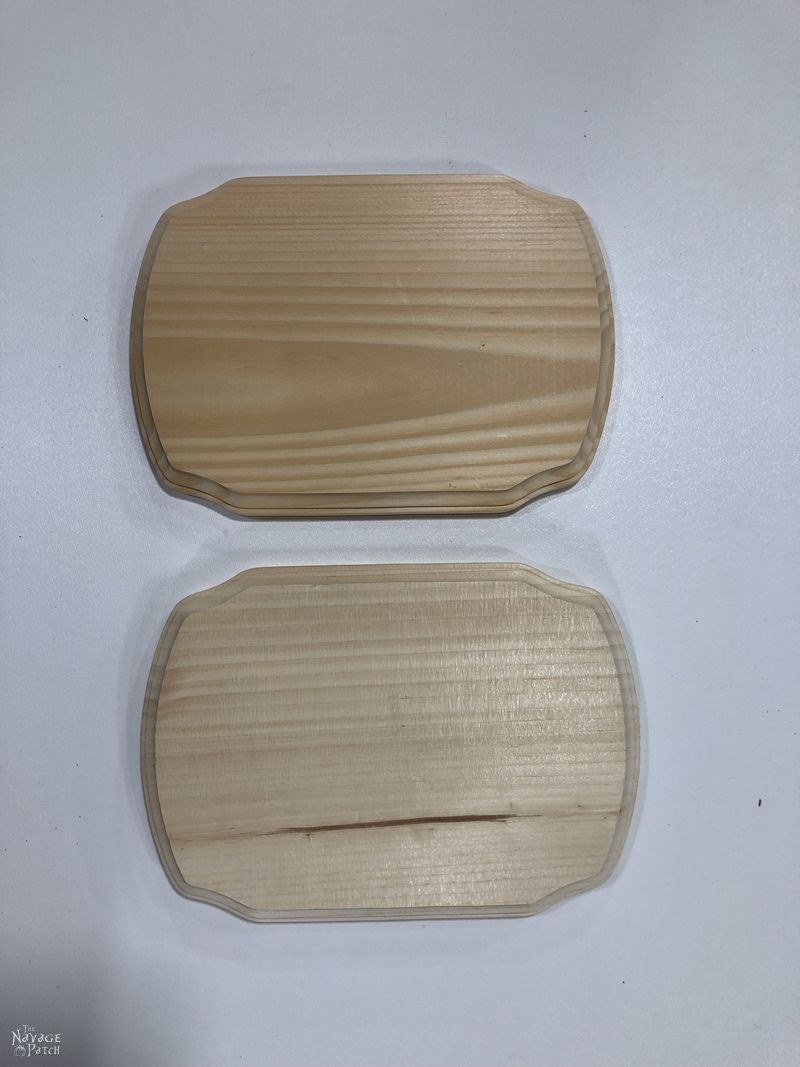
I wanted to give the mount a creepy look (like Handan when she wakes up! Oh crap, she heard me…..RUN!), so I opted to stain them with ebony and white to achieve a groovy grave-y effect.


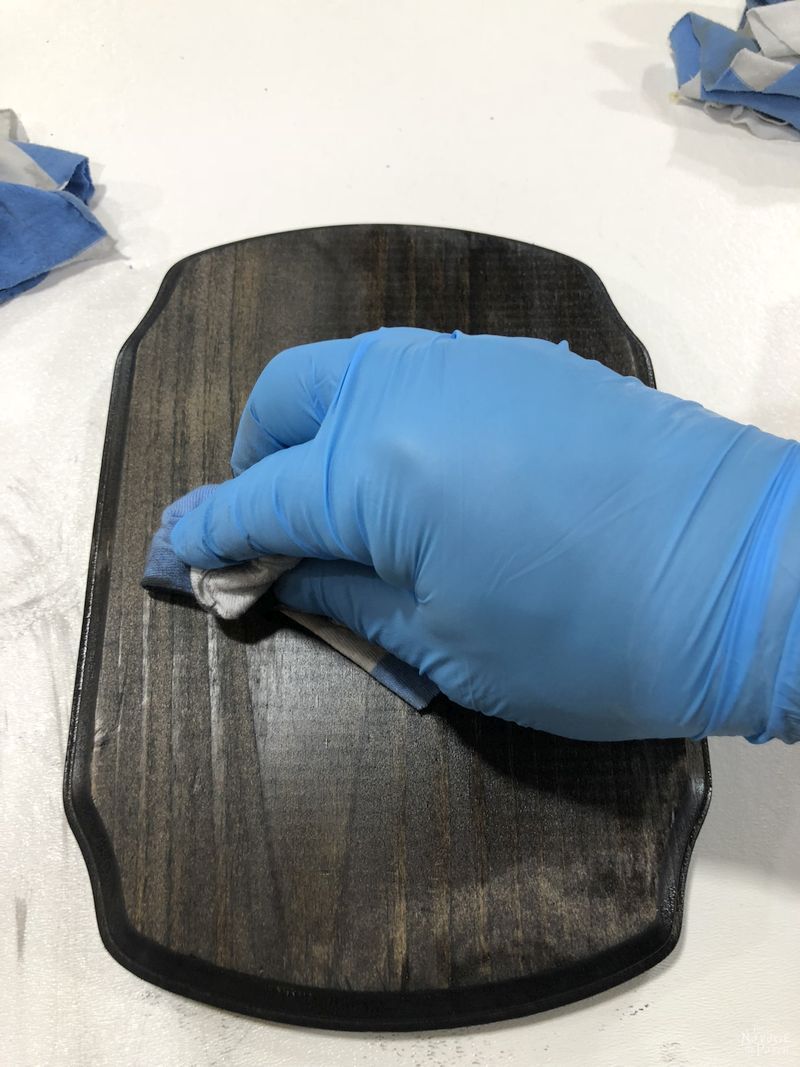
As soon as I had wiped off the ebony, I applied the white.

I just slopped it on unevenly and then wiped it right off.

I did the same for the sides.
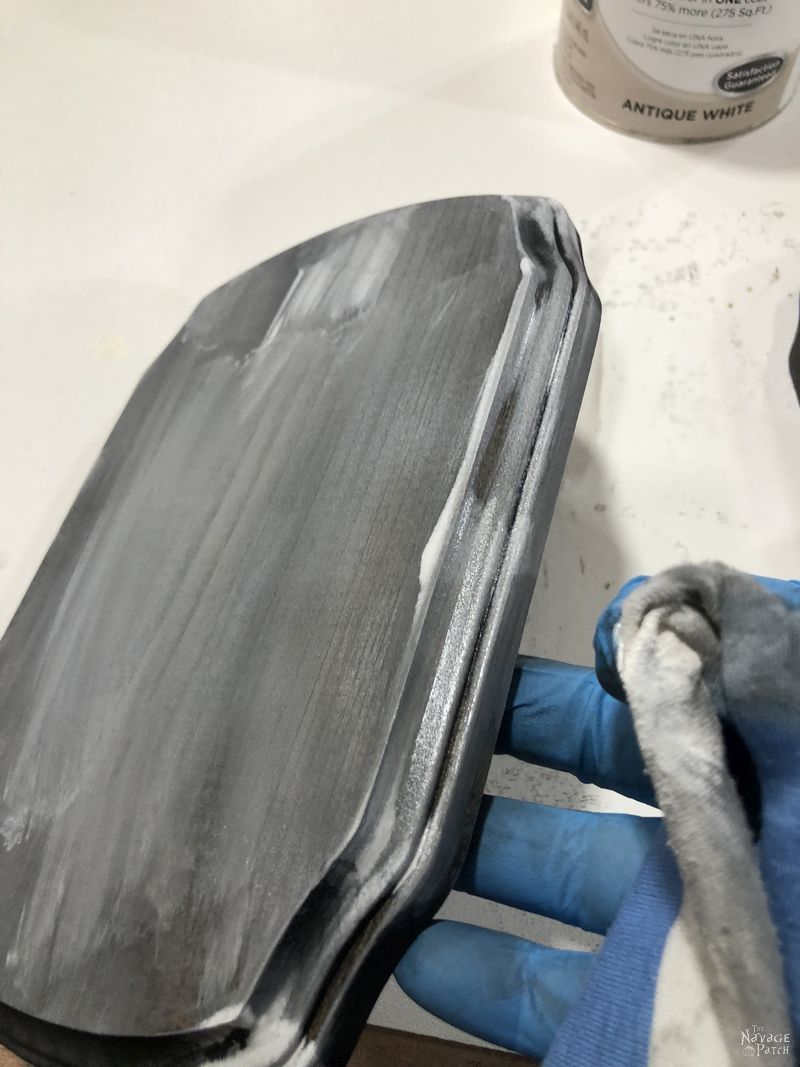
I slopped on a little more and then wiped it off lightly.
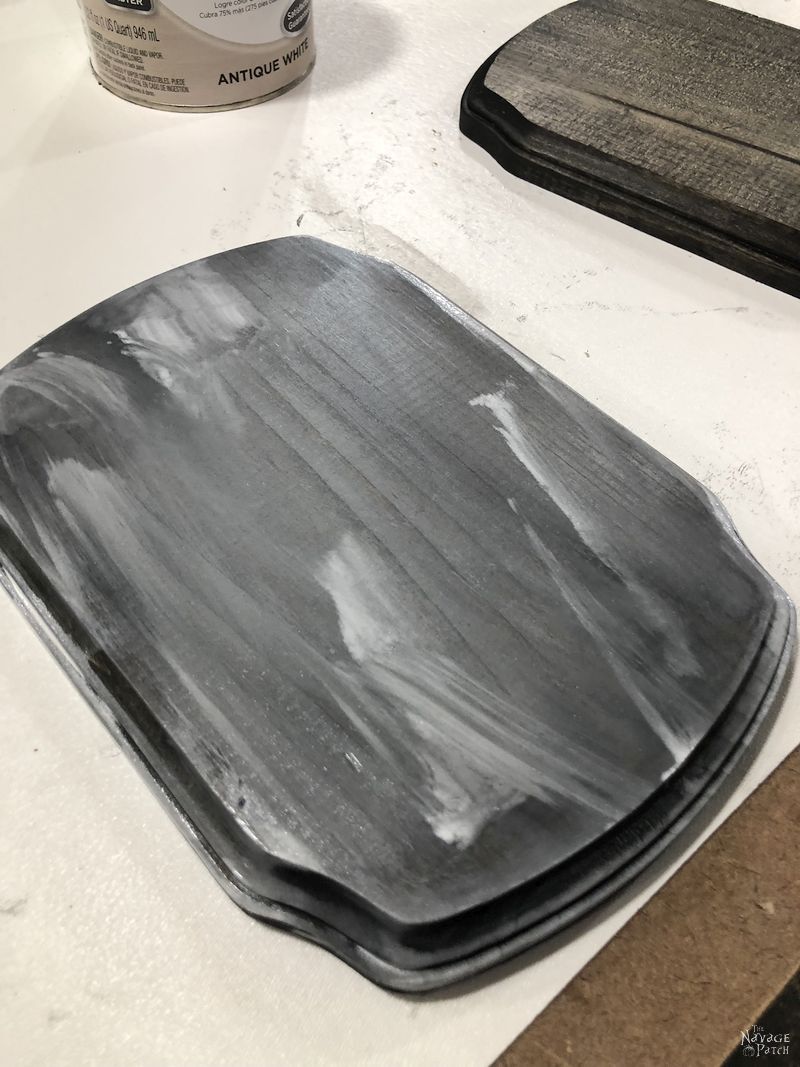
This was a good look, but I wanted something a little more striking.
I went back to the ebony, dipped a rag and lightly streaked the mount.

I just barely wiped off the streaks – I didn’t want to blend them too much.
I repeated this process with the white stain.

When I was satisfied with the grave-ish look, it was time to mount the creepy hands.
We have two types of hands – one that sticks straight out (grabbing) and one that turns upward (clawing). Actually, it is supposed to turn downward as it is a clawing hand, so the mounting hole would no longer work when I turned it upward.
To solve this, I decided to screw the hand in from the back.

I needed to drill through the mount from the back at the exact middle of the hand where the mounting hole was. To do that easily, I employed a little trick that Handan taught me.
I put a small dab of toothpaste on either side of the hand’s mounting hole.
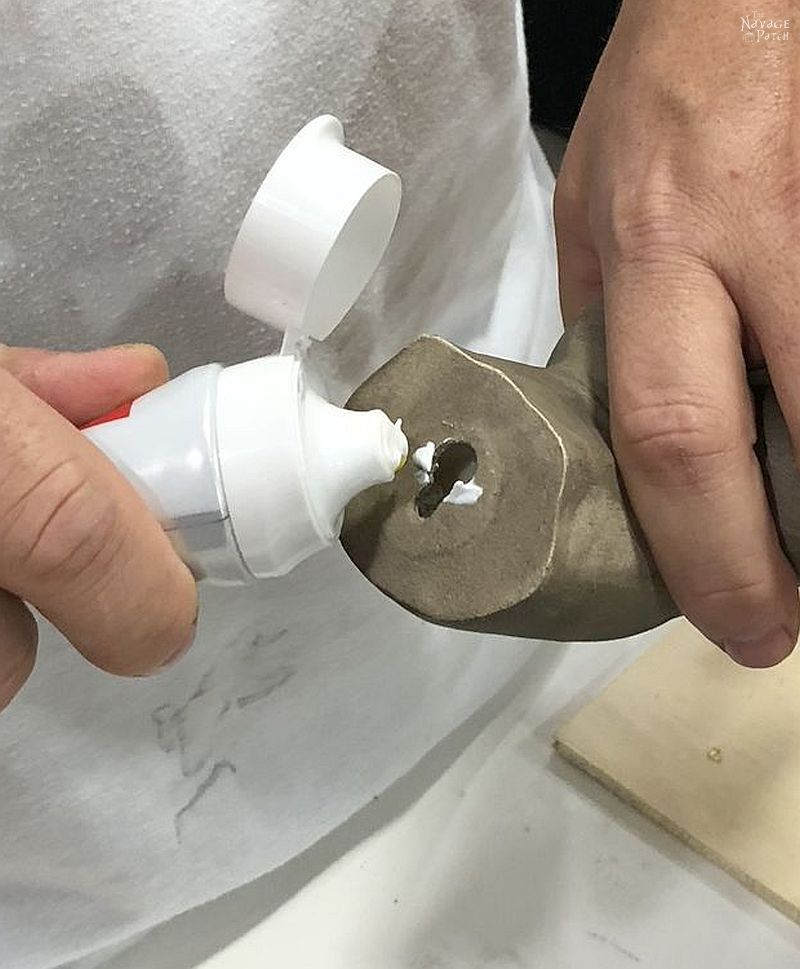
And then I pressed the hand to the spot I wanted to mount it.

Once lifted, the two dots of toothpaste revealed the exact spot for me to drill.


I put a drywall screw through the mount from the back and secured the hand in place.

Since the other hand would be mounted correctly, it was a simple matter of inserting a small screw into the front and hanging the hand from it.
With my mounting work done, I relaxed with some iced coffee and a scratch.

Finishing Off Our DIY Halloween Lanterns
We used four Command Strip Picture Hangers, thinking they’d be enough to handle the weight.

As usual, we pressed the strips firmly against the wall.

But not long after we hung both of them, the one pictured above came crashing to the ground. I chalk it up to dirty walls, as those strips are holding far greater loads in other parts of our house.
Anyway, I was pretty annoyed when it fell. I went over and started gathering the pieces and then turned to Handan to bitch about it, but she was just laughing at me.
What the hell?
Shouldn’t she be as annoyed as I? Not only was all that work wasted, but those hands cost money! And look at it broken into all those little pieces. I held the snapped off fingers for her to see.
Still she laughed.
I looked down.
Ohhhhhhh….

Yeah, now I get it, LOL!
Fortunately for us, we had some spare creepy hands. Handan got lucky and found them on sale for $5 each a couple of years ago, so she had bought 6 of them.
Though I was sure a dirty wall was the cause of the Creepy Hand Bird pictured above, we didn’t want to take any more chances, so we re-hung them the old fashioned way.
Now, before I get to the beauty shots, I want to quickly show you how you can do the whole project from Dollar Store materials…well, everything but the mount – you’ll still need to shell out $1.50 for that part.
How To Make The Creepy Hanging Lanterns With Dollar Store Supplies
Get yourself a plastic hand like the one shown below. You’ll also need the mount, a screw and a piece of 1/2-inch-thick scrap wood (I used plywood) cut to 1 1/4 inches x 3 inches.

Here’s the back of the hand.

I cut that area out with scissors to accommodate my small piece of scrap wood.


I then drilled pilot hole in the scrap piece.

And then I inserted it into the hand.


I drilled a pilot hole through the mount (note that I’m just using a piece of scrap here, and I didn’t bother staining it since it is just for instructional purposes).

I then screwed the screw (heh) halfway through until it was sticking out the front.

I placed the scrap piece that I had inserted into the hand against the screw and drove it on home.

Then to secure the hand on to the wood, I drove a small screw into it.

And that’s it! You’re done! Total cost (including lantern, webbing and tea light) – about $5. That makes $10 for a pair. Compare that to $50 for the ones Handan saw for sale in the Grandin Road catalog last year!
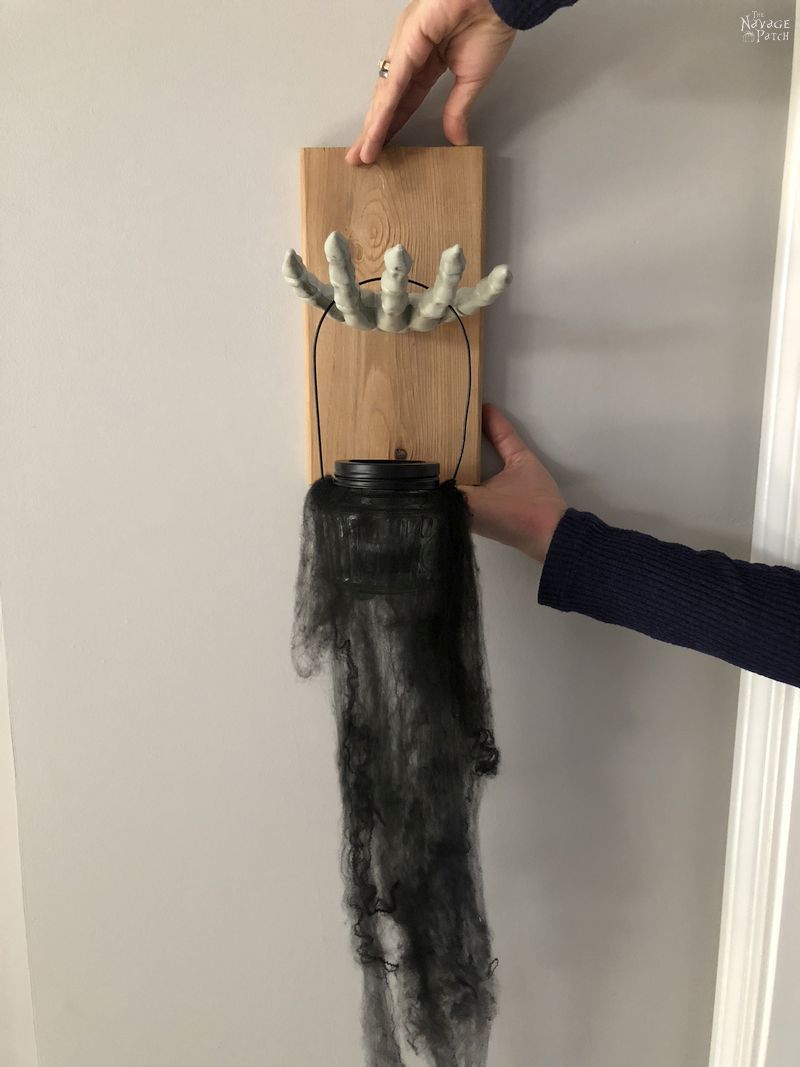

You can even turn them!

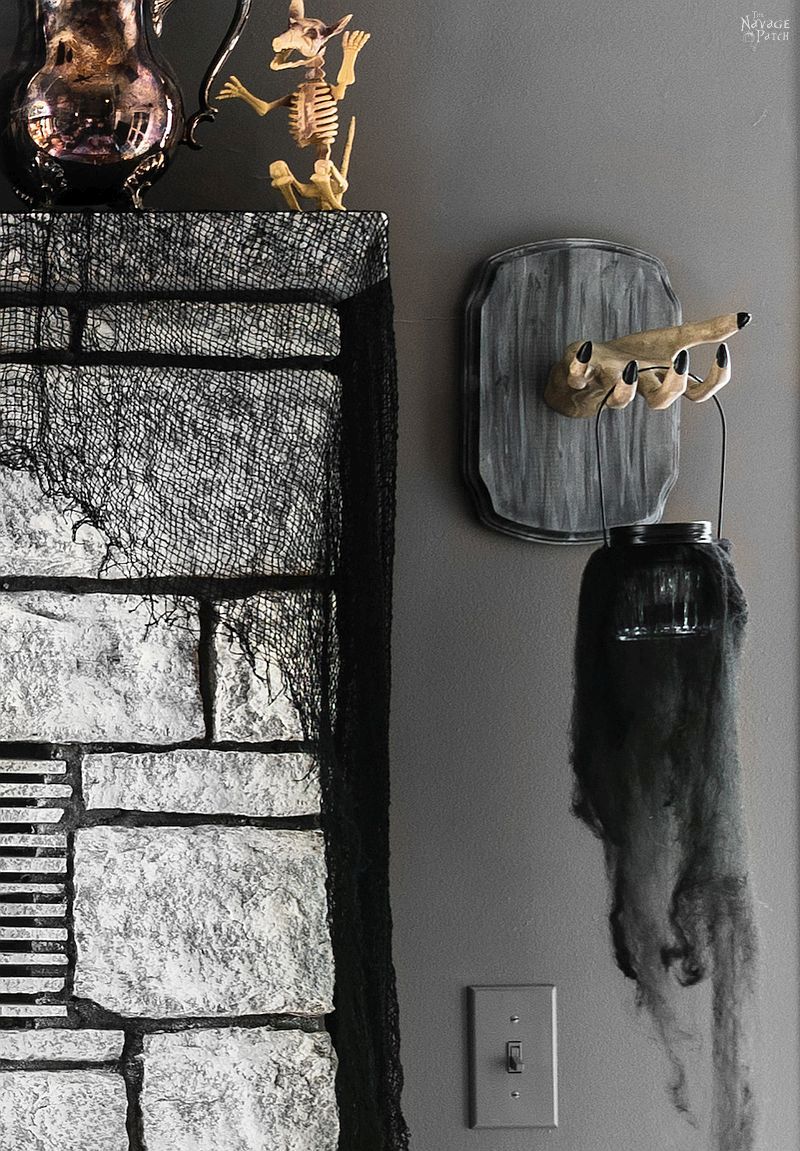
Okay, okay, let’s get on with the beauty shots already! First some day-time pictures…


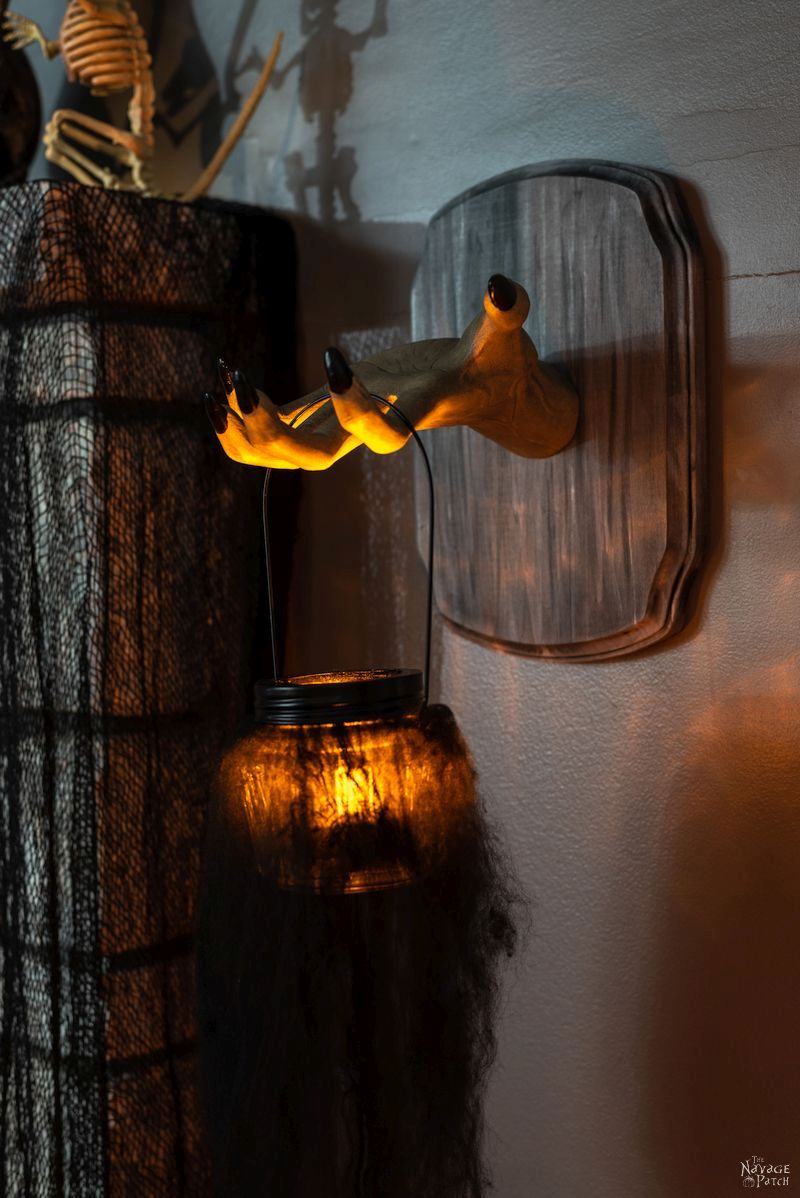
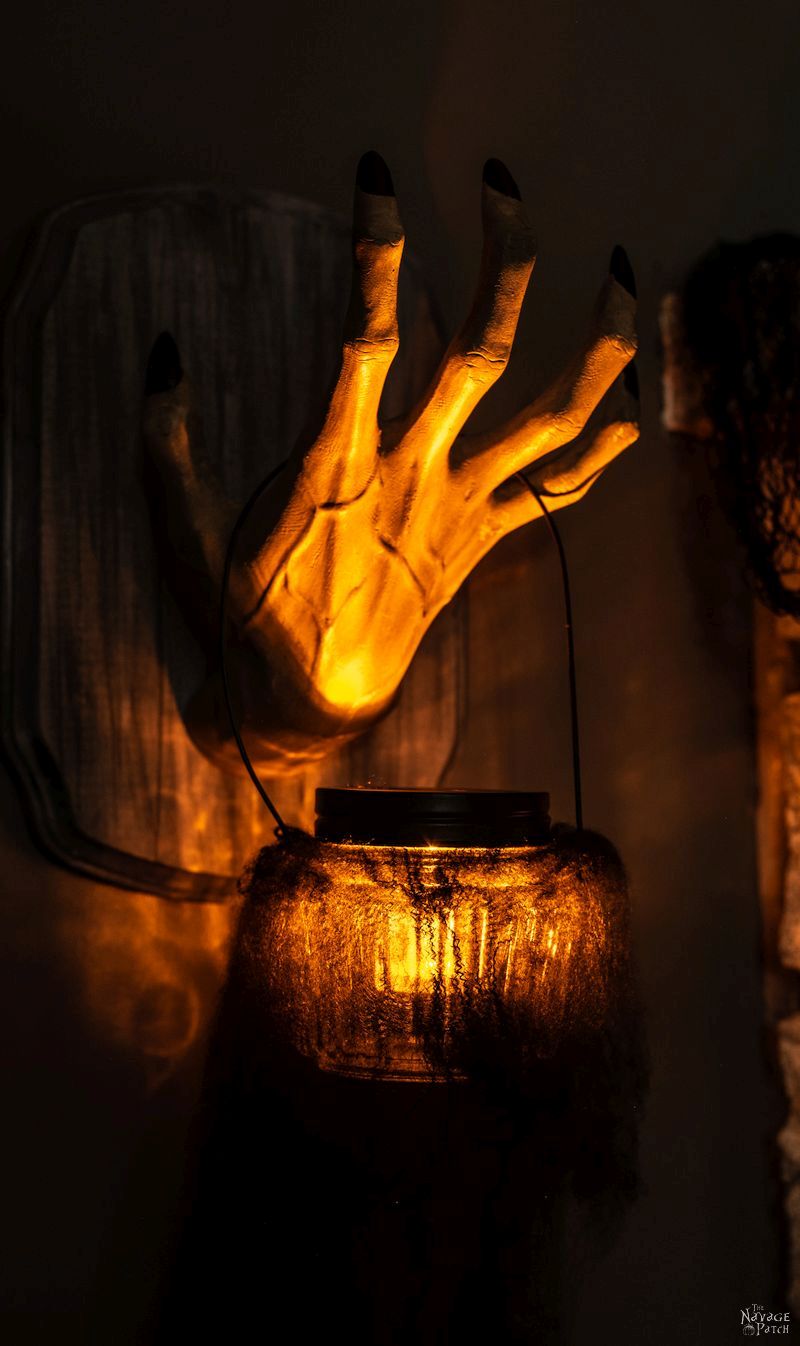
And the night-time shots… when this project really comes alive!


We love it when you share our posts on Facebook and Pinterest!


Oh nooo that broken hand is just the best. LOL that’s my Mom’s favorite finger although the people in the old age home don’t think it’s a good look on her. I’m so sorry that happened though. Silly command strips but you can always plant it outside on that gorgeous stoep of yours 😉
Love how your creepy handy lanterns turned out guys.
LOLOL! Thank you so much, Michelle! 😀
Just wanted to take the time to say thank you for your great site. As a retired grandma living on a very small budget I love that you have free stuff. I do love to decorate for Halloween well every holiday. This site gives me the opportunity to do that, and you both are very funny. Thank you again.
Mary, Handan and I are delighted to get comments like yours – they really do keep us doing what we’re doing. We’re so happy to be of service to you. Thank you so much for writing!
Love these! I think I’m going to try it with one of the coloured tea lights – I feel like the golden glow of an ordinary one is just too… welcoming. Too cozy! Purple. Or green. I found some at the dollar store (my daughter calls it my second home). I also found a pretty strong skeleton hand (like bone-looking) that I think I may use. I’m hoping to get away without reinforcing it.
Hi Nicole, Using colored lights is a fantastic idea! Send me a picture so we can see how it looks!
Hey Greg and Handan! I love your blog!: the stories, the DIYs, the self-deprecating humor! I’m curious…….are you, Greg, a dyed-in-the-wool New Englander? I see that you’ve lived a wide variety of places and that you settled back up north with Handan! Was it the homing instinct? Just curious lol!
Hi Constance – yes, I was born and raised in CT, and I went to college in VT. When I graduated, I lived in CO for a year, then Boston for 4 years. After that it was San Francisco for 10 years and then overseas with Handan. Been back in CT since 2013. It was just dumb luck that we ended up here. Handan got a job offer in CT when we were home visiting my parents and applying for her green card.
I see! Thanks for satisfying a tiny bit of my endless store of idle curiosity! LOL……I do so like your blog d-:
I found your project and instructions very impressive. Nice job.
Thank you, Teresa!
Greg I would use the broken hand. Use silicone on the broken ends and dribbled it downwords. Painted silicon blood red and mounted it..if anyone that visits can not take a joke.they can just go away..love your stuff/ projects. Keep them coming..love you both..shelley
Shelley, that is a brilliant idea!! You’ve got a good mind for Halloween, just like Handan! 🙂