DIY Kitchen Backsplash Tile (No Thinset)
I made this gorgeous DIY kitchen backsplash with real tile and no thinset. There’s a product that makes it possible, and it’s a game-changer!
Behold my new kitchen! Well, it’s not exactly new, but who’s keeping track?

It was quite a journey to start with this:

And end with this:

It all began by re-routing the staircase that led into the old kitchen to gain more wall space. From there, I remodeled the mudroom, because now that it has a staircase dumping into it, it’s former life as a laundry room just wasn’t gonna cut it anymore.
What followed was a long slog of months spent without a floor nor a kitchen. We lived off a fridge we rolled into the family room and a foldup table with a microwave on it. Those were dark days filled with night after night of DiGiorno pizza. I like Digiornio as much as the next couch potato, but I was nearing the end of my rope with all things Italian. Even the chunk of parmigiano reggiano moldering in the fridge was on my shit list. If I had to look at another pepperoni pizza, I was gonna lose it. I considered mailing topless pictures of myself to random addresses in Italy as a form of petty revenge.
Fortunately the kitchen finished and my shirt stayed on.
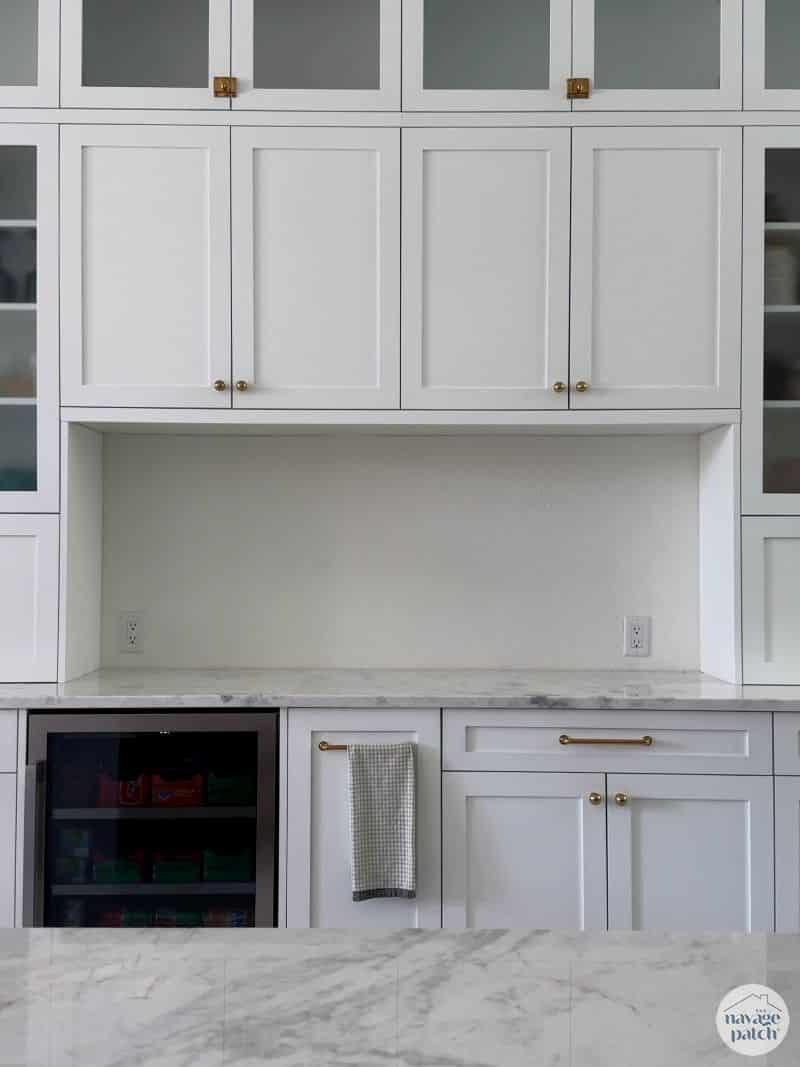
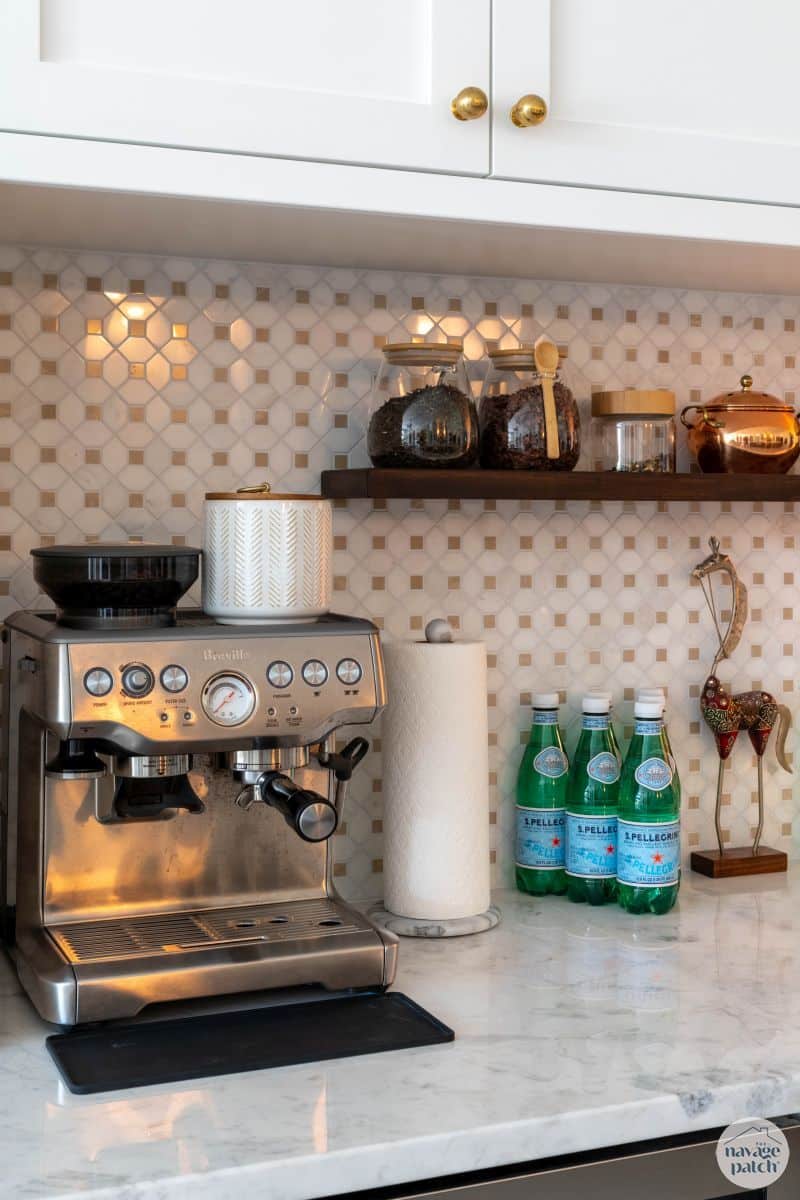
But there were two projects that didn’t make the grand re-opening of Il Forno Navaggio: the pantry doors, which I recently completed and shared with you, and the coffee nook backsplash pictured below.

To hide the plain-banana wall, Handan filled the space with vintage pictures of flowers. I suggested a mural of me in the Michael Jackson Thriller album cover pose.

Oddly, she declined.
Well, if a mural of Yours Fantastically wasn’t going to cut it, I promised my babes that I would get her that backsplash she was wanting…real soon.
Fast forward a year and a half and here we are! Backsplash finished, just as I promised! I would have done it sooner, but I have a magnetic repulsion to thinset. It’s nasty stuff that’s impossible for me to work with without creating a world class mess. Your results may vary.
But then Handan found a product that eliminates the need for thinset.
I was hooked. Let the tiling begin!
DIY Kitchen Backsplash SUPPLIES LIST
Affiliate links are provided below. Full disclosure here.
Kitchen Backsplash on Social Media
Watch our short and fun video below for an overview of our backsplash before you read the tutorial.
Watch Our video On YouTube
On Tiktok
On Instagram
We love to see our DIY projects out in the wild! If you try this DIY project and take a picture and post it on Instagram, be sure to tag us – thenavagepatch
No-thinset Kitchen Backsplash tile
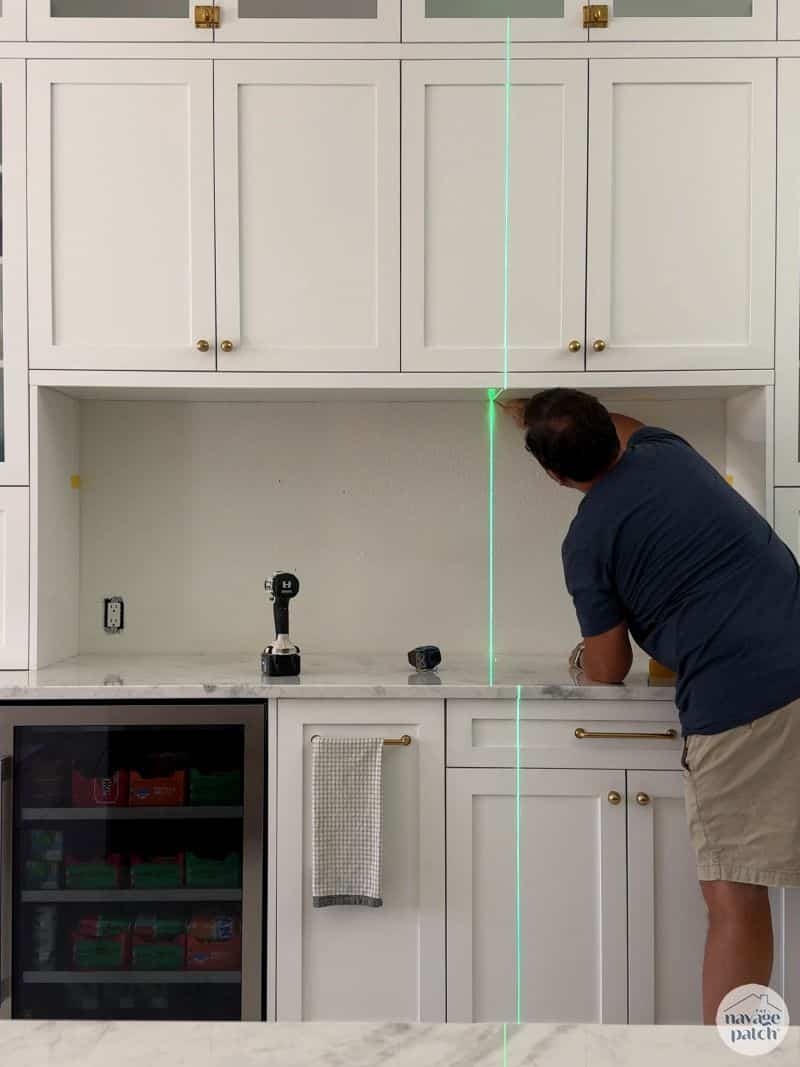
I emptied the nook and readied my workspace.
After removing the outlet cover plates, I put a piece of tape on the side panels and marked the height of the shelf I’d be installing after tiling.
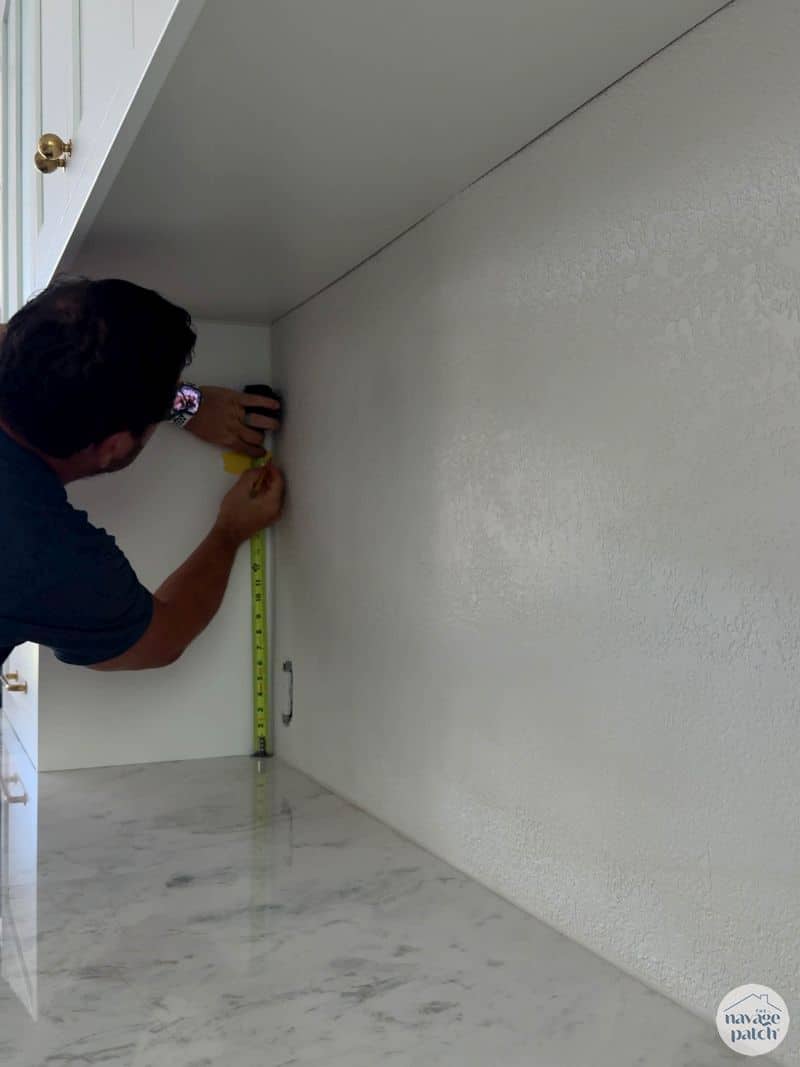
Next I marked the studs so I’d know where to attach shelf brackets.
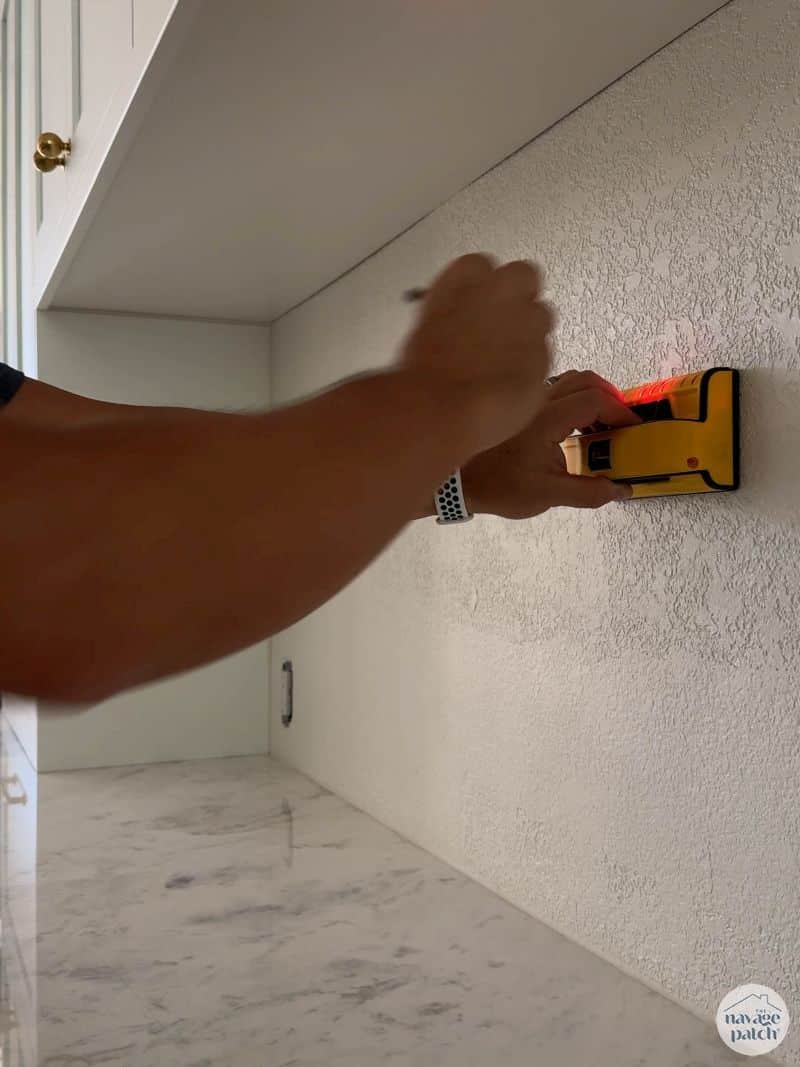
I then marked the stud locations on pieces of tape stuck to the top of the nook.
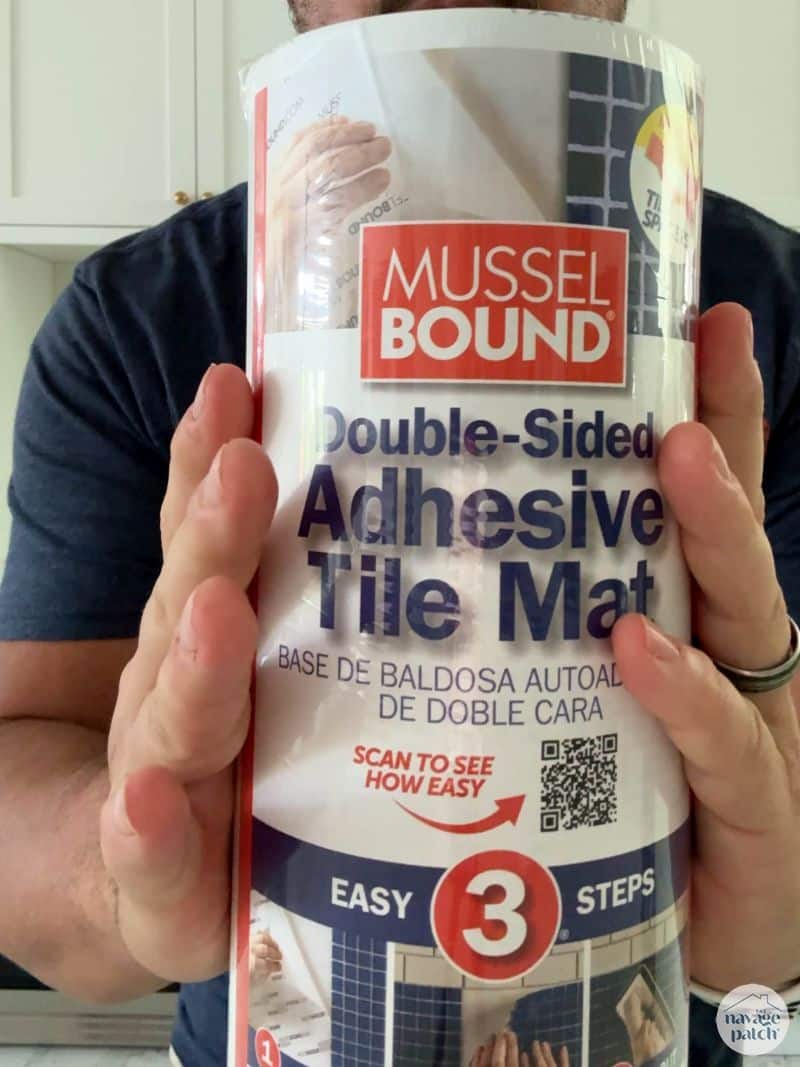
Instead of thinset mortar, I used a product called MusselBound that promised to do the job of thinset without the mess. It’s essentially double-sided tape on steroids.
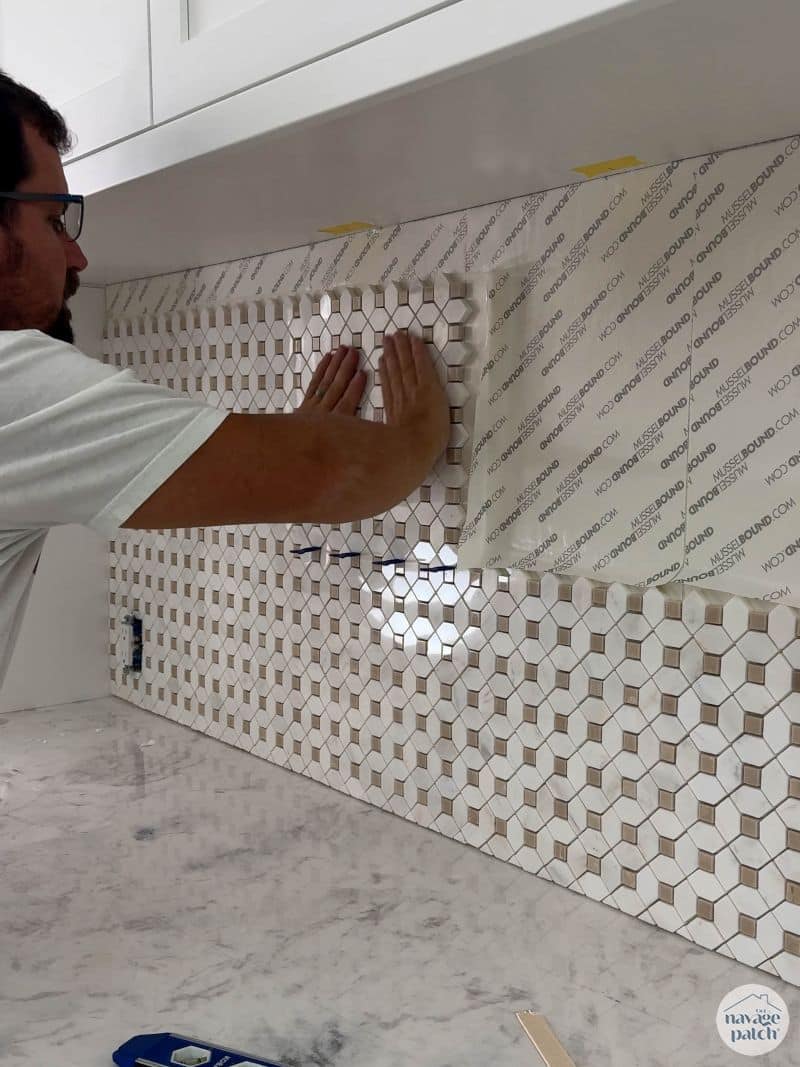
I peeled one side and stuck the MusselBound to the wall.
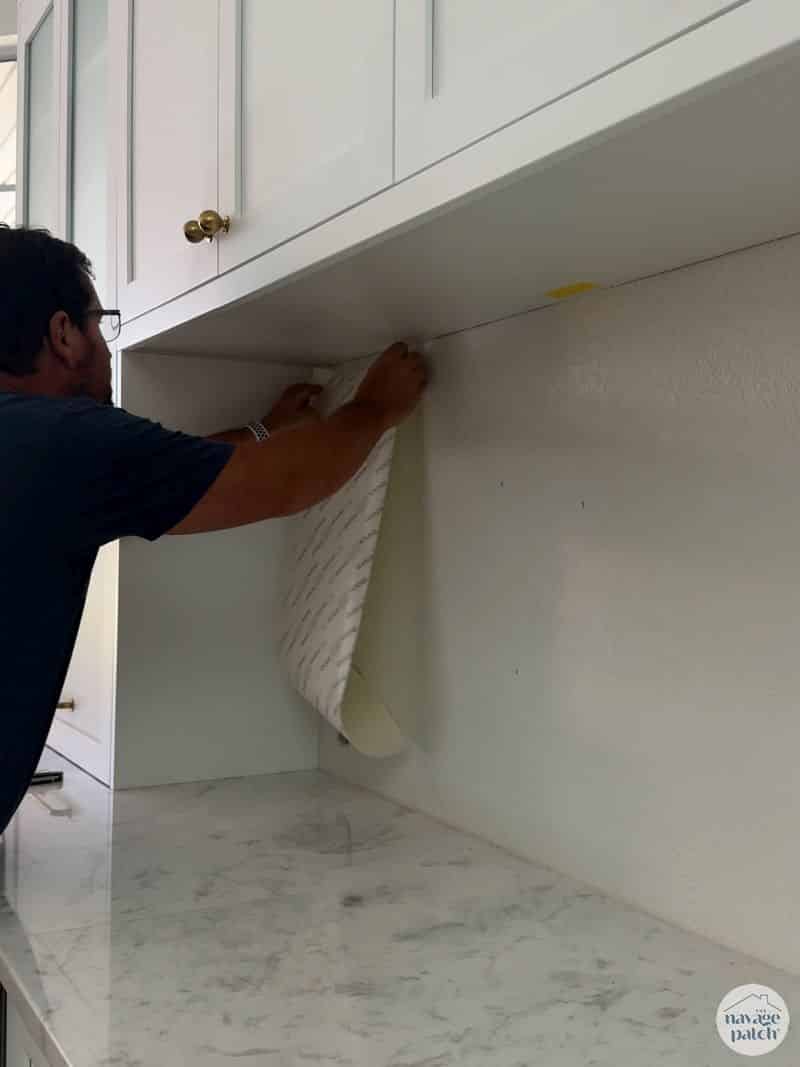
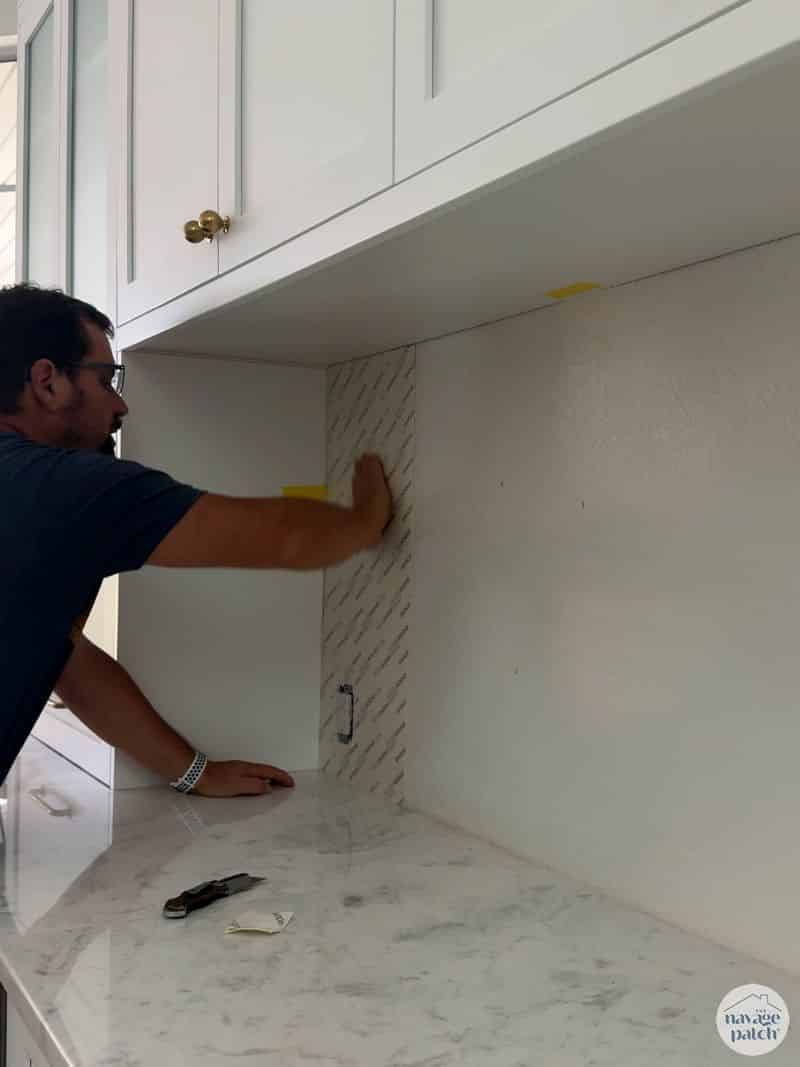
When the wall was covered, I unpeeled a section the size of a tile sheet.

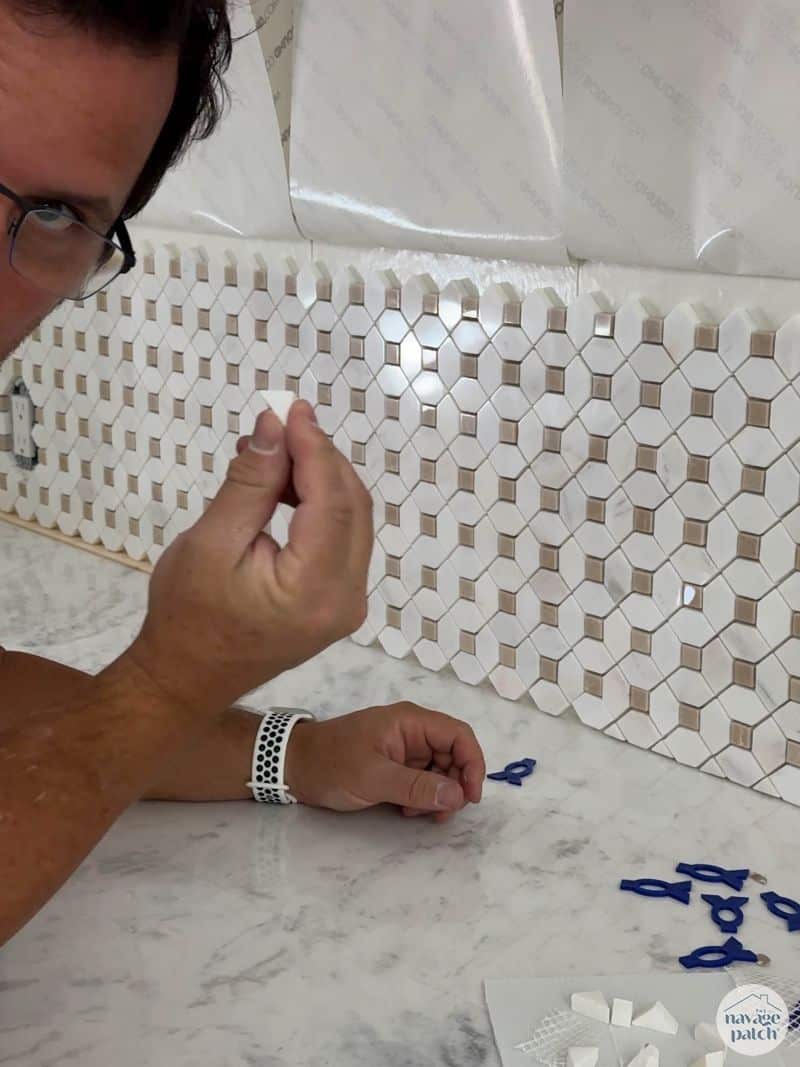
And then I pressed a tile sheet onto the MusselBound.
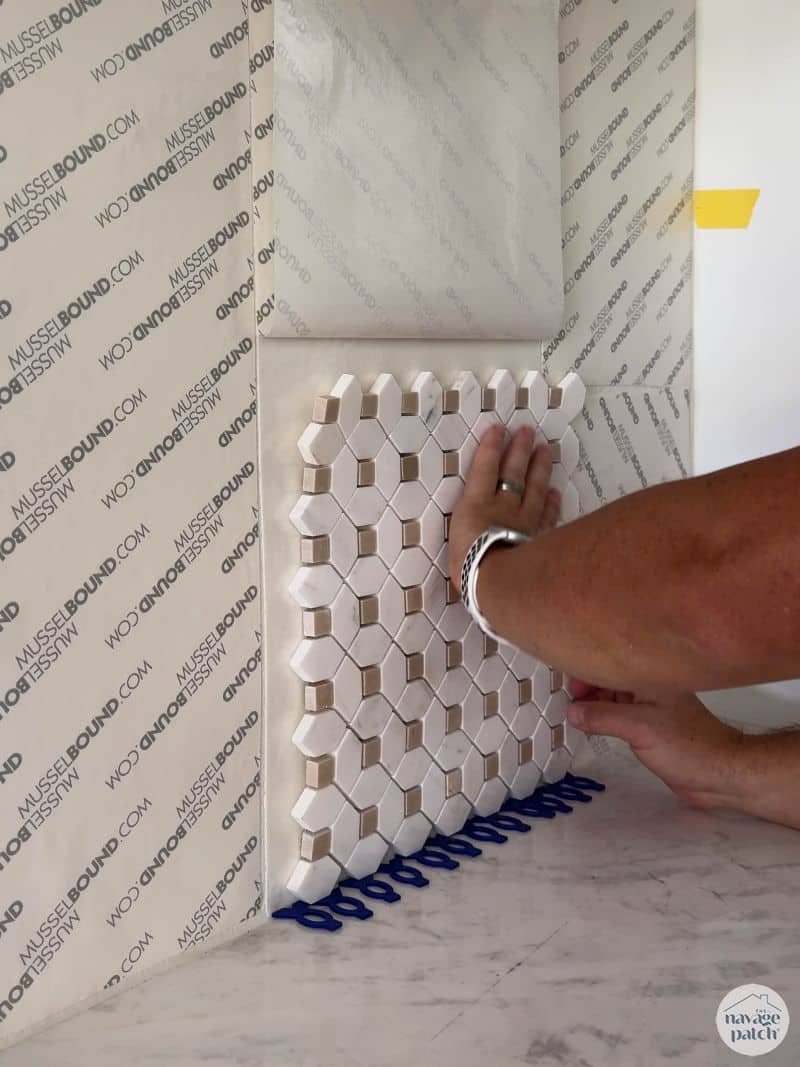
The tile mat is great – it really grabs and holds. But I’ll tell you my issue now instead of waiting until the end. I love the MusselBound, and I will use it again – but I won’t use it for small-tile sheets on a vertical surface. There are a lot of jiggly moving parts on a mosaic tile sheet, and you need to get all of them perfectly lined up before you stick it on the mat. It’s not impossible, it’s just harder than it would be for regular tile. Unfortunately, I chose the one application where thinset might have been easier. But that’s okay – let’s forge ahead, because it all worked out in the end!
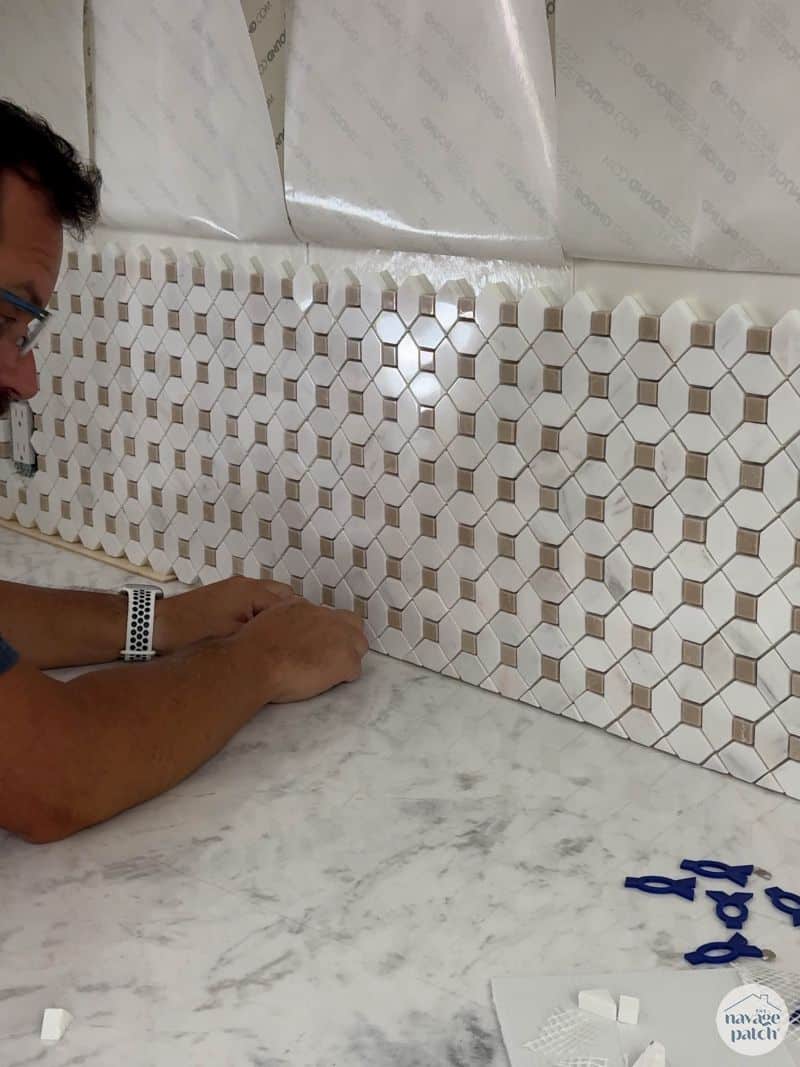
I carried on peeling, aligning and sticking.
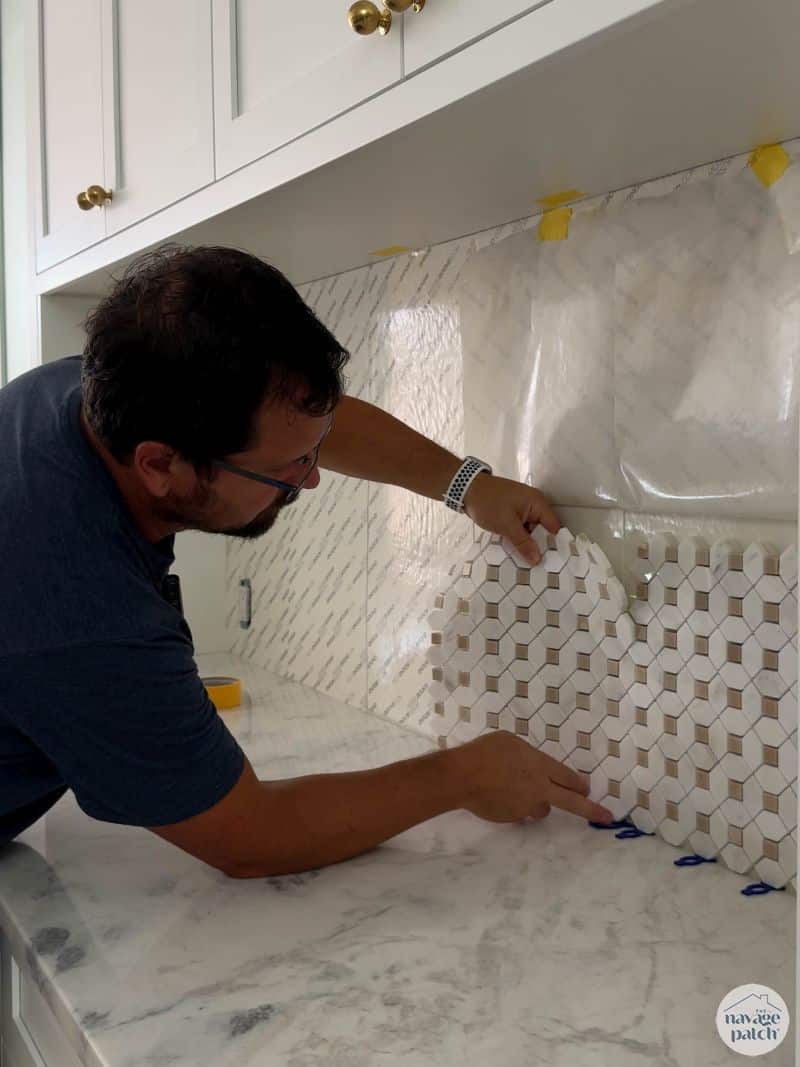
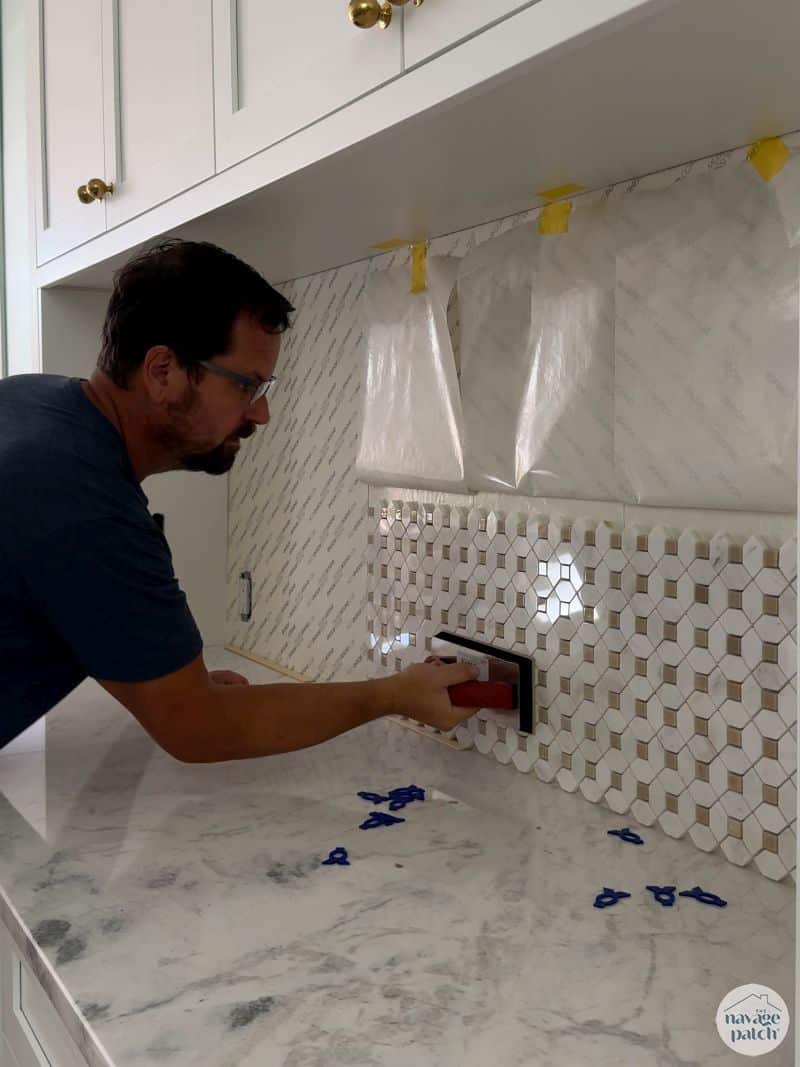
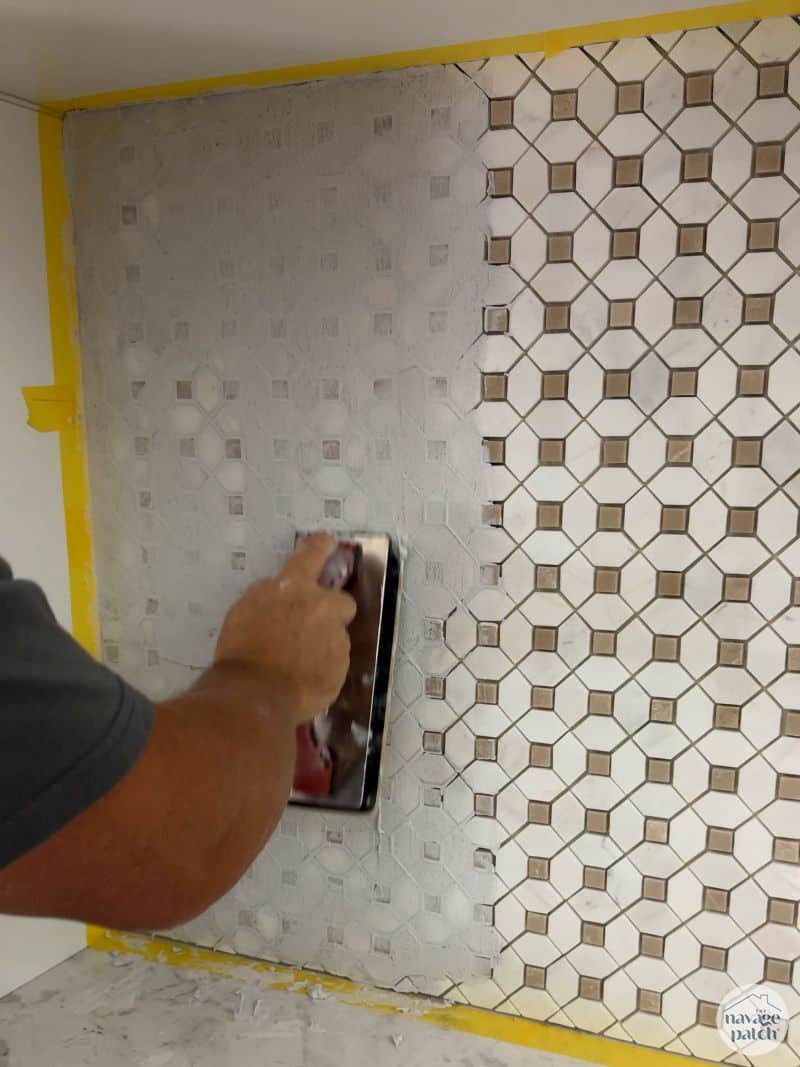
One great thing about this tile mat is that the bond isn’t permanent until you bang on the tiles, so they are repositionable. Once I had several sheets placed properly, I locked them in placed by tapping with a grout float.
I used my old tile saw to cut little triangles to fill in the bottom of the pattern.
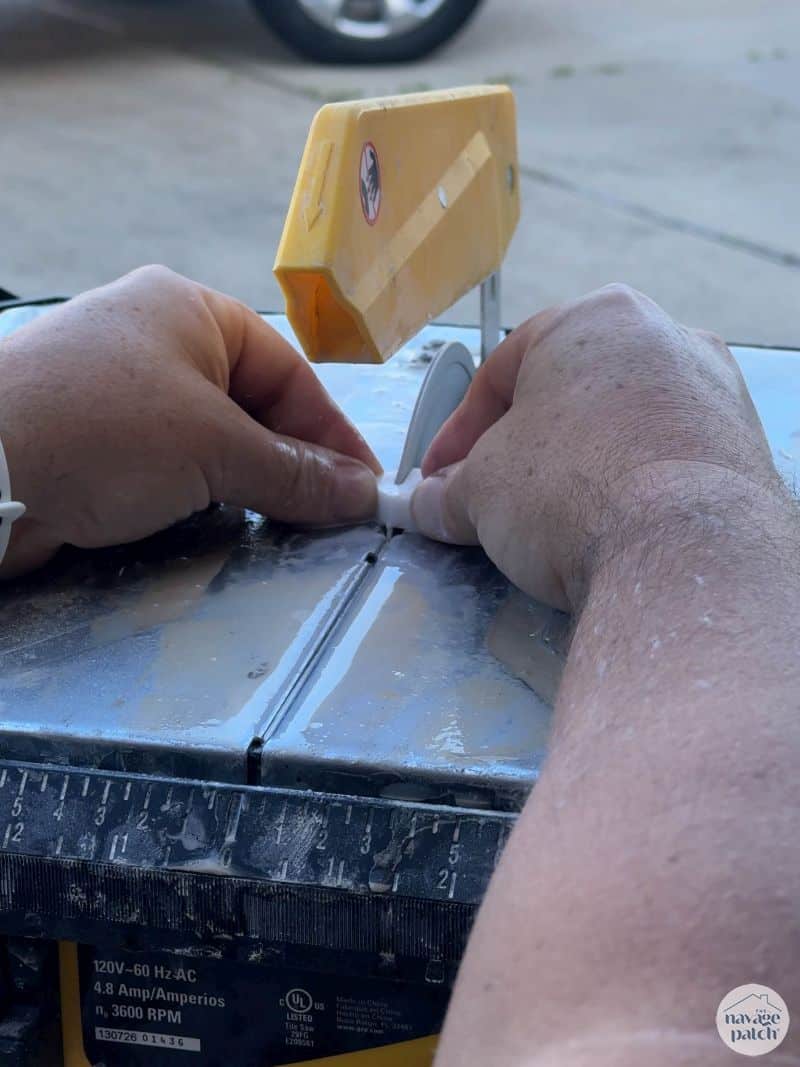
This is another are where MusselBound falls short of thinset. These little tile pieces would be held in place much better with traditional mortar. The Mussel doesn’t have a lot of surface area to grab, so the triangles are only lightly held. They did get locked in place with the grout later though.
Handan had to help me with a few sheets that I couldn’t line up on my own. Sometimes two hands just aren’t enough, especially when inconsistencies with the tile sheets make placing them something of an art form.
Eventually, I got the the whole nook tiled and ready for grout.

Another plus – since there’s no thinset that needs curing, there’s no waiting between tiling and grouting!
Yes, I also use that spoon to eat yogurt and soup. So what?
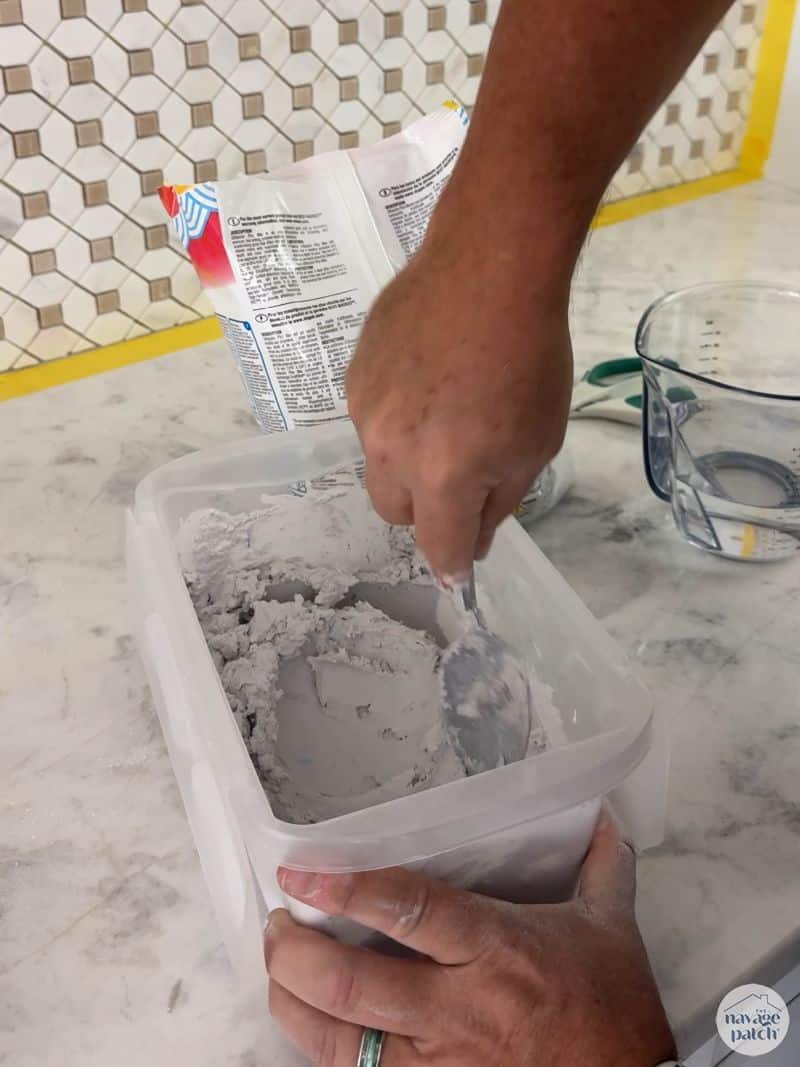
Grouting is immensely satisfying work. As good as tiling looks on its own, grout makes it look ten times better.
There’s always a little fear when grouting – did I choose the right color? Will this excess all come off?
It always works out in the end.

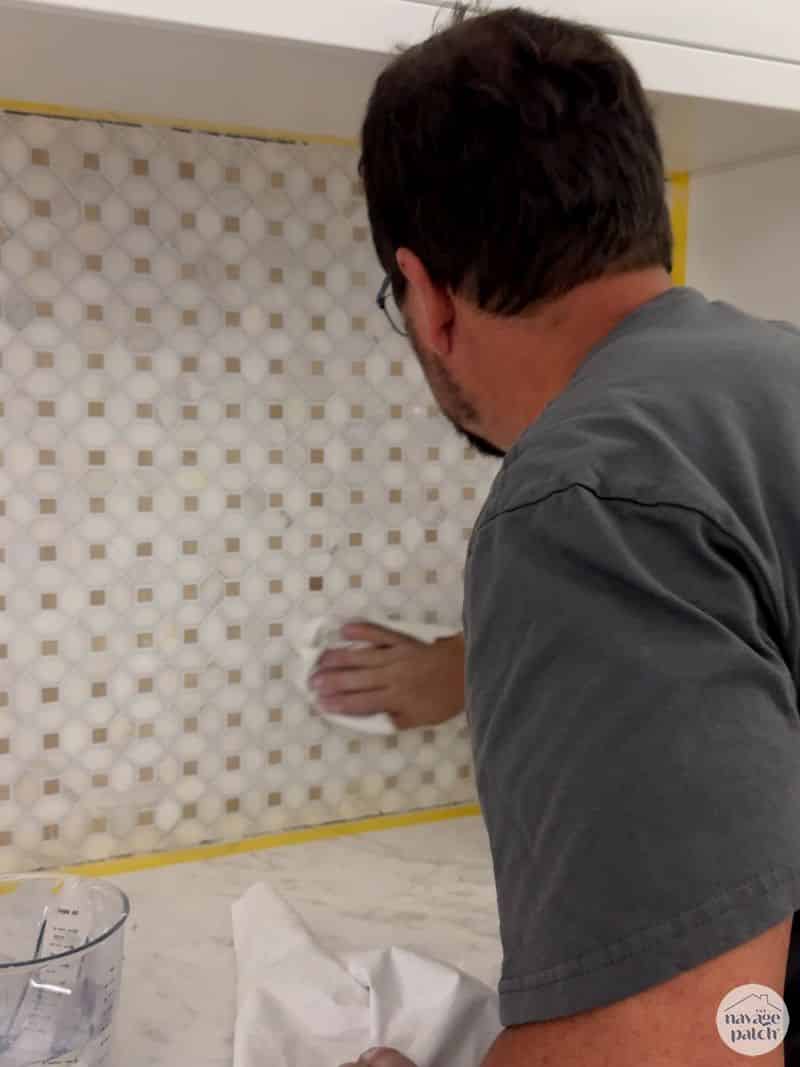
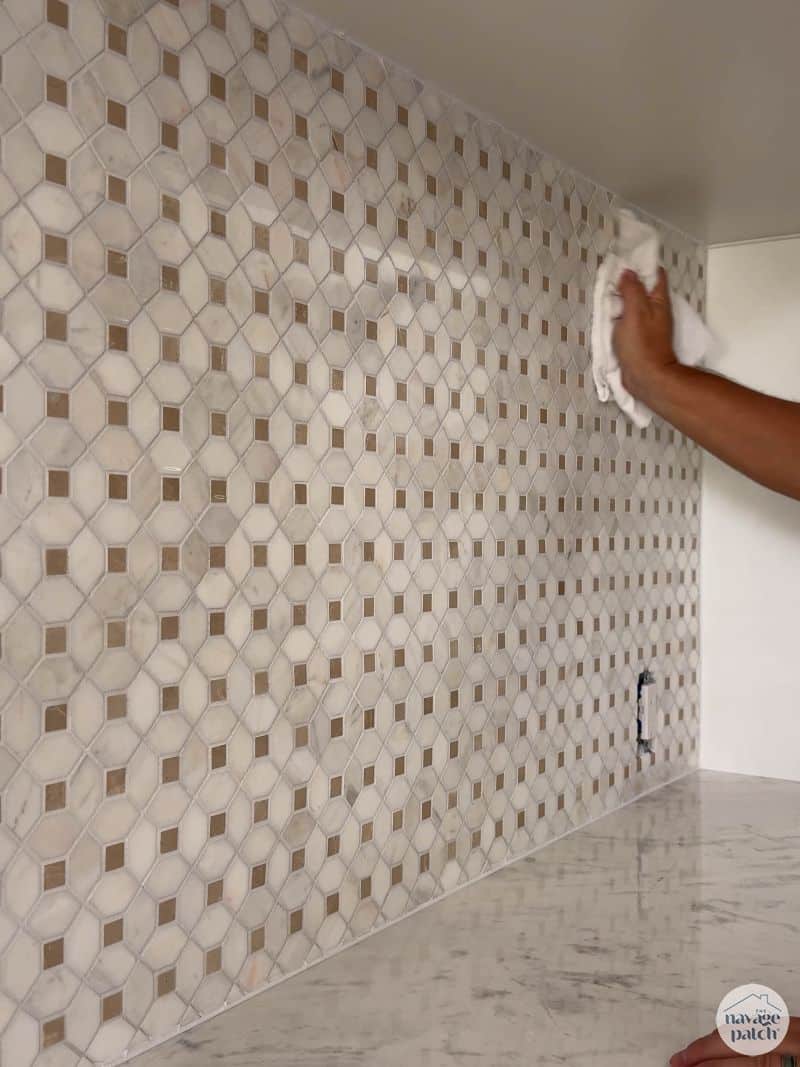
After sponging off most of the excess, I went back over each section and then the entire wall with this little miracle.
Okay, off topic for a second. In a world full of shrieking hens on social media who are “LITERALLY OBSESSED” with every product they shill day in and day out, cutting through the noise to showcase something truly astonishing is hard. Fortunately here on this blog, away from the yoga pants, Stanley mugs and “oh my god, you guys!” of Instagram, I can say in no uncertain terms that this wonder product deserves every bit of hype it may receive.
My sister – a wise woman not prone to fits of hyperbole – called us after reluctantly buying it based on our gushing recommendation. She wasn’t expecting much, but she figured we’re trustworthy, so what the heck. She was faced with the unenviable task of cleaning all the windows of a 3-story colonial (inside and out). We told her to try our wonder product. Figuring anything was worth a shot, she tried it. And then she called and said this little thing here literally changed her life. She cleaned every window (inside and out) with ease. Oh, plus she cleaned her car and the kitchen with it, you know, no big deal.
So anyway, yeah, I used it to remove the grout haze and shine the wall!
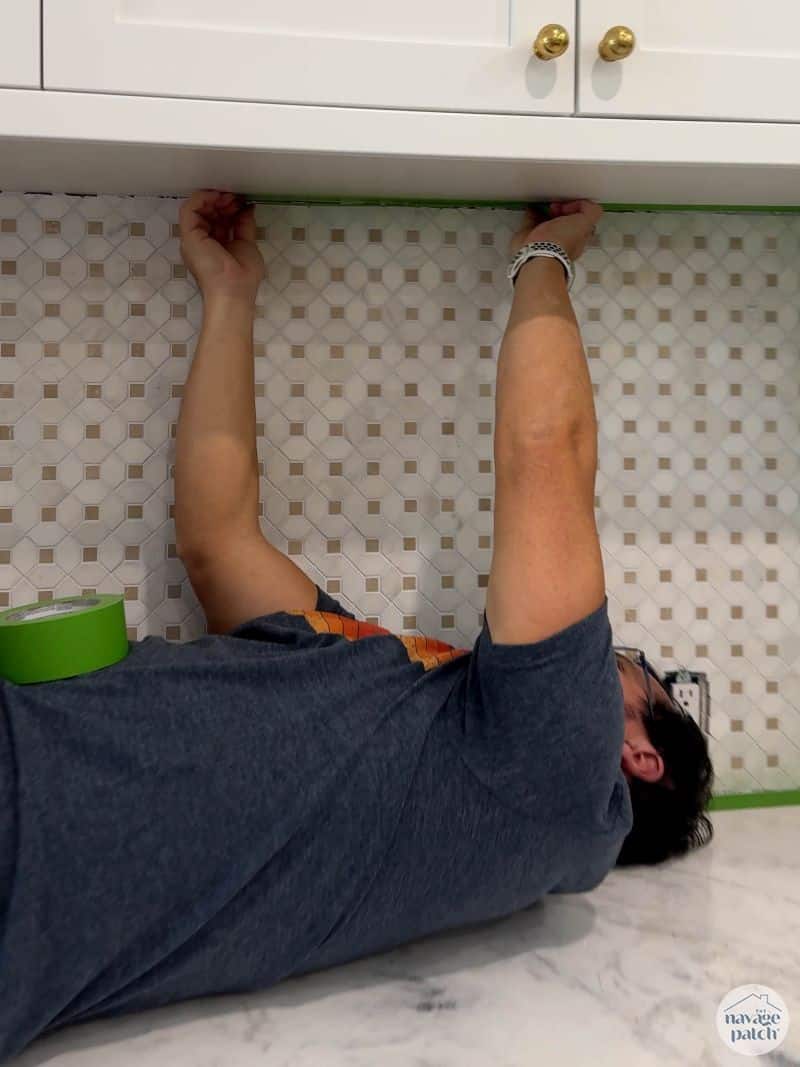
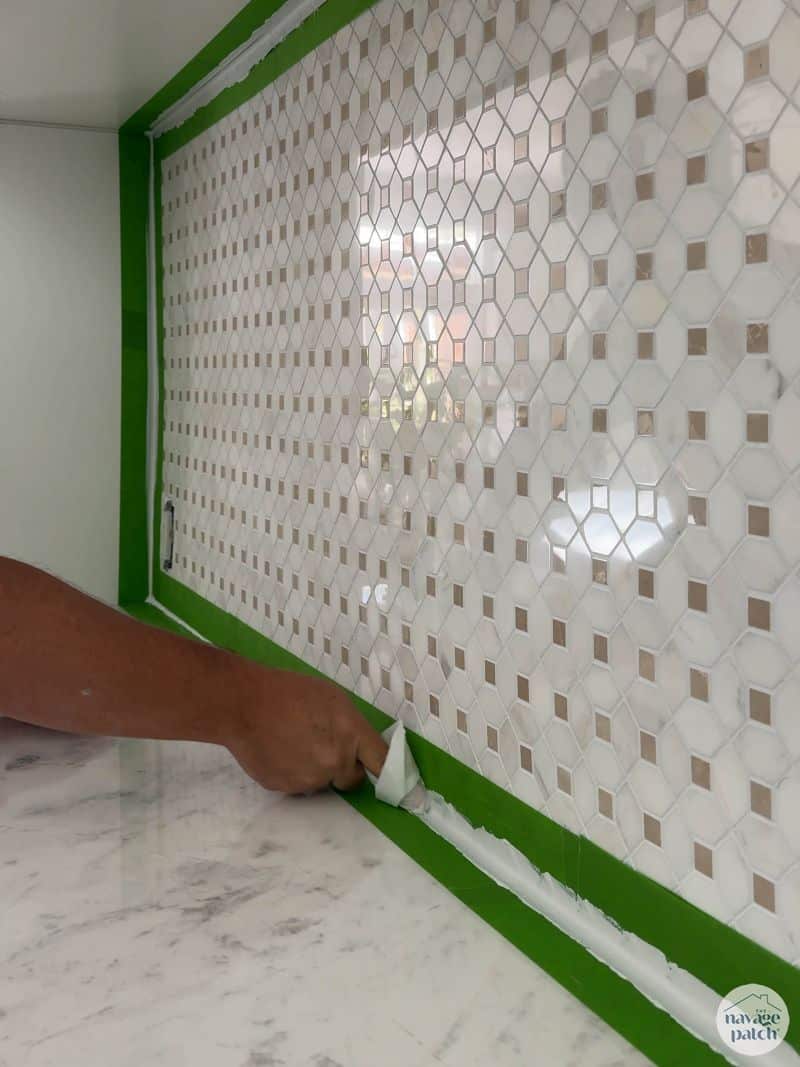
I left the grout to harden overnight, and then I taped off the edges for caulking.
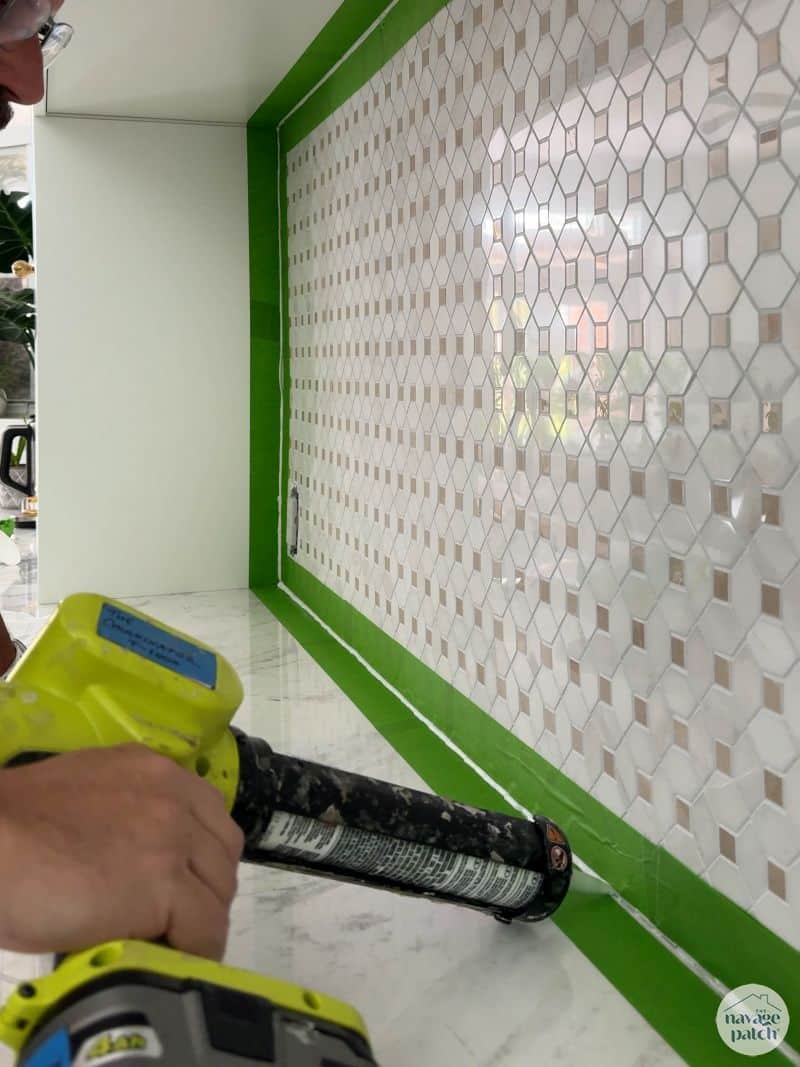

I used a wet wipe finger to smooth the line and remove the excess caulk.
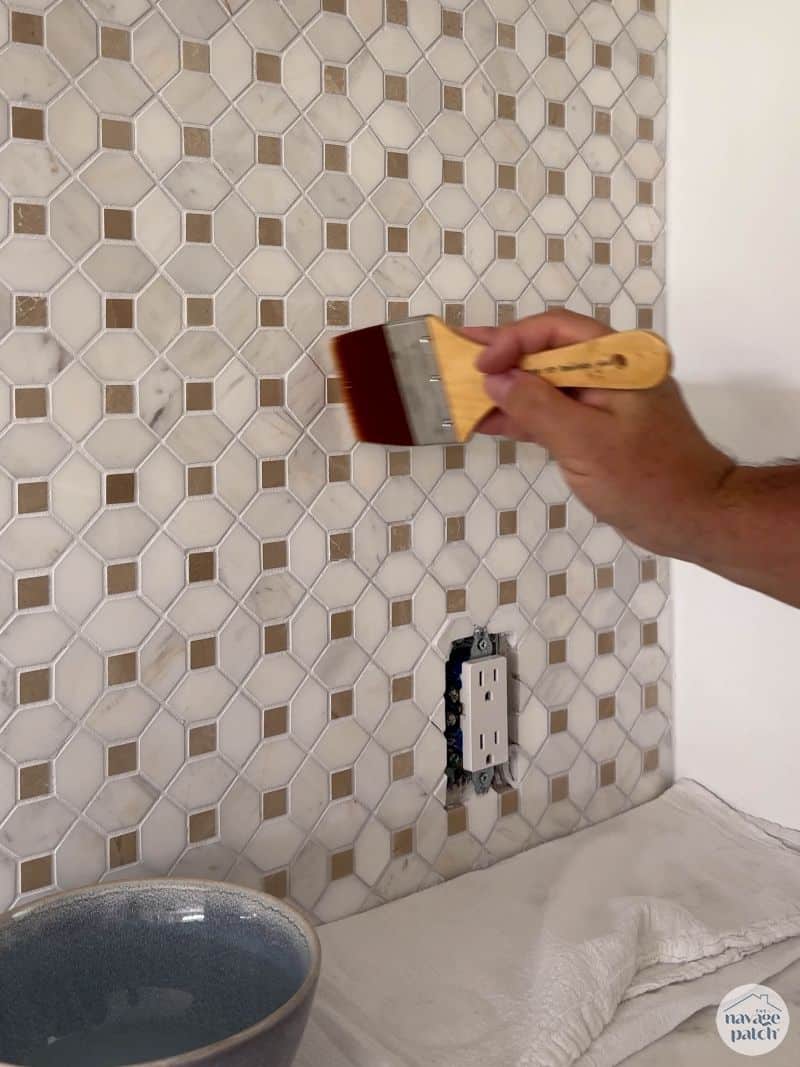
When the caulk had dried, I brushed on some grout sealant and wiped it off with the greatest invention of all time.
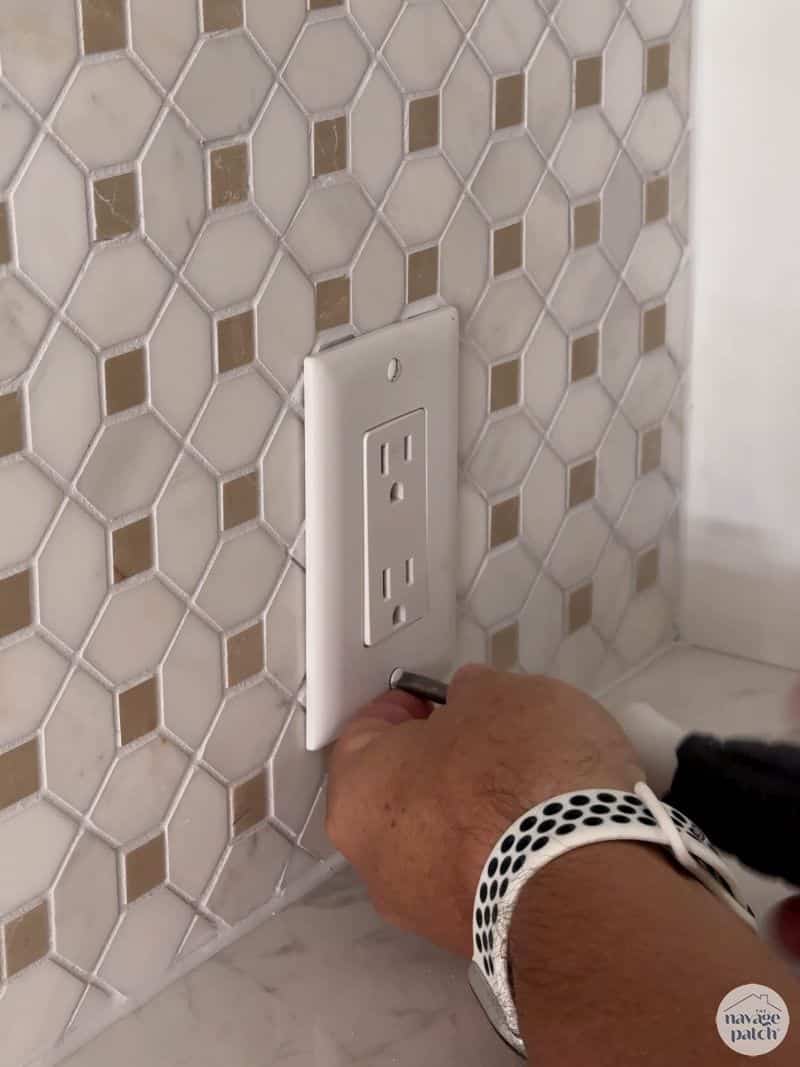
After replacing the cover plates, I headed outside to make a shelf.
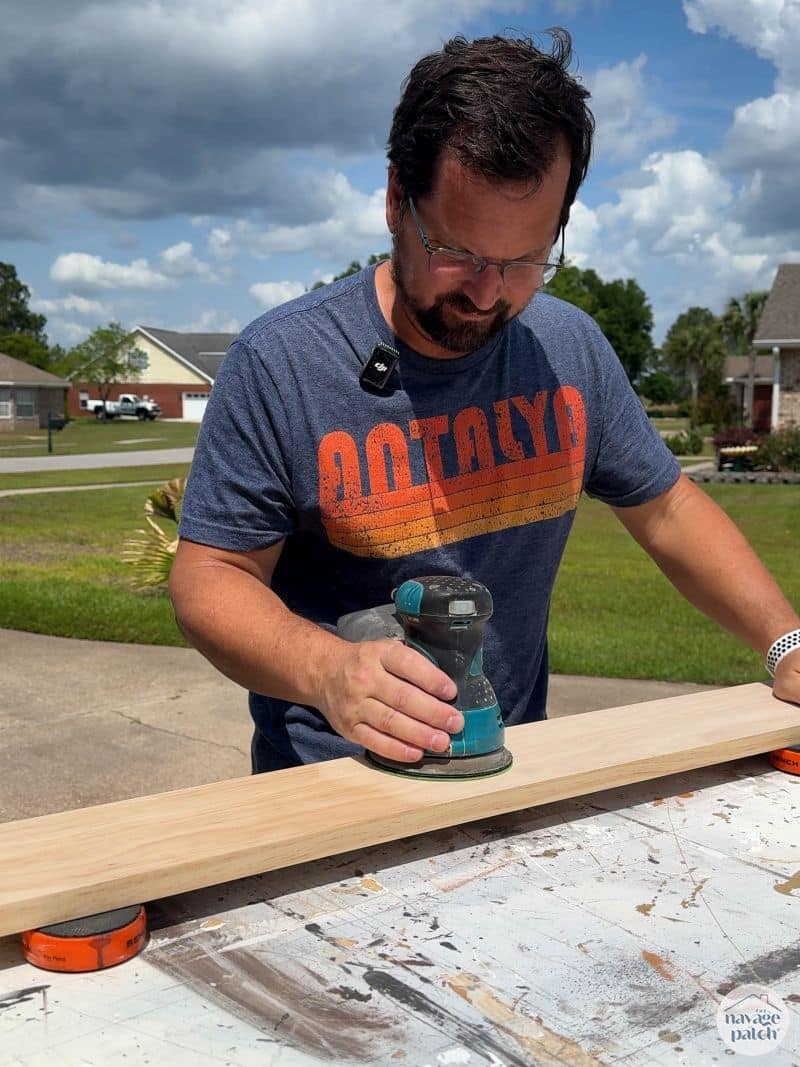
I cut and sanded a length of premium pine.
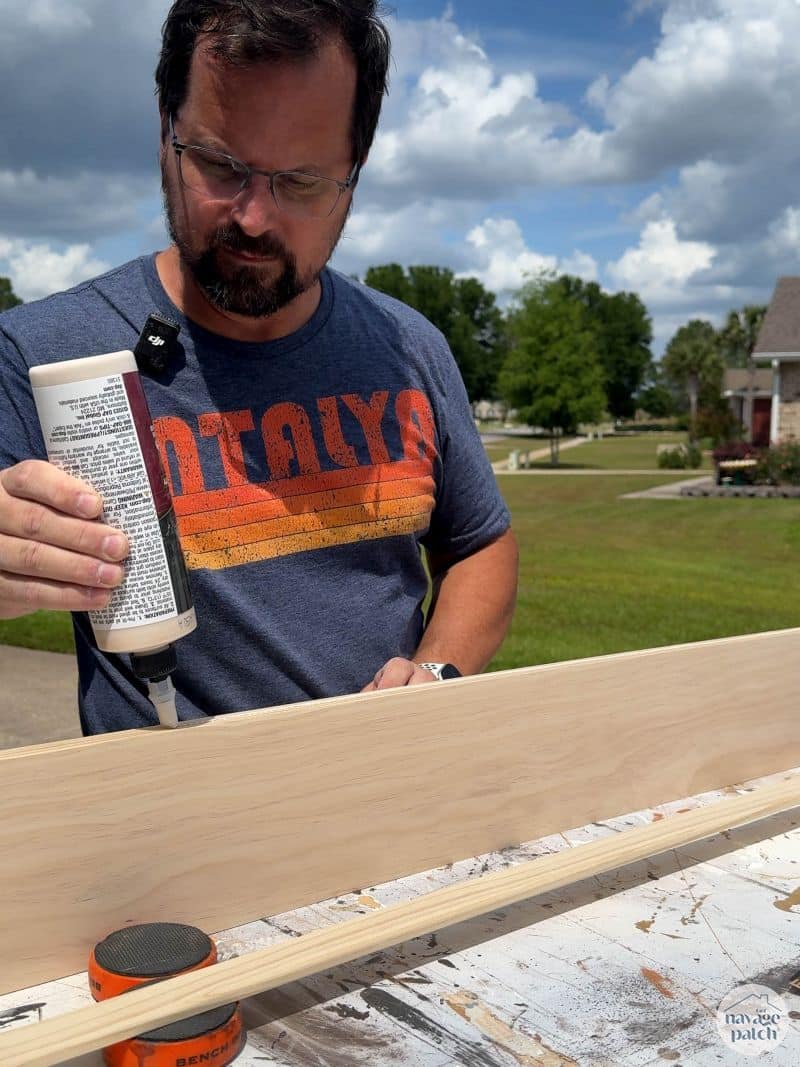
I added mitered trim around the front and sides to act as a rail.

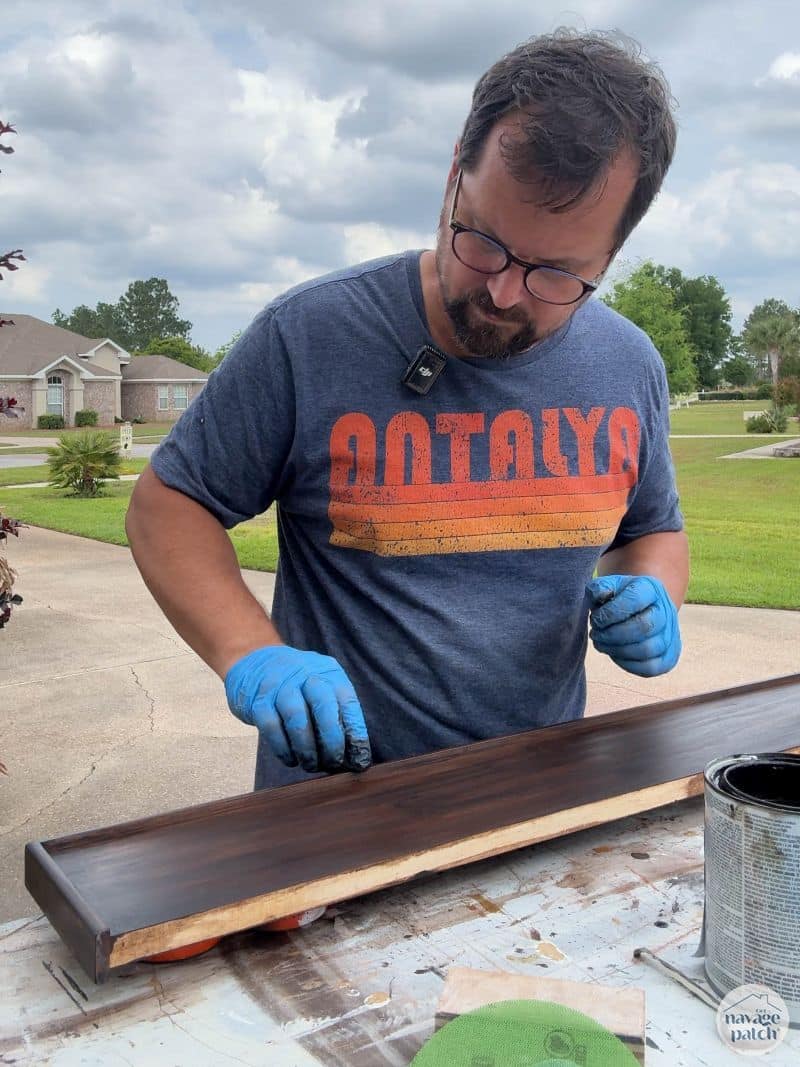
It took me two tries with the stain. The first was too light for The Boss, but the second try was spot on.

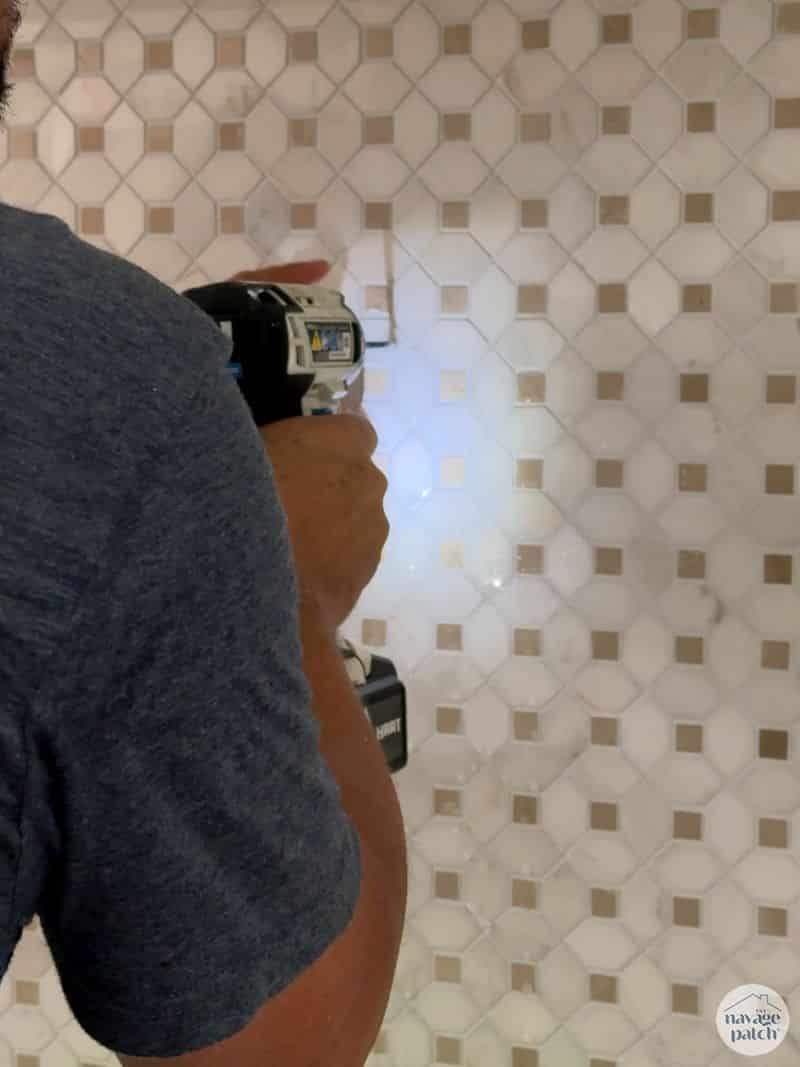
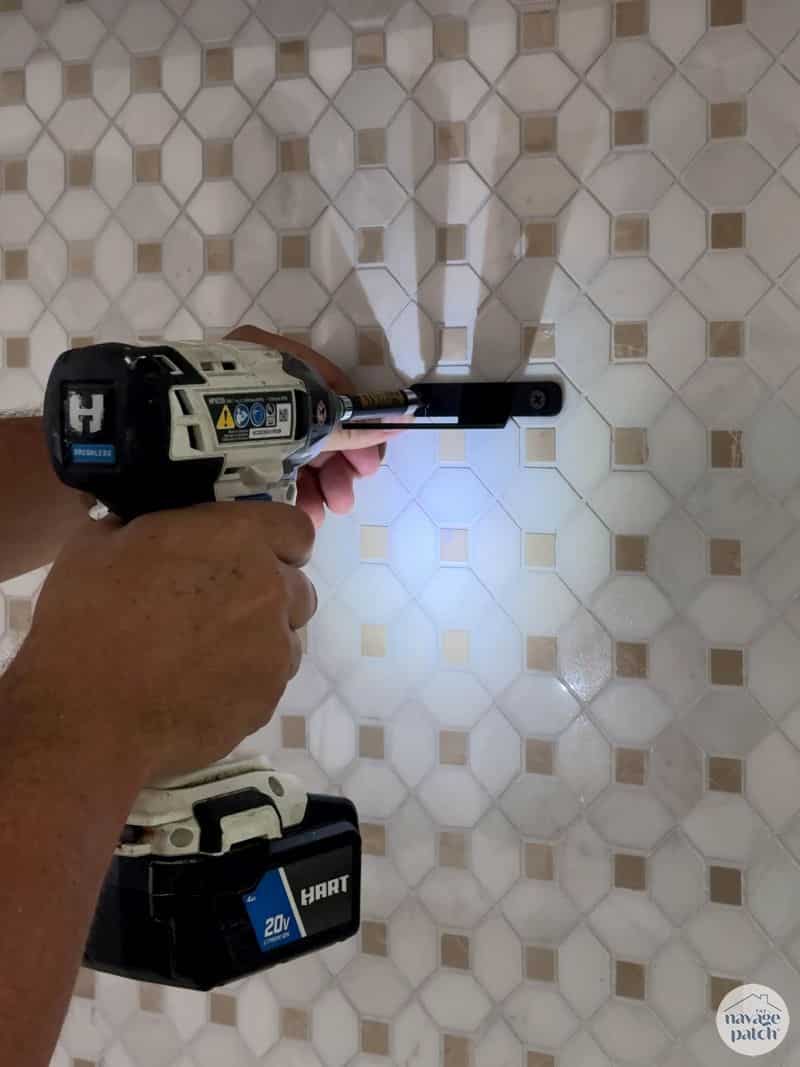
Back inside, I used a marble drill bit to punch through the tile so I could screw brackets into the studs I marked before tiling.
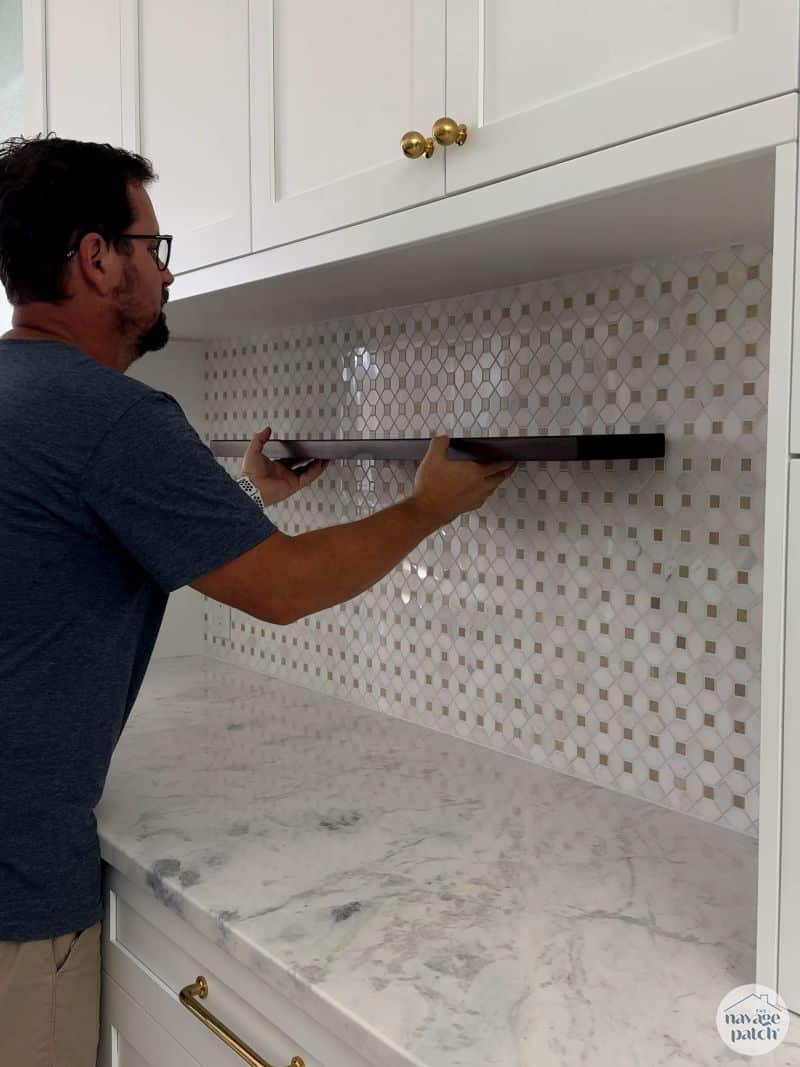
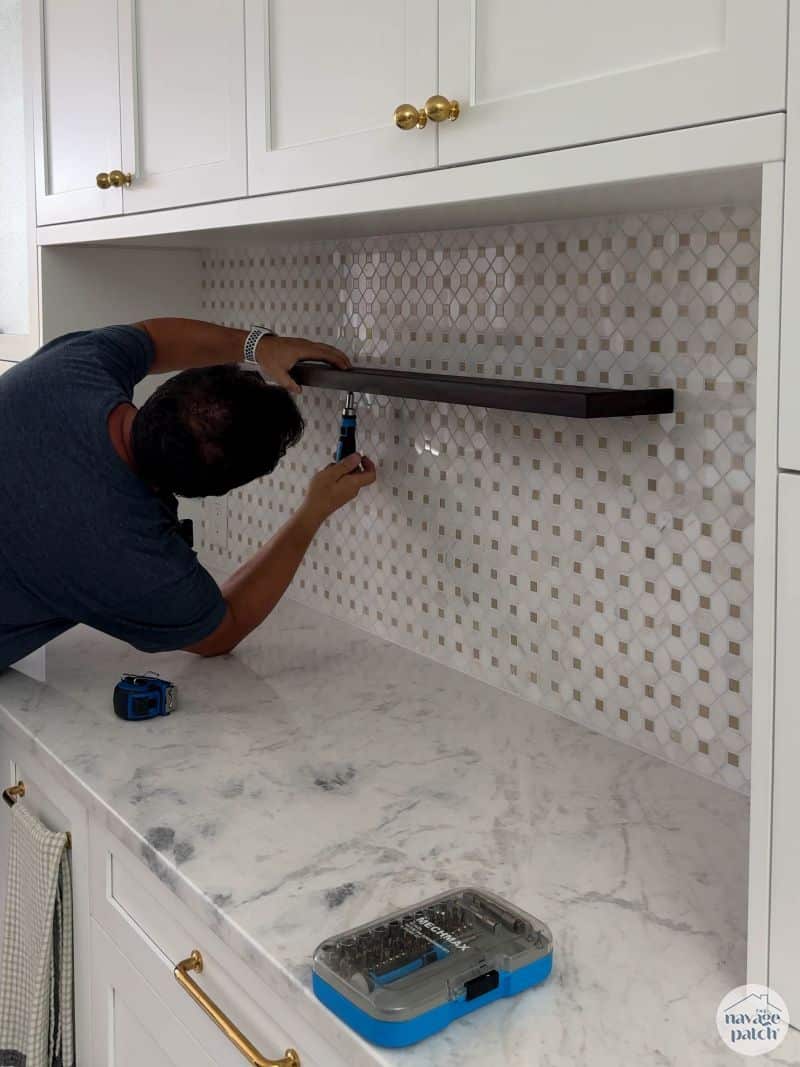
I placed the shelf on two brackets and secured it with screws, and my babes’ coffee nook was officially finished!
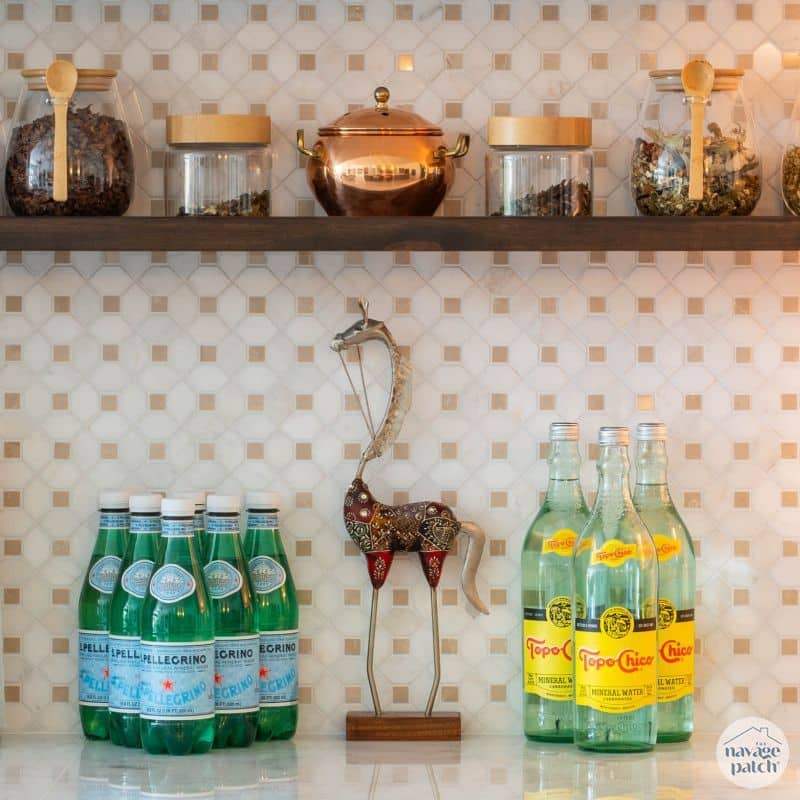
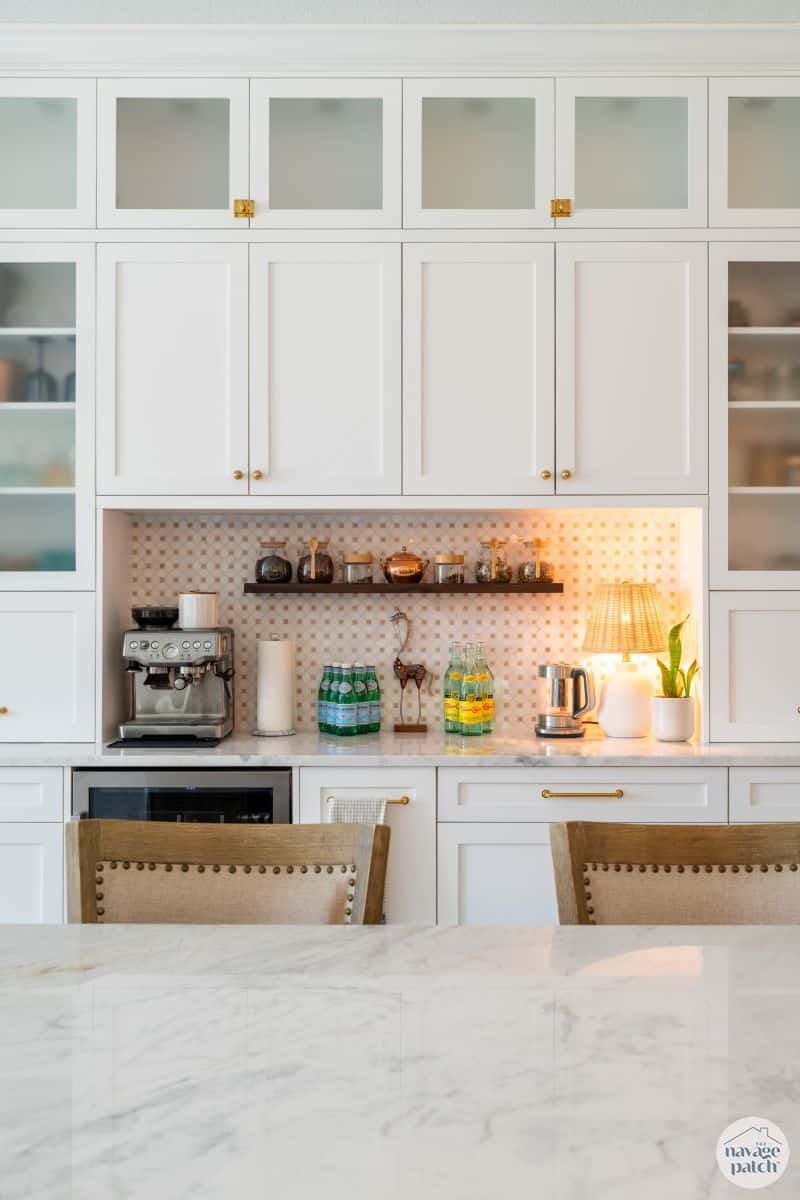
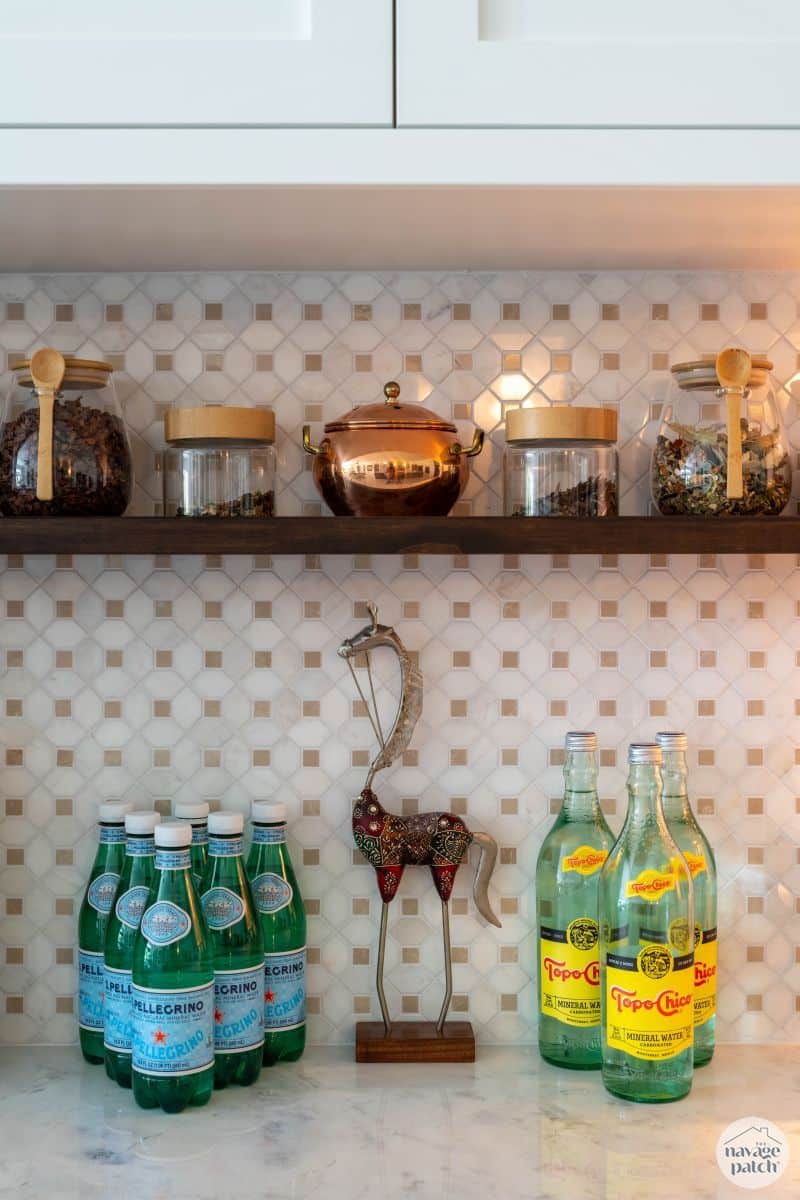
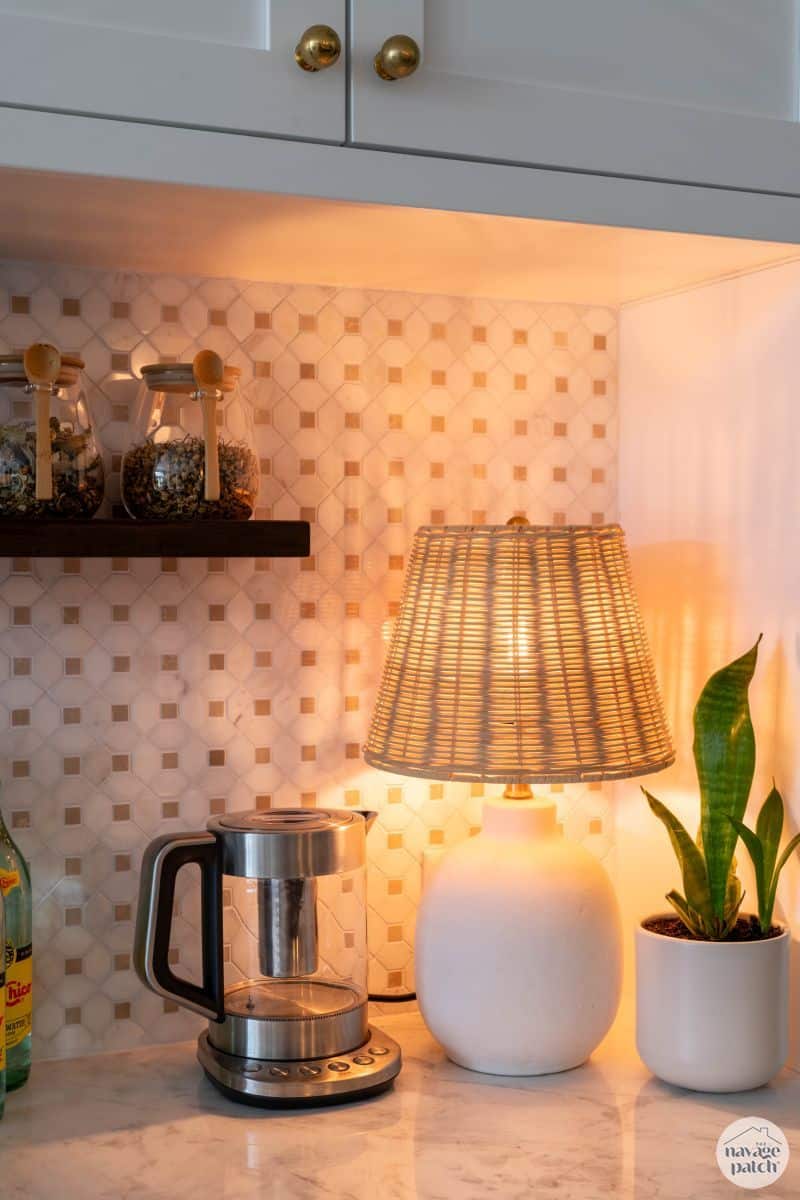
I re-stocked the nook, minus the paintings and plus some new items.


Please: What are the shelf brackets that you used? I think that they may be what I’ve been looking for to use on a current project! Thank you in advance.
I added them to the supplies list in the post!
P.S. The nook is gorgeous! 😍
Thanks, Cynthia! 🙂
Great job. I bet Handan is enjoying have her morning cup there.
She loves it Jennifer!
I turned out great! Can you also provide a link for those shelf brackets please? Looking for something low profile and that might be it! Thanks!
Thanks, Danielle! I added those brackets to the supplies list!
Swoon……..
Thanks, Karen!
Beautiful job! I’ve seen that product for applying tile before but was scared to try it maybe I’ll give it a try now. I love reading your blogs bc they’re so informative but also down to earth. I will admit that I clicked on EVERY link for the white green cloth- it just made me laugh each time. Keep up the wonderful creative work!
Thank you Angie! Just don’t try the MusselBound with a complex mosaic sheet. Other than that, you’ll love it! As for the cloth…it’ll change your life!
It is so beautiful. I am sitting here thinking about craft projects to use up the extra adhesive tile mat. I laughed at the second link for the miracle cloth. I ordered it on the third.
You’re going to love it, Lyn! And yes, there’s a ton of stuff you can do with the MusselBound!