DIY Patio Privacy Screen
This DIY Patio Privacy Screen uses Toja Grid brackets, cedar boards and reed screen to create a show-stopping bold look for our new patio!
Okay look, we don’t need more privacy. We live in a rural area, and we’re backed up to the tail end of a golf course driving range, so it’s not like we’re trying to fend off wayward eyeballs. Hell, we don’t even get wayward golf balls where we’re situated, so additional privacy is of no concern.
Oh, we have neighbors, sure. But we hit the jackpot on both sides. They’re all delightful people, and they’re welcome to wander over any time to see us.
And they do!
We’re the wacky newcomers who are constantly working on something in the yard or in the driveway, so there’s always something new for them to check out.
So although I’m calling this a “privacy screen,” for us, it’s purely for aesthetics. I wouldn’t dream of cutting ourselves off from our neighbors. They’re my social life in the neighborhood!
The idea for this screen, fence or whatever you want to call it was born while my babes was designing our new patio.
We knew we wanted a huge pergola, and we were lucky enough to partner with Toja Grid to achieve that goal.
If you’re not familiar with them, Toja Grid makes a system of brackets and associated hardware for DIY pergolas. They provide the brackets, you provide the wood. They come sized for 4×4 posts and 6×6 timbers.
We built ourselves a gorgeous pergola from 6×6 cypress timbers, and that will be the subject of several upcoming blog posts.
We also built a gazebo, and that will be the subject of my next non-ORC post.
But before I show you the pergola and gazebo, I’m going to share with you how I made a beautiful privacy screen for both ends of our patio using pressure-treated 4×4 posts, 2×6 cedar boards, reed screen and Toja Grid brackets.
DIY Patio Privacy Screen SUPPLIES LIST
Affiliate links are provided below. Full disclosure here.
- 4×4 posts
- 2×6 cedar
- Toja Grid KNECT 2×6 privacy screen brackets
- Natural reed screen 4′ H
- Quikrete
- Asphalt Emulsion
- HART 40 Volt Auger
- HART drill and driver set
- Dado blade set
- Solar flickering flame post caps
- Solar remote controlled string lights
- Sherwin Williams Exterior Primer
- Sherwin Williams Tricorn Black
DIY Patio Privacy Screen VIDEO Tutorial
Watch our short and fun video below for an overview of our DIY patio privacy screen before you read the detailed step-by-step tutorial.
Watch Our Tutorial On YouTube
On Tiktok
We love to see our DIY projects out in the wild! If you try this DIY project and take a picture and post it on Instagram, be sure to tag us – thenavagepatch
Now that you’ve seen the video, let’s get on with a more detailed tutorial.
DIY Patio Privacy Screen Tutorial
Step 1 – Install fence posts
You can’t make a fence without digging a hole, or in this case, several. But as I’ve discovered, there’s an easier way than the old-fashioned shovel-heave-and-grunt method I’ve been using since I torpedoed out of the womb some 50 years ago. More on this in a bit.
I used pressure-treated 4x4s for my fence posts. They’re way cheaper than cedar, and since I’d be painting them, why pay extra?
How to protect against water, insects and rot
Now, as many of you know, I’ve been spending time in the realm of social media lately. In that world, it’s all about video and voiceovers. Hey, it’s the place my writing comes to life! And I have to say one thing about TikTok (actually, there are a lot of things I could say about TikTok – pretty much all of them good) – the people on there are engaged. They comment prolifically and pull no punches when doing so. And some of them know what the heck they’re talking about!
So as much as I post my projects and try to project my knowledge and authority on the subject of DIY, our wide audience on TikTok ensures that there will always be someone (or several someones) who know much more than I do about any given topic.
I recently shared an HVAC privacy fence that went viral on TikTok with over 10 million views. And in the comments, I heard a TON about all the things I did wrong when planting the fence posts in the ground.
So for this project, I distilled the knowledge I learned from the experts and have tailored my approach to fence posts to accommodate the new information.
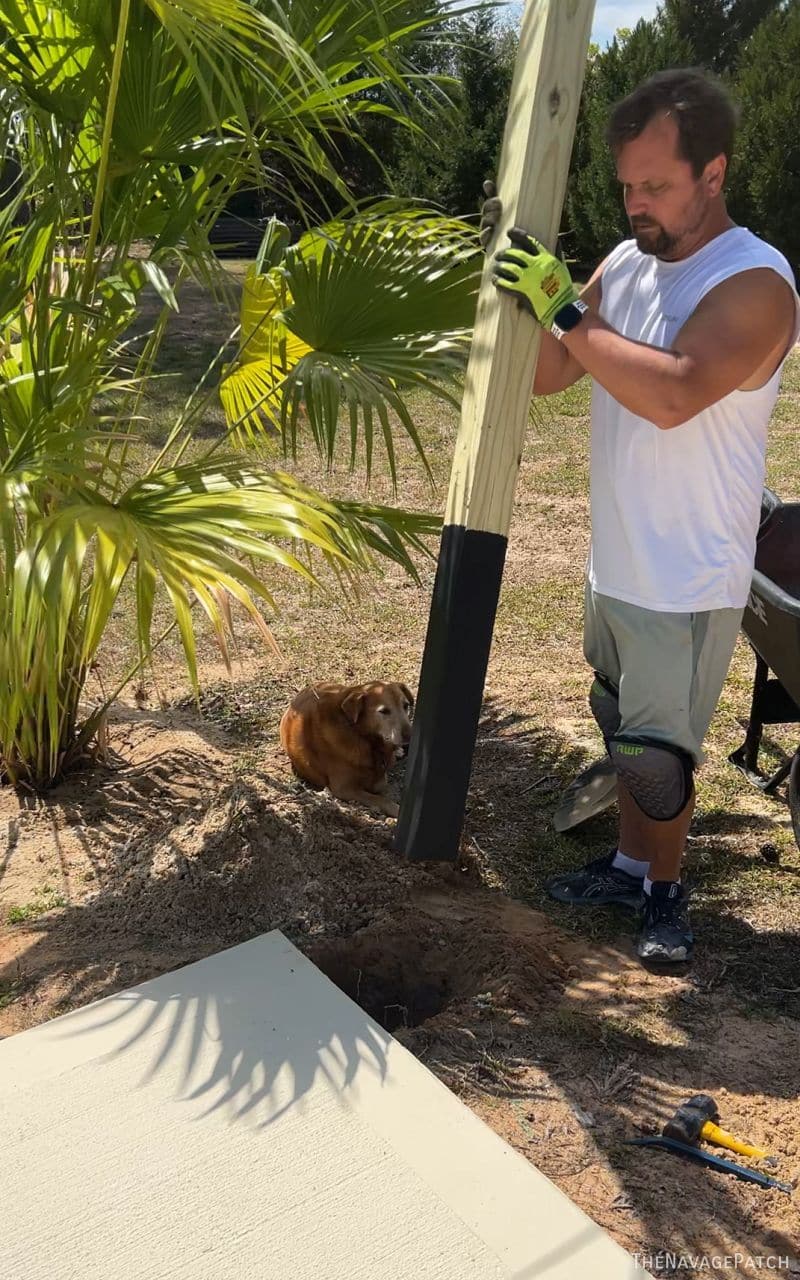
At the heart of the matter is subject of posts rotting in concrete. After discarding some information and digging deeper into other ideas, I now have a method that I feel works well for the type of soil we have here in Florida, and it starts with an asphalt emulsion.
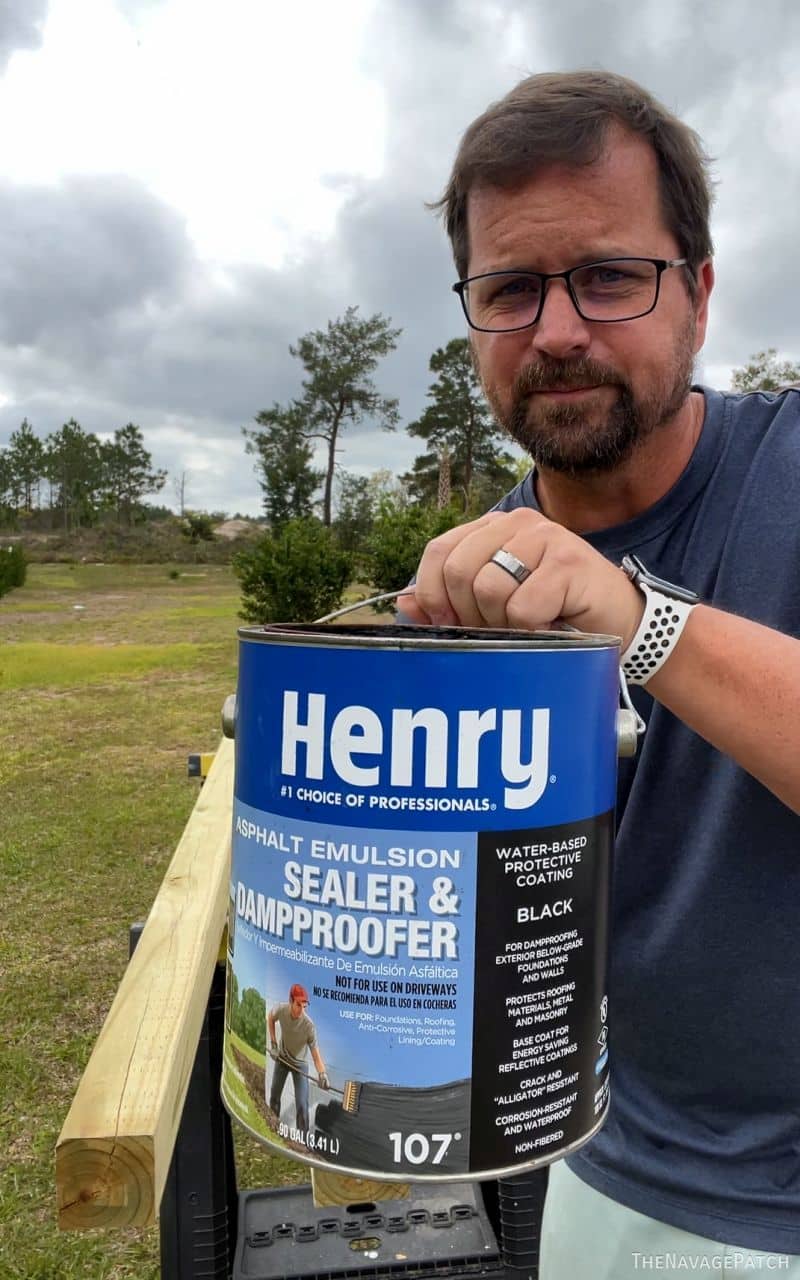
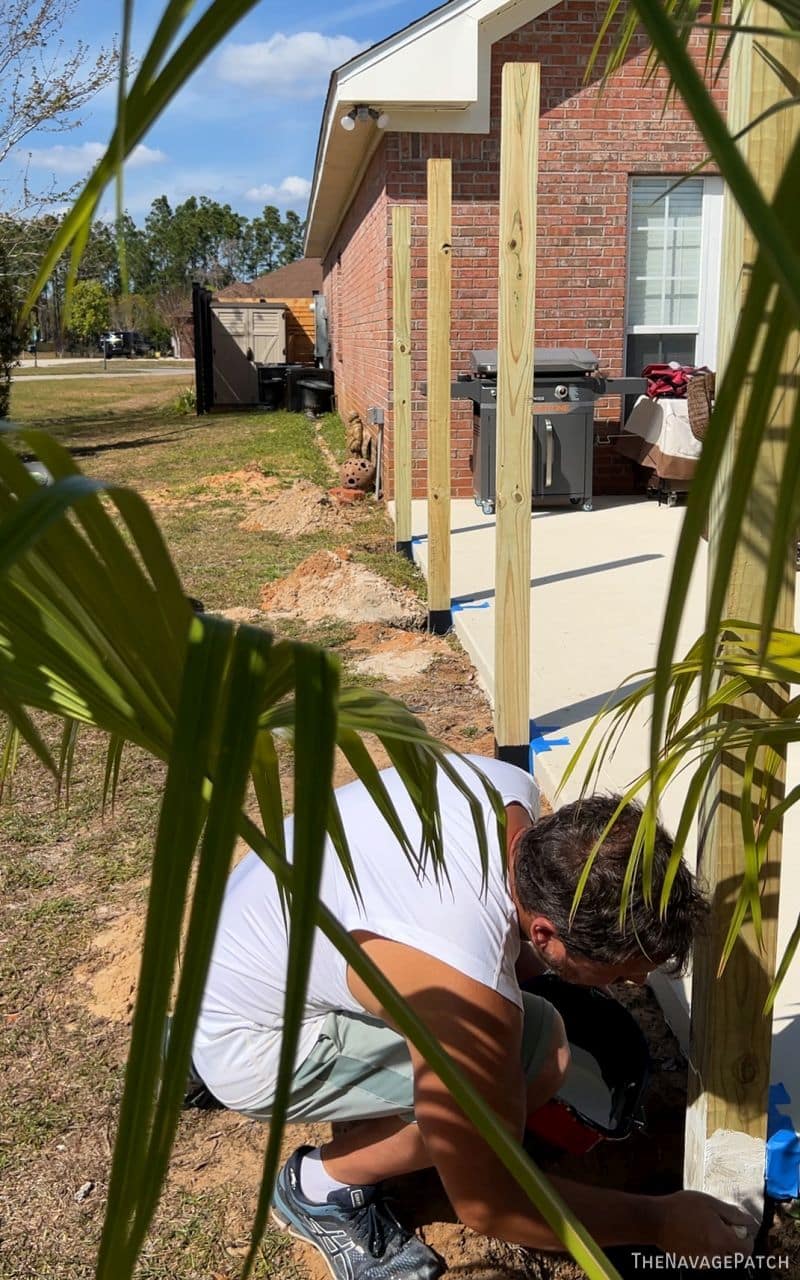
For an 8-foot 4×4, I plant the post 2 feet into the ground, so I first measured up 24 inches and then brushed on the asphalt. This is the best way I’ve found to damp-proof my posts.

I do this step before digging holes. By the time the holes are ready, the emulsion will have dried.
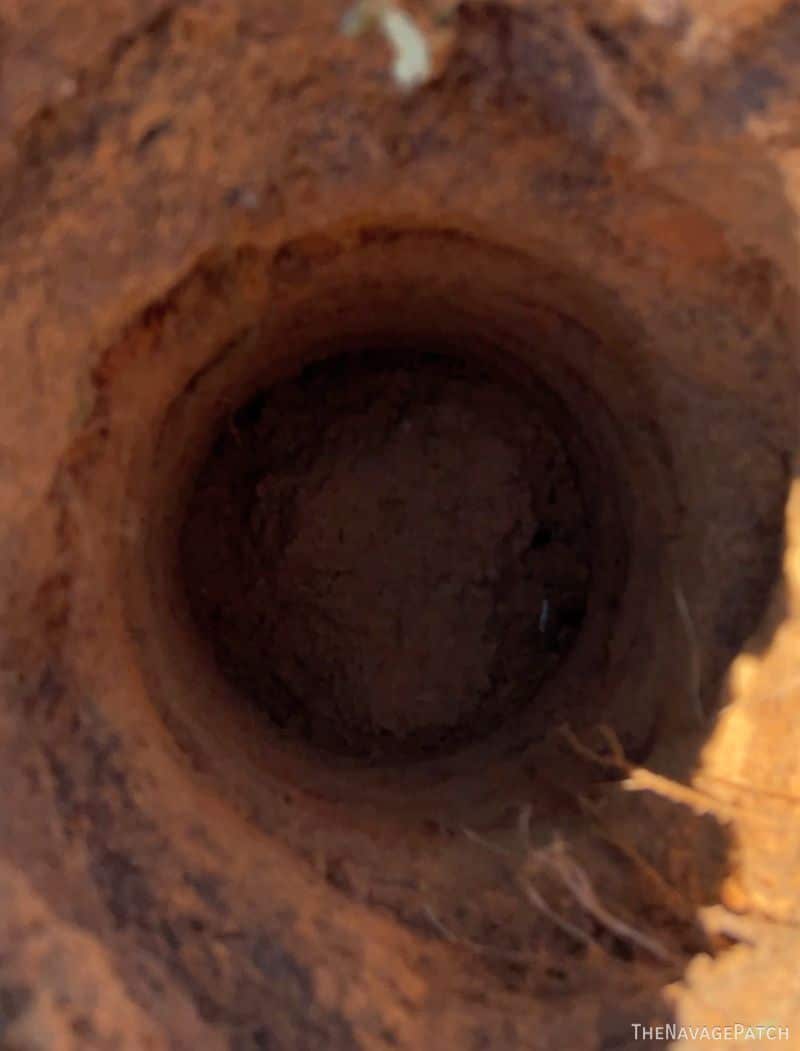
The best way to dig a fence post hole
If you’re like me, you’ve been shoveling holes like a chump.
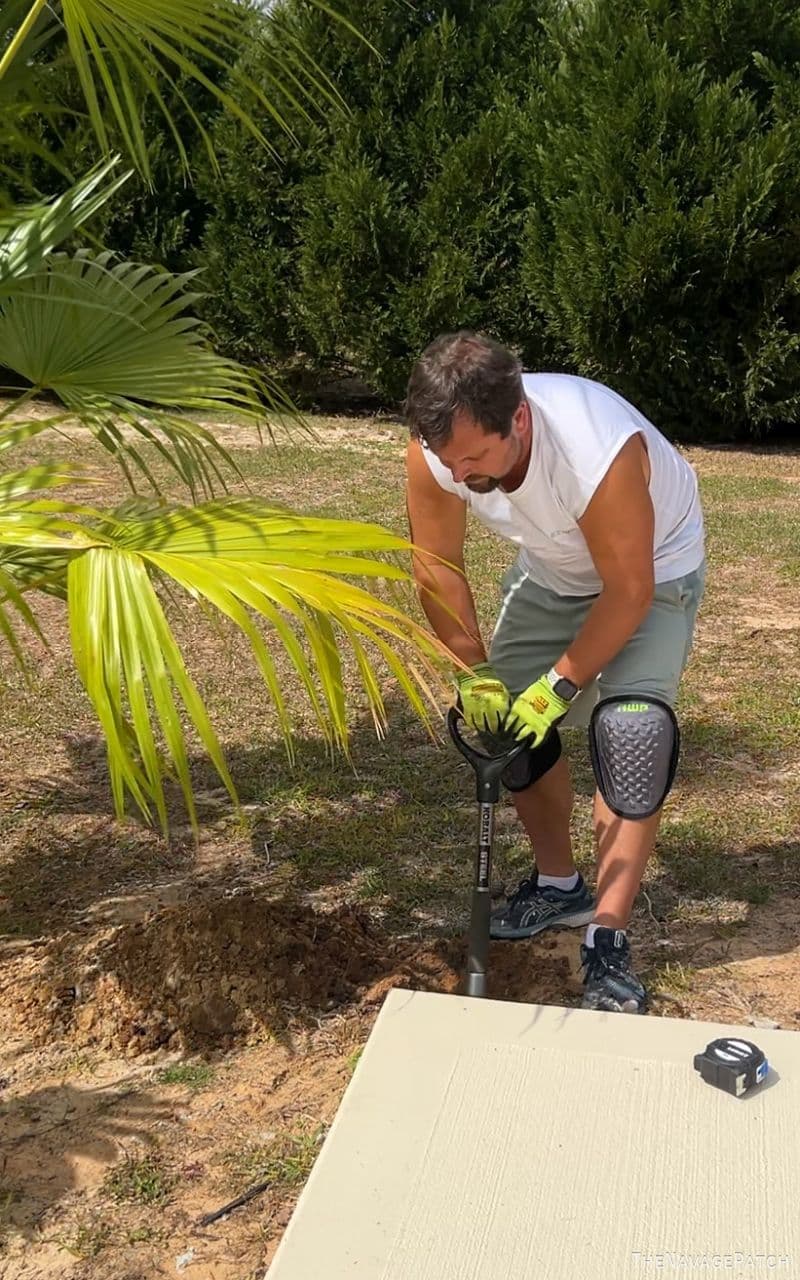
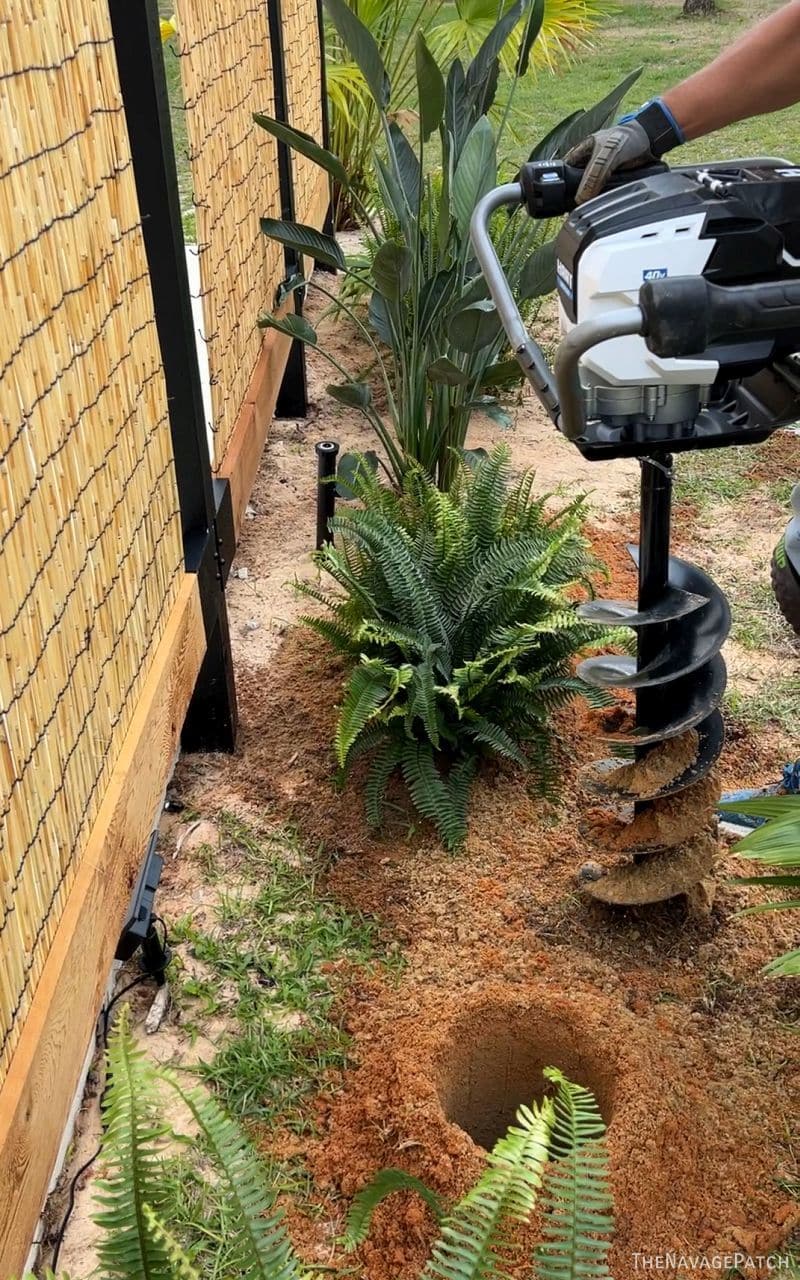
Well, we’re both dopes. Leave the shoveling to pirates and grave robbers, because when it comes to fence post holes (and small-to-medium-caliber garden planting) there’s a much easier way! May I introduce my HART 40V Auger – a cordless beast that will dig a fence post hole faster than you can say “what the hell is that thing?”
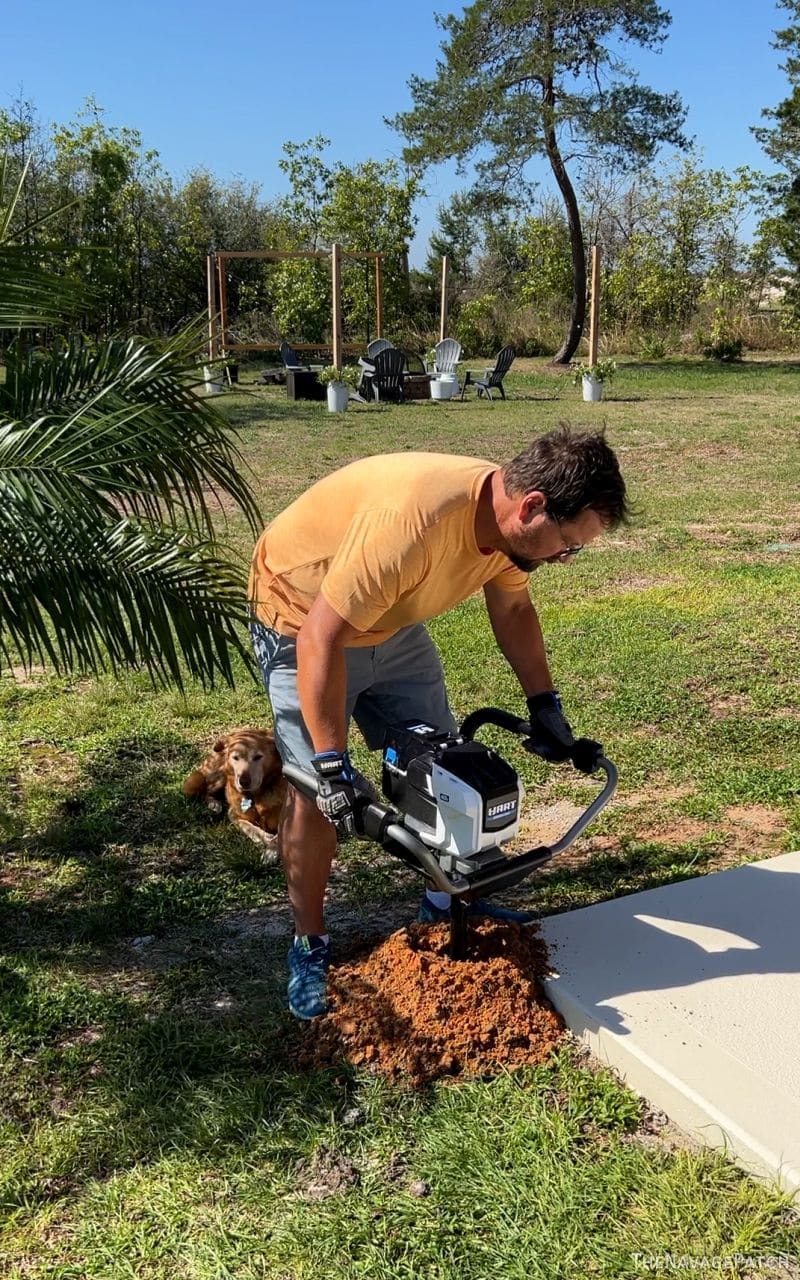
As someone on TikTok dryly noted: “Wow, you’ve discovered the auger. Congratulations.”
Well, what can I say? I may be slow, but now that I have it, I intend to make Swiss cheese of my yard!
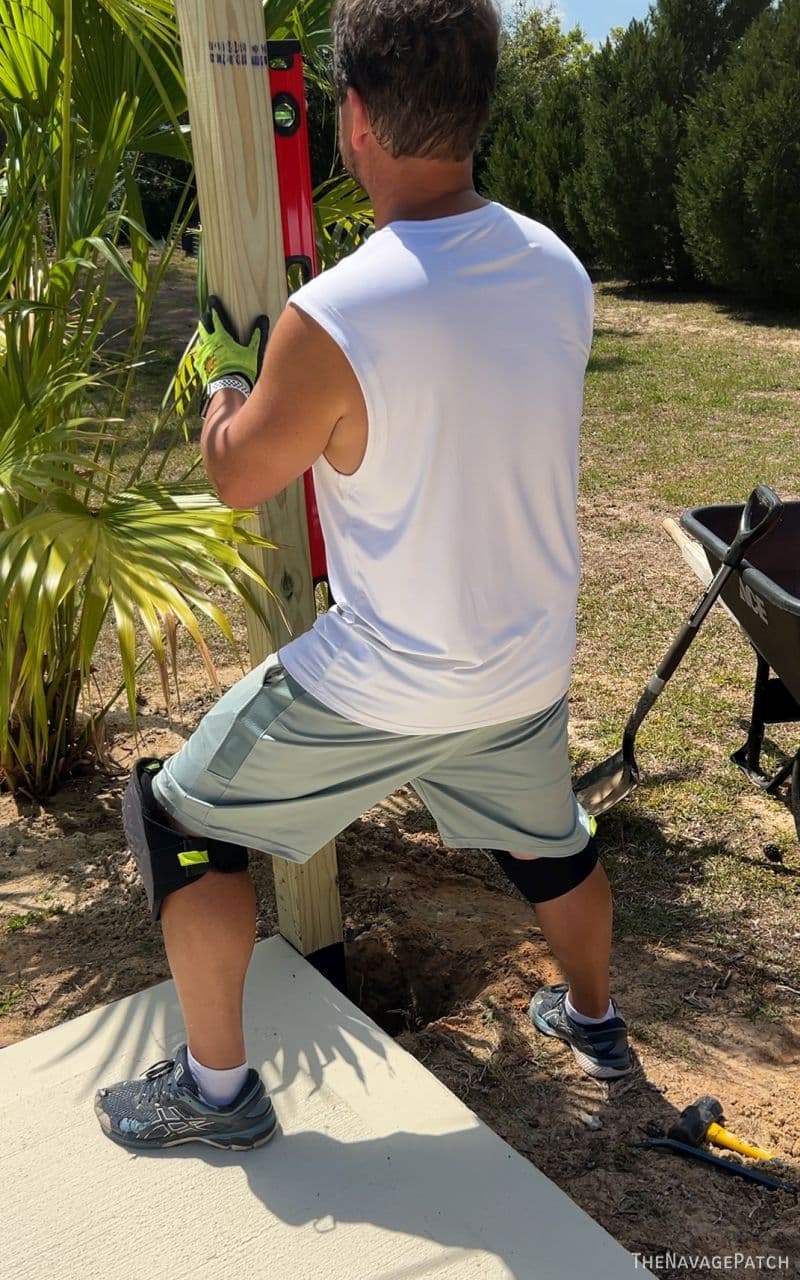
Securing the post
I stuck the post in the hole and made it plumb with the help of a beam level.
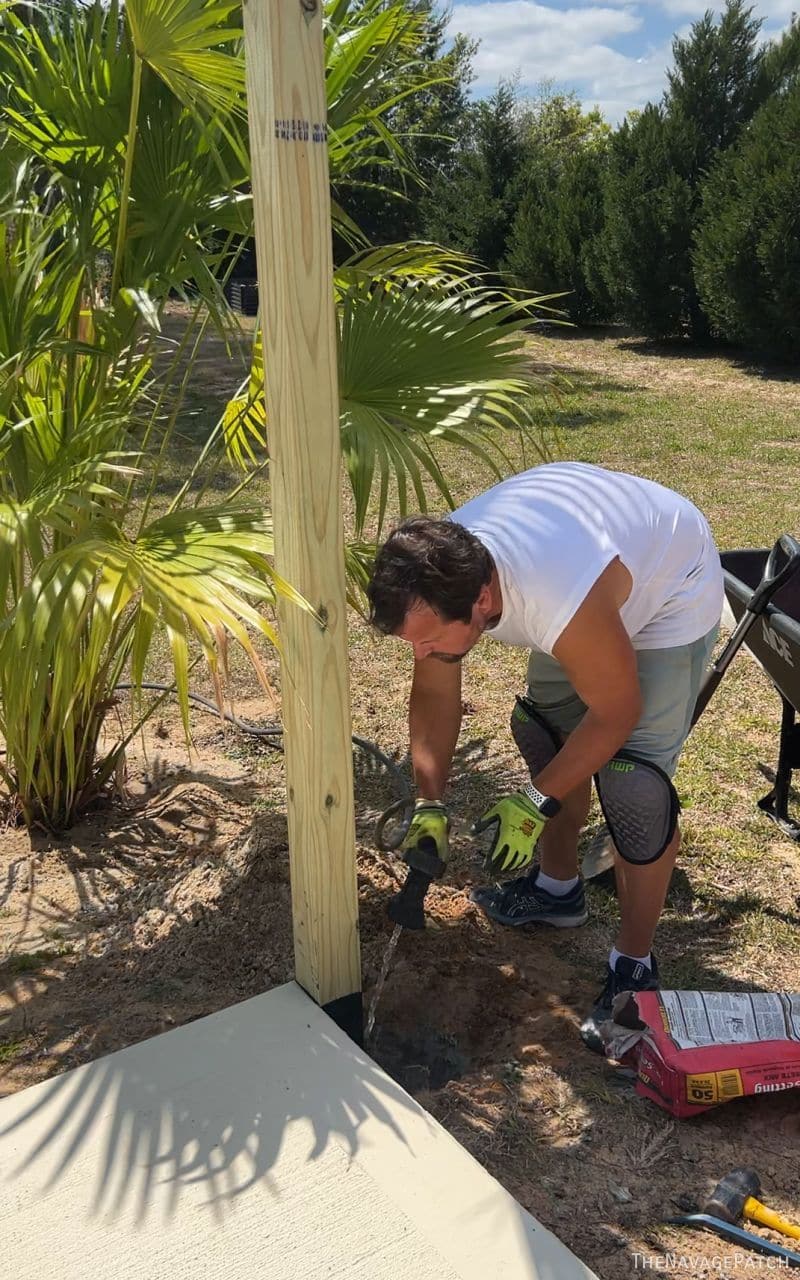
Once I had it plumb, it was time for concrete. Now, I also learned an easier way to concrete the post in the ground. I’d been mixing up two 50-lb bags of Quikcrete fast-setting mix in a bucket with water and then dumping that into the hole.
First, I think two bags is overkill for a privacy fence. If I were building a longer run of fence, I might think about upping it to the recommended 1.3-2 bags (there isn’t even consensus on that), but for these small fences, 1 bag is enough.
And instead of pre-mixing, I learned how to dump and squirt. Yep, just dump in the Quikcrete fast-setting mix and quirt in the recommended amount of water. Big time and energy saver!

As I mentioned earlier, there were a hundred other suggestions, admonitions, jeers, and faults found, but I could dismiss many as the squealing noise of a nosy internet. I think the method outlined above should be good enough for almost any fencing endeavor.
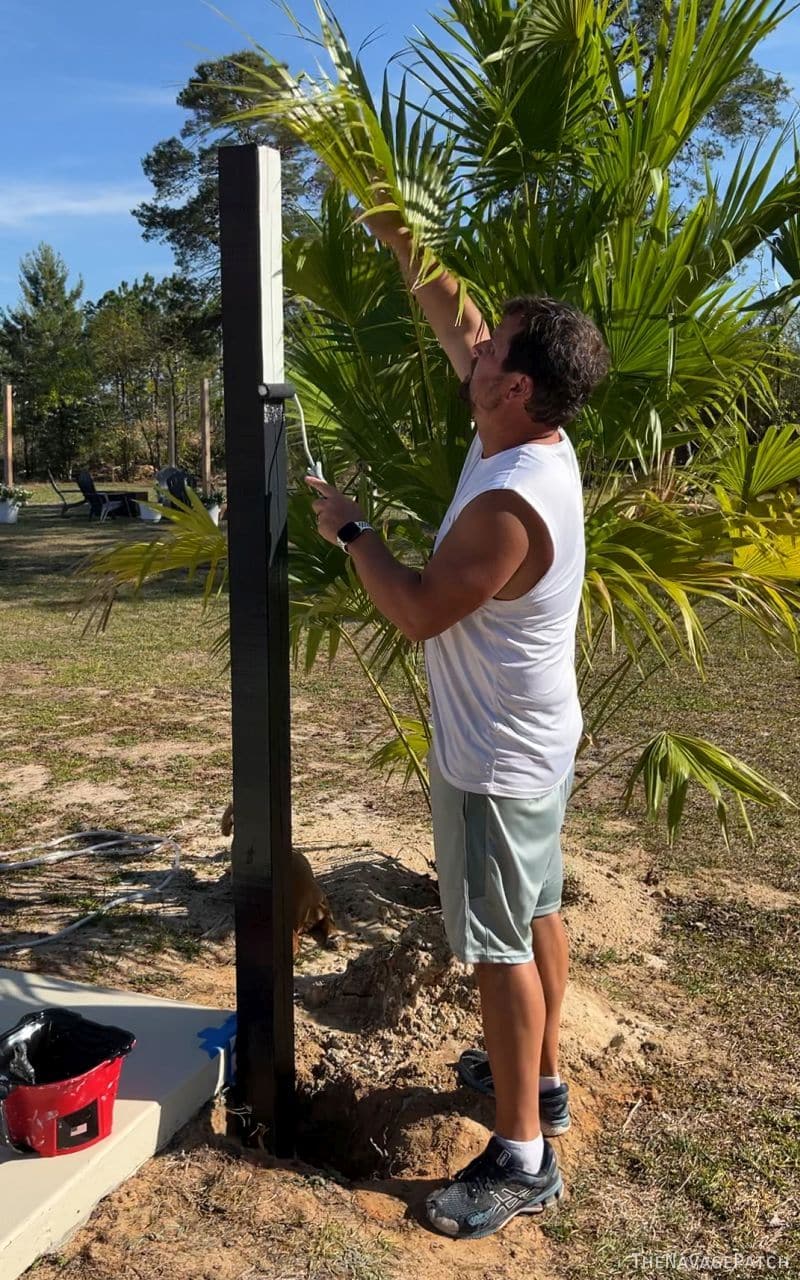
Painting the posts
Black and cedar is a kick-ass color combination, and it’s one you’ll see again with our pergola build, our gazebo build (yep, you didn’t know about that, did you?) and the HVAC privacy fence I recently built.
Before painting the posts, I primed them with an oil-based exterior primer from Sherwin-Williams.
When that had dried, I painted the posts with two coats of Sherwin-Williams Tricorn black – it is the deepest and darkest black that SW offers.
After painting the posts, I back-filled the dirt and moved on to step 2.
For reference, I spaced my posts a little less then 6 feet apart – this was primarily due to the space I was working with and our intention of having 3 privacy panels. Though you could build a section longer, I think 5-6 feet is the most visually appealing while also offering the best performance of the reed screen and the cedar boards.
Step 2 – Build the privacy screen
We used Toja Grid KNECT 2×6 privacy fence brackets (Pronounced Toy-yah Grid) for this project, and as the name suggests, they are sized to accept the 2×6 nominal lumber you’d find at Home Depot or Lowe’s. As we know, 2×6 nominal is 1.5 x 5.5 actual.
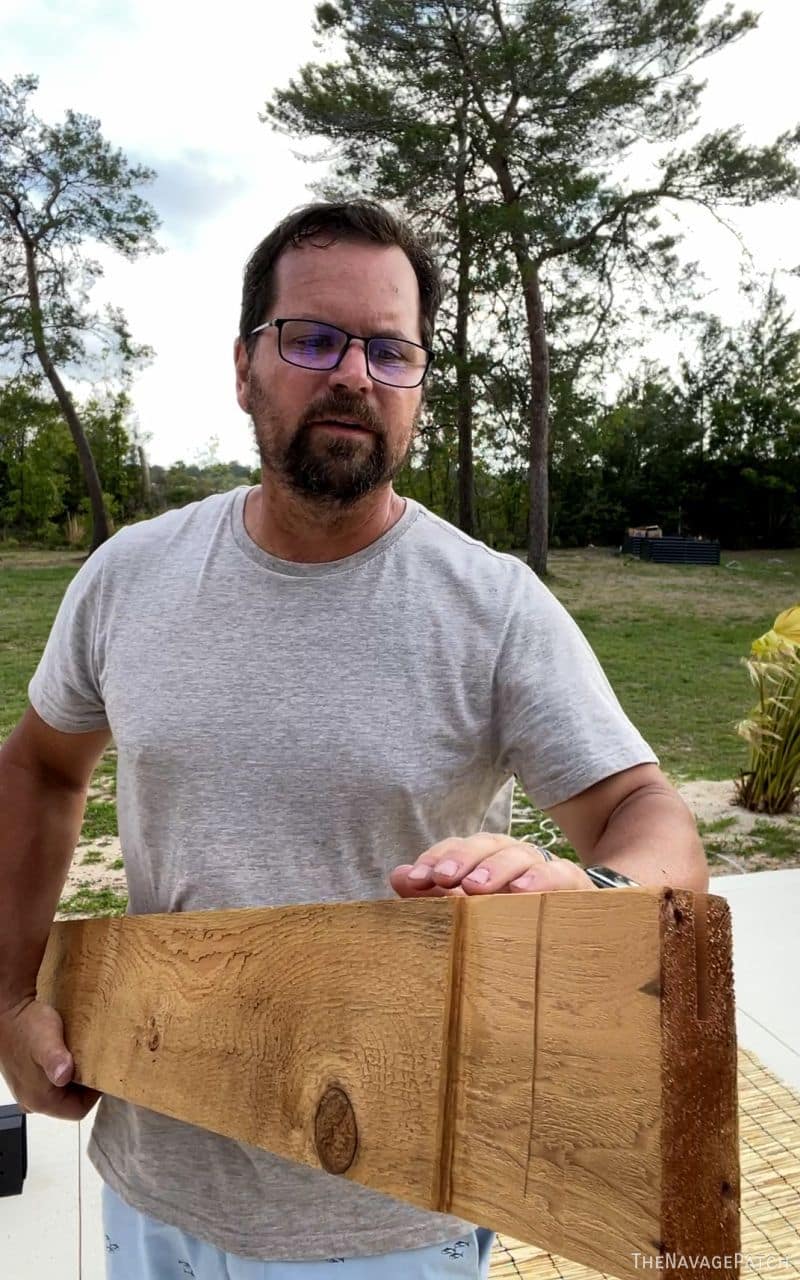
But the cedar I bought from Lowe’s was rough cut, meaning it was slightly bigger than the normal dimensional lumber they sell. I’ll show you how I trimmed them down to fit the brackets in a moment, but first I’ll tell you about the components of our privacy screen.
Cutting a channel for the reed screen
Handan originally wanted to make a screen from bamboo wedged between two boards. But when we tried with the bamboo she’d ordered from Amazon, it was simply too wide to fit between any sort of wood and still be able to fit into a KNECT bracket.
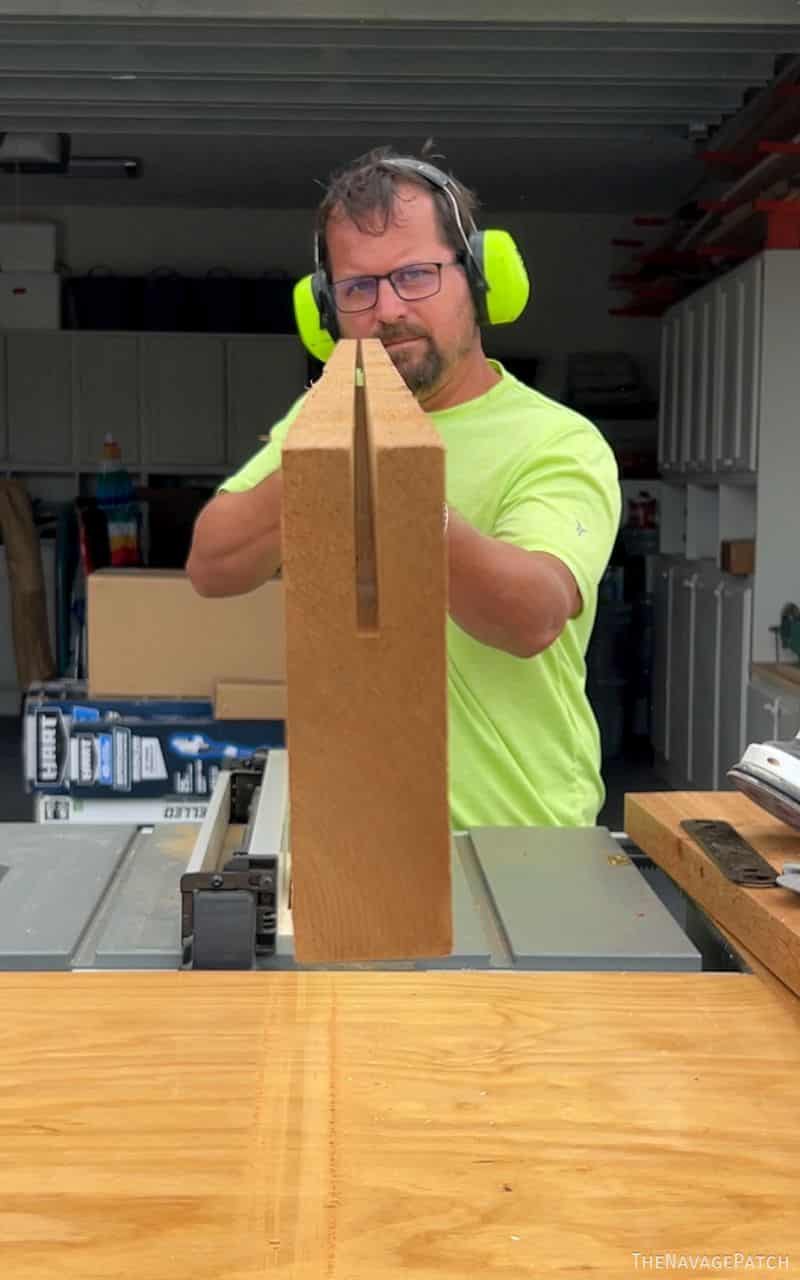
But she’d also been eyeballing natural reed screen, and when we looked it over, we thought it would be perfect for our application. To hold the reed in place, we’d feed it into channels I’d cut into the cedar – I figured a 1/4-inch channel 4-inches deep in the top and bottom pieces of cedar would lock that reed in place.
To cut the channel, I used a stacked dado blade set I got for my table saw. Shown below is the stack to make a 3/4-inch channel – this is what I was considering for the bamboo, but it wasn’t big enough. For the reed screen, I used a 2-blade stack.
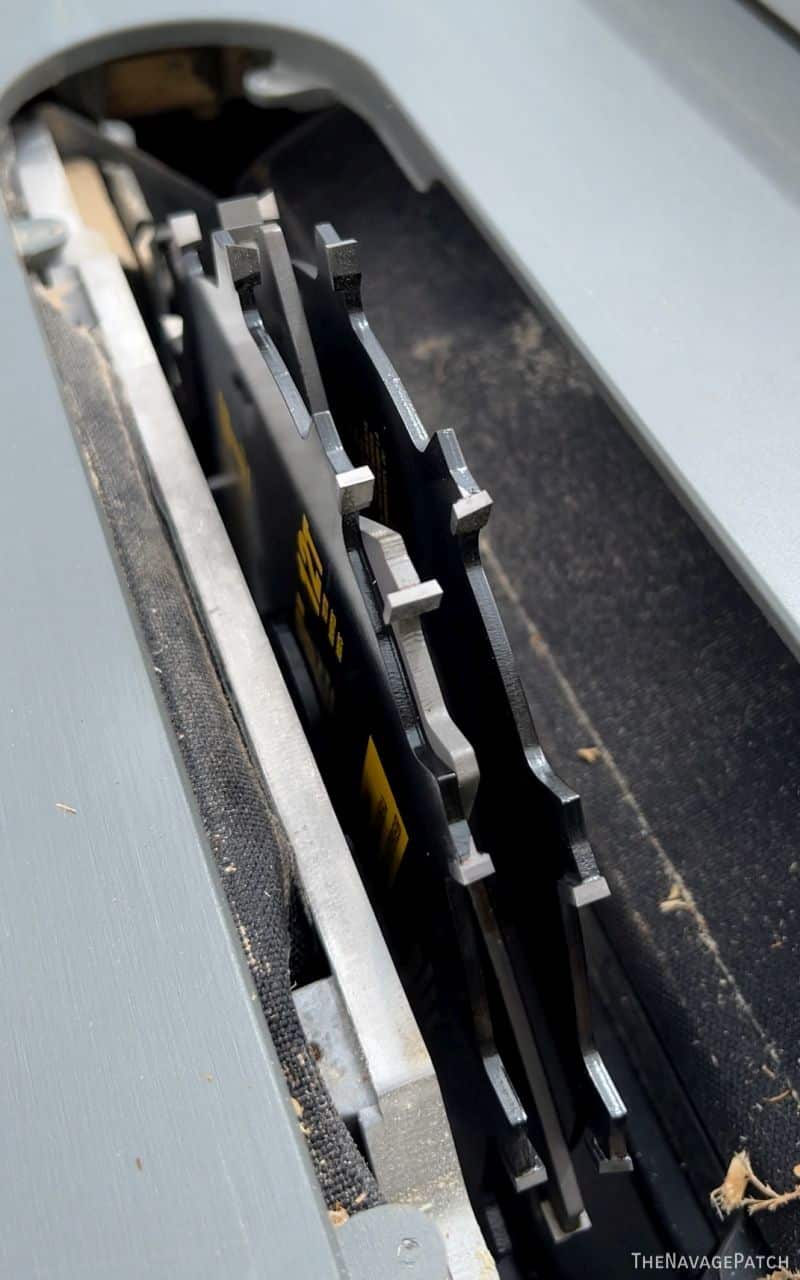
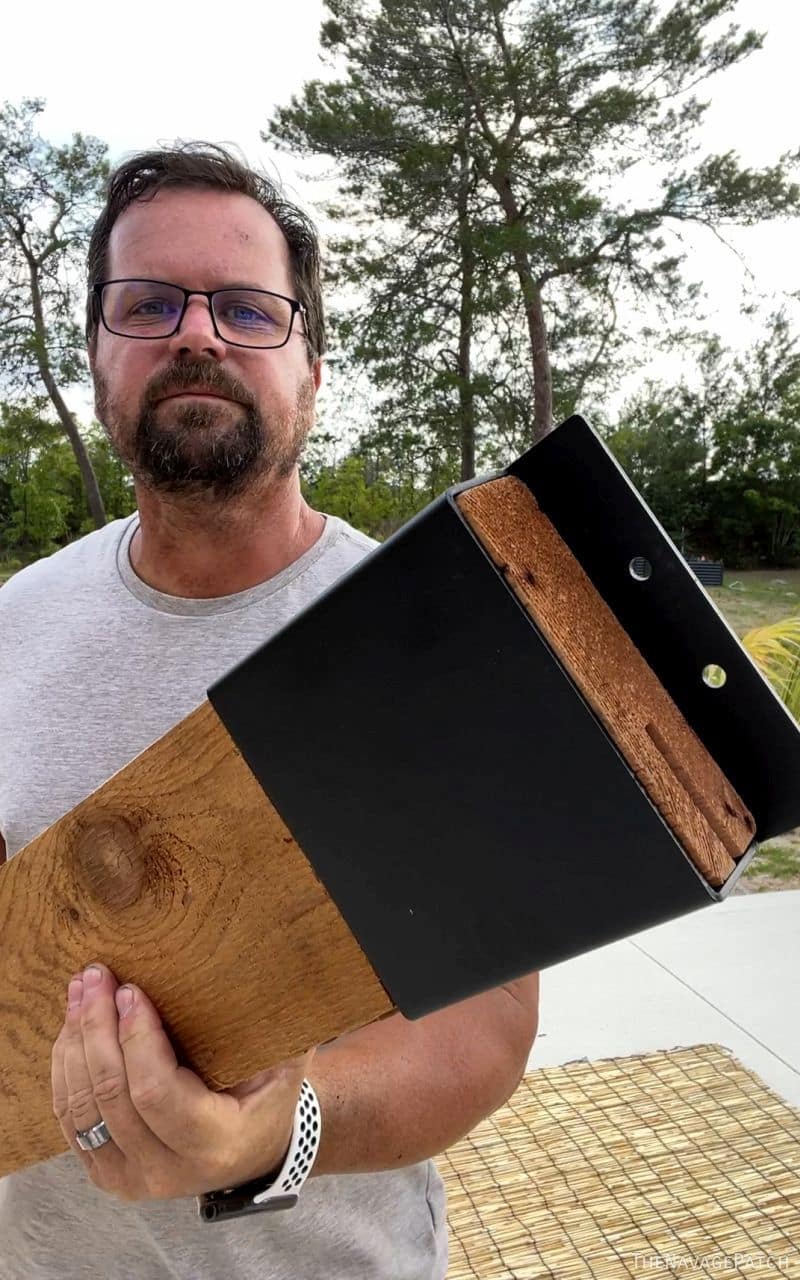
After cutting my boards to length, I ran one side through the dado to cut the 1/4-inch channel.
To make them fit on to the Toja Grid brackets, I used a hand planer to trim the ends down to size.
Fitting the reed screen
For this step, I needed my babes’ help. We placed the brackets on the cedar boards and laid them on the ground. Then we unrolled the reed screen and measured a length to fit between the brackets. Handan then cut the strings holding the reed together a little farther out from that line.
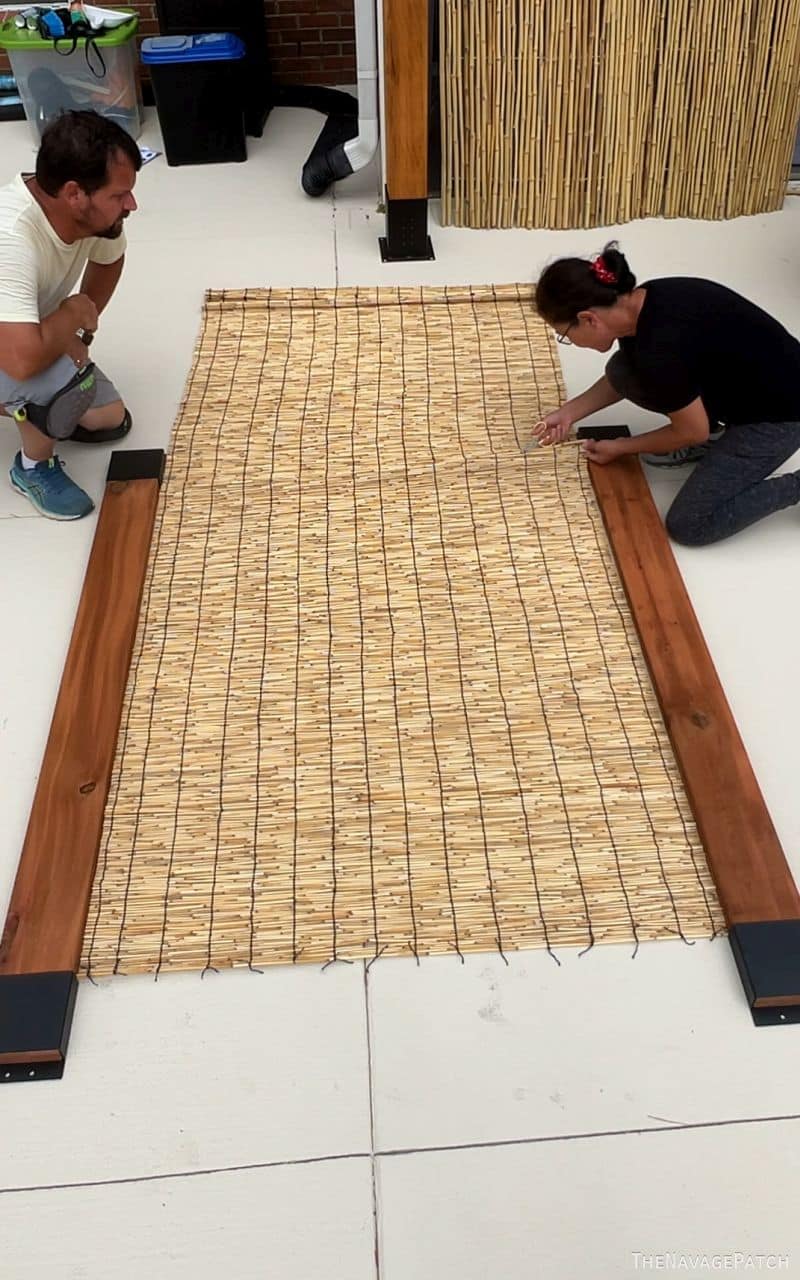
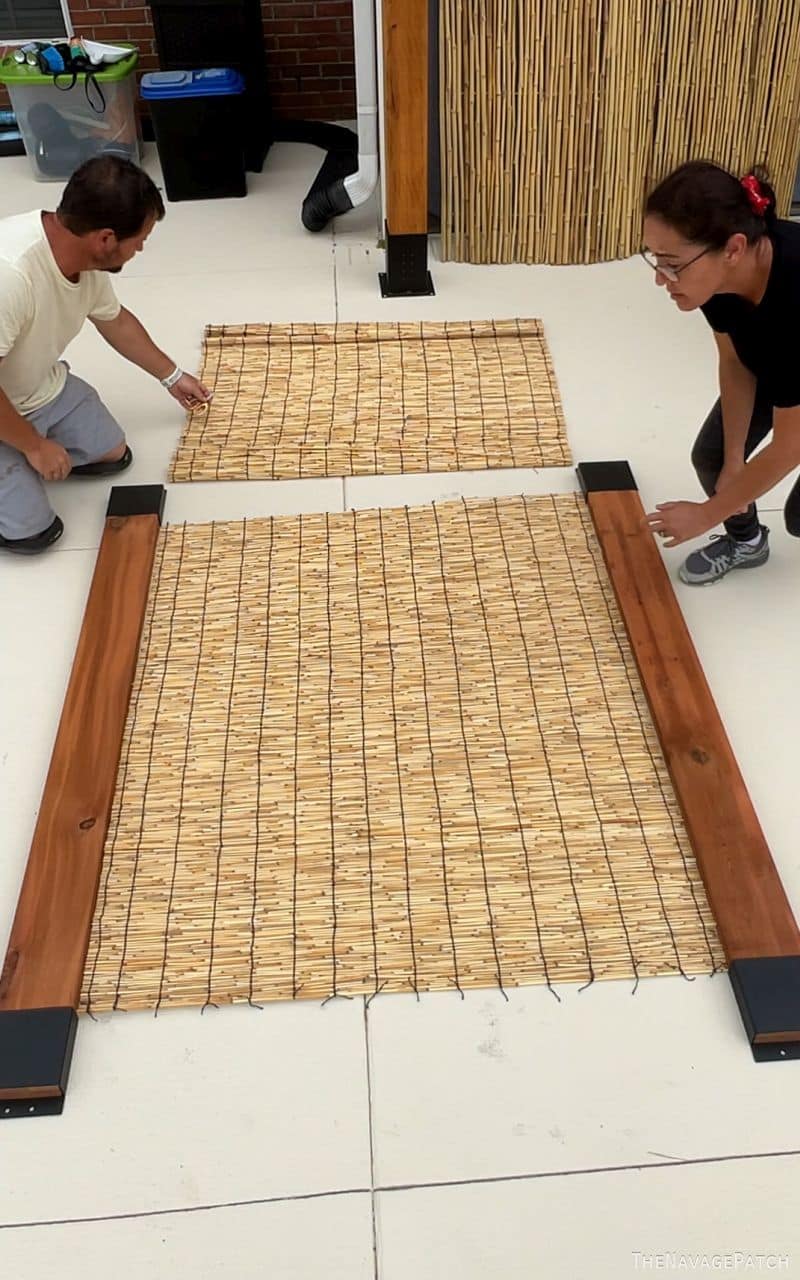
To free up some string, we pulled out reeds until the screen was just the length between the two brackets. Then we re-knotted the strings to keep the reed in place.
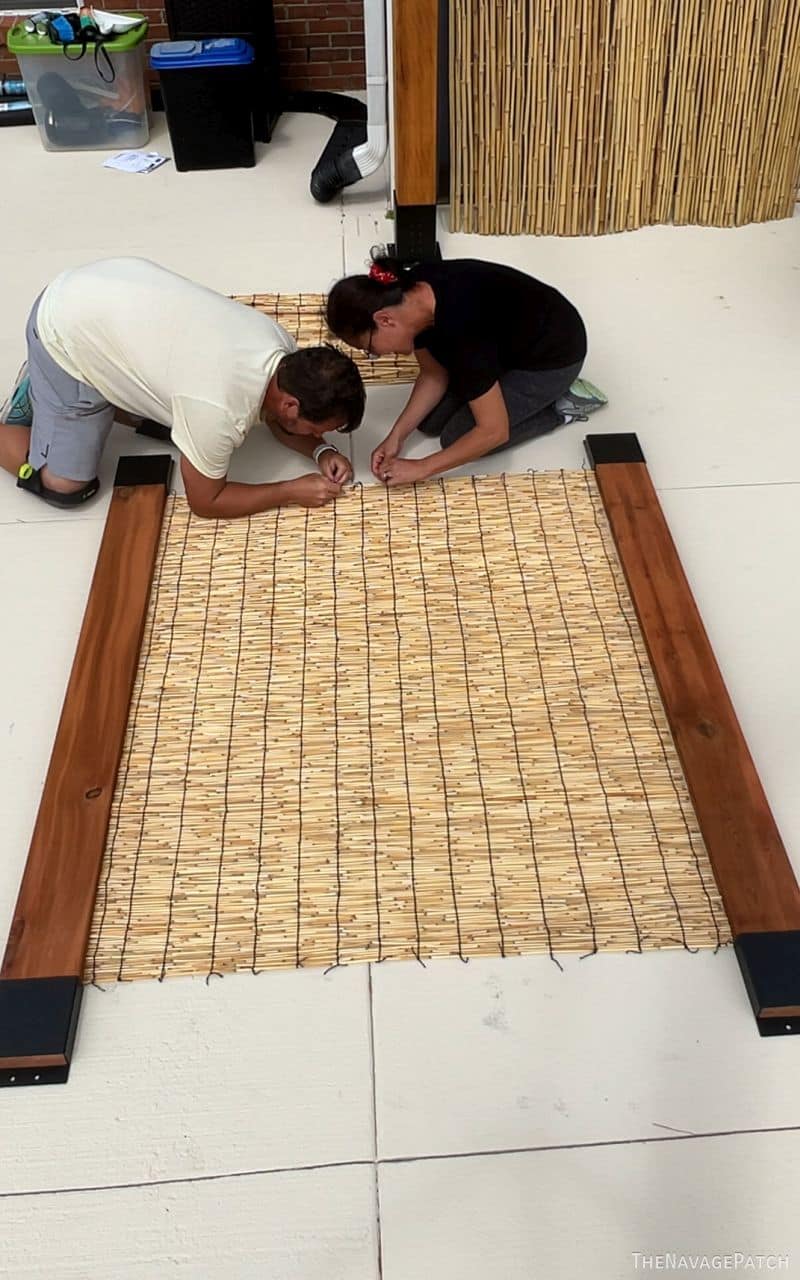
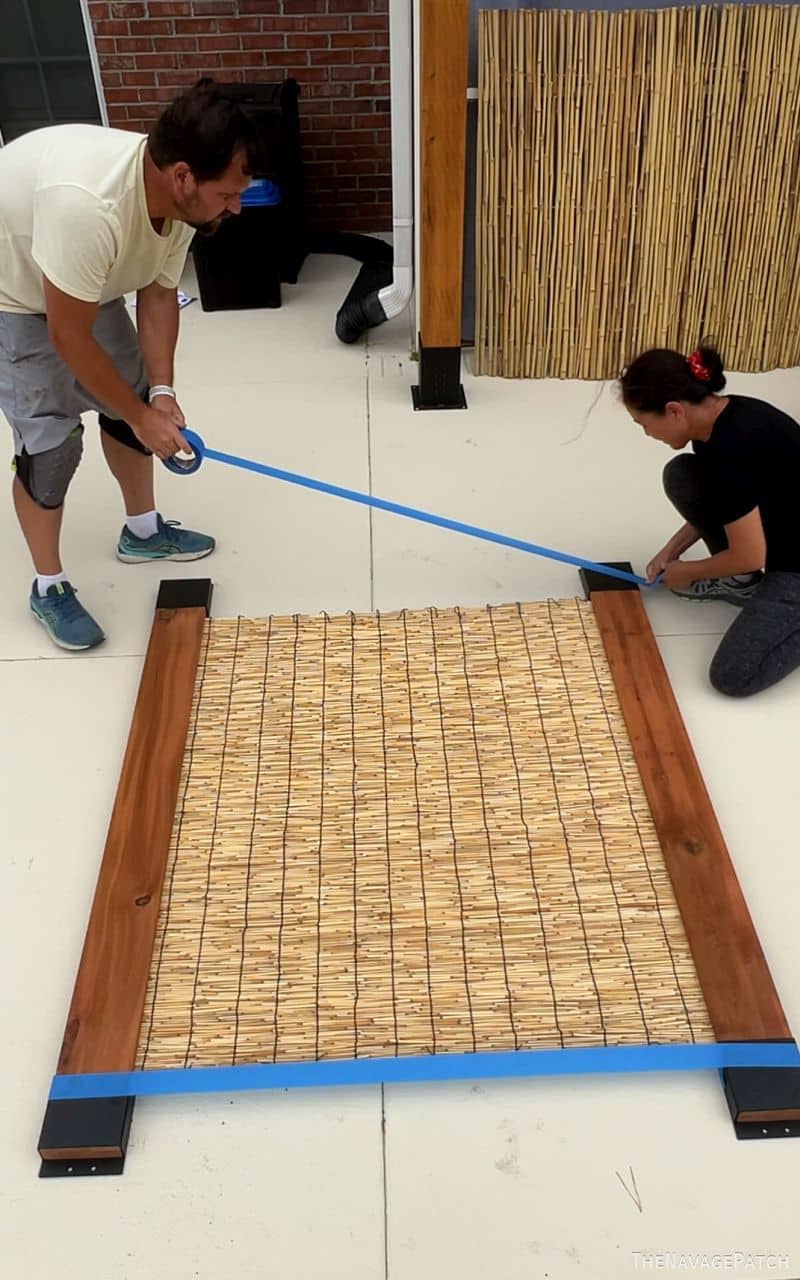
We removed the brackets from one end of the cedar boards and fed the reed through the channels in the cedar.

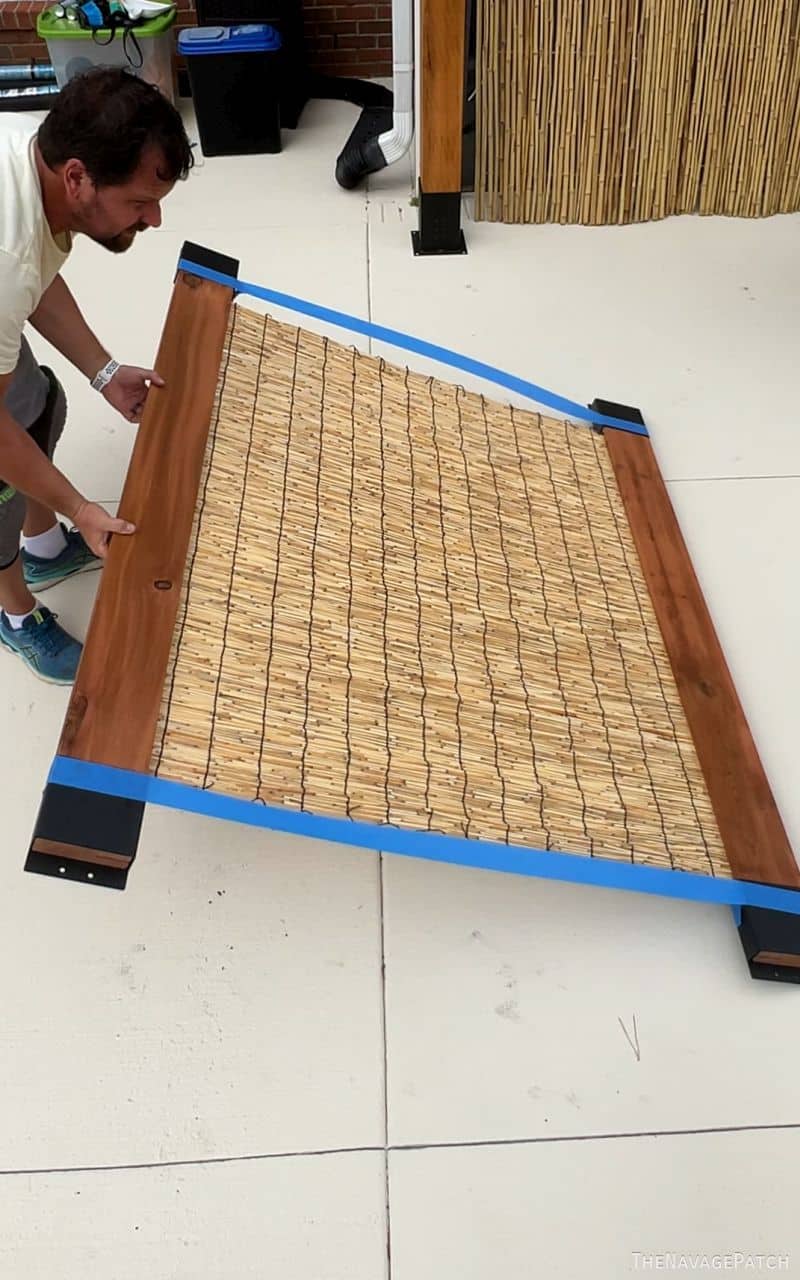
To keep the screen together for transportation and installation, we wrapped blue painter’s tape around each end where the brackets are.
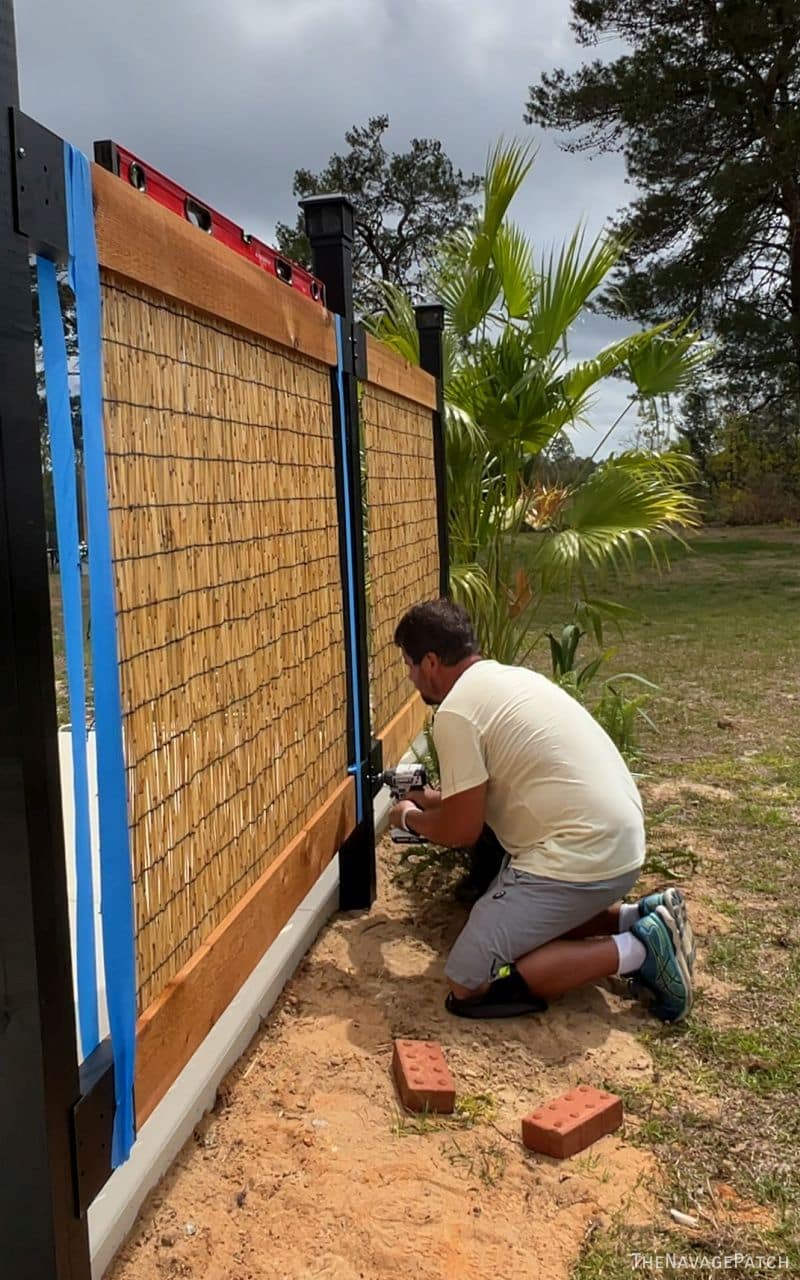
Installing our DIY patio privacy screen
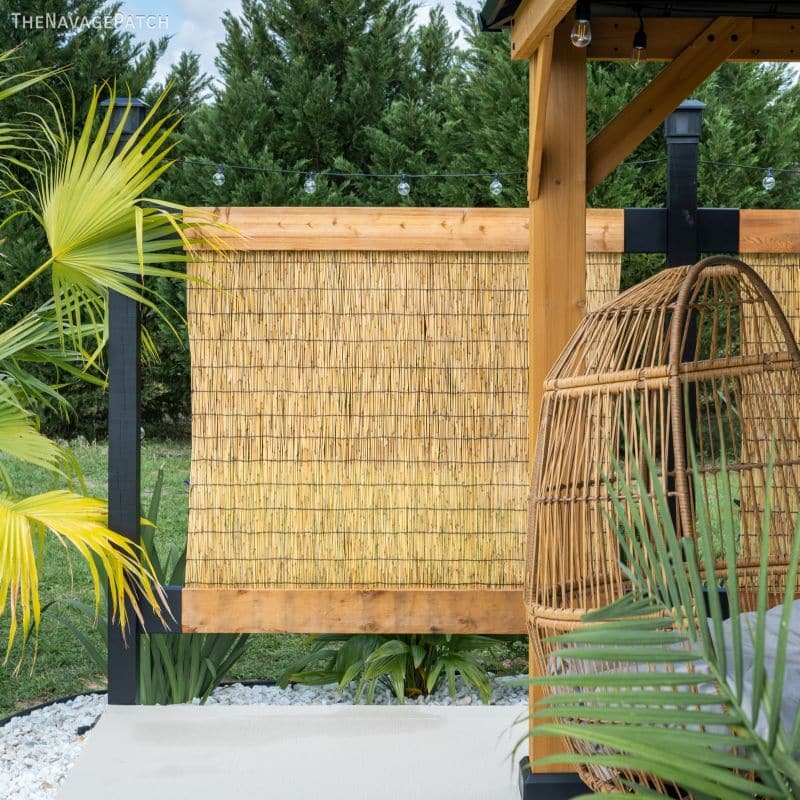
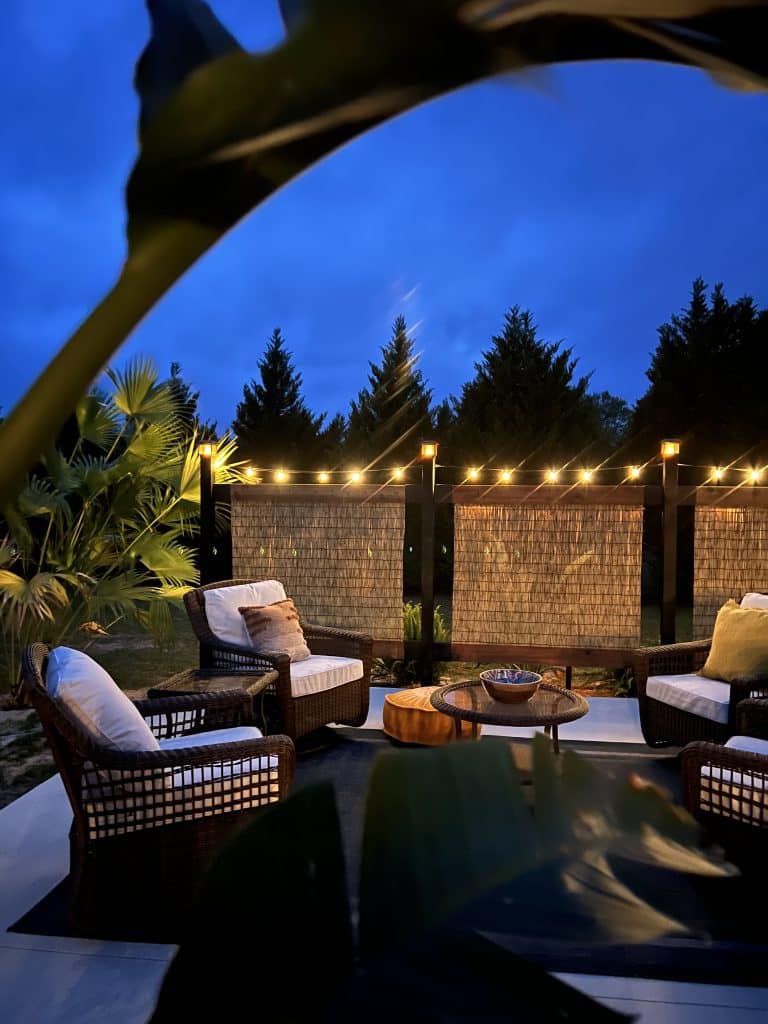
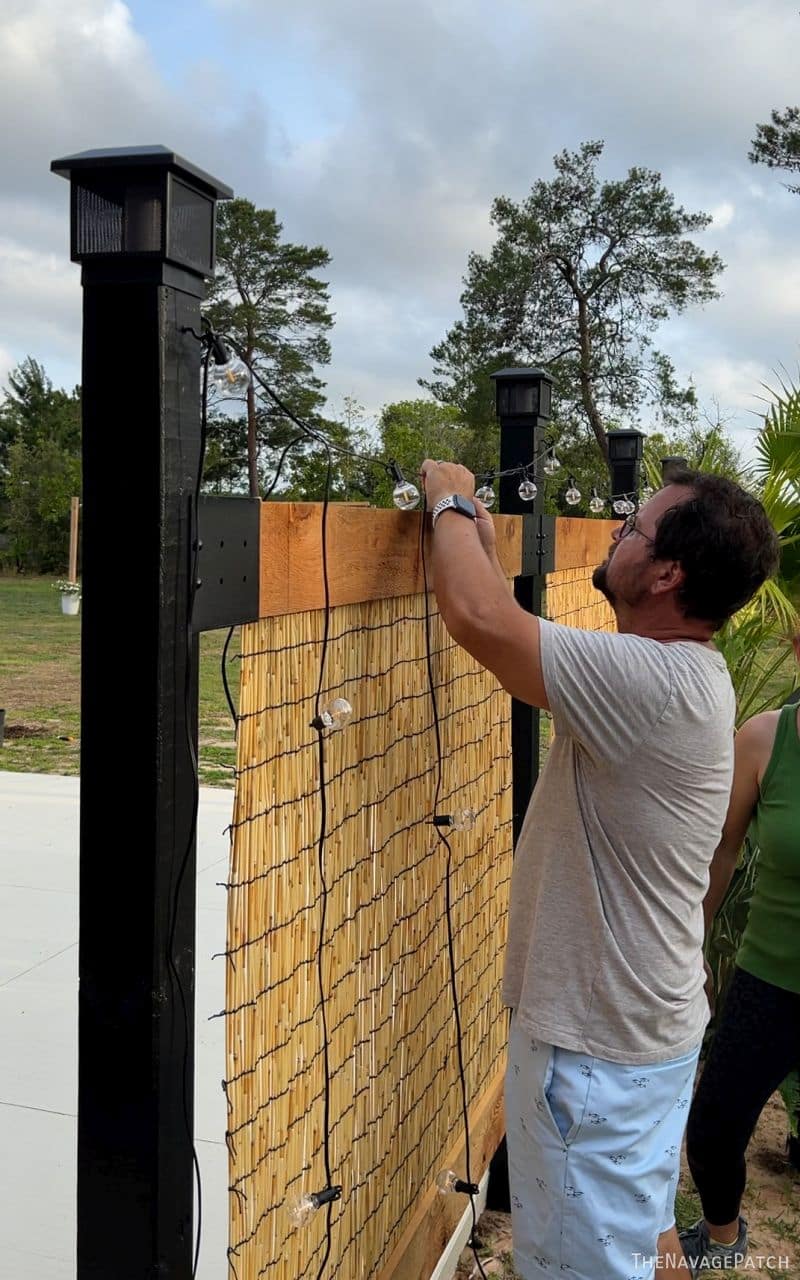
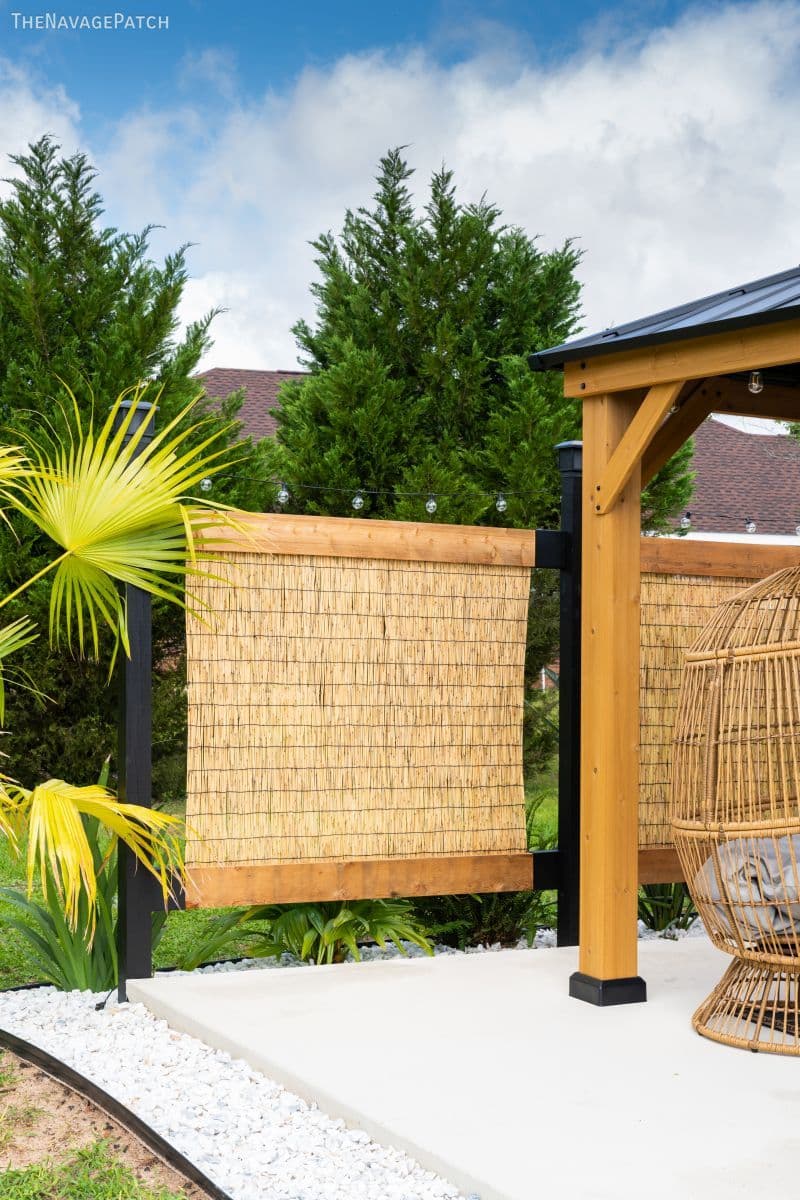
Then my babes and I carried the privacy screen to the backside of the posts I’d installed, and I secured the KNECT brackets to the posts with the included screws and screw covers. I used a beam level to keep everything perfect.
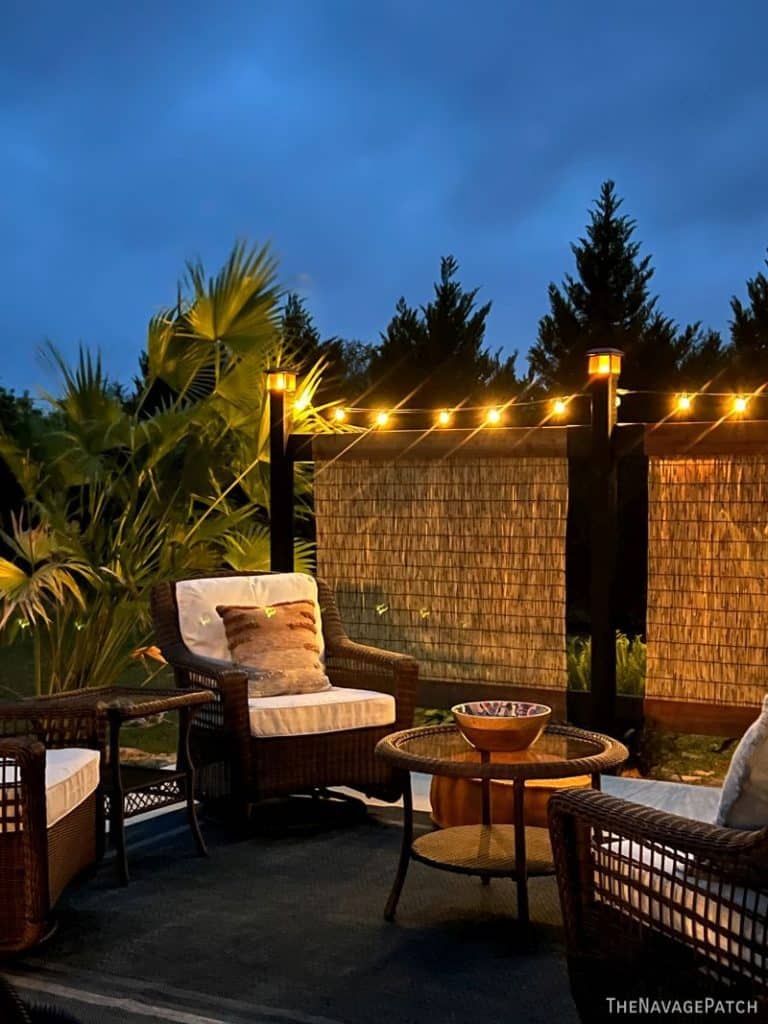
The privacy screen looked amazing, but why stop there? We took it to the next level by adding solar-powered flickering post caps and string lights.
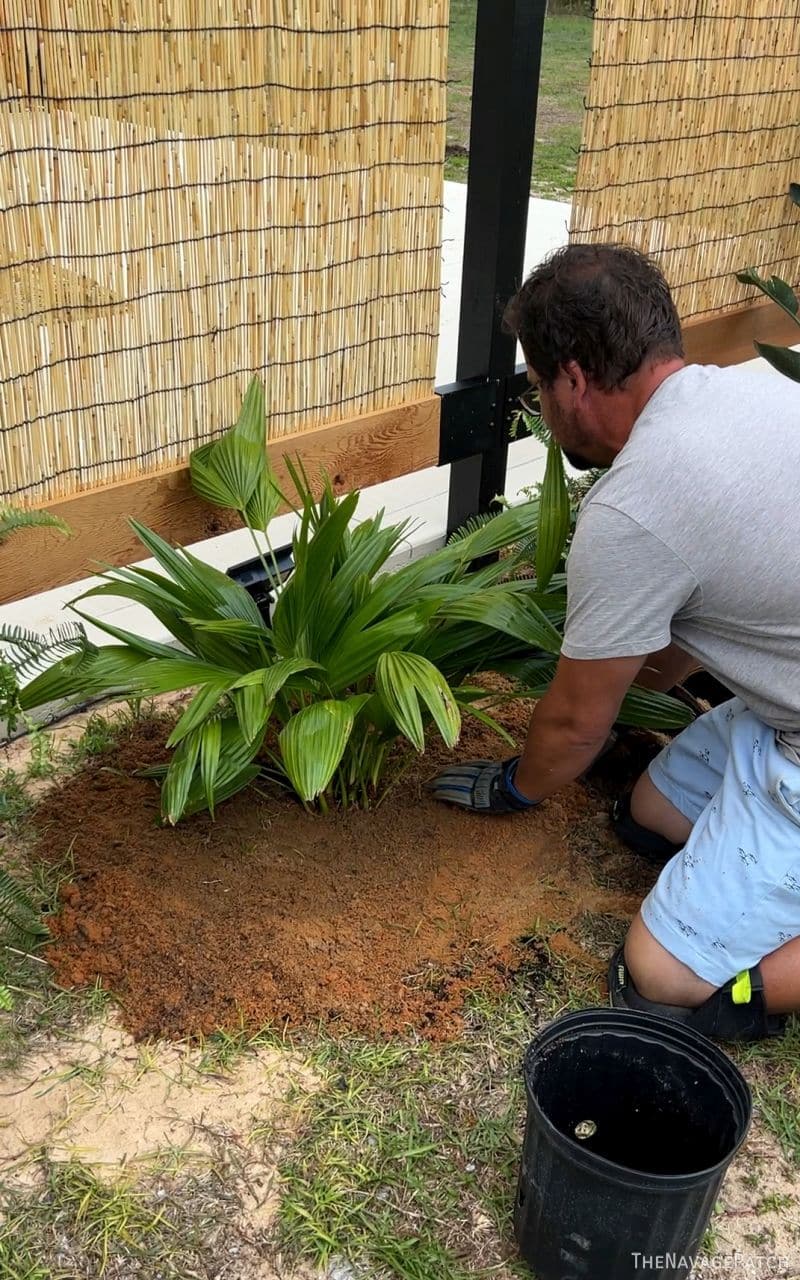
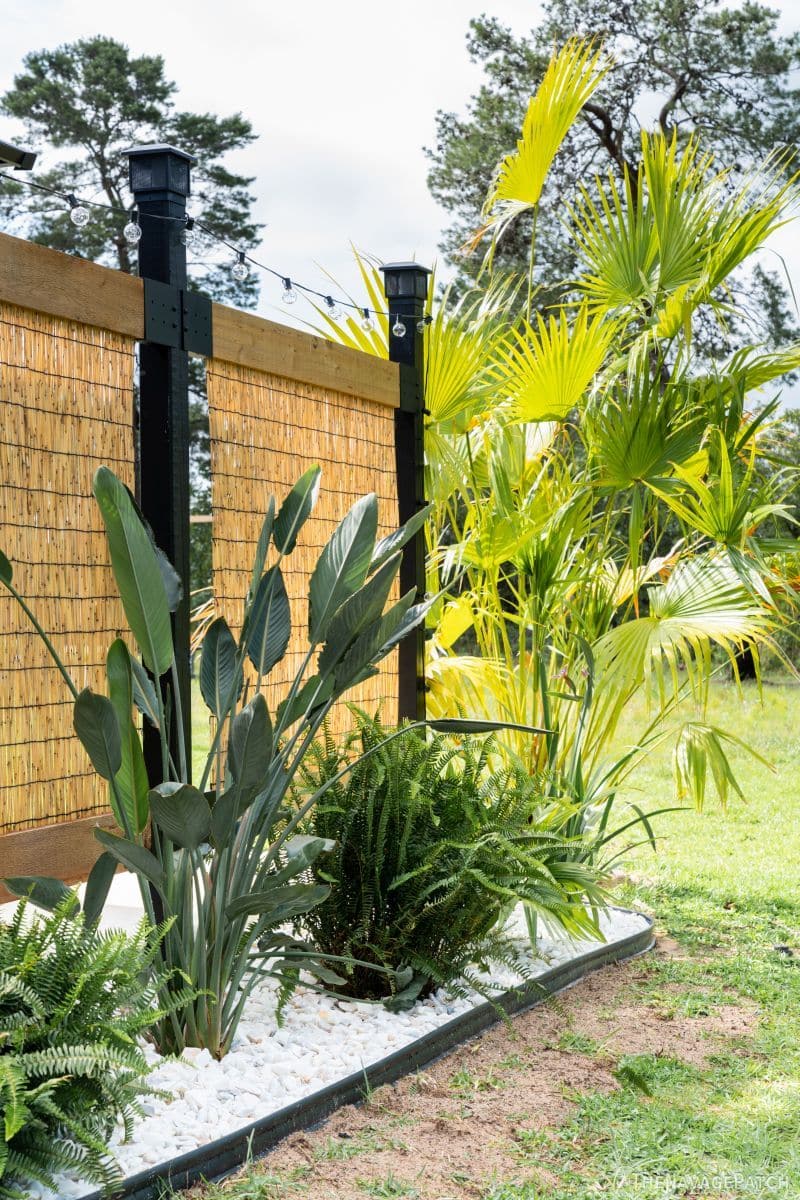
A little last-minute landscaping…
If there’s an opportunity to use my auger, I’m gonna take it! I planted a few more plants and flowers, and then my babes and I put landscape edging around the entire patio and filled in some marble chips.
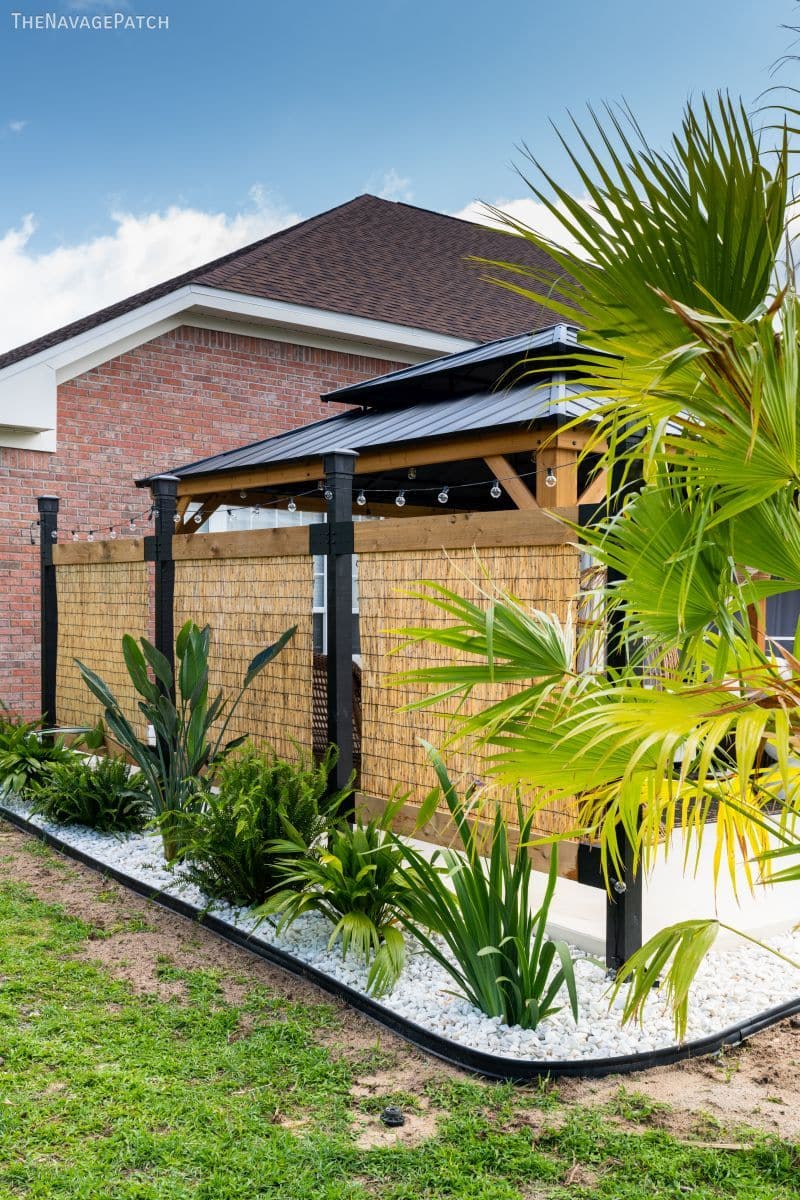
Here’s a view of the far side of the patio where I only installed a one-panel privacy screen.
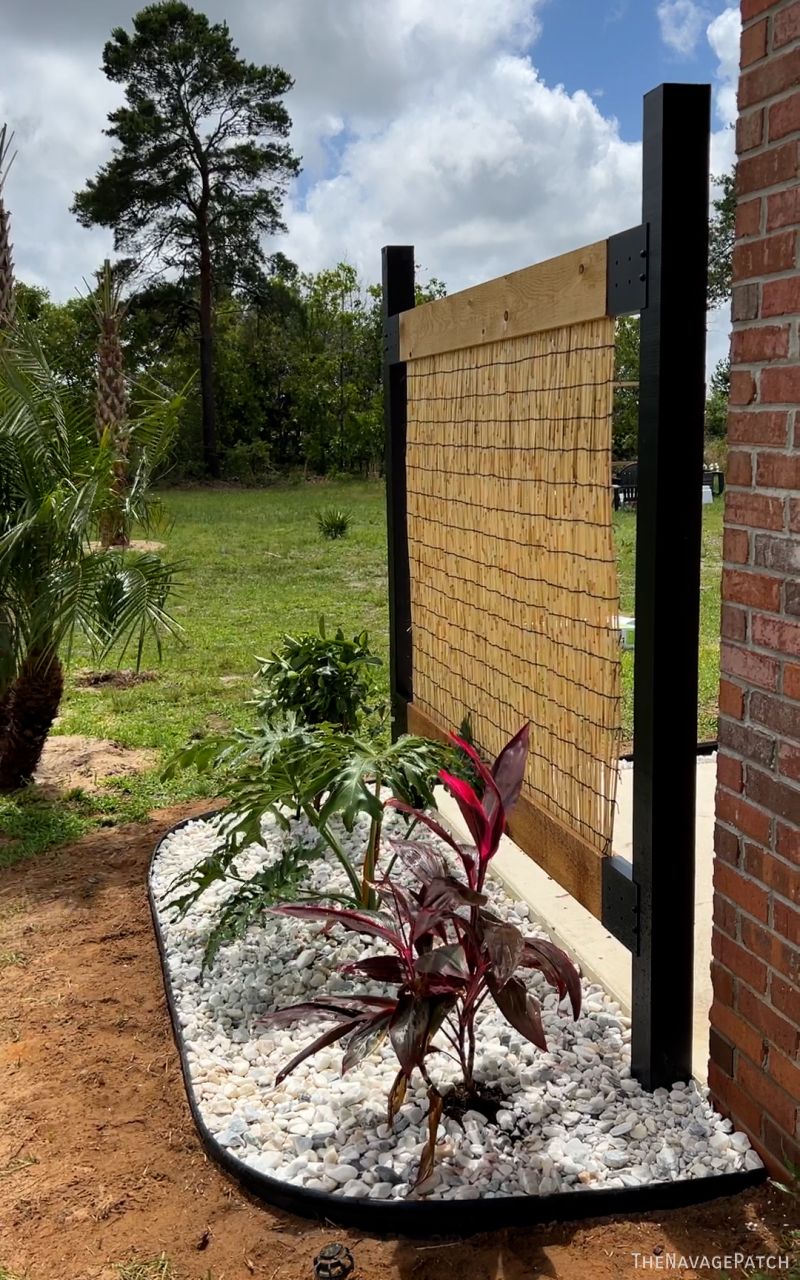
And here’s the main screen over by the gazebo. Yep, I’ll be showing you our gazebo next!

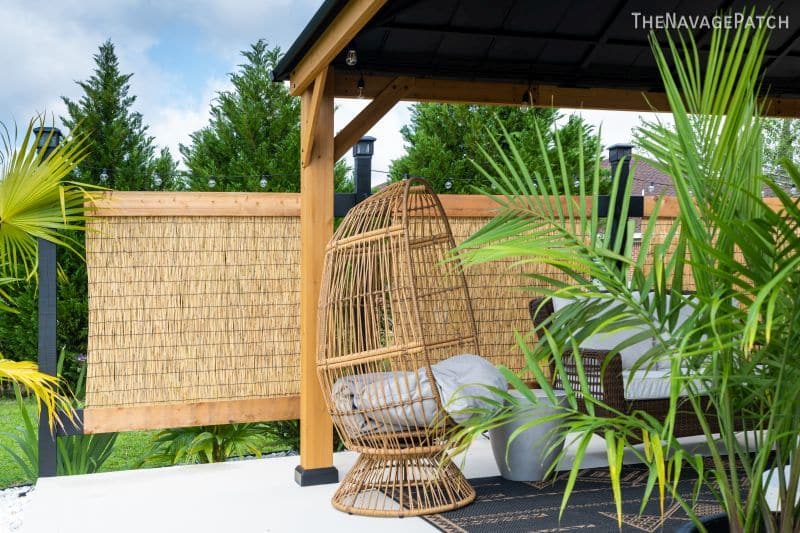
Stay tuned for our beautiful gazebo build followed by our pergola build!
I love reading your exploits in my next o’the woods… how do the reed panels stay in the beam grooves? It looks like you just ‘slid’ ’em in there…
Thanks for sharing… it looks beautiful!
Yep, we just slid them in! They’re in there nice and tight!
Gorgeous screen – thanks for the idea!
Thank you so much, Ju!
That looks great. It makes an otherwise huge back garden look cosy and gives focus around the entertainment area. I love the flame lamps at the top of the posts. What are they, please? Ta.
Thank you, Marina! Those lights are linked in the post! 🙂
Absolutely beautiful! If only I could find a man that had your skills. 😉
Thank you! You will!
That is beautiful.
Thanks, Amanda!
Stunning!!!
Thanks, Laurie!
Now that’s what I’m talking about! All the little extras for the coolest backyard on the block! Great inspiration! Love it!! One question. Do you foresee an issue with the dirt washing out from under the concrete patio foundation, being that the posts are dug close to the edge? TIA
Thanks, Cindy! No, I don’t think it will be an issue, but I can fix it if it happens!
Dang! Amazing work!
Thanks, Jean! 🙂
Very nice! You are creating a lovely tropical paradise out there (and if those are real ferns you stuck in the ground, I’m super jealous). Any smart-mouth comments about an auger should just be ignored. If there was a good reason to buy a new power tool, digging post holes is the best reason ever. I’ll bet that you will find more projects to use it than you ever expected, too.
Thank you, Deb! I love the auger and foresee myself using it for many many projects!
Even with good neighbors it’s so nice to have some privacy when you are outside relaxing. Our neighbor lives about a 1/4 of a mile down the road from us, but he does have his workshop and entrance to his farm access through our driveway. We don’t mind him or his family so much, but he leases his farm out. We get a few tractors a year but when they mow and then move hay they’re in and out several times a day for over a week. Usually this happens twice a year if the grass is good. I enjoy my privacy lol!
I agree, Cynthia! Privacy is key. Even with great neighbors, you want to be invisible sometimes!
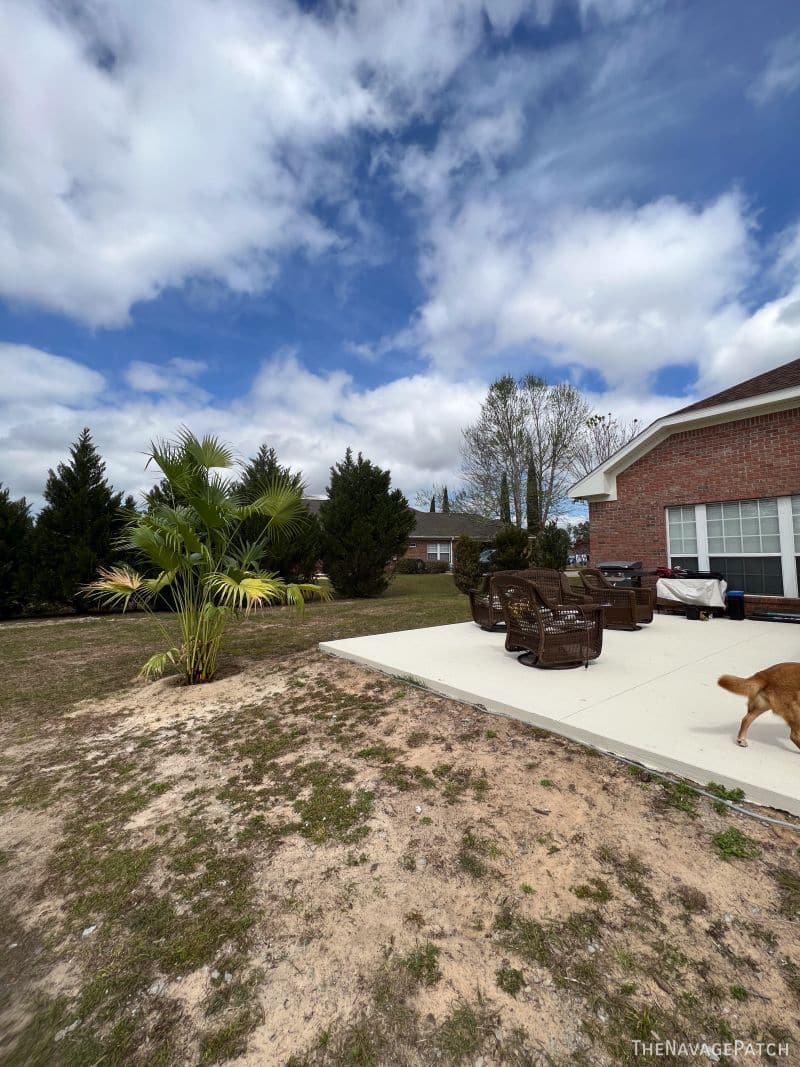
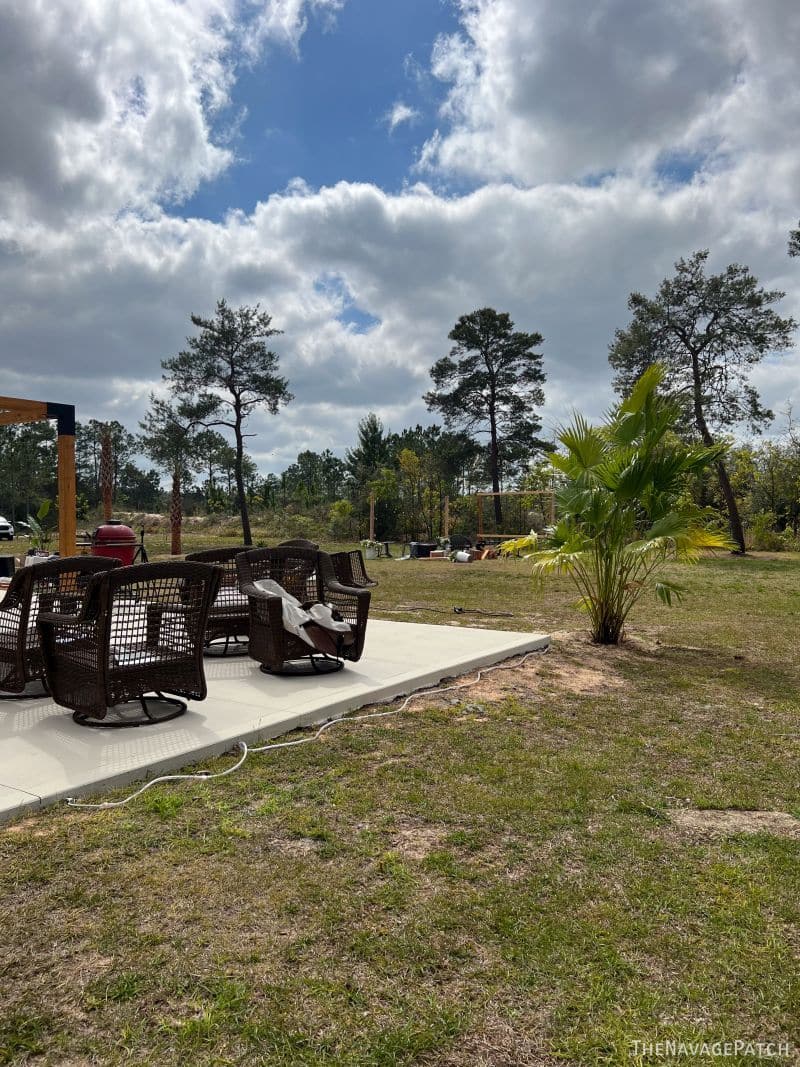
I am already thinking…”Is this the same backyard?!” A barren snakepit is turning into a gorgeous oasis.
We’ve only just begun, Claudine! This is a multi-year project that will be incredible when finished!
That’s absolutely amazing!!! and loved how they look in night time 🙂
Thank you, Emma!
Wow Greg, I feel like we are family now because I know your work when I see it!!! I was just checking out Apartment Therapy and scrolling the pics of this amazing patio and the privacy screen, before I even read your name I knew it was your patio… It’s beautiful you and the Mrs. did a great job.
Arlie
Yes, thanks for the heads-up, Arlie! I knew it was going to be in there at some point – just wasn’t sure when!