DIY Rustic Wood Stars & Star Lights (with Free Star Template)
DIY Rustic Wood Stars & Star Lights make AWESOME Christmas decorations, but you can display them all year long! Our free printable star templates make it easy!
You all know how much Handan and I love Halloween, right?
How could you not? Every year we pummel you with spooky posts from August until November!
But I have a confession.
We have a confession.
As much as I love Halloween…
As much as we love Halloween…
…We love Christmas even more.
And though I’m older and crankier and often not in the Holiday Spirit [once a Grinch always a Grinch -Handan], I still remember the magic.
I still remember those precious few years when Santa was real and reindeer flew and the snow was always fluffy and white.
Once the magic is inside, it never fully leaves. It may ebb and flow, but it’s always there.
I don’t know what it is about this year, but I’ve got the Christmas bug way more than last year or the years before that.
Whatever the reason, I’m going to make the most of it with some awesome Christmas projects. I already showed you our Lighted Christmas Signs.
Today I’m going to show you how to make 4 different types of DIY rustic wood stars and star lights. To make things easy, we’re including a star template with 8 sizes of star patterns, so you can make big ones, little ones, and all the sizes in between!
Now let’s get to it.
Here’s what you’ll need:
DIY Rustic Wood Stars & Star Lights SUPPLIES LIST
Affiliate links are provided below. Full disclosure here.
- 2×4 or 2×6 or 2×8 lumber (depends on the size star you want) or
- 1×4 or 1×6 or 2×8 lumber (depends on the size star you want)
- Jigsaw
- Staple gun
- Brad nailer or a hammer and small nails (optional – for one type of star)
- Sandpaper
- Stain
- LED Starry Lights
- Ruler or straight edge
- Pencil
- Our free printable star template – you can download them from the VIP Patch.
- Scissors or razor blade to cut out star pattern
- 1/2 inch diameter wooden dowel (optional – for one type of star)
- Table saw (optional – for one type of star)
- Drill (optional – for one type of star)
- Small Nails (optional – for one type of star)
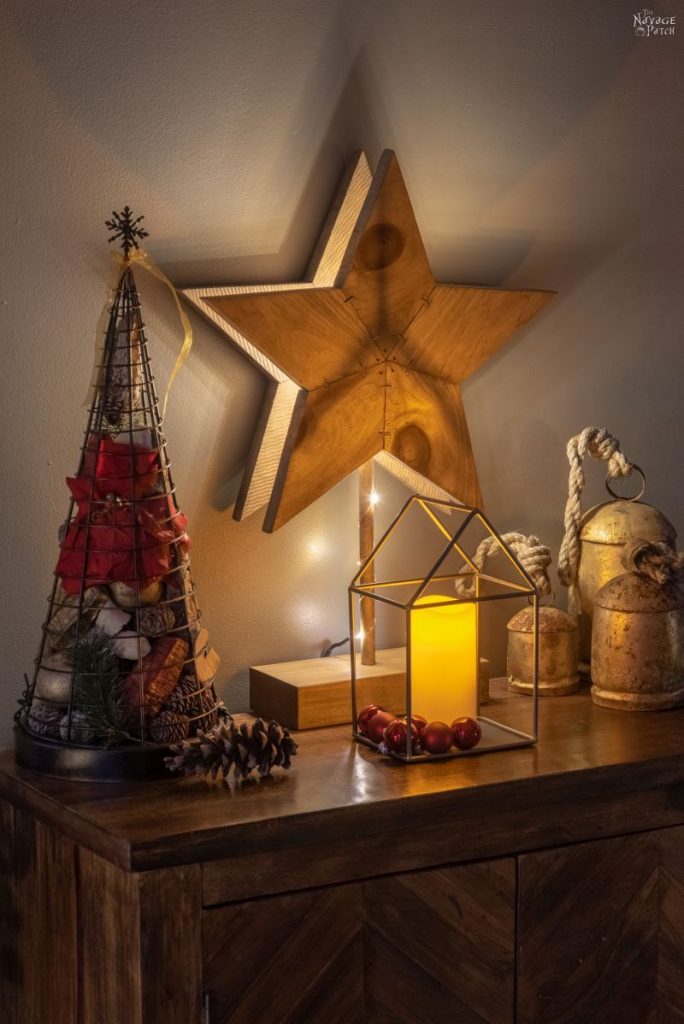
Rustic Wood Star Tutorial
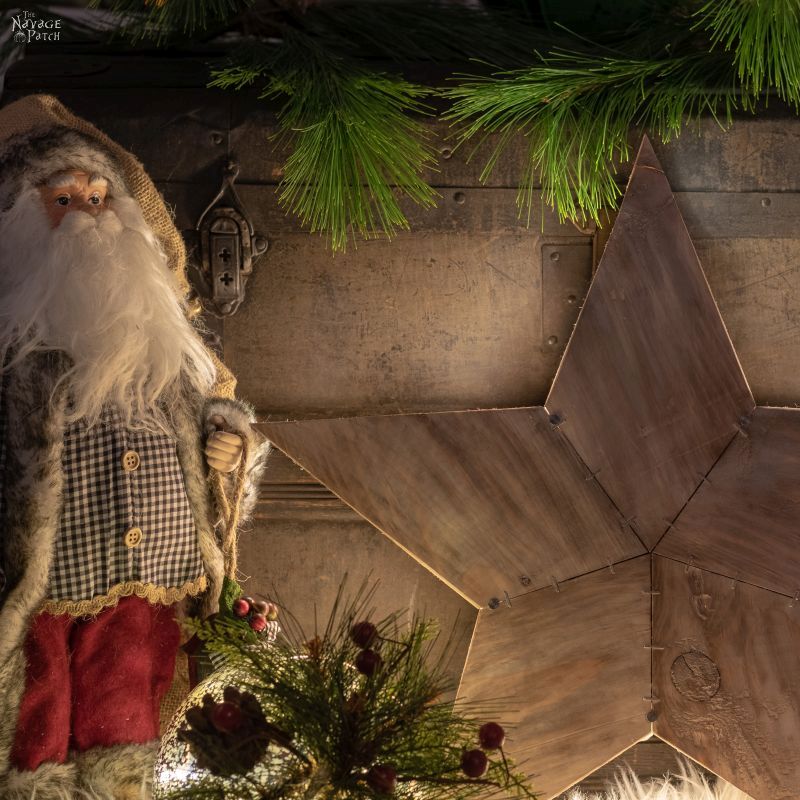
If you don’t want to bother with lights, or if you just want a bunch of small stars, this simple rustic wood star is for you! I used some leftover shiplap boards I recovered during the laundry room renovation, but you can use any kind of scrap you can get your hands on. Don’t have scrap? No problem! Just use any lumber like 1 x 3, 1 x 4, etc.
I used the 7-inch star pattern for this rustic wood star. I traced 5 star points with my star template.
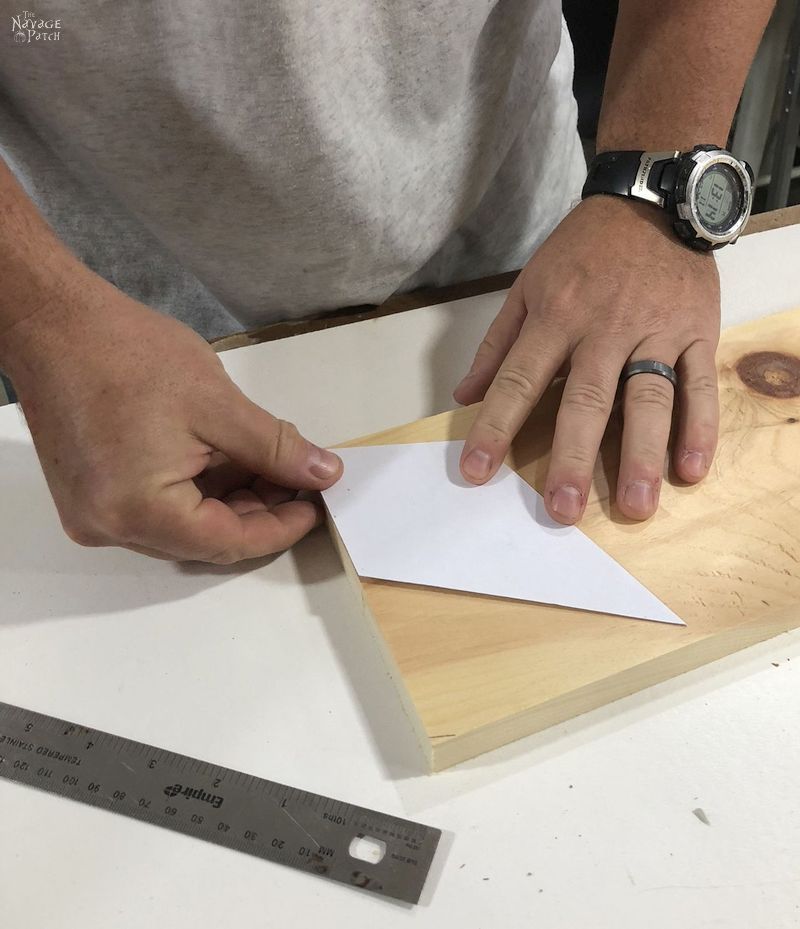
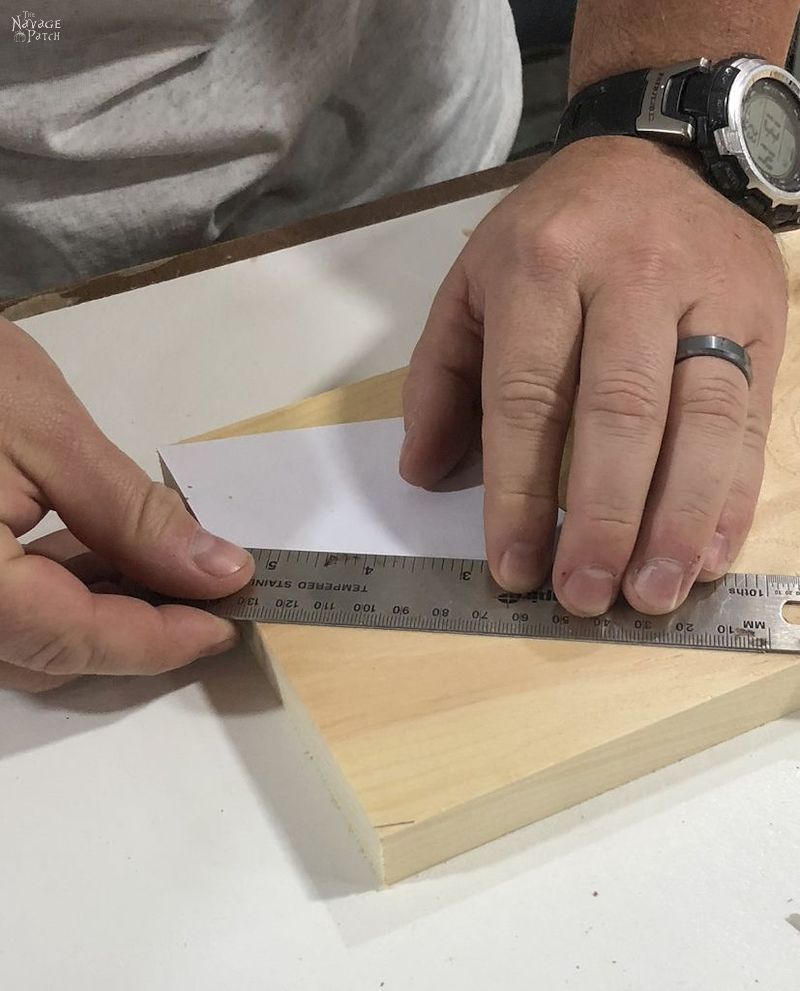
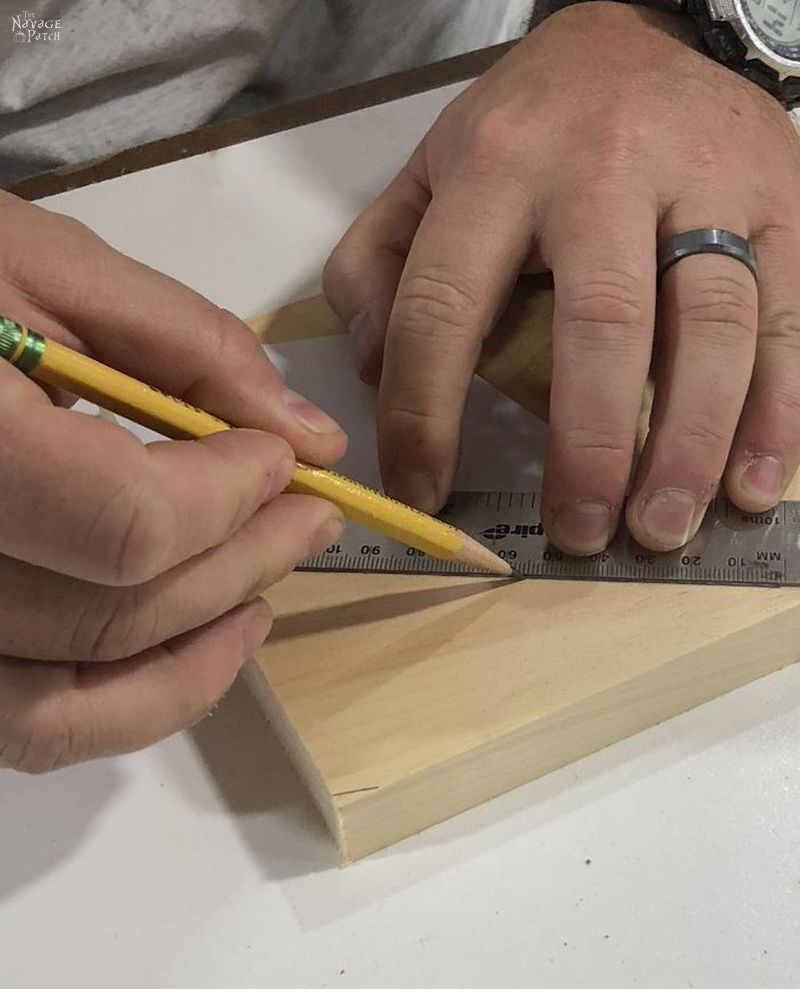
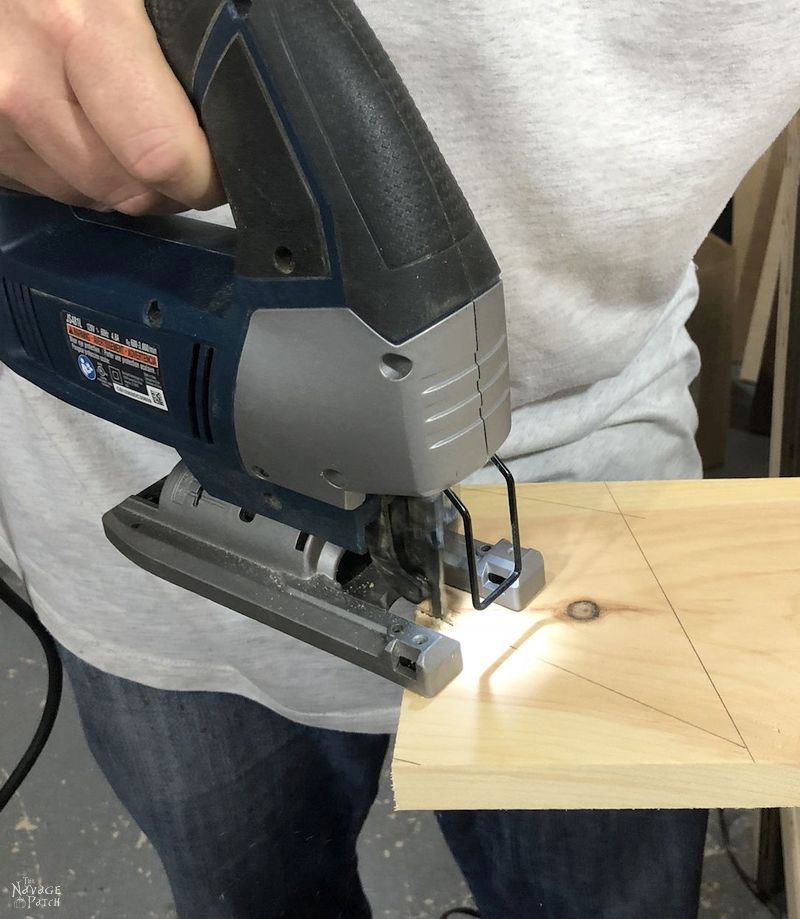
I cut the pieces with a jigsaw, though a band saw or scroll saw would work equally well.
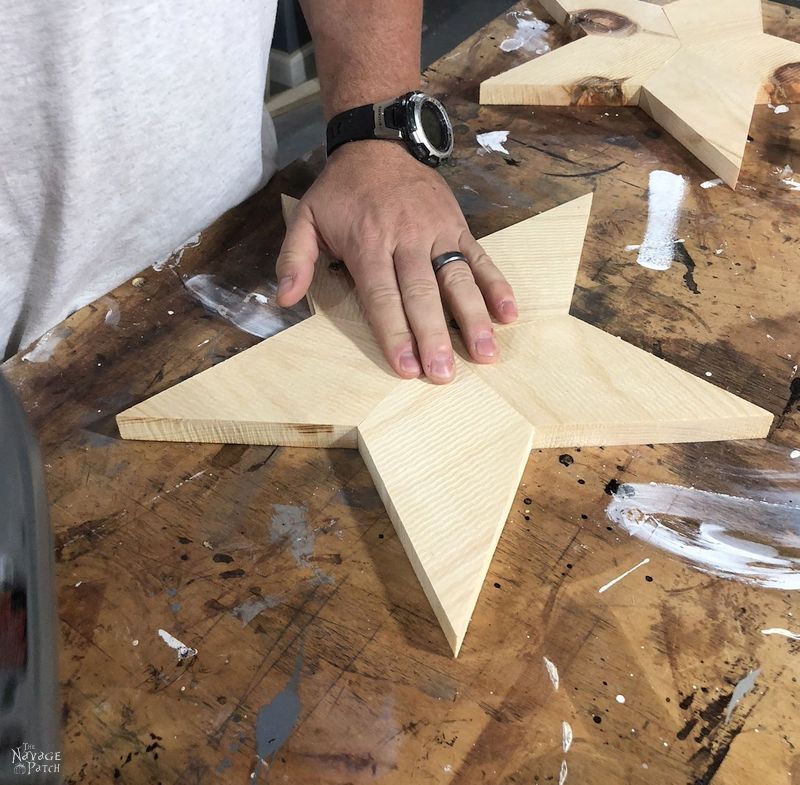
I fit the pieces together.
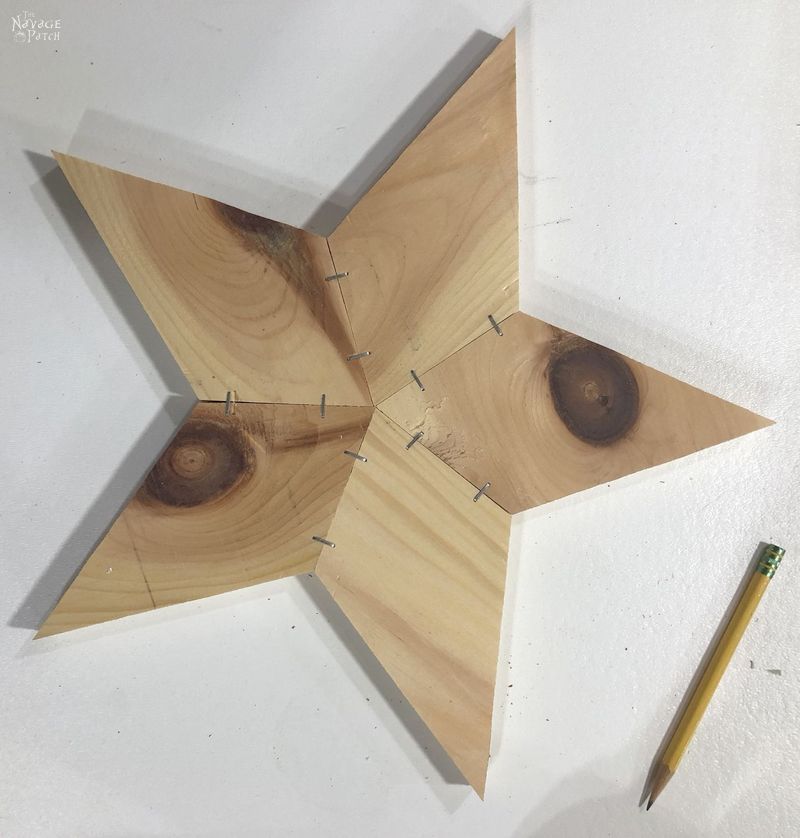
Then I stapled them. Since we’re going for a rustic look, don’t worry about those staples! Metal and wood? Doesn’t get much more rustic than that!
I stapled both sides.

Again, don’t worry if your cuts aren’t perfect and gaps show when your star is stapled. Rustic = license to be sloppy!
I stained my stars with two different methods. One method is below. Read on for the second!
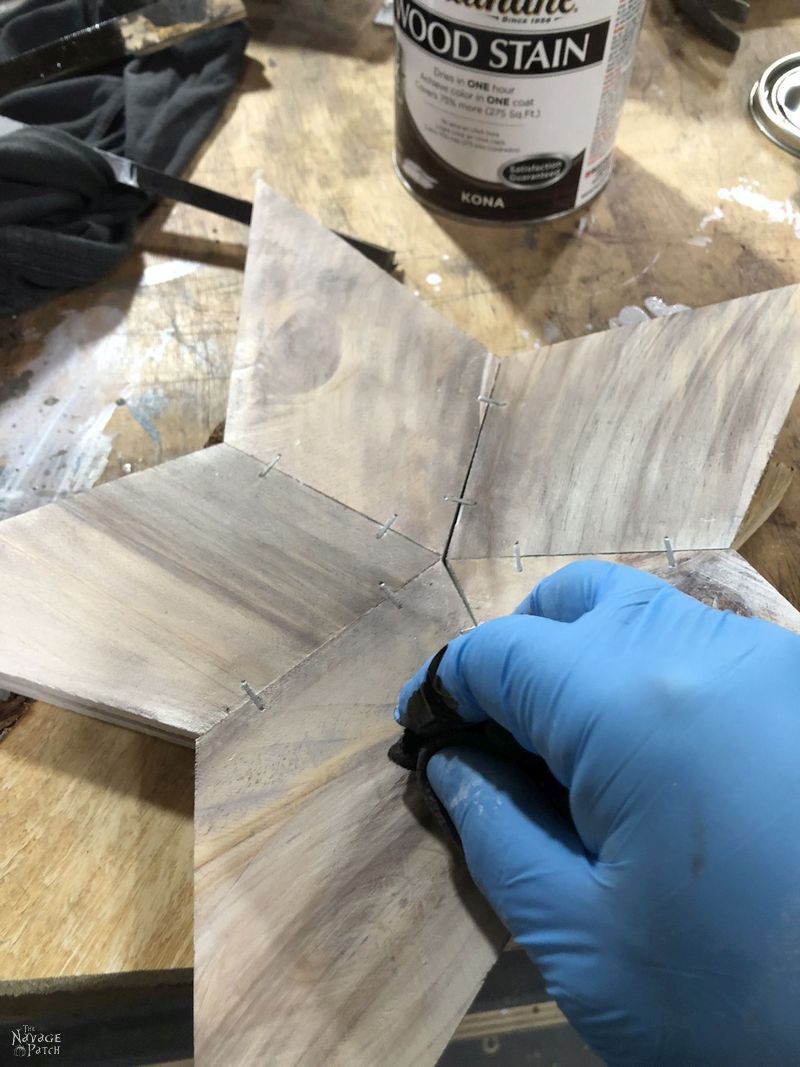
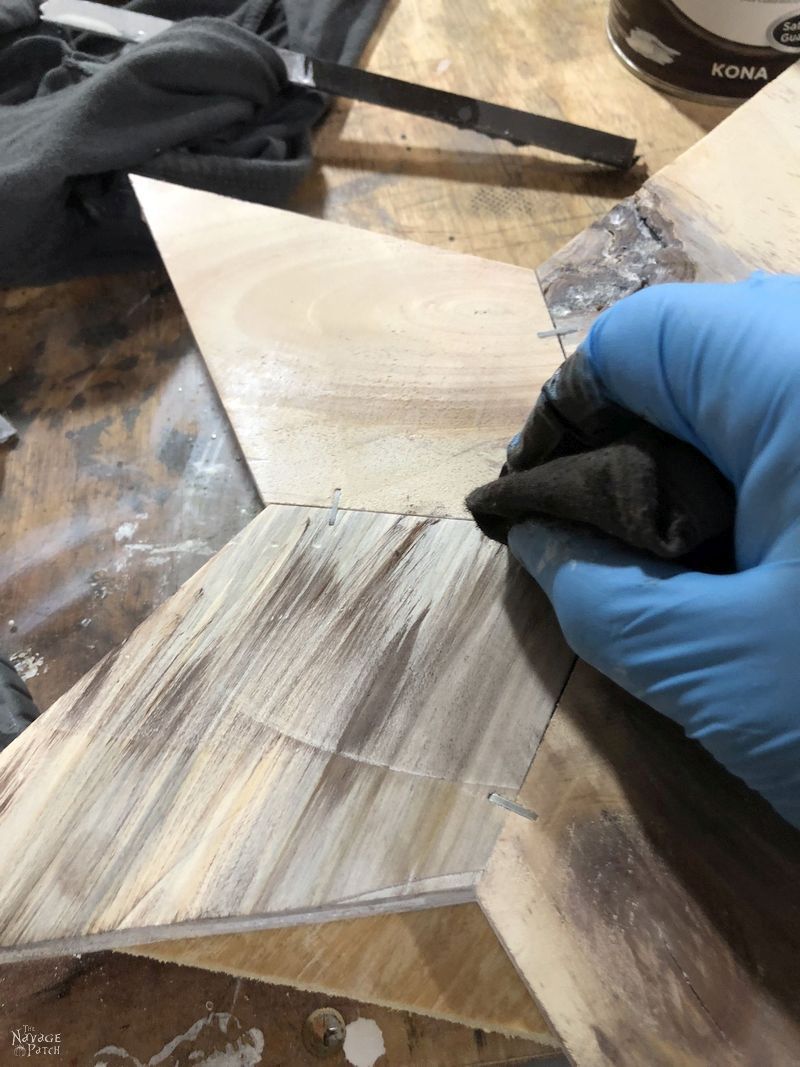
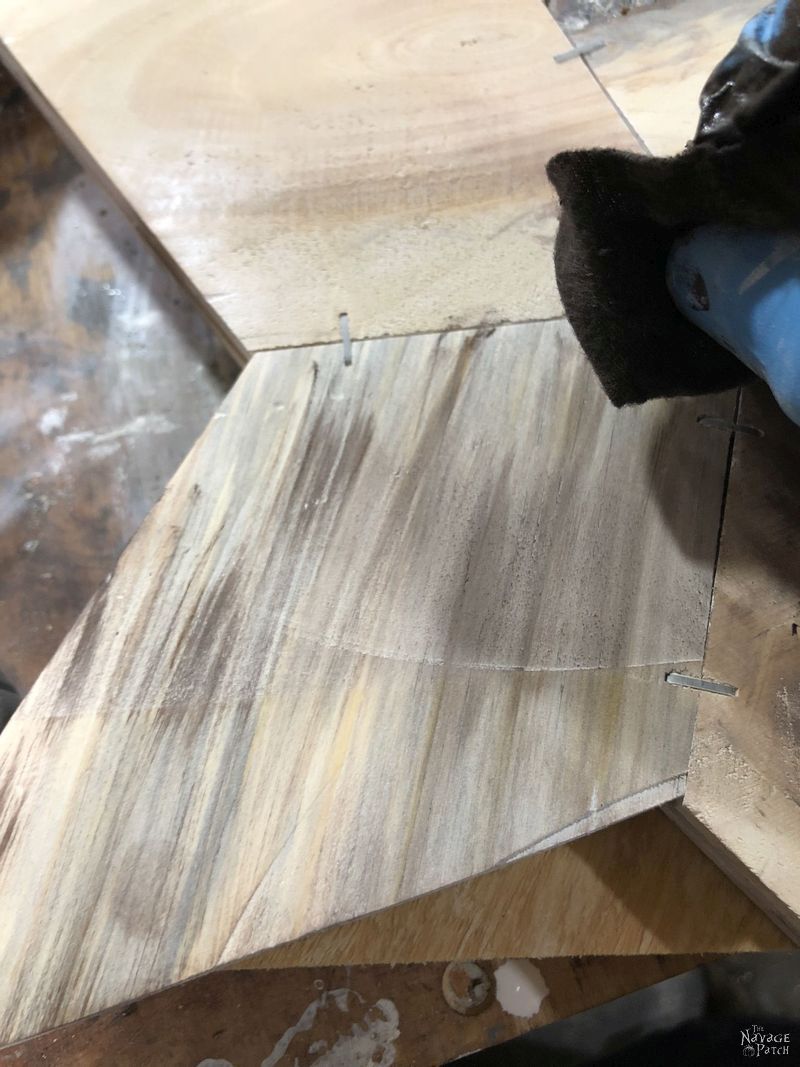
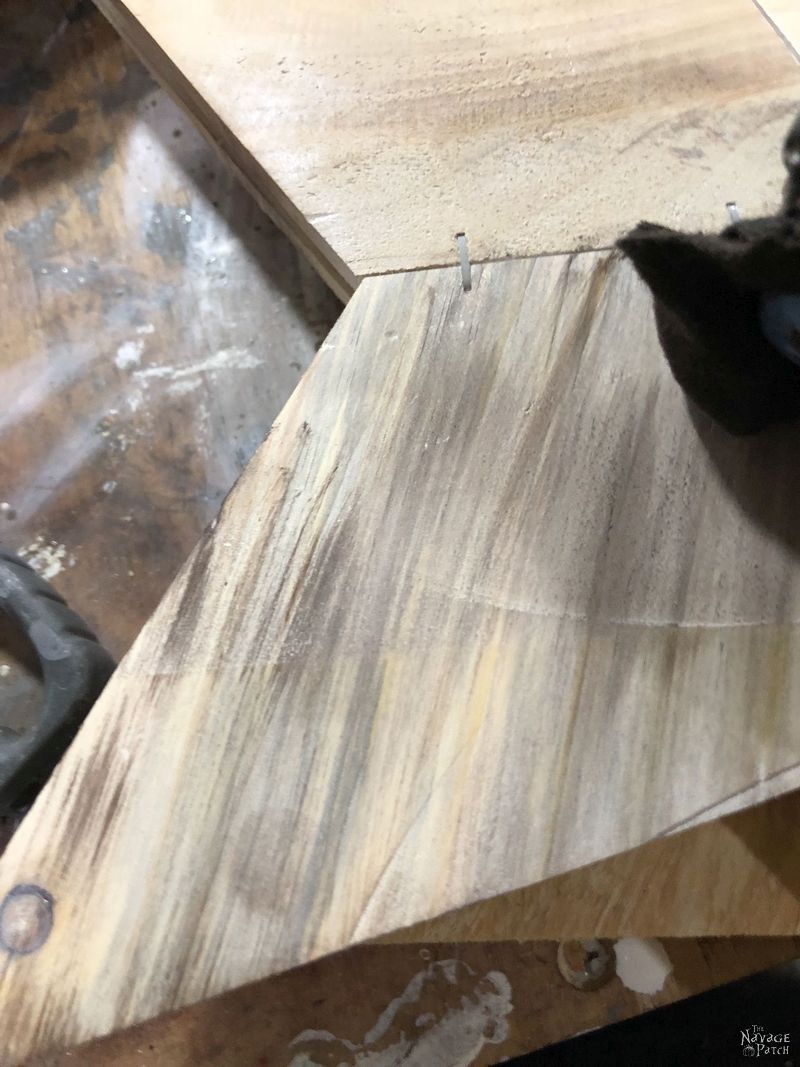
For some of the stars, I went with the one-two punch of Varathane Antique White and Kona. On this particular piece of pine, those two colors did wonders!
Before:

After the Antique White and ready for the Kona:
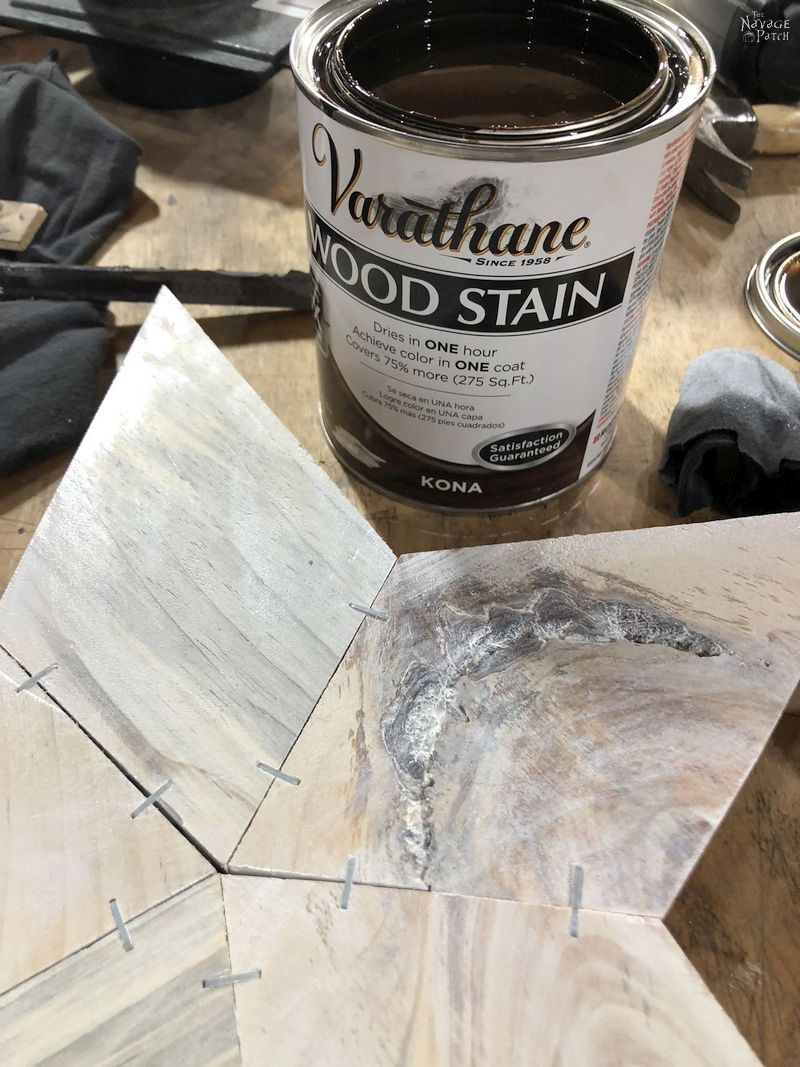
I love the white stain in the knot!
I applied the Kona very lightly and immediately blended it in with the clean side of the rag.
Rustic Wood Star Light on a Stand
For the rustic wood star light on a stand, I needed two identical stars. I used the 7 inch star template.
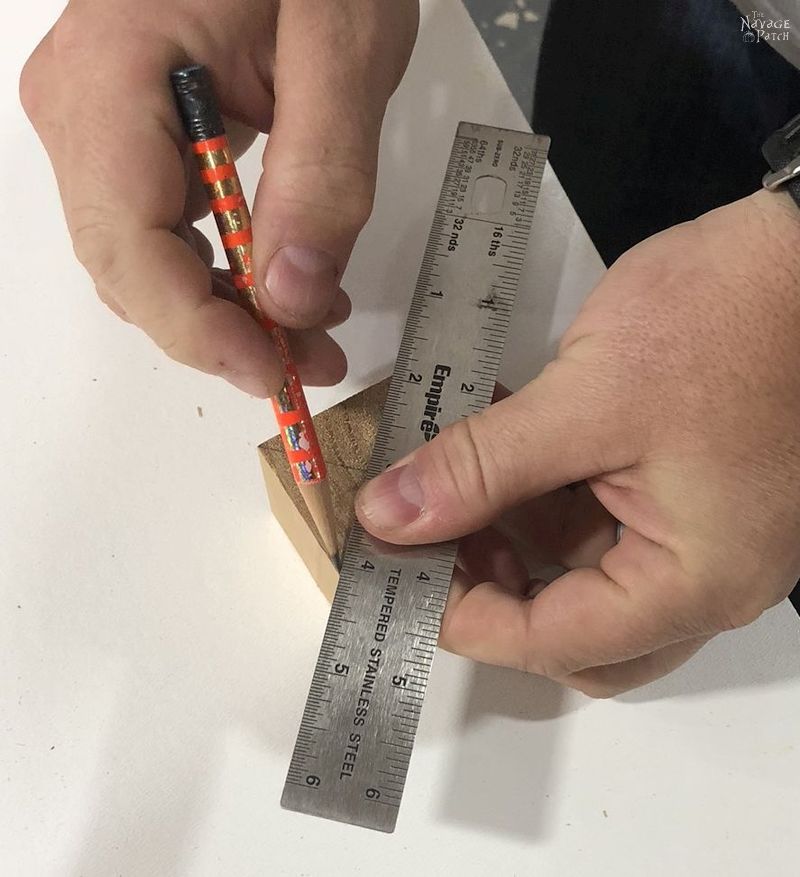
Once the stars were cut and assembled, I cut a cube 2 inches per side from some scrap. I marked the center of one of the faces.
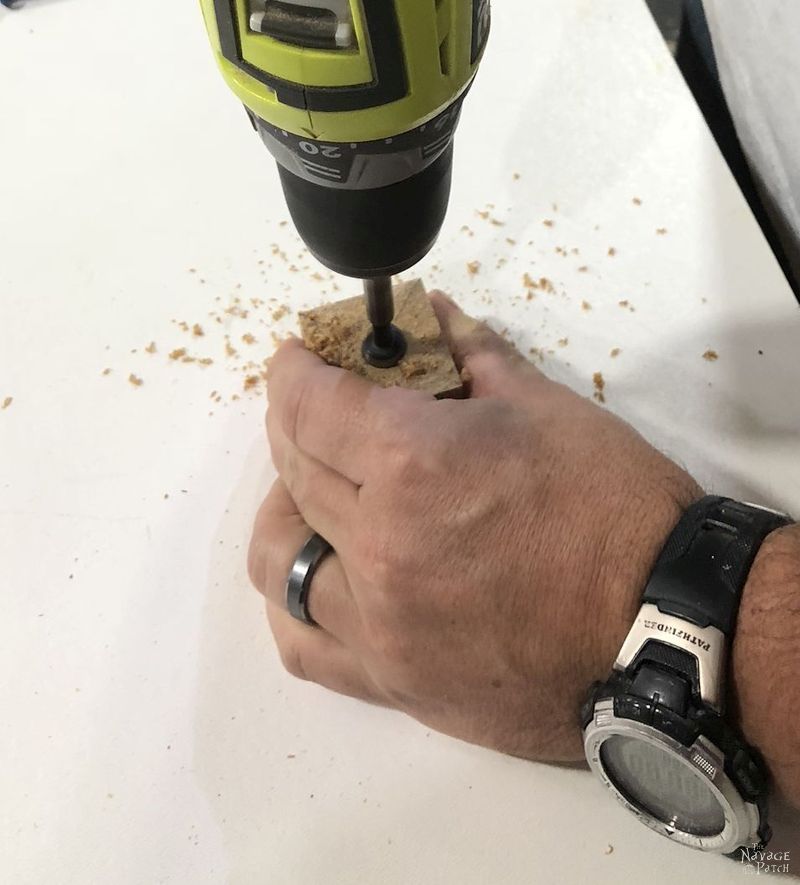
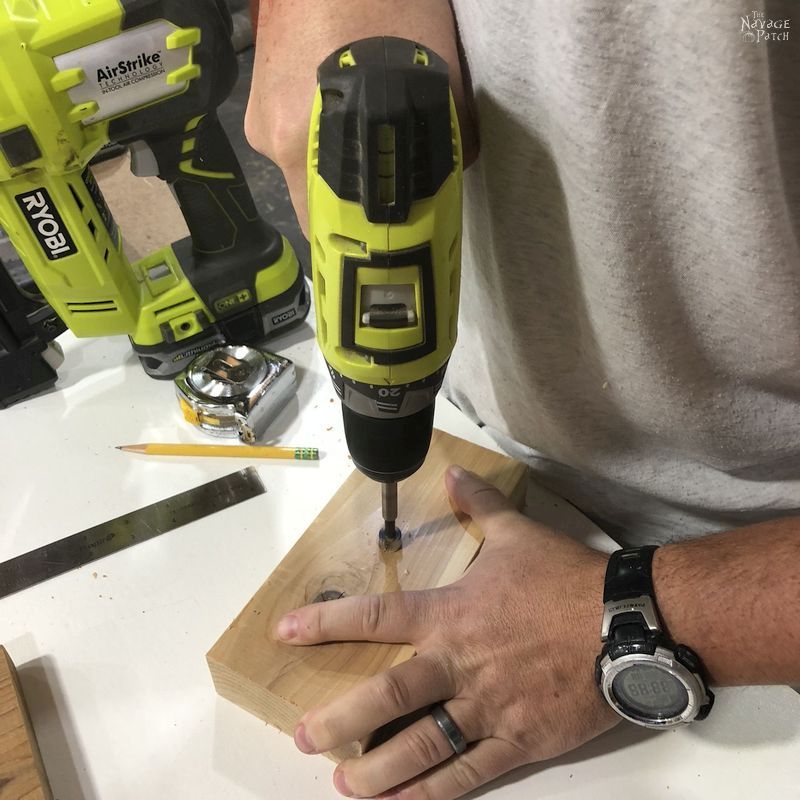
I then drilled the center with a 1/2 inch drill bit to a depth of about an inch.
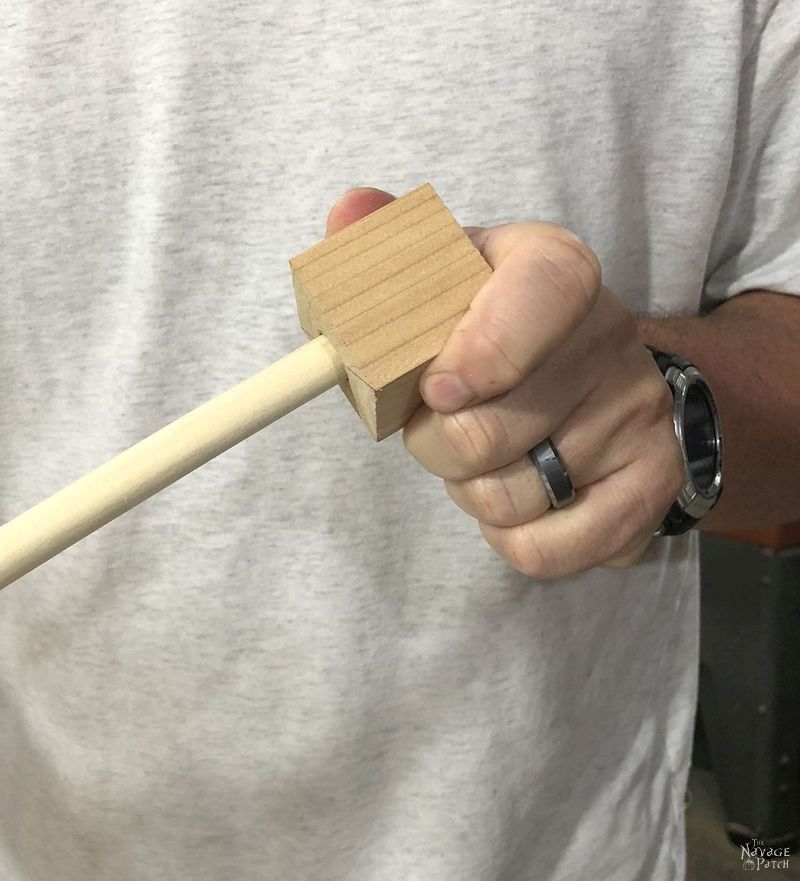
I inserted the 1/2 inch dowel. A perfect fit. The length of dowel you use is up to you.
Next, I aligned the wooden cube in the center of one of the stars with the dowel passing over one of the inside corners. This would be “down” when fully assembled.
Holding the cube firmly against the star, I turned the two pieces over so the star was resting on the cube.
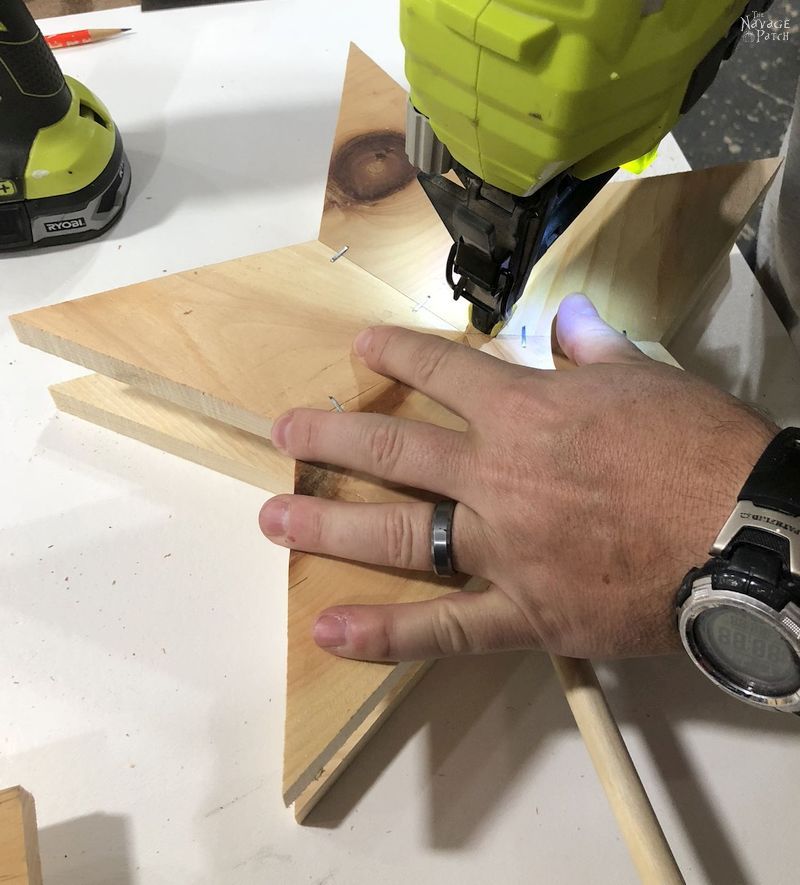
I then shot 4 brad nails through the front of the wood star into the cube to secure them together. The second star piece pictured below was there for reference and hadn’t been secured yet.
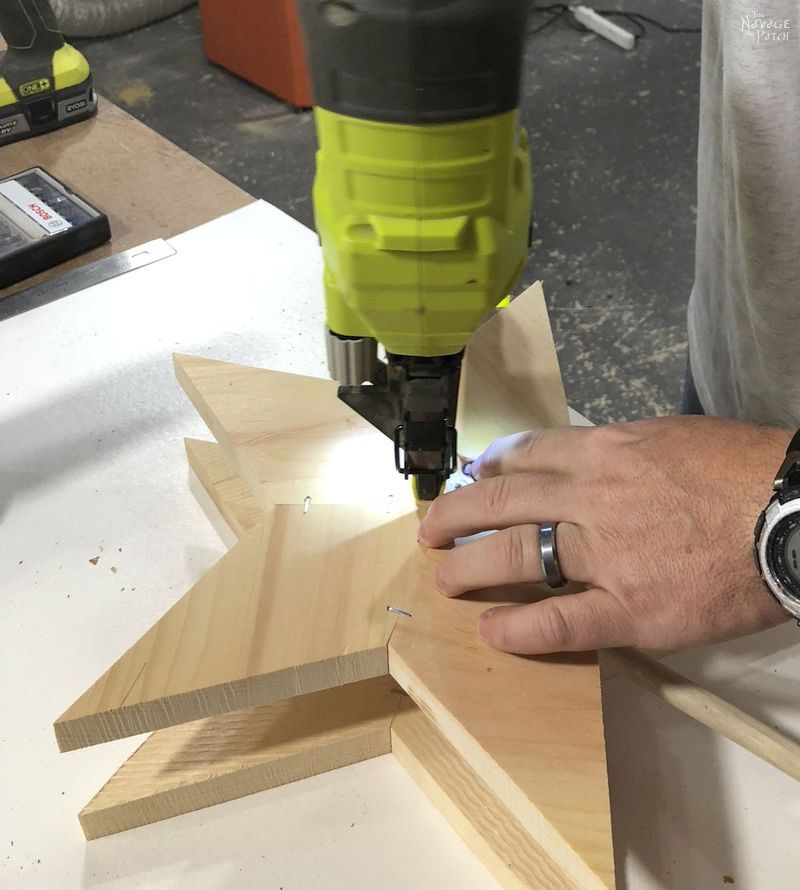
I turned the piece over again and aligned the other star on top.
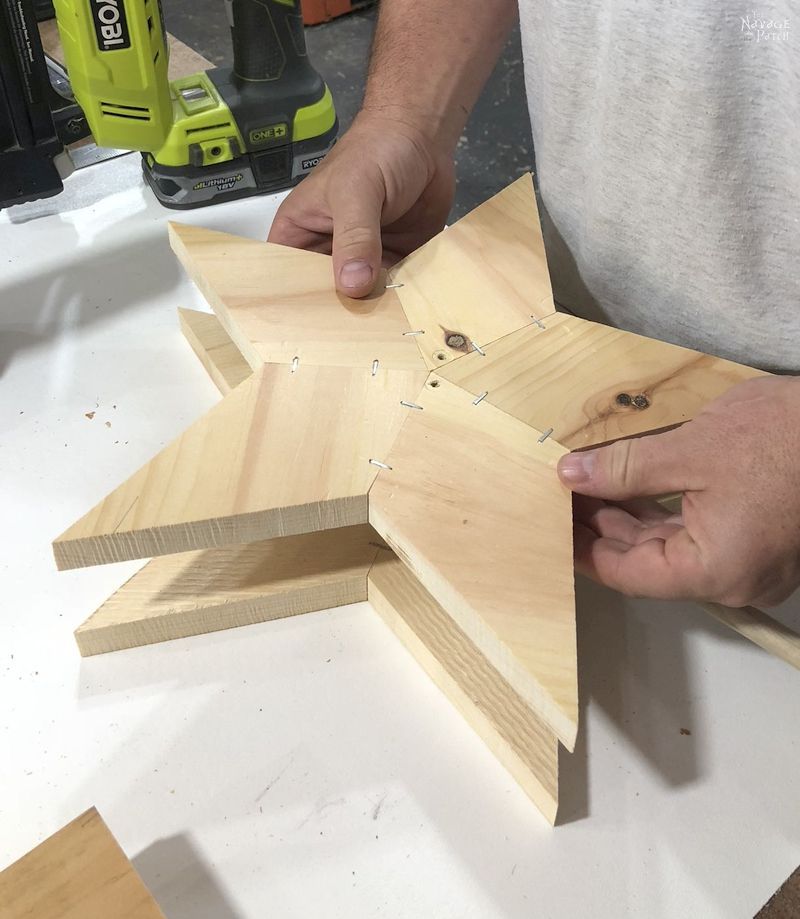
I then secured it with 4 brad nails.
Handan snapped a pic of me holding my new creation.
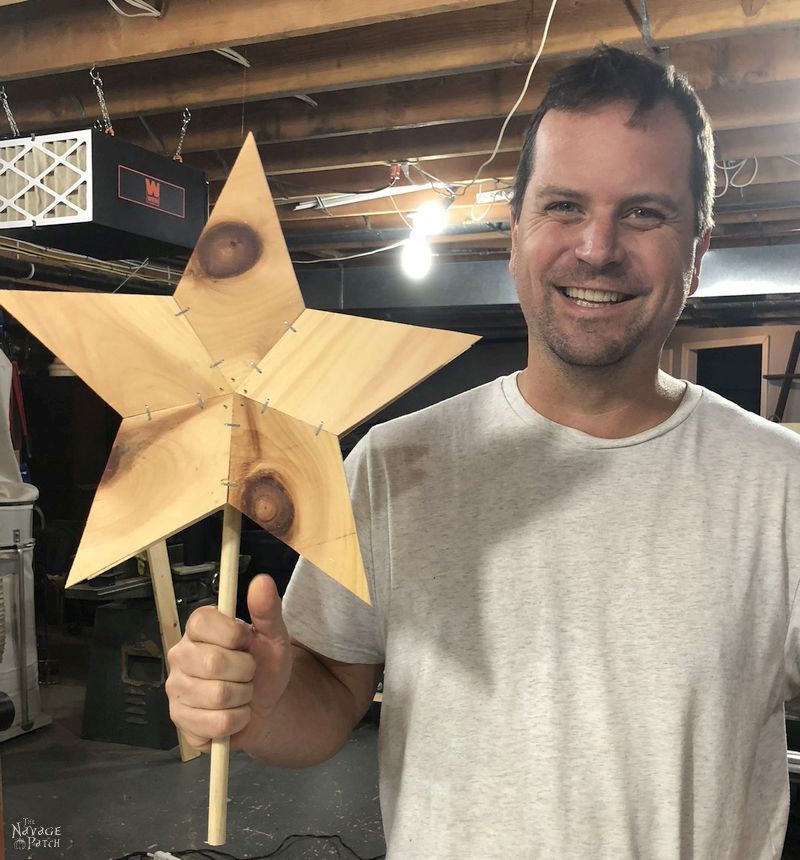
Apparently not much has changed in the past 43 years…

Next, I cut a base from a scrap piece of 2×4 and drilled a 1/2-inch-diameter hole in the middle.
I sanded the the edges a bit.
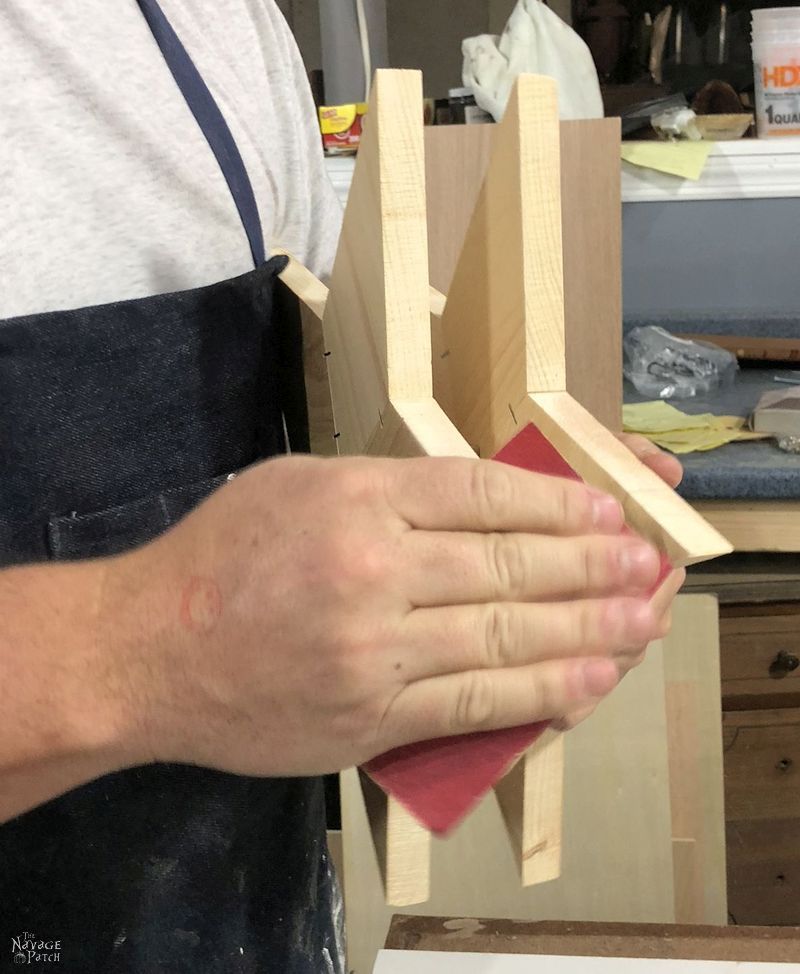
And my wood star light was ready for staining.
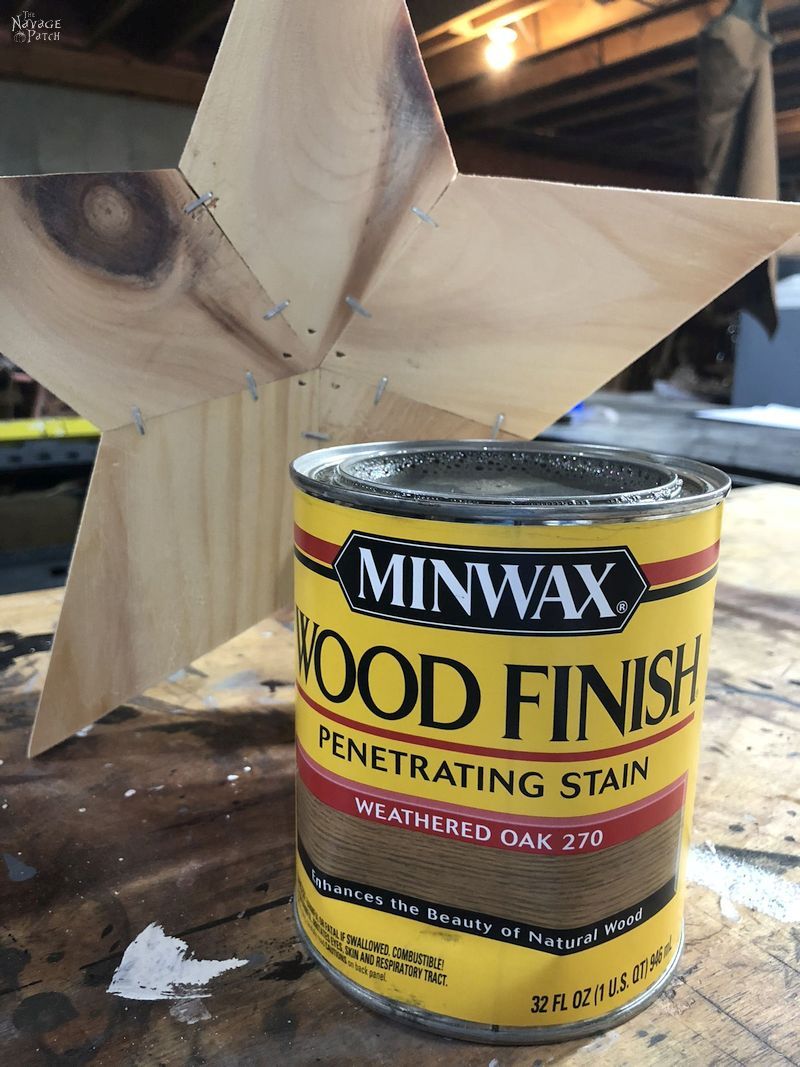
I started with Minwax Weathered Oak.
And followed it with Minwax Special Walnut.
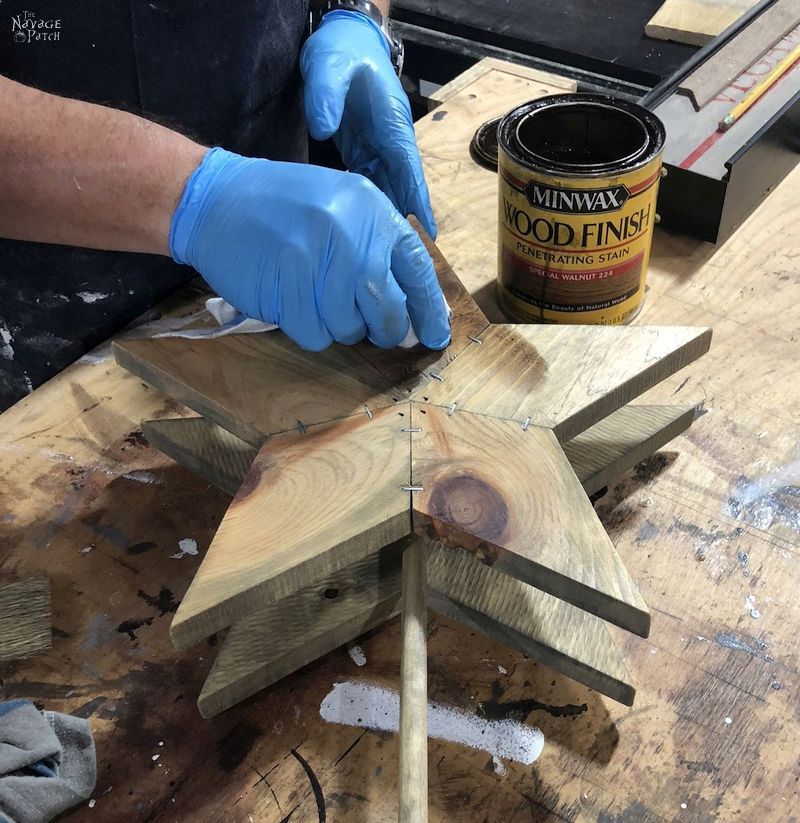
That combination gives a great rustic finish to pine.
When the stain dried, I wrapped the starry lights around the cube in the middle. Note – make sure the dowel is inserted in the star before wrapping the lights, otherwise you’ll never get the dowel back in.
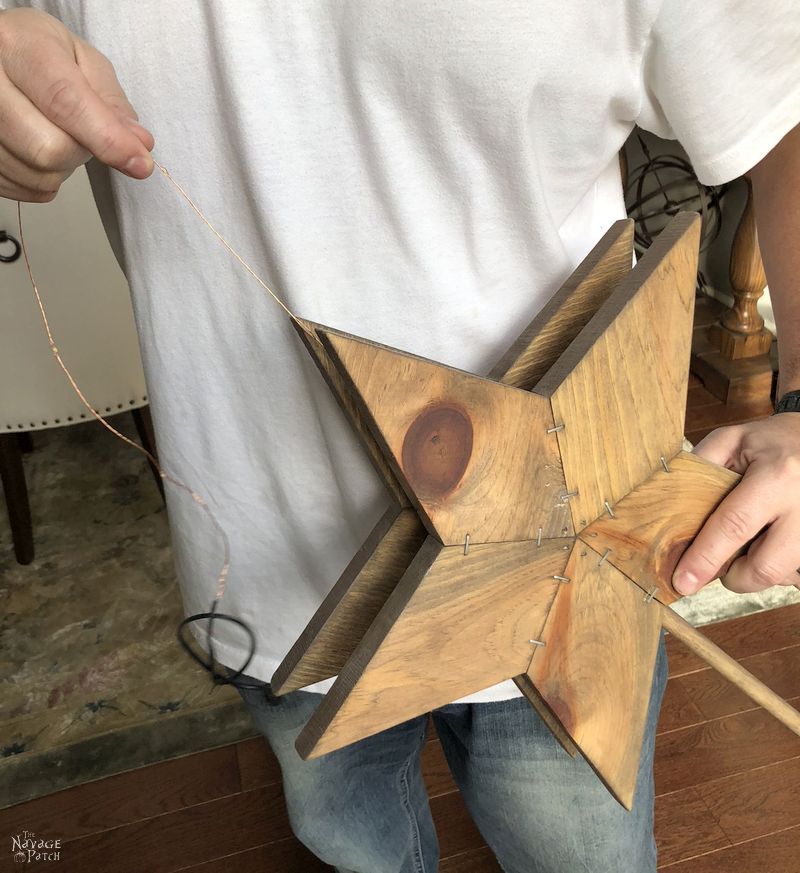
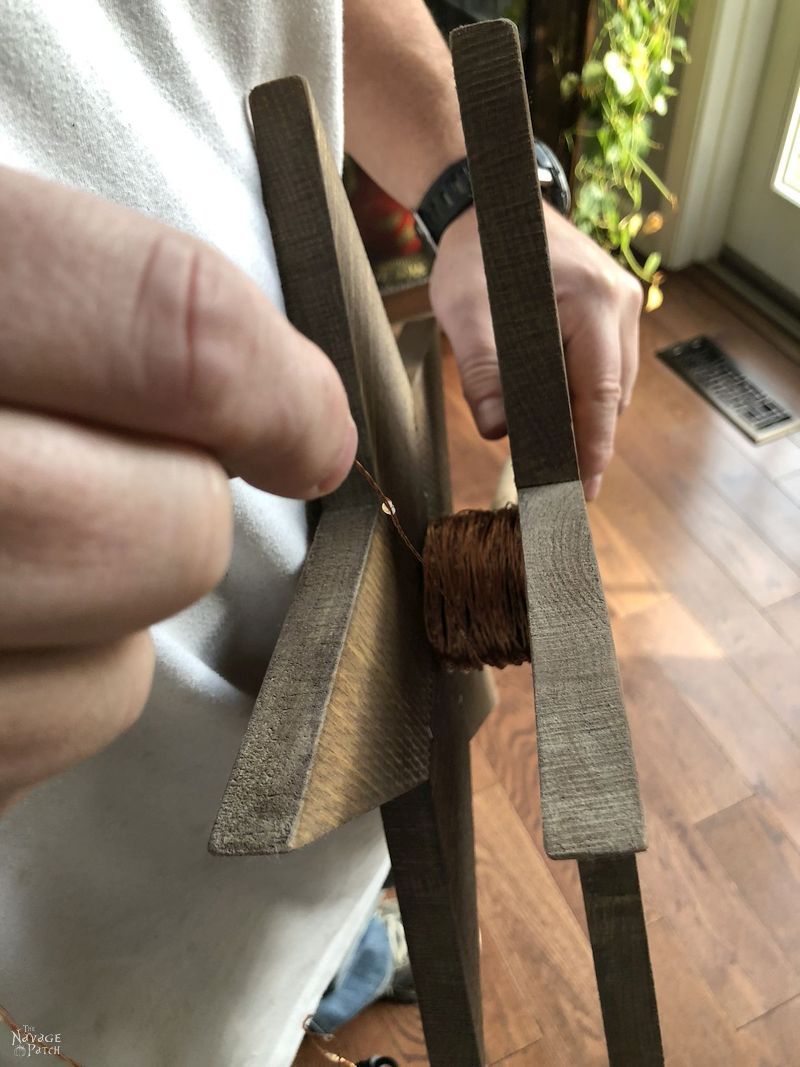
Free-Standing Wood Star Light, Version 1
I made a free-standing wood star light using the 12.5 inch star point template. Again, I made two identical stars, and I cut a block to go between them. These are the exact steps listed above in the “Wood Star Light on a Stand,” section, except I didn’t bother cutting a hole in the block, nor did I make a wood base or cut a dowel. I just nailed the two big stars to the center block, stained them, wrapped the starry lights, and I was done! You’ll get a look at that one in the beauty shots.
Free-Standing Wood Star Light, Version 2
For this DIY wood star, you’ll need some 2×4 or 2×6 or 2×8 lumber. This thick lumber will allow the wood star to stand on its own. If you want this to be a star light, you’ll need a table saw.
For this star light, I’d recommend going no smaller than the 10-inch star points. The heights of the star points are printed on the star templates.
For this particular wood star light, I chose the 10-inch star pattern. Note that 10 inches is the height of each star point. The overall height of the star is about 18 inches.
Using a straight edge and a razor blade, I cut my star template from the sheet. I then traced the pattern on my piece of 2×8 lumber. You can use 2×6 lumber for the 10-inch star point, but I just had some 2×8 kicking around, so I used that.
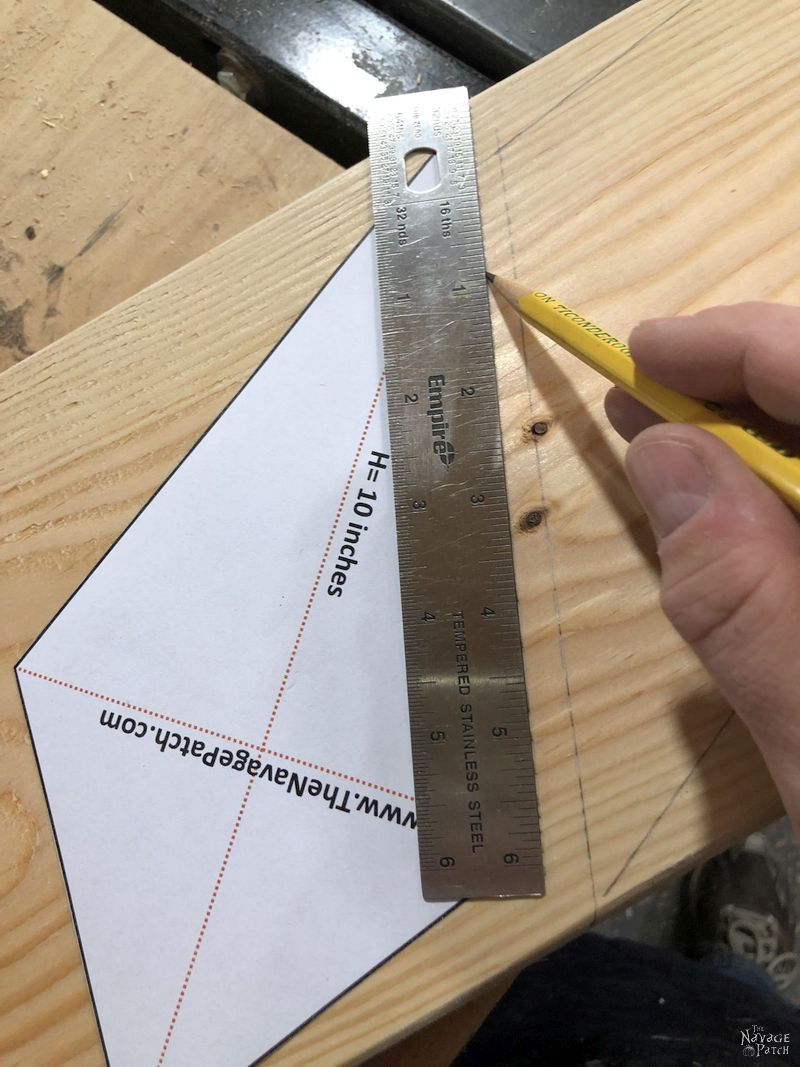
Normally there would be a left hand in there holding the straight edge, but it was busy holding the camera!
I traced the pattern 5 times.
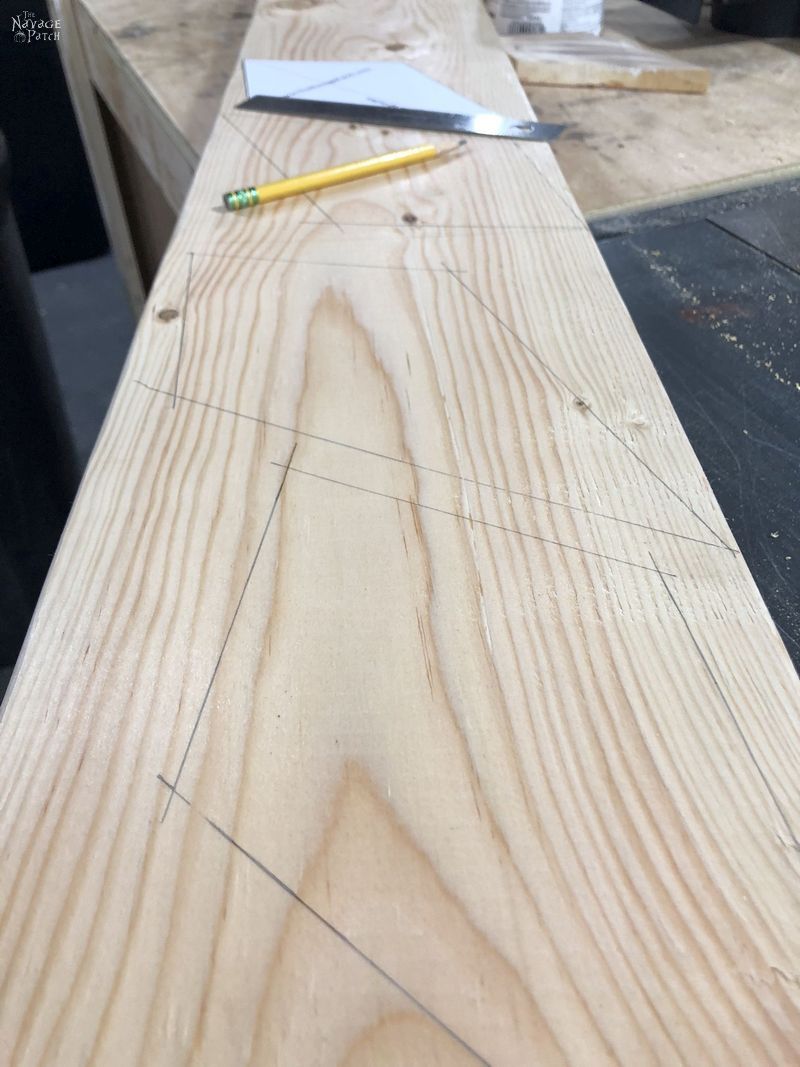
I used a band saw to cut out the pieces, though a jigsaw would work just as well. I used a jigsaw for most of my other wood stars.
Here are the 5 cut pieces. I sanded all the long edges, just to remove the sharp corners.
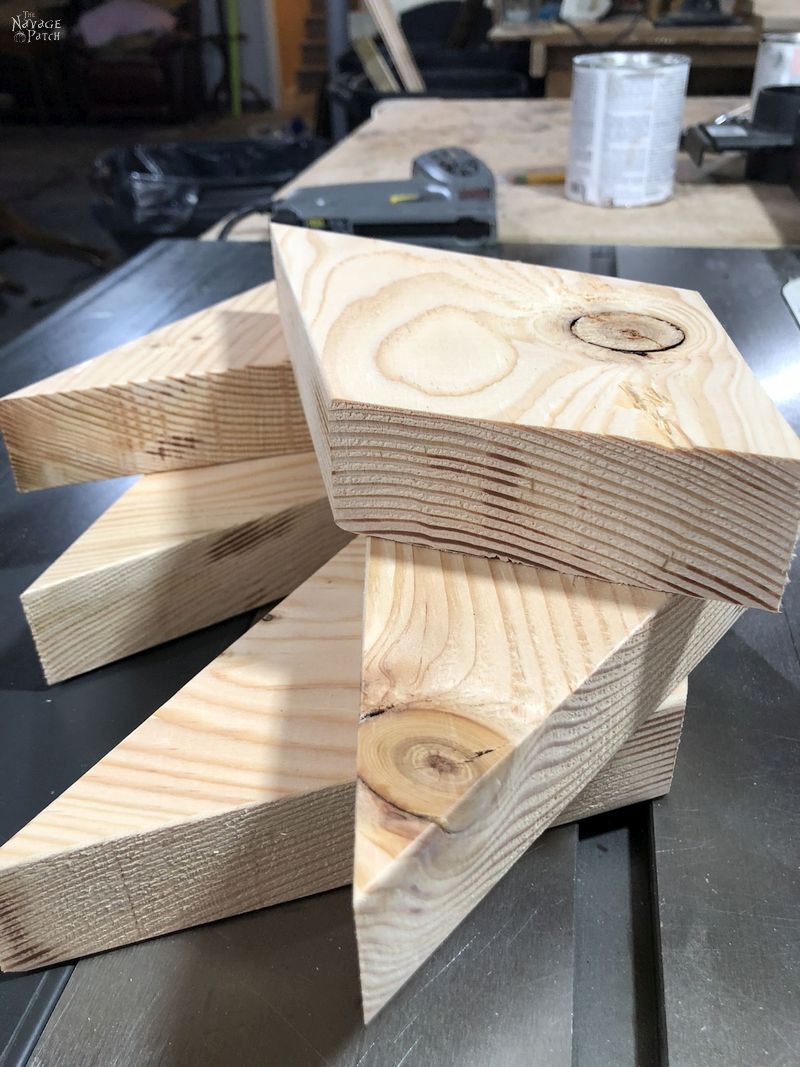
I wanted to cut a groove in all the long sides. My idea was to run the lights around the star in the groove.
I set up my table saw to make a 1/2 inch deep cut.
Then I measured out a 3/8 inch notch and marked it.

I passed all of the long sides over the blade.
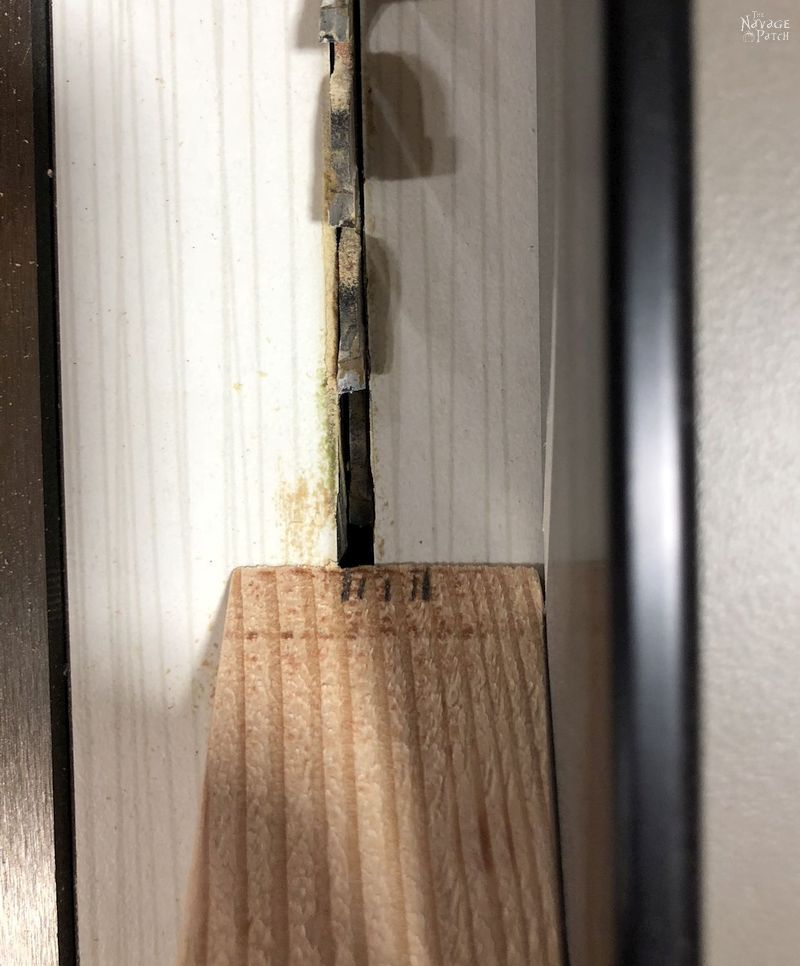
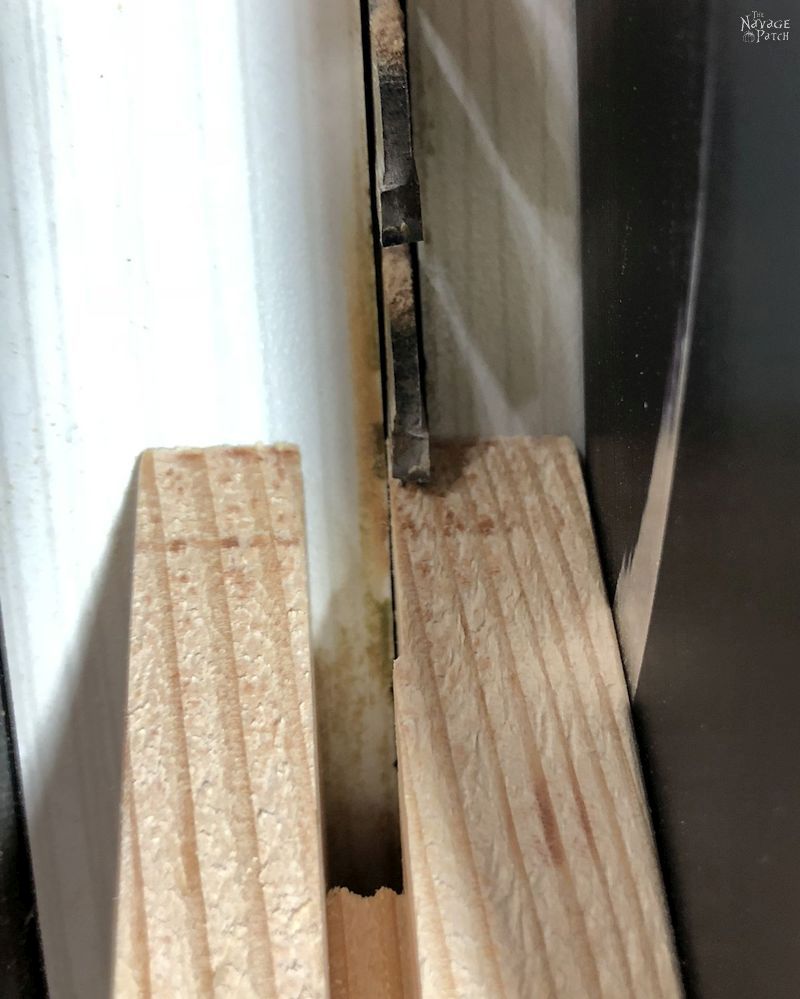
Since the blade is 1/8 inch wide, and I wanted a 3/8-inch-wide groove, I made three passes on all of the long sides.
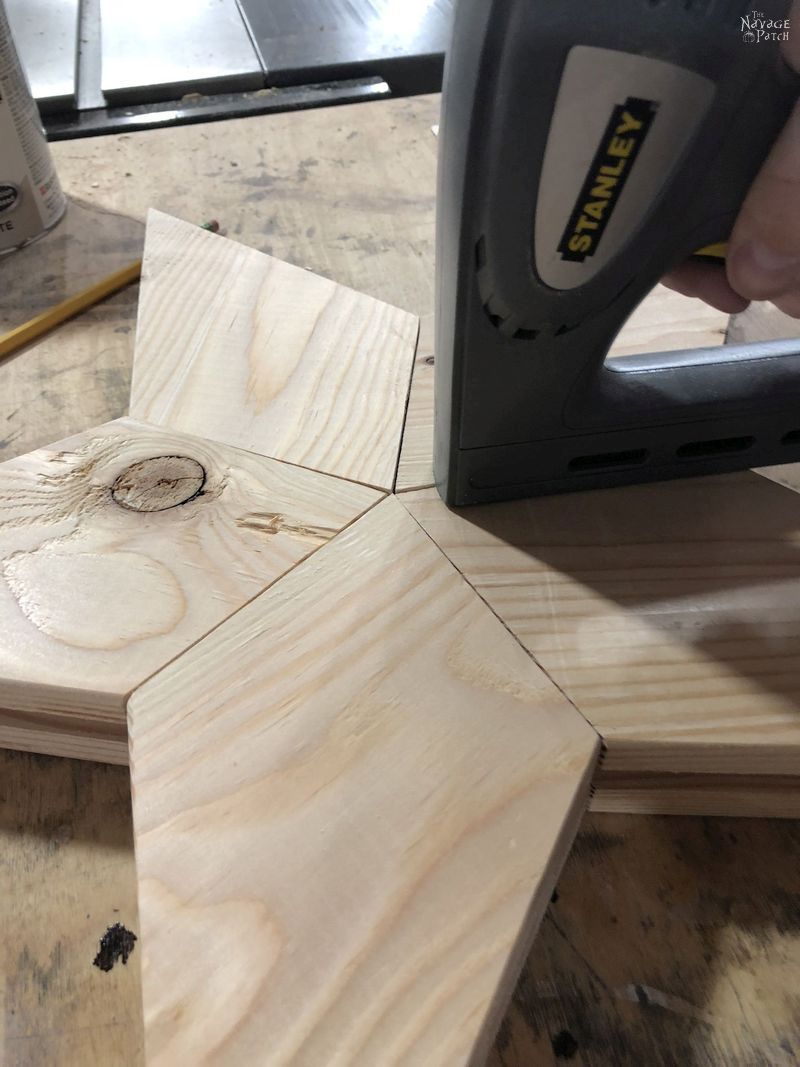
I used a staple gun to join the pieces of my wood star together. For this size star, I used 2 staples on each seam. I stapled both sides of the star.
Don’t worry if your wood star doesn’t fit together perfectly.
You can see the gaps in the star below. Doesn’t matter!
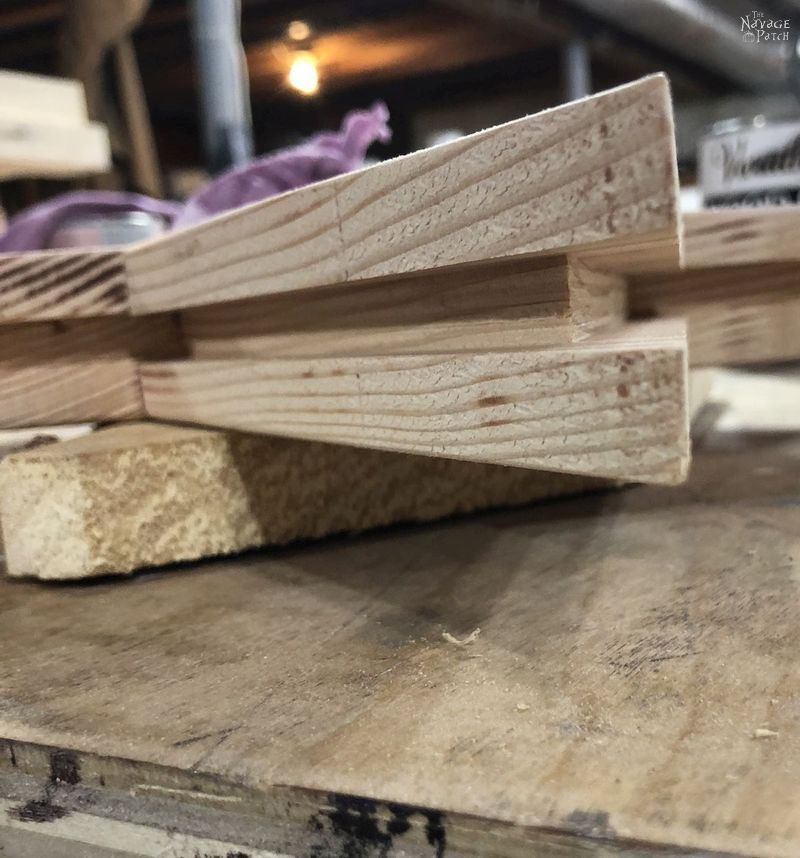
Here’s a closeup of the channel that would hold the starry lights.
When my rustic wood star was stapled together, it was time to stain it. For this star, I again used Varathane Antique White and Kona.
When the stain dried, it was time to wrap the starry lights into the channel.
But there was a problem. The lights wouldn’t stay wrapped because my wood star has both inside and outside corners. Wrapping around outside corners is a breeze – think of wrapping wire around a cube. But when you throw inside corners into the mix, things get tricky. I needed a way to keep the wire secured in those inside corners.
A simple solution came in the form of a drill bit and a nail.

I had the idea of using a nail to hold the wire in place. Since the wire would be passing around the wood star many times, the nail would need to be able to slide back and forth during each pass. I chose a drill bit about the same size (or just slightly larger) than the nail’s diameter. I measured up 3/8 inch from each inside corner and marked with a pencil. I then drill the holes.
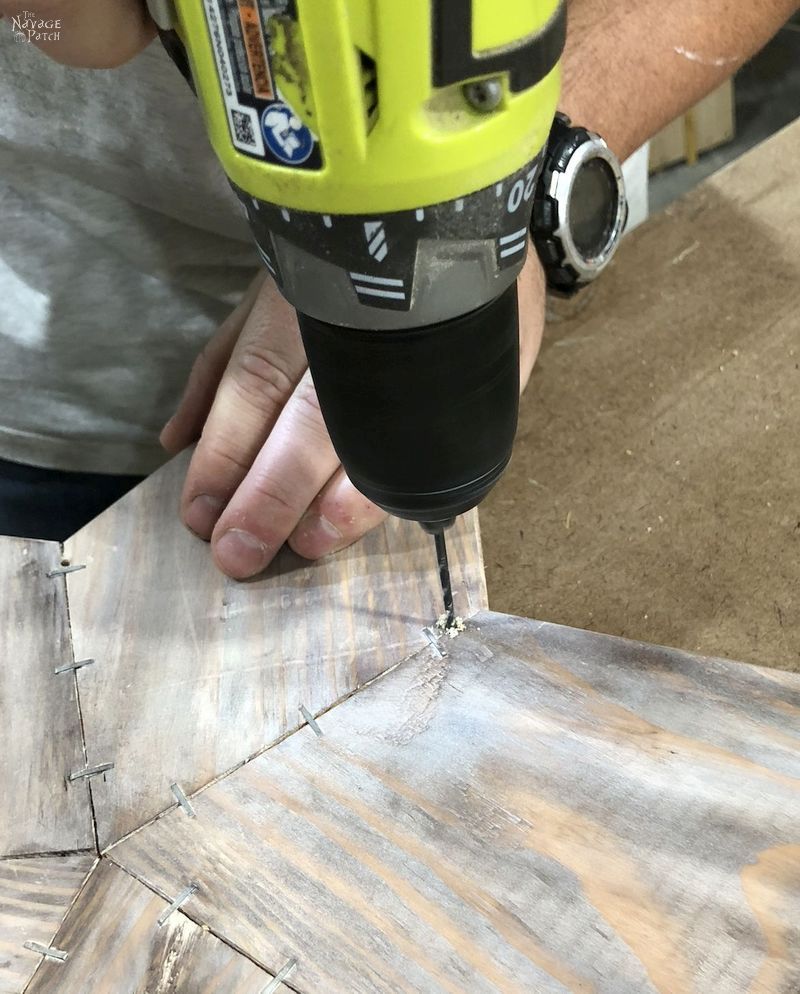
The nail heads look pretty cool on the star, and they add to the whole “rustic” thing.
I started wrapping the lights with Handan’s help. This is much easier with two people.
I used a small scrap wood stick to press the wire down at the inside corners.
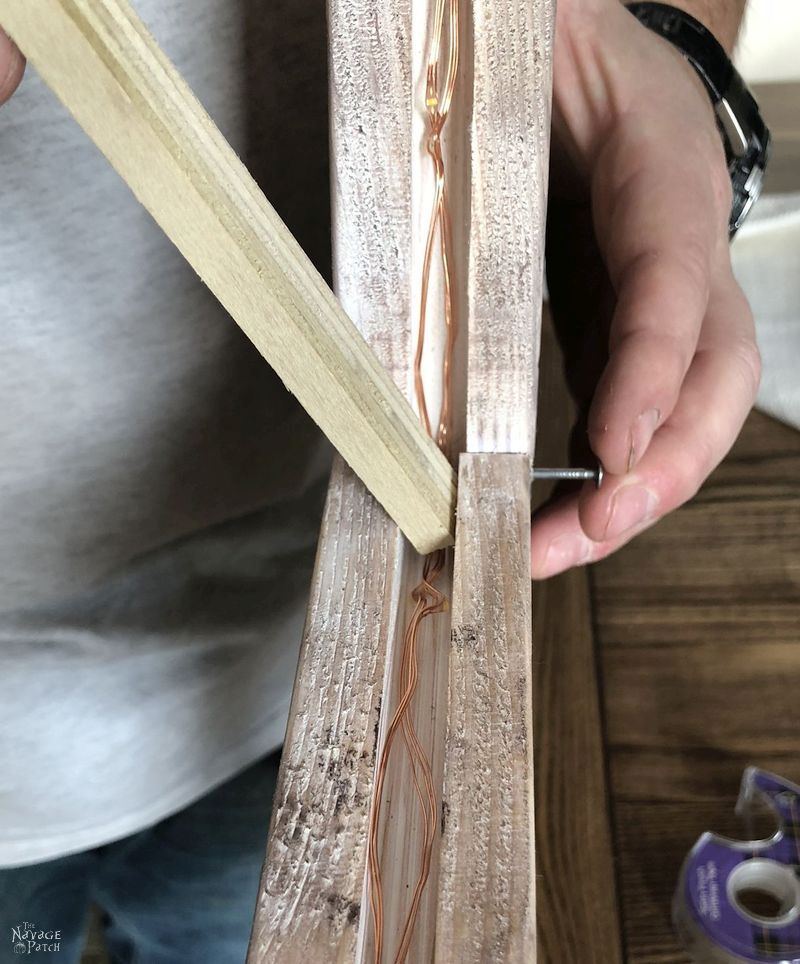
Once I saw that I had the wires snugly in the inside corner, I pushed the nail back through…
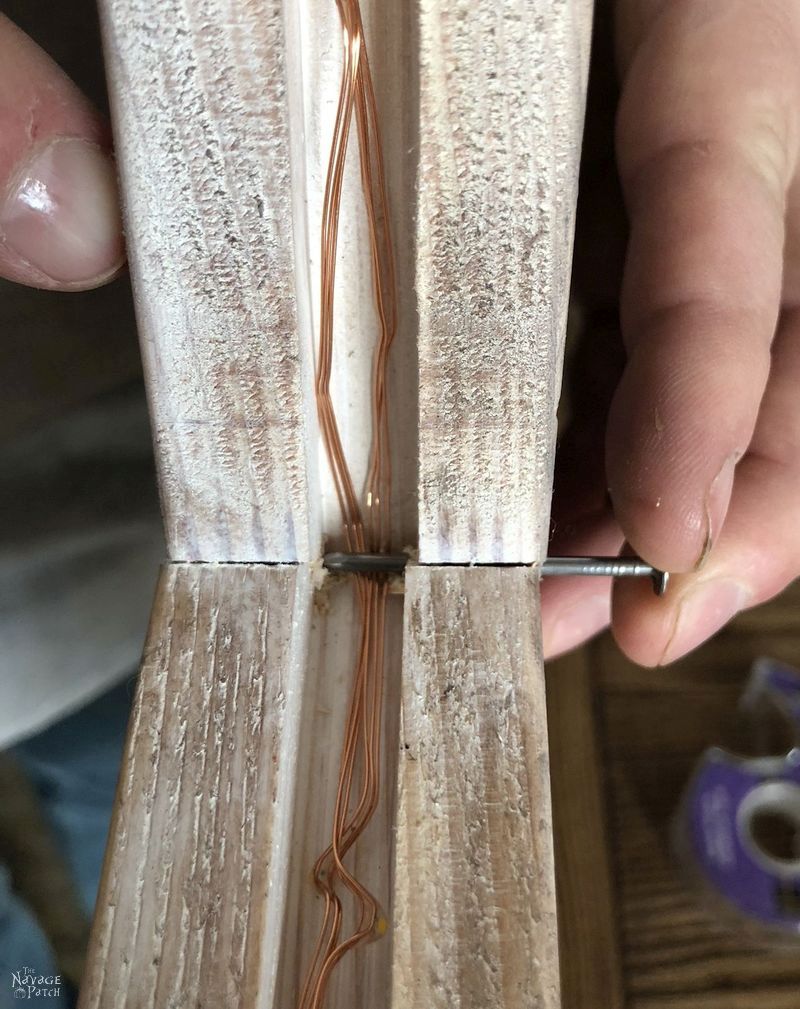
…securing the wires in place.

We wound around the wood star over and over until the starry light strand was fully wrapped.
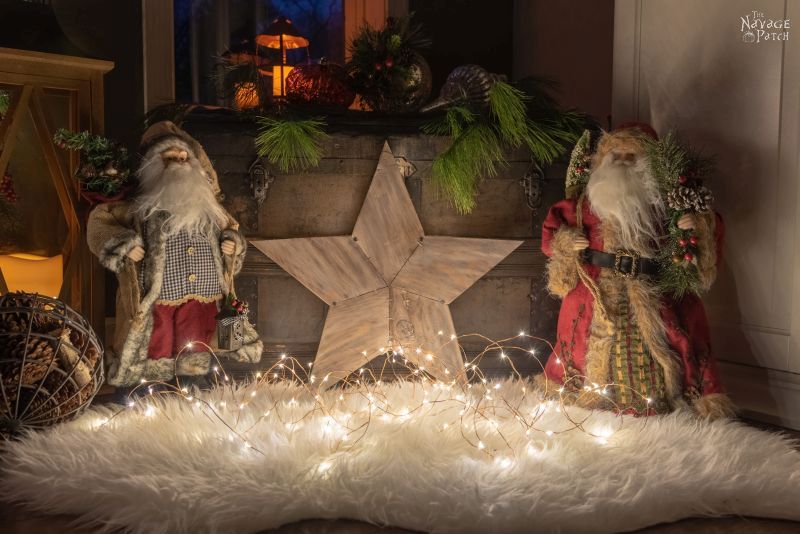
Okay, that’s it! Our DIY Rustic Wood Stars and Star Lights are finished. Let’s have a look at the beauty shots!



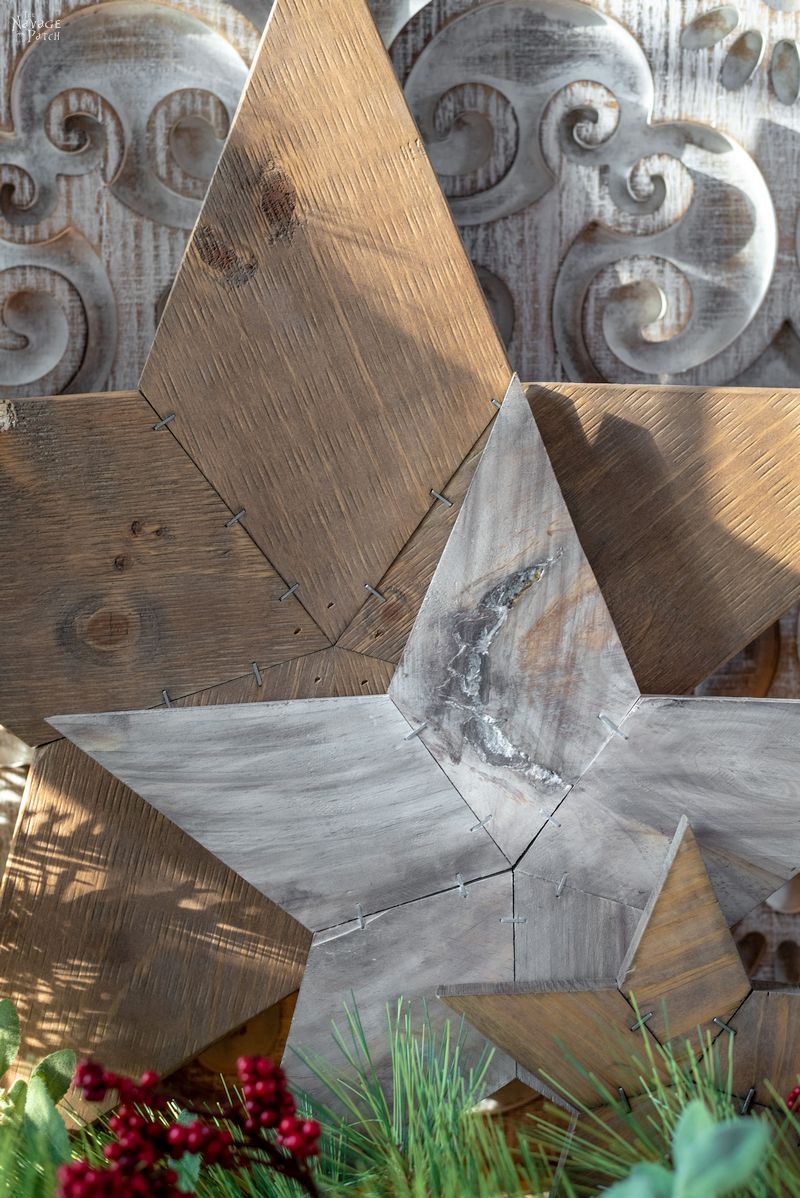
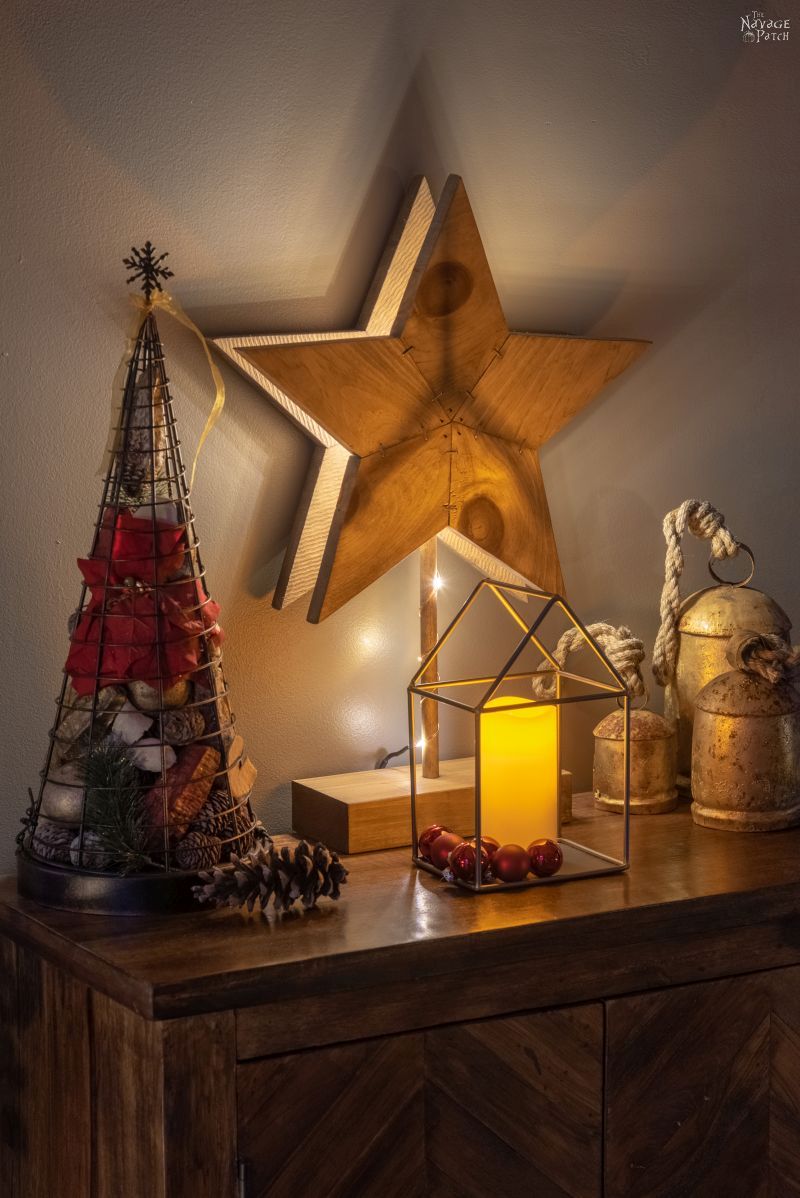

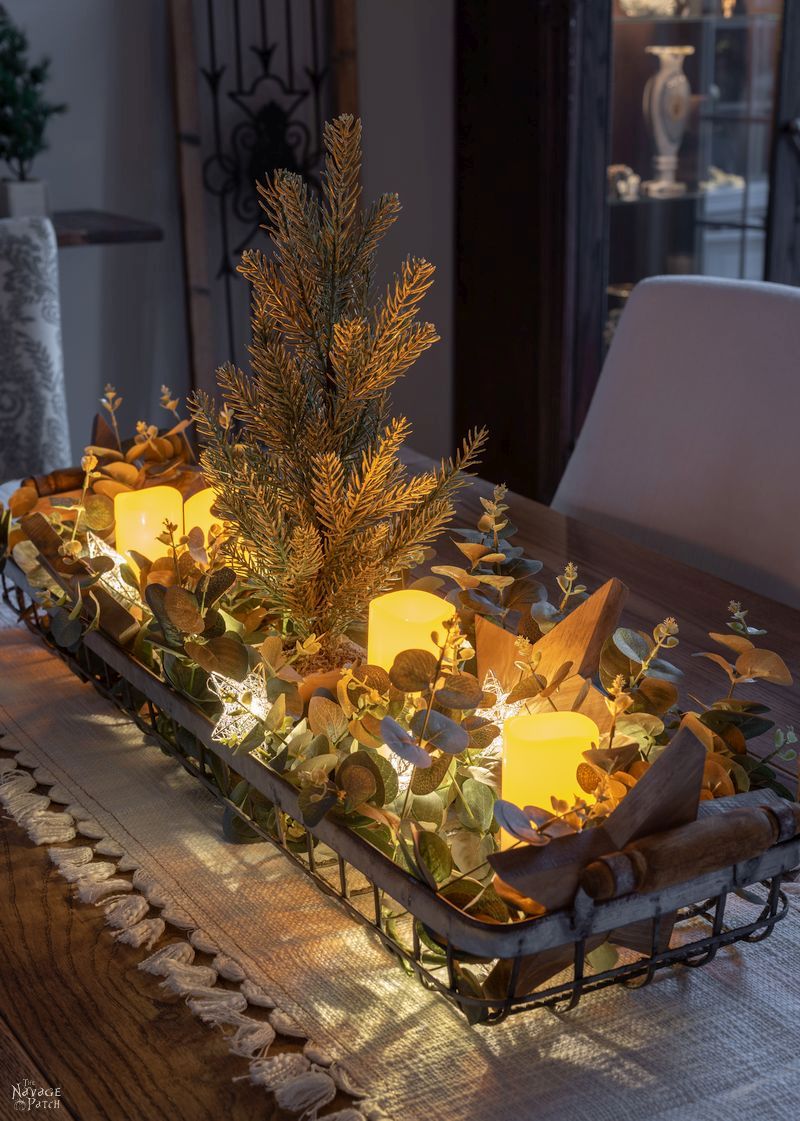
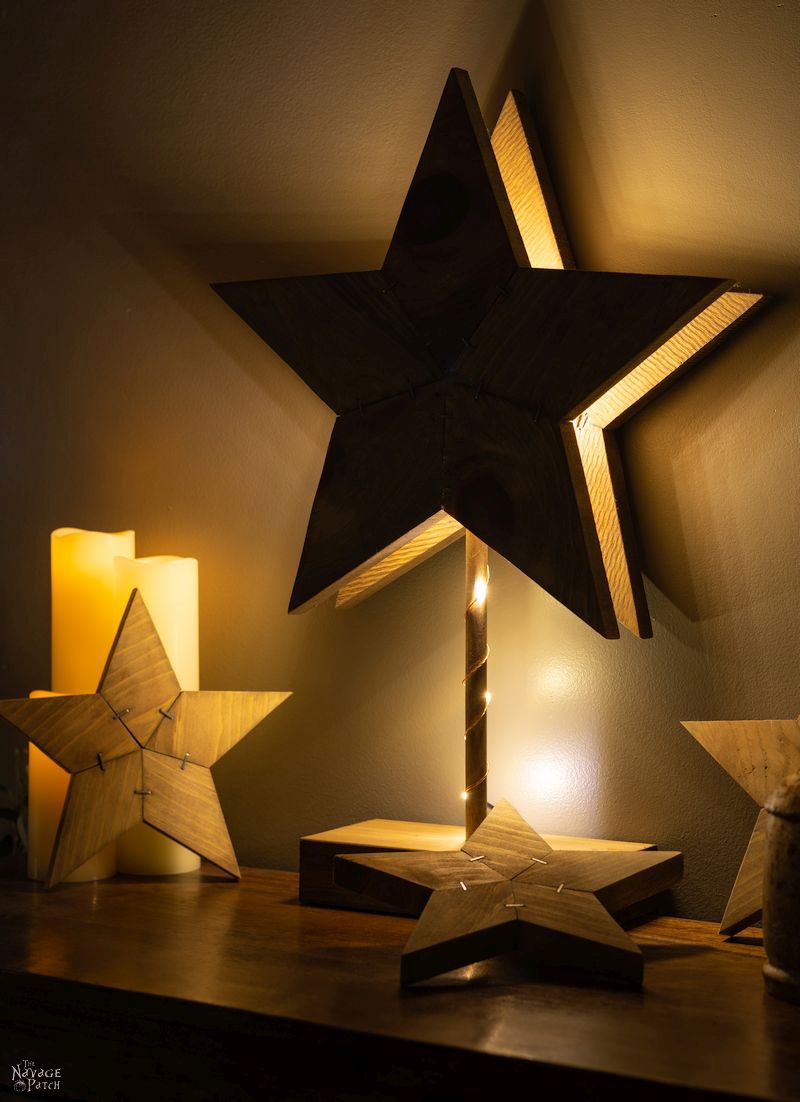
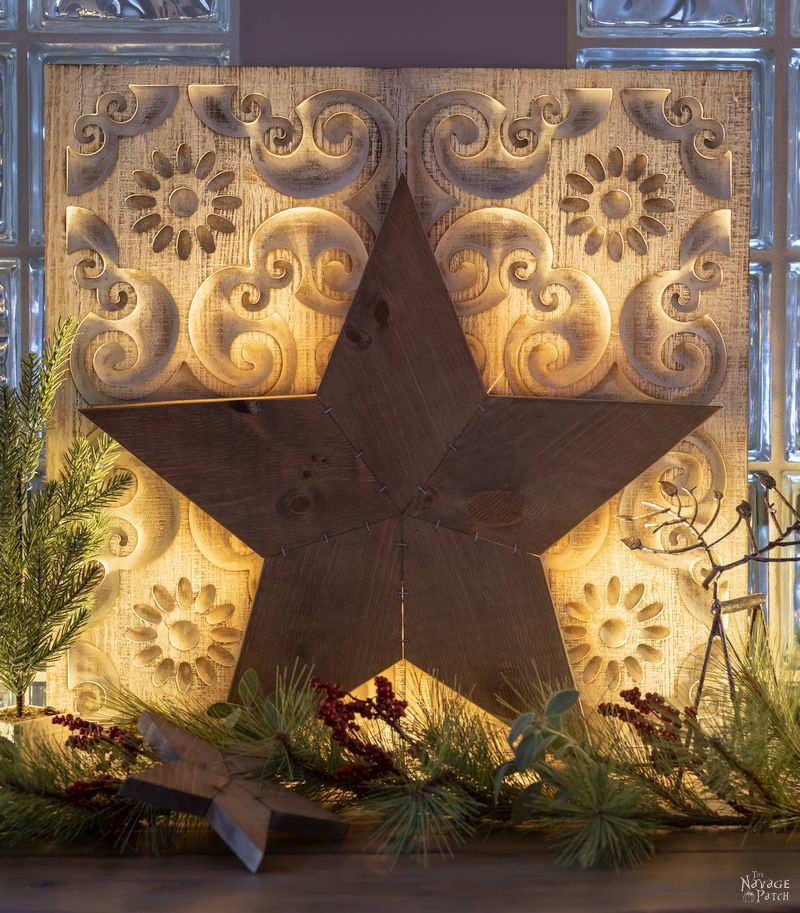
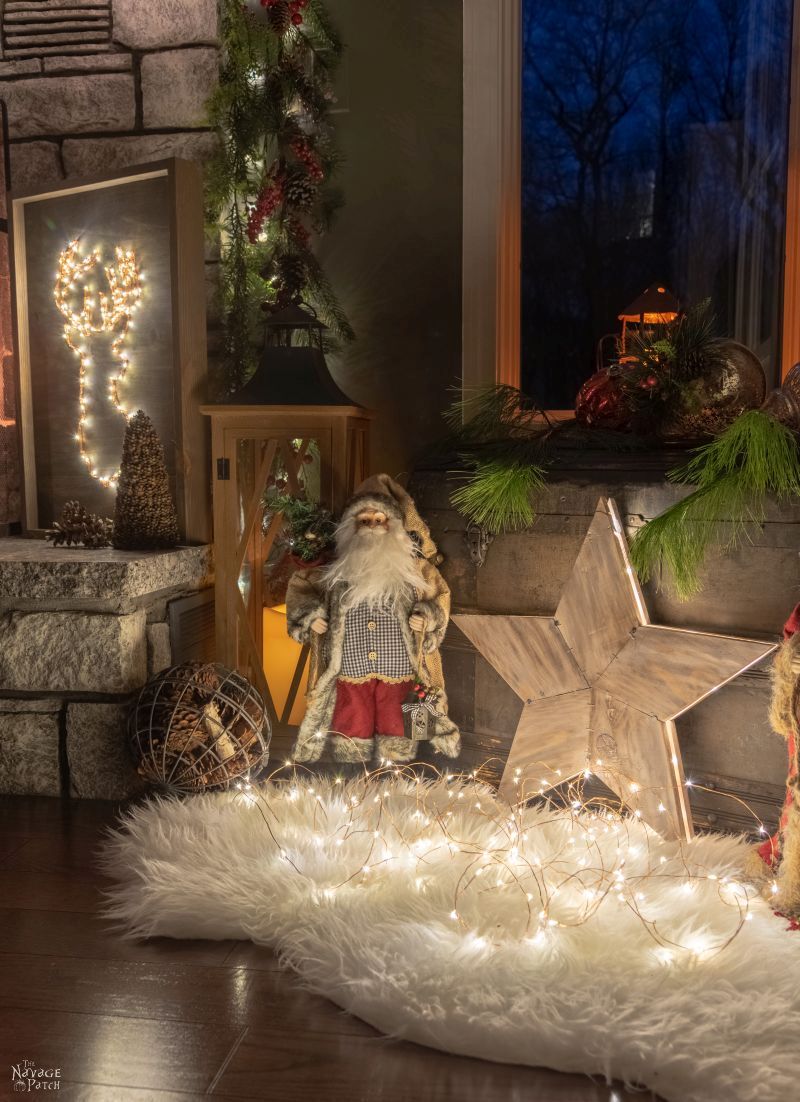

Now it’s time to click on the button to download the star templates. You can find them under the “Christmas” section and also under the “Template-Cut Sheet” section of the VIP Patch.
If you’re not a Navage Patch VIP, you won’t be able to access our Freebies Library. But that can be easily fixed! Subscribe for free on the form below and become a Navage Patch VIP. Once you subscribe, a password will be sent to you in our Welcome email, and that will give you access to The VIP Patch [Freebies Library].
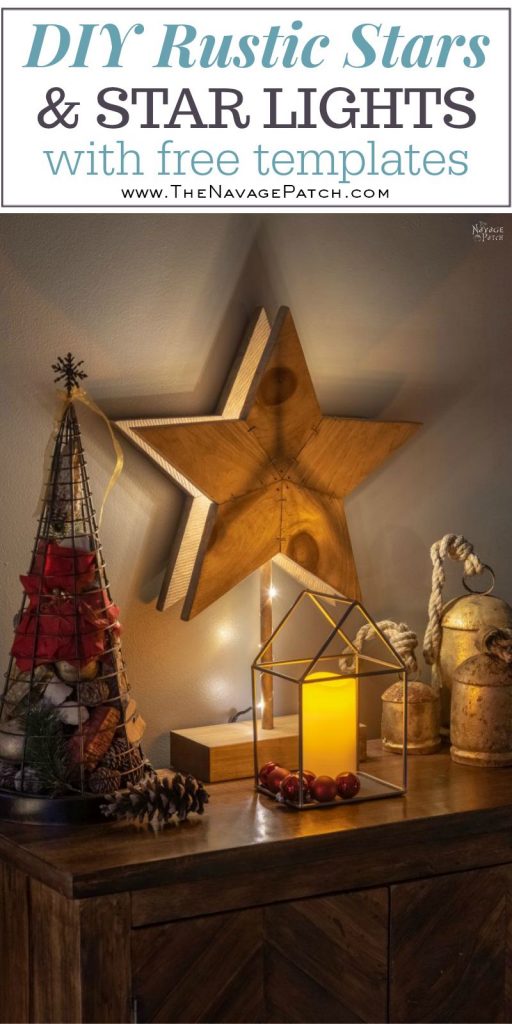
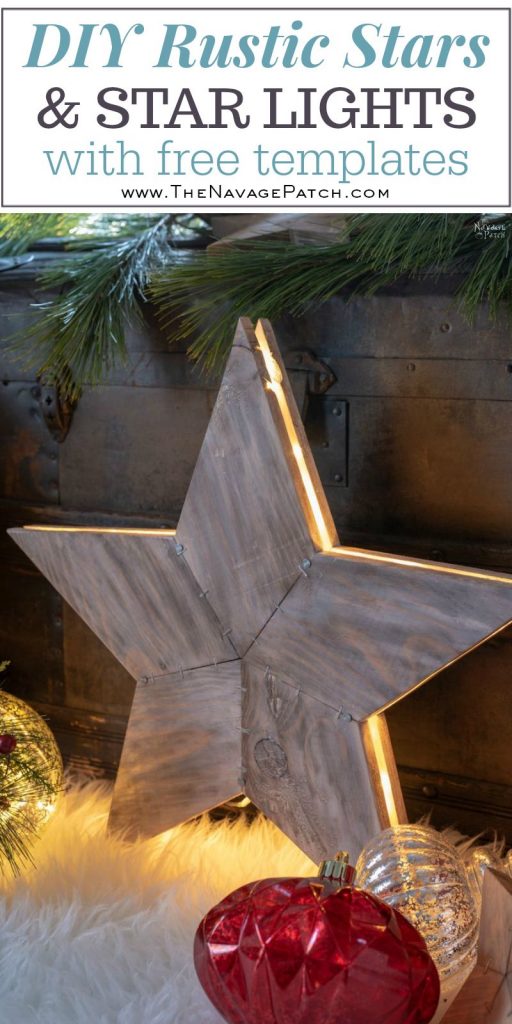
Share it on Pinterest & Facebook!


Very cool as usual!
Thank you, Giselle! 🙂
These are brilliant! And I don’t just mean because they are lighted 🙂 I think I want to make a ginormous one for my front gate – a Christmas version of the Texas Lone Star. Thanks again for great ideas and tutorials!
Yes! That’s perfect!
You guys are SO creative! I wish I had a workshop – I would be all over these!
Thank you, Laura!
oooohhhh and ahhhhhh these are the best, i love them xx pinned too
Thanks, Chris!
I apparently need to get over my fear of learning to use a saw, or put my husband to work. These look so great!
Thank you so much, Sandy! I hope you make them!
I’m so glad you love the magic of Christmas; these stars and your decor sure add to the magic, too!
They sure do, Kathy! Yep, we do love Christmas around here. In fact, I just put up the tree, just in time for Thanksgiving! LOLOL!
I am interested in the star patterns with no luck. Can you help?
Hi Patty, I see that you signed up and that our email went out to you. I’ll email you with instructions. Merry Christmas! 🙂
I can’t seem to find the star template on “The VIP Patch”. Could you give me a direct link, please. It would be great to have a printable version of these directions!
Hi Judy, the start template is in the Template – Cut Sheet section of the VIP Patch 🙂
Absolutely love this DIY rustic wood star lights tutorial! The free star template is such a nice touch. Can’t wait to try it out and add some magic to my home 🔥🎄
I absolutely love this DIY project! The rustic wood star lights are such a charming addition to home decor. The free star template is a fantastic bonus! Can’t wait to try this out for my holiday decor. Thank you for sharing!
I absolutely love the idea of these rustic wood star lights! The free star template is such a great bonus, and I can already picture how magical they will look in my living room. Thanks for sharing such a creative and fun DIY project! Can’t wait to give it a try!