DIY Wall Sconces from Scrap Wood
Dig into your scrap wood pile to make these charming DIY wall sconces for battery-operated LED candles. Perfect for the holidays and all year long!
Back in the uncivilized and barbaric years of 2013-2014, when I was still green in the ways of woodworking and crafts, I built a pair of wall sconces for Handan. She had just discovered the awesome power of decoupage and had unleashed her mighty new talents on some hapless battery-operated candles. Be sure to check out that post if you haven’t already – Handan made a great video tutorial to go along with the post! Click the picture below to check it out.
The candles, now plastered with ancient maps of wildly erroneous shorelines, required suitable perches for their newly-elevated status. She bought some rusty old spoons decorative rustic ladles, and I was to incorporate those into my design.
I descended into my wood shop – at the time no more than a few stone tools, some flaked obsidian and a bowl of fire – and emerged with these (okay, these are two pictures of the same sconce, but I built two. Really.)

Two years later, and I can still look at these and not vomit, but they are a bit plain: just two slabs of pine – unsanded – with two colors of stain (at the time, that was my masterstroke!).
It was time for an update. Because though my sconces hadn’t aged well, Handan’s decoupaged candles certainly had. They are awesome, and I love them every bit as much today as I did then. They deserved sconces worthy of their Here-Be-Dragons swagger. Once again I descended into my lair workshop. This time I would emerge with sconces of excellence. Oh, and since I have four 45 gallon garbage cans and several boxes full of scrap wood, I figured I’d make them out of leftovers. Waste not, want not and all that.
I picked some pallet wood for the first pair. I thought I’d make two pair from this wood, but only ended up making one.
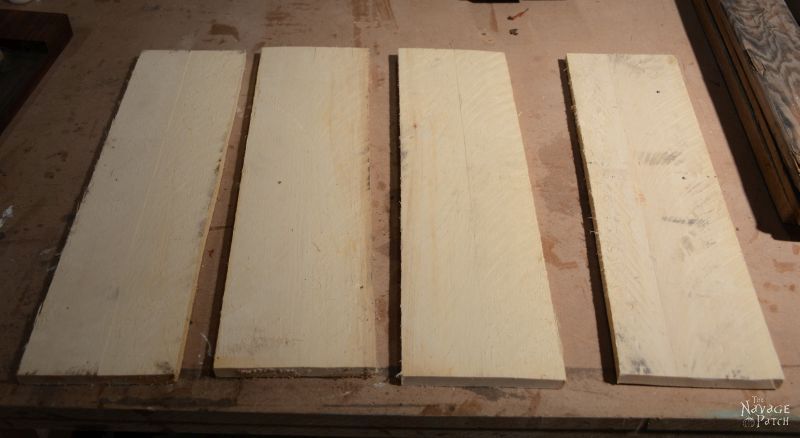
These boards had some awesome saw marks from the mill. I love that in pallet wood.
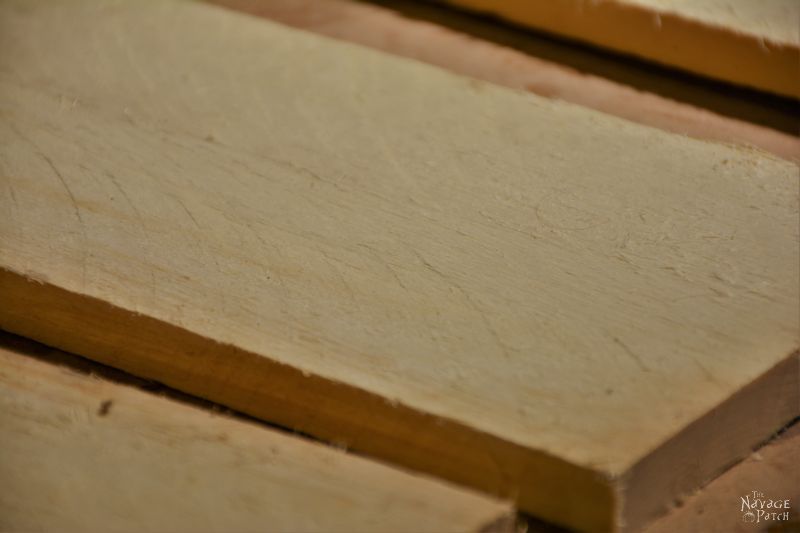
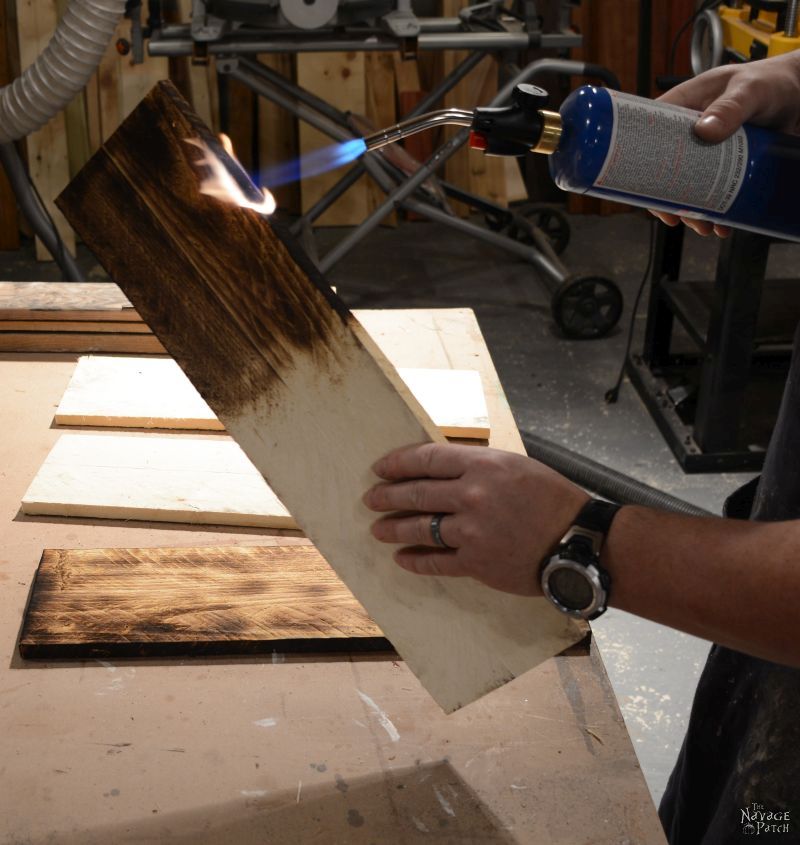
I wanted these sconces to be rustic (anyone else getting sick of that word? It’s like “shabby chic.” Ugh). Anyway, what’s more rustic than fire? I grabbed a propane torch and took those boards back to the middle ages.

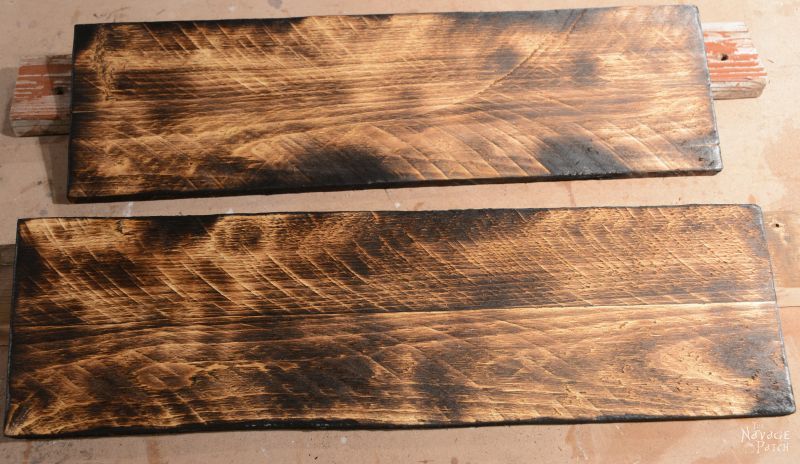
I really blackened the edges. It gave a nice weathered, uneven look to them. They looked pretty good, but I wasn’t done yet!
Since I was making this project up as I went, I realized that I needed to cut these boards down a bit and use the cut pieces as the overhanging part of the sconce from which the candle would hang. Normally, this should probably have been done before I burned the bejeezus out of them, but it worked so…no harm, no foul?
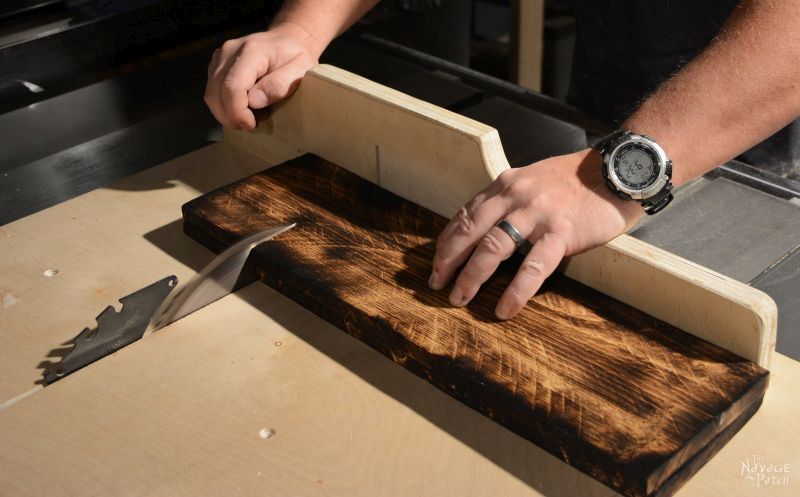
I glued and clamped the pieces.

I wanted an overall darker look, with less contrast between the lights and darks. The week prior I had made one of those “wood aging” solutions of vinegar and steel wool.
You can check out my full tutorial on wood aging techniques here.
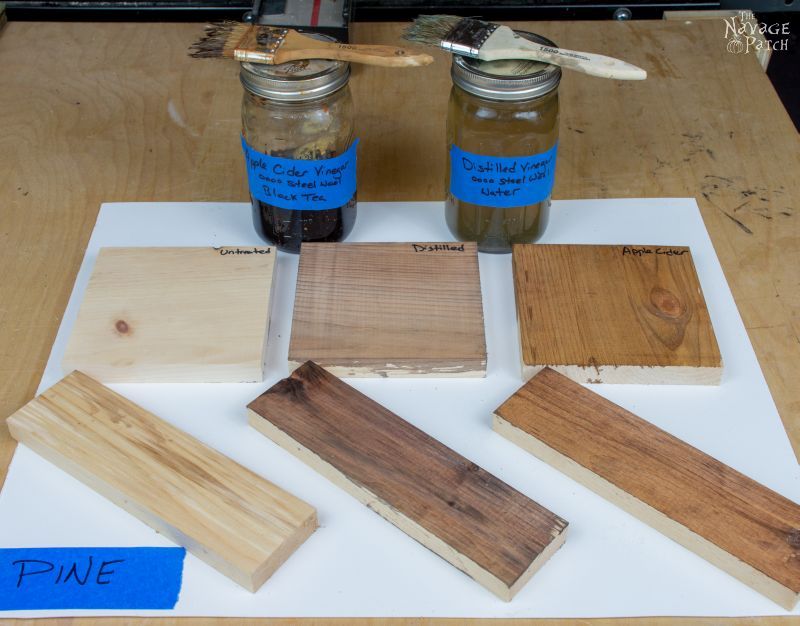
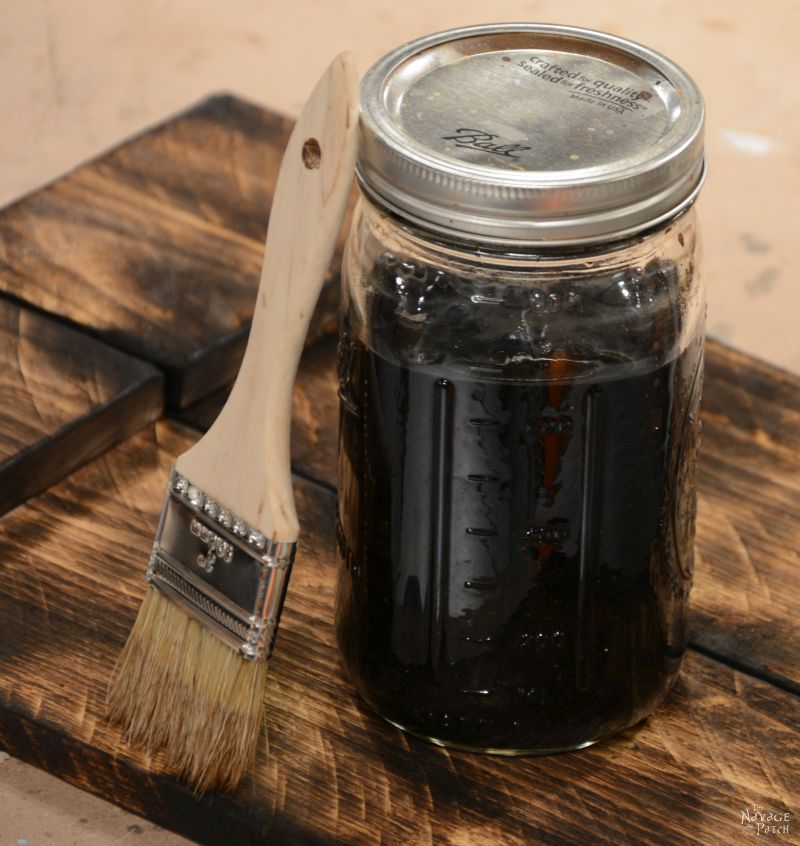
Here are the boards, just after I applied the solution.

They look pretty good, but just a little too contrast-y. Here they are after an hour.
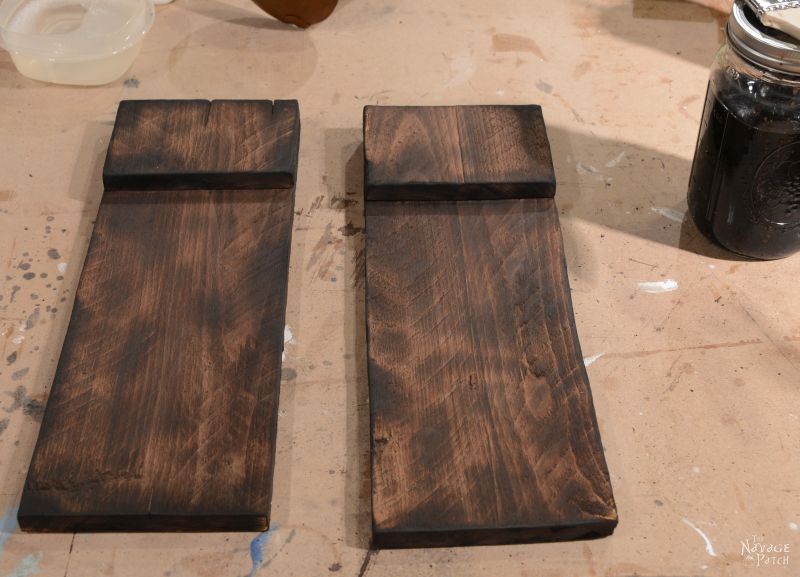
Now that was more like it! As a note, I ended up burning these even more to finally achieve the shade I desired. I don’t have pics of that second burn though. I thought the sconces looked a little plain, so I decided to emblazon the tops with an “N” using a cool font called Medieval Scribish. I made a stencil and applied it.

This one turned out to be too big, so I made a smaller one, applied it and painted with Handan’s famous DIY Chalk Paint.
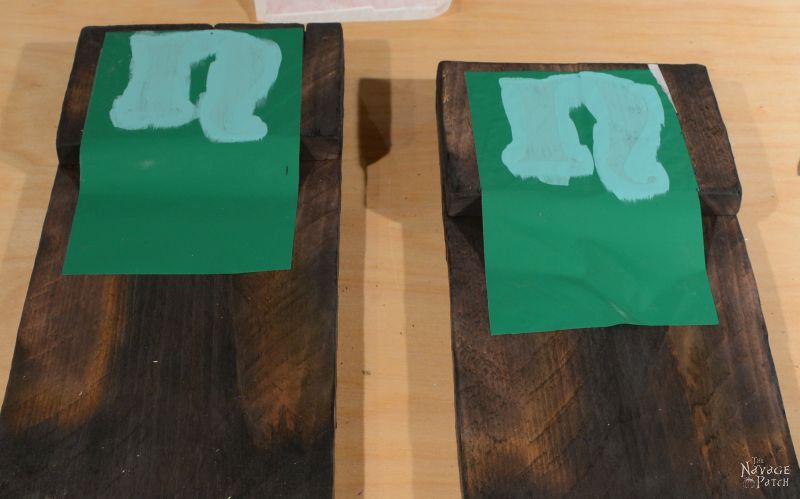
When the paint dried, I sanded it to distress the letters just a bit. It’s important to do this while the stencil is still on, otherwise the chalk paint would smear all over the rest of the project.

Since the wood was rough from the saw mill (and the merciless grilling), it was impossible to get a perfect seal with the stencil. Some bleed-under was a given.
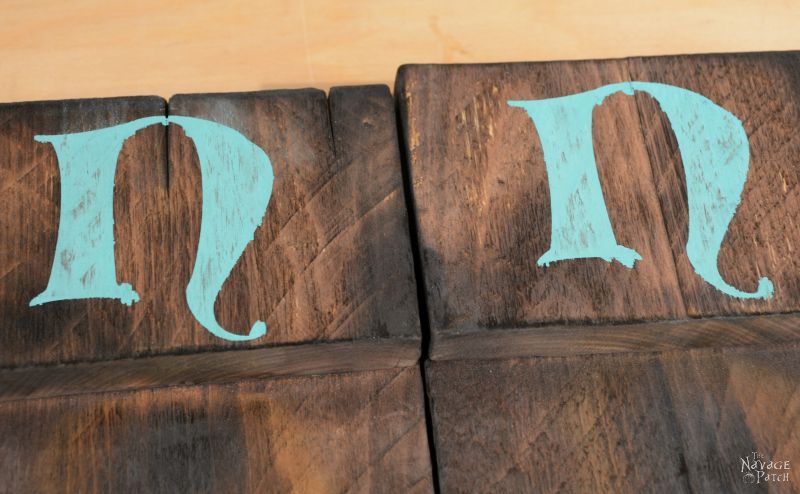
I solved this by flaking off the excess with the corner of a razor blade. This also had the effect of scraping off my lovely char, so I blackened a thin stick of pine and re-colored the areas with my handy little char pen. The sconces were now ready for some polyurethane. I started out with a spray polyurethane because the charcoal would smear if I used wipe-on. After the first coat, I did switch to a wipe-on poly
for the next two coats.

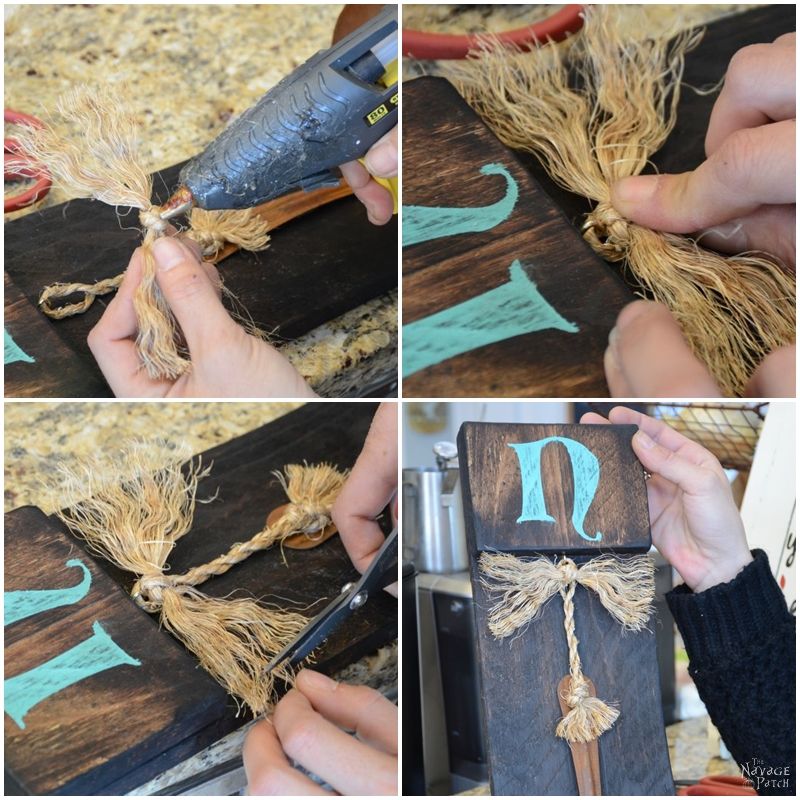
When the poly had dried, it was time for Handan to put some decorative touches. Ah, who am I kidding? I did the dumb grunt work. Handan made it beautiful.
Here is a pictorial of her work.


And we’re done with the first set!

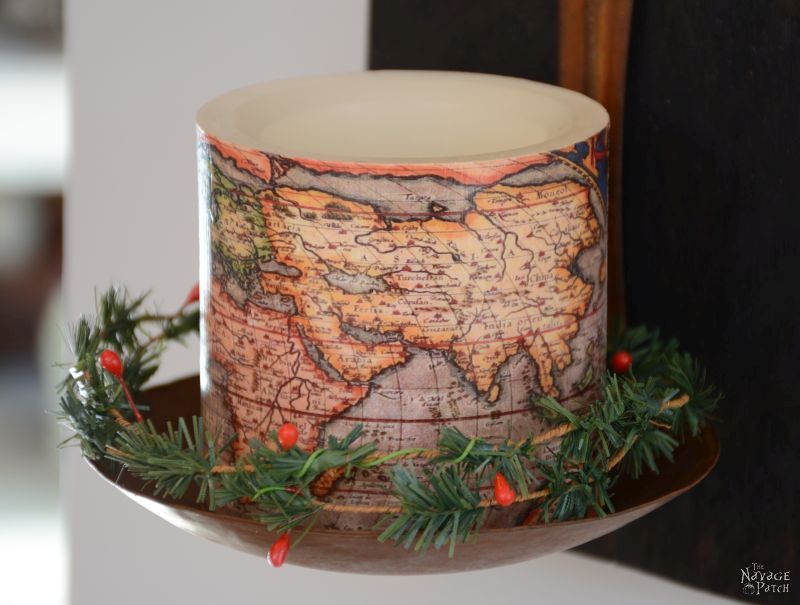
Since Christmas is almost upon us, Handan updated them for the season.


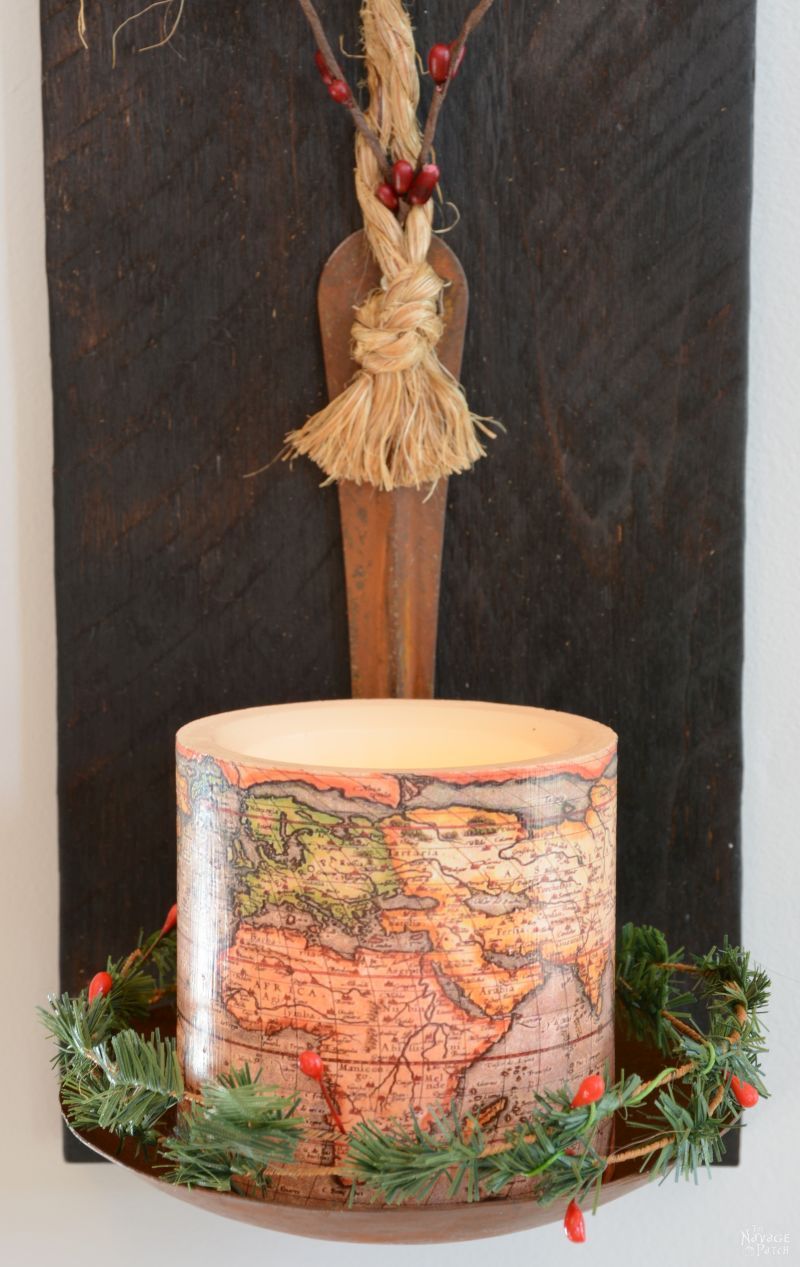

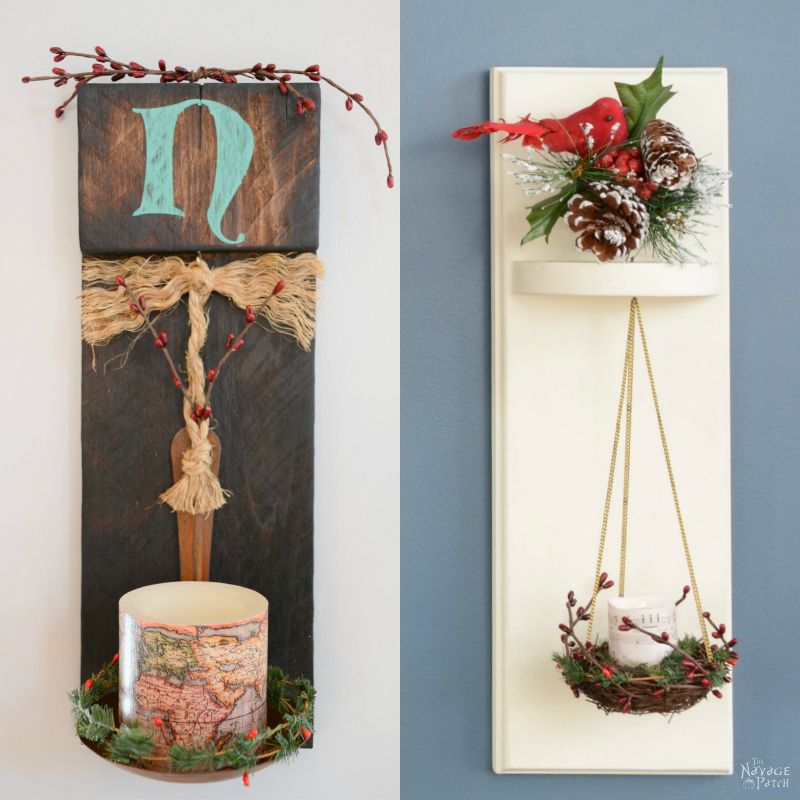
Click on “Next” to continue.


great job on all of the scomces and candles xx
Thank you so much, Chris!
Thank you, Chris!
The two of you need a show! You have such great ideas that are regrettable for the seasoned crafter, yet simple enough for a beginner! I hope to see you on tv one day!!
Thank you, Kay! Who knows what the future will bring? 🙂
You both are so creative! I would never think to build something like this on my own. So eye catching!!
Thank you so much, Angie! 🙂
The wall scone look great. You both made it special in your own unique way and now I finally know how to line up an overhang thanks to the great pics.
Thank you, Michelle! 🙂
Just darling! I would keep up all year and use to decorate for each holiday! Would also make a great gift too! Thanks for sharing.
Thank you, Naomie! Yes, they would make an awesome gift! In fact, we’re giving one this year!
and i bet the lucky person who receives it will grin ear to ear and think they are very lucky to have you two as friends xx happy new year
😀 Happy New Year to you, Chris!
they can stay up all year just change out the top, those little glass bluebirds and pink ones look awesome, and i do love them look at them everyday xx
🙂 🙂 🙂
Both are great but I love the hanging nests. So cute!
I agree, you two on tv would be so much fun!
Thanks Giselle! Handan’s way too chicken to go in front of a TV camera, LOL!
I just love how these turned out!! And you made it so easy and do-able with your detailed instructions. Both look awesome but I love Hanging Nests most.
Thank you, Ashley!
Hello and they are adorable.. BUT did I miss how you attached them to the wall? It always grabs my attention…when I see things…but I……”How did they hang that? and What will go there after the holidays? or did they already have something there hanging that they just replaced with these?….You know….curious minds NEED to know….haha.
ARGH! I totally missed this, Laura! I’m so sorry! We hung those with standard picture hook thingies (that’s the technical term). You know, the ones with the little teeth? If we were to do them again, we’d probably use Command Strips – they’re our new go-to solution for hanging!
These are gorgeous. I would have never thought to hang the candles from the sconce like that. The effect is brilliant – extremely eye-catching and different. Both could easily be found hanging in a luxury homewares store selling for a cool $150 or more for the pair. I’m already imagining a similar sconce for my bedroom makeover in my head. When it comes to design and DIY I’m like a dragon, hoarding away ideas in a big pile.
I also loved the charred wood. Great idea! AND you get to play with fire, so win-win, right? The burned mottled outcome really adds a lot to the finished piece. Every single one would be unique. And of course Handan’s finishing touches just tied everything together beautifully. The nest with the berries and using the thin gold chain to hang it and the candle? Genius. Whimsical yet subtle. A nice juxtaposition between the machine worked edges and the natural bird’s nest.
Thank you, Jay! I just read this aloud to Handan so I could see the smile steal across her face. Thank you for another great comment!
Love that rusty old ladle and the map candle. How country chic! The white candleholder is gorgeous! Good job using old upcycled scrap lumber!
Thank you so much, Barbara! 🙂