Haunted Mirror (and DIY Chalkboard)
Our favorite month, Spooktober, is approaching, and I feel like I am racing with time. As usual, I have a pretty long “to do” list before we can welcome The Night of Shadows and Ghouls. But on the bright side, almost everything in the list needs just little fixes to spookify them, like the Haunted Mirror (and DIY Chalkboard) I recently finished.
I found this tabletop mirror at the Put & Take past spring. I literally jumped on it the moment I saw its frame. As the mirror had a worn spot, Greg told me to leave it, but I told him “Nope! I have a great plan for it ;-)” And as soon as we got home, I took the mirror out and started working on the frame.

Do you remember the flower pots I refinished past spring? I refinished this frame when I finished those flower pots, so I used the same color homemade chalk paint. And yes, I used the same wet distressing technique to show some of that gold color beneath. And again yes, I forgot to take pictures of the painting process, hence I am now referencing my Refinished Flower Pots in case you like the color or the painting style 😀

Here is a closer-up picture, so you can see the details.

Once I finished the frame, I started working on the mirror. First, I needed to dissolve mirror’s silver backing. After searching online, I found a few ways to do it: some use muriatic acid, some use MSR (known as Mirror Silvering Remover) and some use paint/lacquer stripper. Since we had paint/lacquer stripper on hand, I went for that option. But right after reading the user instructions I dumped this job on Greg I offered Greg to become the mad scientist in my project. He was ecstatic to take part in my project! hahahaha…

Seriously though… this stuff is nasty, so you need to be careful when you are using these types of chemicals. As Greg already used it many times in his projects, he knew what he was dealing with. But like me, if you never used paint/lacquer stripper, please make sure you use it per the manufacturer’s instructions. I also suggest to work with it outside where you have fresh air, wear latex gloves and a good mask that works especially for chemical fumes. Maybe I sound like my mom here, but really…it is always better to be safe than sorry, right?
Okay, now that we are finished with our little Health & Safety orientation, let’s get back to the dissolving step, shall we?

After donning his PPE (personal protective equipment), he poured the paint stripper on the back of the mirror, and let it sit for a while.

Then, using a razor blade, he started scraping the backing off.

And a bit more…

…and a bit more.

When he removed a good amount of silvering, he gave the mirror back to me to wash the nasty stuff off. I wanted glass to look a bit hazy, so I chose a scrubber instead of a sponge.

I scrubbed it enough to create that spooky scratched look on the glass.

Now it was time to find a creepy picture to tape on the back of the mirror. I searched for something suitable in my Halloween Printables Pinterest Board.
After settling on a picture, I printed it out and cut it to size. Then I taped the image to the back of the mirror and placed the mirror in the frame.

To secure the mirror in it’s place, I used my Logan Dual Point Driver and drove flexible points into the frame.

As for the chalkboard part, I used the mirror as a template for my board and marked the size.

Then I cut the board with my scroll saw, but a jig saw could also give the same result.

Next, I sprayed it with Rust-Oleum chalkboard spray paint.

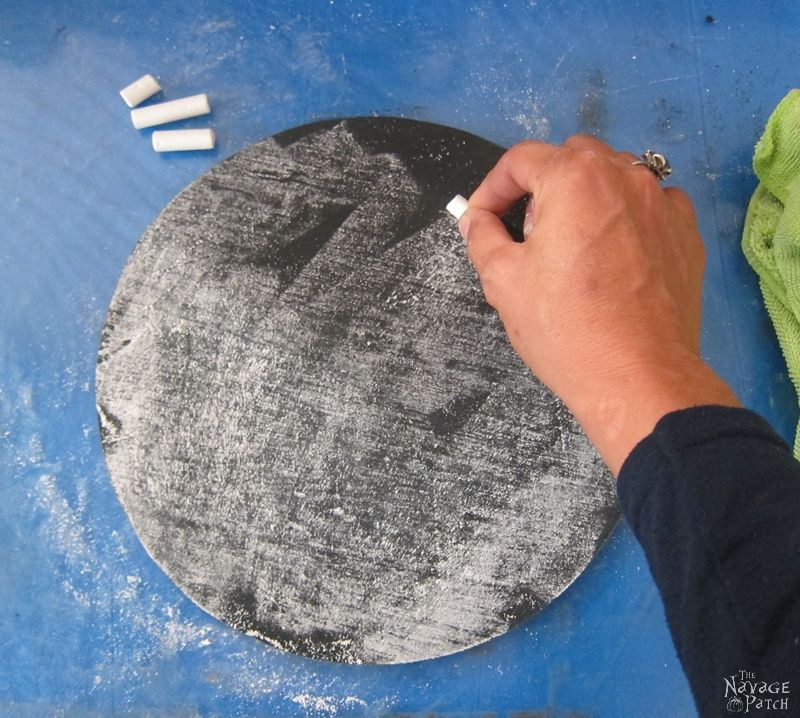
When the paint dried, I conditioned the chalkboard with a piece of chalk (rubbed the chalk all over the painted chalkboard)…

…then wiped it of with a soft cloth.

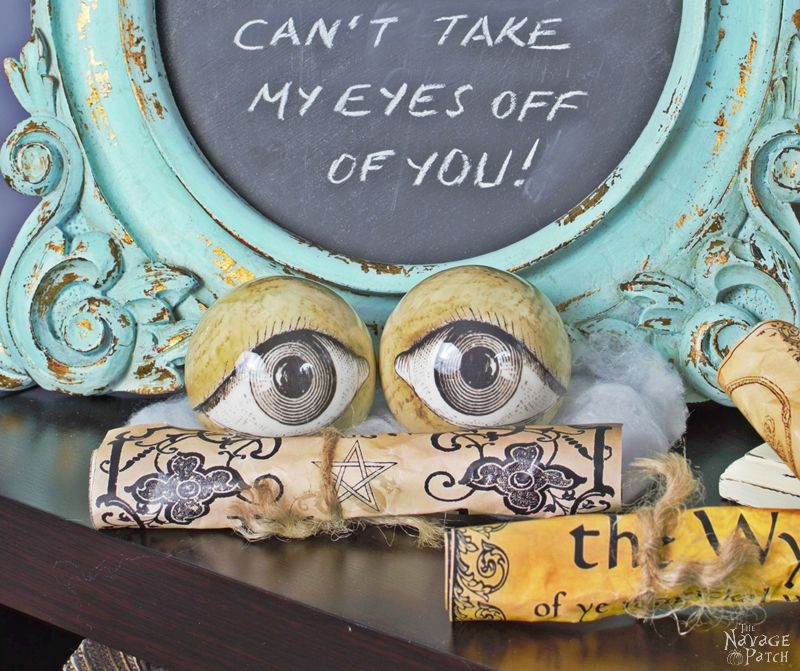
And here it is: the DIY chalkboard! Don’t worry – the pictures of the Haunted Mirror will be right after 😉

Aren’t those eyeballs the cutest things ever? I bought them at GrandinRoad.com. I honestly love them…one of the best Halloween decorations I’ve bought online 🙂
Here is a close-up of the eyeballs.

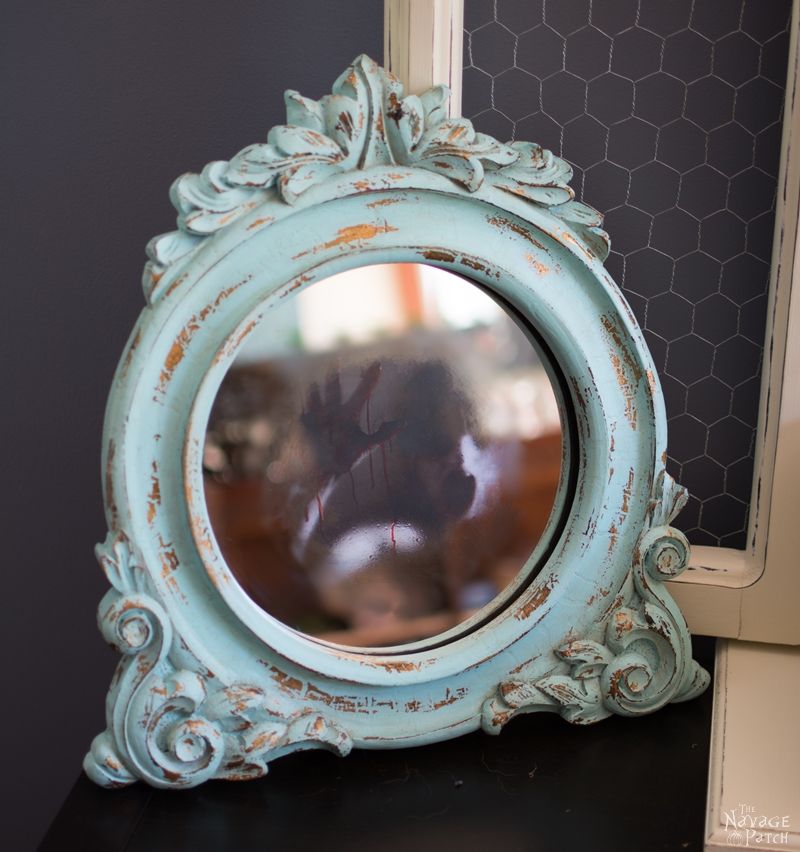
And noooww… the Haunted Mirror!

What do you think?

Yes, that is Greg’s hand there in the picture above. He always knows how to give me jump scares! LOL.

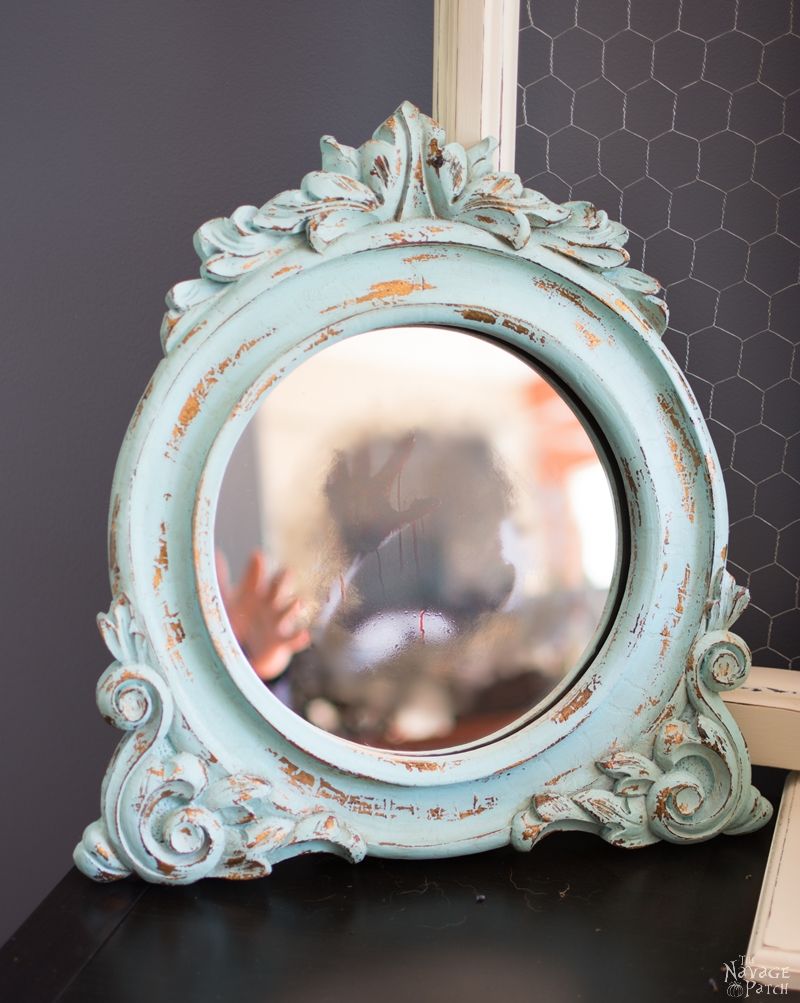
Some closer-up pictures for you. While it is not the most horrifying Halloween decoration ever, I just love that subtle effect.


Handan, xo
We love it when you share our posts on Facebook and Pinterest!


I think the subtlety makes it more horrifying. It would freak me out if I saw it in someone’s house.
Thank you Jen! I have to agree with you. (I know this will sound funny but) Especially the last picture gave me the creeps last night when I was preparing the post. 😀
The Haunted Mirror is so sweeeeeeeeeeeeet. I love it !! Great job !!!!!!!!!!!!!!!!!!!
Thank you, Mary! 😀
Both of these projects are great. Do you switch out the mirror with the chalkboard or do you have two frames?
Thank you so much, Paula! I’m trying to get as practical as I can for seasonal decoration. So yes, I keep the mirror for Halloween, but I do switch out the mirror with the chalkboard for the rest of the year. 😉
Oh I love the chalkboard frame, and the awesome haunted mirror. Yall come up with the coolest Halloween projects. I love that the frame can be used all year by changing it out, it’s too beautiful not to. Love the color and heavy distressing.