
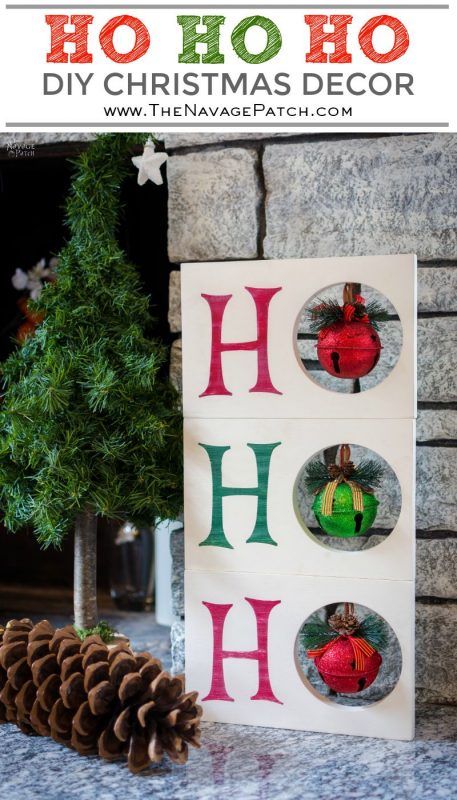
HO HO HO Sign Christmas Decor
This 3-piece scrap wood HO HO HO sign is a fun and easy craft project that will bring a smile to all who see it. Make one today, and let the season begin!
As I am now so focused on Christmas, I totally forgot to ask you how your Halloween went. I hope you had a great one! Ours was a blast! We had more trick-or-treaters than the past few years, so that really made my day. And of course Greg once again managed to make Halloween a memorable night for us with his colorful Facebook posts!

Yup, that’s my Babes, LOL 😀
Say what? Ooohhh, you are asking about that Christmas wreath above the door? Why, yes, that is the exact same wreath you saw on this post back in late May – you know, the one he never took down from last Christmas! Yeah, it’s still there. He even left it there for Halloween! But at least he is creative, I gotta give him that! Instead of taking it down, he just put a zombie right in the middle of it.
Boys will be boys.
Anyway, enough of that silliness, let’s have a look at my first DIY Christmas decor of the year, shall we?

HO HO HO Christmas Decor Tutorial
To make this HO HO HO Christmas decor, I used 3 pieces of scrap wood cut to 7″ by 11″, a 5 inch hole saw drill bit, red and green craft paint, FolkArt’s chalk paint in Sheepskin color, some ribbon and 3 big sleigh bells I bought from Dollar Store. Keep in mind that Dollar Store always runs out of their seasonal decor stock about a month before the season. So if you can’t find the big sleigh bells there, you can try these on Amazon.

As usual, I started off with the wood.
Let me rephrase that: as usual, I started off with Greg. Since he was right in the middle of a tough project, I put on my sweetest smile and asked if he could cut some holes in the scrap wood – hey, a girl’s gotta do what a girl’s gotta do, right? Ok, maybe I got his attention right after telling him how awesome he was, but in the end, I got him to do that part for me…hehehe 😉
Using the 5 inch hole saw drill bit, he cut the holes I needed.

Here is a hint with the wood: I could only find scrap hardwood in Greg’s woodshop. Hence I asked Greg to drill these big holes. But if you use pine or any other soft wood, this step can easily be done with a hand drill.
Once the holes were cut, I painted the boards with 2 coats of FolkArt’s chalk paint in Sheepskin color.

While the paint was drying, I chose the font I liked (mystery quest) and using my Cricut, I cut the letter H stencils on repositionable vinyl.

With the help of transfer paper, I placed the stencils on the white painted boards.

When stencils were on, I stenciled the letters. I used red craft paint for two of them and green on the last one, then let the paint dry.

In the meantime, I worked on the sleigh bells I bought from the Dollar Store. As I didn’t like the gold strings, I cut those off.

Then, I cut a small piece of ribbon, folded it in half and put a knot right in the middle. The knot was only to mark the middle (length-wise) of the ribbon.

By this time, the paint was nice and dry, so I distressed the letters a little. With the rest, I didn’t want the paint showing the wood underneath, so I didn’t distress the white painted parts, but sanded only a little to smooth the surface.

Next, using my glue gun, I glued the 2 ends of the ribbon to the back of the jingle bells, and after that, I glued the knotted part to the inner-upper-side of the boards.
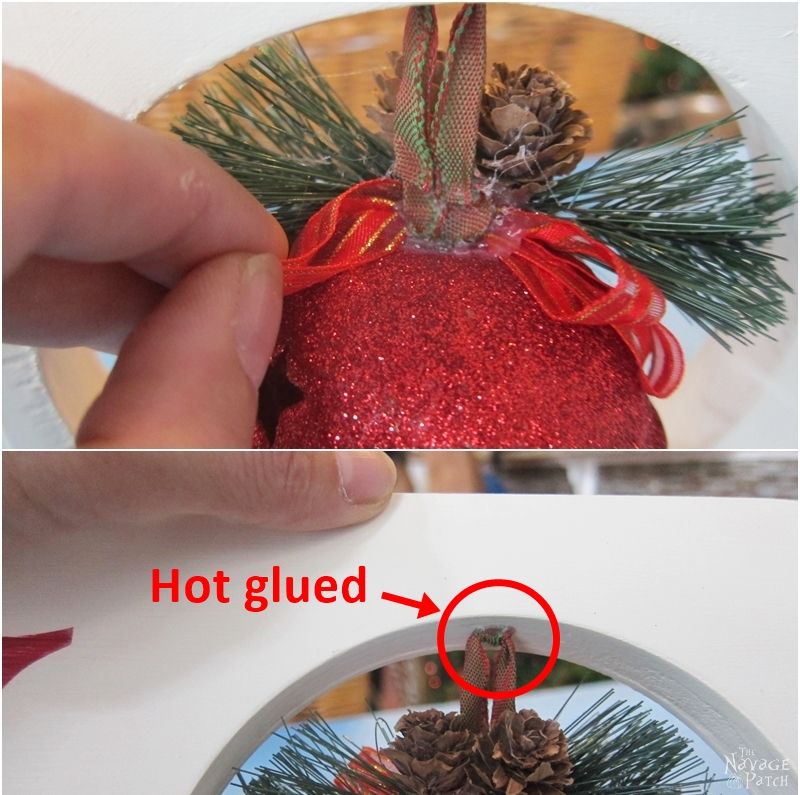
When all the bells were hot glued, I trimmed the faux greenery a little so the bells would fit in the holes properly and hang freely. And that was that!

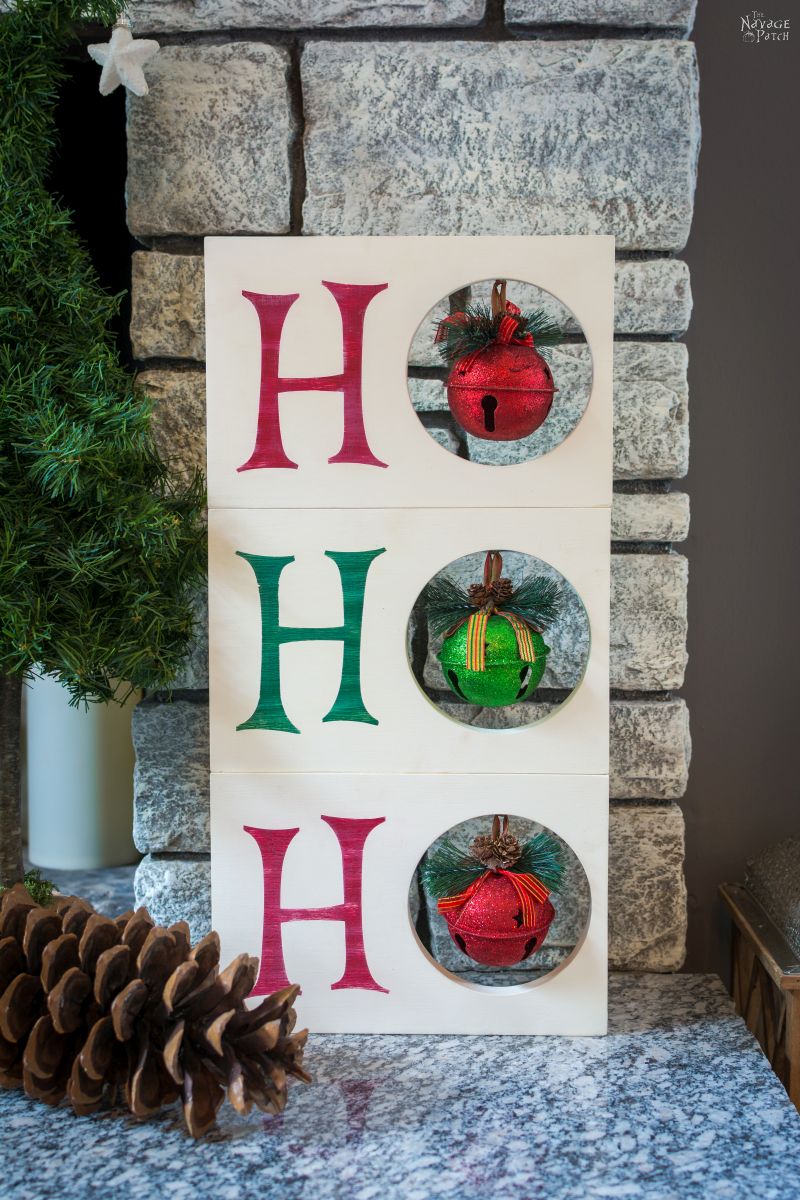
What do you think?

Simple, but they bring holiday cheer wherever you put them.

As usual, some close-up pictures for you.

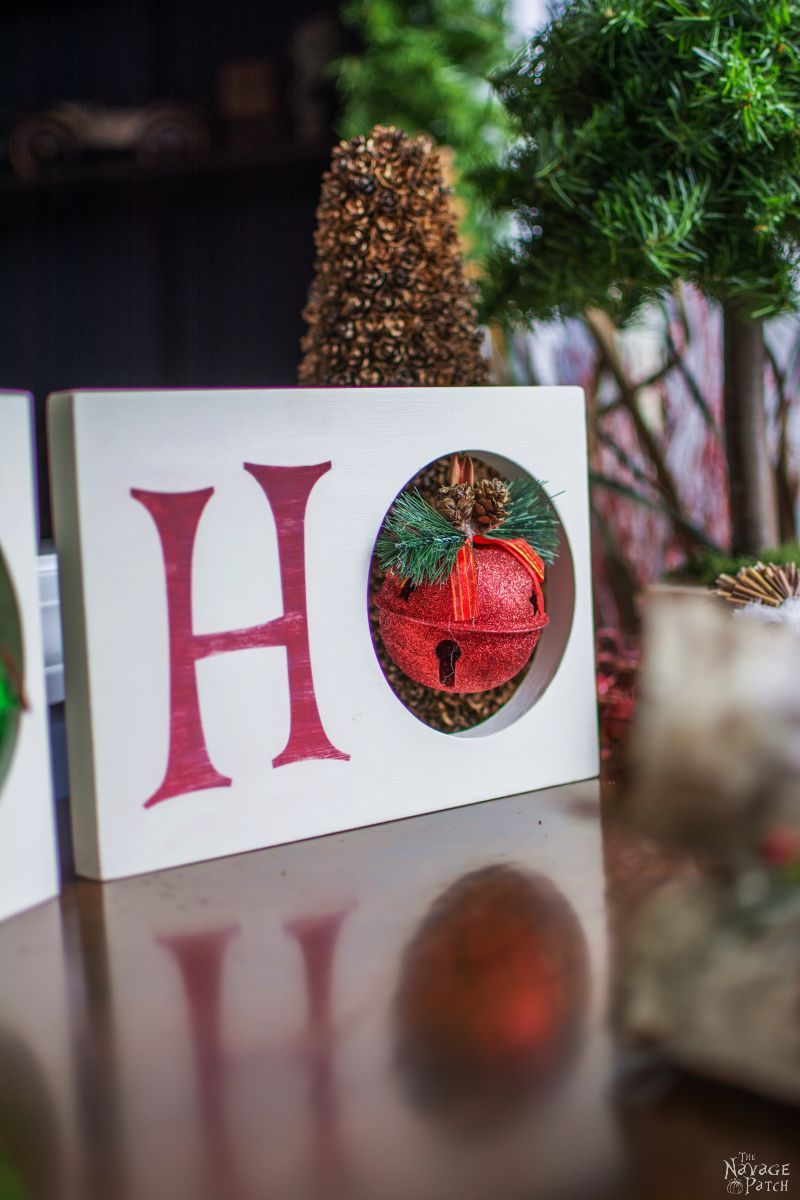
I love how they look together with my whimsical trees!

Oh, just in case you are wondering, other than the hanging metal bell and the little bird, everything in this scene is DIY. Yes…really! Even those whimsical trees!! Aren’t they awesome?
I hope you liked my HO HO HO Christmas decor. If you also liked the whimsical trees, click here to see how I made them!
Handan, xo
We love it when you share our posts on Facebook and Pinterest!
So cute. Can’t wait for the trees, they are so much fun!
Thank you so much, Jen! The tutorial for the trees will be out very soon 😉
These are just adorable and such a good idea! Pinning
Thank you so much, Marie! 🙂
Good morning Handan, those are so cute! have a great weekend :))
Thank you, Sandra! You too have a wonderful weekend 🙂
So cute, I love the grinch trees, there is a lady here that does workshops to make them but its very pricey. I love yours!
Thank you so much, Leanna! I’ve done mine with an old garland and my cost for the big one was only $5 as that is the tree form’s cost. This week I will be giving a tutorial on those trees 🙂
Those are super cute Handan and that little curly whimsical tree is the best. Love that kind of thing. Can’t wait for the tut and for to see what you have in store for Greg next Halloween. Lol, the photo he posted of you was super cool.
Thank you so much, Michelle! The response for Greg’s facebook post will be very special…even better than my “bagged bodies” Halloween project. hahaha… 😀
I don’t need another Christmas decoration – but I really want to make this!! (And I love the quote about a man saying he’ll fix it!!) – Thanks for sharing on the Pleasures of the NW’s DIY Party!
Thank you so much, Helen! Lol. One of my facebook friends shared that mug on facebook and the moment I saw it I thought that would be perfect for Greg 😀
How cute! Thank you so much for joining the party at Dishing It & Digging It! Hope to see you share with us again this week!
Thank you, Angie! I’ll definitely be there to share our new projects 🙂
Once again you guys have done it. Very creative and original. I’d like to take this moment to say bravo to you both. You started what, a year ago, and you are doing amazing work and the blog is doing great. Congrats! It makes me happy to see you doing so well and it is much deserved because your blog is truly original.
Thank you so much, Mary! Yes, The Navage Patch is just 13 month old and I think we are doing not bad so far. We are so thankful to our readers, as they are awesome and motivate us tremendously, and that keeps us going! 🙂
So cute! We are hoping to start putting some Christmas up today. Well at least the tree, but that depends on how motivated my helpers are 🙂 Those bagged bodies! Wow, spooky! #happynowlinkup
Thank you so much, Jen! I started early, but now waiting for Thanksgiving weekend to be over so we can get our tree. Once we put our tree up than the hard part will be over for us.
Oh… lololol… yes, the bagged bodies! Next Halloween I will be have a better surprise for Greg…hahaha 😀
I love this HO HO HO! Now to get a 5 inch hole saw drill bit!
Thank you so much, Carol! 🙂
If only my husband would add wood cutting to his list of things he likes to do, I would be in project heaven. Love the everything about the holiday decor. That zombie on the wall picture was scarrrryyyyy and funny at the same time.
I forgot to add #happynowlinkup
These are so cute! I love the whimsical trees too! Adorable!
These are very cute I can see why they are your favorite
I love the Ho, Ho, Ho signs. Question: What are the dimensions of the H?
Thanks, Lynette! That H is about 5 inches tall.