Simple DIY Picture Frames
These simple DIY picture frames are cheap and easy to build, and they’re a great way to display your photos and printables with rustic, farmhouse style!
Do you ever prepare food ahead to save time later on? Maybe you chop vegetables and keep them in a baggie in the fridge? Or maybe you buy ground meat and then portion it out into smaller bags and then flatten them for the freezer so they thaw faster? (That’s one of the greatest kitchen hacks that Handan taught me when we first started living together!) Or maybe you make whole meals and freeze them so you can just plop one in the microwave on those nights you don’t want to cook? Yep, we all do it, but as bloggers, we sometimes do it with projects. Maybe we meant to post about something but then decided to table it for a later date. Or maybe we just had a few minutes of free time and decided to get a jump on the future by building something we know we won’t be writing about for months. Such is the case with these simple DIY picture frames. I must confess that I built them last year, and they’ve been sitting in the basement collecting dust since before Christmas. Oh, and just so we’re clear, if ever there’s a project I’m building for a far-future post – it will always be Handan’s idea. I can’t plan more than 5 or 10 minutes into the future, and even then, things start to get a little fuzzy.
Anyway, why the confession? Why not just run with it? I mean, it’s not really a big deal, right? In fact, it’s good planning!
Well, this is why:
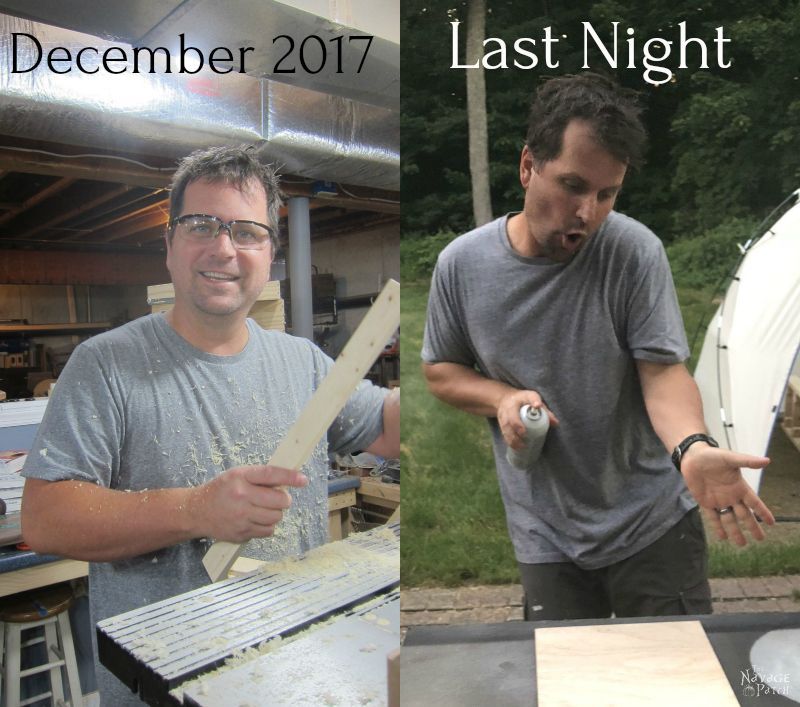
Now, this post will be closely followed by a fall printables post that you’ll see we’ve mounted in these frames. I don’t think I could seamlessly join the two groups of pictures without risking you spitting coffee at your screen, so best to alert you now.
Yep, the man who finished putting printables in these frames last night is much less of a man than the jolly jiggler who built them.
Curious? Read about the transformation here.
Let’s get back to the frames. Coming on the heels of the vintage buffet makeover and the dining room makeover, these simple DIY picture frames mark the return of Simple Stupid. And lemme tell you, after that dining room project and with the laundry room renovation nearing completion, I need a little simple in my life right now. Stupid, I got covered already.
To make these frames, you’ll need some 1 x 2 lumber, wood glue, a brad nailer, a square and a clamp. I used a router to recess the back, but it is not necessary, and I’ll tell you how to proceed without one.
Last year, Handan gave me a long list of frame sizes she wanted me to build. She wanted them to be rustic-looking and simple and rather deep – almost like a shadow box frame. She was thinking of putting a bunch of Christmas stuff in the frames, but that didn’t pan out, so the frames sat in the basement collecting dust until now.
These frames can be made for any size. The ones I’ll be showing you here are 18 x 12 outer dimension and 16 1/2 x 10 1/2 inner dimension.
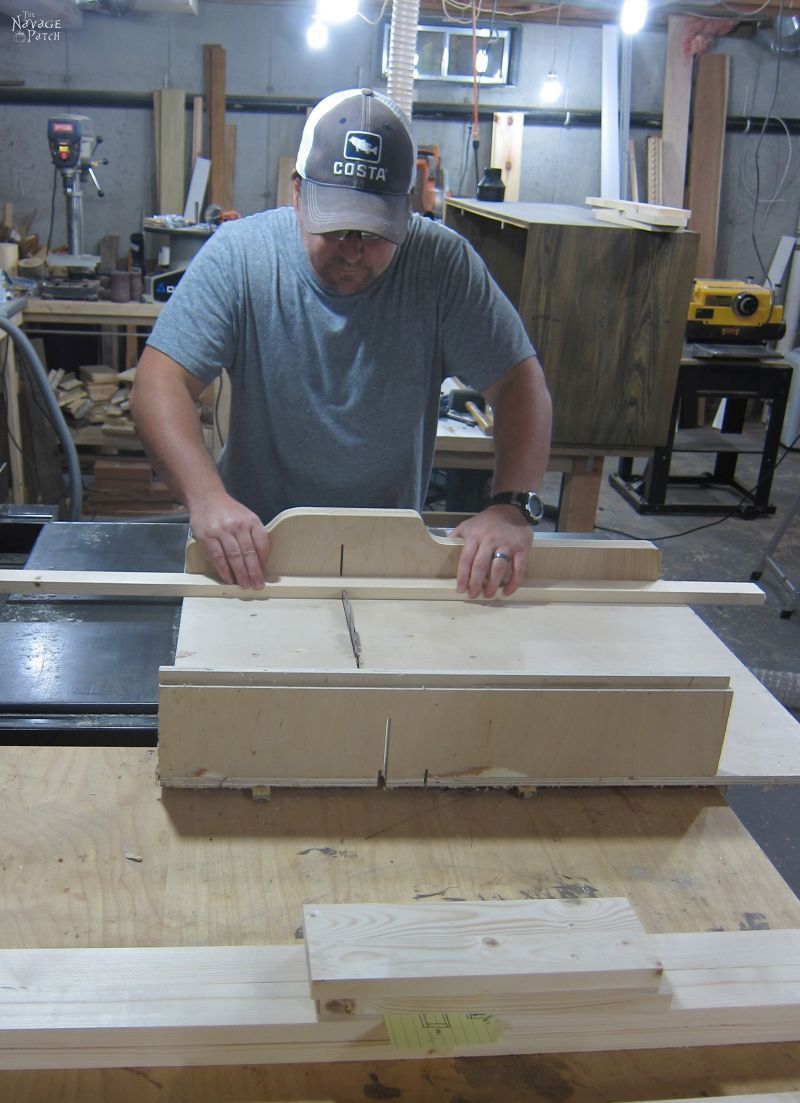
I cut two long pieces to 18 inches and two short pieces to 10 1/2 inches.
I put wood glue on the end of one of the short pieces.
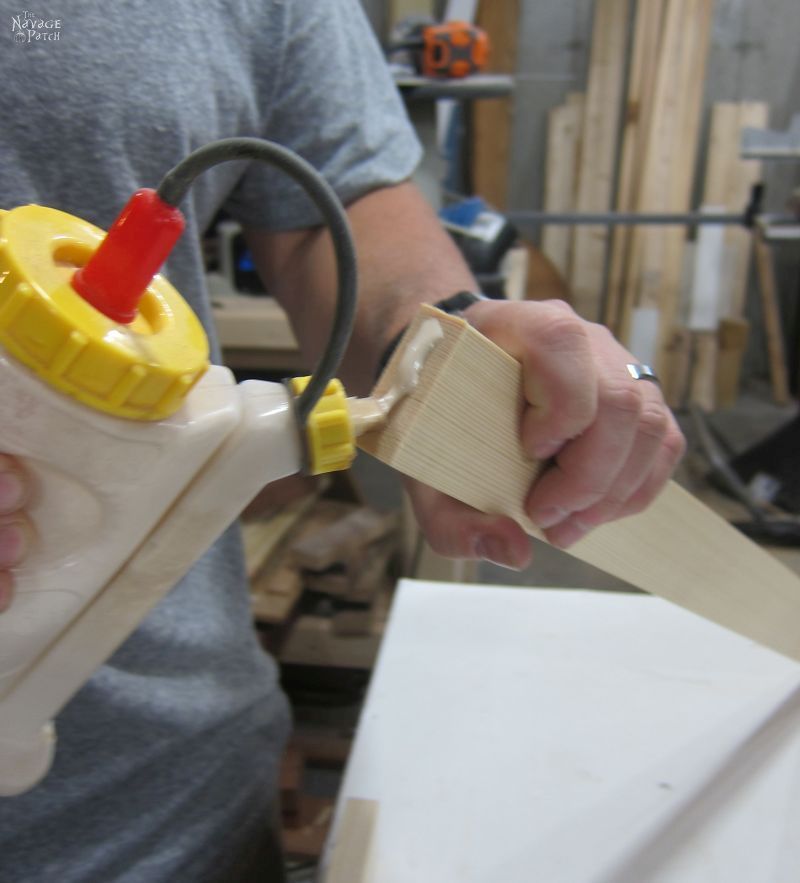

I joined it to one of the long pieces and checked for squareness.
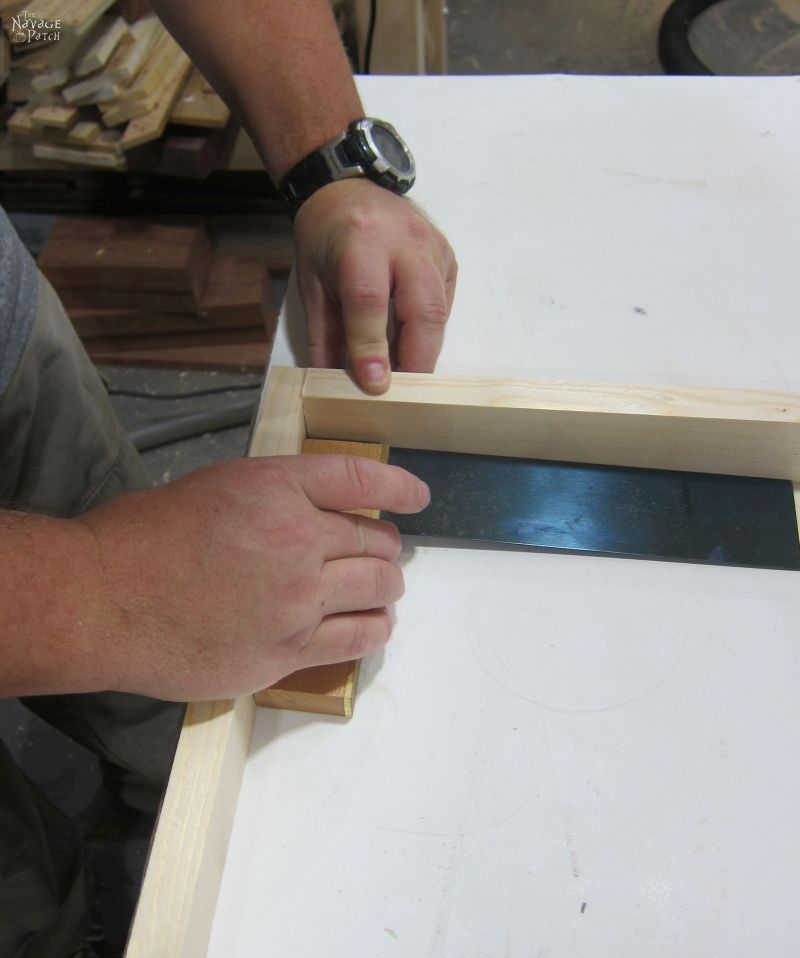

Then I shot three brad nails, and that secured the joint until the glue dried.
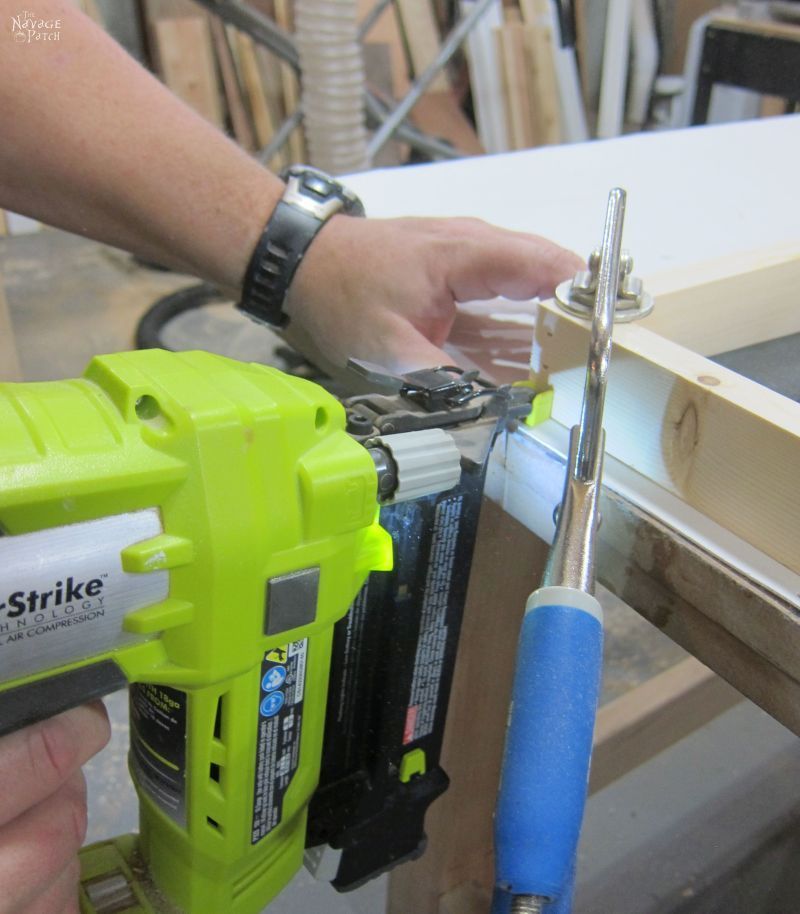
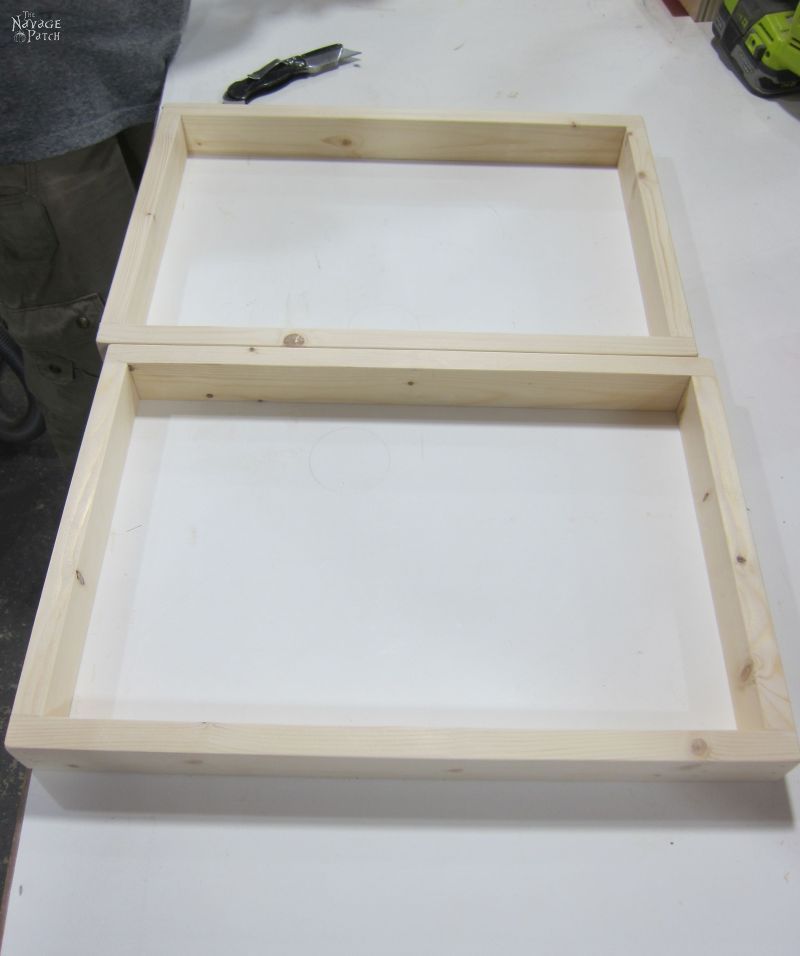
I repeated this process on all four corners.


The frames were built, but not yet finished.
The next step, for those with a router, is to route the inside with a 1/2 inch rabbeting bit.
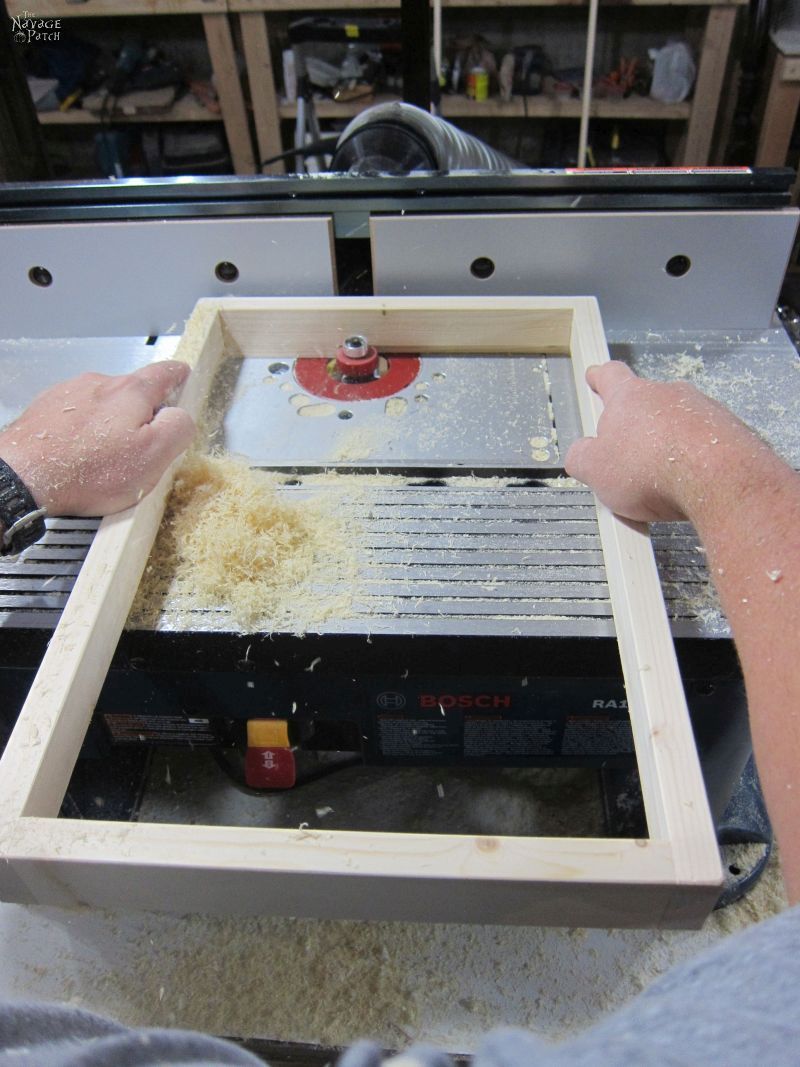
The recess is 1/2 inch x 1/2 inch.
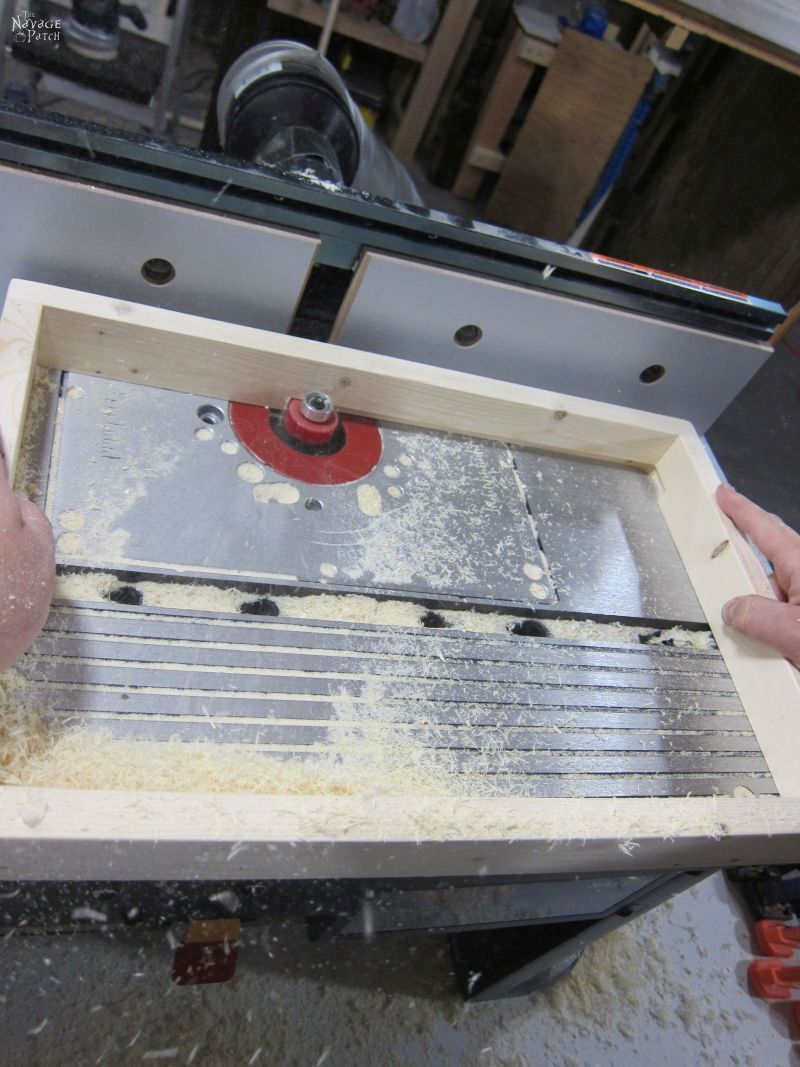
If you don’t have a router, just skip that step, and don’t give it another thought.
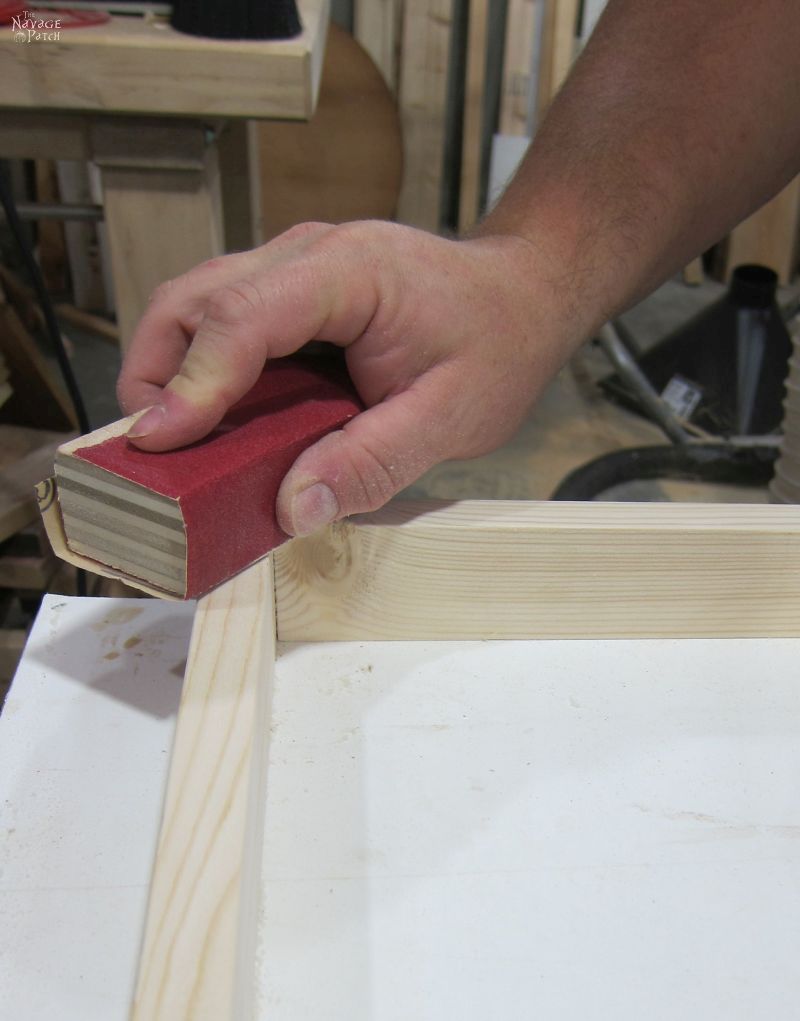
Once my frames were routed, I sanded them all over. This is important, as it gets rid of the mill shine on cheap Home Depot lumber. Since these frames are meant to be rustic and farmhouse, I rounded all the edges and corners.
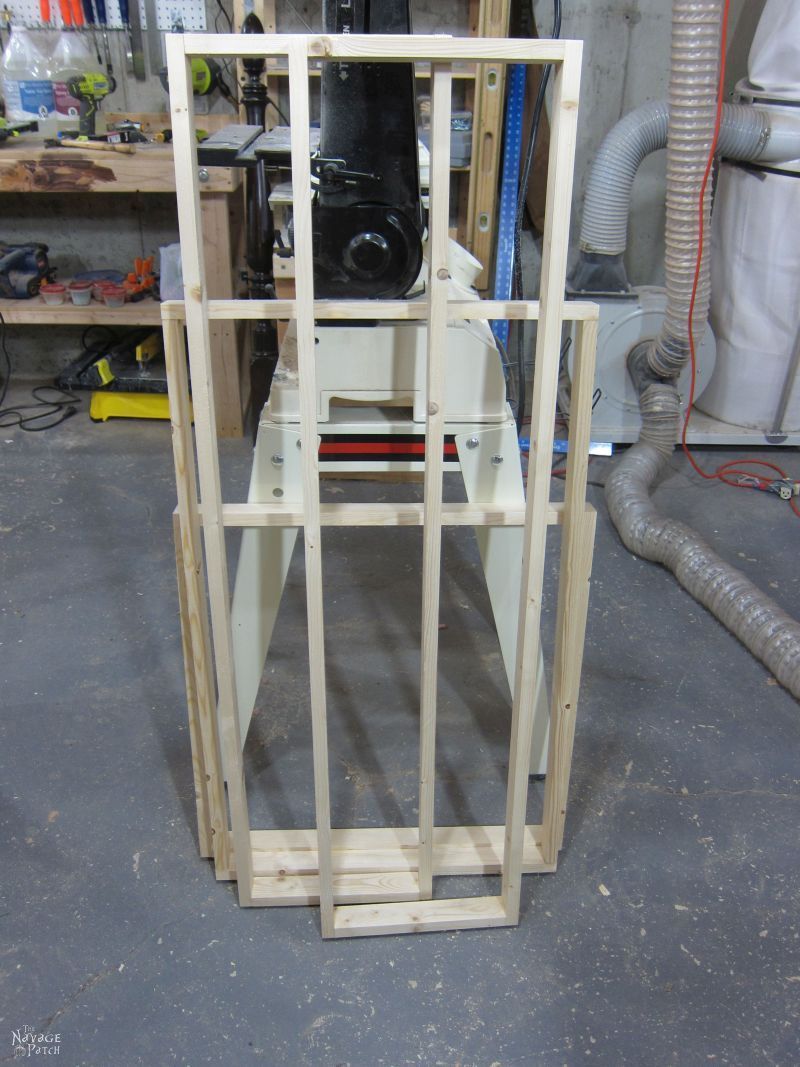
Here are some of the other simple DIY picture frames I built for Handan. Hopefully, she’ll be filling them all this year!
When it came time to stain them, Handan wasn’t around, so I didn’t get any pictures, but really – I think you know how to stain, right? Good! I thought so! Choose whichever stain you like. I used Varathane Briarsmoke. It’s a nice mellow brown without any red tones.
For the backing, I used a piece of 1/4 inch plywood, but MDF would work just as well. I cut the pieces to fit into the recessed area I routed and attached them with our usual framing tool, a Logan Dual Point Driver.
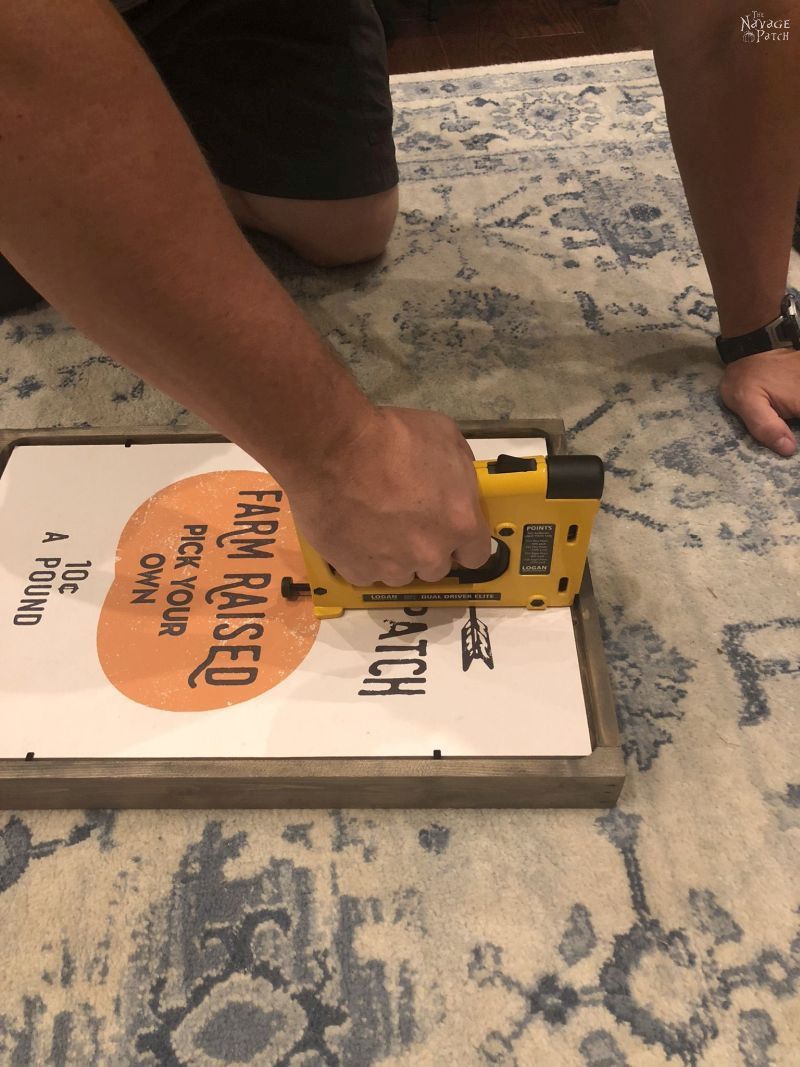
If you skipped the routing, then your backing piece will need to be cut to the exact outer dimensions of your frame, and you’ll need to stain the edges. Then you’ll simply nail the backing to the frame with small nails or a brad nailer.
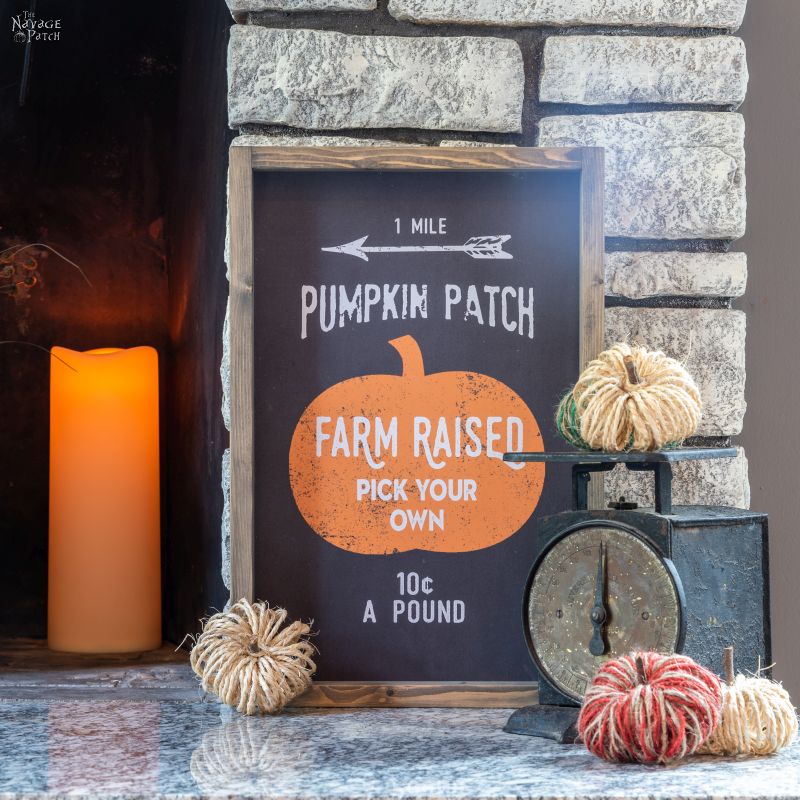
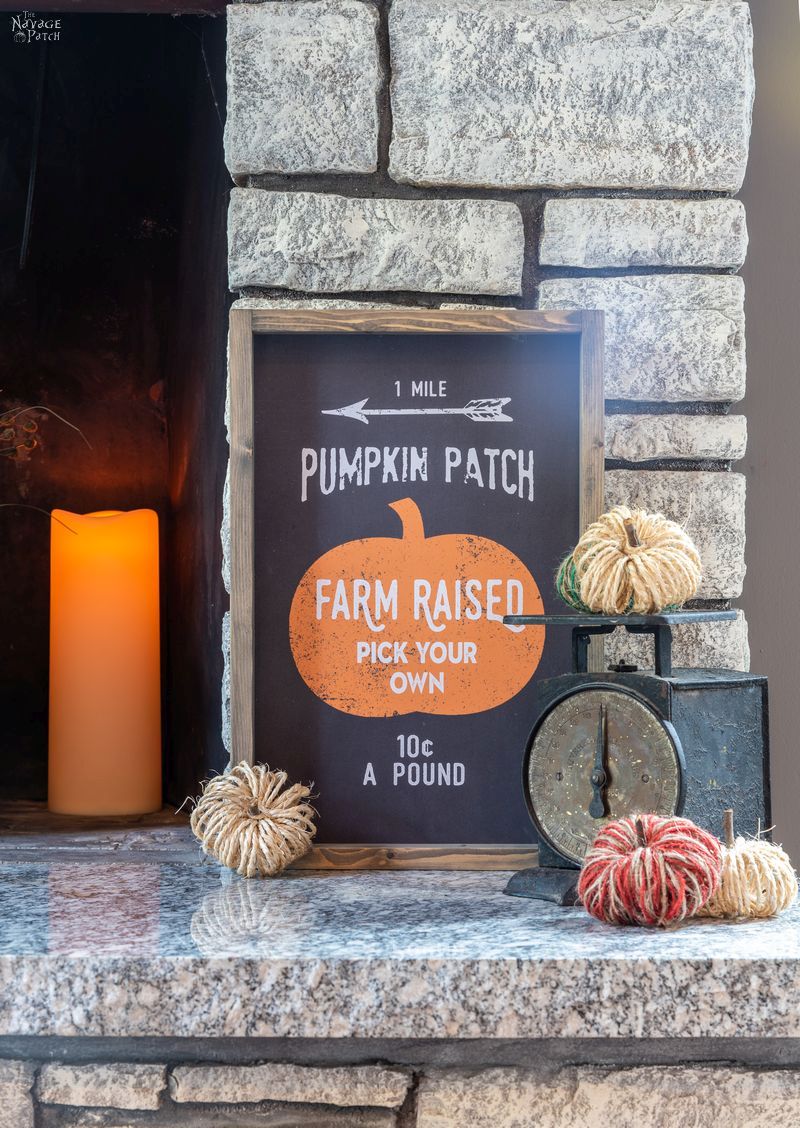
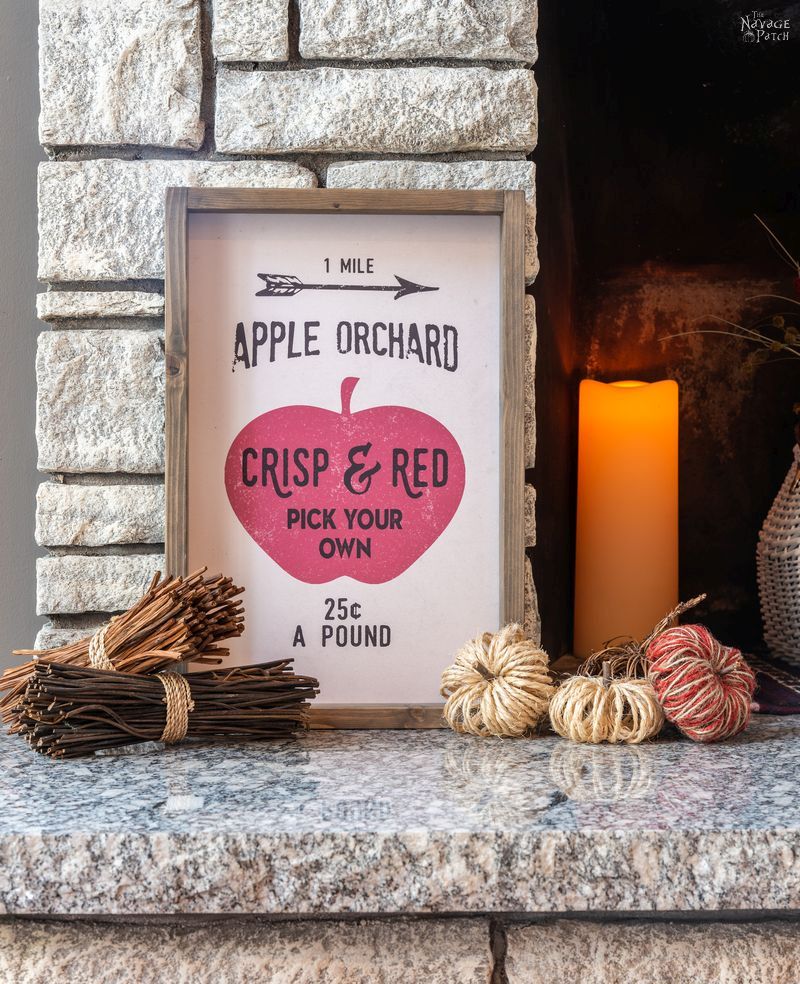
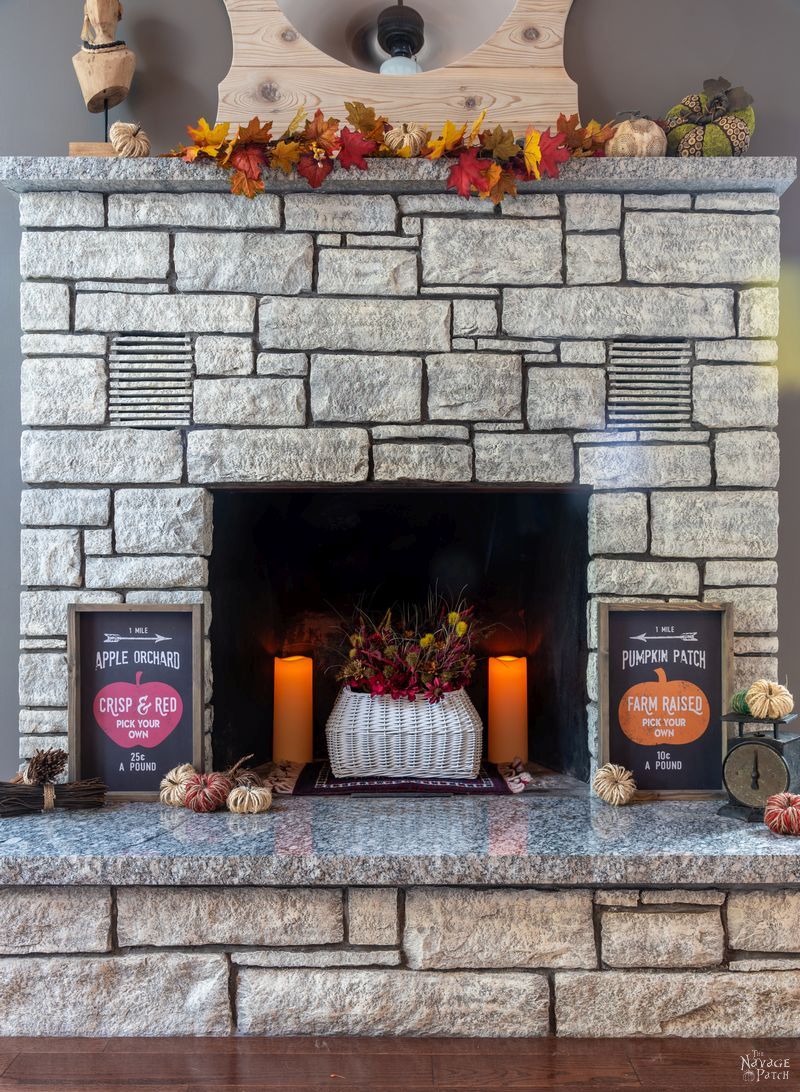
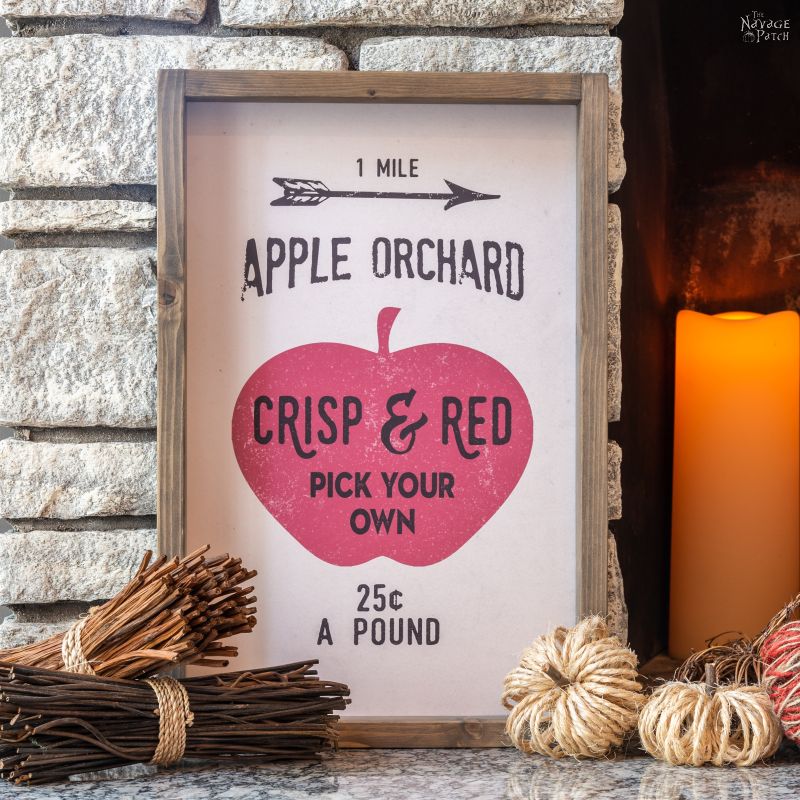
Here are the finished simple DIY picture frames with our free printable Pottery Barn inspired fall signs.
Before you leave, here are a few more easy fall projects for you:
Pottery Barn Inspired DIY Fall Signs With Free Printables: CLICK HERE or on the picture below to download our free printable Pottery Barn inspired fall signs.
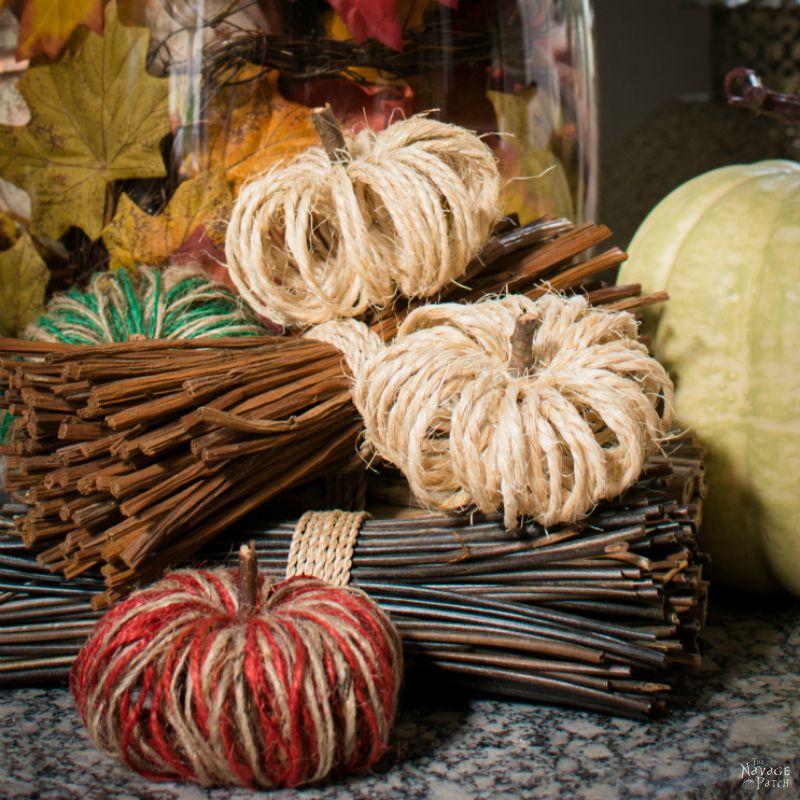
DIY Sisal Twine Pumpkins: CLICK HERE or on the picture below to see how Handan made these little DIY pumpkins – they take less than 5 minutes and cost less than 50 cents each.
We love it when you share our posts on Facebook and Pinterest!

Yes! I’m curious (for the hubby)!
I’ll be posting about it soon, Jana!
Frames shmames ! I’ve been wondering for a while how you became so svelte so now that the cat’s officially out of the bag, won’t you please spill the beans and yap away?
I’ll be yapping shortly, Sara! 🙂
Okay, spill the beans, Bud!
I will be spilling them very soon!
Great frames, i thought there was a case of vanishing Greg, got to satisfy our curiosity not so big man, get blogging.
I’m on it!
Got something to add to my honey-do list this weekend now! Question though, it looks like you’re putting the brads on top of the printable, is that right? Thought you put it in, then put the back on, then used the brads.
Thanks
Good eye, Donna! But nope, we made those printables double-sided – ivory on one side and black on the other – so we can flip them around as we see fit.
Great tutorial!! Thanks for sharing this and DO TELL us your weight loss secrets! Lol!
I will, Donna! Coming shortly…
I love a good, simple frame. And Briarsmoke is one of my favorite stain colors. Now onto more important things…..how’d ya get your bikini bod? 😀
LOL, the wight-loss yap is coming soon!
Okay…, blame my stupid questions on lack of sleep due to severe insomnia and not being able to find my reading glasses… but is that you in both pictures, or, in the one on the right? Or do you have a clone stashed in a closet or some place? And… (why does the ‘d’ look so small? can’t see what I’m typing, so make some reading glasses for us blind folk okay?) If that is really really you in the ‘young version’ on the right, what color of hair dye is that? LOL
P.S. Coincidence/Christmas? I just finished ALL of my Christmas shopping for my 2 beautiful grandchildren and every one else, and one item I bought for my 8 year old grandson, who loves to build mechanical things, and loves to paint, is a canvas painting kit which low and behold needs a 10″ by 14″ frame. Sticker shock even for a plastic one WoW! So thank you for this great DIY frame tutorial!!! I’ll cut it up, sand it down, round off the edges, stain, and poly it, but won’t put it together. I’ll mail it to my son who can put it together at their home. Are ya jealous that it’s still August and I’m done Christmas shopping? I figured I’d rather be broke now than in the winter. I voted for you and the lovely Handan!
Same guy, no dye! 😀 Thank you so much for your vote, Mary! 🙂
Love these but I have such a collection of frames!!!! So, you’re looking great and we all eagerly await the YAP about it!
I’ll start yapping as soon as I finish responding to these comments 🙂
Great frames! You KNOW we all want to know the secret of your weight loss. Push aways (from the dinner table) is my guess!
No push-aways involved, Kathy!
well besides the fact you musta lost 200 pounds lol, second guy looks like a dancing fool, well done my friend and the frames are awesome too xx
LOL, not quite 200, but it feels like it!
Yes! Yes! Inquiring minds want to know!
Coming right up, Barb!
I just want to say, however you went about losing your twin, “GREAT JOB”! 🙂 And the frames are cute, thank you for sharing.
Thank you, Ronna!
Great look for both: frames and Greg!
Any suggestions on where one could find repurposed wood for these? I’m sure I could just go buy the wood, but I’m all about up cycling, just not sure where to look. I don’t have the luxury of having anyone in my family who builds or remodels or anything. Any ideas would be greatly appreciated!
Sorry, I know this is an older post but how well does the router bit get in the corners with this method? Would it be better to route them before assembly?
Hi Stephannie, because I didn’t miter the corners, I couldn’t rabbet the pieces beforehand, or those grooves would show on the sides. Rabbeting first only works with mitered corners, but that also makes the frames a little more complicated to build.