DIY Sisal Twine Pumpkins
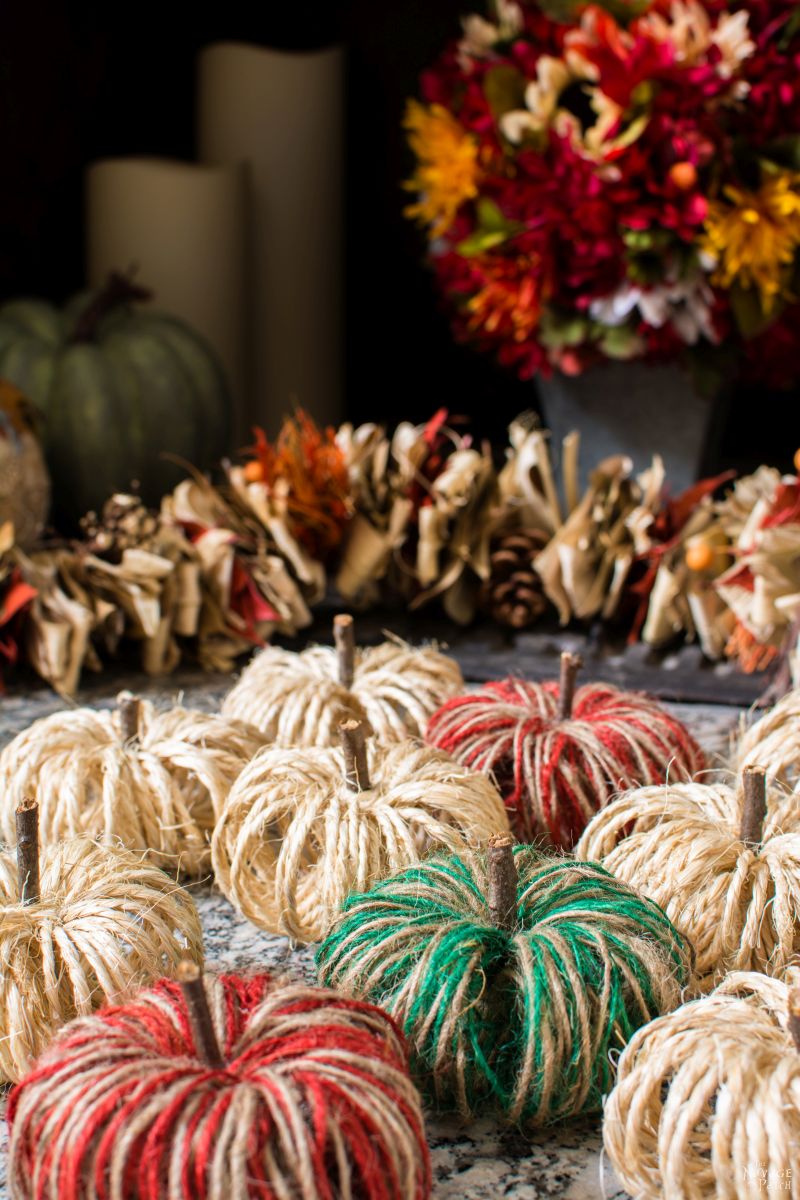
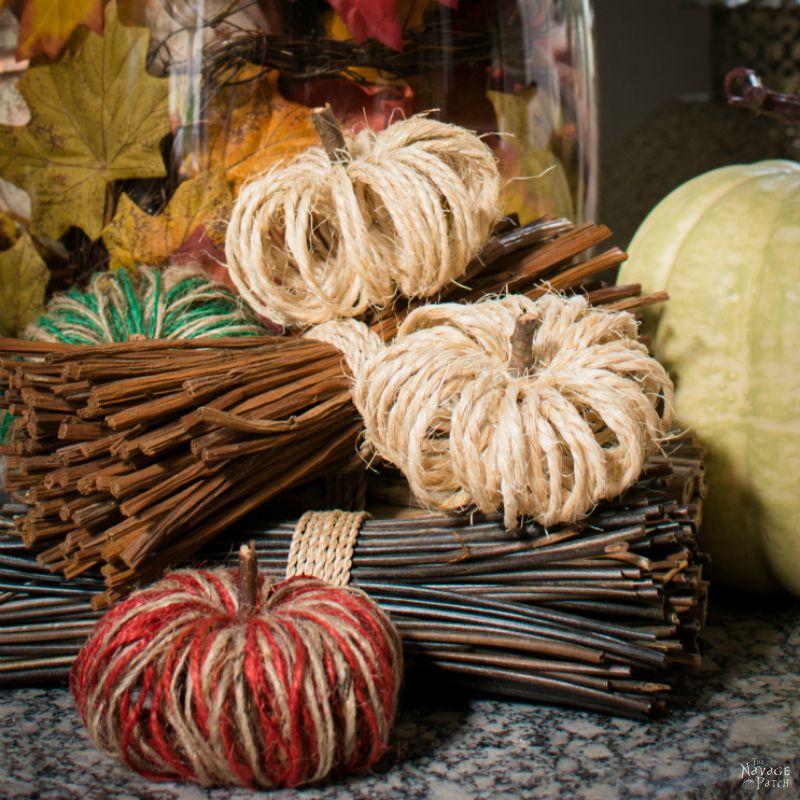
These adorable DIY Pumpkins are made from inexpensive sisal twine that you can usually find at the Dollar Store. Each twine pumpkin takes less than 5 minutes to make and costs less than 50 cents, so you can make a whole bunch to decorate your house this fall!
Fall is just around the corner, and just like last year, I again have a pumpkin tutorial to share with you. I guess you could say I am a little obsessed with pumpkins! Did you know that in Turkey, there is a beloved dessert made from just pumpkin and sugar? It is one of my favorites! Maybe if you ask Greg nicely, he will share the recipe with you. 😉
By the way, have you ever wondered why there is a pumpkin in The Navage Patch’s logo? If you ask Greg, he’ll say something like, “Navage Patch, pumpkin patch. They sound alike. Get it?” And then he’ll scratch his butt, burp and ask for a dry martini.
But there is more to the story.
When my babes was designing the logo, he wanted to put a picture behind the words, but he didn’t know what to put. I told him that a pumpkin would be cool! He looked at me funny and said that a pumpkin would look too “cutesy.” He also said we weren’t going to be a garden blog. (But look who keeps posting about “his” vegetable garden, LOL.)
Seeing a strong resistance against my pumpkin idea, I had to turn on the “honey faucet.” A girl’s gotta do what a girl’s gotta do, right?
“My babes, do you want to sit on the sofa for a while?” I said to him. “Let me bring you a drink, shall I? Do you want me to scratch your arm? Let’s watch Star Wars!”
He was suspicious at first, but a martini, Star Wars and an arm scratch can do wonders!
“Ummm….ok…?”he said.
“Now, my babes, about that logo…”
You can guess, the rest was pretty easy – hahaha :-)
Speaking of easy, let’s move on with our DIY pumpkin tutorial, shall we?
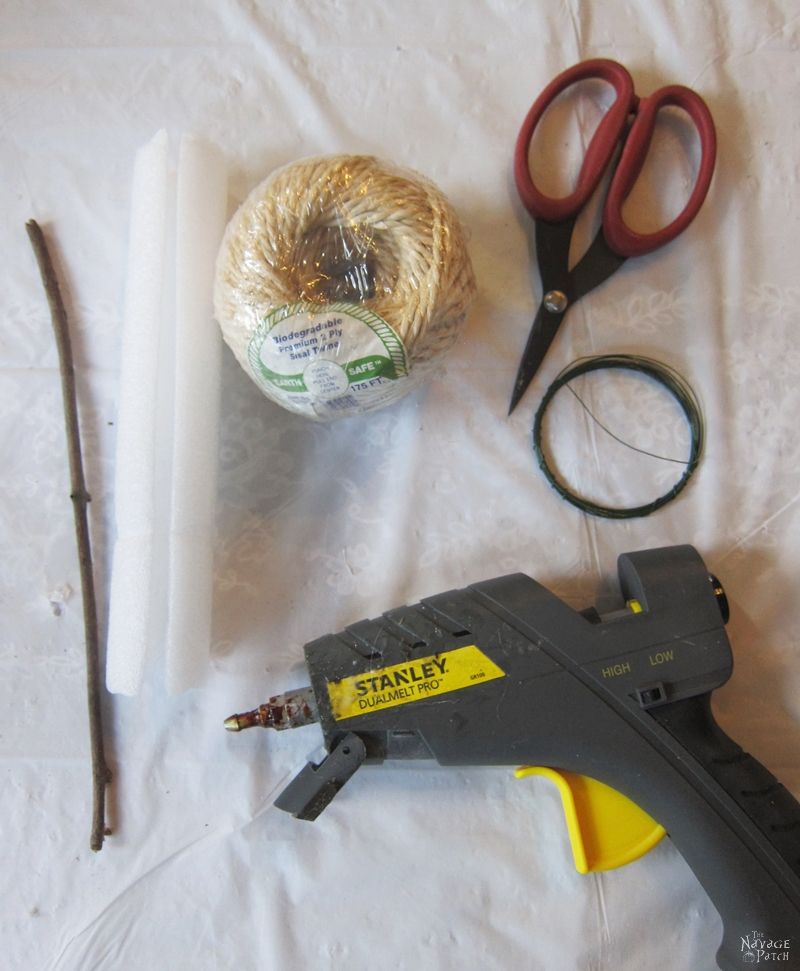
Here is what you’ll need to make these DIY sisal twine pumpkins.
DIY Sisal twine pumpkins SUPPLIES LIST
Affiliate links are provided below. Full disclosure here.
- Sisal twine
- Thin craft wire
- Pipe insulator or foam tubing (or even a pool noodle from the Dollar Store will work)
- A pair of scissors or snips
- Hot glue
- Small twigs
DIY Sisal Twine Pumpkin Tutorial
After gathering the supplies, I started by cutting a piece of craft wire (approx. 6 inches long) and placing it in the pipe insulator.

Foam pipe insulators usually come with an opening as in the picture above. But if you are using a pool noodle or foam tubing, then you might need to cut an opening if your foam doesn’t already have it. Once you have your foam tubing cut like that, place your wire in it as shown in the picture above.
Next, I cut some sisal twine and started wrapping it around the pipe insulator with the craft wire inside the insulator.
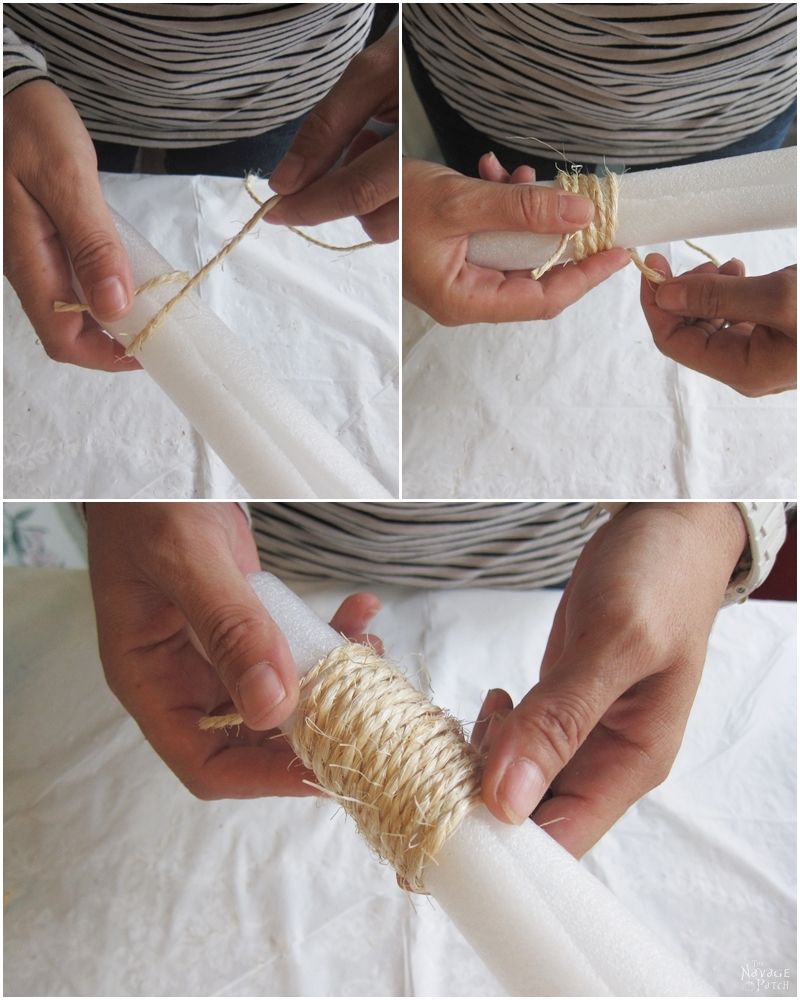
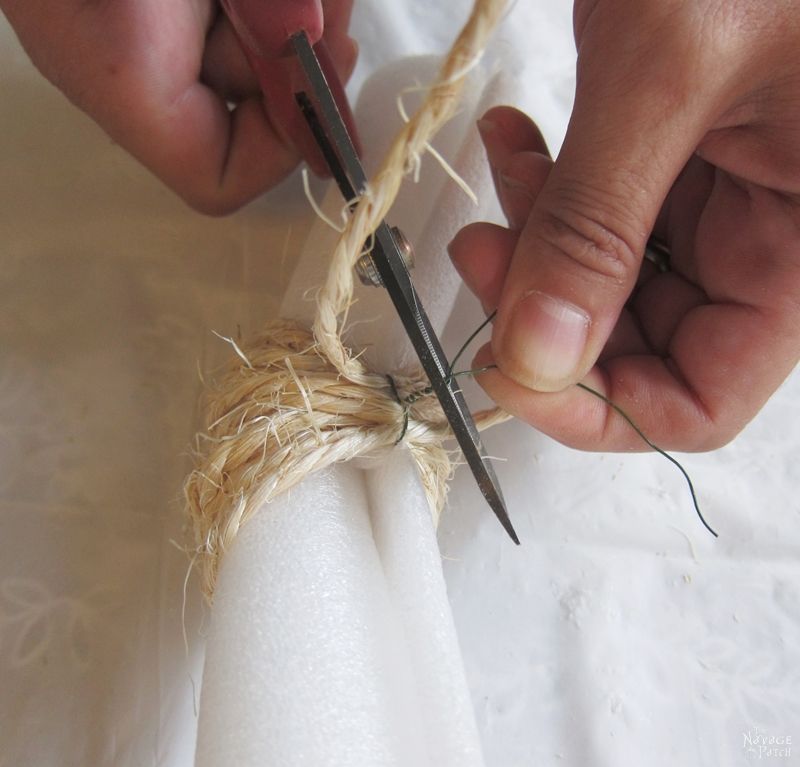
Once I wrapped 15 coils, I pulled the craft wire up through the opening from both ends and tied the twine coils with the wire as shown in the picture below. As I was using 2-ply sisal twine, 15 coils were a good amount for me to easily handle. If I used thinner twine, I would have done more coils. In other words, the number of coils depends on how easily you can handle the bunch.
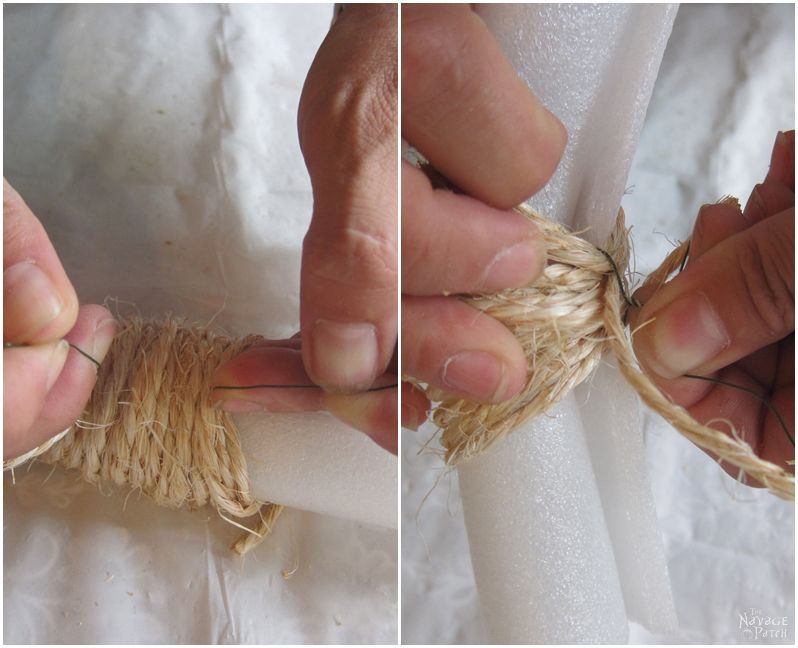
Next, I cut off the excess wire and twine.
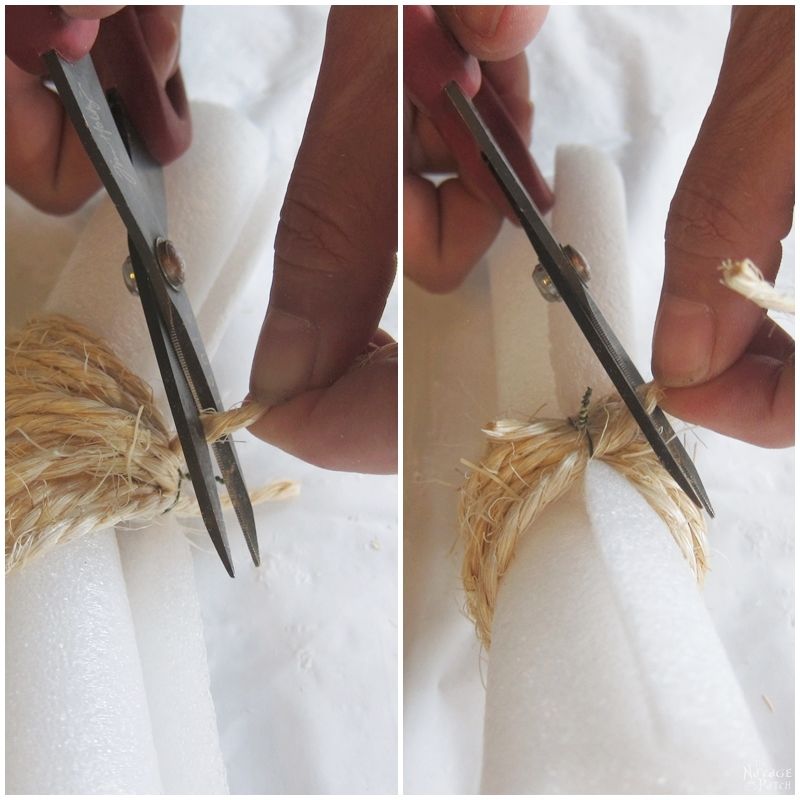
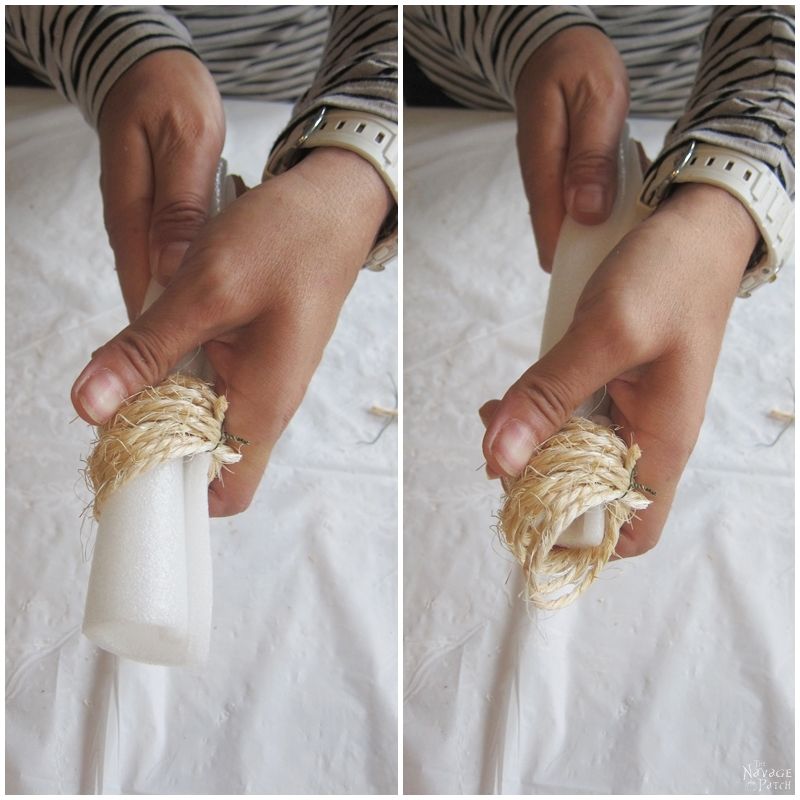
When I was done trimming, I pulled the sisal twine coil out of its form and put it aside to make 2 more of the same.
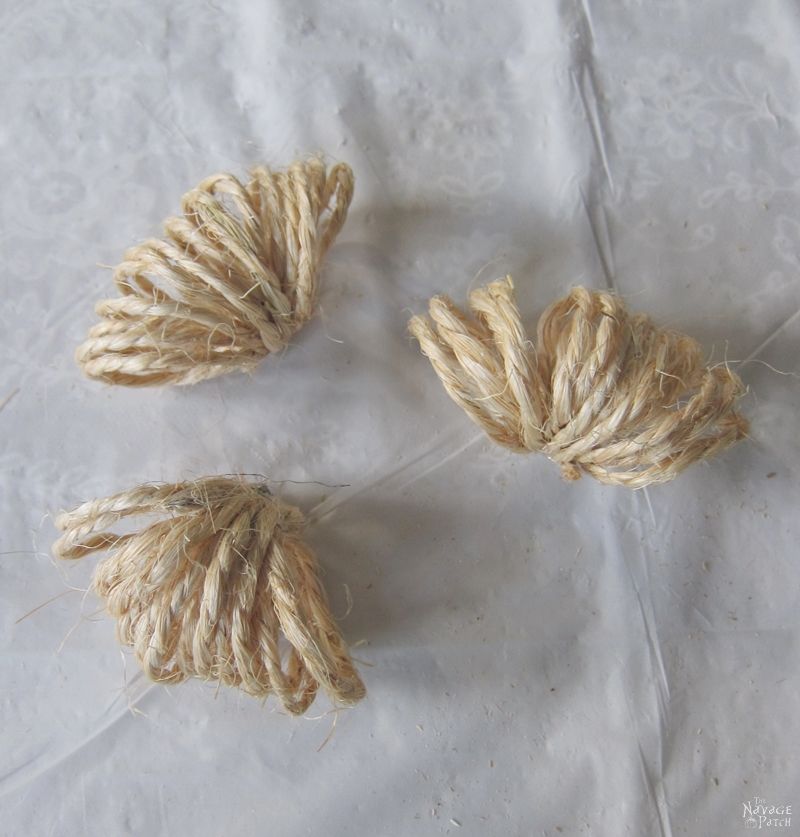
After I made three of them, I started hot gluing them to each other as shown in the pictures below.

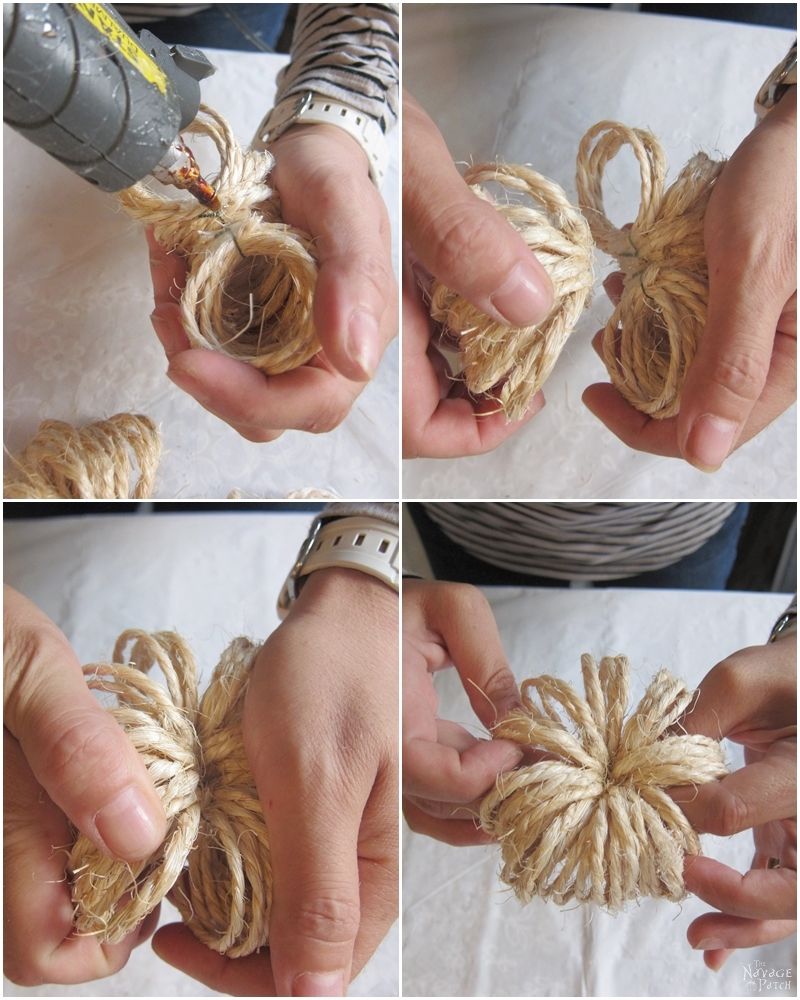
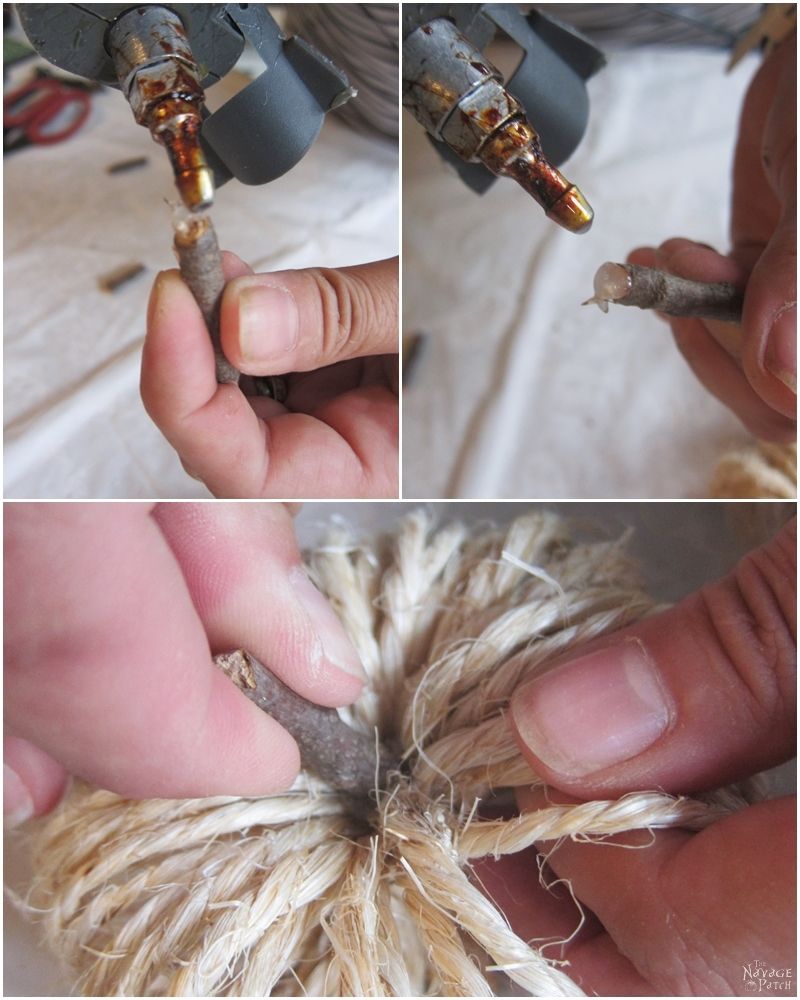
Once the coils were glued to each other, I cut (broke) a small piece of twig and…

…hot glued it to the top of the coils.
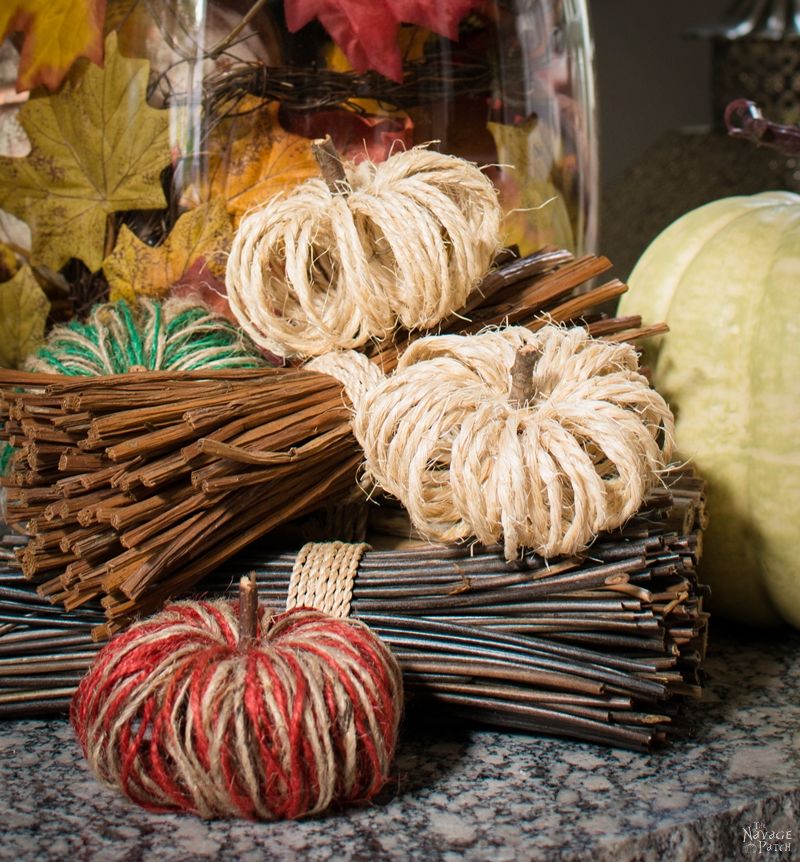
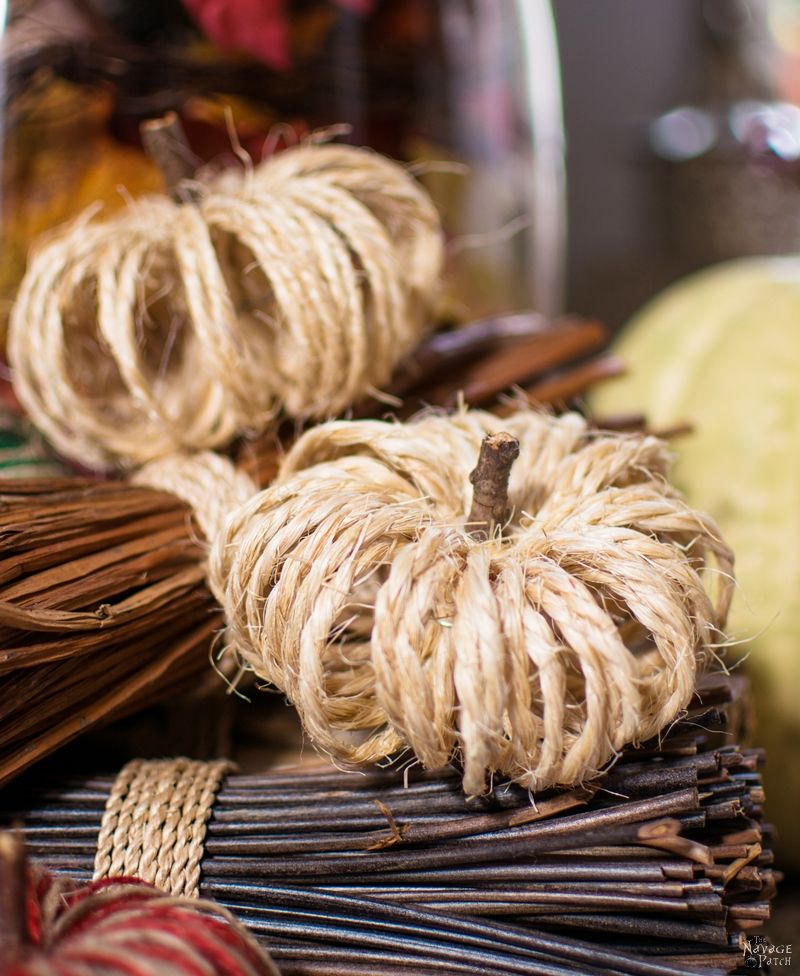
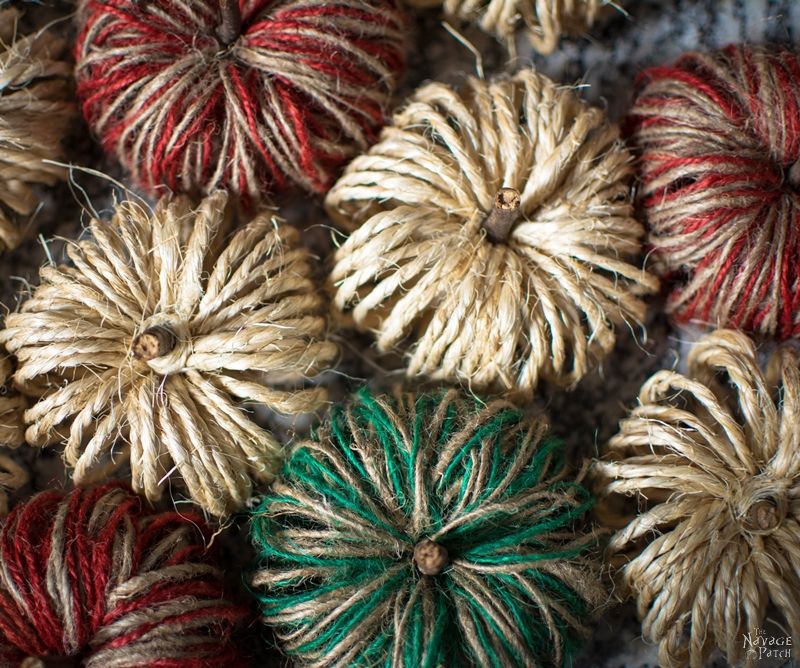
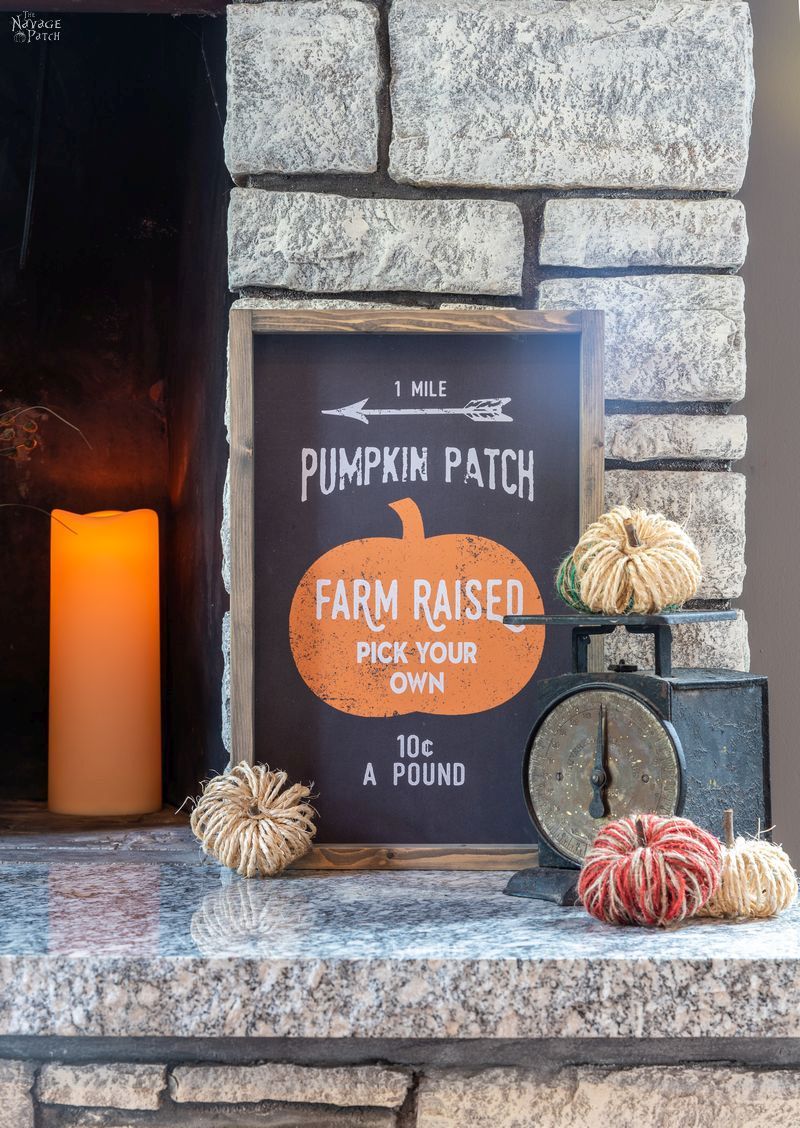
And that was it! Here are my sisal twine pumpkins – the easiest DIY pumpkins ever!
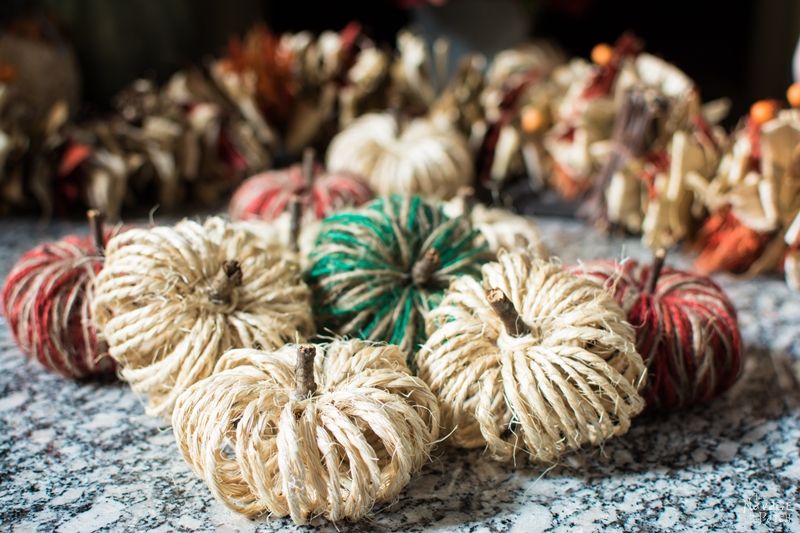
That was pretty easy wasn’t it? As you can see, I also made some different ones with colorful Dollar Store twines – the ones they sell as pack of 3 (either 2 natural & 1 red, or 2 natural & 1 green). Since I used thinner twines for those, I could make them all at once – meaning that I didn’t need to make 3 sets of the coiled part, but instead I just wrapped the whole thing at once, and after tying it with wire, I fanned the strings to give the pumpkin shape. So those were even quicker to make, but still as charming as the sisal ones, if not more so 😉
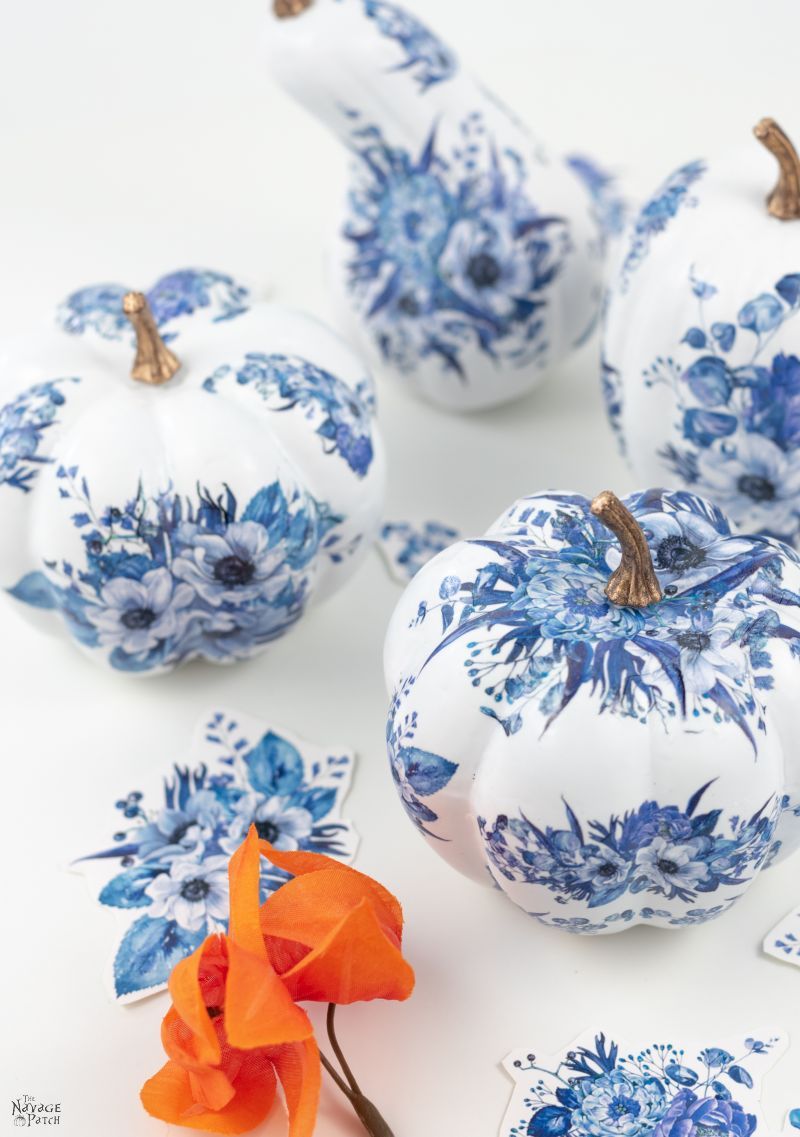
I hope you liked my little DIY pumpkins. If you like pumpkins as much as I do, then I think you would love our DIY Dollar Store Blue and White Porcelain Pumpkins! They are incredibly easy and you don’t need to decoupage or hand paint to make these beauties. If you’re wondering how we made them, just click on the picture below to see the tutorial 🙂
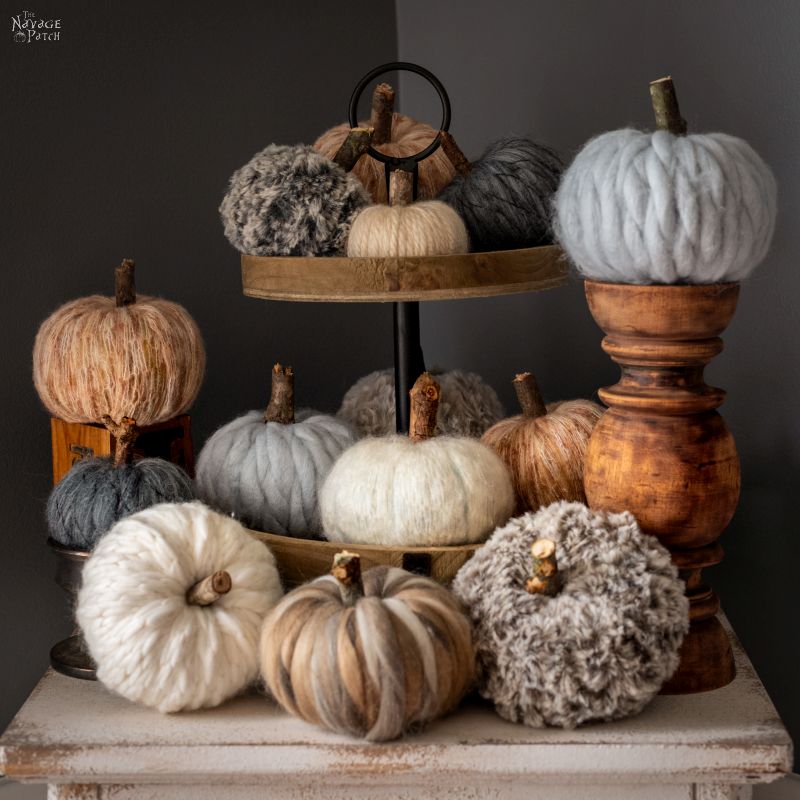
Talking about easy and quick pumpkins, we also have these easy-peasy DIY Yarn Pumpkins! I know what you’re thinking: how can it get much easier and quicker than these sisal pumpkins right? But really – our Easy DIY Yarn Pumpkins are the easiest pumpkins ever and they look amazing!
Or if you prefer something that you can use indoors or out, then check out these Pottery Barn inspired outdoor metal pumpkins I made last year.
Before you leave, I also want to share with you these awesome fabric pumpkins made by our friend Susan over at Organized 31. The link takes you to a tutorial for traditional orange pumpkins, but she also made these really cool plaid ones in ’90s grunge rock style 😀 I think they are perfect, and Greg approves, too (he still loves all that music)!

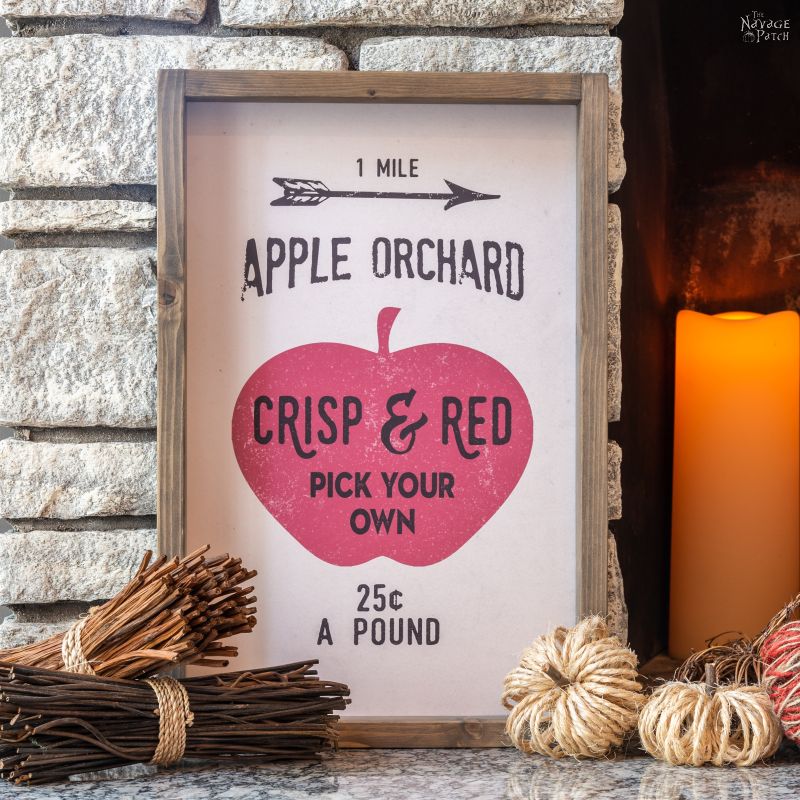
And if you like more Pottery Barn inspired projects, then make sure you check our Pottery Barn inspired DIY fall signs, as they come with free printables which you might want to download. CLICK HERE or on the pictures below to go and download these cute DIY fall signs.
Handan, xo
We love it when you share our posts on Facebook and Pinterest!




Another Handan special! I’m off to the dollar tree to get all the twine i can find. Want to make loads of these, fill baskets etc. Thanks again for another wonderful idea.
Thank you so much, Laura! I am so glad you liked them 😀
ADORABLE! And easy. Thanks so much.
Thank you so much, Dyan! I am so glad you liked these cute pumpkins – yes they are very easy to make 😉
you have made tons of cute dang things handan, but these have to be in the top three love, love them xx
Awesome! I am so glad you love them, because I made just enough for both of us 😀 This year Christmas may come a bit earlier for some, like right around thanksgiving time – hint hint! 😉 xx
I LOVE this blog. You always provide information with entertainment!
Thank you so much, Judith – your comment made my day! 😀
Well aren’t you a smarty pants, Handan – love these adorable pumpkins. Pinned to refer back to your tutorial when I’m ready to embrace Fall. You’ll find my skid marks in the beach sand when I’m forced to accept autumn.
Thank you so much, Marie! Hahaha – I hear you. I wish the weather we have here was nice enough, so I could enjoy summer a bit more 😉
I’ve found my new pumpkin craft addiction for this Fall. Thank you, Handan. These twine pumpkins are so-oooooo charming. Last year I was addicted to making upcycled fabric pumpkins. Imagine how cute the fabric pumpkins and twine pumpkins would be together. http://organized31.com/fabric-pumpkin-tutorial/
Oh I love your pumpkins, Susan! Especially the grunge ones! 🙂
So cute! You know, I always thought your blog title was meant to rhyme with ‘cabbage patch’.
Thank you so much! Yes you are totally right – it exactly rhymes! 🙂
I’ve been meaning to leave a comment since last week Handan and every time I get side tracked. I think my squirrel brain is playing tricks on me 😉 Love these little twine pumpkins that you made. You always seem to come up with such unique ideas
Thank you so much, Michelle! I saw some angel vine pumpkins the other week and they were 5 dollars each. And that was for small ones (like the ones I made.) – ridiculous isn’t it? I have to say I liked them a lot, but then I thought to myself I can actually make that. That is how this project came to life. LOL.
I enjoyed the inspiration. I will be making these I use a inside of a toilet roll to try. Thanks Jane
Thank you, Jane! Yes, toilet roll or paper towel roll would also work. The trick is to cut one side of the roll – so you can get the wire in, and once finished wrapping the twine you can secure the whole thing with wire easily 🙂
dang, girl – these are great! you’ve got my mind spinning with all kinds of variations [not that these aren’t wonderful as is!]
– a dusting of bronze spray paint before adding the twig
– spray the whole darn thing dark gold
– dipping it in wood stain
– larger ones made with heavier twine
– want to try inserting fairy lights, if possible
can’t wait to make these with my grown daughter when she visits in Sept.
Thank you so much, Peg! Hahaha – I am so glad I got your creativity sparked. Those are all awesome ideas. As I always say creativity feeds off of creativity. Now you got mine sparked even more 😉
I’m so glad I could inspire you!! I love that feeling when you see something and your mind just starts racing w/ fresh takes on it. don’t even get me started on little cone xmas trees…
thinking I’d like to try both of these. And wouldn’t it be cute to run a stiff wire through the pumpkins and add one of two to the ball of flowers too? I need a gift for a friend real soon…might just have to put one of these together!
I love that idea Kim! That would make a great fall garland! In fact now you gave me the idea I will do that for our mantel 🙂 Thank you!
I love,love,love crafts made from products I can actually find and doesn’t cost an arm and a leg! Thank you so much for showing is these adorable pumpkins. ?
Thank you so much for your lovely comment, Crystal! I am so glad you liked the tutorial 🙂
Caught this project from a link at Hometalk. OMG I am so making these today! I LOVE pumpkins and these will be so adorable To have and also give as gifts! (we are all fall crazy over here) I think you have a new follower! (love the pumpkin logo story!)
Oh thank you so much, Terri! I am so happy you liked these pumpkins. I also love them as they are so easy yet really cute 🙂
Hi! Love these but where did you find the colored sisal twine? I checked Amazon and they just have the natural. Thank you!
Hello Louise, I bought the colored twines from the “gift wrap” section of the Dollar Store (Dollar Tree to be exact.) They come with 3 twines in a pack. Usually the colors of the twines are red, natural and green. And all 3 are only a dollar. 🙂
What do you think you could use to form bigger pumpkins?
Hi – I had the same thought, and I came up with this: I found that I could wrap the twine around any cylinder and then slide the wire under the coils – without having to cut the cylinder open. You could tape the ends of the twine to the cylinder if that makes it easier to handle. I used a one liter soda bottle and the heaviest twine I could get, worked great! I also bought faux foliage leaves at the dollar store and put a leaf on my pumpkin, really cute. Thanks again, Navage, for this great idea!
That is a great idea, Peg! I mean wrapping around a big soda bottle! That would definitely work with thicker sisal rope. 🙂
Hello Kristi, I think Peg’s idea is awesome for how to make bigger pumpkins 😉
Love these! Wondering about the garland in the background… do you have a tutorial for it?
Thank you so much, Lisa! I bought that garland at Michaels at the beginning of the season. With a 50% discount coupon I think I paid $10 for it. 🙂
Thank you for sharing these adorable and creative cuties!
Thank you so much, Lynette! Your lovely comment is much appreciated! 🙂
These pumpkins are sooooo….cute. I just love them. Thanks for posting this tutorial.
Thank you so much, Bettina!
This is adorable! what a wonderful craft for the fall!
Maria
I’m so glad you like them, Maria! They are so very easy to make 🙂
Guess who will be at the dollar store tomorrow am. I can hardly wait to start on my pumpkin patch. Thank you- l’mr really excited to start I have 3 daughters that will get a few as thanksgiving gift if I can wait that long maybe they will get them for Halloween
Awesome! I’m sure you will love making these cuties 🙂
Loved your pumpkins, making them in different sizes would be fun too…..so my mind got going…. I wonder if we could make them with the red and green twine and make them in graduated sizes and stack them up like a Christmas tree and put fairy lights in them……star on top? Thanks for your inspiration and your followers great ideas, they really inspire us to keep seeing even more projects with this great design that you started with a twine pumpkin. Thanksgiving and Christmas are going to be so much fun! Thank you!
That’s a great idea, EM! And thank you so much for your lovely comment – I indeed appreciate it!
These little guys are the cutest! Please…there must be something other than foam pipe insulation (never knew such a thing existed) or a pool noodle. (our one and only Dollar Tree, Wal-Mart and Ben Franklin store are fresh out of pool noodles) I’ve been pushing my creativity button until my finger hurts and can’t think of an alternative. Help….