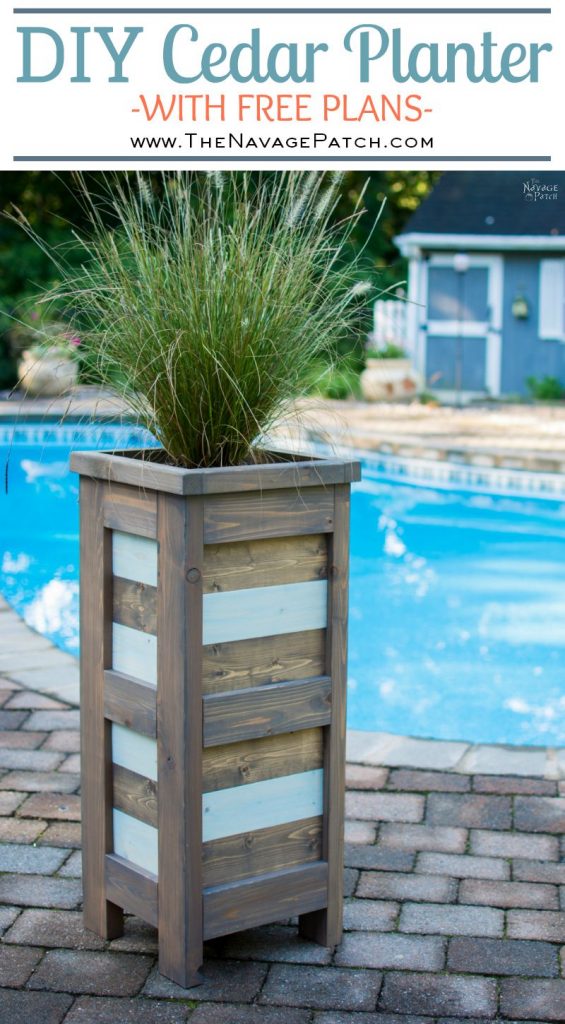
DIY Cedar Planter
Cedar planters make a great addition to any front porch, garage or patio, but they can be very expensive. Learn how to make your own for a lot less money with this DIY cedar planter tutorial with cut sheet.
When Handan asked me to build two planters to put between the garage doors, I jumped on the idea. Finally, I could build something again! Look, don’t get me wrong – mailbox makeovers, lamp post makeovers, pantry makeovers – yeah, they’re all well and good, but Jeezum Crow, I wanted to make, not makeover! So, yeah, I was excited. While she carried on yapping about the ferns she wanted to put in them and god-knows-what-else, I was hightailing it into my office to fire up my computer and get designing!
When it comes to simple carpentry projects, you can’t beat Sketchup for the design phase. It has a bit of a learning curve, but once you master the basics, you can design almost anything that pops into your head.
So with a head full of ideas, I got to work.
I worked like a man possessed. It had been so long! I embraced the creative process and watched my brainchild flourish on the monitor. This was exactly where I wanted to be. This was exactly what I wanted to be doing!
Garden posts? Get lost!
Makeovers? Move over!
Recipes – BAH! No one reads ’em anyway!
Travel? Take a hike!
Soon, I’d have glue on my hands! (and on my clothes)
Soon, I’d have stain on my hands! (and on my clothes)
Soon, the sawdust would fly! (and get in my nose)
What a time to be alive!
It seemed like only minutes had passed when I finished my design. It was brilliant. I had designed the greatest planter in the history of great planters. It was a glorious creature of cedar and green glass and jute, and at its heart lay a single solar light whose rays would filter through the translucent glass and glow softly throughout the night.
Plants would thrive within its bosom. Animals would worship at its feet. Celebrities would bring me offerings of the finest meats and cheeses and invite me to their private country clubs. More likely than not, I’d get several calls from HGTV asking if I would please star in a show, or no, better yet, would I please accept the CEO position at the network?
I couldn’t wait to show it to Handan. I dashed off a copy and stumbled outside like a drunken sailor chasing a beer.
“MY BABES!” I bellowed into the back yard. Where the hell was that woman?
A head popped up from the daylilies and swiveled around like a meerkat sensing danger.
Ah, there she was!
“My babes!” I said, breathless. “Look!” I thrust the paper towards her head and shook it around.
I danced back and forth on my toes like a child who has to pee. “What do you think?” I was about to burst with excitement! I could smell the endorsements! I might even get invited to dinner at The White House!
“My babes,” Handan said, and my hopes melted into the hazy August afternoon. Then she gave me The Look, and I felt myself sinking into the ground. I stared up at her from 20 feet down.
“My babes, I asked for a planter, not an alien spaceship.” The Look persisted. “People need to be able to build this. It’s going to be a tutorial, remember?”
“Oh,” I said from the depths of the Earth. “Okay, my babes.”
I climbed up out of my hole and trudged back to my computer, back hunched, head hung low, arms dangling in front of me.
I sat in my chair and looked at my creation. I held the pointer above the delete button, but I did not press it. Instead, I saved it and filed it away for another time. The world is just not ready for that planter.
Someday I will build it. But until that day, I had to knuckle down and design a planter that anyone could build (well, anyone with a Kreg Jig, anyway).
Okay. I could do that. And I could still make it beautiful.
I set to work…
*****
Note: I designed this planter to be built from cedar 2 x 4s and 1 x 4s. In fact, I used cedar 2 x 4s and pine 1 x 4s. You can build them from whatever you wish, just be sure to protect any wood that is not cedar or redwood. I applied a few coats of satin polyurethane to my pine boards. I am not going to document process of cutting, staining and drilling Kreg screws in this post so we can get right to the good stuff: building! I will include a materials list, a cut sheet and a pocket screw diagram, so you’ll have all the information you’ll need to tackle this project.
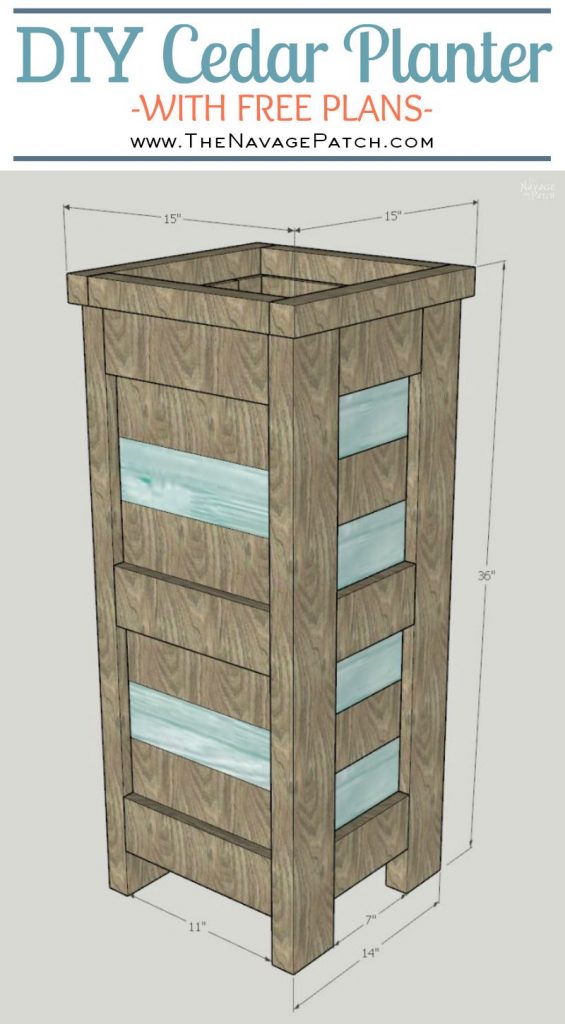
Okay, let’s start with my Sketchup drawings. Though I had to pare back on the glass, rope, ethereal lighting and all other alien spaceship elements, I still managed to bang out a decent design. I incorporated some blue-stained wood to give a little contrast.
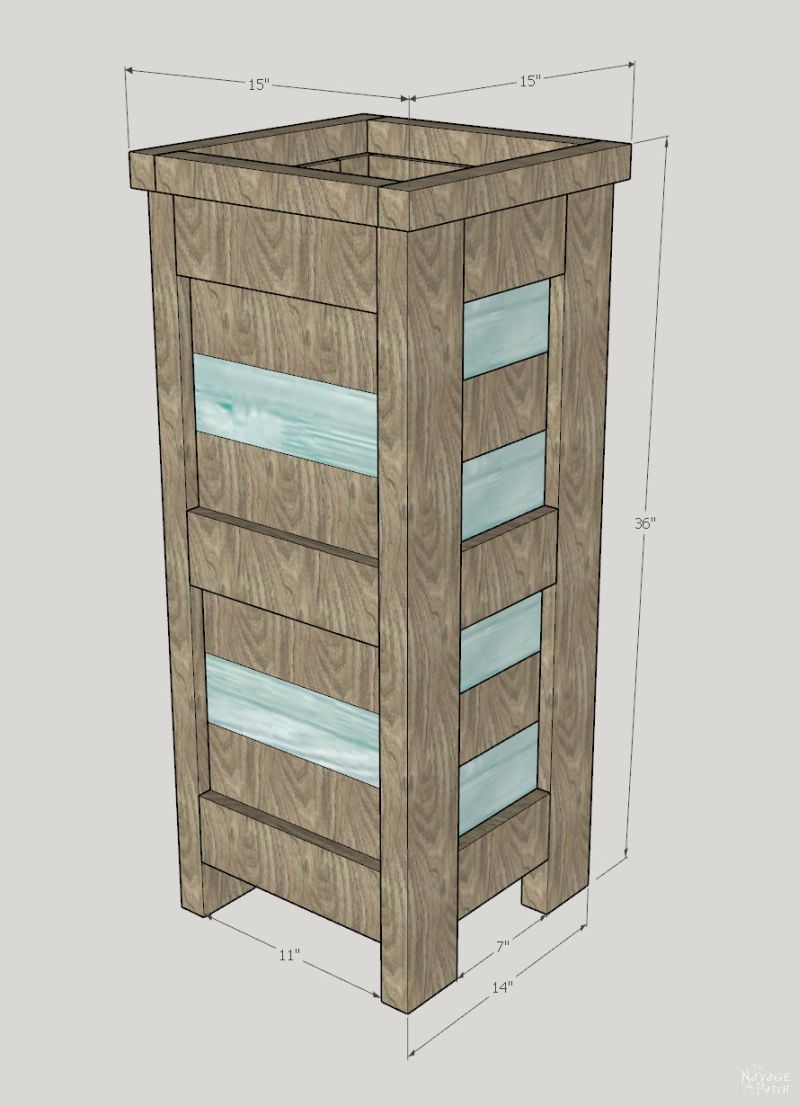
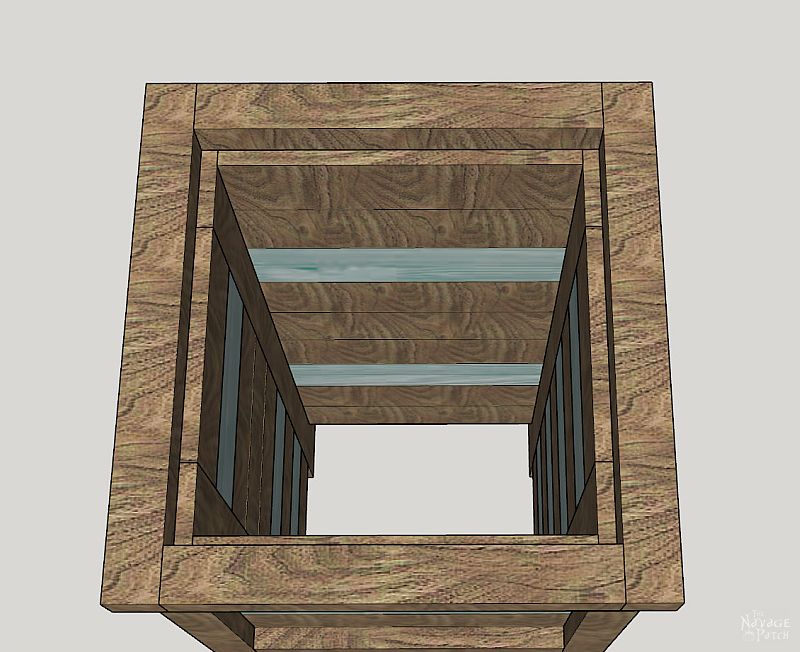
I designed these not only to fit between our garage doors (15 inches) but also to accept a standard plastic planter pot from Home Depot. The pot sits on the ledge 1 1/2 below the rim.
This is the front…
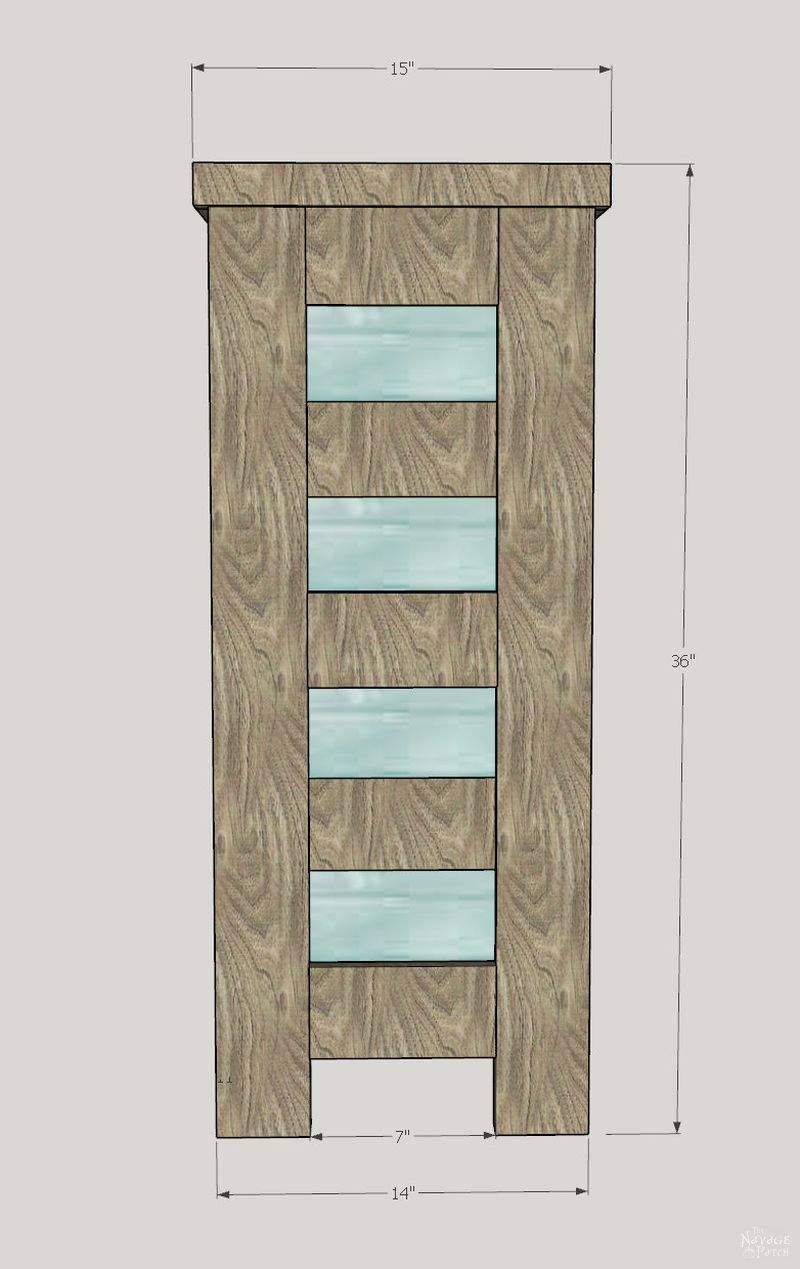
And the sides…
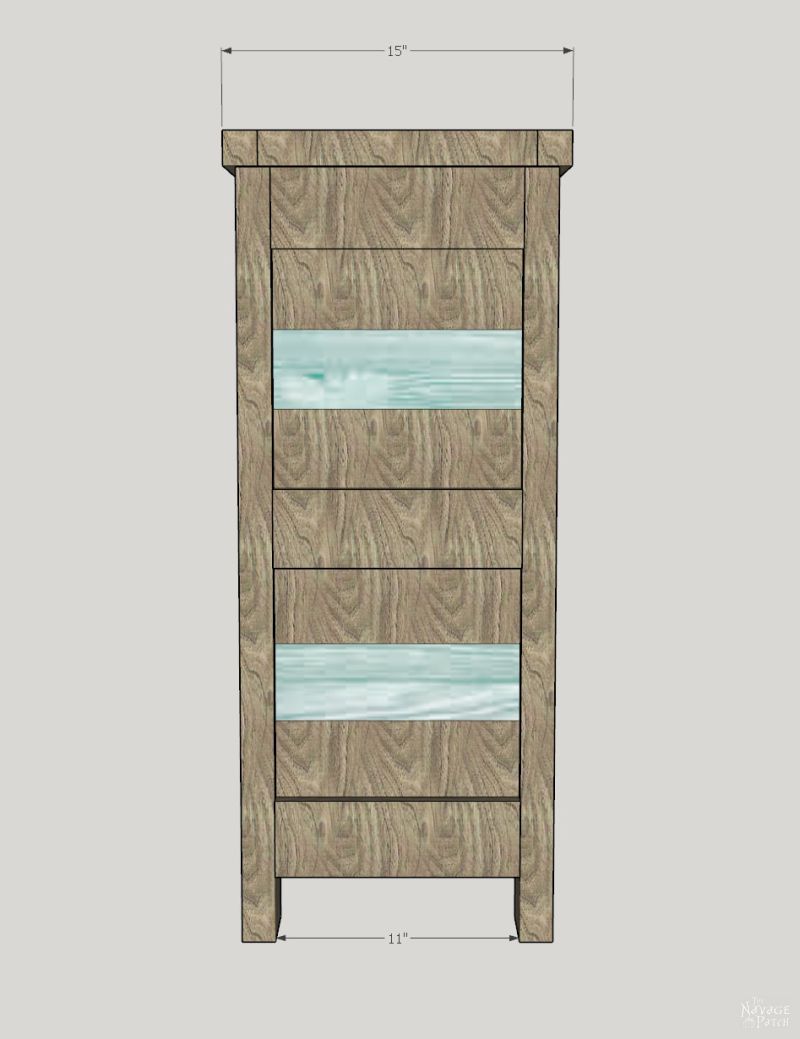
For each planter, you will need:
- (3) cedar 2 x 4s
- (3) cedar 1 x 4s. You will also need
- (52) 2 1/2 inch Blue-Kote Kreg screws,
- (160) 1 1/4 inch Blue-Kote Kreg screws and
- Wood glue
- Brad nailer and brad nails, or a hammer and some thin finishing nails.
If you plan to make two planters, double the amounts given above.
Note: the actual dimensions of a 2 x 4 are 1 1/2 x 3 1/2, and the actual dimensions of a 1 x 4 are 3/4 x 3 1/2. I will refer to them as “2 x 4” and “1 x 4” on the cut list, but keep the actual measurements in mind in case you need to alter the dimensions.
Cut list
(4) 2 x 4 x 34 1/2
(6) 2 x 4 x 11
(6) 2 x 4 x 7
(12) 1 x 4 x 11
(12) 1 x 4 x 7
(2) 1 1/2 x 1 1/2 x 15
(2) 1 1/2 x 1 1/2 x 12
I stained my boards with a blend of 2/3 Varathane Briarsmoke and 1/3 Varathane Weathered Gray. For the blue boards, I used Varathane Bleached Blue.
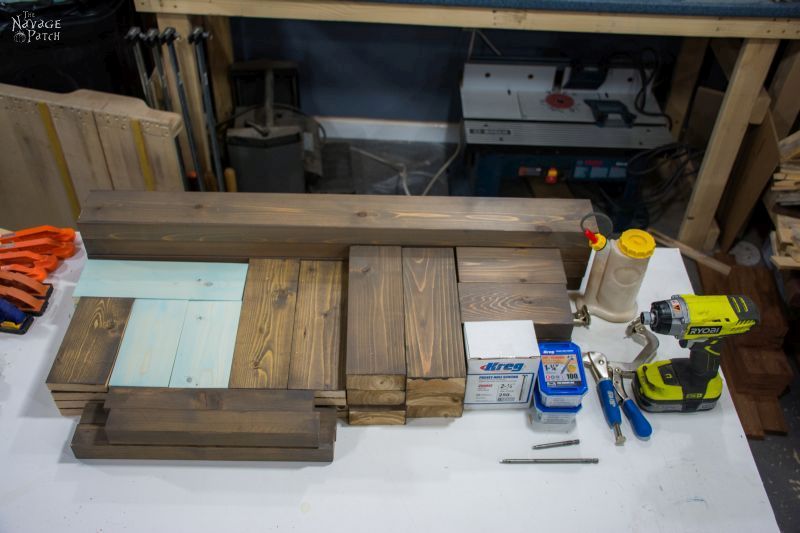
Drill your pocket screw holes according to the following diagram. It is the same pattern for the 11 inch boards (shown below) and the 7 inch boards. Don’t worry about some arrows being black and some clear. Sketchup likes to shade everything, and depending on how you turn the model, the arrows change color.
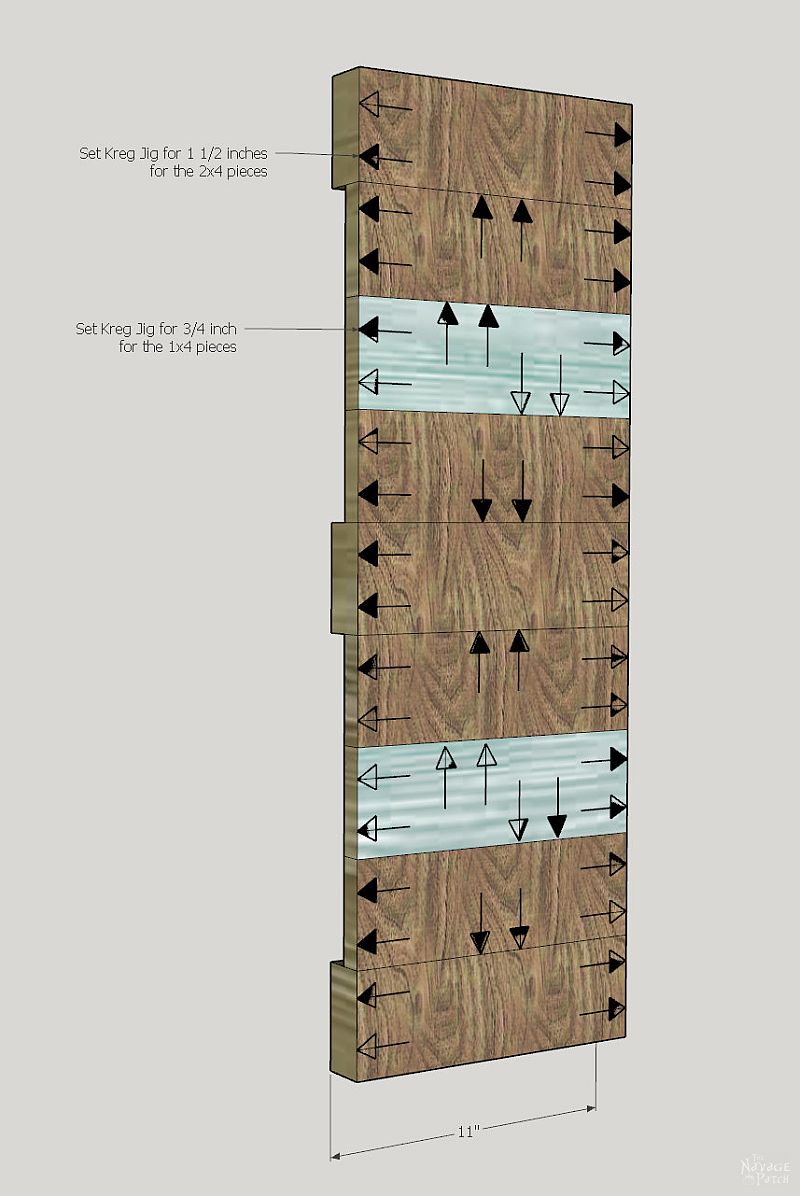
Let’s build!
Starting with the 11 inch pieces, the pattern we want with the 1 x 4 pieces is brown-blue-brown, as shown below.
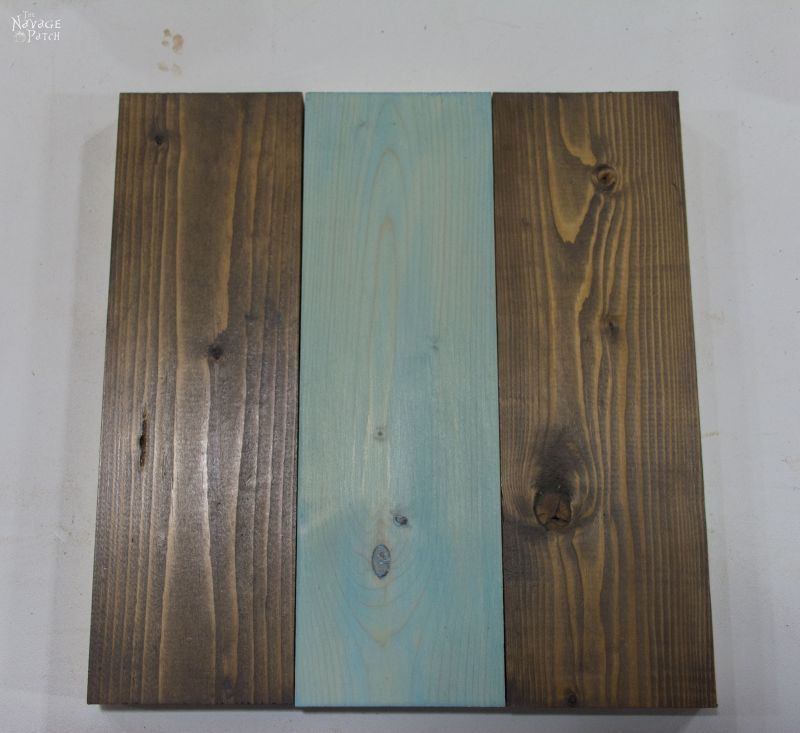
Flip them over and arrange them so that the pocket holes in the brown pieces are facing towards the ends.
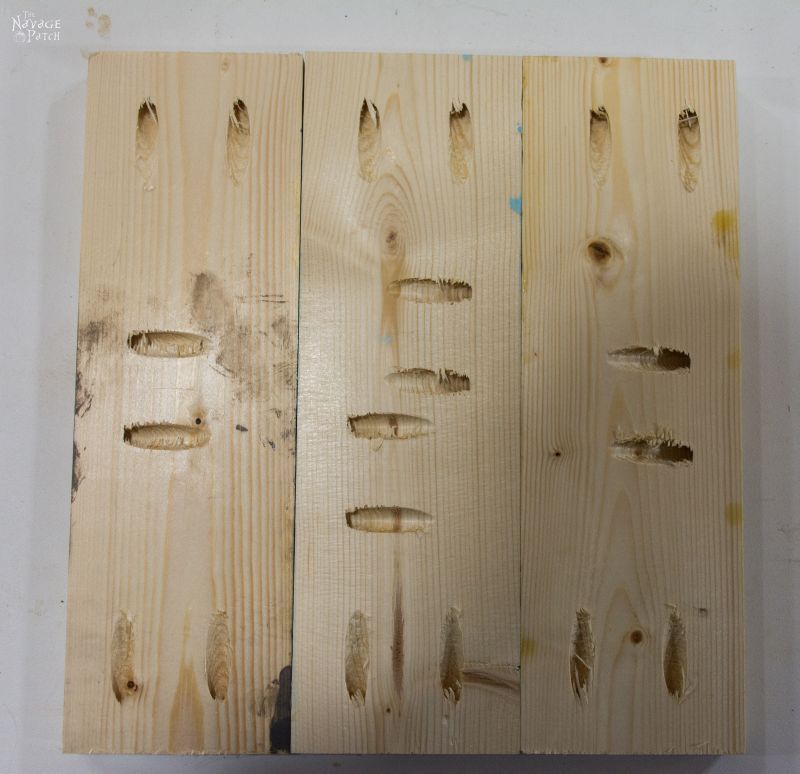
Clamp one side and insert screws. Note: I used zinc-coated 1 1/4 inch screws instead of Blue-Kote, because that is what Home Depot had in stock, and I didn’t have time to order the Blue-Kotes. I did so knowing that they will rust. Don’t be like me. Get the Blue-Kotes, as they are made for outdoors.
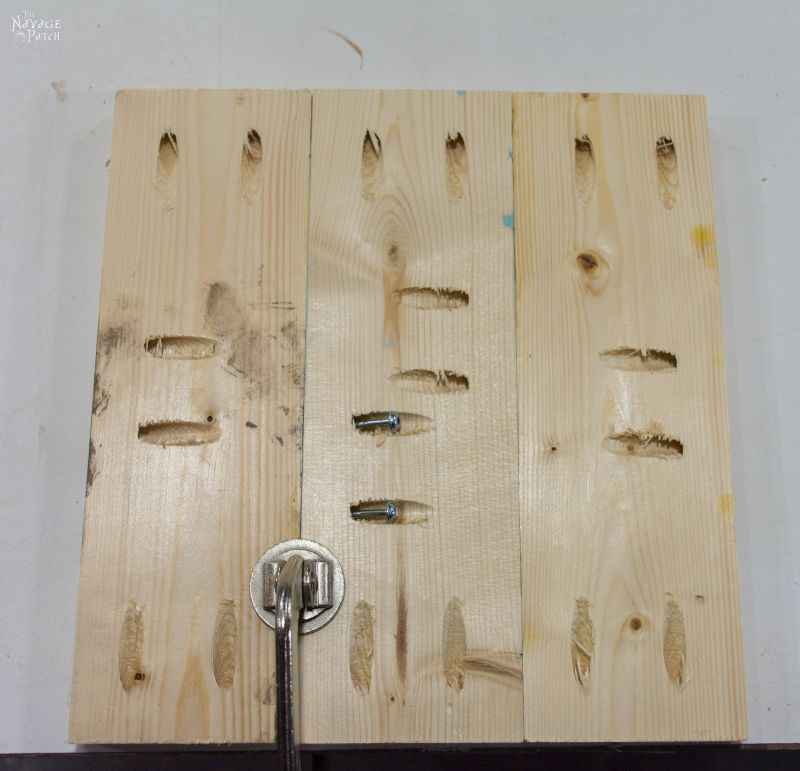
After screwing the clamped pieces, move the clamp to the other piece, and repeat.
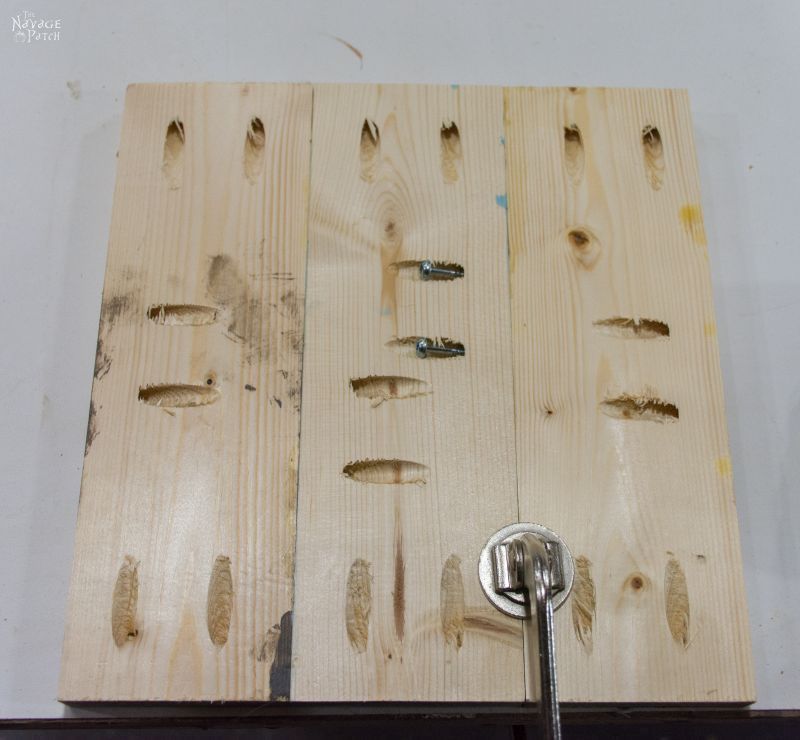
Now, you have one finished component. Pat yourself on the back, pour yourself a dry martini and let’s carry on.
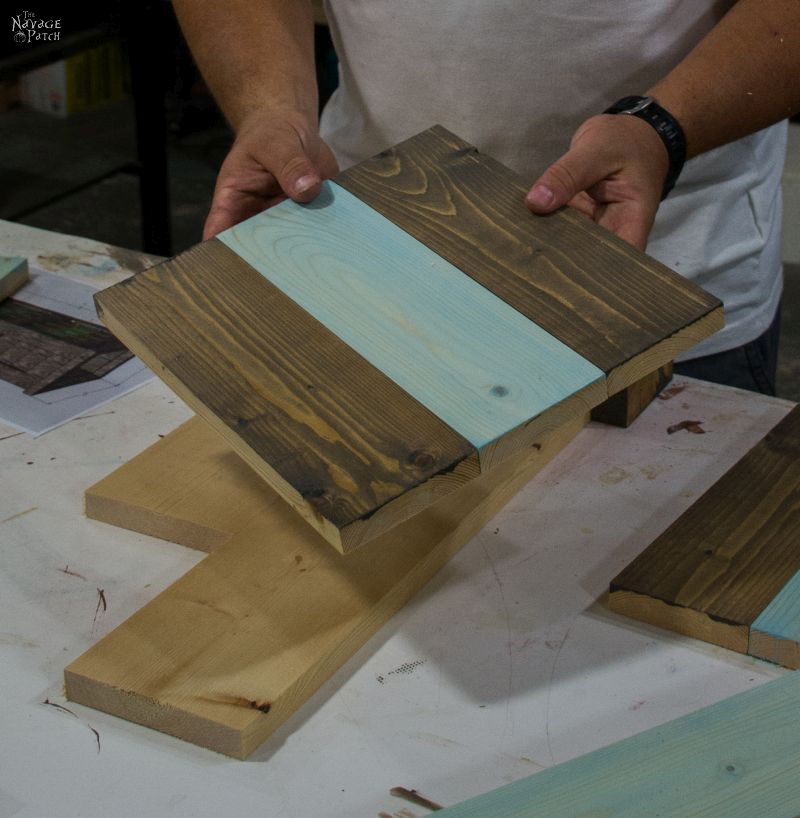
Set it aside, and carry on in the same manner for the rest of the 11 inch 1 x 4s.
For the 7 inch 1 x 4s, the pattern is blue-brown-blue. Join them in the same manner as you did the 11 inch pieces. When finished, you will have two stacks of components. Isn’t that fantastic? Go have another martini.
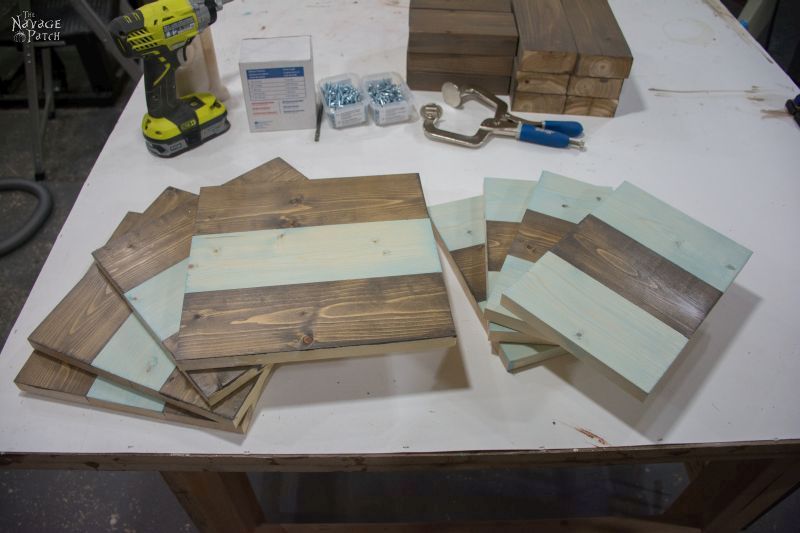
Next, join the 1 x 4 components to the small 2 x 4 pieces. Here’s the look you’re after:
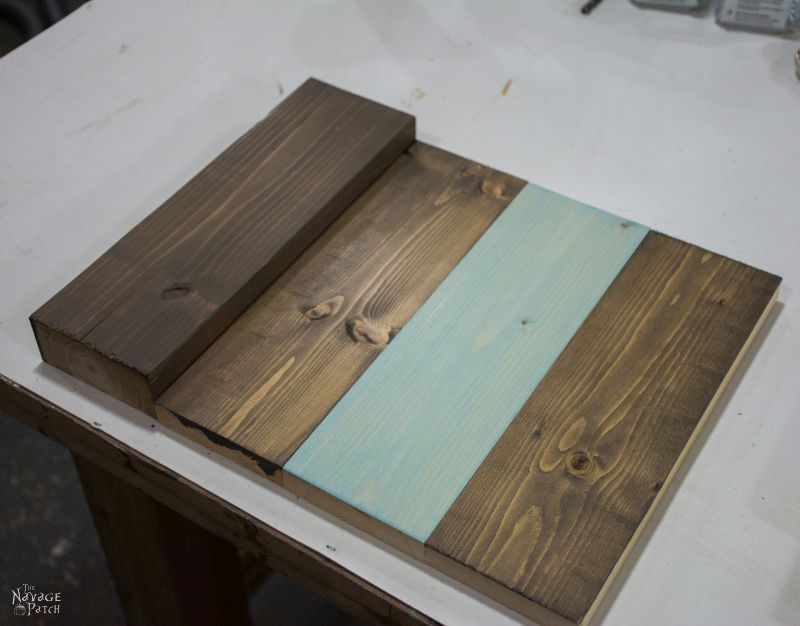
But when you flip the pieces over to screw them together, you get this:
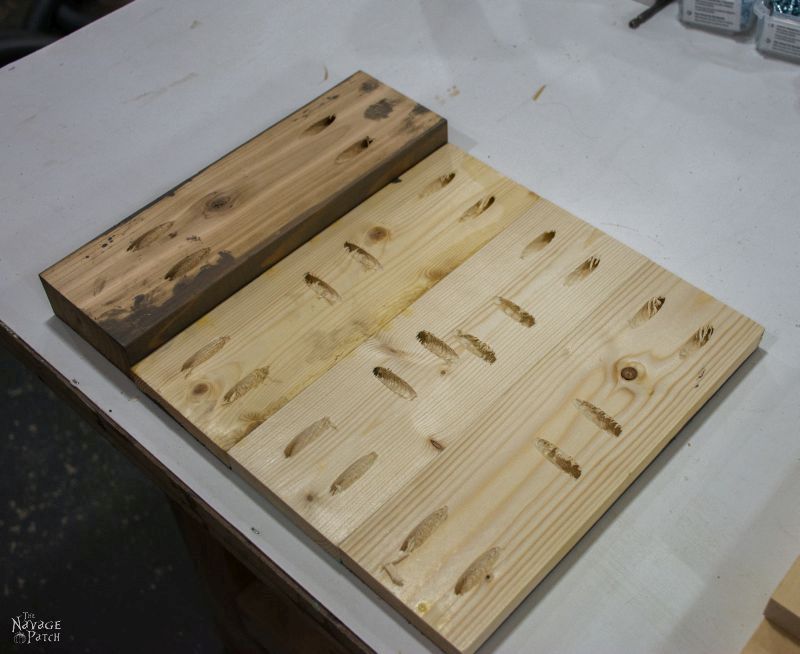
That would result in all the faces being flush. You want the 1 x 4s to be recessed, so to achieve this, place a couple of 1 x 4 scraps next to the 2 x 4 piece.
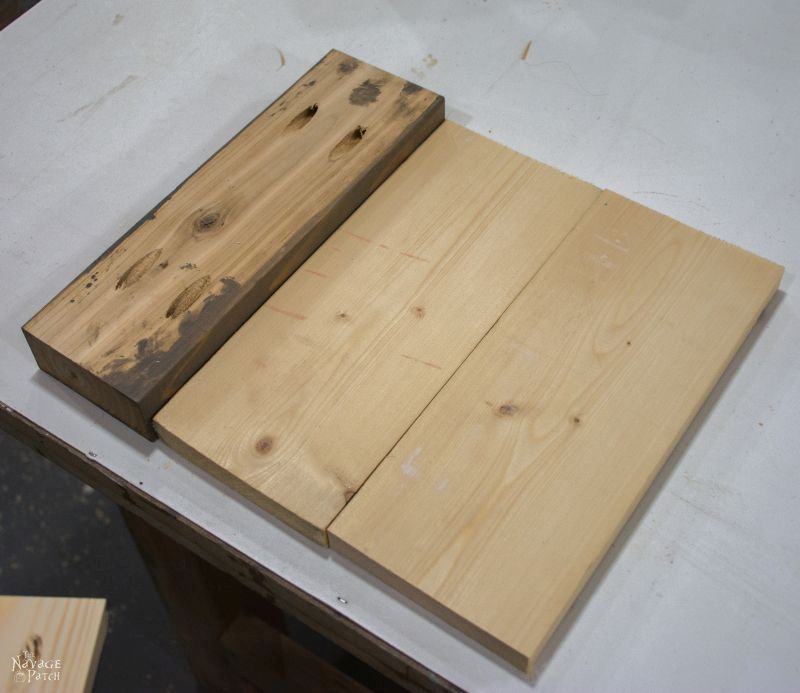
Then, place one of the component pieces on top of the scraps.
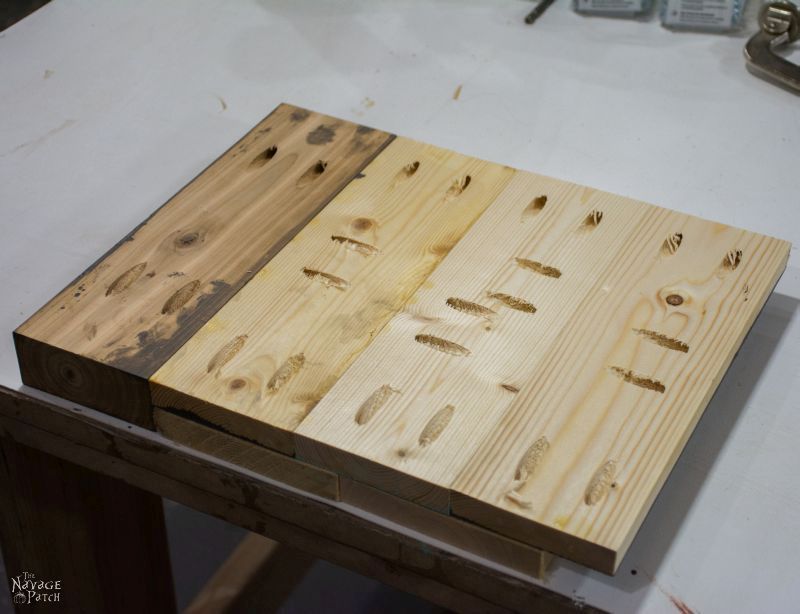
Clamp and screw.
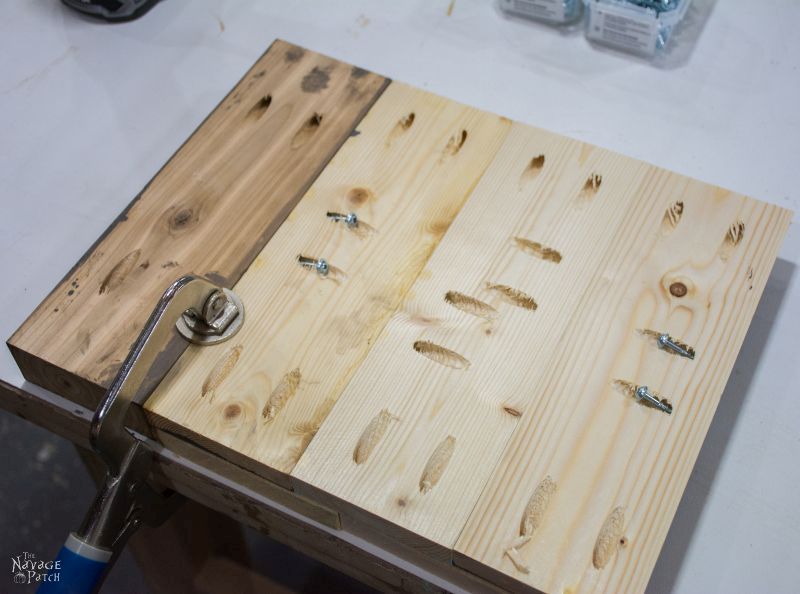
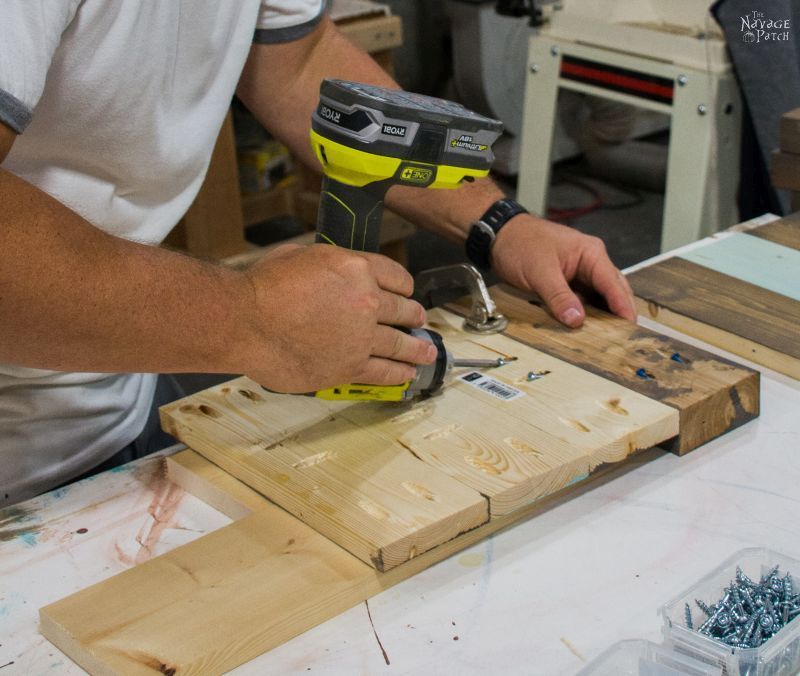
Repeat on the other side with another 2 x 4 piece.
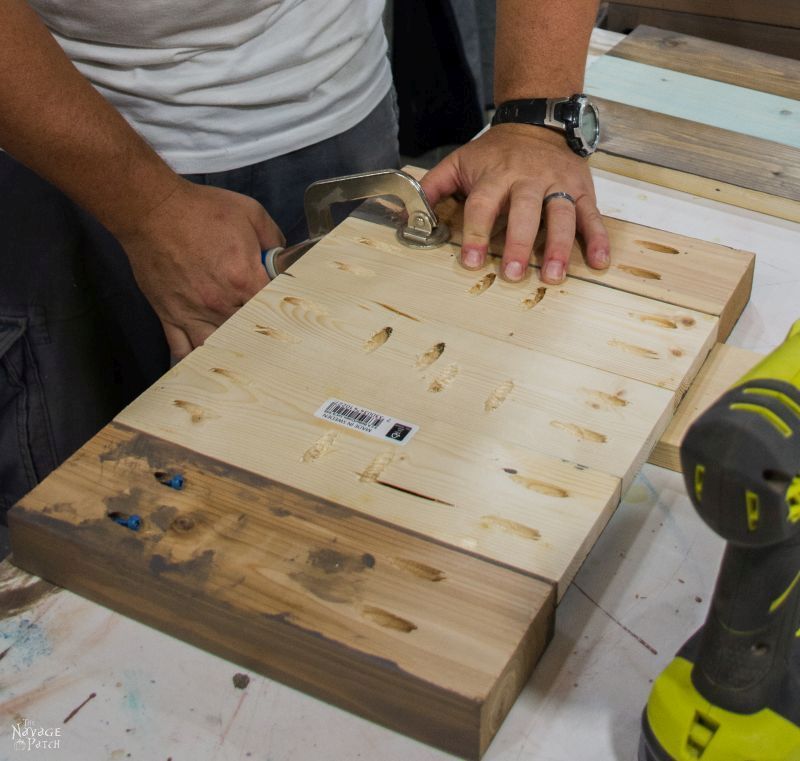

Next, move the scrap pieces over next to the piece you just finished.
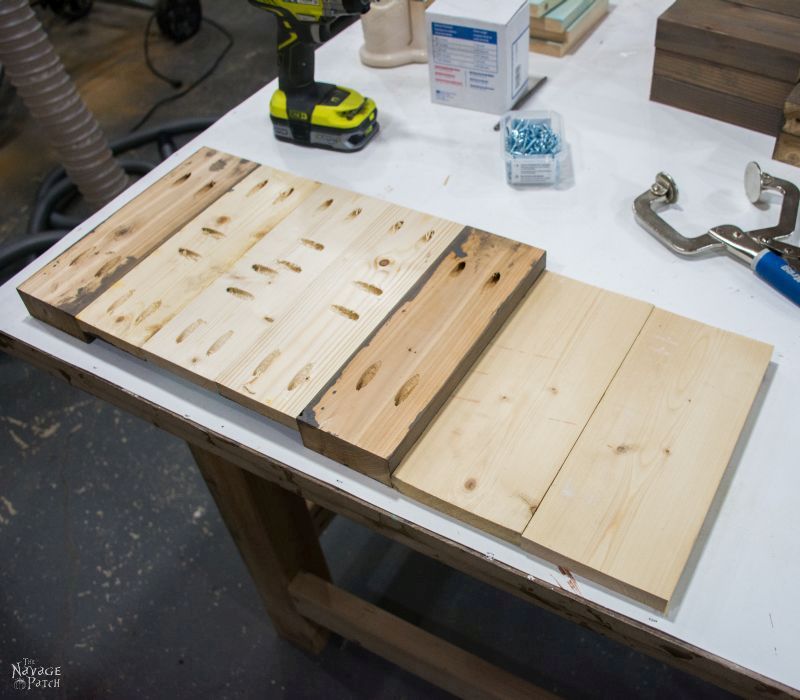
And place another component piece on top of the scraps.
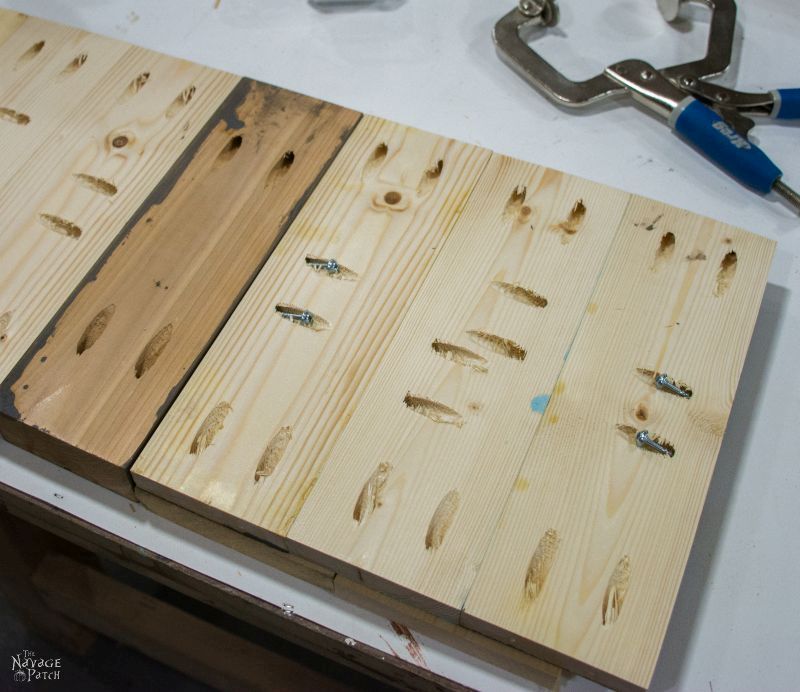
Clamp and screw.
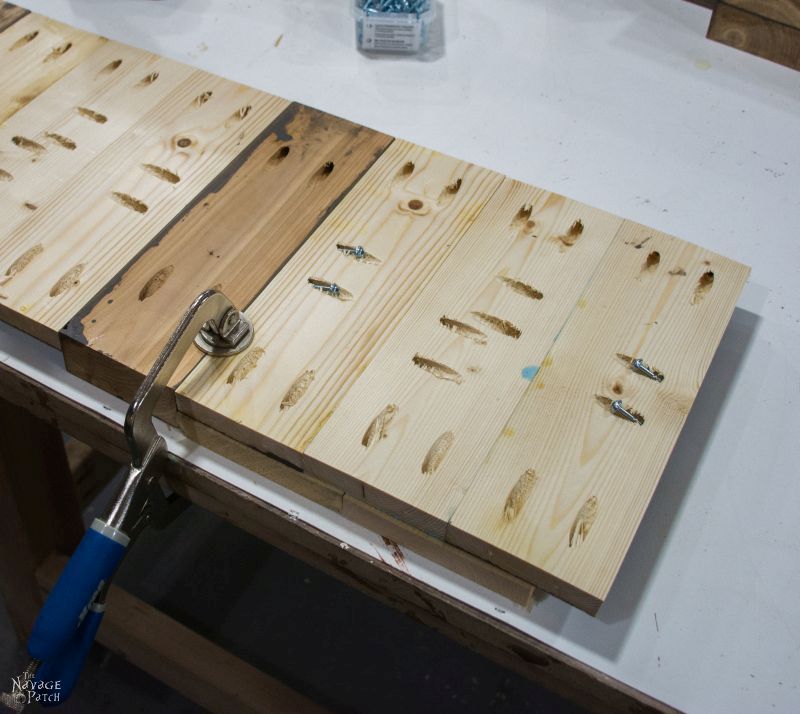
Place a 2 x 4 piece against the end, move the scrap pieces over if necessary, clamp and screw.
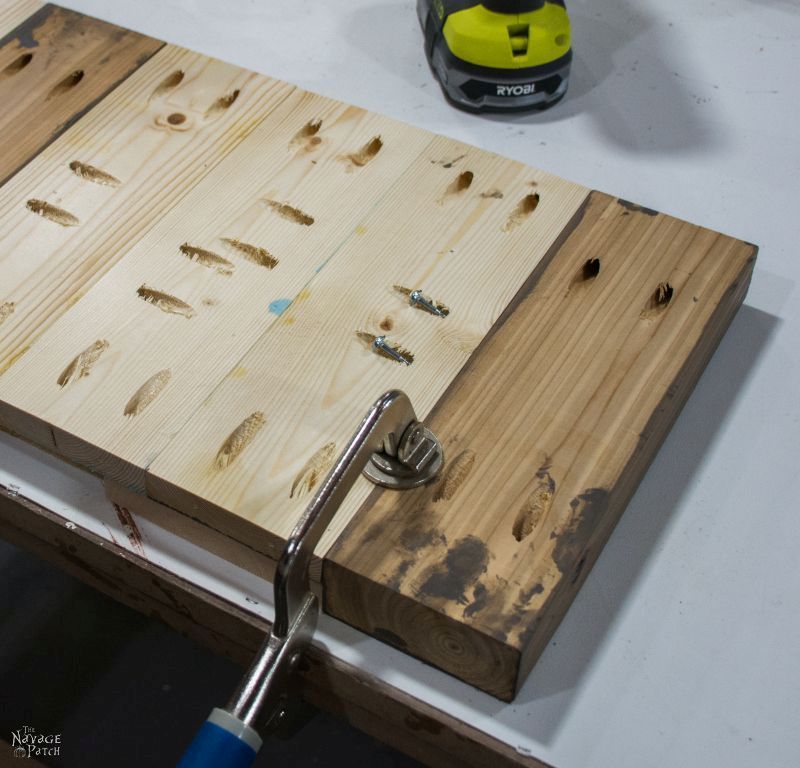
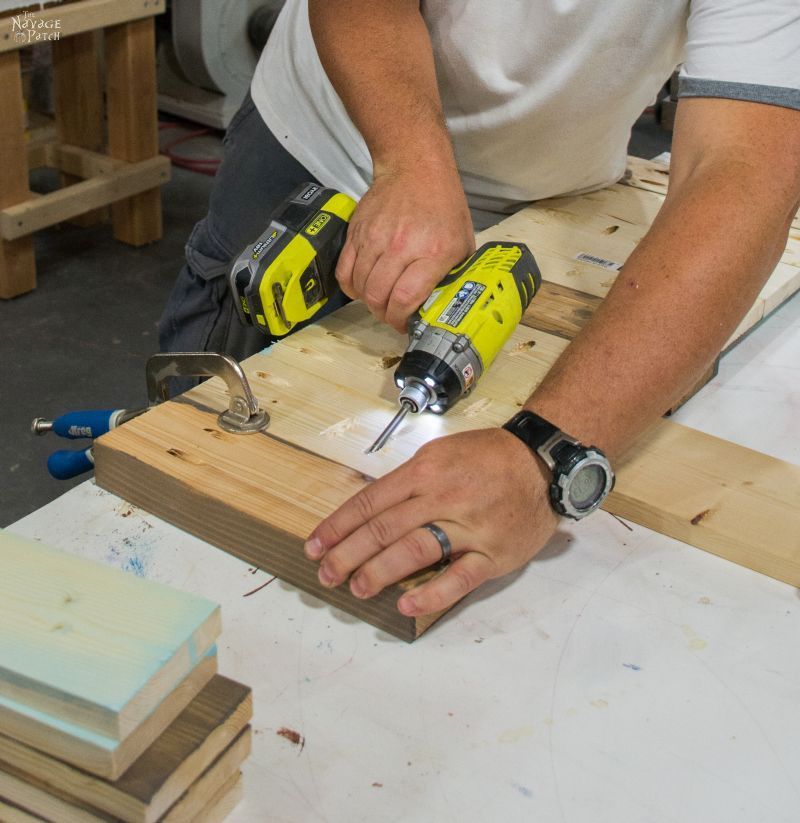
Now you have a component group. Amazing, isn’t it? Have another sip of your martini.
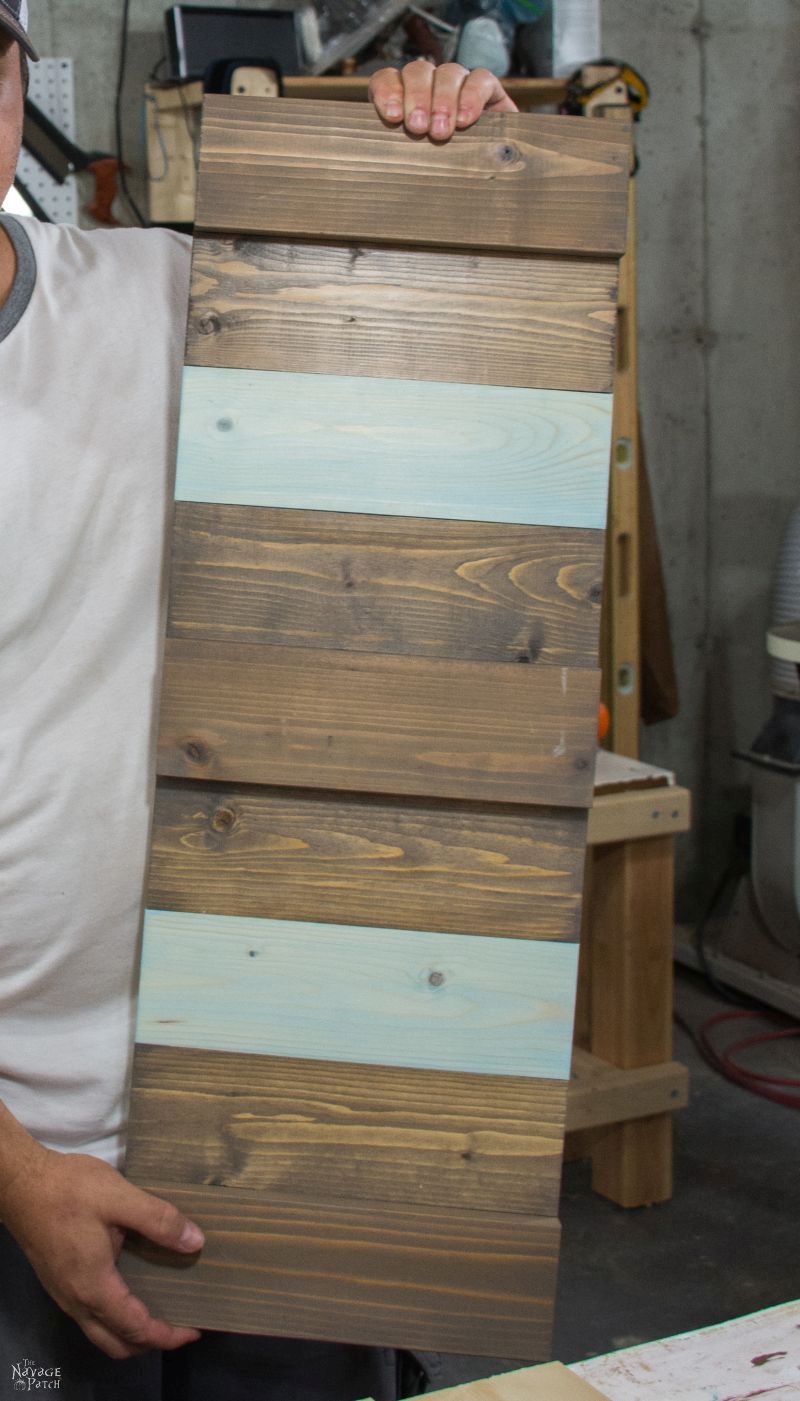
Repeat for the remaining three groups of 11 inch pieces, the follow the same instructions for the 7 inch pieces.
Here’s what the 7 inch component group looks like. I think my talents are wasted in this basement. Clearly, I was made to be a product model. I’ll even wear a bikini, if there’s a paycheck in it. I mean – if there’s a paycheck for the modeling gig, not if there’s a paycheck in the bikini. Actually, if there’s a paycheck in the bikini, that’s even better.
Moving on.
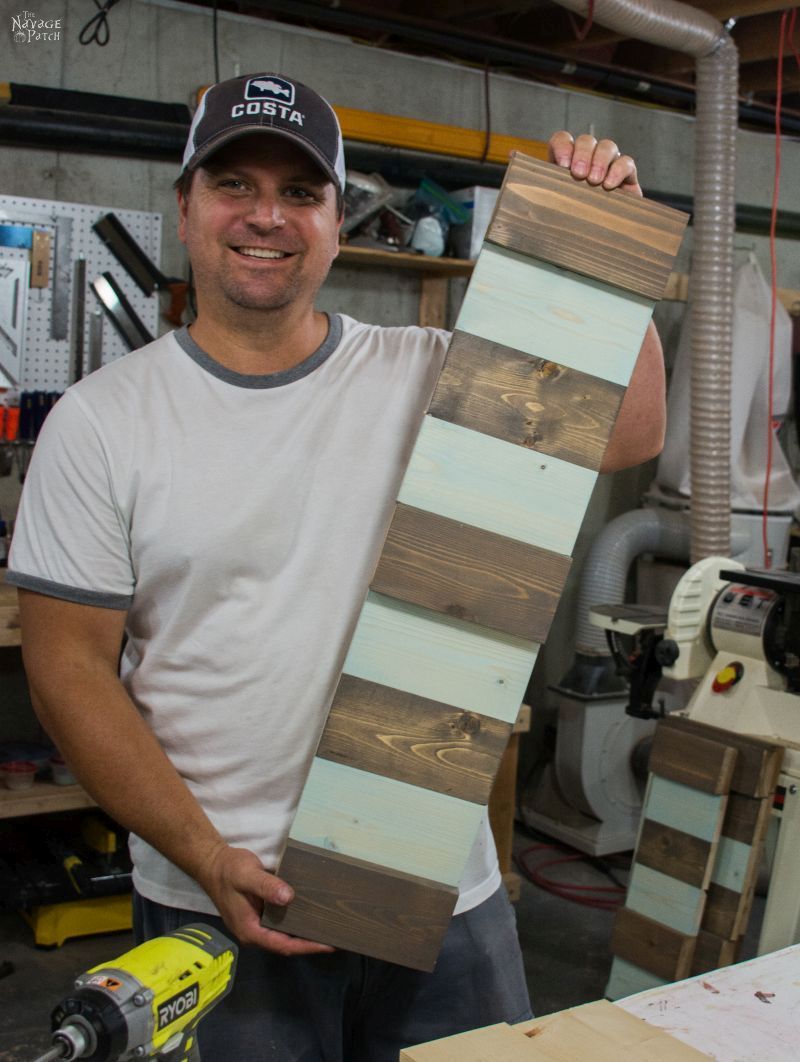
Once all the component groups are made, it’s time to attach the legs and begin final assembly.
Start by placing one of the long 2 x 4s next to one of the 7 inch component groups and aligning the tops. Notice, I have all the screws inserted and ready to go (actually, Handan did that. She helped with the donkey work on this project). This isn’t necessary, but it saves time later.
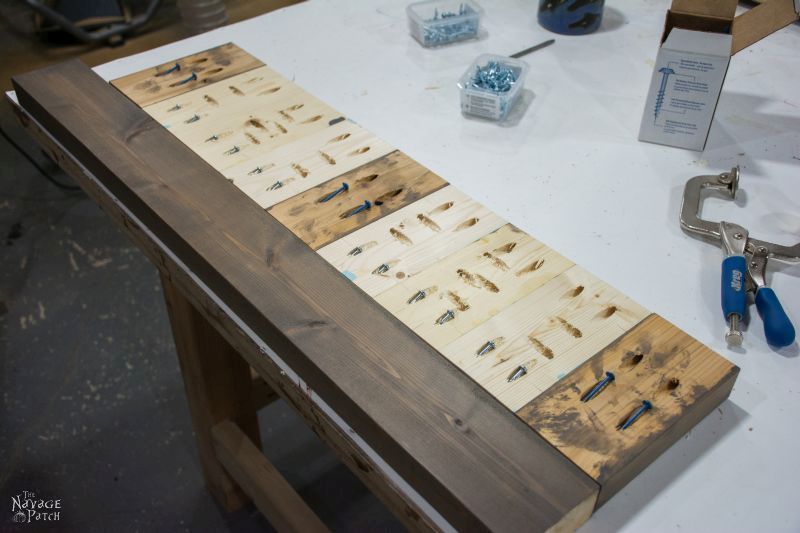
Clamp the end and screw in the 2 1/2 inch screws.
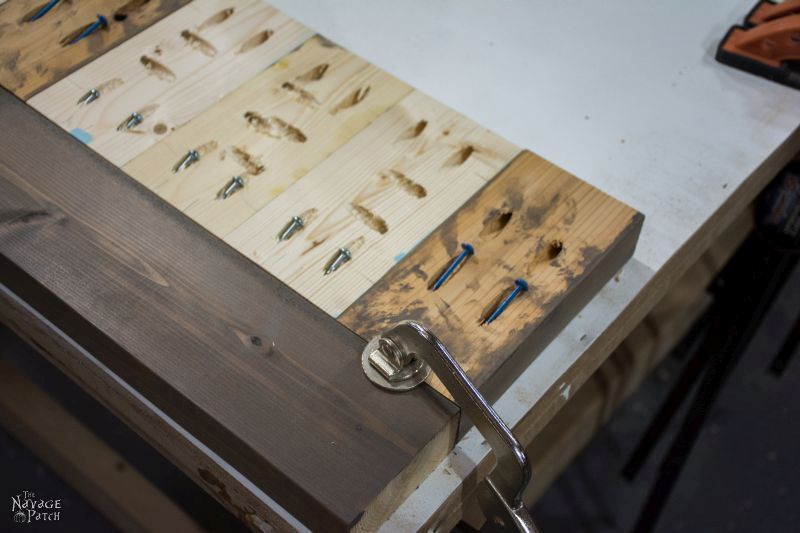
Next, clamp the other end and drive the 2 1/2 inch screws.

Once the ends are secured, drive the middle 2 1/2 inch screws, then drive the 1 1/4 inch screws.
Repeat this process on the other side.

Once complete, set aside and repeat with the other 7 inch component group.
Next, align one of the 11 inch component groups with the 7 inch group.
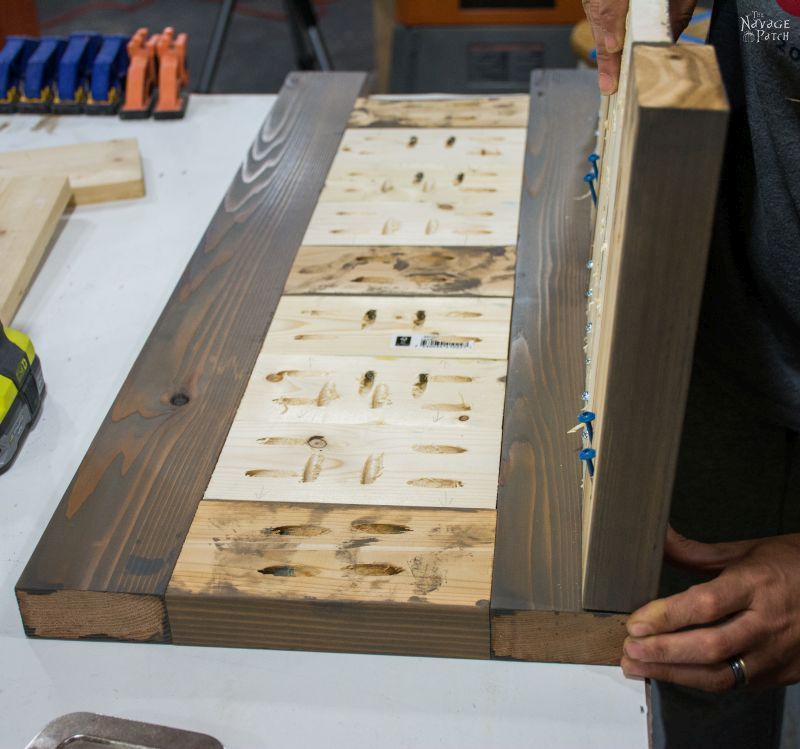
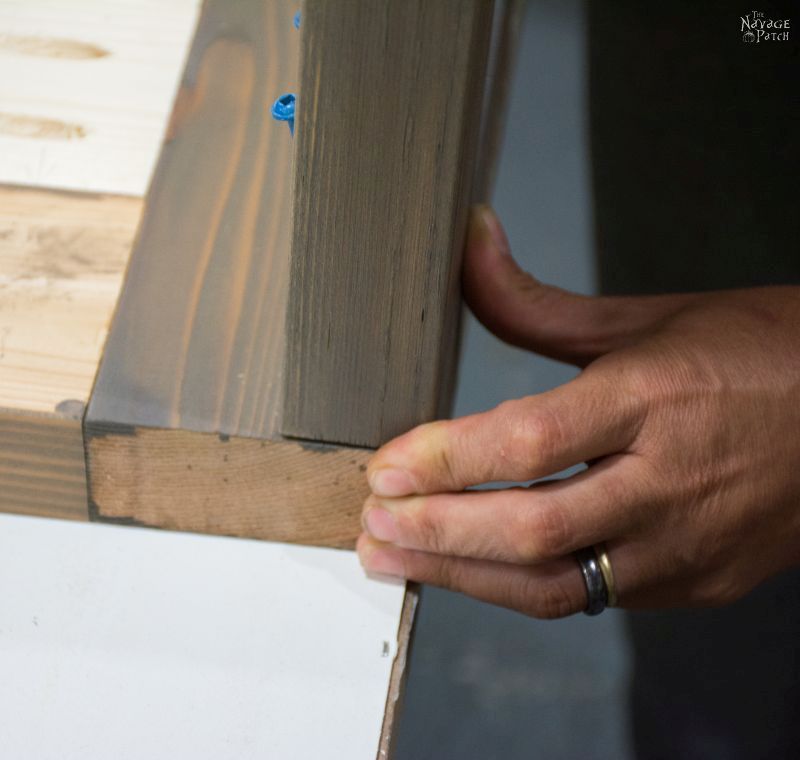
And clamp the two pieces together. If you don’t have clamps, have one person press down firmly while the other screws. Be sure to call that person “Clamps” for the rest of the day.

Attach the other 7 inch component group by clamping and screwing as shown below.
“Hey, Clamps! Come over here, will ya?”

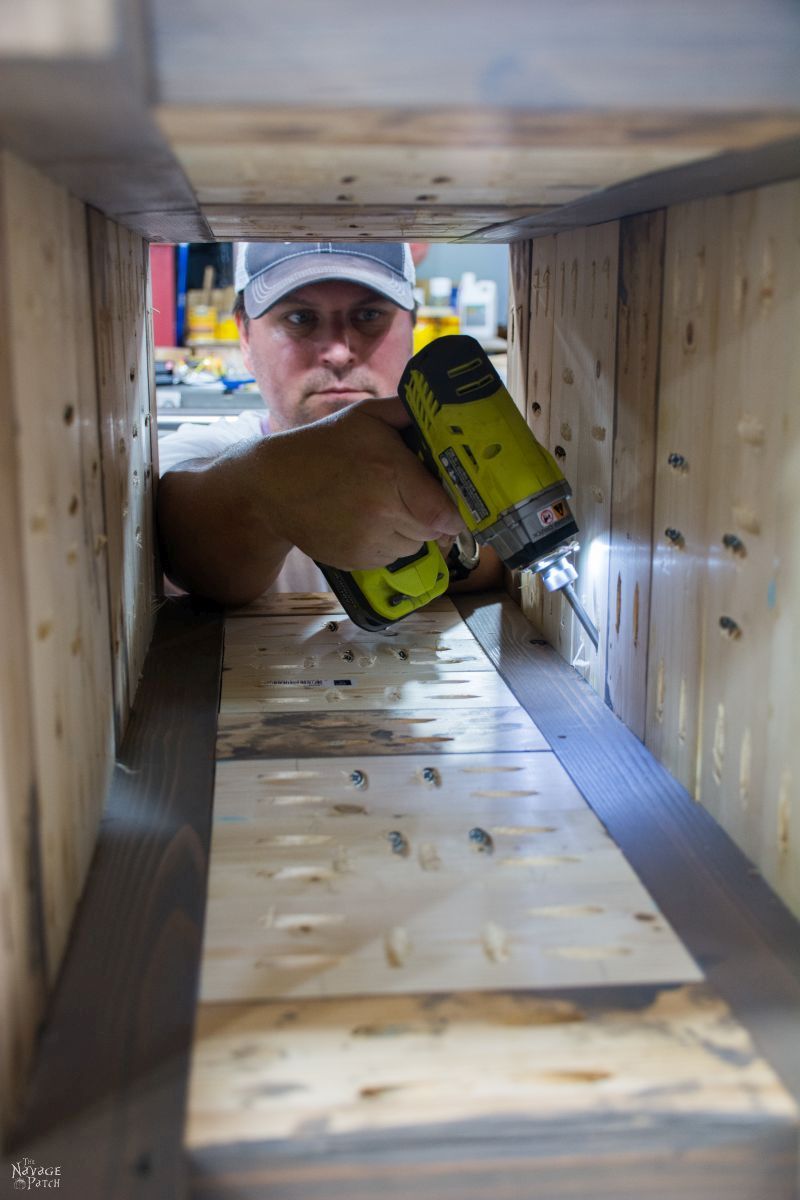
Attach the final side and clamp. This one is tricky. You will have to use the short Kreg bit, even for the longer screws.
Yes, I’m the light at the end of the tunnel. Walk towards me.
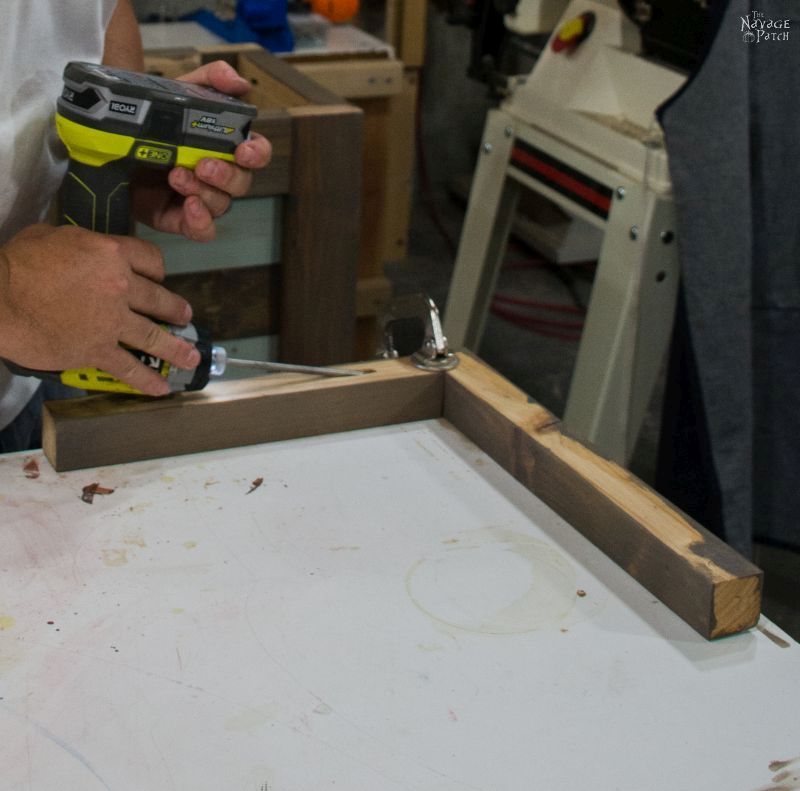
Next, assemble the rim using 2 1/2 inch screws.
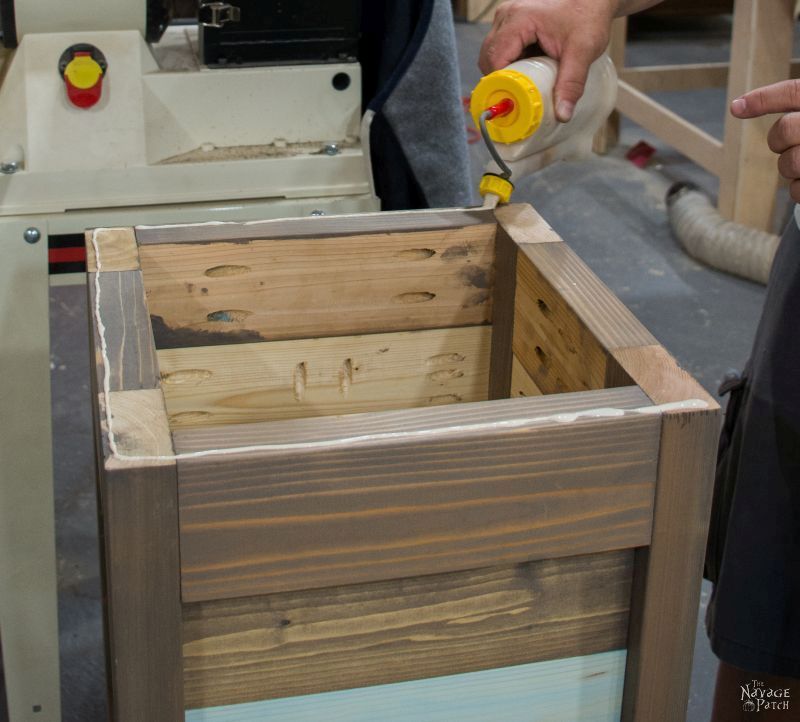
Run a thin bead of glue around the outer edge of the top of the planter. Smooth out the glue with your finger, and then wipe your finger under a bench or a table like you used to do in school after you picked…oh, never mind. Just wipe your finger on a towel.
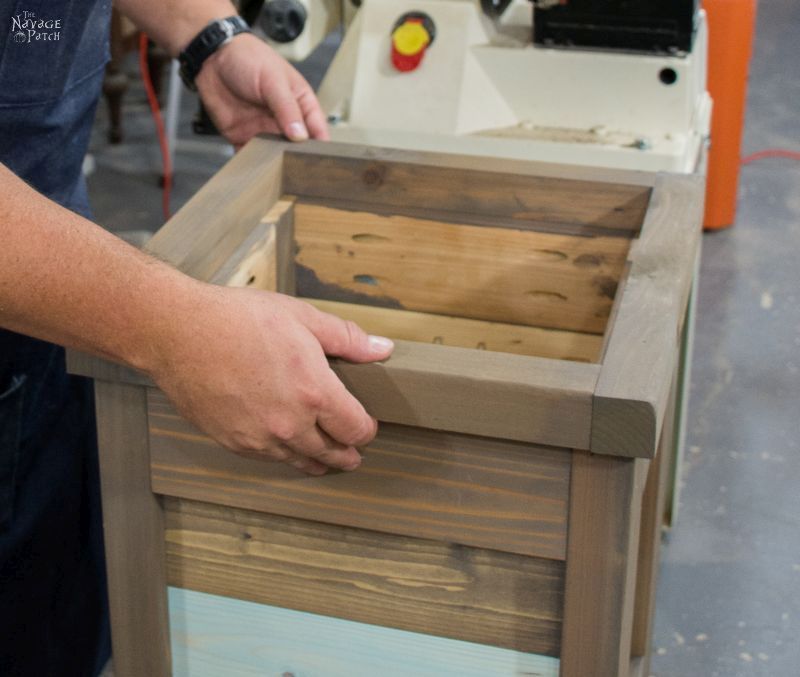
Center the rim and secure with brad nails.
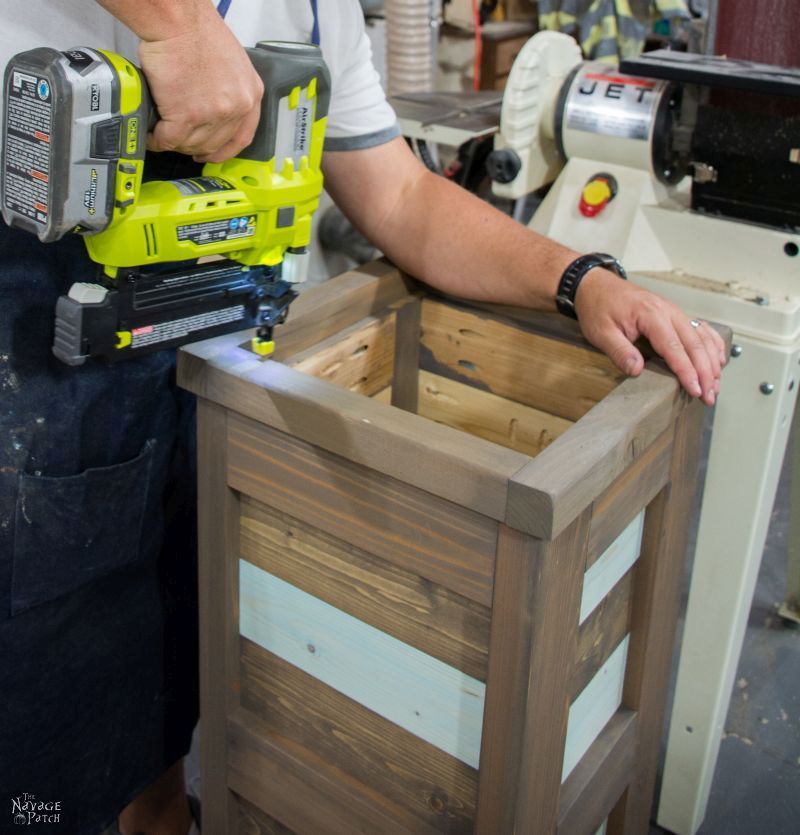
Sand and spot stain, if necessary.

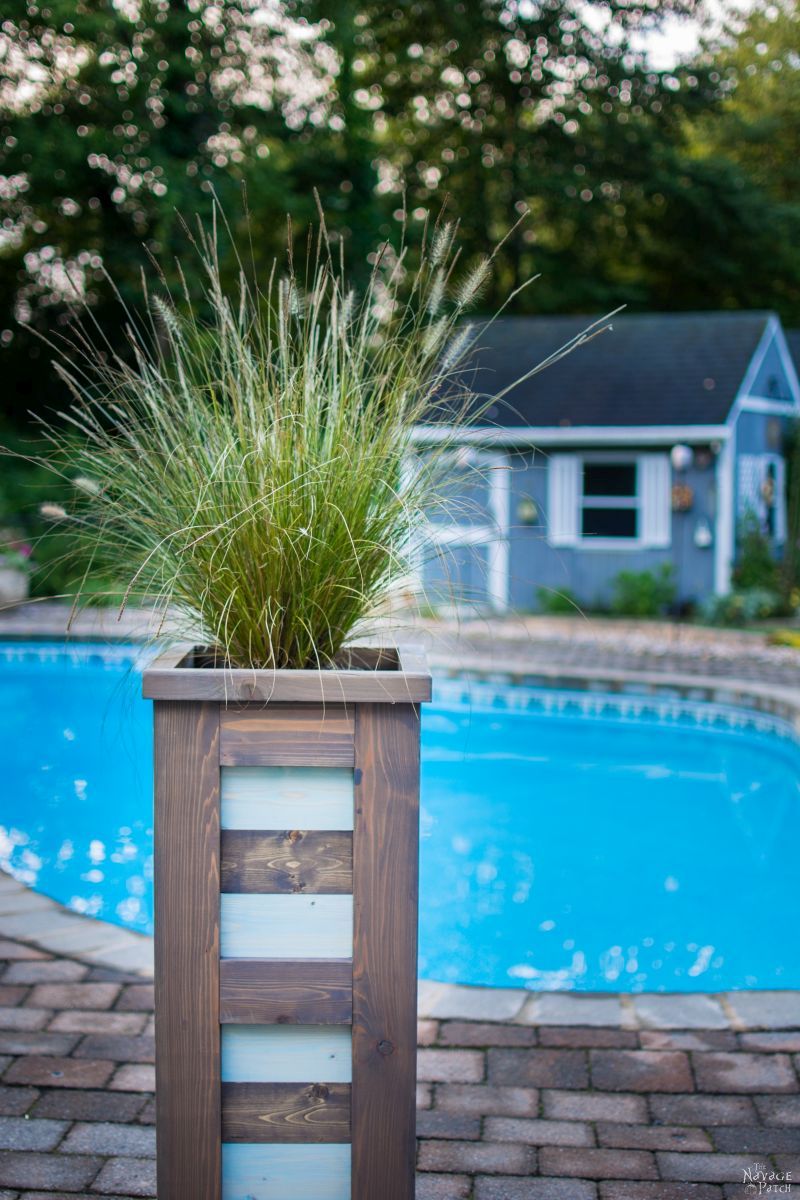
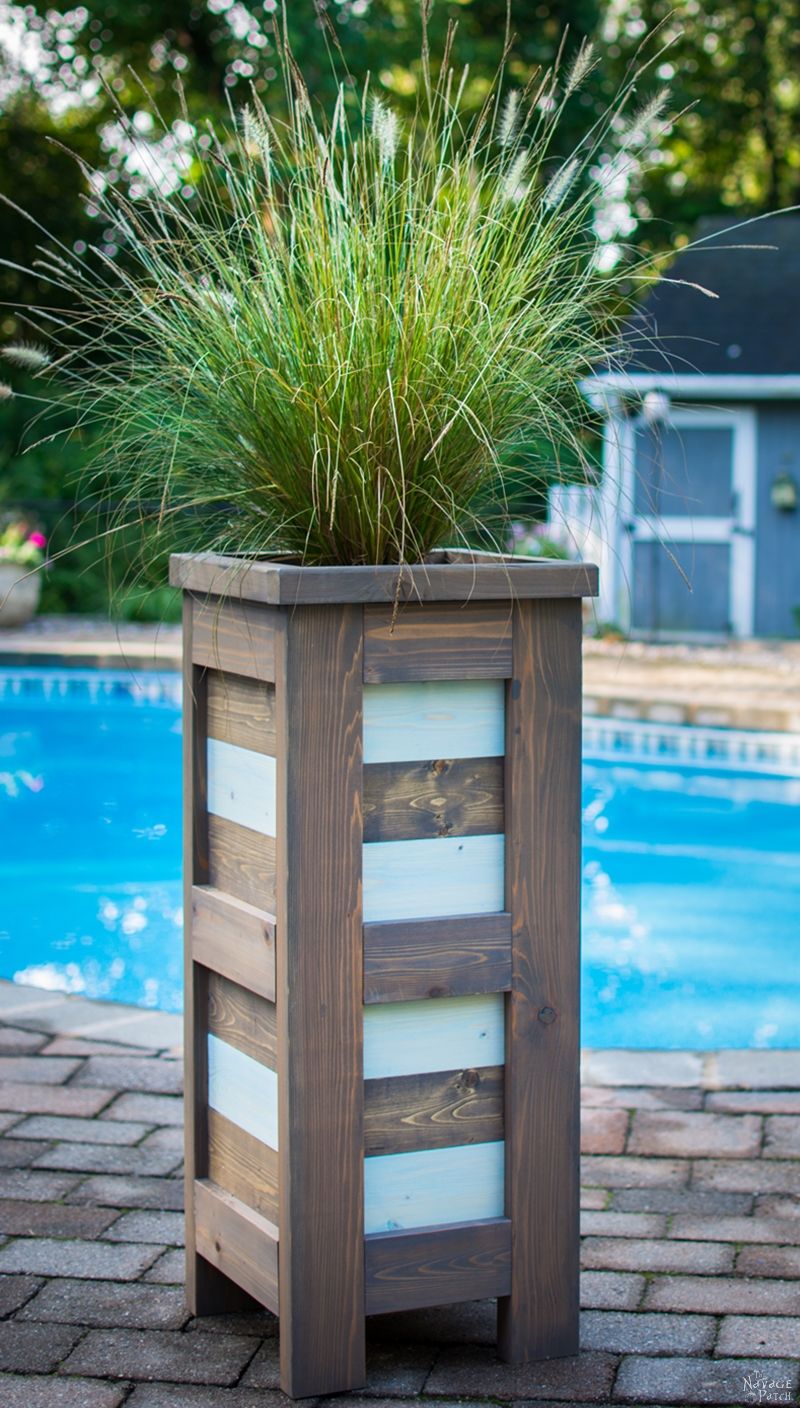
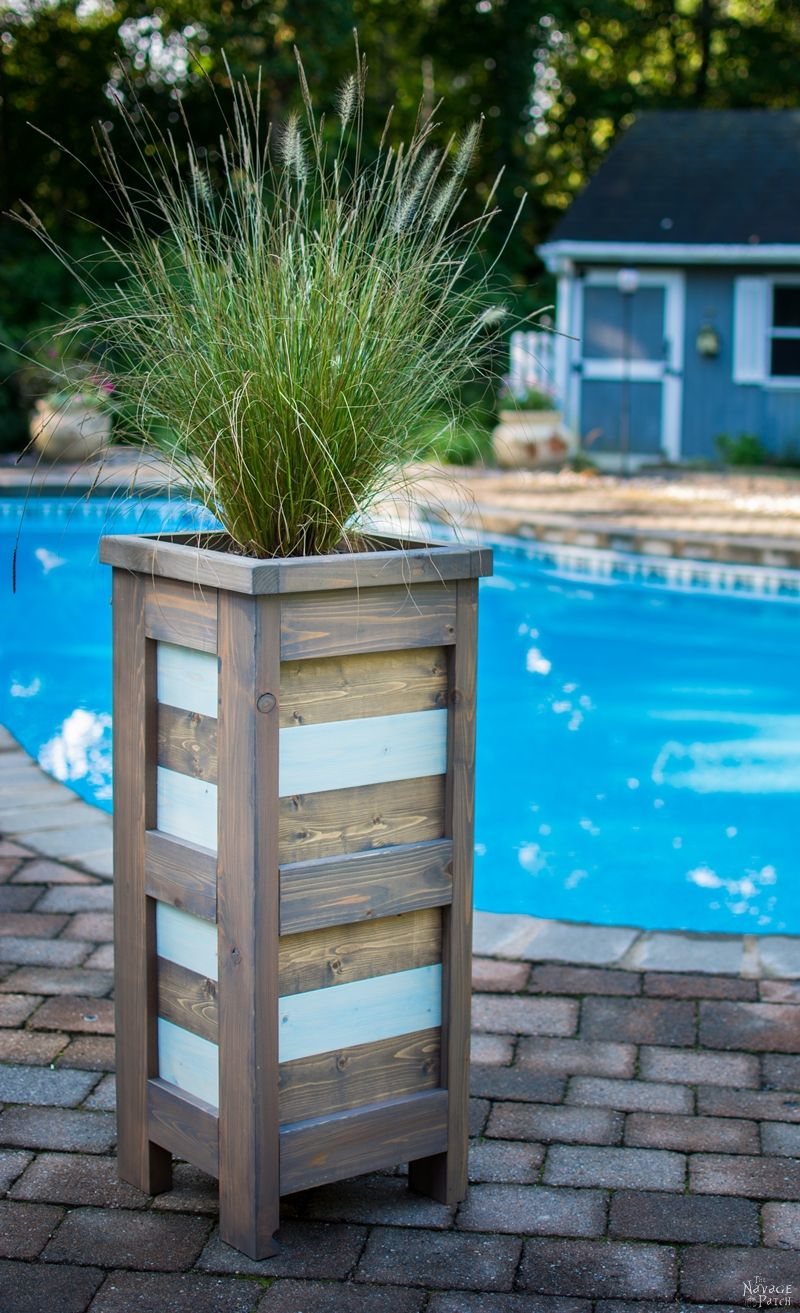
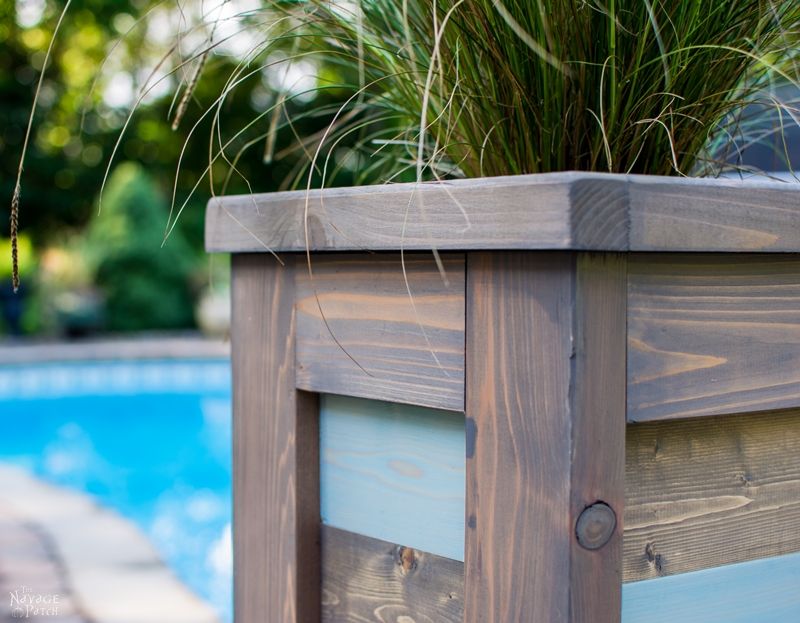
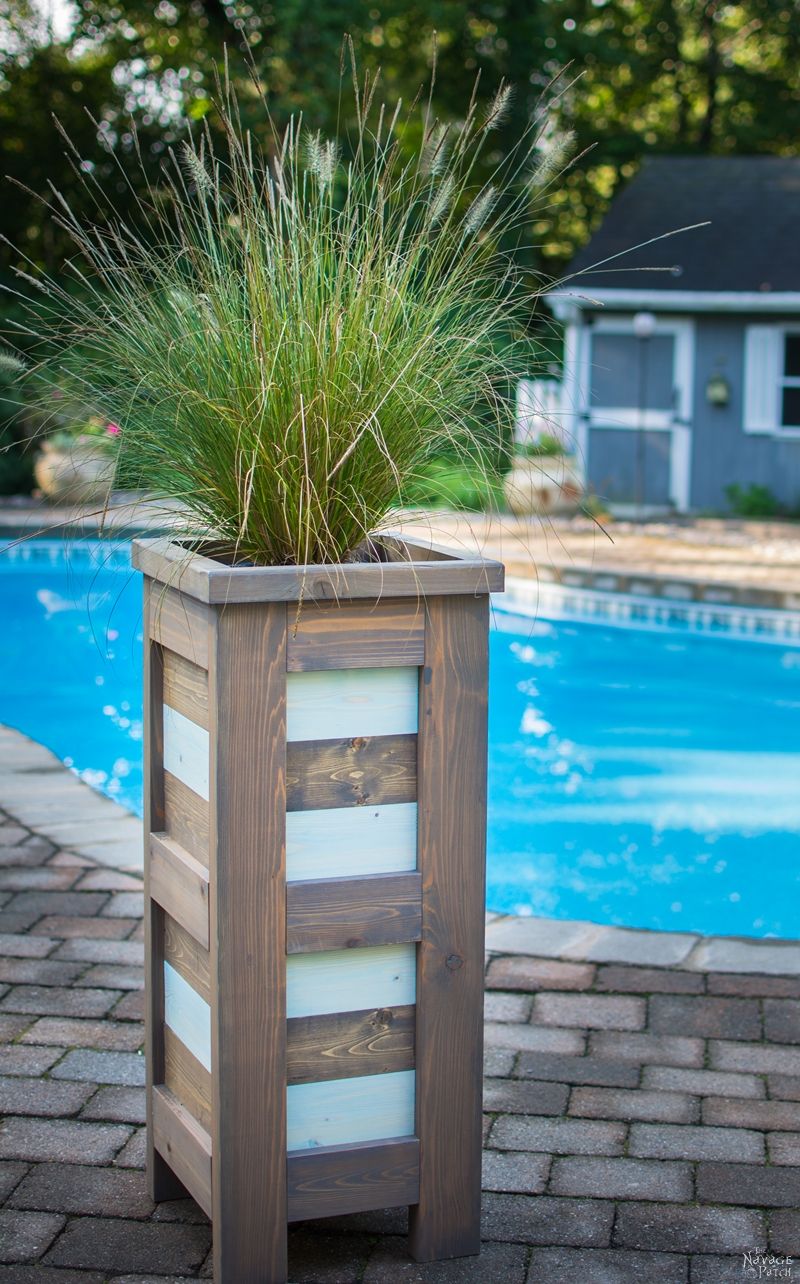
And that’s it! Your cedar planter is ready for use! Aren’t you the happy one? Go pour another martini and eat a steak. You’ve earned it!
We love it when you share our posts on Facebook and Pinterest!

she sure is purty xx
Thanks, Chris!
Don’t know which I love more, the humor and the writing style or the project.. great job on both.
Thank you so much, Christina! 🙂
Ok,I was waiting with great anticipation to see the planter of all planters…then I got picture upon picture of non planter of all planters! But that’s ok. However the pool looks great!….reallllly!
LOL, thank you, Bernice! You’ll have to wait to see the Planter of all Planters until my dear wife gives me permission to build it. 😀
Great job! I’ve been thinking of ideas to make a bin hide for my massive wheelie bin in my front garden which looks as conspicuous as The Pope at a punk rock festival. Looking at how you assembled the planter I think I now have my idea ready to make!
BTW if I get to my third martini when making the design, it won’t matter that I use the air-nailer into my leg will it?
Thank you, Aletheia! Send us a picture when you’ve finished your project. After your third martini, nothing much matters at all, lol!
Awwwww I’m going to have to chat to Handan, that spaceship planter with lights sounds so amazing. Does it fly too? I can help with that, we have some fairy dust at home that might work. It was made by Afrikaans fairies, so you might have to give them a beer instead a martini 😉 I do love your toned down cedar planters though, they turned out great
LOL, thanks, Michelle! Someday, I’ll make those planters, and with your and Shaun’s help, maybe they will fly!
I was salivating at all those Kreg joints – love playing with the Kreg jig. And like every project that sends you to the bowels of your house, I was salivating once again at that amazing workshop, so much so that it was hard to keep focused on the planter (which is awesome and pinned). Maybe Handan will let you have your spaceship planter near the BBQ because steaks and martinis are so much more enjoyable with colored flashing lights, perhaps synchronized to a sound system. Now that’ll get you on HGTV!
That’s a great place to put my alien planters! When I finally build them, they will flank the grill, and I think I will synchronize the lights to music. Great idea, Marie!
okay handan now you have to admit this sound spectacular and i for one think he sound make it for you for a nice Christmas present xx
Maybe, Chris. If she’s lucky…
Where is the 1 1/2 X 1 1/2 coming from? They are not on the list of material . Are they actually 2 x 2 or did you rip the 2 x 4?
Good question, Robert – I see I wasn’t clear on that point. They are ripped from the cedar 2 x 4.