DIY Coat Closet Storage Shelves
Our DIY coat closet storage shelves gave us a little more storage room in a small space and allowed us to add two additional hanger bars to hold more coats.
Cold habits die hard.
Just ask my wife.
The whole reason behind this coat closet makeover is her refusal to give up the trappings of The North. Which is kinda weird, ya know? This is a woman who was born and bred in the hot and humid Mediterranean, who lived and worked in the scorching deserts of The Middle East, who flourished in the tropical hothouse of Vietnam and who laughed at the roaring Indian Monsoons. If anyone on this insane ball of rock and water is better suited to hot weather than my babes, I haven’t seen or heard of them. So it’s infinitely bewildering to me that when we terminated six years in the bleak and frigid wilds of central Connecticut to take up residence in sunny Georgia (a place where spring starts in February!), we didn’t immediately burn our winter paraphernalia in a celebratory bonfire in the back yard!
Nope. We’re keeping it.
All of it!
Either she knows something the rest of us don’t vis-à vis a second Ice Age or she’s been spending a little too much time on the banana farm.
Regardless, we’ve got a coat problem, and the only solution is to more efficiently utilize the coat closet space we’ve been given.
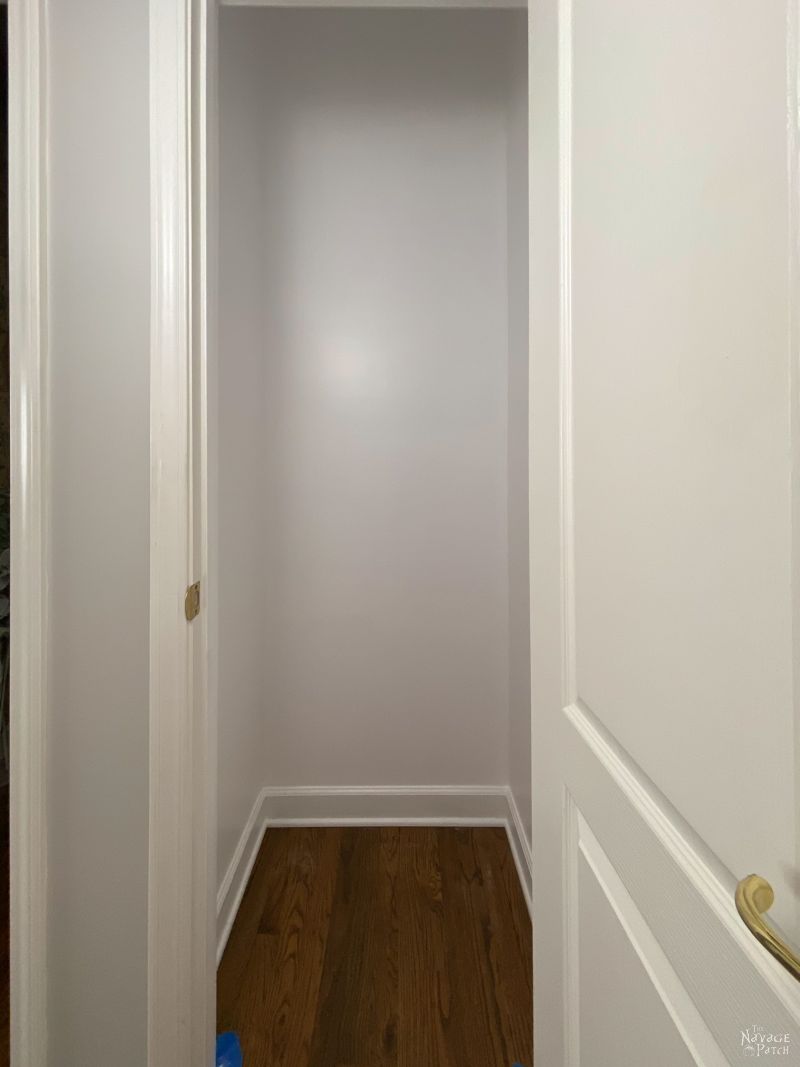
So that’s the main reason. The second reason is obvious. If you recall from the Coat Closet Makeover Plan post, the closet was a scuffed up mess with one wretched wire shelf. If nothing else, it was due for a coat of cleansing paint.
And that’s where we stand right now.
In that last post, I also showed you my vision for the closet storage shelves.

Ok, the truth of the matter is that the idea and design are all Handan’s. I was merely tapped to bring her vision to reality.
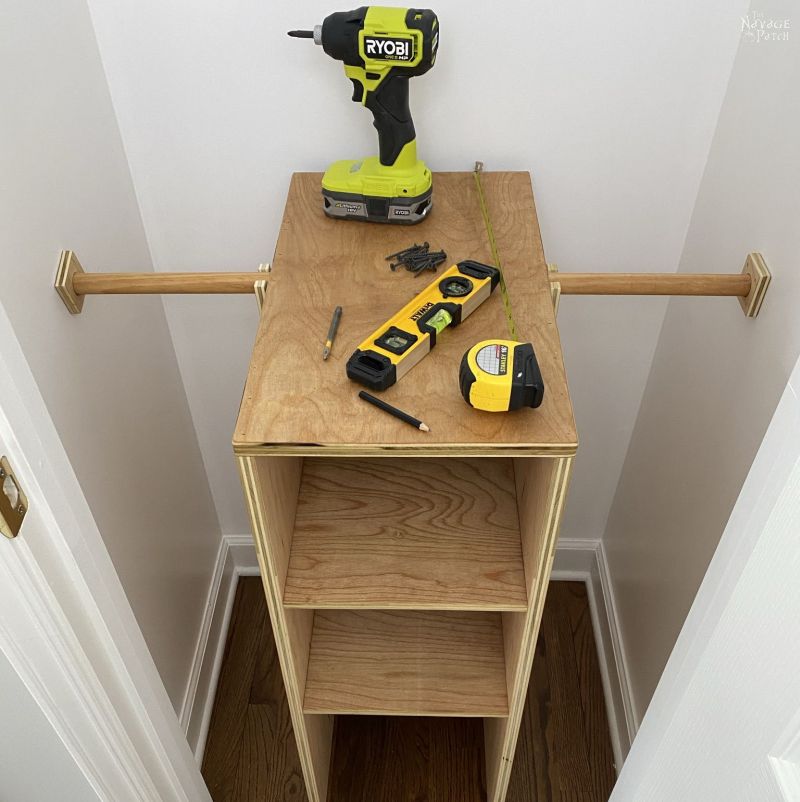
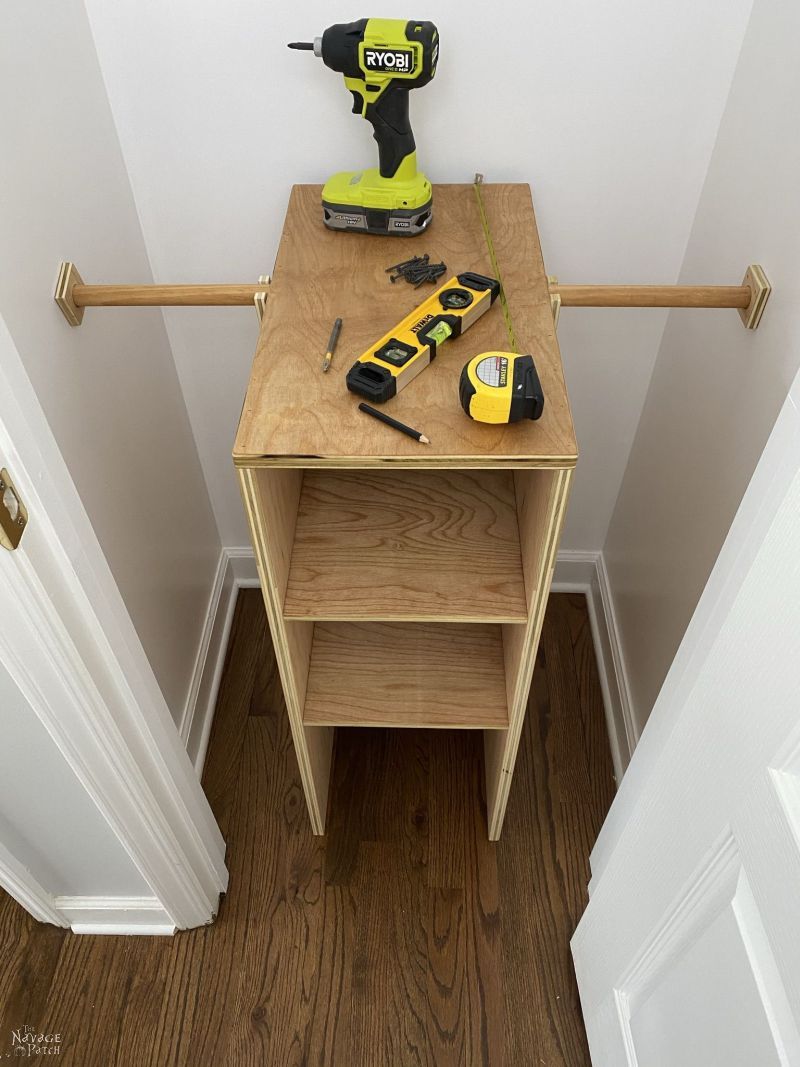
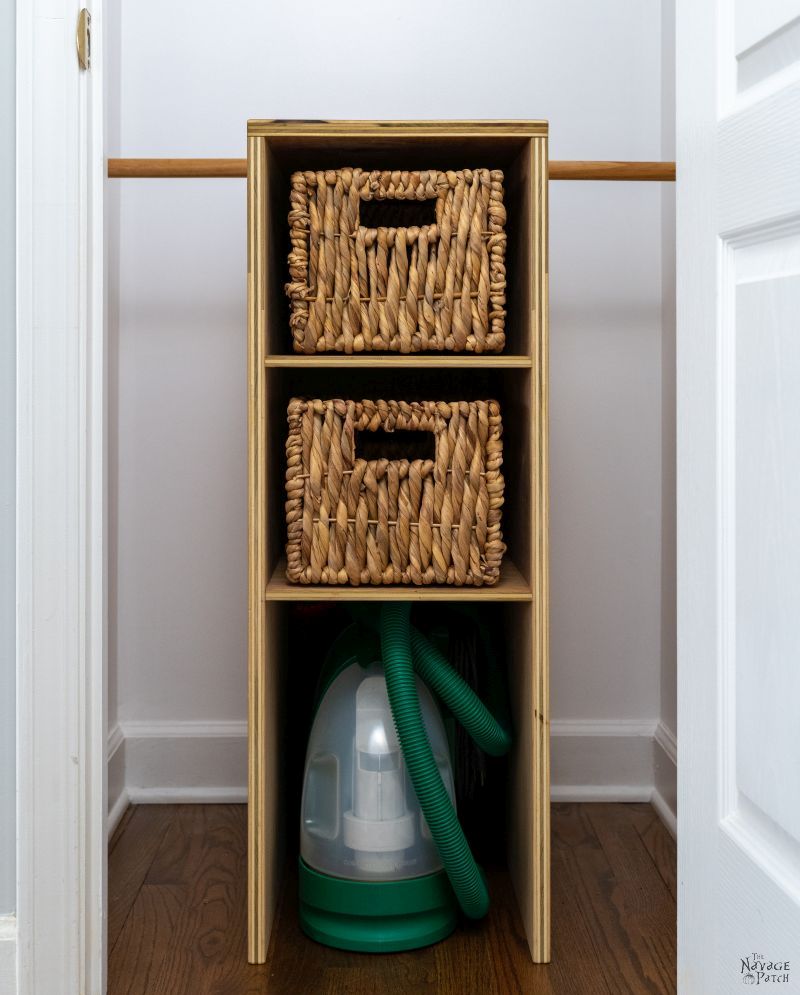
We measured the space in the closet to see how tall I’d need to make the shelf cabinet to be able to hang Handan’s impressive vest collection without them brushing the floor and determined that 35 inches would do it. That would mean we’d have to move the main coat bar and top shelf up from where they were, but that would be perfectly fine. We decided that 21 inches was a good depth, and we settled on an 11-inch width for the shelves. That’s just enough space to fit the Bissell Barfinator and the storage baskets. Since I was planning on using 3/4-inch plywood for the cabinet, that would make the overall width 12 1/2 inches. With that, we’d have room for two 9 3/8-inch hanger rods on either side of the closet storage shelves for Handan’s vests.
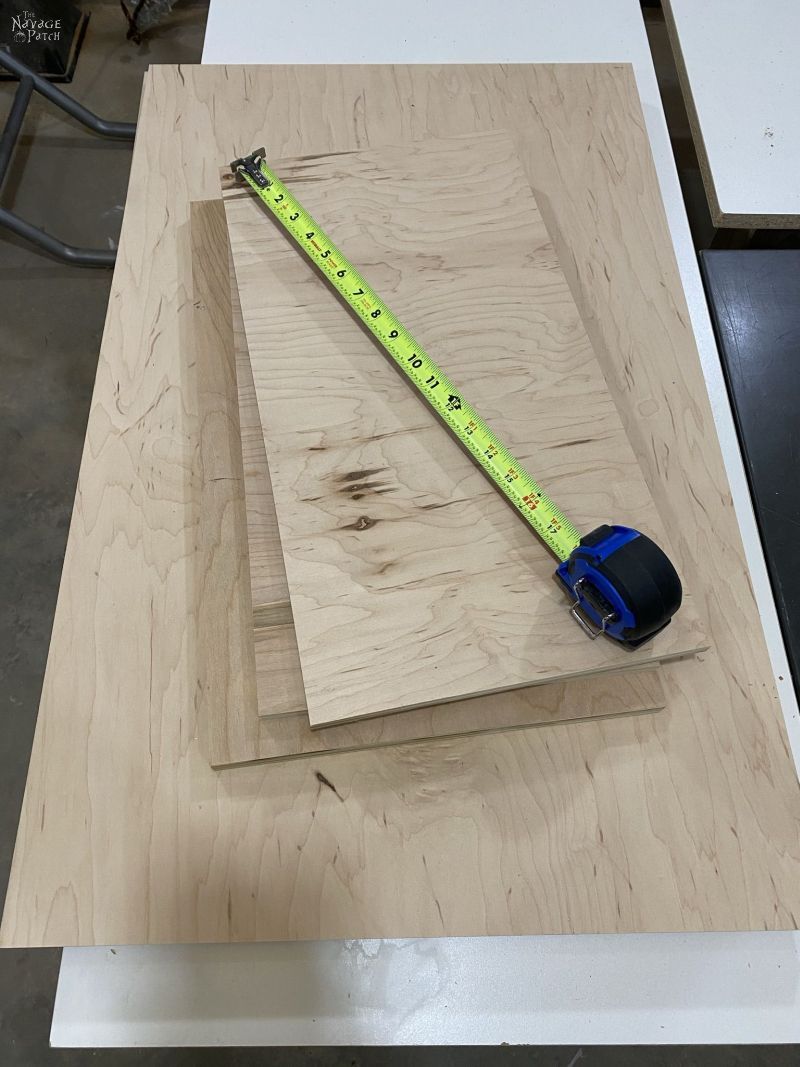
I went down to the basement to survey my wood supply. I really wanted to make the closet storage shelf unit from scrap plywood – I just hoped I had enough.
It took some searching in every dark corner, but I came up with the perfect number of pieces – both 3/4-inch for the frame and 1/2-inch for the shelves.
DIY Coat Closet Storage Shelves
It’s always gratifying to be able to use up a big chunk of plywood scraps. Too often, they’re just an inch too short to be useful, but in this case, I was able to scrounge together enough to make these shelves without making sacrifices to the original dimensions. I cut all my pieces to size on the table saw and prepared to build. By the way, as I’ve said in the past, if you cut a lot of plywood, consider investing in a saw blade that cuts it without tearout. It makes a big difference when making shelves and furniture. I just wish I knew about it before I made the built-in media console for our old house!
The beauty of shelves like this is that they come together in minutes with simple wood glue and brad nails.
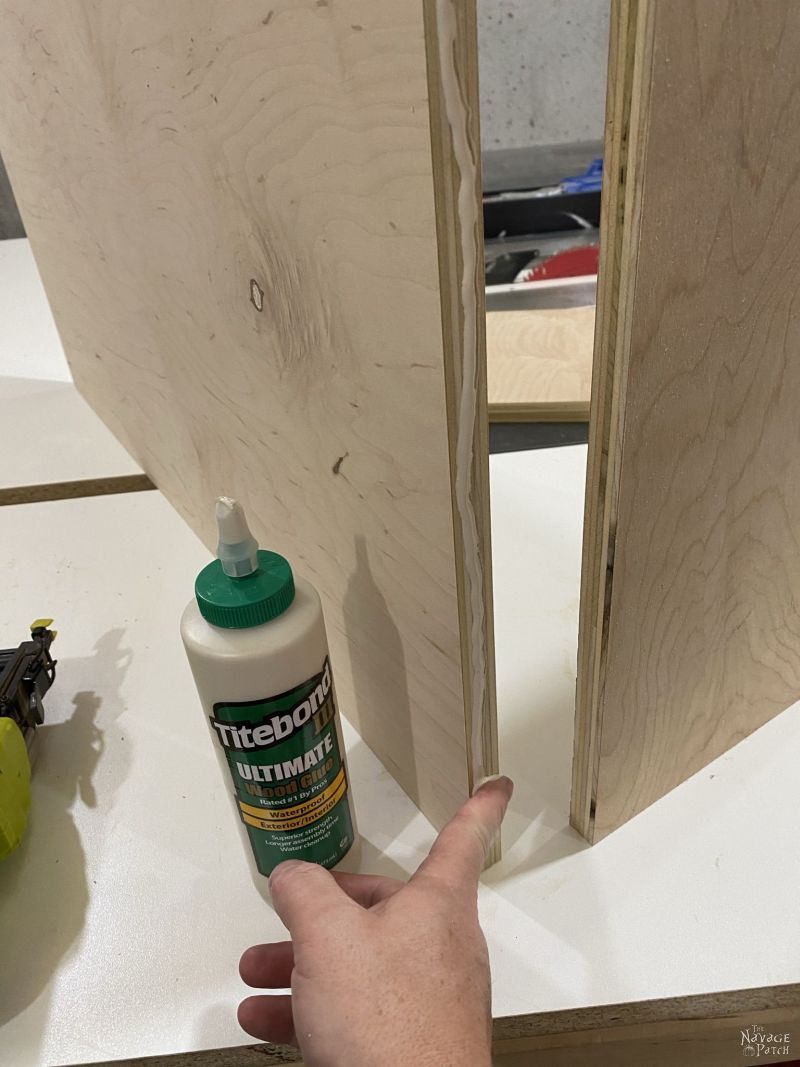

Here is the second side, ready for glue and brads.
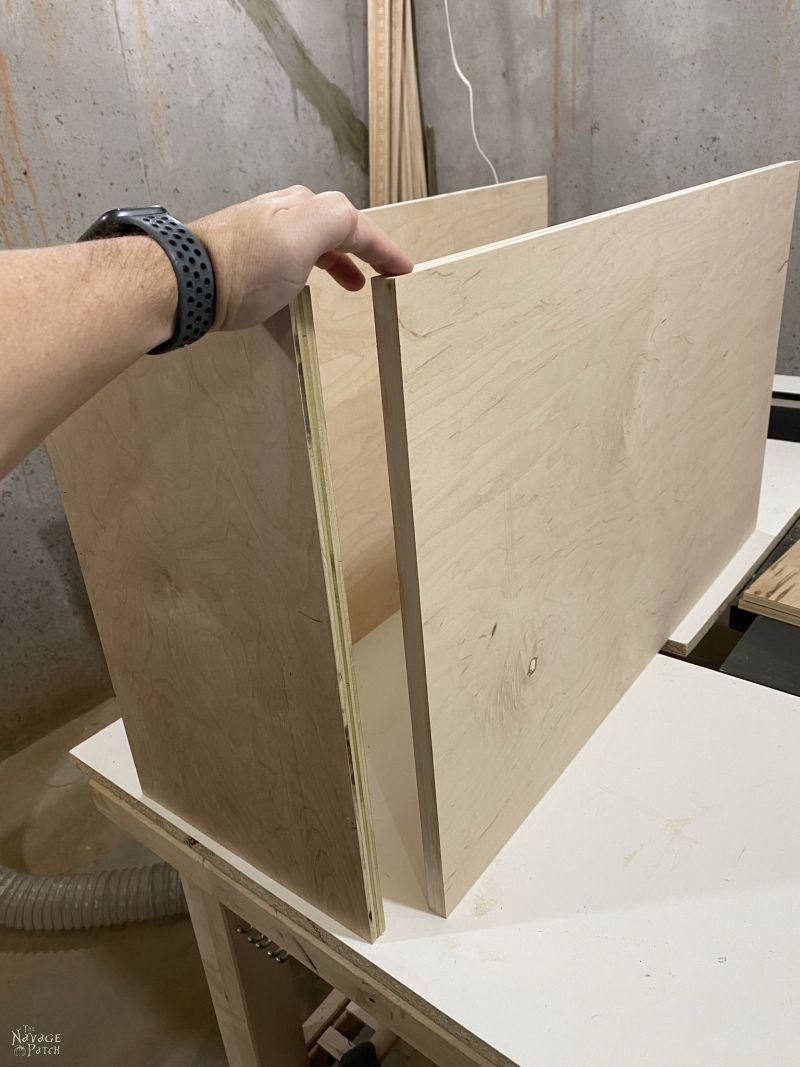
I used 3/4 inch plywood for the frame. 1/2 inch would have worked, too – the shelves won’t carry much load – but 3/4 looks a little nicer I think.

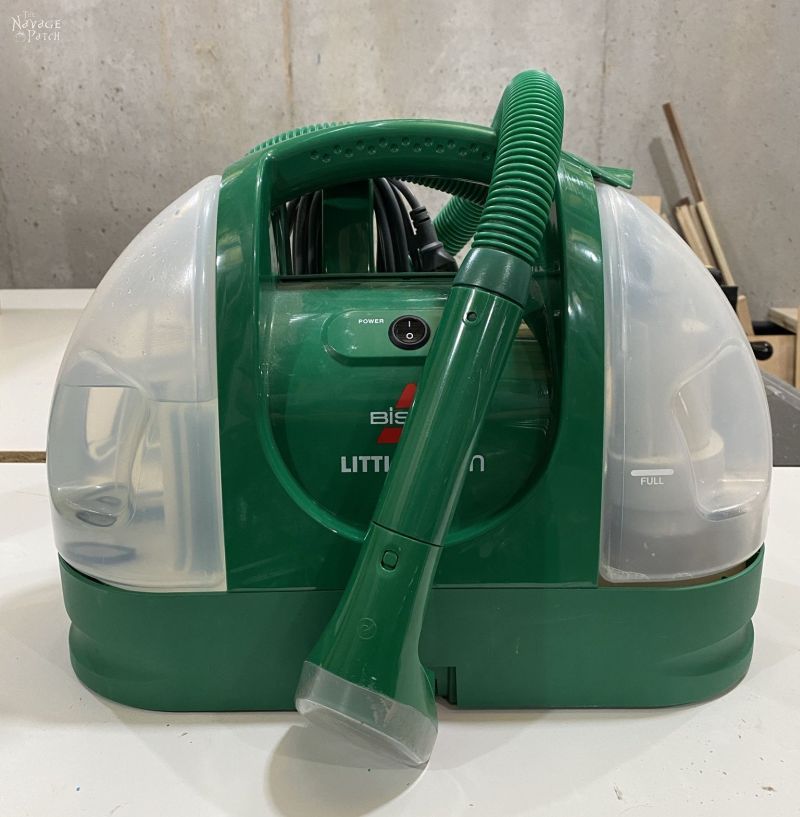
As previously stated, these shelves would house the Bissell Barfinator. This glorious machine has seen its fair share of atrocities around the house.
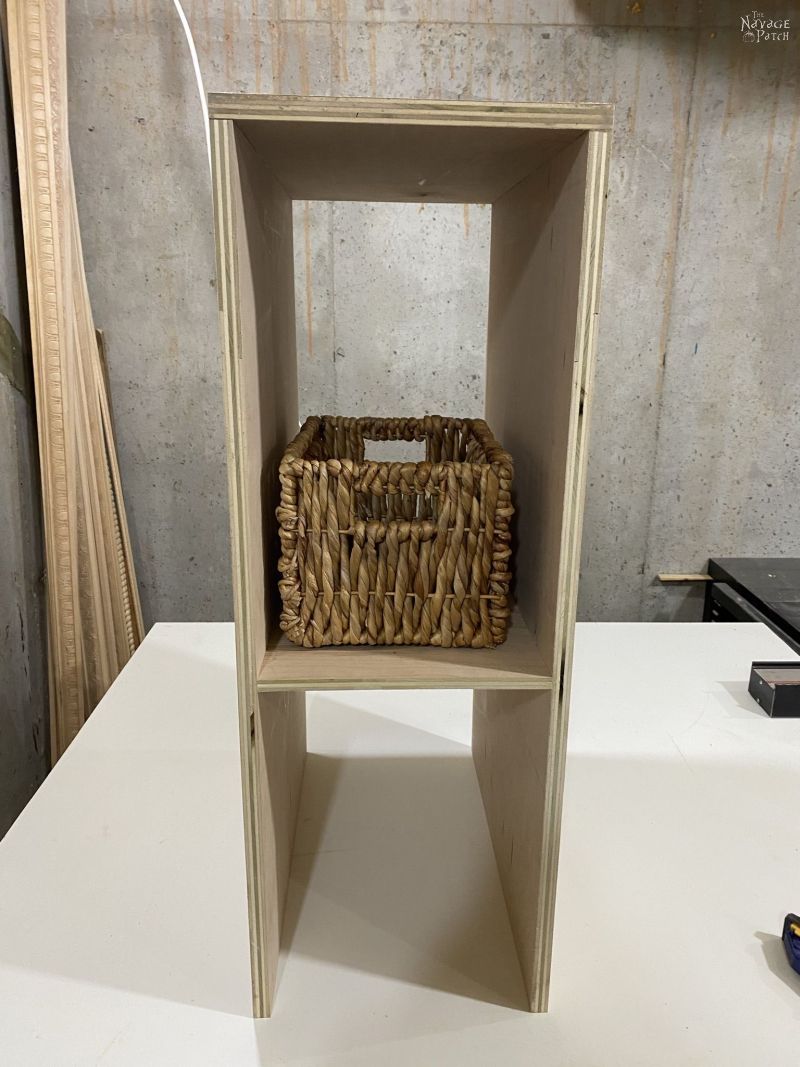
A perfect fit!

I wedged a piece of 1/2 inch plywood in there, just to get a sense of the shelf placement.
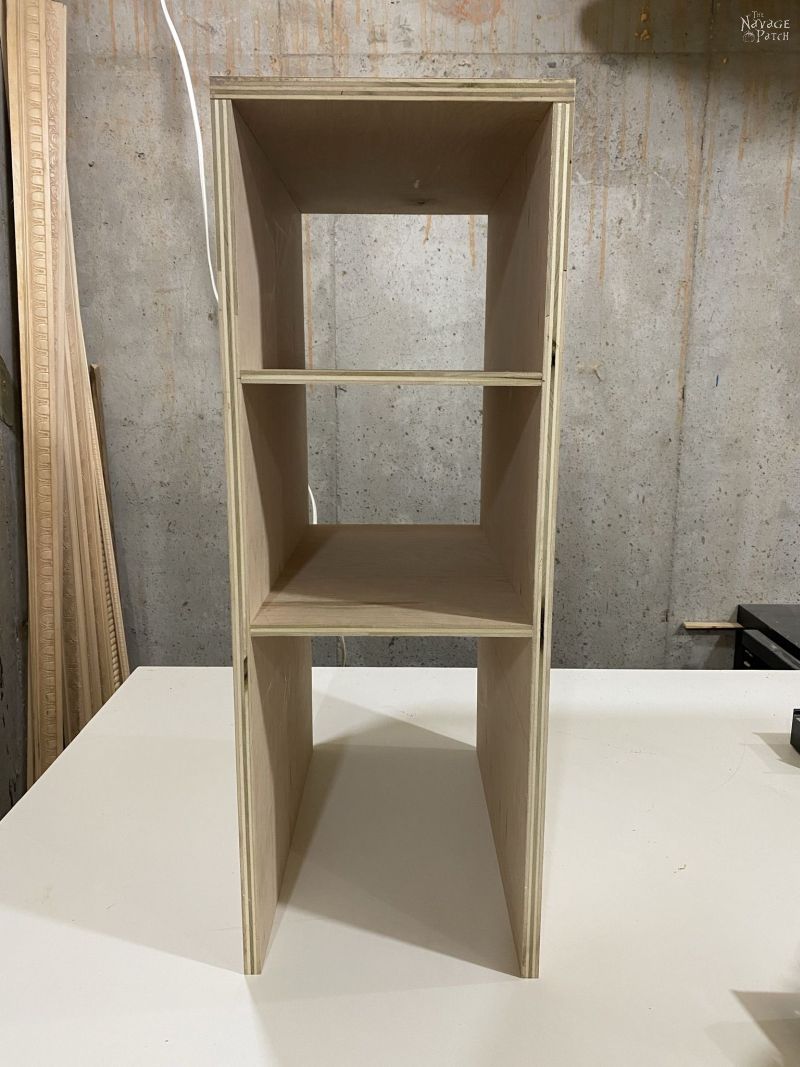
No pics, because my hands were full, but after determining where the shelves would go, I used a rafter square to line them up and secure them with brads. I didn’t use glue on the shelves in case we wanted to move them later on.

Since they’ll only be carrying wicker baskets full of hats and gloves, brads are more than enough for these shelves.
I sanded everything with 220 grit paper – especially the sharp edges and corners.

My initial plan was to leave the back open, but the whole thing was pretty wobbly. Fortunately, I had a big sheet of 1/8 inch plywood that made a perfect backing for the closet shelves. I secured the backing with brads, and the shelves were stabilized.

Keeping with the whole scrap theme (I really didn’t want to leave the house), I found an old shovel handle that made a perfect hanger rod. I found a slightly smaller wooden dowel that I cut into two 9 3/8 inch pieces for Handan’s vests.

To hang the rods, I made these. I used 1/2 inch plywood for the small rods and 3/4 inch for the main hanger rod that would hold all the heavy coats.

At this point, I applied a coat of Danish oil to all the wood pieces and let it dry overnight (okay, that’s a lie – I waited a couple of hours, but I should have waited longer).
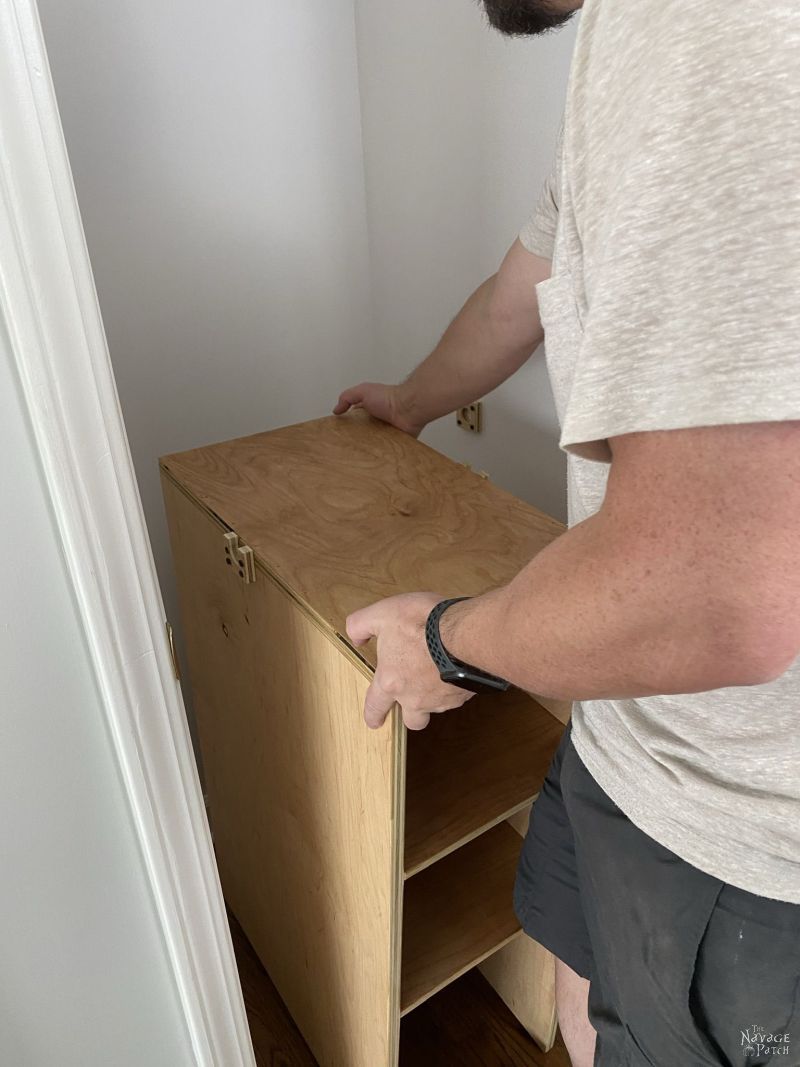
Upstairs, I put the shelves in the closet so I could install the small hanger rods.

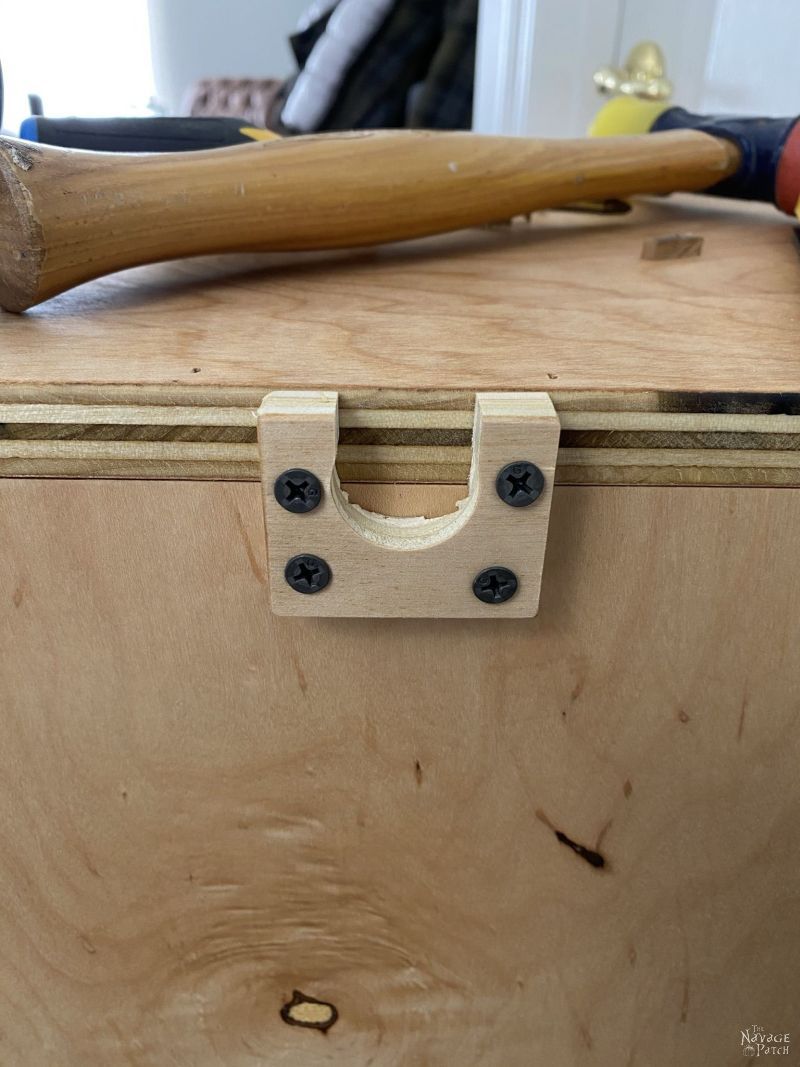
I modified two of the mounting pieces so I could remove the rods. This makes it easy to remove the shelves, if needed. If I didn’t cut that notch, this whole assembly would be permanent once installed.

Here are the vest rods, not yet secured.
I marked where I’d be mounting, tapped in drywall anchors and then installed the brackets.


Here’s a closeup of one of the brackets.
Easy in, easy out. Just remove the rods, and the shelves can be removed.
Place the rod in the wall bracket and push down on the shelf side.
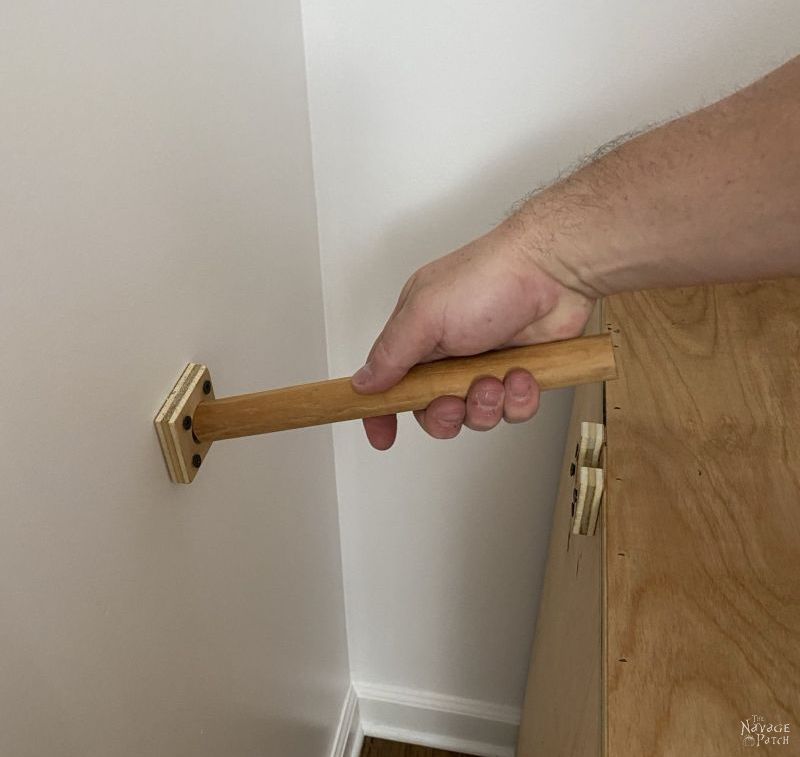

These hanger rods also keep the shelves from moving around.

These are the baskets that will soon hold our hats and gloves.


All we need now is to fill those baskets with hats and gloves!
In our next post, I’ll show you the the main hanger and shelf and the Big Dinky Closet Makeover Reveal! It’s spring break, and we’re juggling a few things along with this makeover. We just got home from a whirlwind car trip to Miami to renew Handan’s Turkish passport at the consulate there (Miami is the closest Turkish Consulate to us). Now that we’re back, I’ll be finishing up my work and getting the reveal out to you guys by week’s end.
It’s about to get really busy around here again, so stay tuned for new posts and projects!


I am impressed by the brackets you made. We are modifying a closet and I think we can use this method rather than the way I had planned to do it. You’re definitely a DIY engineer!
I wish my hubby would get on board to work on our overstuffed coat closet. His solution is to move most of the coats to a guest bedroom on another floor – not at all convenient when I want to grab a jacket!
LOL, your husband and I think a lot alike! My solution is usually to move things out of sight, but alas, that rarely works for Handan, lol!
Looking forward to the next installment…I really want my babes to do something like this in our bedroom closet…but alas he’d rather hire someone or better yet get pre-fab stuff (YUCK)…oh well, I can live vicariously through Handan’s wishes!
If he has the tools, it’s really so easy to build, Annie! But yeah, I also understand the desire to let someone else do it, lol!
Hiya! Love the cubbies for cold weather accessories! Would you share where you purchased the baskets that seem to fit so well? Thanks for a clever and accessible solution 🙂
Thank you, Leslie! I think we got those baskets from Joanne.
This looks great!! Thanks again for another clever idea!! I live in VA where we usually have really cold weather for 2 months off and on-our system is that the heavy coats are only in the down stairs closet during those 2 months the rest of the year they are kept in the master bedroom closet-
Thank you, Anne! The seasonal cycling makes a lot of sense. I’m hoping here in GA we will eventually pare our winter wares down to a bare minimum, but we’ll see, lol!
Ooh I love it can’t wait to see the final post. That basement of yours sounds like my kind of place, you wouldn’t like to adopt a crazy Welsh lady with a head bursting with ideas would you? A sort of Welsh version of Handan 🙂
Oh, you could spend weeks down there and be happy as a clam, Catherine! I don’t even know half the things lurking in those boxes, lol! 🙂
Does Handan have any idea how lucky she is???? Why didn’t someone tell us when we were in our 20’s to look for a husband with carpentry/DIY skills? We were busy looking for someone “cute!” Duh! Love your stuff, always.
I tell her every day, lol! But honestly, I didn’t have any of these skills when we met. Owning a house brought out my inner DIYer!