DIY Jumbo FA LA LA Letters
These DIY Jumbo FA LA LA letters are easy to make and they make a bold statement in your front yard. ‘Tis the season to sing it loud!
It’s a tough call between Halloween and Christmas for which holiday reigns supreme in The Navage Patch. On the one hand, Halloween offers the opportunity to indulge our spooky creative side when it comes to outdoor decor. The sky’s the limit, and there are very few rules. Skulls, bones, blood, and black magic – all tools of the trade when the harvest gives way to haunting.
Christmas, on the other hand, comes with certain norms and expectations. It wouldn’t be well-received if I created and displayed a flame-eyed santa carrying a sack full of children on a sleigh driven by reindeer skeletons.
In October? Fair game!
In December? Not so much.
Things are softer in December, the edges more rounded, the lights more fair, and the gore…well, gone, unless you’re into the whole Krampus thing.
But Christmas has its own charm, mostly rooted in nostalgia for many of us. I don’t know if the up-and-coming generations will feel the same way we do about the season of giving. I know it’s getting harder and harder to keep the spirit up until December 25th when retail Christmas starts in August. There’s only so many times I can hear “All I Want for Christmas is You” before turning into Krampus myself.
Today’s project – DIY jumbo FA LA LA letters – was one I made last year for our front yard. We installed them and surrounded them with lights, Melting Frosty, and some DIY log carolers, but if I’m being honest, big red letters on a yellow lawn in front of a red brick house with crappy landscaping just didn’t conjure up the Christmas warm and fuzzies I was hoping for.
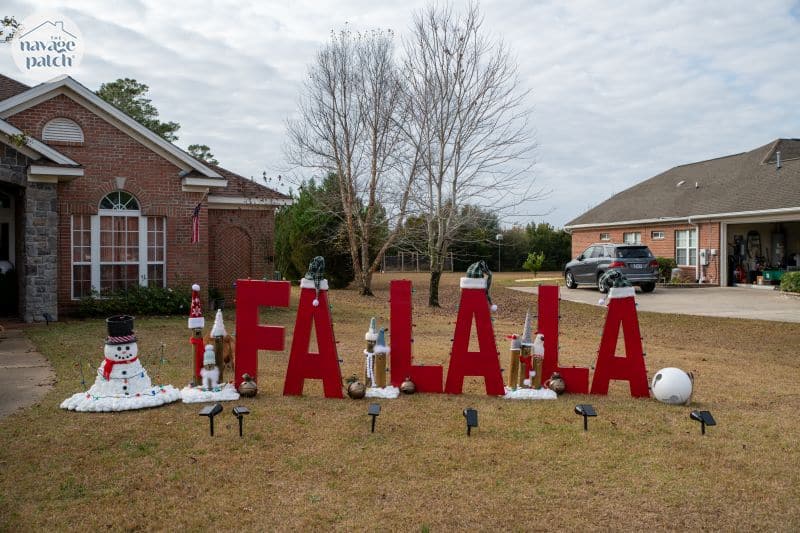
They fared a little better at night, but they still left us wanting…
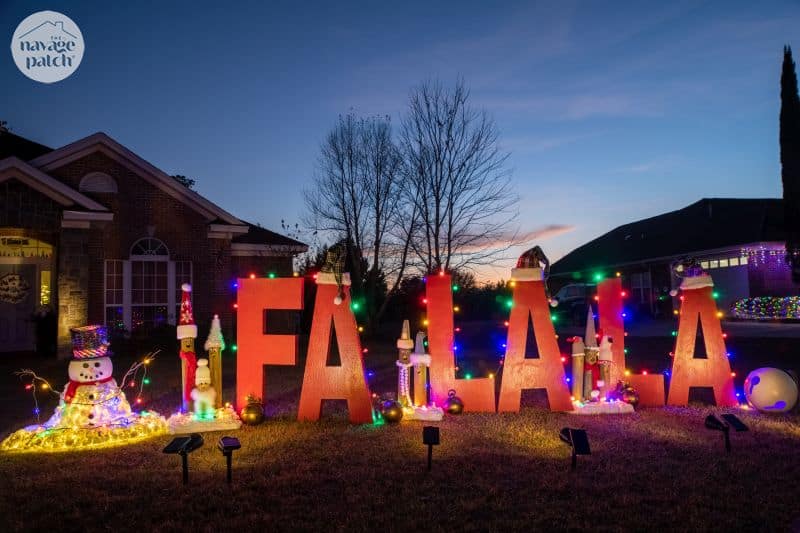
This is why you never read about these letters last year.
But this year?
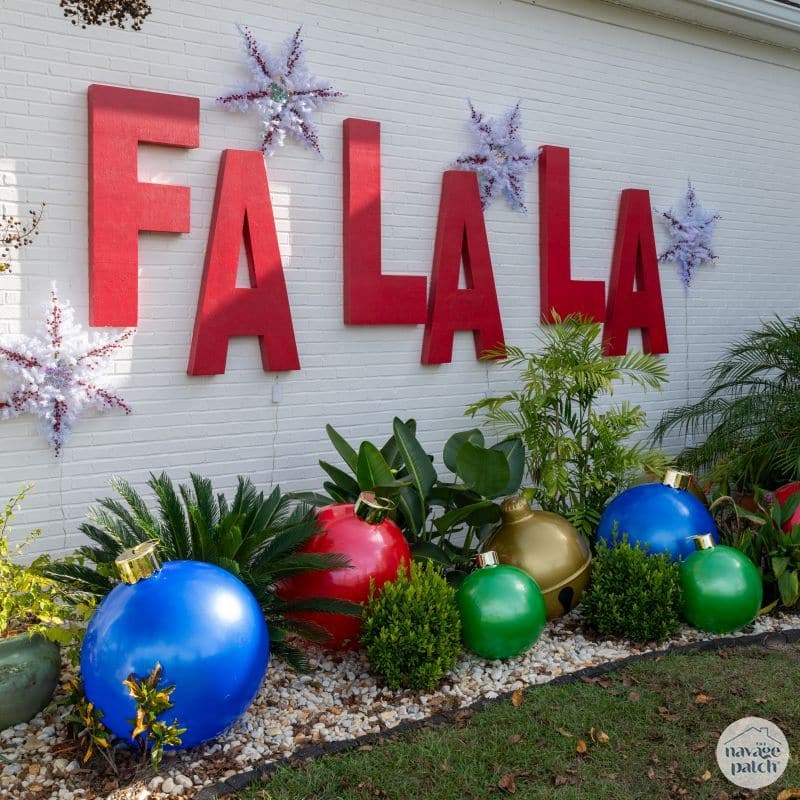
Well, this year, we have a beautiful limewashed white brick house lit up with dazzling Govee lights and fronted by gorgeous tropical landscaping.

This year we have much better place to display our jumbo FA LA LA sign!
So let’s get to it. I’m going to show you two ways to make the letters – one way takes a lot longer, but you’ll get perfect letters. This is how I made them last year. The second way is much quicker and easier, and you can still get perfect letters. This is how I would make them if I were to do the project again!
DIY Jumbo FA LA LA Letters SUPPLIES LIST
Affiliate links are provided below. Full disclosure here.
- Foam insulation panels – I used 1-inch and 2-inch
- Long, thin, sharp non-serrated knife -OR-
- Jigsaw with non-serrated blade (you can use a serrated blade, but the cuts won’t be as clean)
- Spray adhesive and/or foamboard adhesive
- Random orbit sander (not strictly necessary but helpful)
- Red paint (I used oil-based exterior)
- Download 40″ or 46″ size F, L, A letter templates here!

Free F, L & A Letter templates
The letters we made are 46 inches tall. But we prepared our F, L, A letter template in two sizes for you: 40 and 46 inches. Please click the button below to download the size you need.
We love to see our craft projects out in the wild! If you try this seasonal craft project, take a picture and post it on Instagram, be sure to tag us – thenavagepatch
FA LA LA Letters VIDEO Tutorial
Watch our short and fun video below for an overview of these jumbo letters before you read the detailed step-by-step tutorial.
Watch Our Tutorial On YouTube
On Tiktok
DIY Jumbo FA LA LA Sign Tutorial
To make 4-foot-tall letters, you either need a really big template (which you can download at the end of this post) or a really artistic hand. I certainly don’t have the latter, so I opted for the former when making these letters. Since then, I’ve discovered an easier way, but first let’s talk about the hard way because it does yield nice letters.
Since I don’t own an engineering plotting printer that might be able to print letters the size I needed, my babes did the next best thing – she printed the letters full-size, and the printer broke them down into 8×11 pieces. I later re-assembled those pieces into letters with scotch tape.

This took a lot of time, scotch tape and patience.
Trying to do this outside was a study in maddening futility. Rain and wind finally drove me into the garage where I re-commenced work on top of the foam sheets.

When I had the letters taped together and onto the foam sheet, I traced each one with a utility knife.

This was just to score the foam and show the letter’s outline, not to cut it all the way out of the foam sheet. That would come next.

But first I’ll show you an easier way. This is the method I used this Halloween to make a giant cauldron and earlier this Christmas season to make jumbo gingerbread men. It involves shining a single-source light onto a cutout of the shape you need bigger and then tracing that shape onto a foam insulation sheet. Couldn’t be easier!

I used a jigsaw to cut the letters. Since I made these last year, I’ve discovered that smooth-filed and sharpened jigsaw blades (in other words, non-serrated) work best when cutting foam.

I used a knife to clean the inner edges. If I had known then about the smooth blade technique, I could have done the whole thing with the jigsaw.

Since there are precisely 3 “A”s in FA LA LA, I only made a printout template for the first letter and once cut, I used it for the remaining two.

After liberating FA, LA and LA from their foam-cell prison, I traced them all onto sheets of 2-inch foam and cut out their thicker twins.
I mated the 1-inch letters to the 2-inch letters with a combination of spray adhesive and foamboard adhesive.
Spray…

Squeeeeze…

Spread…

Mate…

Next, I sanded the edges to smooth out the imperfections.

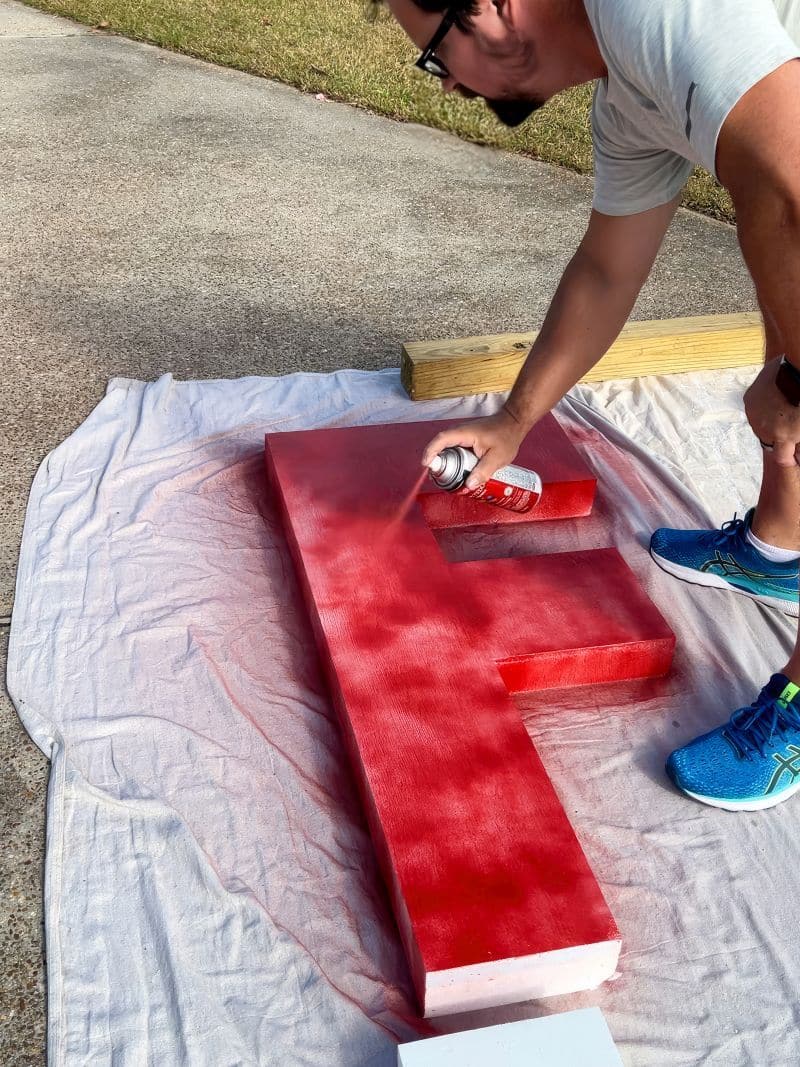
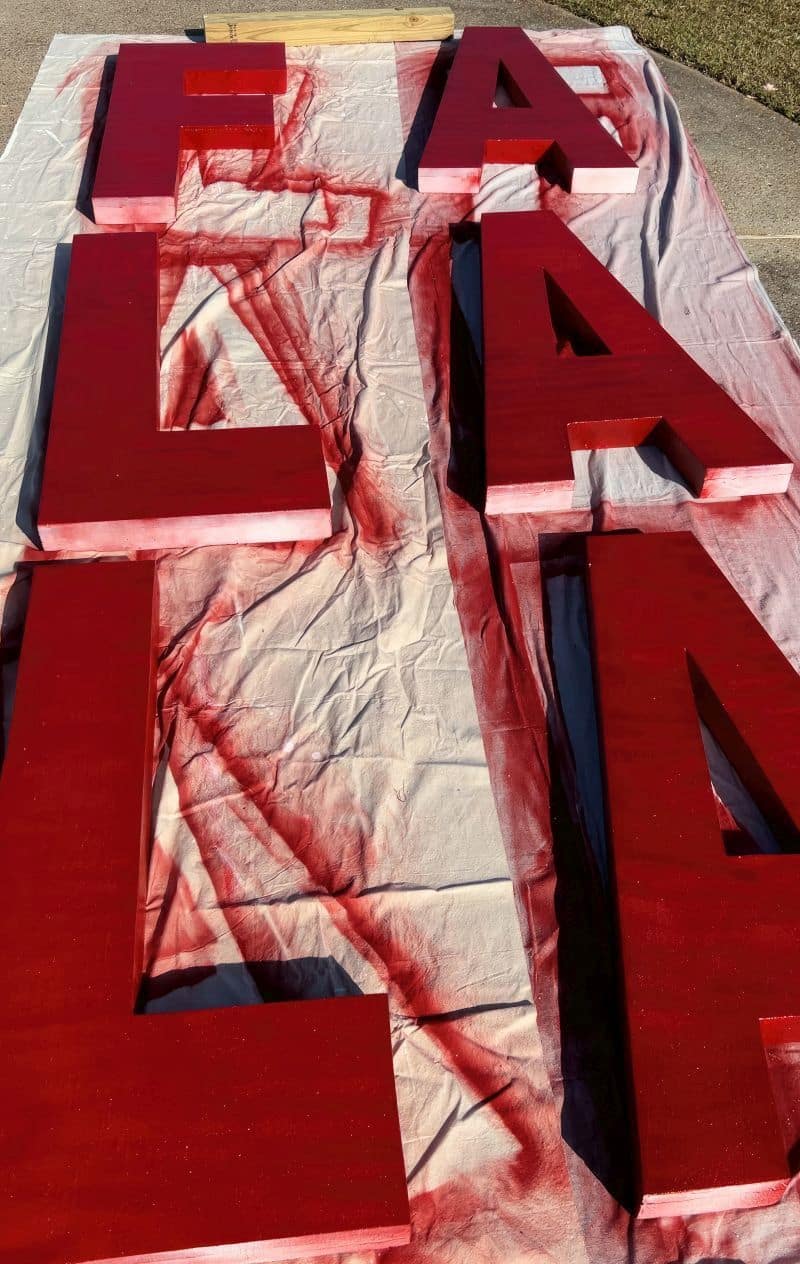
My babes wanted a bright and cheery Christmas red, so I gathered up some cans of spray paint with a promising red hue and began the tortuous process of spraying large flat surfaces outside in the wind.
Results may vary in such conditions, and my results varied right into the animal kingdom.
After several cans and a ruby red fingertip, my letters looked like they belonged on the African plain or in India than in a suburban Christmas display.
I’m not sure red tigers exist, but if they did, they look a lot like this letter “A.”
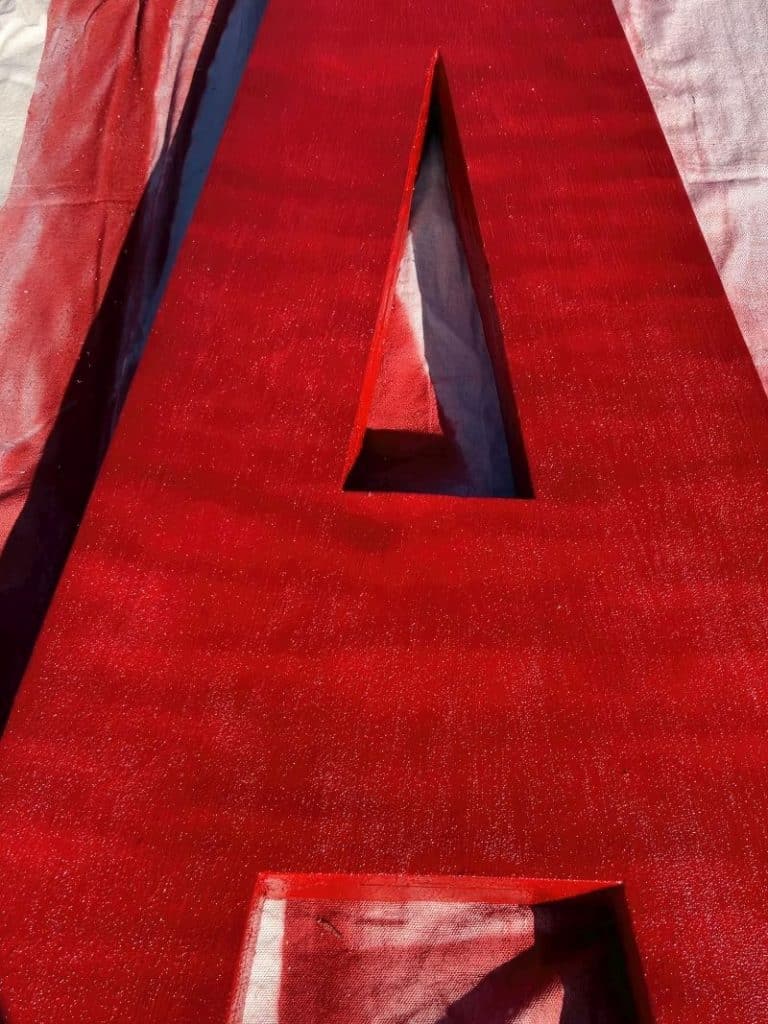
I considered throwing more cans at the problem, but spray paint can be a cantankerous bitch, so I tossed that idea on its ear and opted for some good old fashioned oil paint in a can. Besides, on further inspection, the red I picked saw a little…blood-ish.
Perfect for Halloween.
Not so much for Christmas.
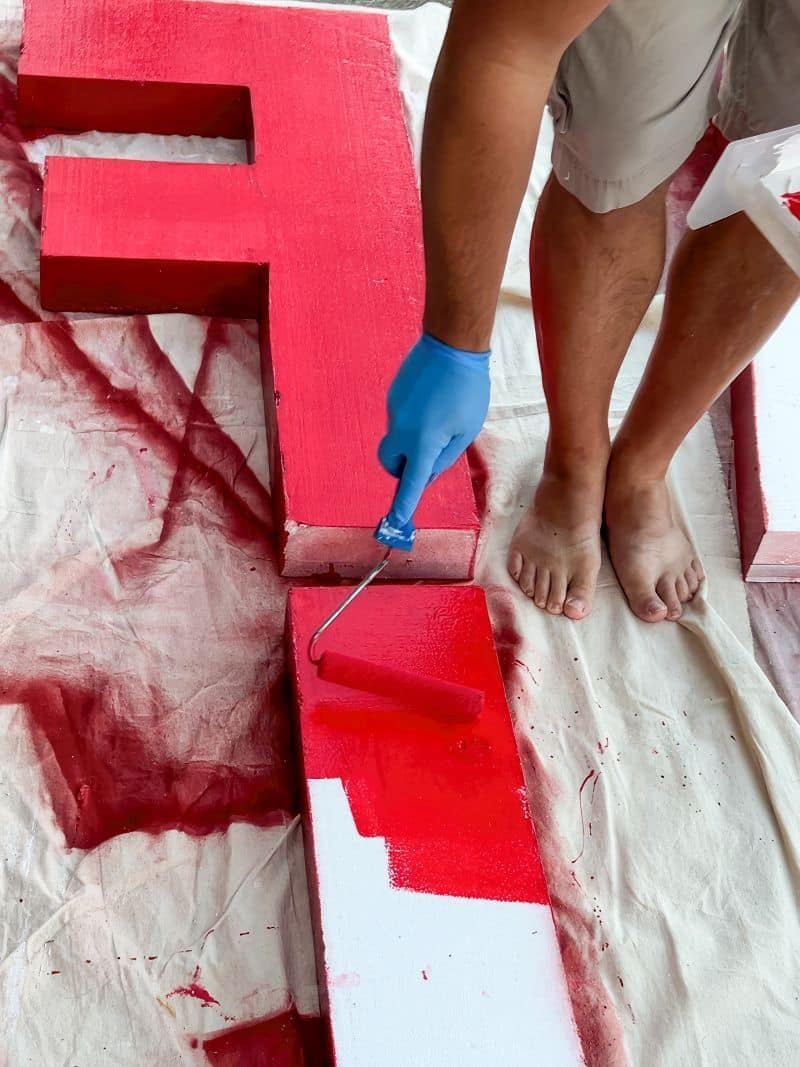
So off to Sherwin Williams I rode and returned with a fiery new red.
This one went on like a scarlet dream. The stripes disappeared and cheery new letters emerged.


After a time I smartened up and switched to a roller.

This year, I hung the letters on the house. We’re still in the process of completing the scene, but this is how we’re looking right now.


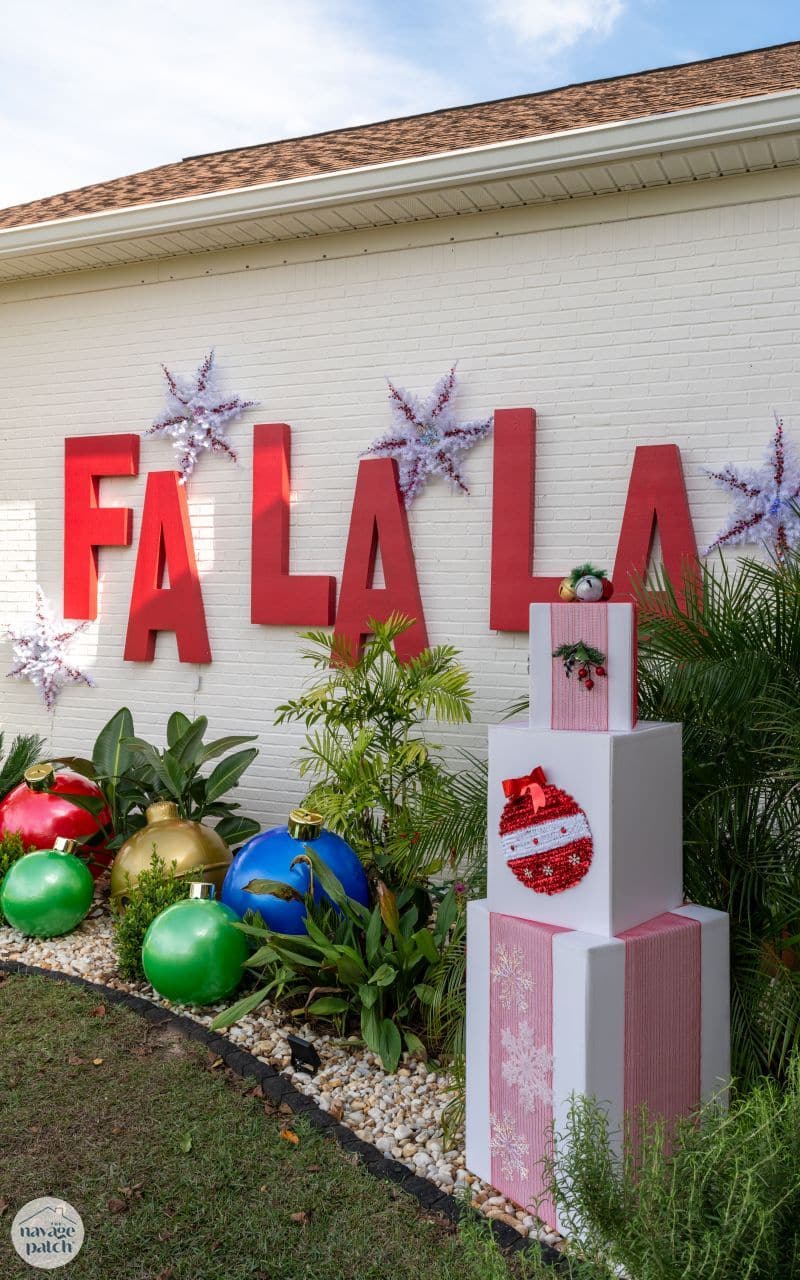


What did you use to attach them to the house?
I screwed pieces of ceiling panel to the house and then velcro’d them to the panels.
I’ve looked at your page so many times, I better just make these letters! Lol
My concern is how will the foam withstand the weather. It’s been a bit of time, I would love an update. Thank you
Hi Liz, they survived two seasons without issue, and they’re still going strong!