Guest Bathroom Renovation | How to remove a baseboard |How to remove floor tiles |The easy way of removing tile flooring | How to remove flooring the easy way | How to remove a toilet | DIY guest bathroom makeover | DIY Powder room makeover | DIY bathroom renovation | Before & After | TheNavagePatch.com

How to Install a Wall

· ·

In Part 5 of our Guest Bathroom Renovation, we’ll show you how to install a wall and all the finishing touches that went into the project. 

CONTINUED FROM>>

I hate this project. Let’s just get that out of the way. I hate this project more than anything else we’ve done, including the Pond Project…and I really hated that one. But it’s Friday, and I don’t want to be cranky, so I’m going to let go of my hate. I’m going to punch it and kick it and stuff it into a box and mail it to yesterday, where it can’t bring me down anymore. Because as much as I hate this project, I’m going to love the end result. And the end is in sight. It’s close. I can feel it. I can taste it. We may even finish this weekend. And when I share the reveal with you all, I’m going to pour myself the biggest, driest martini, throw a cow on the grill, park my ass on the sofa and do ABSOLUTELY NOTHING for a week. It’s gonna be epic.

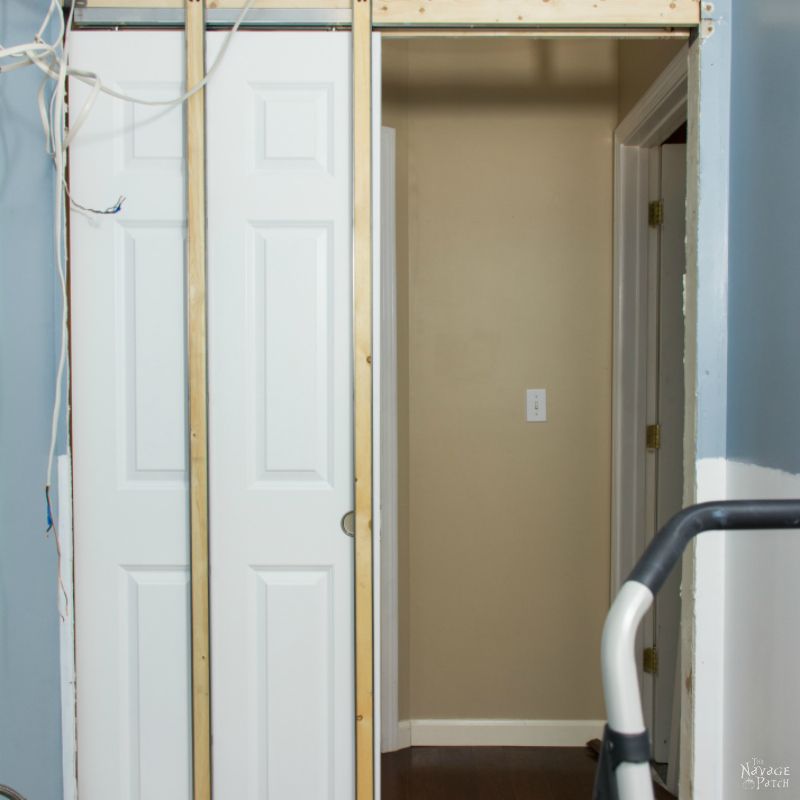
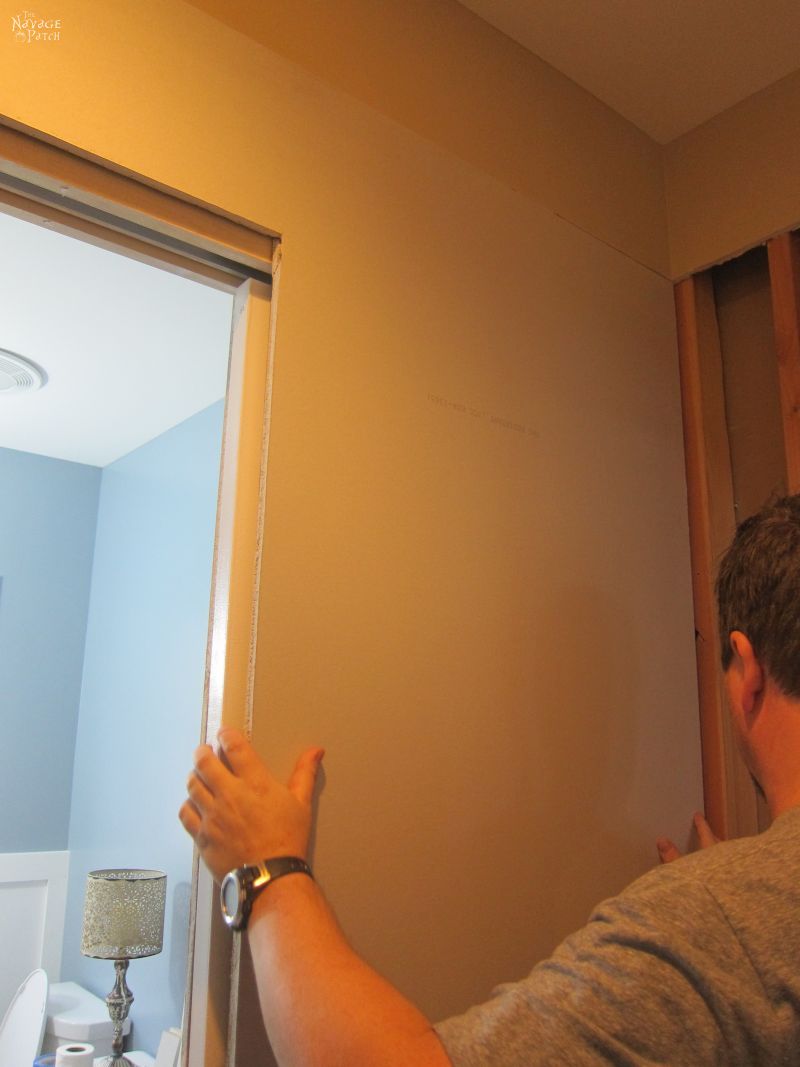
But until then, we have work to do. It’s been a couple of weeks since I’ve posted about the bathroom, so let’s see what’s been happening. The last post left off just after I installed the studs on the pocket door wall. The next step was to put up the drywall, but before that, I wanted to hang another board to act as a stud, so the drywall would have another place to be screwed in to.

Guest Bathroom Renovation | DIY pocket door installation | How to install a pocket door | How to install drywall | How to install a door jamb | DIY board and batten wainscoting | Before and After | TheNavagePatch.com

I cut the pieces I needed and fit them into place. I started with the interior bathroom wall.

Guest Bathroom Renovation | DIY pocket door installation | How to install a pocket door | How to install drywall | How to install a door jamb | DIY board and batten wainscoting | Before and After | TheNavagePatch.com

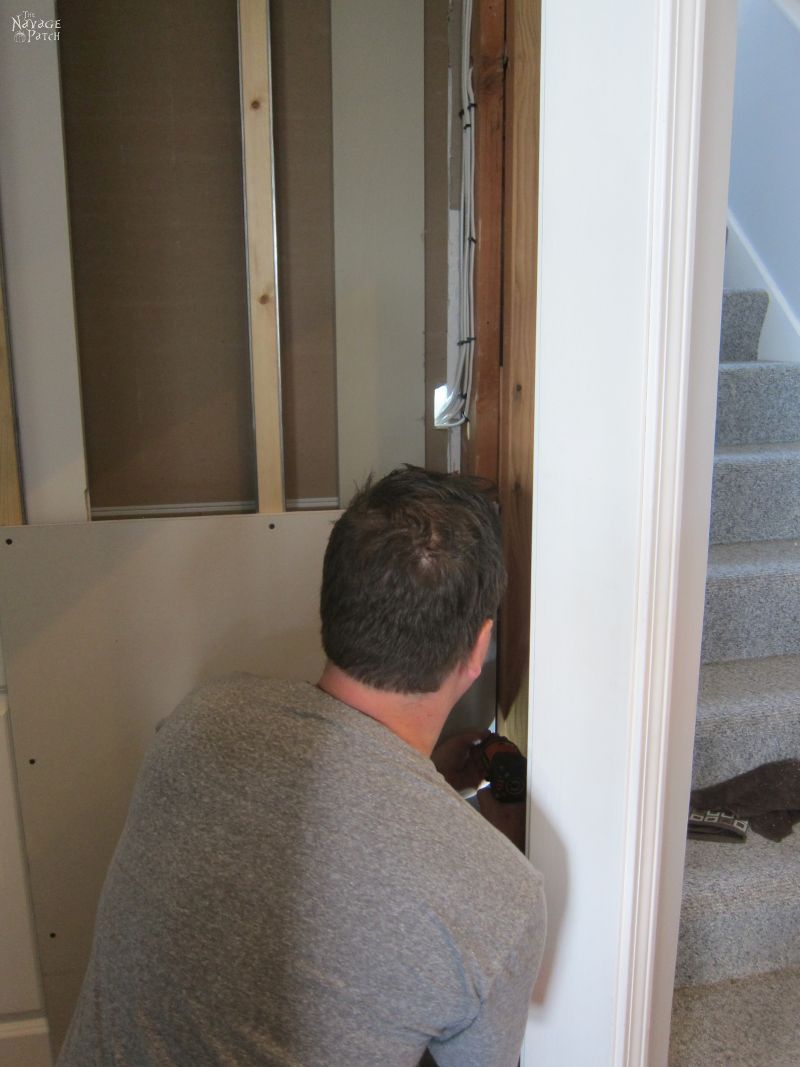
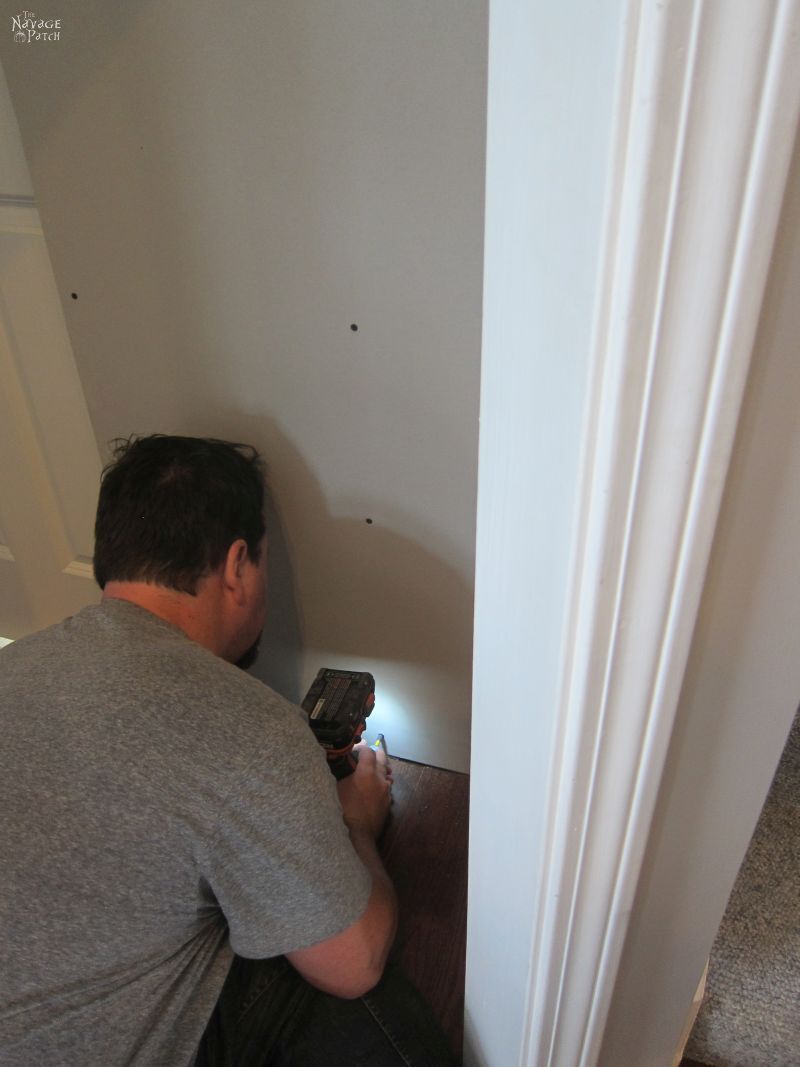
I cut a hole in the drywall for the electrical wiring.

Guest Bathroom Renovation | DIY pocket door installation | How to install a pocket door | How to install drywall | How to install a door jamb | DIY board and batten wainscoting | Before and After | TheNavagePatch.com

I ran the wiring down the stud at the far end of the wall. The bumper on the back of the door prevents the door from slamming into the wires every time it’s opened.

Guest Bathroom Renovation | DIY pocket door installation | How to install a pocket door | How to install drywall | How to install a door jamb | DIY board and batten wainscoting | Before and After | TheNavagePatch.com

We then hung drywall on the exterior walls.

Guest Bathroom Renovation | DIY pocket door installation | How to install a pocket door | How to install drywall | How to install a door jamb | DIY board and batten wainscoting | Before and After | TheNavagePatch.com

You may remember my rant in the last post about taping – the process of smoothing the joints between pieces of drywall with joint compound. Sensing my hesitation to begin the next phase of the project, Handan offered to do the taping. I agreed without hesitation. I loaded her up with mud and a small taping knife and set her to work.

Guest Bathroom Renovation | DIY pocket door installation | How to install a pocket door | How to install drywall | How to install a door jamb | DIY board and batten wainscoting | Before and After | TheNavagePatch.com

She didn’t do a bad job, but we agreed that with my experience, I may be better off doing it, so we switched places.

Guest Bathroom Renovation | DIY pocket door installation | How to install a pocket door | How to install drywall | How to install a door jamb | DIY board and batten wainscoting | Before and After | TheNavagePatch.com

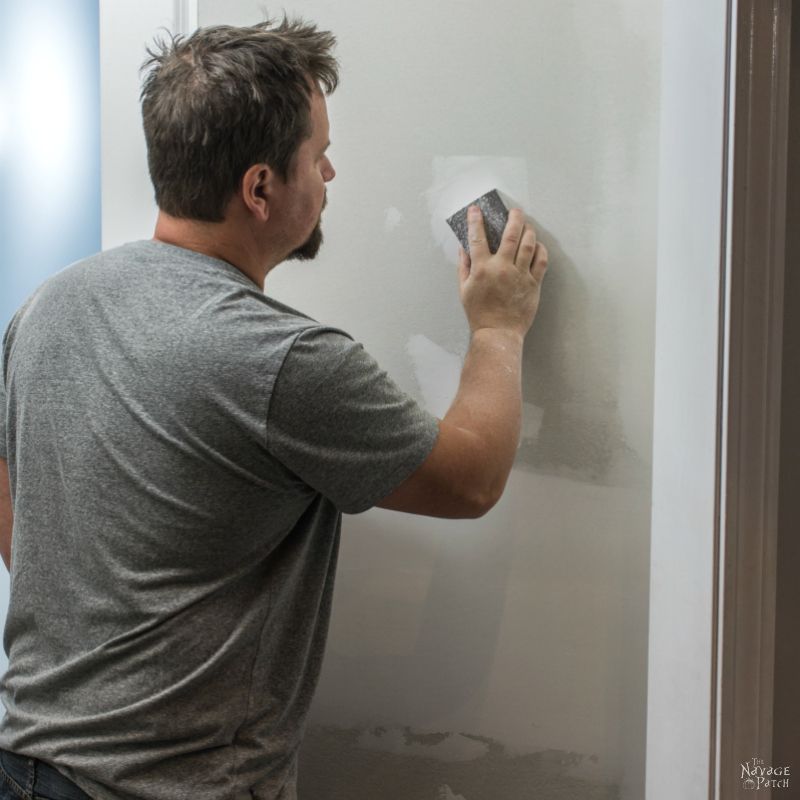
I realized that part of my problem with taping could be due to the fact that I’ve never had the right taping knives. We went to Home Depot and bought a set of three: an 8 inch, a 10 inch, and a 12 inch. Wow, what a difference the right tool can make! I spent the next week taping up those walls. We had some pretty uneven surfaces to correct, so I took me six days instead of the standard three.

Guest Bathroom Renovation | DIY pocket door installation | How to install a pocket door | How to install drywall | How to install a door jamb | DIY board and batten wainscoting | Before and After | TheNavagePatch.com

Since it was a pretty small space, I was able to pay attention to every detail. I can say two things after that week: 1) I’m no longer afraid of taping, and 2) You won’t find a finer and smoother wall than that one I taped. It’s damn near perfect.

Handan painted them, and they looked brilliant.

With the walls in order, it was time to install the jamb. I cut the pieces to size and gave them to Handan to paint.

Guest Bathroom Renovation | DIY pocket door installation | How to install a pocket door | How to install drywall | How to install a door jamb | DIY board and batten wainscoting | Before and After | TheNavagePatch.com

While she worked on that, I installed a new threshold that I made out of oak.

Guest Bathroom Renovation | DIY pocket door installation | How to install a pocket door | How to install drywall | How to install a door jamb | DIY board and batten wainscoting | Before and After | TheNavagePatch.com

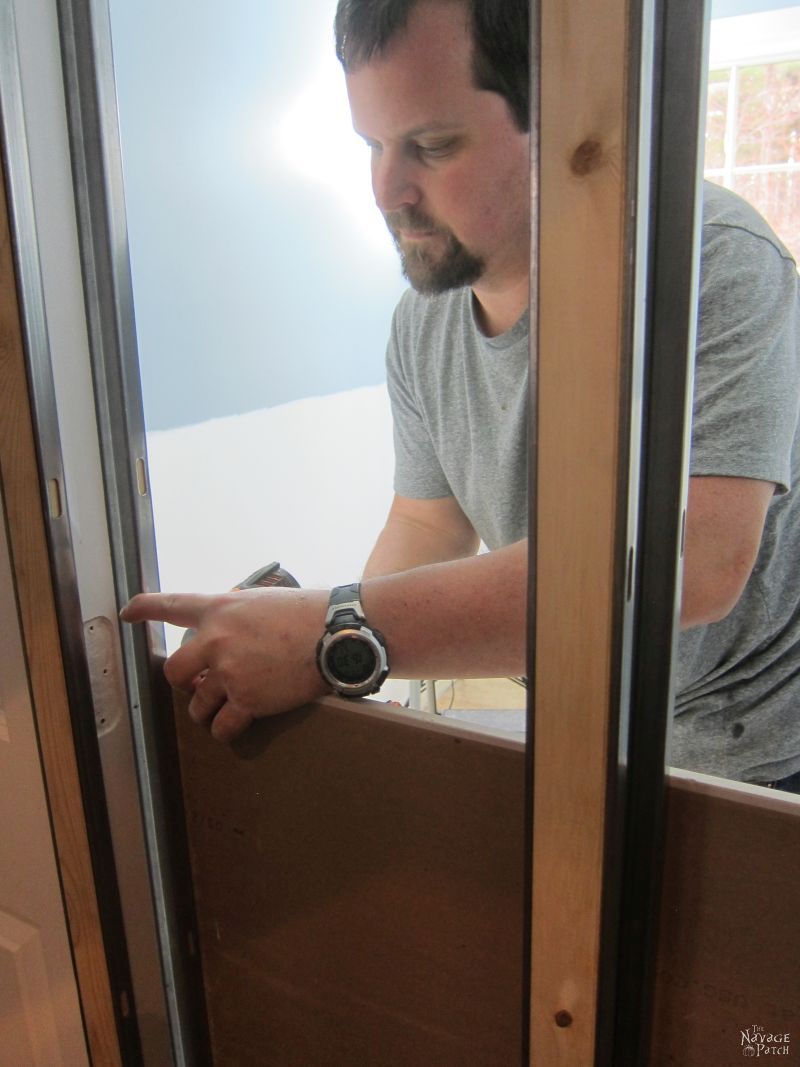
With the threshold in place, I installed the jambs.

Guest Bathroom Renovation | DIY pocket door installation | How to install a pocket door | How to install drywall | How to install a door jamb | DIY board and batten wainscoting | Before and After | TheNavagePatch.com

Since nothing is ever square in this house, I had to do a little shimming to get everything aligned.

Guest Bathroom Renovation | DIY pocket door installation | How to install a pocket door | How to install drywall | How to install a door jamb | DIY board and batten wainscoting | Before and After | TheNavagePatch.com

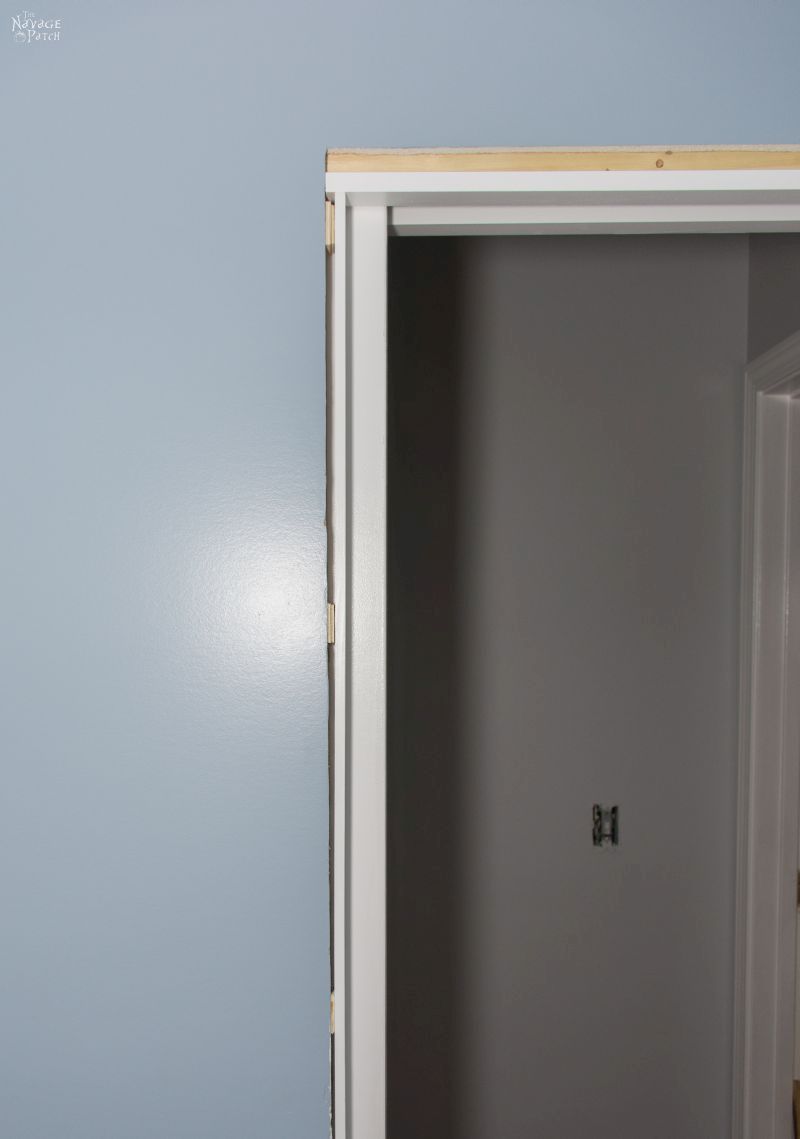
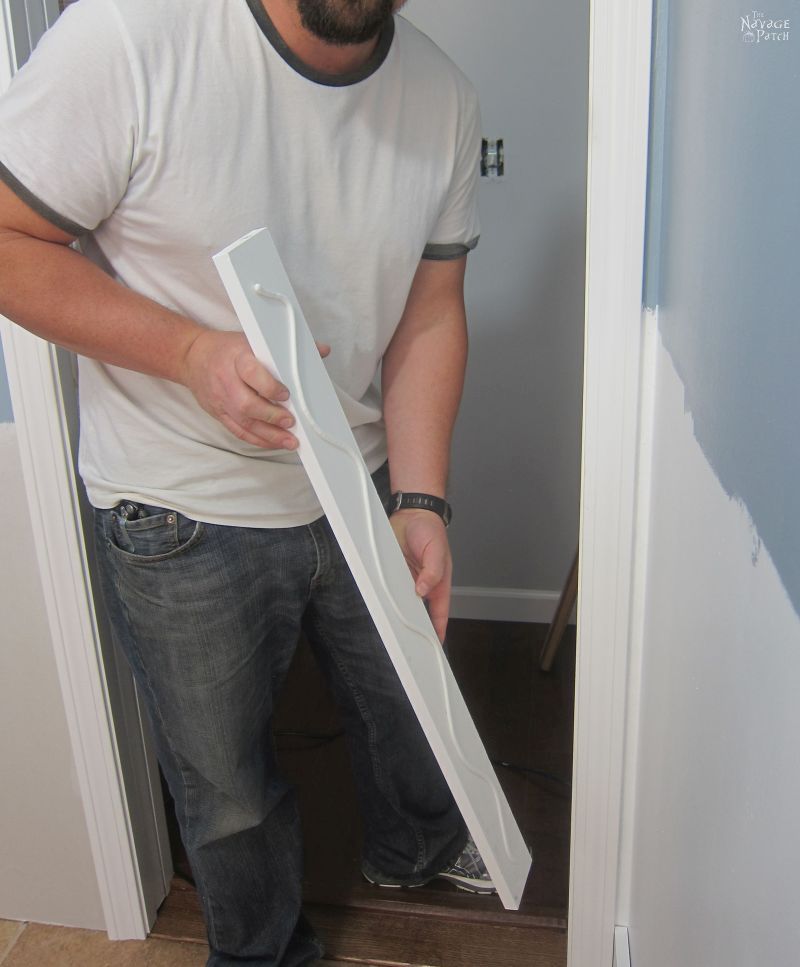
We installed the casing next and secured it with construction adhesive and brad nails.

Guest Bathroom Renovation | DIY pocket door installation | How to install a pocket door | How to install drywall | How to install a door jamb | DIY board and batten wainscoting | Before and After | TheNavagePatch.com

I had to trim the old threshold cap to accommodate the new door frame. I secured it in place with heavy duty construction adhesive.

Guest Bathroom Renovation | DIY pocket door installation | How to install a pocket door | How to install drywall | How to install a door jamb | DIY board and batten wainscoting | Before and After | TheNavagePatch.com

Now we were really getting close. It was time to tackle the rest of the board and batten wainscoting. Just as we were about to attach the first board to the long wall, Handan noticed that the board and batten we installed a month ago wasn’t lined up. The stiles on the left side of the window were higher up than those on the right. How the hell had that happened? I had no idea. I only knew that it was my fault. I nearly fainted from shock, fear and horror. My face blanched. My knees shook. My vision blurred. Handan laughed.

“You should see your face!” She said.

I turned my ashen face towards her. Her words were like rocks tumbling in a stream. I felt like I had a head full of cotton wool.

“Huh?” I said.

“Don’t worry. We can remove that board can’t we?” She said.

“I uh, I uh, I uh…I don’t know I don’t know I…” I was having a hard time focusing. Until that point, there had been a thousand little things that had gone wrong with the project. But that one took a piece of me. That one hurt. That was the moment I started hating the project.

Thank god Handan kept her head. She grabbed some tools and started slowly and methodically working on freeing the piece that was glued onto the newly-painted wall.

Guest Bathroom Renovation | DIY pocket door installation | How to install a pocket door | How to install drywall | How to install a door jamb | DIY board and batten wainscoting | Before and After | TheNavagePatch.com

She got the piece off with minimal damage – nothing a little spackle didn’t fix. When I saw that Handan had removed the piece, I regained my wits. Then it was up to me to lower the height of the vertical stile by about 1/4 inch. Since the stile was glued to the corner, I’d have to cut it down in place. I used a hammer and chisel.

Guest Bathroom Renovation | DIY pocket door installation | How to install a pocket door | How to install drywall | How to install a door jamb | DIY board and batten wainscoting | Before and After | TheNavagePatch.com

Balance was restored to the wall and to the project. The hard work was far from over, but we were both breathing a little easier.

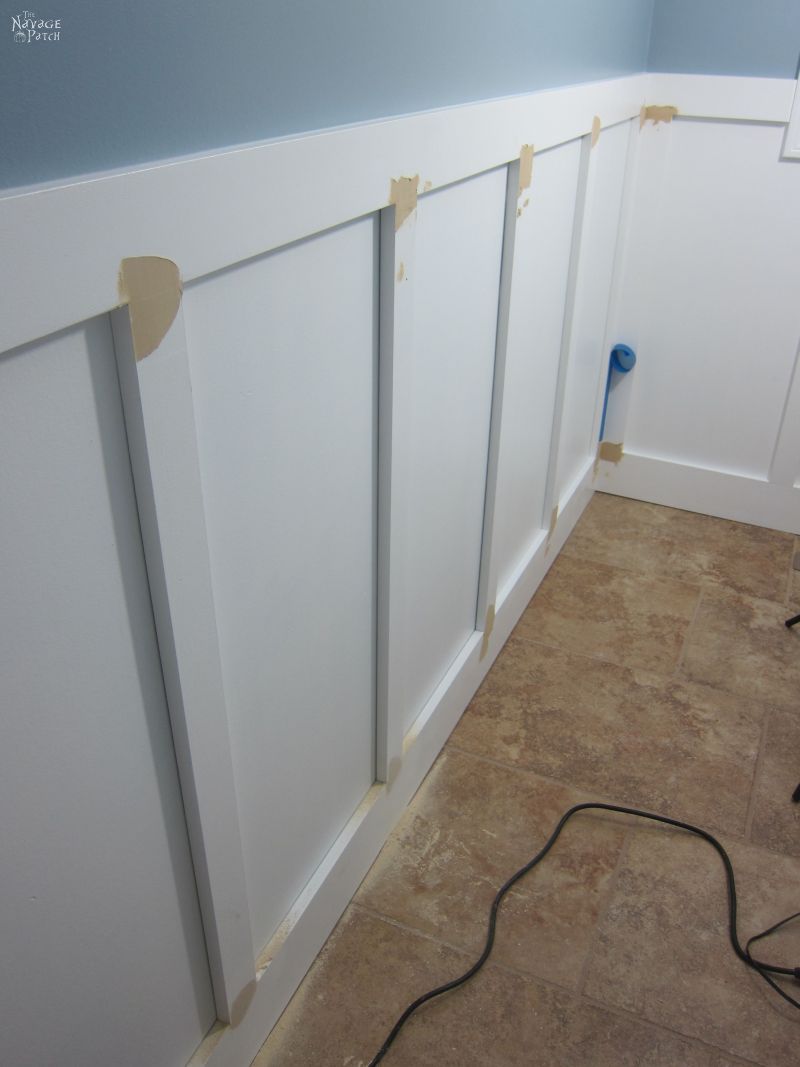
We carried on installing the board and batten.

Guest Bathroom Renovation | DIY pocket door installation | How to install a pocket door | How to install drywall | How to install a door jamb | DIY board and batten wainscoting | Before and After | TheNavagePatch.com
Handan’s Ongoing Pajama Counter: 8

As usual, a little caulk helped to hide the imperfections. I will talk more about that window treatment in the reveal.

Guest Bathroom Renovation | DIY pocket door installation | How to install a pocket door | How to install drywall | How to install a door jamb | DIY board and batten wainscoting | Before and After | TheNavagePatch.com

I covered the joints with wood filler.

Guest Bathroom Renovation | DIY pocket door installation | How to install a pocket door | How to install drywall | How to install a door jamb | DIY board and batten wainscoting | Before and After | TheNavagePatch.com

Then sanded them down.

Guest Bathroom Renovation | DIY pocket door installation | How to install a pocket door | How to install drywall | How to install a door jamb | DIY board and batten wainscoting | Before and After | TheNavagePatch.com

And that’s where we stand this Friday, May 5th. All we have left is to finish the caulking, put a final coat of paint on the wainscoting, and I have to do the electric work. With luck, we should finish this weekend. Then you’ll get a happier post!

Well, I’m glad to have this post behind me. I almost didn’t write it. I thought about just waiting a few more days and skipping right to the reveal. Now that it is written and these photos are behind me, I’m feeling much better and more optimistic about the rest of the project. Keep your fingers crossed!

CONTINUE ON TO>>


Leave a Reply

Your email address will not be published. Required fields are marked *

9 Comments

      1. nope never ha ha, i can hear it, babes what are you doing, and your mind racing omg how can i say nothing muuhahaha xx

  1. You’re so almost there Greg and your throne is waiting for it’s prince. And if things didn’t work this weekend, have that martini and cow anyway. It’s good for the soul.

    1. Michelle, we’re 99% there! Just a few little odds and ends tonight, and it will be ready for the photo shoot tomorrow! Later today, I’ll be touring the local farms in search of a suitable steer for my grilling needs. 🙂

  2. You guys are so cute together and do beautiful work. Congratulations on a job well done. And where did you find those monstrous steaks!!!!???

  3. Awesome post. It is very informative post. I like your blog. It’s really informative post. I know very important things over here. Thanks for sharing this.