IKEA BRIMNES Closet System
We used IKEA BRIMNES bookshelves to create our own custom master closet system for a lot less than it would have cost if we’d used their PAX system.
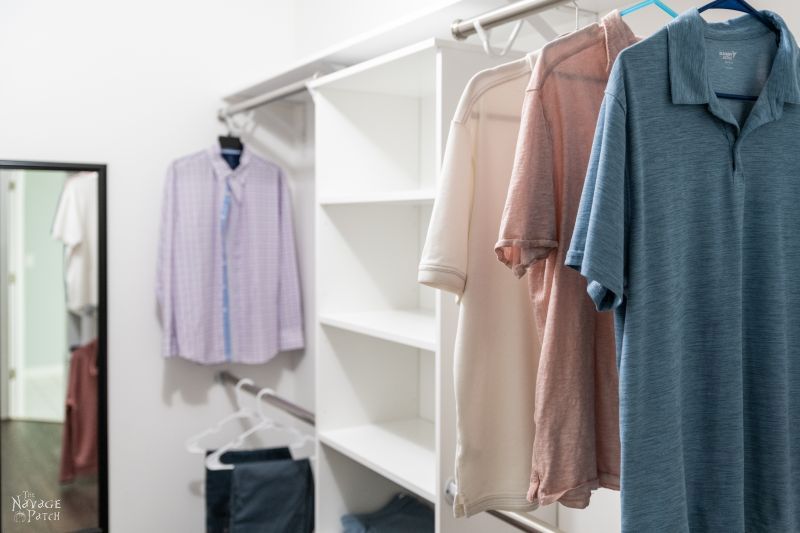
With the closet freshly painted (please see the Master Closet Makeover Plan, if you haven’t done so already), we were ready to install the components of our DIY closet system – five IKEA BRIMNES bookshelves and one BRIMNES 3-drawer chest. But first, we had to build the five bookcases and one chest.
And by “we,” I of course mean, “Baris.”
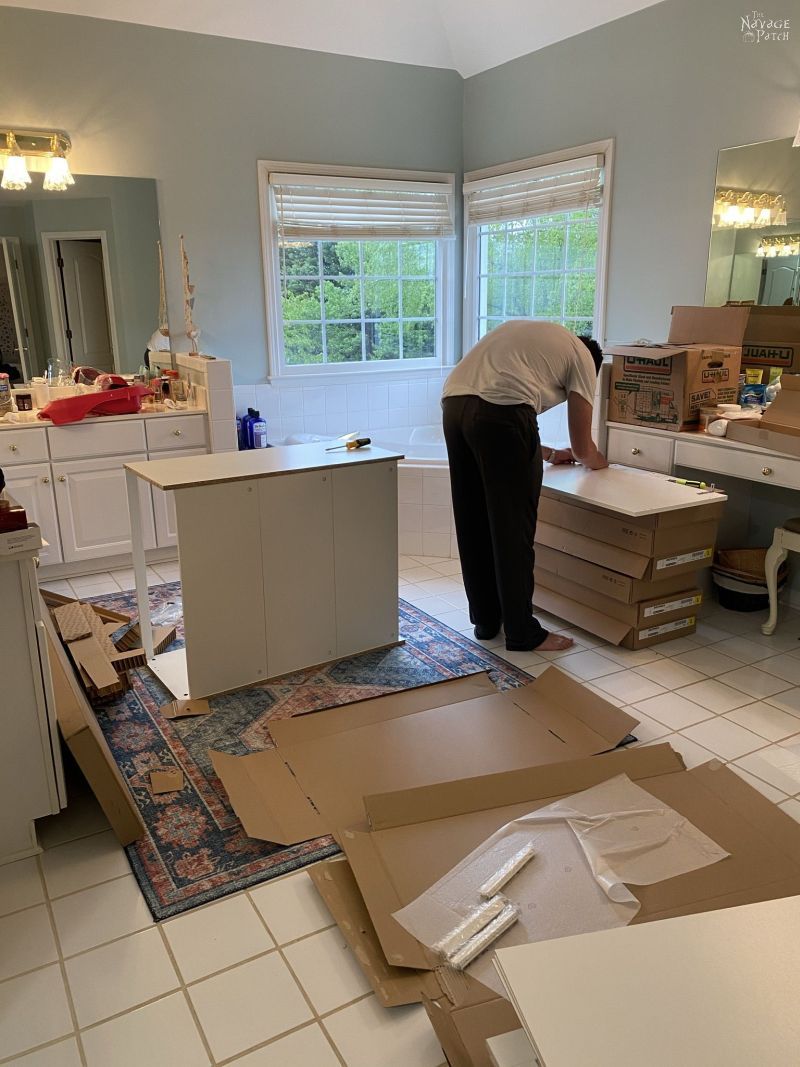
I’m so thankful that we’ve managed to get most of the major makeovers involving IKEA out of the way before he leaves for college this summer. Baris has been a godsend since he started building our IKEA purchases a couple of years ago. He actually enjoys building IKEA, a concept that is so foreign and incomprehensible to me, that I suspect my son may have been replaced by an alien. Alien or human, I’m going to miss him terribly when he’s away. I don’t think his mother is ready for it. I may not be either.
Oh, of course I’ll miss talking to him, hanging out with him and watching movies with him, but here’s the real stab in the heart: once he’s gone, the burden of building IKEA furniture falls back on me, and that will likely spell the end of the uneasy 5-year truce I’ve had with the Swedish juggernaut.
I still remember the old days, IKEA!
But as much as I loathe building their furniture, I know an IKEA shopping day brings my babes a boatload of joy, so I will continue to shop there, if only to see the smile on her face when we leave. And I begrudgingly admit that their furniture has improved in quality and is far more sturdy than stuff from Wayfair or Joss & Main or Overstock that costs two or three times as much and is infinitely harder to build. (I’m looking at you, office desk!)
As Baris finished each bookcase, Handan and I were there to slide it from the bathroom into the closet and place it along the walls.
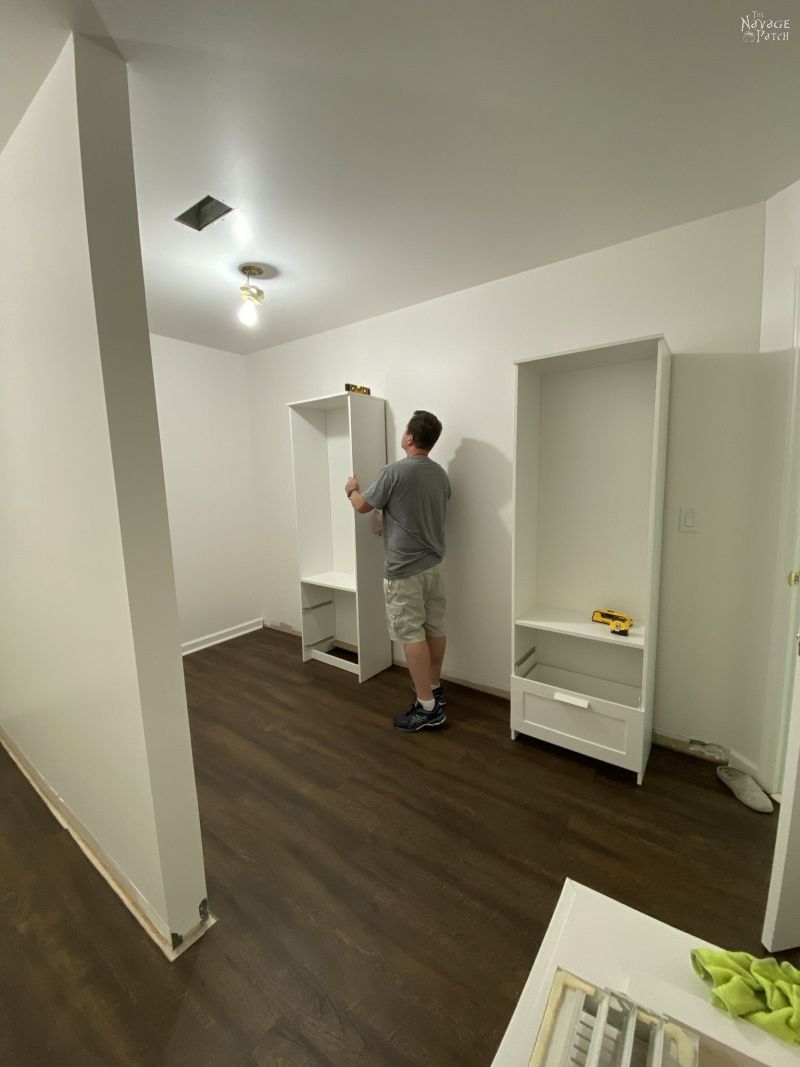
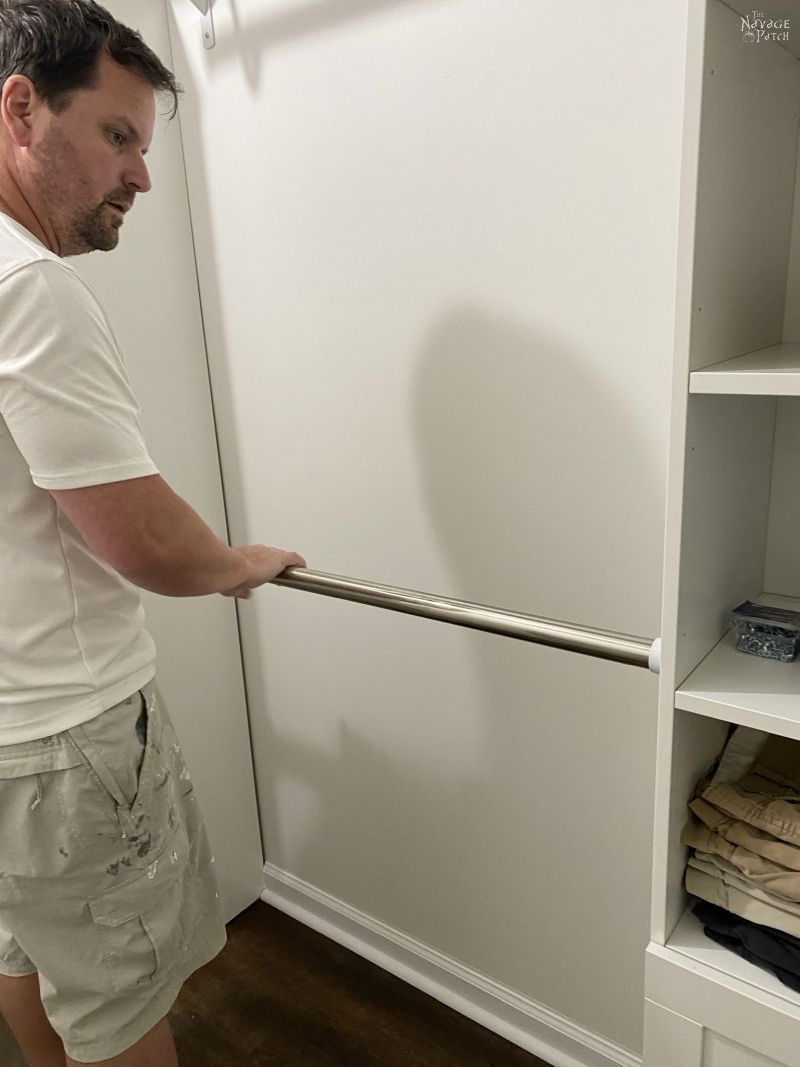
Our plan was to install two hanger rods between each bookcase – one high, one low. We would also be installing rods between the bookcases and the walls. In order for the heights to work out where we could hang two levels of clothing without the upper shirts intruding upon the lower, the top hanger rod had to be just a little bit higher than the bookcase. The easiest way to determine the height and ensure level placement of the hanger rod was to rest it on the top of the bookcase, attach it to the bracket and then use the stud finder to determine where to screw it into the wall.
Supplies List
Affiliate links are provided below. Full disclosure here.
- Ikea BRIMNES
- Closet Rod
- Closet rod hanger / rod socket
- Shelf bracket with rod hanger
- Drawer pulls
- Closet shelf (used above the BRIMNES unit)
- Stud finder
- Drill
- Torpido level
- Hack saw (for cutting the metal rod)
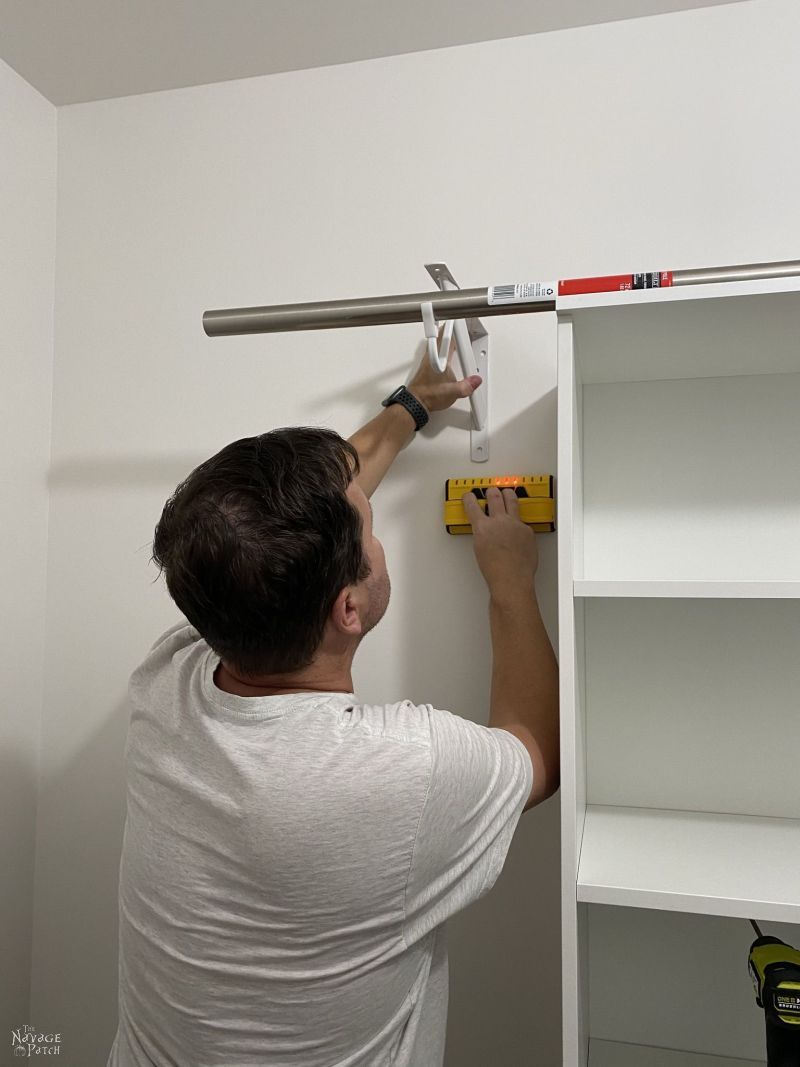
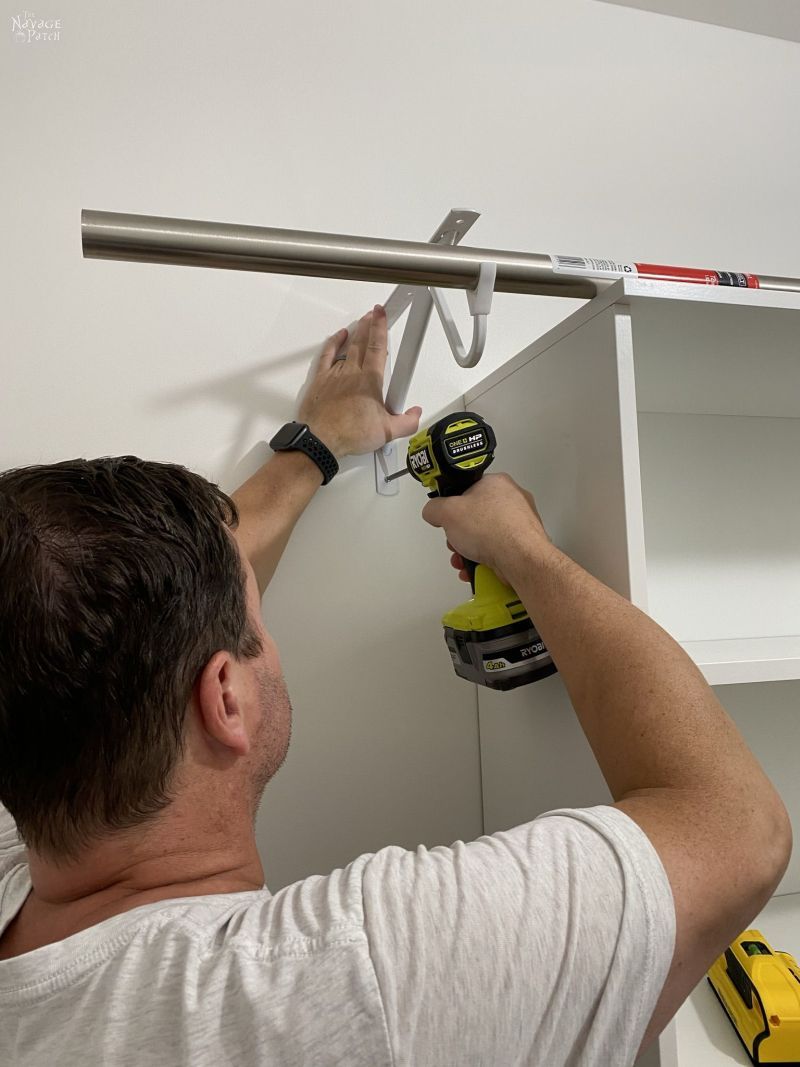
Once I had the stud located, I drove a single screw through the bottom hole of the shelf/hanger rod bracket.
I used a torpedo level to level the bracket, and then I secured it with a second screw. Where I couldn’t find a convenient stud, I used drywall anchors to secure the brackets. [What – no jokes about you being the “convenient stud”? LOLOL – Handan]

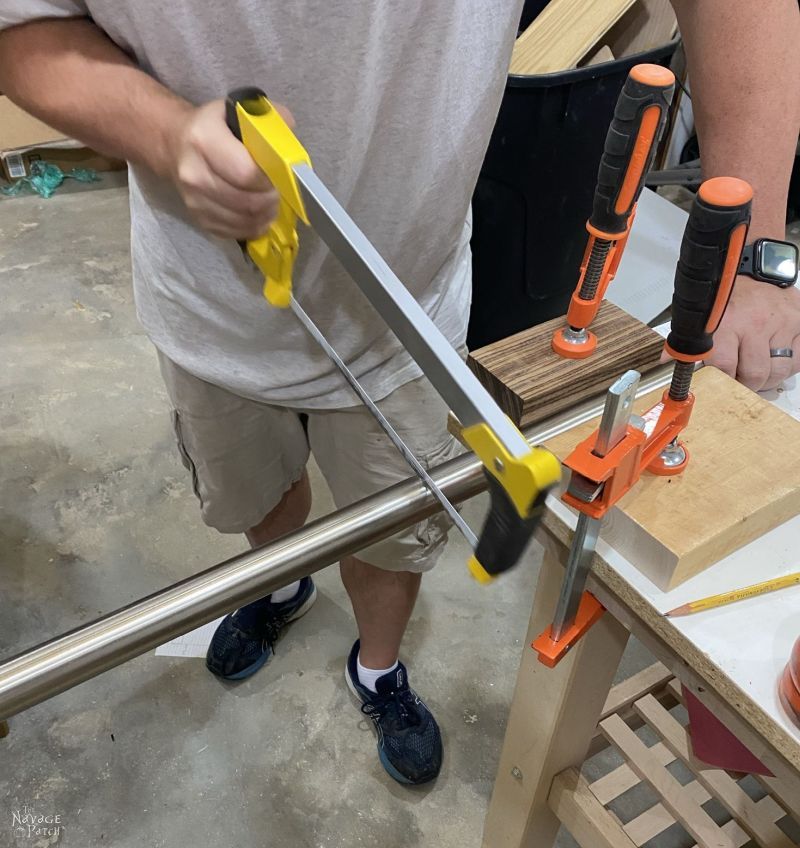
With the brackets mounted on the wall, I measured the space between each BRIMNES or between a BRIMNES and the wall. I then cut the hanger rods to size and put on end caps for the upper rods.
For the lower hanger rods, I installed the brackets on the side of the bookcases, 1/2 inch in from the front edge.
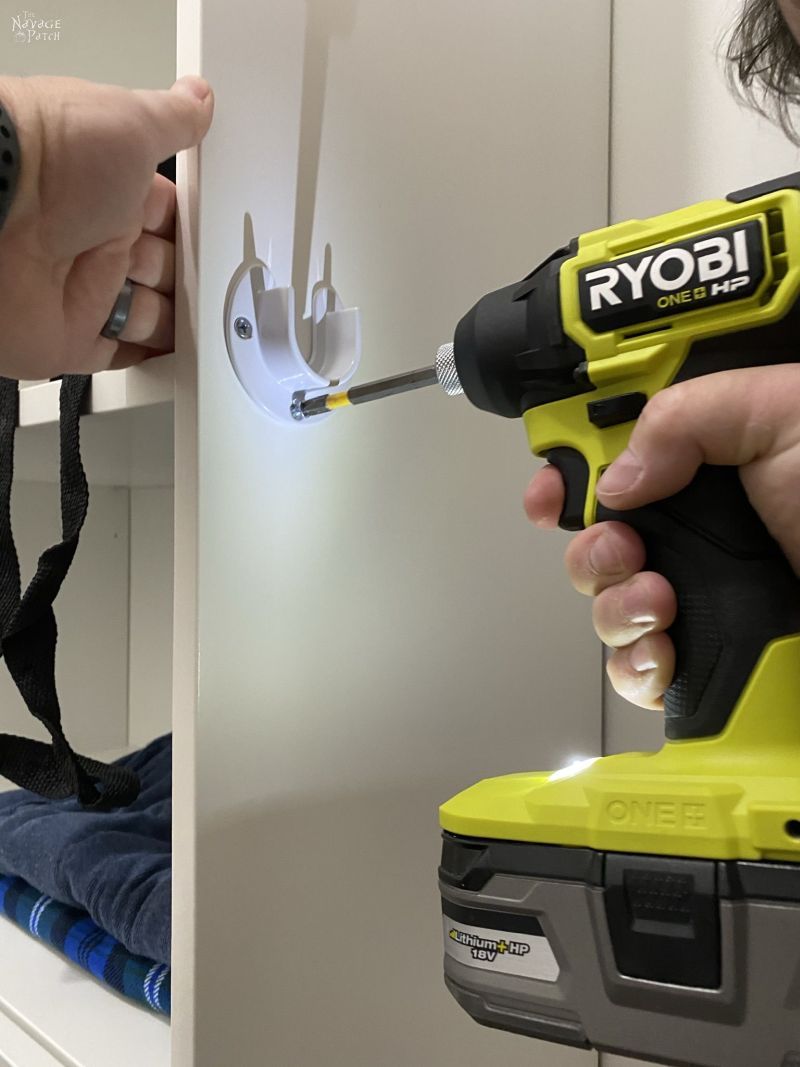
Installing one of the lower hanger rods between two BRIMNES units…
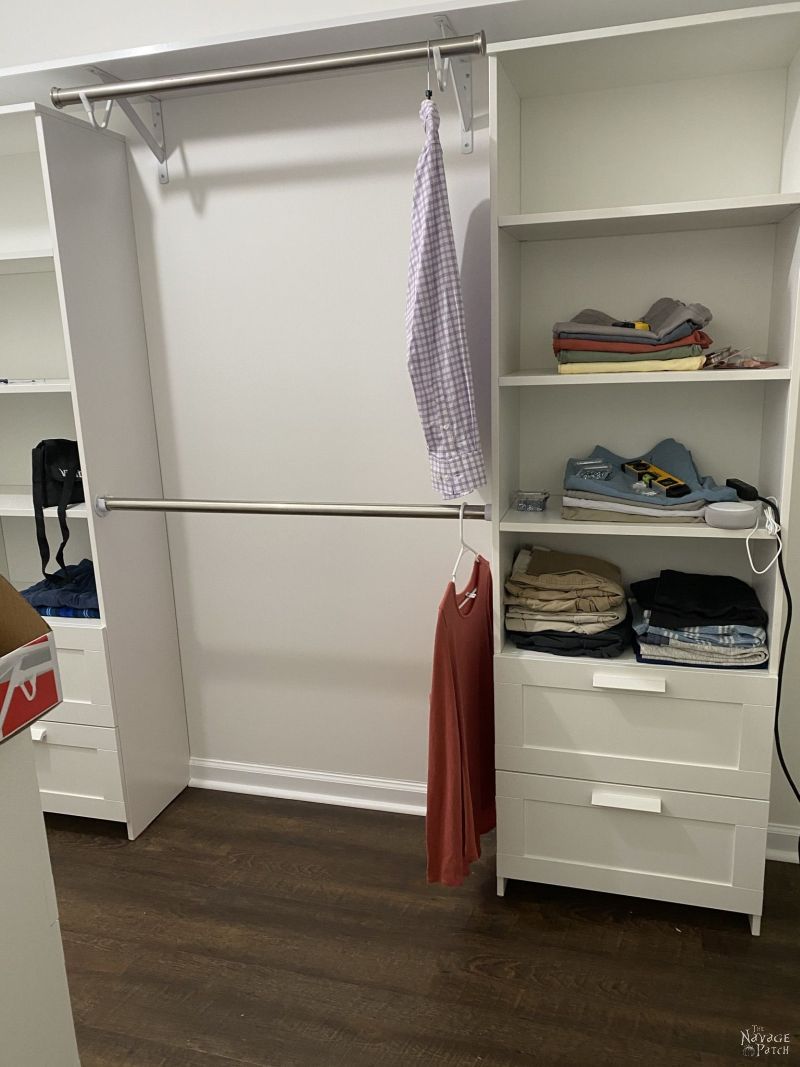
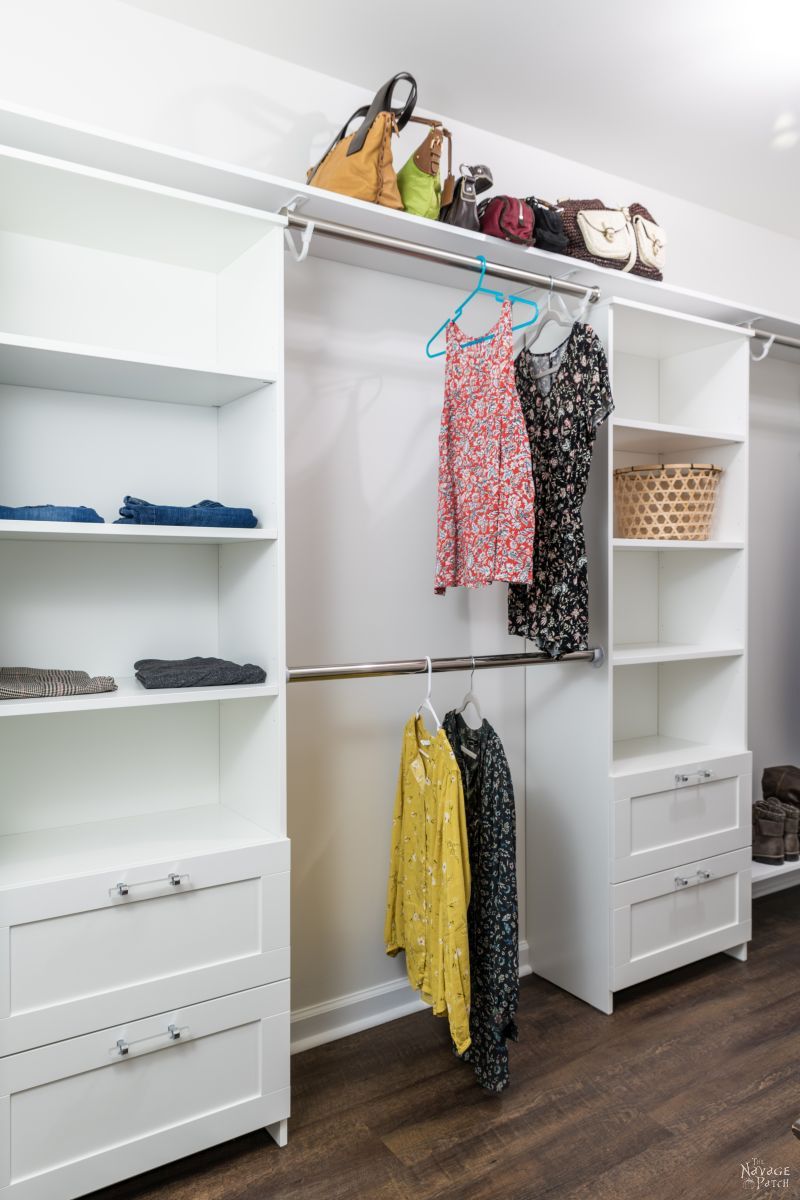
Here’s a look at an upper and lower hanger rod and the shelf that runs all the way along the top. We used Rubbermaid brackets, hanger rods and shelves – nothing fancy, but they do the job.

Of course, as soon as I finished a section, my babes couldn’t help but start hanging things and stacking things on the shelves. As you can see, what used to be her side is now my side.
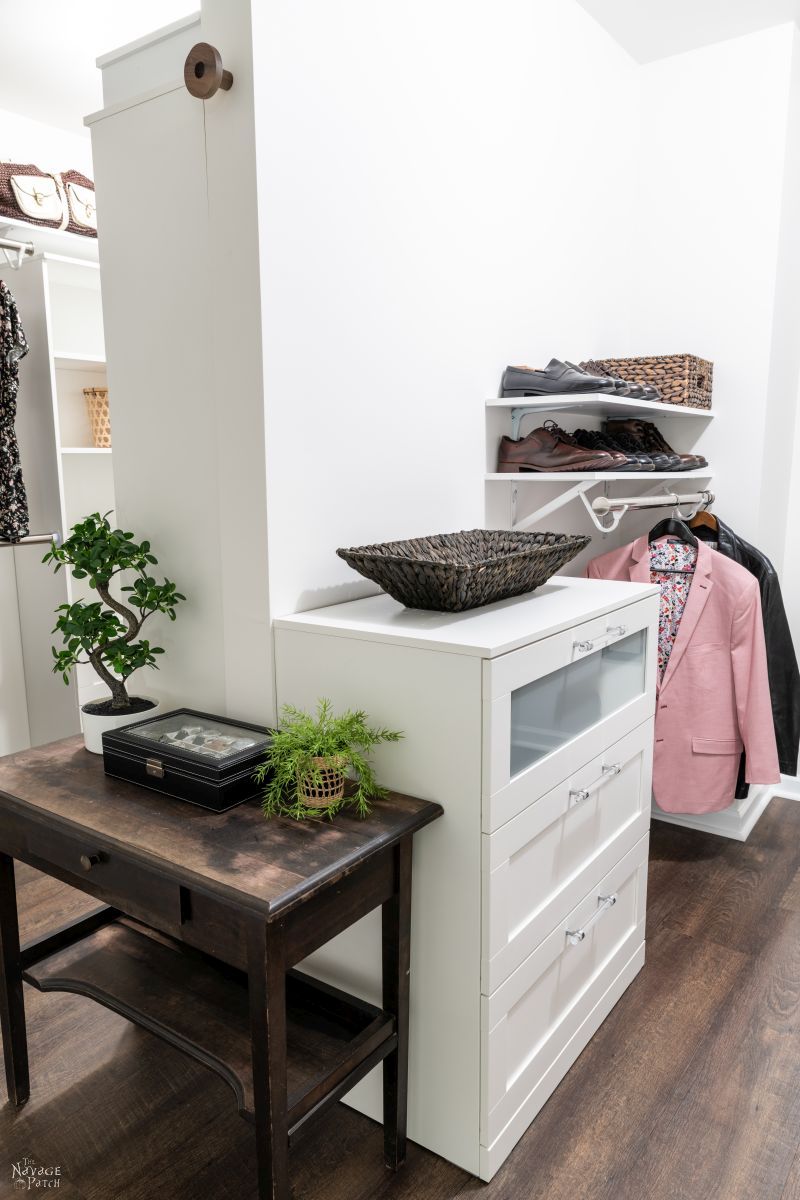
Just across from the picture above, we put a BRIMNES 3-drawer chest instead of a bookcase, and next to the chest, I installed another shelf/hanger rod. This hanger rod is a little higher than the ones between the bookcases, and it’s where I’ll be hanging my suits and anything that’s a little longer than normal.
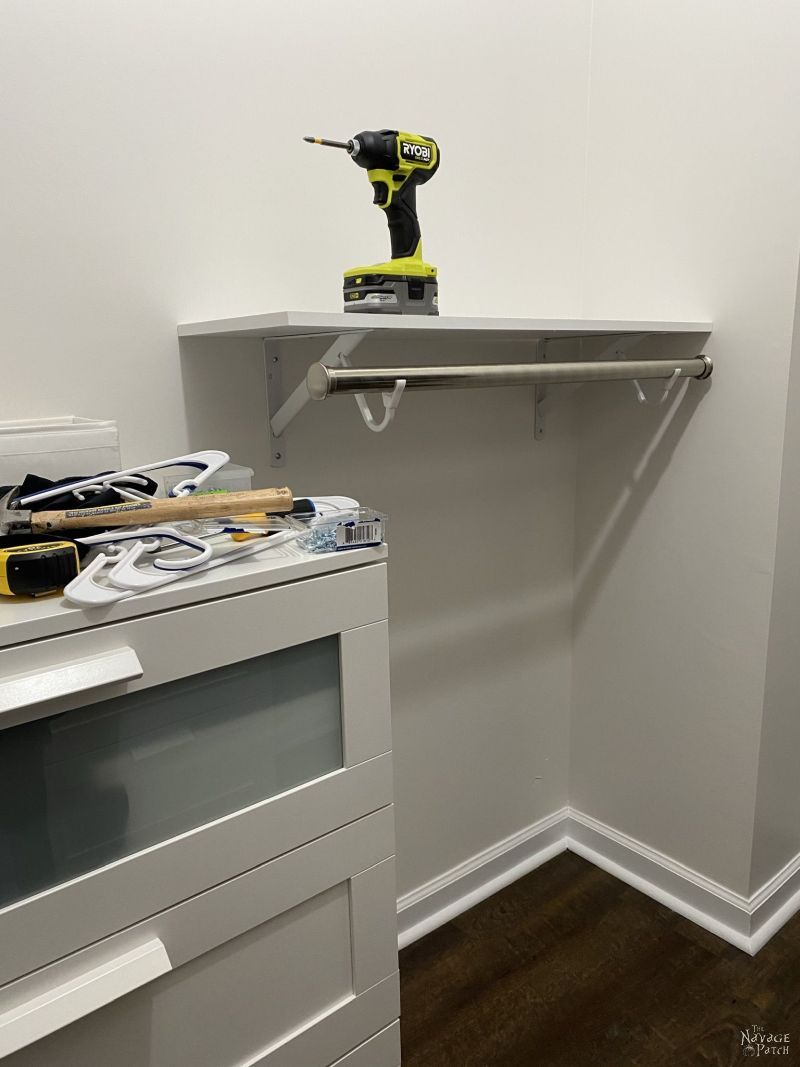
You’ll see in the final pictures that I installed a second shelf above the first with smaller brackets. I will be keeping my dress shoes on those shelves.
The Rubbermaid shelves are nothing more than plastic-coated particle board – certainly good enough for the job with enough support, but floppy as heck without support. Since there were no brackets over the bookcases and no room to put any, the shelf sagged under its own weight.
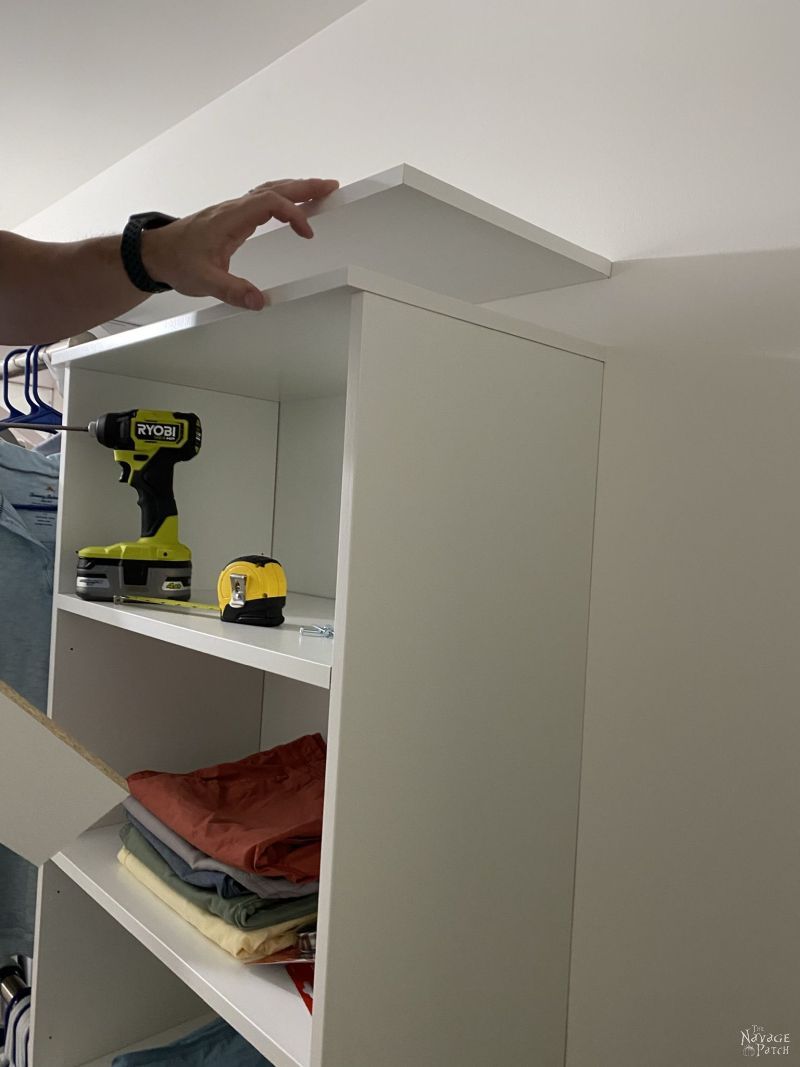
It’s a little tough to see, but that board is sagging towards the end. Anything put on there would make it sag down to touch the BRIMNES below.

To support the shelves over the bookcases, I cut pieces of scrap shelving to the correct height and placed them under the ends of the shelves.

I drove two screws from the top to secure each support.
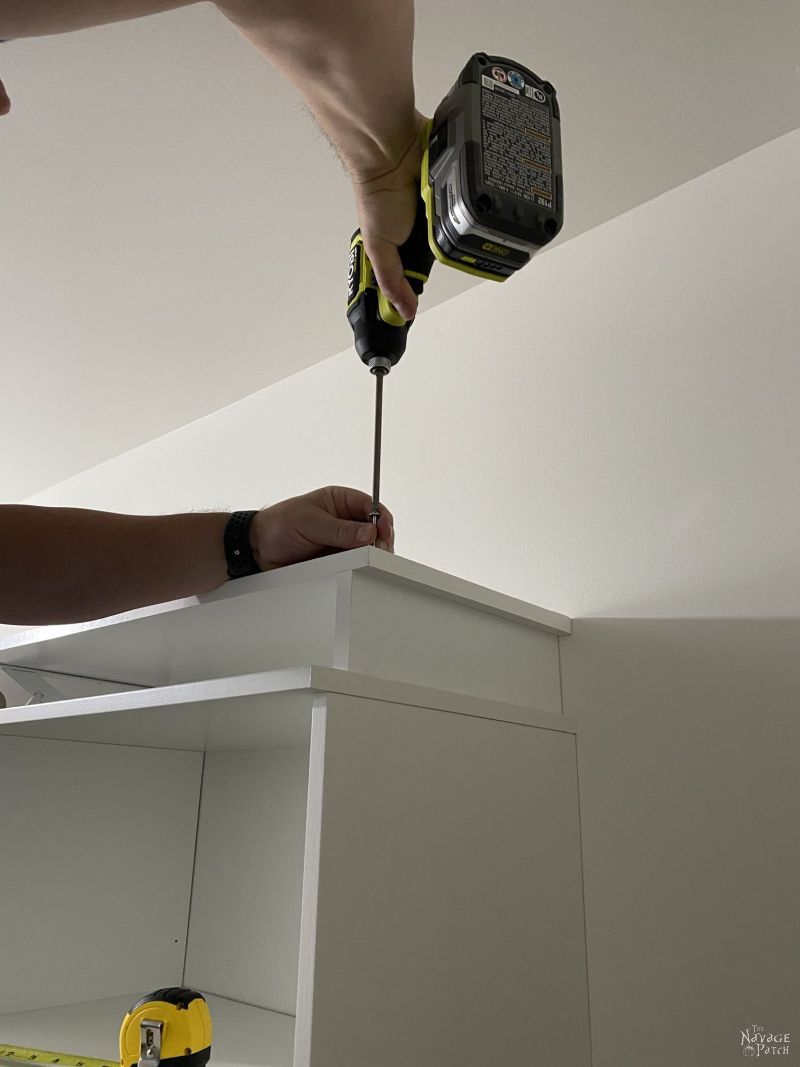
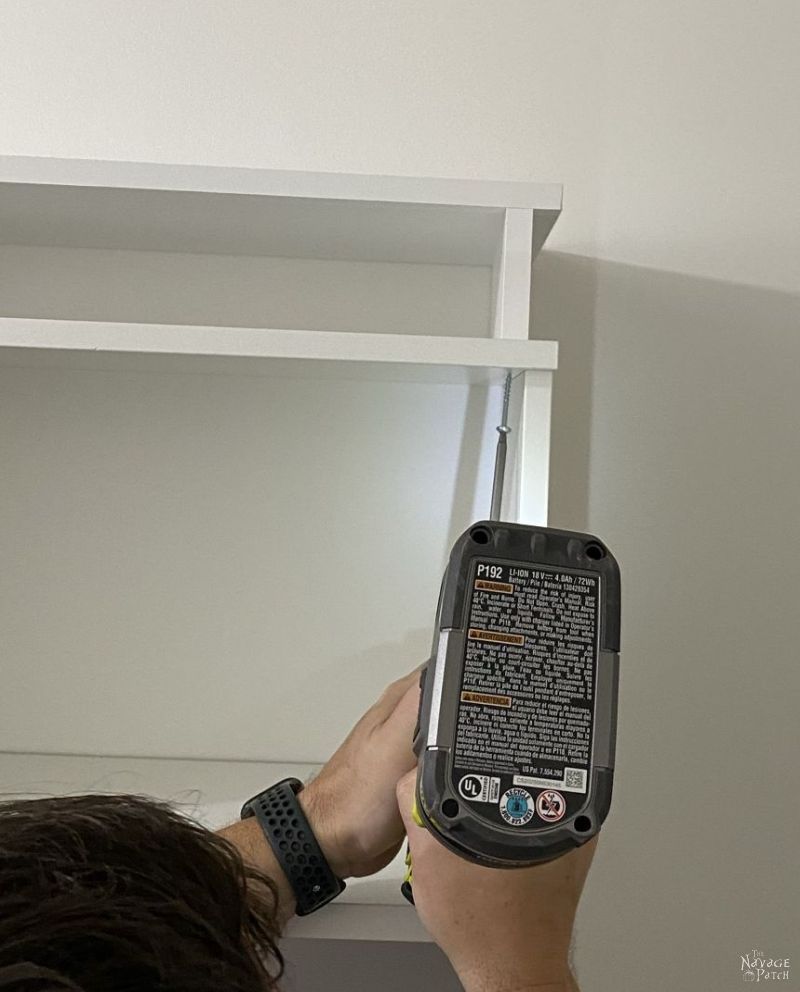
And I drove one screw in from the bottom. This not only anchored the shelf to the BRIMNES, but it also served as a wall anchor for the BRIMNES.
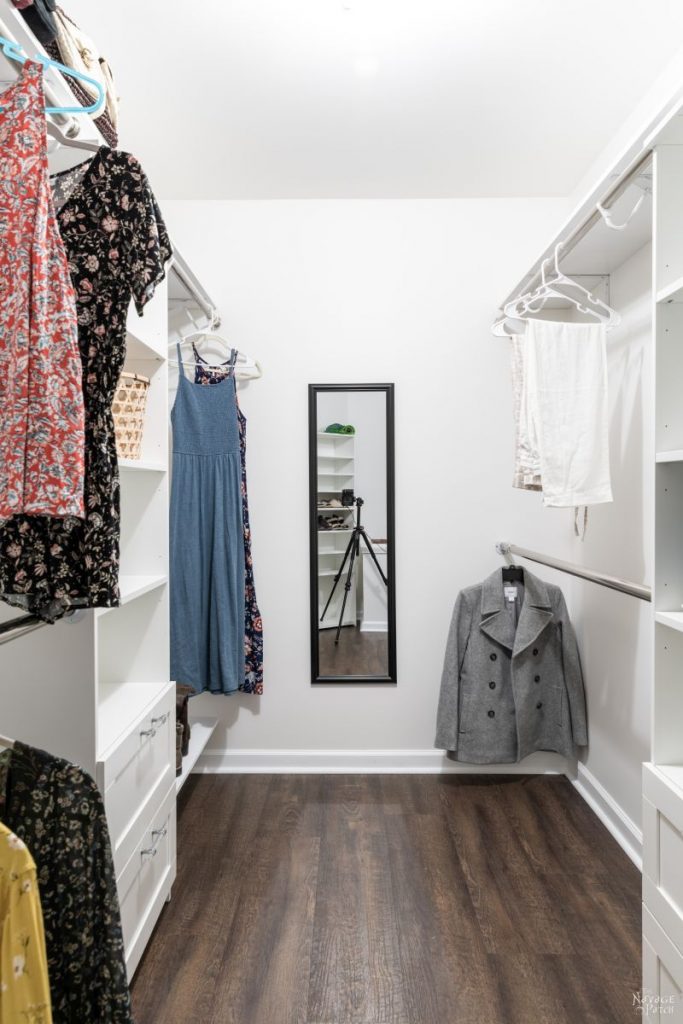
My final step was to measure the spaces along the floor between the bookcases and the walls and then cut and re-install the baseboard. I had a few more small shelves to install, but the main chunk of our master closet makeover was complete. In the pics below, Handan only placed a few articles of clothing, just so you could get a sense of what we’re placing where. The closet will be full in the reveal post.
Let’s start on my side, since it’s now closest to the door.

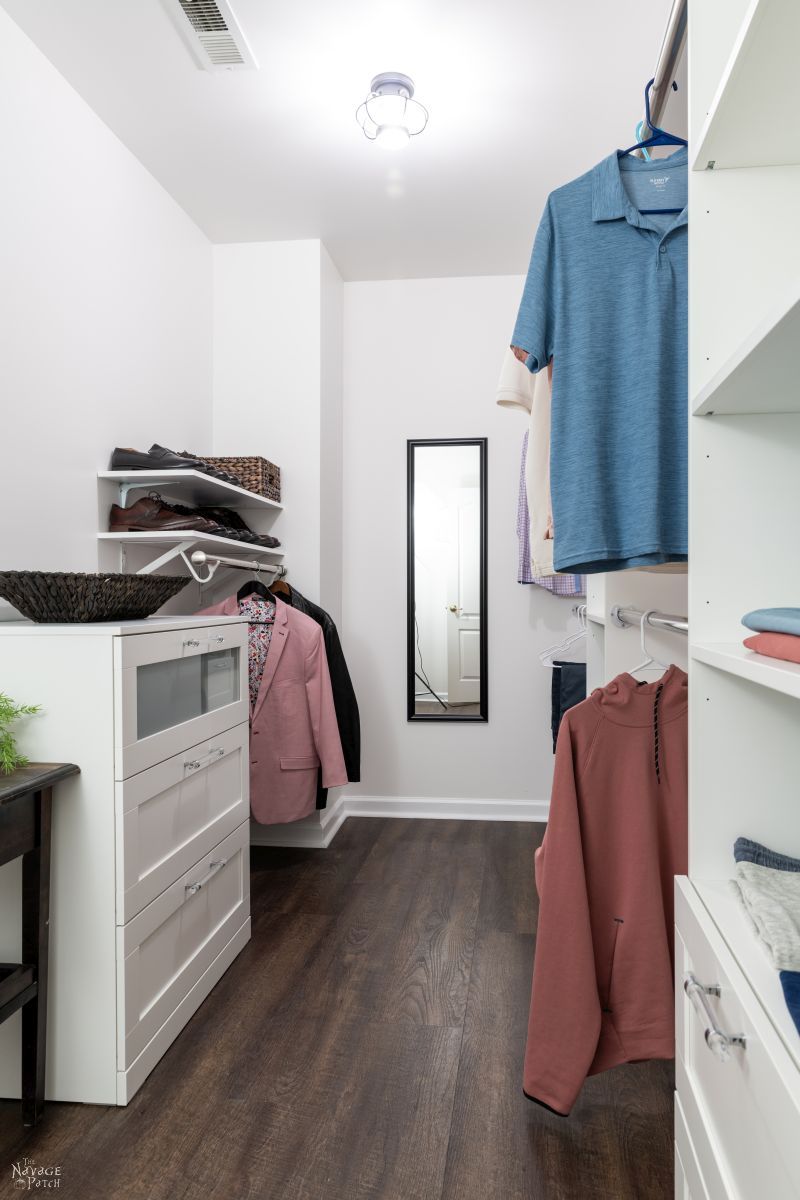
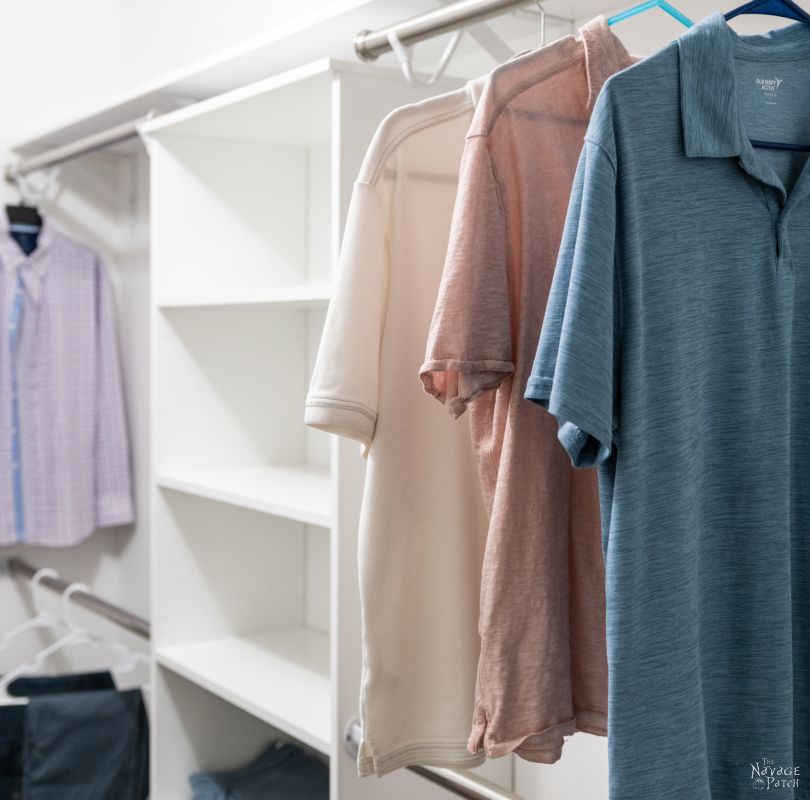
Everything hangs perfectly – no dragging on the floor or bunching up between levels, and there’s plenty of space behind each article of clothing, so the hangers don’t rub up against the wall.


Another big plus of our BRIMNES closet system is that the 13 3/4 inch depth leaves plenty of aisle space to walk around, get dressed, dance a quick polka or whatever else strikes our fancy.

My dress shoes and space for suits and jackets. My everyday shoes will go on a shoe rack that my babes just ordered.

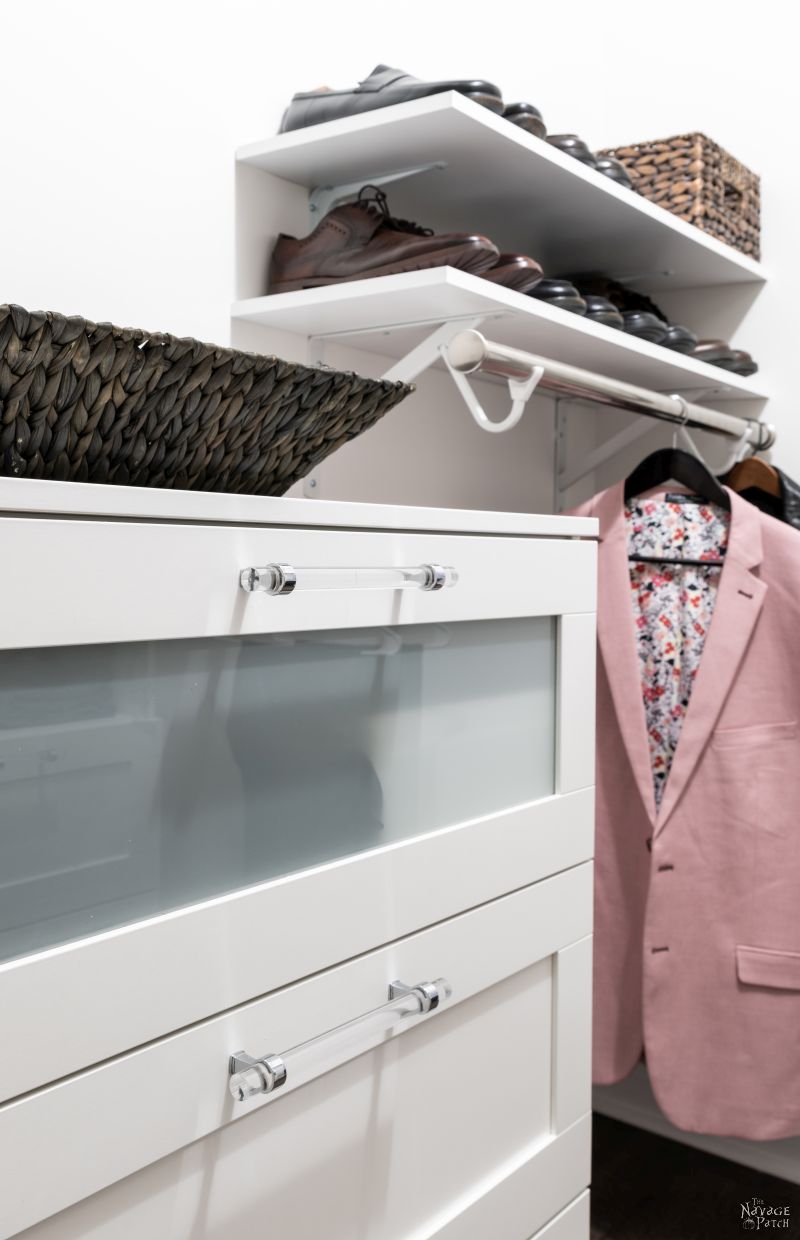
We replaced the plain BRIMNES handles with these more elegant ones Handan ordered from Amazon. For the bookcases, she ordered a smaller version.

Now let’s head over to Handan’s side.

That’s a bookcase from Target on the left. It’ll hold most of her shoes. We had to buy two of them to get enough extra shelves, but at $35 each, buying two wasn’t a problem!


We didn’t put a second hanger rod between the BRIMNES and the far wall, so Handan has a place to hang her long dresses.
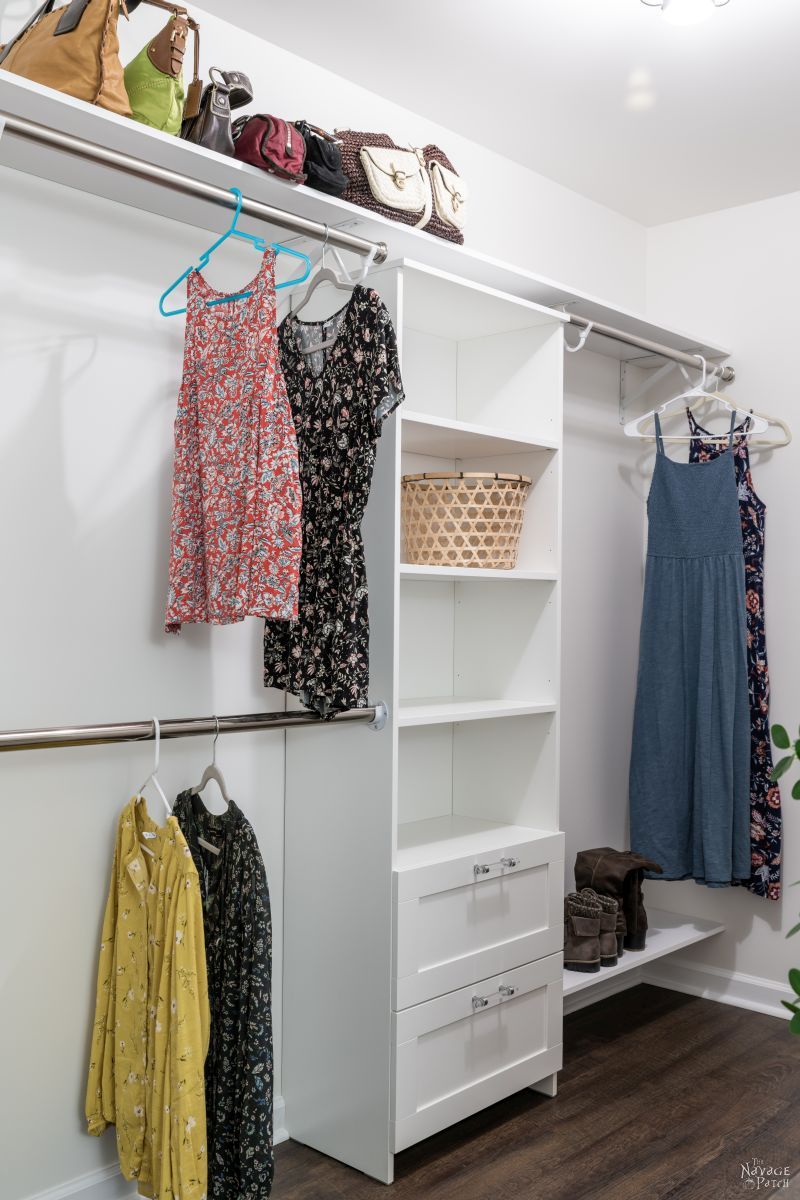
This is the opposite wall of the one pictured above.


I installed a little boot shelf for her with room underneath for a few more if she needs. That shelf required a lot of grunting and flopping around to install. Lucky for Handan, she walked in on me while I was having fits on the floor working.

She laughed and said, “poor my babes, flopping around like a walrus!” Then she held out her hand and helped me up – no easy task after I’d been floorbound for so long! But with that shelf, the hardest part of this master closet makeover was finished. Now we’ll be filling in the empty spaces with our clothes. Handan has a bunch of smaller storage solutions to show you in the reveal post.

Looks really nice. But, I would be afraid the weight of the clothes would be too much for the rods between the brimnes. I had a closet malfunction a few years ago (middle of the night). The screws used were too short…
I think they’ll be just fine, Carla. One of the screws extends into the shelf, and the others add more support. I’ll bet it scared the heck out of you when your failed in the middle of the night though!
Thank you, thank you for all the pictures! Your explanations are thorough, and I can add in more details using all the views you thoughtfully added.
Like your lovely wife, I need lots of shoe storage. The Target bookcase is a great solution. I could envision slipping flip flops or sandals under the Brimnes cabinets as well.
I will start working on my hubby to muster some enthusiasm for a similar project. Could take 6-9 months I’m sure…..
6-9 months? You’re very optimistic, Kim, LOL! 😀
Looks great!! Like the container store! Or California Closets! You should do a price comparison! I think you will find that “the walrus on the floor” did a great job and saved you guys a boatload of money!! Also added value to your house!!
Thanks, Anne! We’ll be doing a price comparison with PAX in the reveal. I might also add a Container Store and California Closets comparison as well!
Do tell the back story of the pink suit (the closet looks amazing)!
Ah, my pink jacket! Just picked that up from Men’s Wearhouse last week. My latest dress casual addition! 🙂 More salmon than pink in real life though.
How timely is this!! Just cleared out 2 sets of bunk beds (boo-hoo…kiddos all grown!!) Need a closet/storage in our little log cabin. Your IKEA design sounds like the “cat’s meow!” Wished it was done already. *sigh* franki
It’ll be done soon, Franki – just waiting on some odds and ends from Amazon! 🙂
It looks amazing!! Thank you so much for sharing your projects!! Love your blog!
Thank you, Renee! 🙂
I think it looks great! Well done! Love your posts and blogs!
Thank you, Debbie! 🙂
Awesome project; I’m very envious! My wooden clothespole bowed something fierce in my poor closet. I tell people I have 2 closets full of nothing to wear! My son used to enjoy putting simple stuff together, too. I learned how to put cheap bookcases together, though, when I got tired of waiting! Give Baris a hug from all of us who wish we had him! He ought to put himself out there Facebook Marketplace or something to make a few extra bucks!
Building IKEA is a legit side hustle – especially for kids! I know I’m not the only one who hates building it, lol!
i cannot imagine having to deal with so many clothes, shoes and purses. my husband, youngest son and i shared a closet that was maybe 5 feet wide by about 3 feet deep for 20 years. that was not fun. with a closet the size of yours, i could have plenty of room for mine and hubby’s clothes in one half and make a sewing/crafting room in the other half. we currently share a closet about the same size as our previous one and one antique 3 drawer dresser. yes, off season things have to be stored in boxes in the closet and we have to pay attention to constantly monitor how much clothing we have (which means watching those bargain sales i enjoy). but laundry day is much easier and its much easier to figure out what we’re going to wear. however, i do enjoy seeing a good room makeover and repurposing spaces to fit ones needs.
Simple is good, Stephanie, and you’re so right about laundry day! I’ll bet you’re the envy of your friends with that! 🙂
So nice! Great inspiration… I have a blank slate closet I need to build. I love the bookshelf support hack. And the antique piece to break up the white design. Thanks for sharing! It’s always a joy to perk at your projects.
Thank you so much, Hannah! There’s nothing better than a blank slate closet or room – have fun with yours!
Your closet looks great! I have a question about the drawers in the brimnes unit. Are they deep enough to hold something that’s 10 1/4 inches tall. The dimensions on their website aren’t clear.
Appreciate any input.
Thx
Beautiful!
The handles you chose for the ikea dresser. Did you have to do any type of modification?
No modification necessary, Carla! 👊