Column Pedestal Makeover
Winter is carrying on full force, and we have another foot of snow in our backyard. But I am totally ok with it, because the darling Groundhog, Punxsutawney Phil, implied it won’t be long before Spring arrives. This is one of the many reasons I love America: it is full of opportunity! Seriously, where else on earth could a groundhog, even for a day, get the opportunity to become a weatherman? I think that is awesome!
Speaking of awesome, here is what I found at Put & Take last weekend: an outdoor column pedestal!
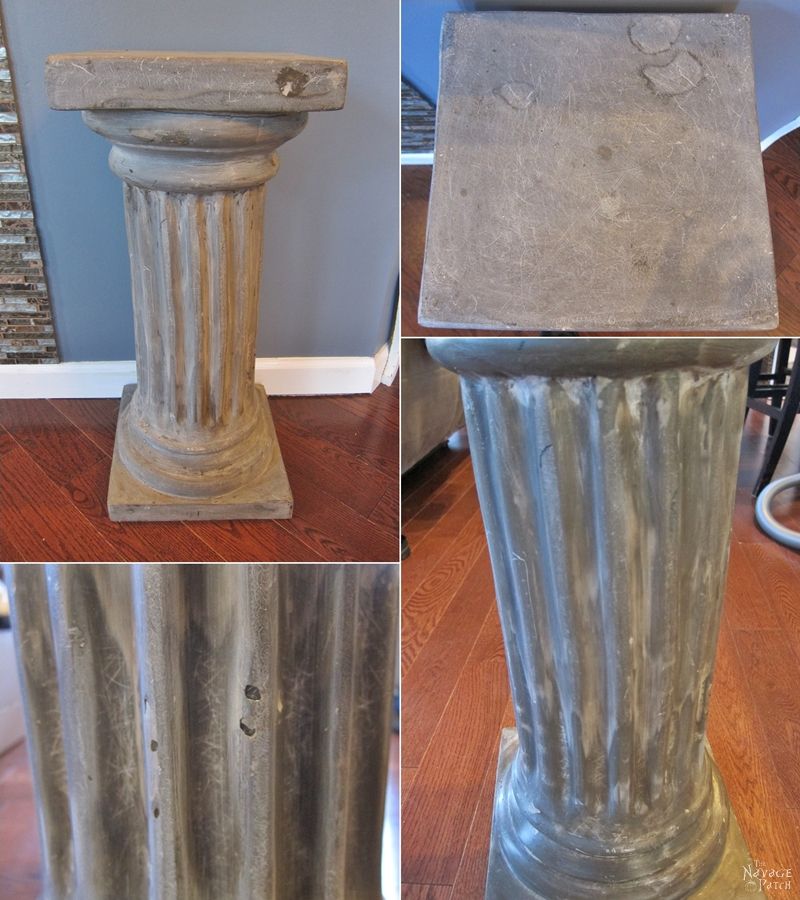
While the pedestal wasn’t perfect, it was still a great find, because it reminded me of my home town, Izmir, Turkey. We have many ancient ruins in the Izmir Province, but the best of all (and my favorite) are the Ephesus Ruins. I placed a Wikipedia link on the picture below if you want to learn more about the Ephesus Ruins.
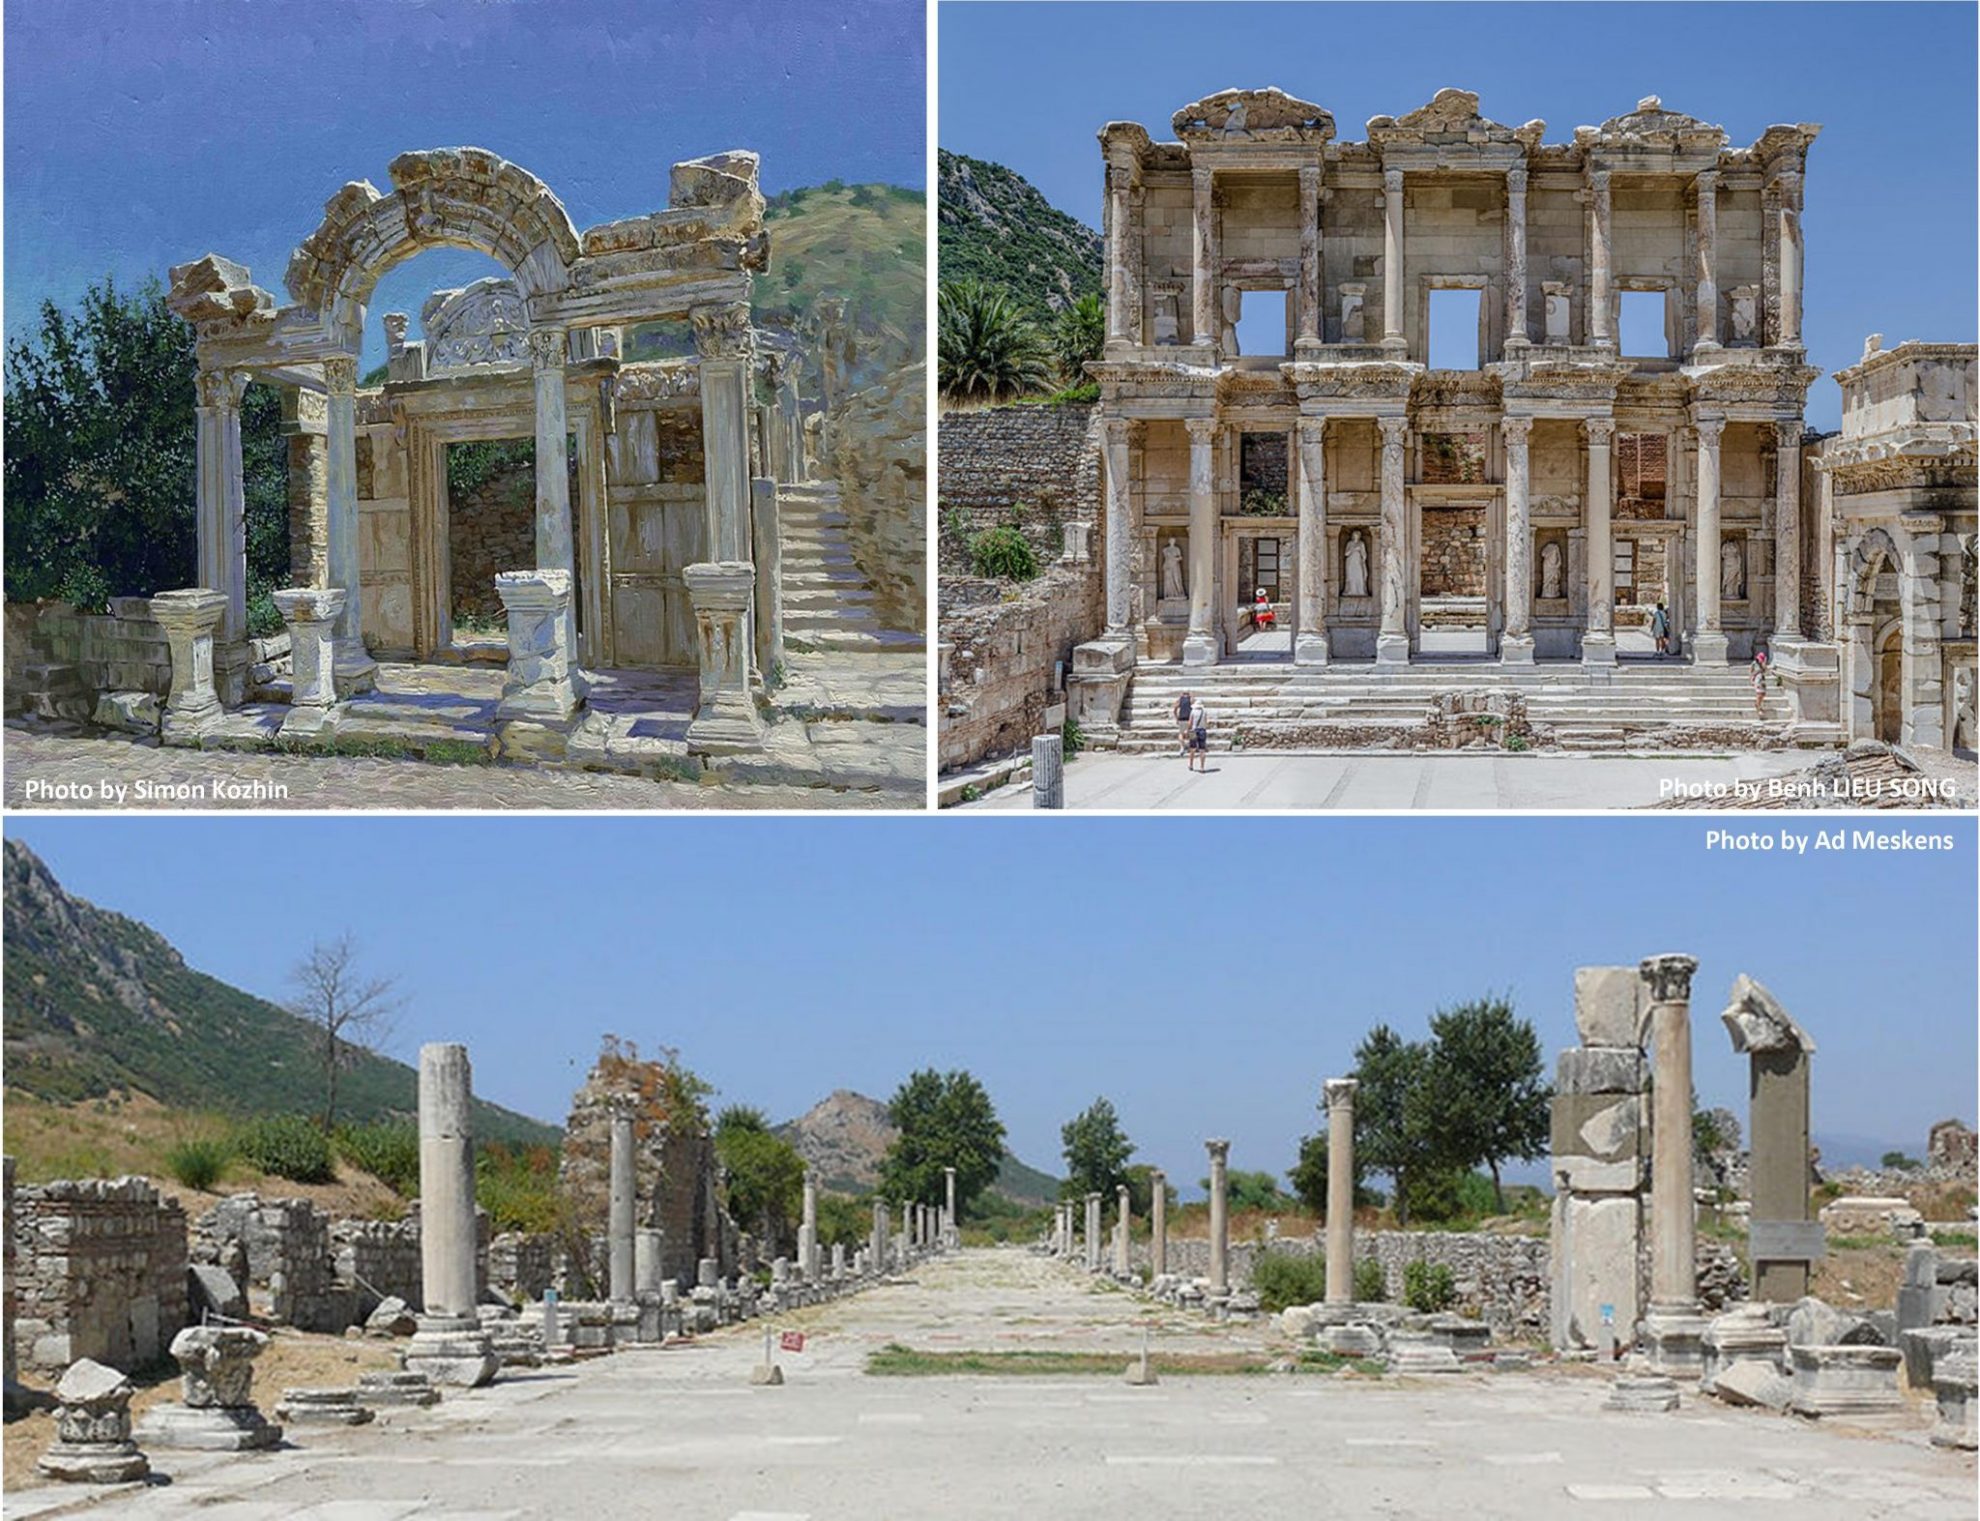
Back to the project… As I was feeling nostalgic for my home country, I wanted to make this column look like one you might find in Ephesus. With that plan, I started prepping to paint. The column had some tiny holes all over it, so I filled them with DecoArt Dimensional Effects![]() . It is a paintable paste used for creating texture in paintings, but it is also great as a filler for scratches and holes in small items like frames or this column. Once the holes were filled, I started painting the column with my homemade chalk paint in Annie Sloan Old White color. I gave it three thin coats of paint.
. It is a paintable paste used for creating texture in paintings, but it is also great as a filler for scratches and holes in small items like frames or this column. Once the holes were filled, I started painting the column with my homemade chalk paint in Annie Sloan Old White color. I gave it three thin coats of paint.
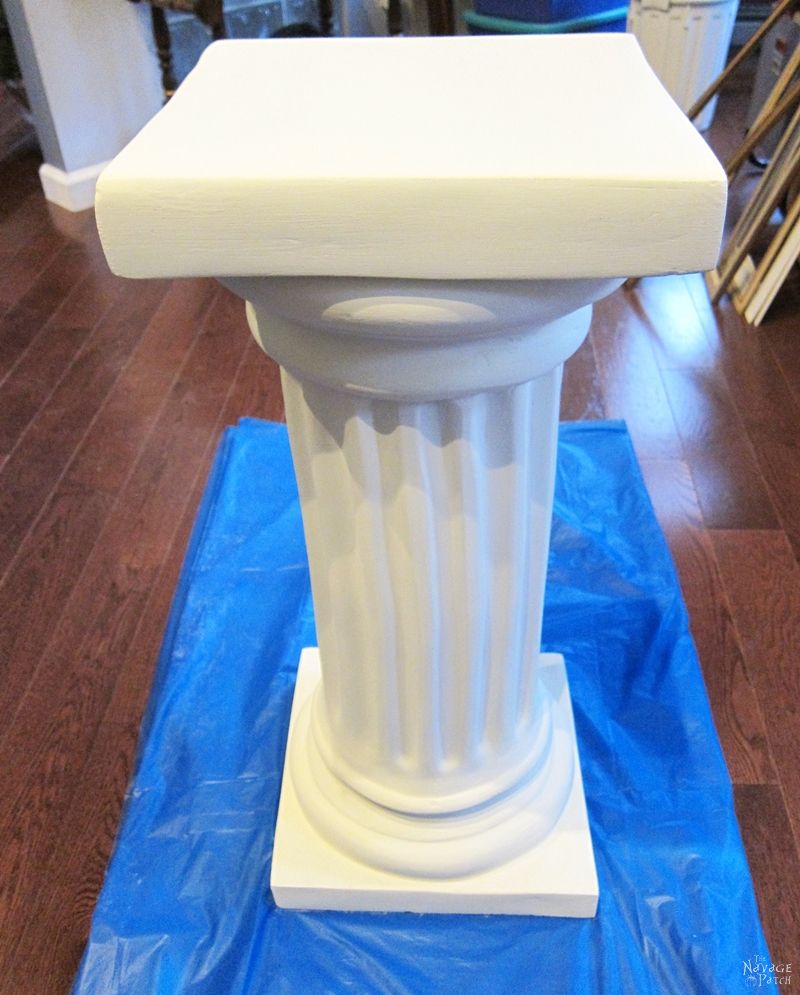
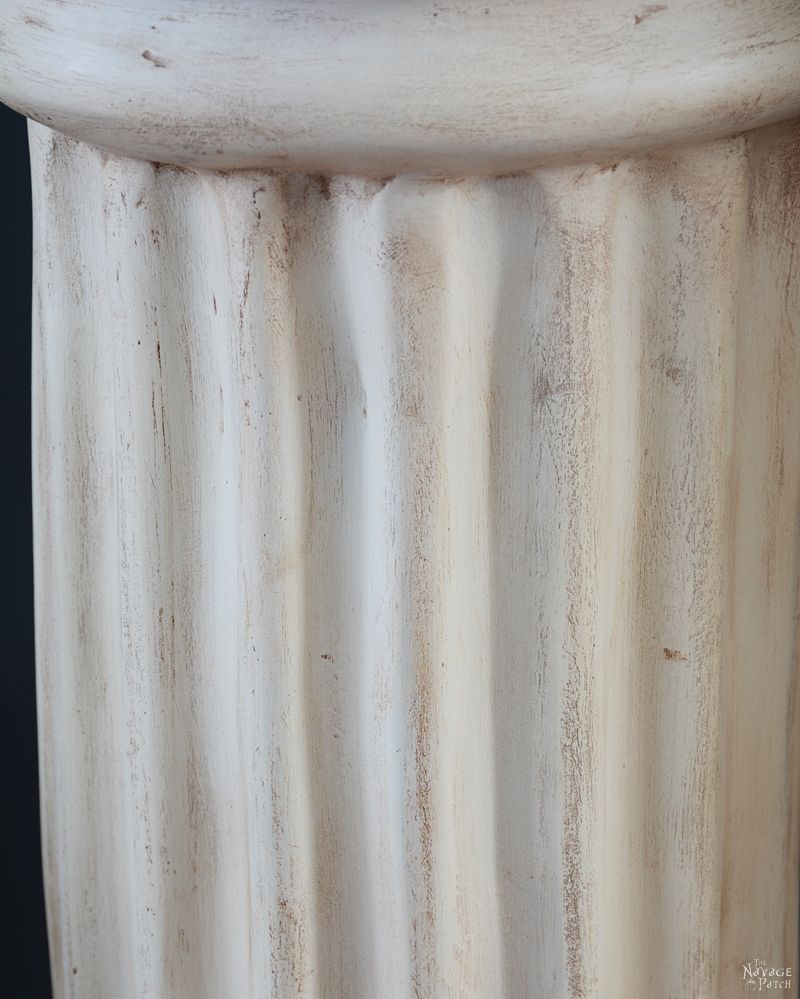
Once the paint dried, it was time to apply DecoArt Americana Decor Creme Wax![]() in Deep Brown color to achieve that aged white marble look. I started working in sections by brushing the antiquing wax on and wiping it off before it fully dried. There were sections where I waited too long to wipe off the wax, but no need to panic when that happens! The beauty of the DecoArt Americana Decor Creme Wax
in Deep Brown color to achieve that aged white marble look. I started working in sections by brushing the antiquing wax on and wiping it off before it fully dried. There were sections where I waited too long to wipe off the wax, but no need to panic when that happens! The beauty of the DecoArt Americana Decor Creme Wax![]() is that you can still wipe it off by applying clear wax over it.
is that you can still wipe it off by applying clear wax over it.

After applying the antiquing wax, I achieved the look I was after. It looked like an ancient column from Ephesus, but I felt there was something missing. It needed a little bling, so I decided to stencil the corners of the pedestal.
Once I chose complimentary patterns for the top and bottom corners, I cut the stencils with my Cricut![]() …
…
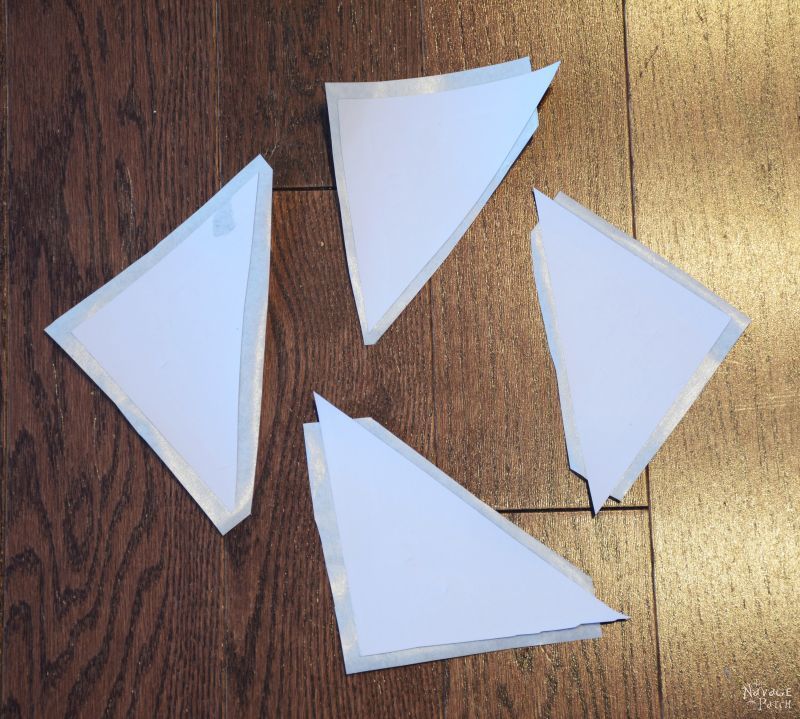
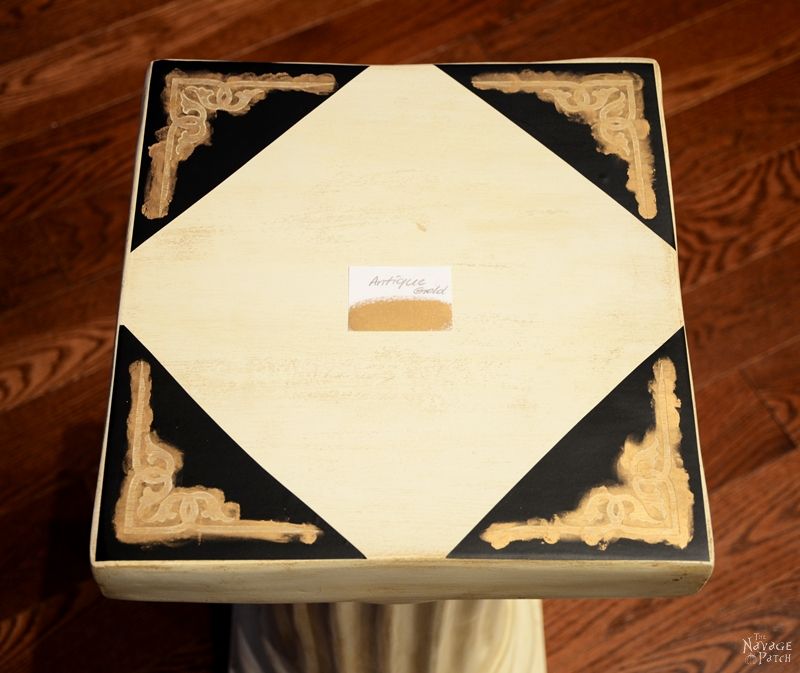
and placed them on the pedestal’s corners.
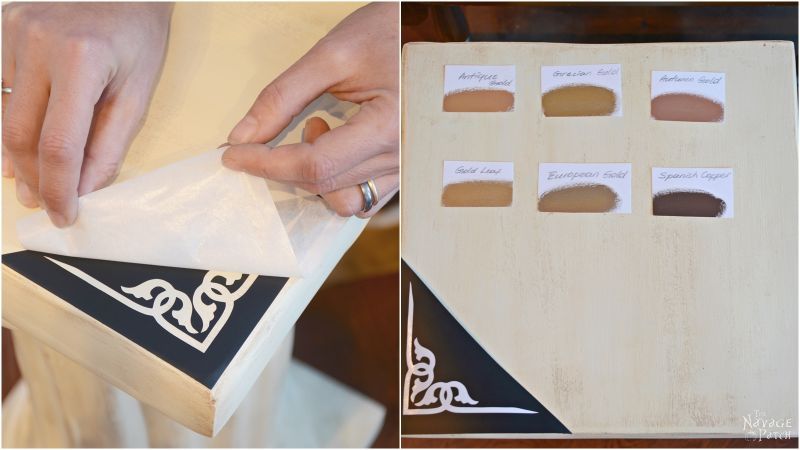
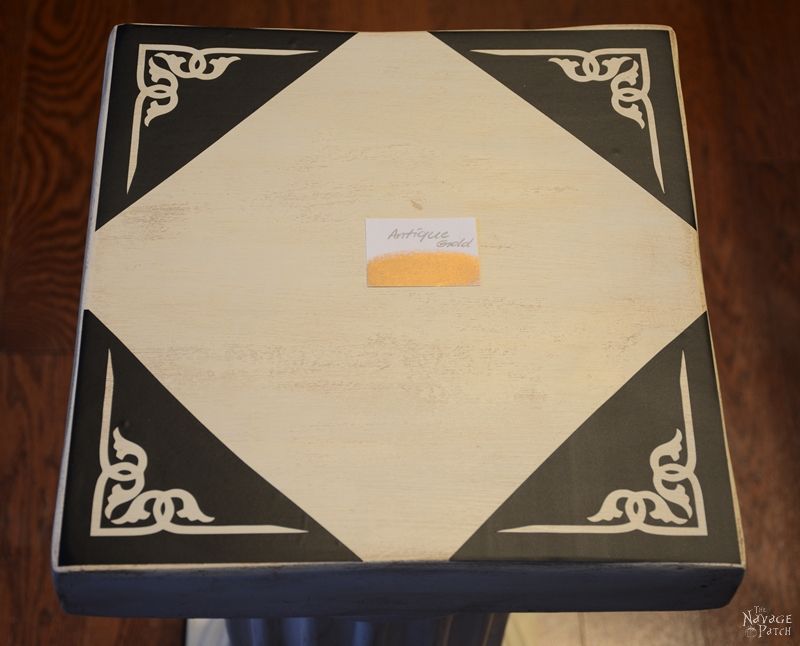
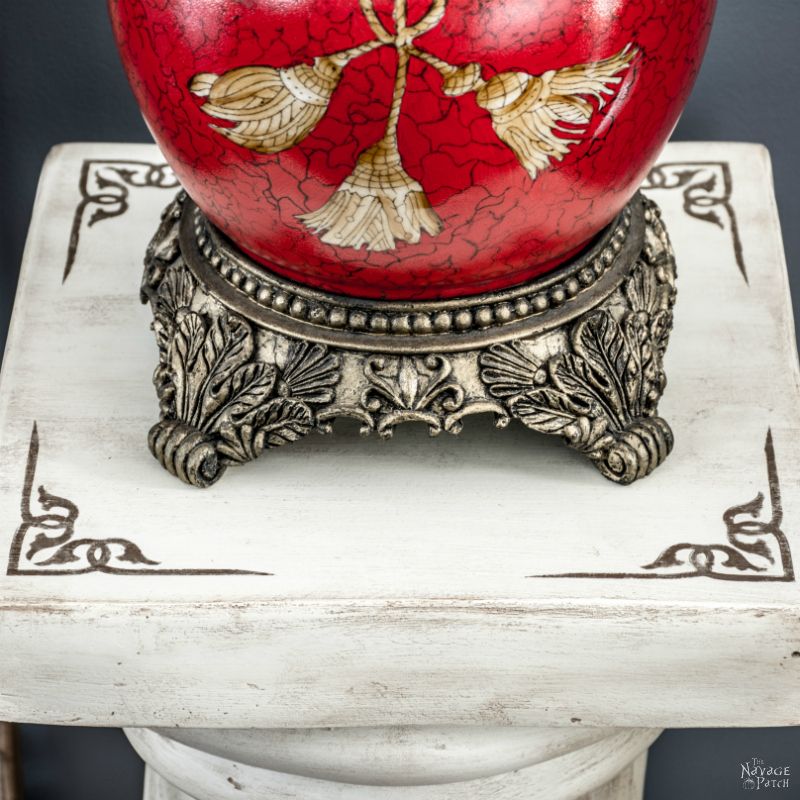
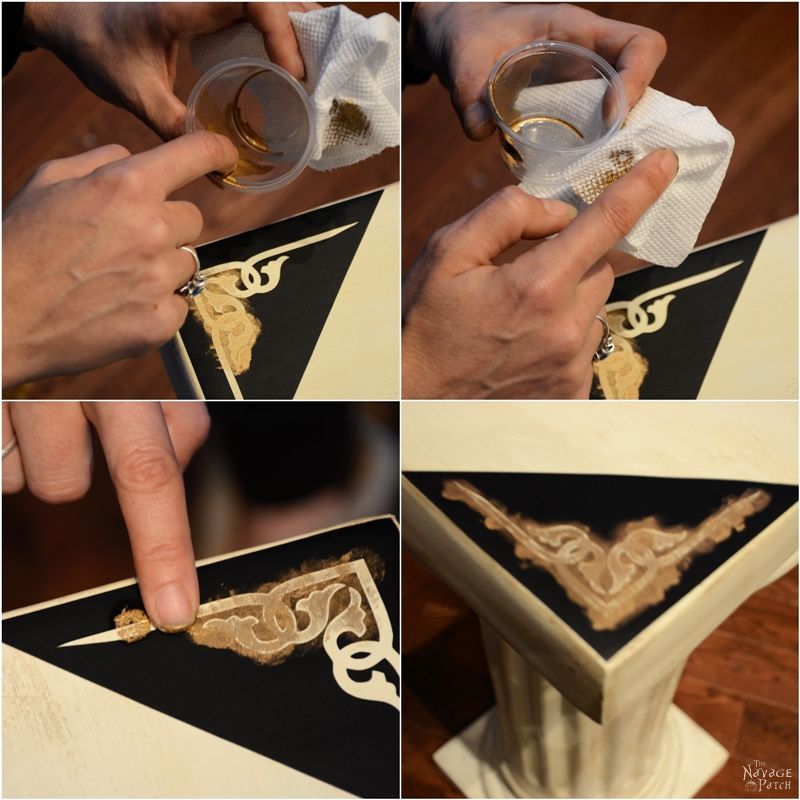
Using Rub ‘n Buff Antique Gold Metallic Wax![]() , I stenciled each corner. Instead of rubbing the metallic wax on the stencil, I blotted it with my finger to achieve a distressed-looking result without having to distress it.
, I stenciled each corner. Instead of rubbing the metallic wax on the stencil, I blotted it with my finger to achieve a distressed-looking result without having to distress it.
Here is my column pedestal…
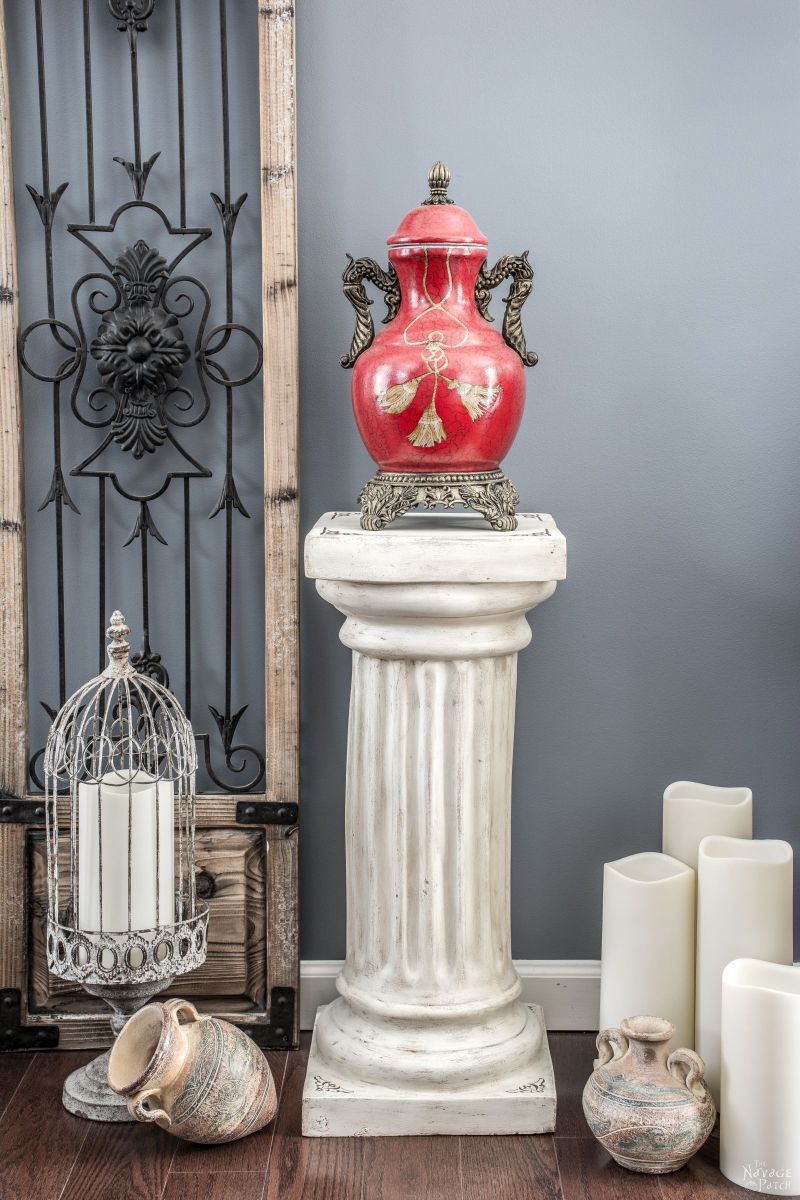
and some close-up pictures.


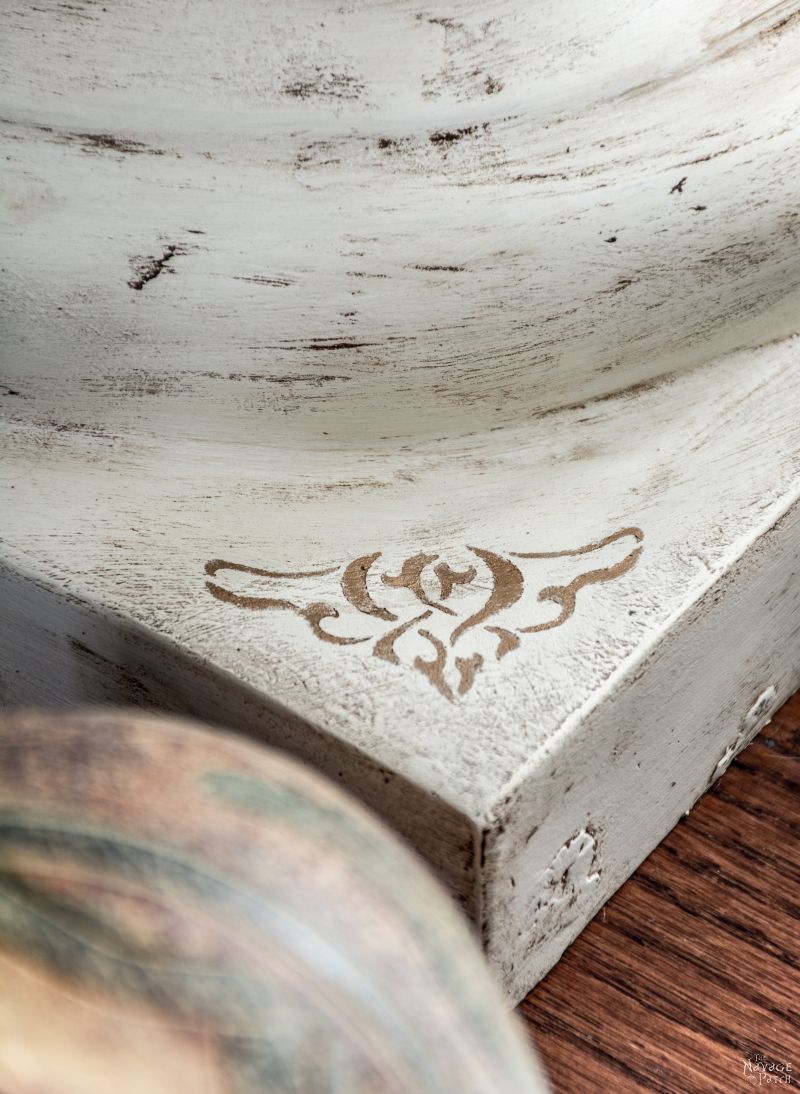
I am really so happy with the result.
Handan, xo


That looks great! I see these pedestals quite often and they are always stark white, which is fine, but I love the details you added! Great job!
Saw your post on Craft Frenzy Friday, so just dropping in. First time here & to post myself on that.
Florence
Thanks so much, Florence! 🙂
Handan, this pedestal is so cool!! Love the new look you gave it. The stenciled design and all the details are awesome.
Thank you so much, Keri! I started this makeover with intention to use this pedestal outdoors, in our pond area. You know just as a decoration. But because I fell in love with its new look now I decided it shouldn’t go outdoors… at least not in the pond area… So according to new plan this guy will be placed on the deck to serve a much better purpose, such as holding our drinks 😉
I love what you did with this!
Thanks so much, Nikki!
Wow! This turned out gorgeous. And it does look like it came from the ruins. The products you used made really quick work of this project, many of the pieces you take on take a lot of time, I’m sure that a quick job was balm to your soul! LOL
I love the stenciled corners, you picked a great pattern, it really accents the piece and doesn’t take over. The way you dabbed on the gold was brilliant, and it really looks great!
Thank you so much, Nikki! Yes, this project was rather easy considering some other projects I tackled. But easy is good…in fact it is great. Who wouldn’t like easy, right?? 😀
My initial plan was to use this column in our pond area, but we just finished the pond makeover and I thought this handsome guy turned out just too good to place it in dirt. So I decorated the pond area with some other/older columns and left this guy out. He will soon be taking its place on our deck to serve us in a better way: as a side table to hold our drinks! 😉
Every project you do inspires me!! Thanks for sharing on My 2 favorite Things on Thursday!! Pinned!
Thank you so much, Elaine! I thank you for hosting such a great party 🙂
That looks great – good DIY project.
Thank you so much, Bernideen! 🙂
GORGEOUS!!!! I’m going to try this with mine they will go well with the armoir that I’m going to paint the same way. Though I’m going to use AS black was.
Love the look and thanks for the idea.
Thank you so much, Baba! 🙂
What an amazingly professional job you guys did, Handan! The pedestal looks just beautiful. Thanks so much for partying with us and sharing your projects at Vintage Charm.
Thank you so much for visiting us and for your lovely comment, Diana! 🙂
You are really good at makeovers and that column is gorgeous
Thank you so much, Amber! 🙂
I love the stencil detail! Thank you for sharing at Ravenwould.
Thank you so much, Kileen! 🙂
The pedestal looks just beautiful. Thanks so much for partying with us and sharing your projects at Vintage Charm.
I always look forward to receiving your emails. I love reading about and see all the ideas that you have for making a home beautiful. You two are the cuties couple and I think it is wonderful that you work together on all your projects. Thanks for all that you do.
Thank you so much, June! It’s no secret that I couldn’t make it without Handan! 🙂