How To Create Faux Patina (Oxidized Bronze Finish Tutorial)
First it was the topiaries. Then it was the column pedestal makeover. And now my mind is racing with thoughts on how to decorate our garden. I finally figured out what I am longing for: English Gardens! Gardens filled with eye-catchers: pavillions, sham ruins, bridges, and water features. Romantic Gardens, soft and hazy to the eye, but permeated with crisp, fresh air. Gardens peppered with fabulous bronze statues, aged to perfection and dressed up with beautiful blue/green patina.

Although seeing this photo on whimsicalhomeandgarden.com got me all fired up for garden decoration, I knew I couldn’t do anything just yet, as our backyard is covered with snow. But I could jolly well start practicing that “English Garden” look indoors. I already had the sham ruins (no, I don’t mean our house! I’m talking about the column pedestal). I also had the topiaries. So why not add another piece to that theme? With this plan, I started searching through our basement for something suitable. When I saw this good old lady, I knew the new piece was going to be an aged bronze statue!
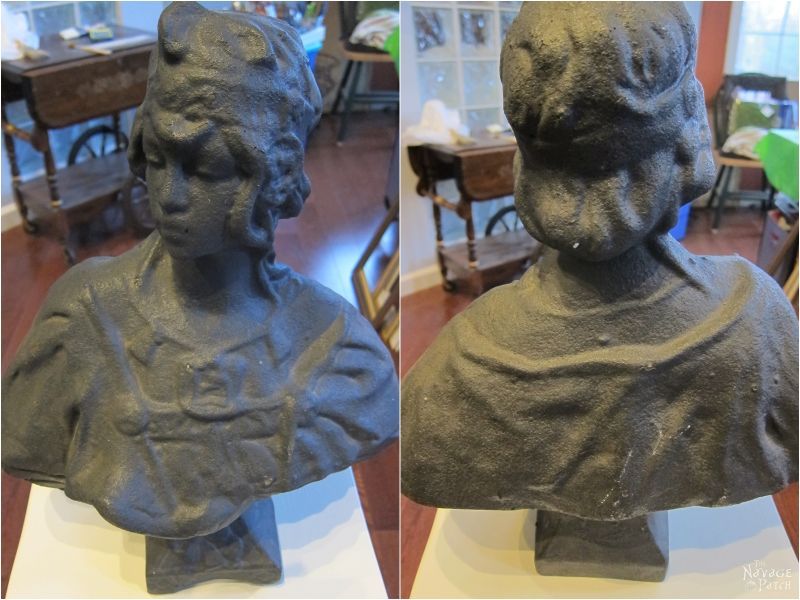
I bought this ceramic bust last summer at a tag sale. It was $3 and had no nicks or cracks. Such a great find! And an excellent piece to experiment on… hehehe. I grabbed my Modern Masters Reactive Metallic Paint and its activator
, put on my mad scientist hat, and went to work.
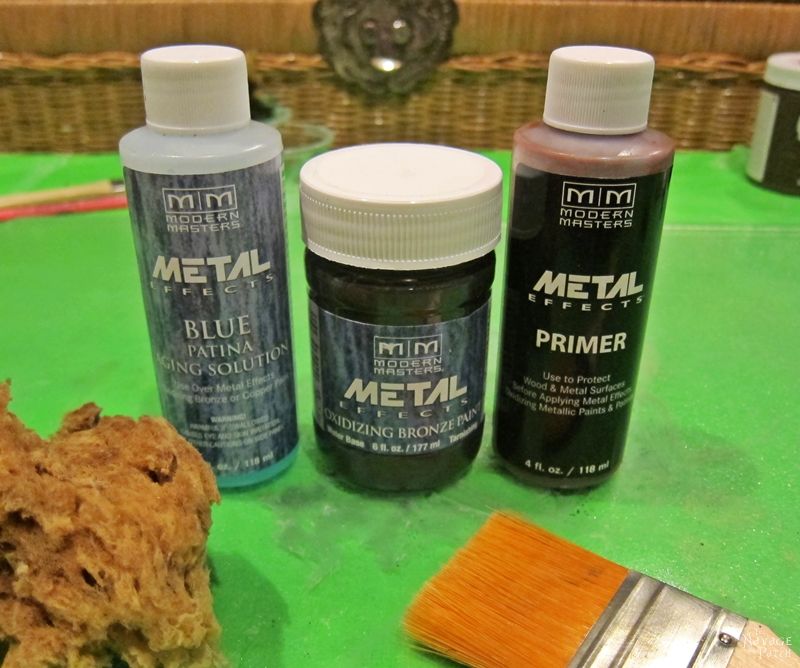
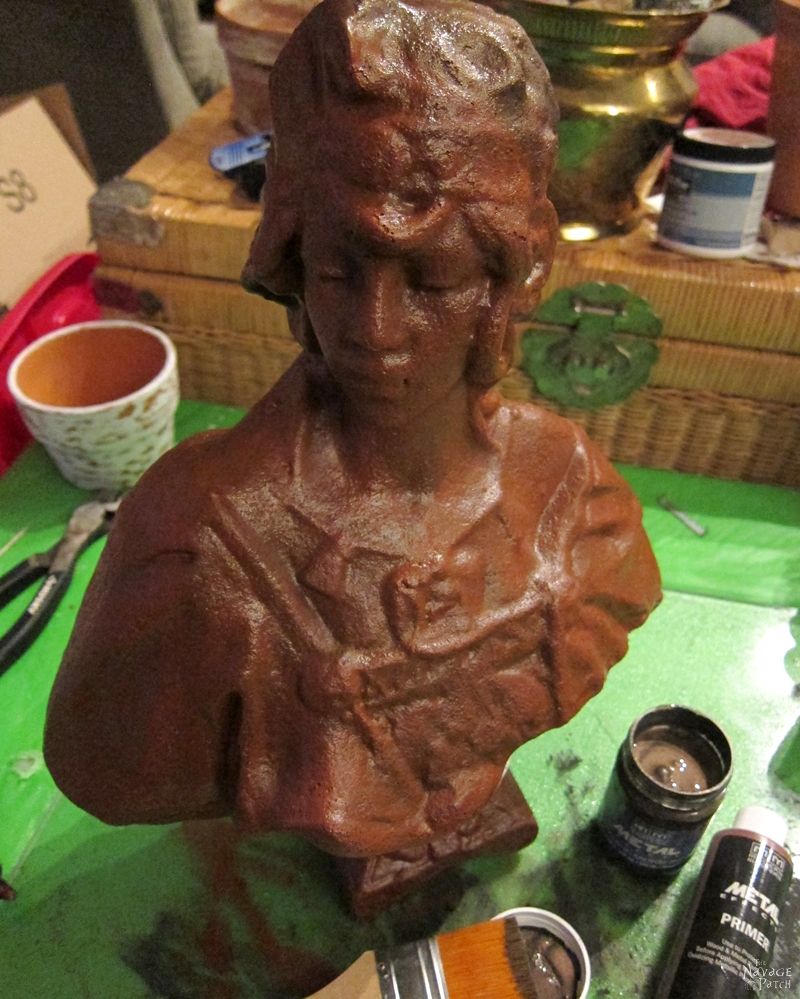
First I primed the piece with Metal Masters Acid Blocking Primer. After 2 coats of primer, my good old lady looked like this.
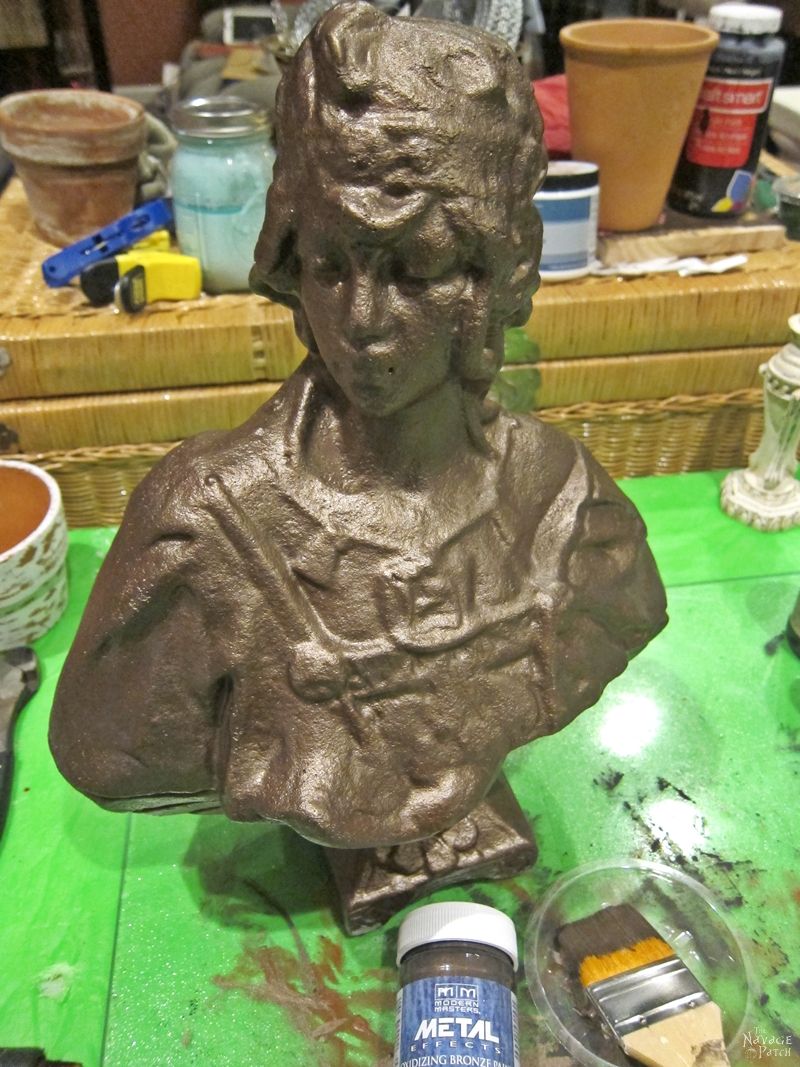
Then I painted her with 2 coats of Modern Masters Reactive Metallic Paint.
While the second coat of paint was still wet, I applied the aging solution. As I had to move quickly before the paint dried, I couldn’t take pictures of this part, but it was so simple: I dipped a sponge in the solution, then sponged the paint in the areas I wanted to have patina. After 10-15 minutes, the aging solution
had already started to work its magic.

In the morning when I got back to the lady, the patina looked amazing, but the bronze painted parts looked pretty uniform.
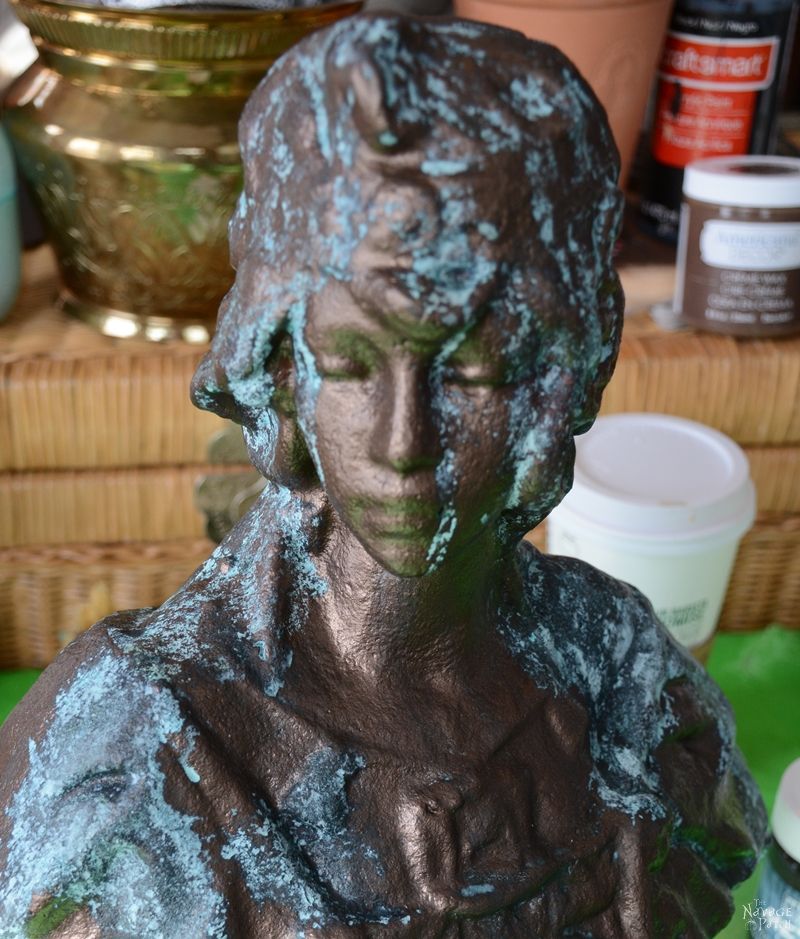
What it needed was a slight discoloration, just like what would happen with a real aged bronze statue. To achieve that “real” look, I applied Rub’n Buff (Grecian Gold color) very slightly to the raised areas. I forgot to take pictures of this process, but you can find how I apply Rub’n Buff in my “Ornate Frame Makeover” post.
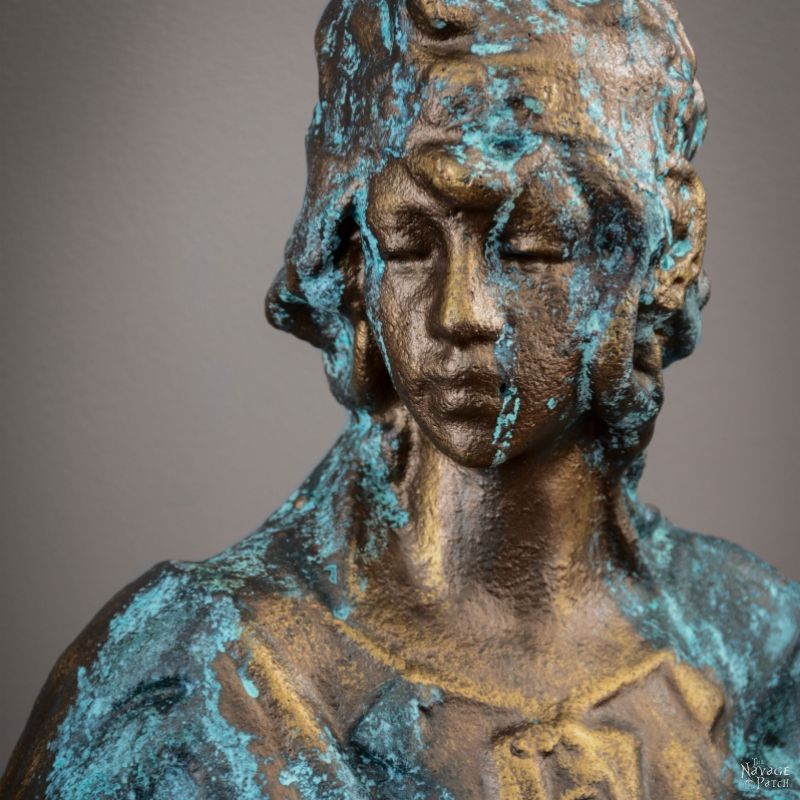
After giving the highlights, it indeed looks much better and realistic. Meet La Femme Patina!
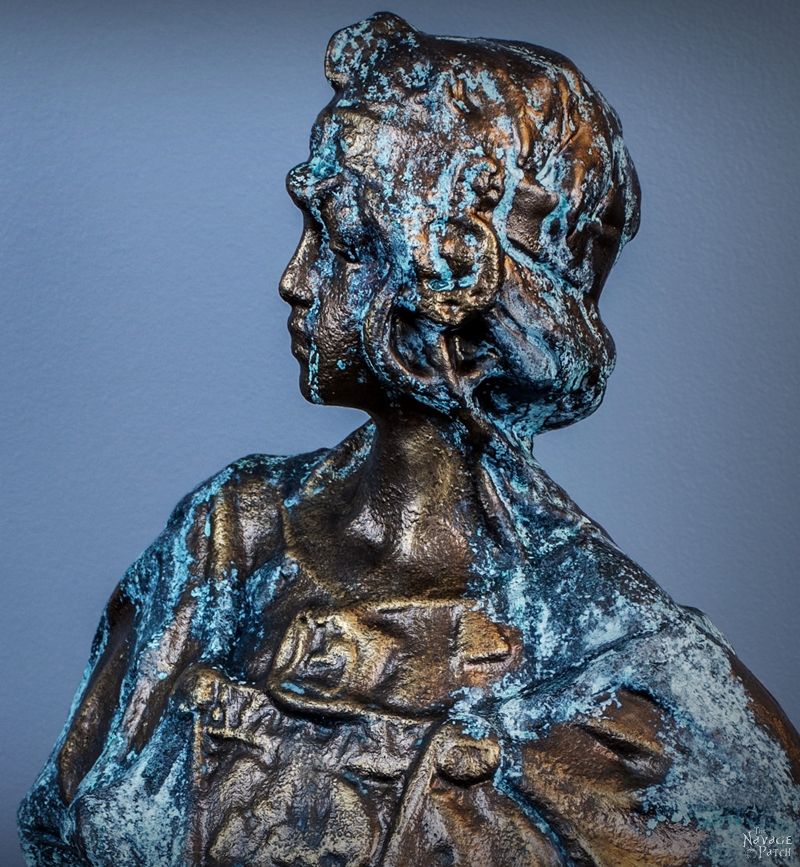
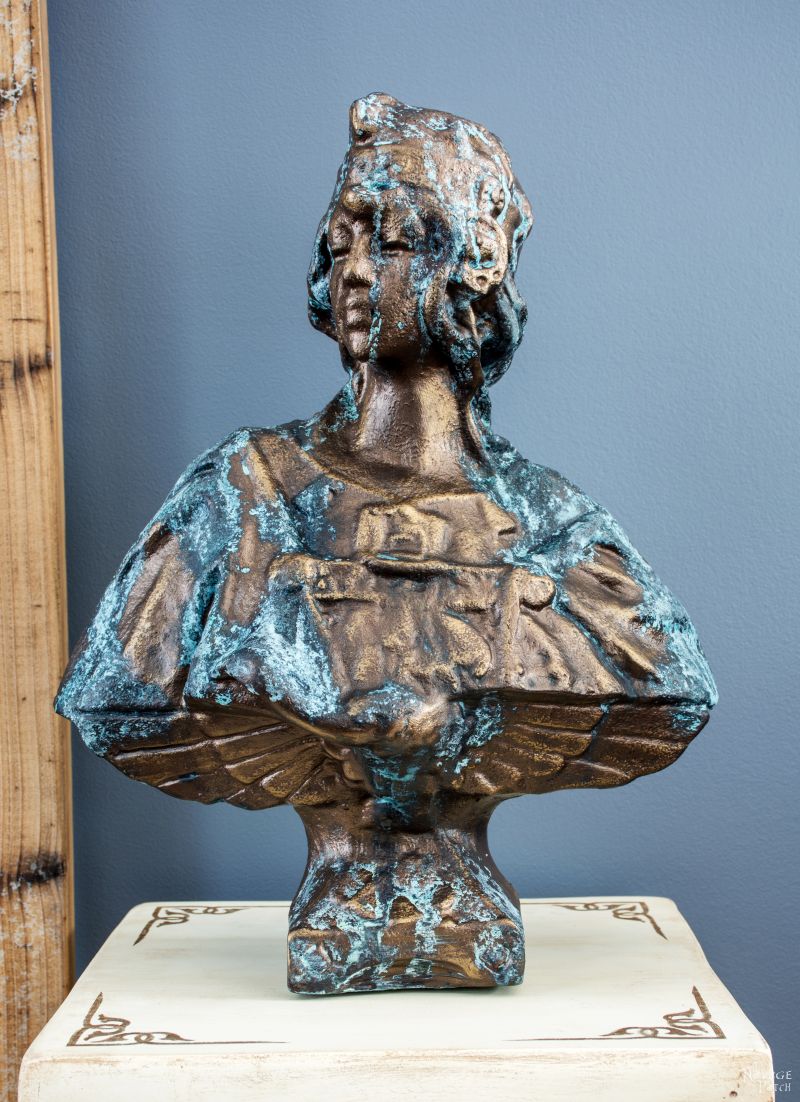
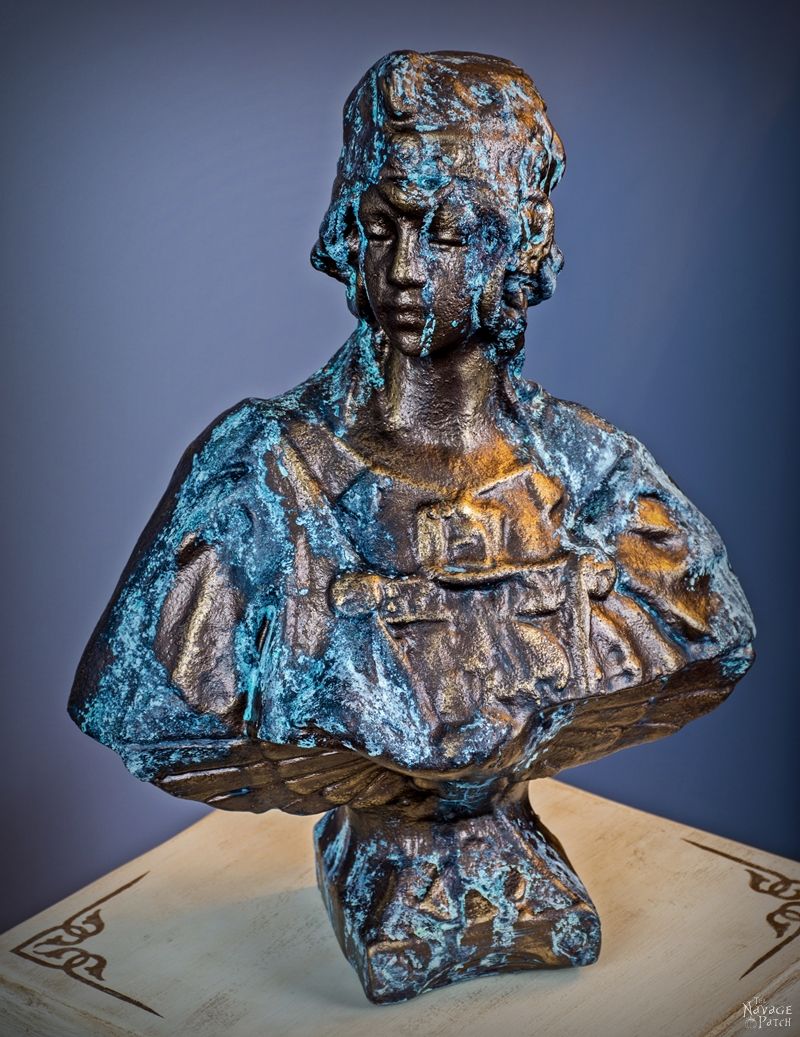
Here are some close-up pictures of her.
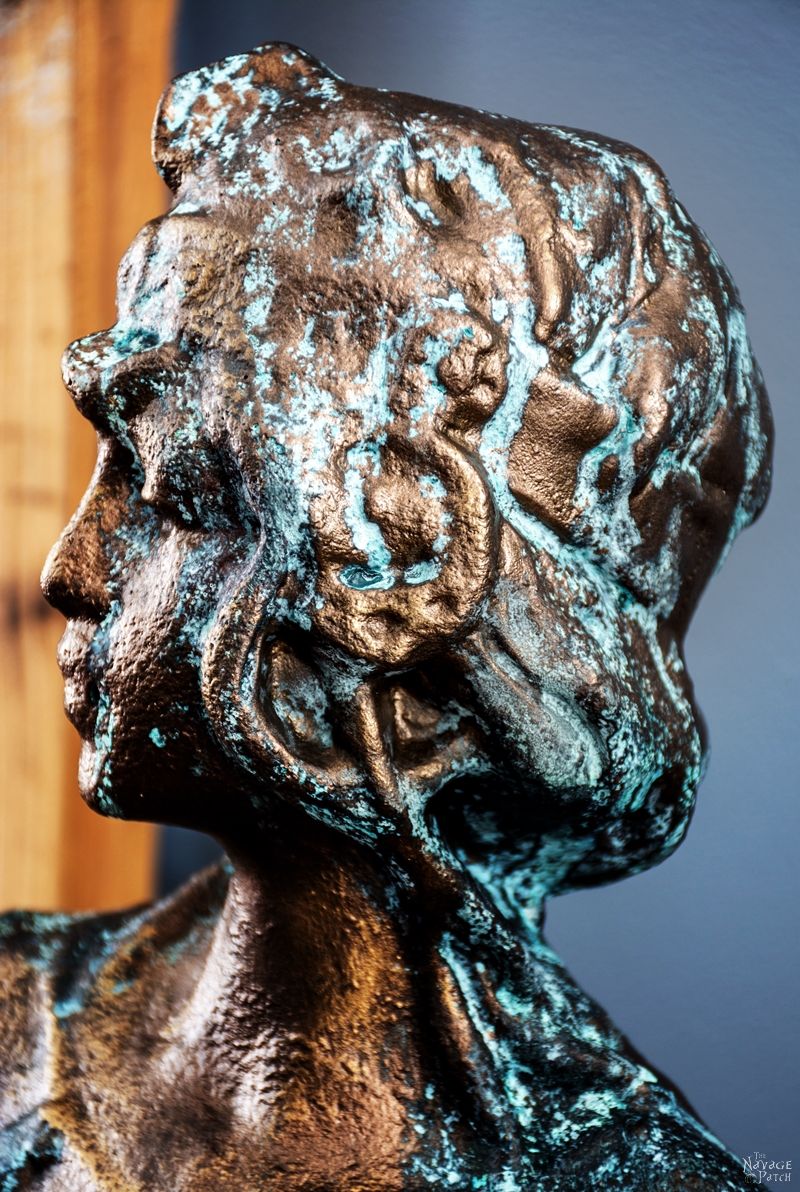
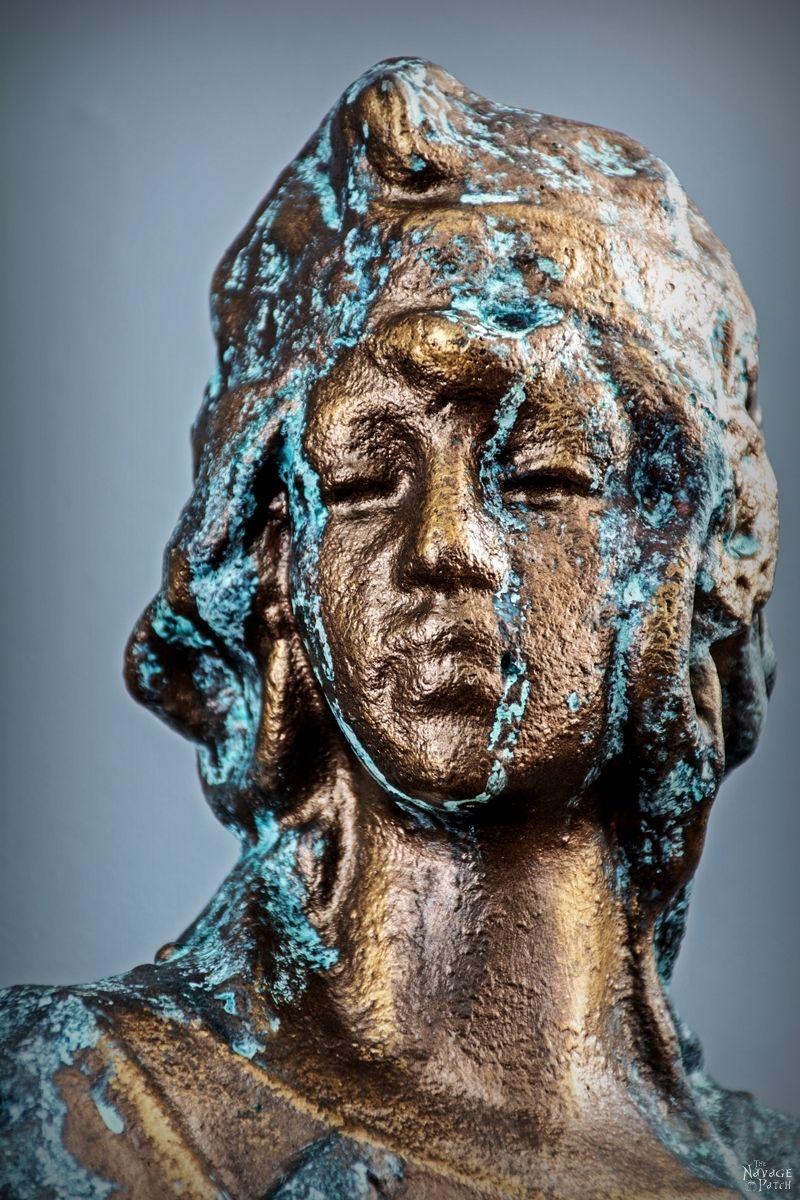

I love my new “old” lady! It became an excellent addition to the English Garden theme I had in mind.
Handan, xo





Ok. I read the first 2 lines of this post, and immediately started scrolling, looking for the “subscribe here” box. Seriously. Then I could BARELY read the rest of this post and keep my fingers from clicking on the links to your column post and topiary post! This stuff is AWESOME!
I can just tell we are going to be the best of friends. LOL
🙂
Gwin Gal
Thank you so much, Nikki!! 😀 Your lovely comment made my day!!
The first pic of the aging solution reminded me of sliming people on You Can’t Do That on Television. love love love the effect it creates!
LOL 😀 Thank you so much, Audra!
The aging solution really worked, wow! I bet she’s going to look lovely in your garden! Thank you for sharing at Sweet Inspiration #5! Happy Weekend!
Thank you so much, Katrin! Like a month ago we started giving a face lift to our backyard (especially the fish pond area). We thought we could finish it in two weekends which seemed quite reasonable at the time. But after that first weekend nothing got done as the weather became so cold and miserable ever since. Therefore I also do think she would look really pretty in the garden, but I am wondering if we can ever get our garden look good enough for her. LOL.
This is wonderful indeed! You have magic hands, dear :). Love to see the result 🙂
Oh thank you so much, Indah Nuria! 🙂
Beautiful work! I’m sure the “new” old lady looks wonderful in your garden. Thanks for sharing with the #HomeMattersParty! 🙂
Thank you so much, Marisa! 🙂
What a creative idea…I love it! Thanks so much for sharing it with us at Share The Wealth Sunday! xoxo
Thanks so much, Lisa!
Thanks for sharing on the DIY linky at Pleasures of the NW!
Thank you, Helen!
You did a great job on making a $3 bust look like the “real thing”. It’ll be interesting to see how you display it in your garden. Thanks for linking up with Funtastic Friday.
Thank you so much, Victoria! If we can finish our pond project this $3 lady will be living there 🙂
Can I come rummage through your basement? And how about borrowing Greg for the weekend… I need him to build some pull-out drawers in my kitchen. I promise you can have him back by Monday morning.
Love your posts — keep it up, you two!
Thank you so much, Carol! Greg says “Oh please do! Be my guest to empty our basement!” LOL. You are very welcome to borrow him, but please be aware he may frighten your neighbors and eat all your food 😀
WELL DONE!! Those English Gardens have ALWAYS fascinated me, too…I have columns, statues, fountains urns…oh, my…thay are going to “get the treatment!. Great issue!! franki
I’m the same Franki! I just love how peaceful and beautiful English gardens are. That’s why I’m trying to create the same feel by adding a column here and an urn there in our backyard. Finally I bought a fountain last year, so hopefully this year our flower gardens will look even nicer 😉
But didn’t you see that the patina paint is flowing down forming pathways, looking like someone dumped some paint on top of her head… Looks very faux?