DIY Dollar Tree Honeycomb Trees (A West Elm Dupe)
These honeycomb trees are a simple Dollar Tree craft that look just as good as their West Elm inspiration for a tiny fraction of the cost!
‘Tis the season for quick and easy holiday crafts, because these days, who’s got time for anything else?
The older I get, the more life seems to be accelerating, especially this time of year.

Does anyone else feel like the holiday season is like those old playground merry-go-rounds, and we’re all just terrified little kids hanging on for dear life while the older kids run around and around making it spin fast and faster? At some point, you just gotta close your eyes, lock your arms and pray you make it to the end!

Well, if you’re feeling that when it comes to holiday decorating, we’ve got your back! This year, we’ve done a few bigger Christmas crafts and DIYs, but we’ve been focused on creating quick and easy holiday decorations and decor that don’t cost a fortune (sometimes only a couple bucks) and won’t take up more than a few minutes of your time.
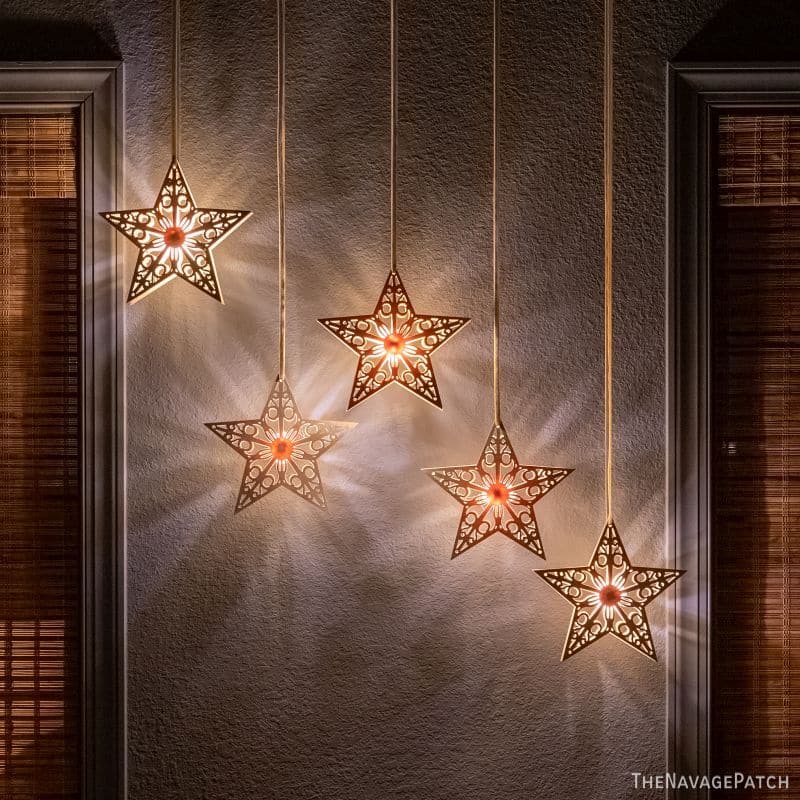
In case you missed them, we made these gorgeous light-up wood stars with Dollar Tree materials.
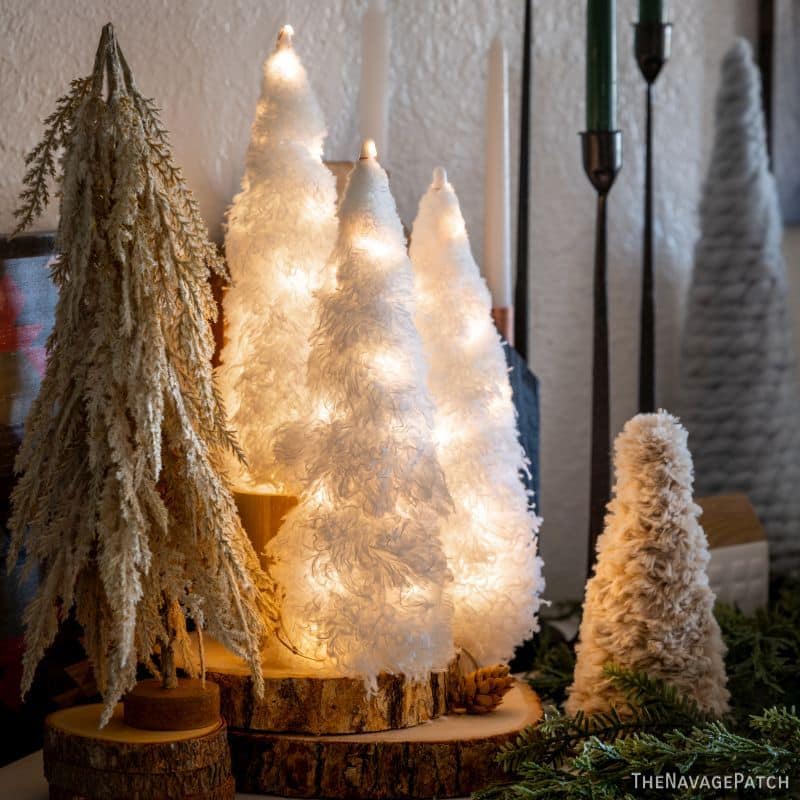
And we made these beautiful duster trees from Dollar Tree materials.
Today I’m going to show you another type of tree you can make from Dollar Tree materials. And depending how “fancy” you want to get, each tree will cost you anywhere from $1.25 to $2.50 plus a few cents. I’ll explain that extra few cents when we get to it. Oh, and each tree shouldn’t take more than a few minutes to make, and they fold flat for storage!
So how’s that for quick, easy and on the cheap?
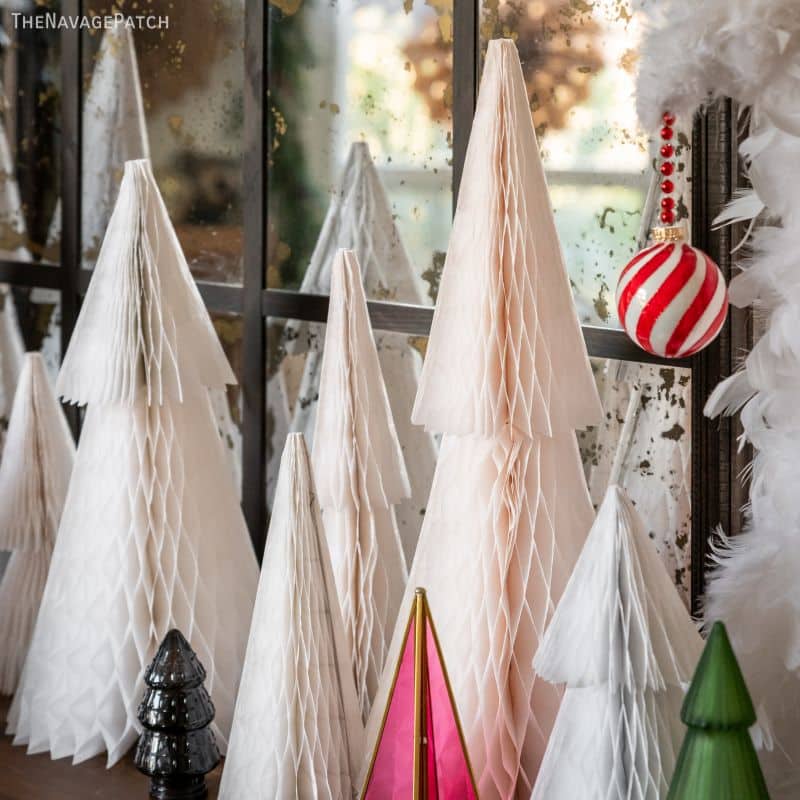
Oh, yeah! I almost forgot! These trees are a dupe of some “Accordion Paper Trees” that West Elm claims are “hand cut and folded by skilled Indian artists.”

When I made these trees back in October, West Elm was selling large ones for $40, medium ones for $30 and small ones for $25 (they’re on sale now – I guess people have figured out they can make their own from our social media posts!). You can make a whole forest for the price of one small West Elm tree!
And you sure as heck don’t need to be an artist or remotely skilled to make our honeycomb trees. This is a craft anyone can do, so let’s cut the jabber-jawing and get to it!

DIY Dollar Trees Honeycomb Tree SUPPLIES LIST
Affiliate links are provided below. Full disclosure here.
- 2 Dollar Tree honeycomb birthday cake decor
- Scissors or X-Acto knife
- Ruler (Dollar Tree)
- Scotch tape
- A long popsicle stick or a bamboo skewer
- Hot glue gun
- Rubb-n-Buff (optional)
- Dollar Tree small snowflake cutout or piece of foam board.
We love to see our craft projects out in the wild! If you try this seasonal craft project, take a picture and post it on Instagram, be sure to tag us – thenavagepatch
DIY Dollar Tree Honeycomb Trees VIDEO Tutorial
Watch our short and fun video below for an overview of our Honeycomb Trees before you read the detailed step-by-step tutorial.
On Tiktok
DIY Dollar Tree Honeycomb Trees Tutorial
Two-tiered tree
I made both two-tiered and single-tier trees. The two-tiered trees require two cake table decorations.
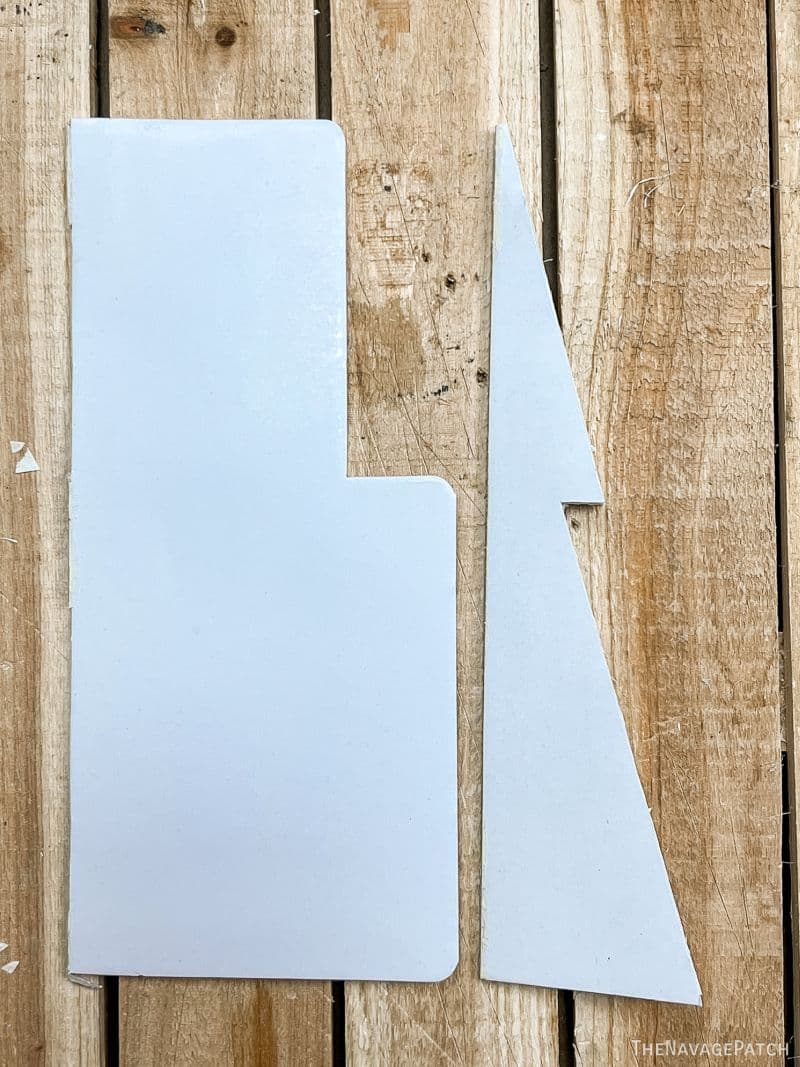
I marked the first at the midpoint along its top edge. You don’t have to do this with a pencil – you can just eyeball it.

Then I used a ruler and X-Acto knife and cut from the point I marked down to the corner.


I placed the second table decoration on top of the one I just cut.

Then I marked a spot about a thumb’s width out from the corner of the first cut piece. Note that my gorilla thumbs are likely wider than yours, so adjust accordingly. 😁

You may be tempted to make the upper tier shorter or to bring it to a point at the corner. Doing so will result in a frayed and sloppy-looking tree top. The best course of action is to mark about a centimeter out from the corner and then cut a line from mark to mark.


Next I placed the small piece above the big piece as shown below and then taped the two pieces together.


I flipped it over and taped the other side.

A long, thin craft stick or bamboo skewer provides support and rigidity for the honeycomb tree. I ran a line of hot glue down the inner edge and glued the stick against the edge.


Optional step – if you want gilded edges for your tree, you can use a small brush to apply Rubb-n-Buff to the edges.

After applying Rubb-n-Buff, I opened the tree and secured the shape with the provided paper clips.


Since these two-tier trees have a tendency to fall over, I supported them with a stand made from a bamboo skewer and Dollar Tree wood snowflake cutout (sold in packs).

Here’s my babes sliding the skewer up the center of the paper tree.

You can also use a piece of cardboard or foam board for the base. This is why I said this step will only add a few cents to the materials cost.

Single-tier tree
Single-tier trees are easier, cheaper and don’t require a base! Just cut the shape shown below, open and clip.
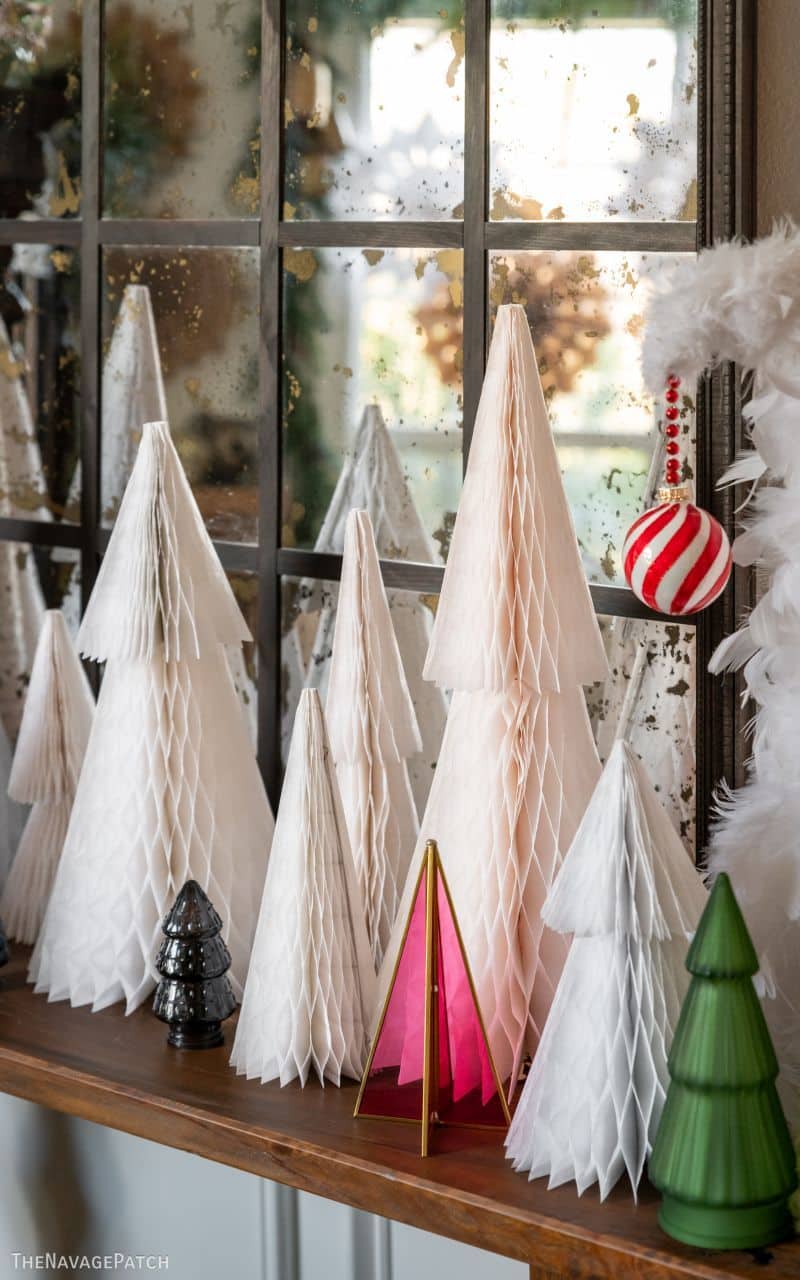
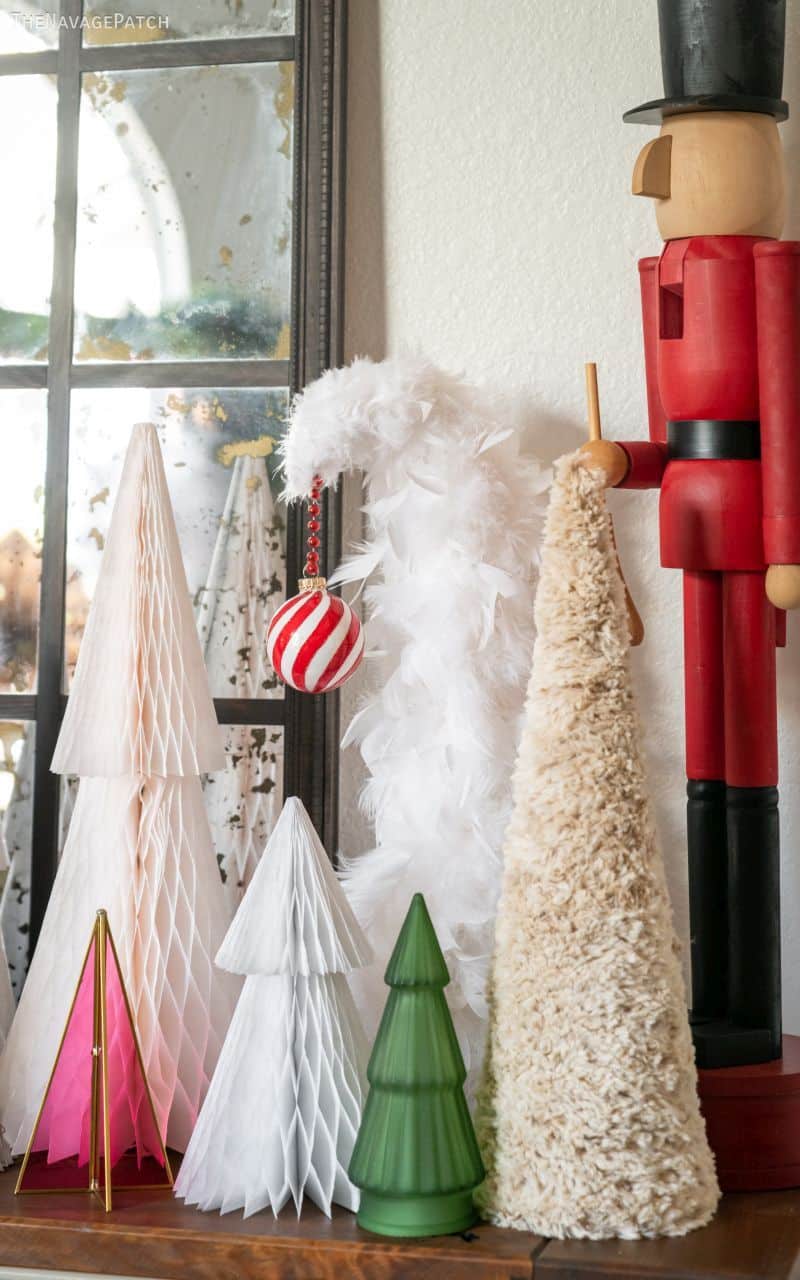
These honeycomb trees look beautiful with our other trees. Handan really loves them so much!


You guys just consistently come up with the best ideas! You have amazing imaginations and see the potential in everything. I love all your ideas and most importantly the fact that they don’t require a bunch of expensive tools or supplies or a ton of time. Your projects are very “doable” for anyone.
I also very much appreciate you answering my emails when I have a question.
Merry Christmas and thanks for all the great ideas. Sue
Thank you so much, Susan! We’re always here to help, and we’ll always be here with beautiful and inexpensive DIYs! 🙂
Great project! Will have to look for those birthday cakes. And the fact that they fold flat is such a plus! I loved the colors/textures/varied heights of your forest! Just lovely. Merry Christmas to you all!
Thanks, Kathy! You’ll have no problem finding those at DT – they’re in the party section. Merry Christmas to you too!