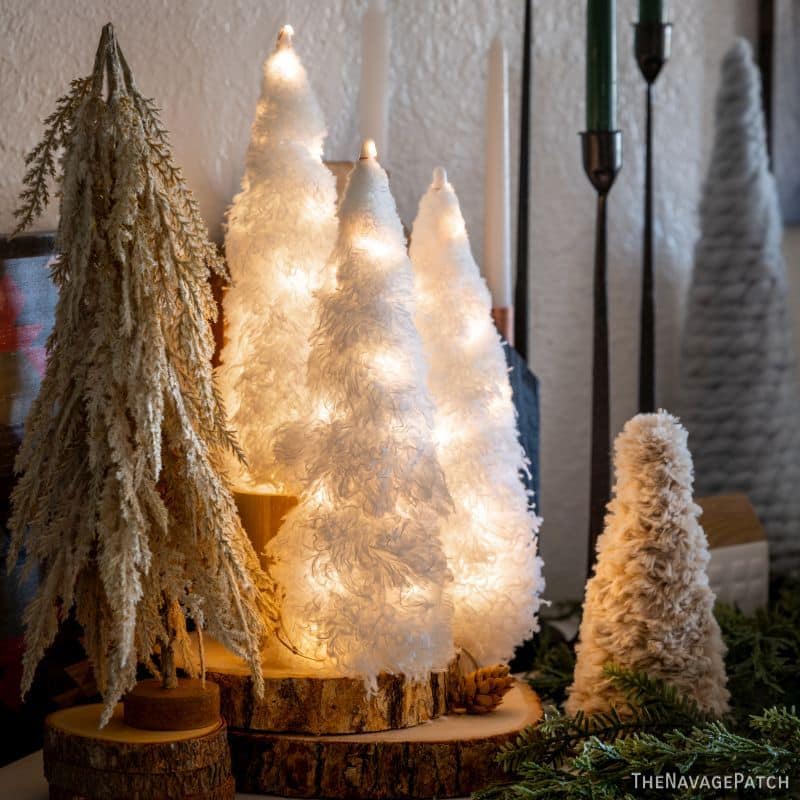
DIY Dollar Tree Duster Trees
These DIY Dollar Tree duster trees are the least expensive and most beautiful Christmas decor you’ll likely to see this holiday season!
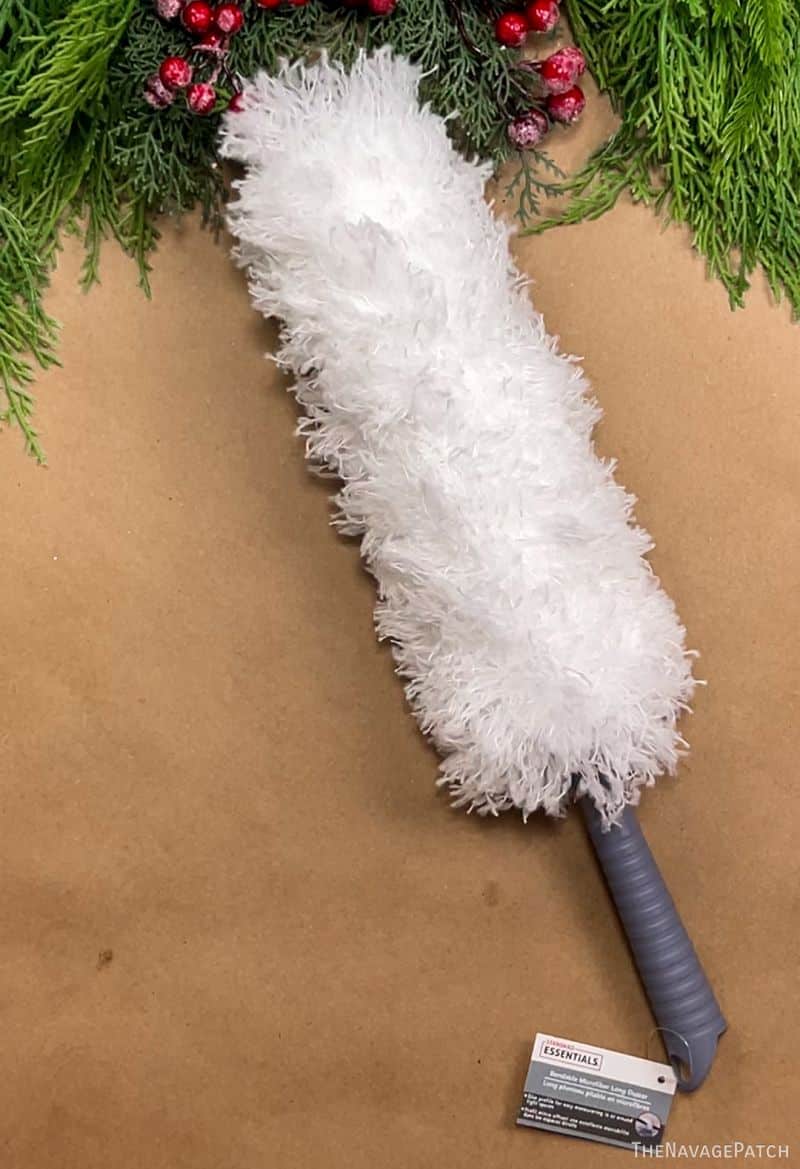
Once you see it, you can’t un-see it. It’s right there in your hand staring back at you and daring you not to see it!
How many times have you looked at a duster like this?
If you’re like us, you’ve at least seen it a thousand times on one of your dozen weekly trips to Dollar Tree.
What’s that? You don’t go to Dollar Tree 12 times a week?
But wait, my babes told me it’s totally normal. In fact, she’s been telling me lately we don’t go to enough Dollar Trees! Am I to understand I’ve been misled about how often the average American races to Dollar Tree?
Huh. I’ll have to have a word with Handan about this, but first let’s get back to this duster.
You’ve seen it, right? It and its fluffy brethren just hang out all day long in Dollar Trees all across the land.
And until now, it’s just been a fluffy duster – about as unobtrusive and milquetoast as a Dollar Tree product can be.
But then something shifts in your brain – a tumbler clicks into place, and you spit out your half-caff-skinny-vanilla-cocoa-latte-with-3-pumps-NOT-4 and you see that duster in a whole new light.
And you can never, never go back to see it as a duster again.
Take another sip of your half-caff-skinny to replace the mouthful you spit out, and let me show you the absolute cheapest, easiest Christmas craft that also happens to be one of the most beautiful! At its most basic, this craft can be just $1.25. If you want to gussy it up with LED fairy lights, your cost for each tree goes up to $2.50
Dollar Tree will run out of dusters. You’ve been warned, so plan accordingly!
DIY Dollar Tree Duster Trees SUPPLIES LIST
Affiliate links are provided below. Full disclosure here.
- Dollar Tree duster
- Fairy lights
- Dollar Tree box or log slice (optional)
- Floral foam

We love to see our craft projects out in the wild! If you try this seasonal craft project, take a picture and post it on Instagram, be sure to tag us – thenavagepatch
More DIY Christmas Decor Ideas


- DIY Dollar Tree Duster Trees
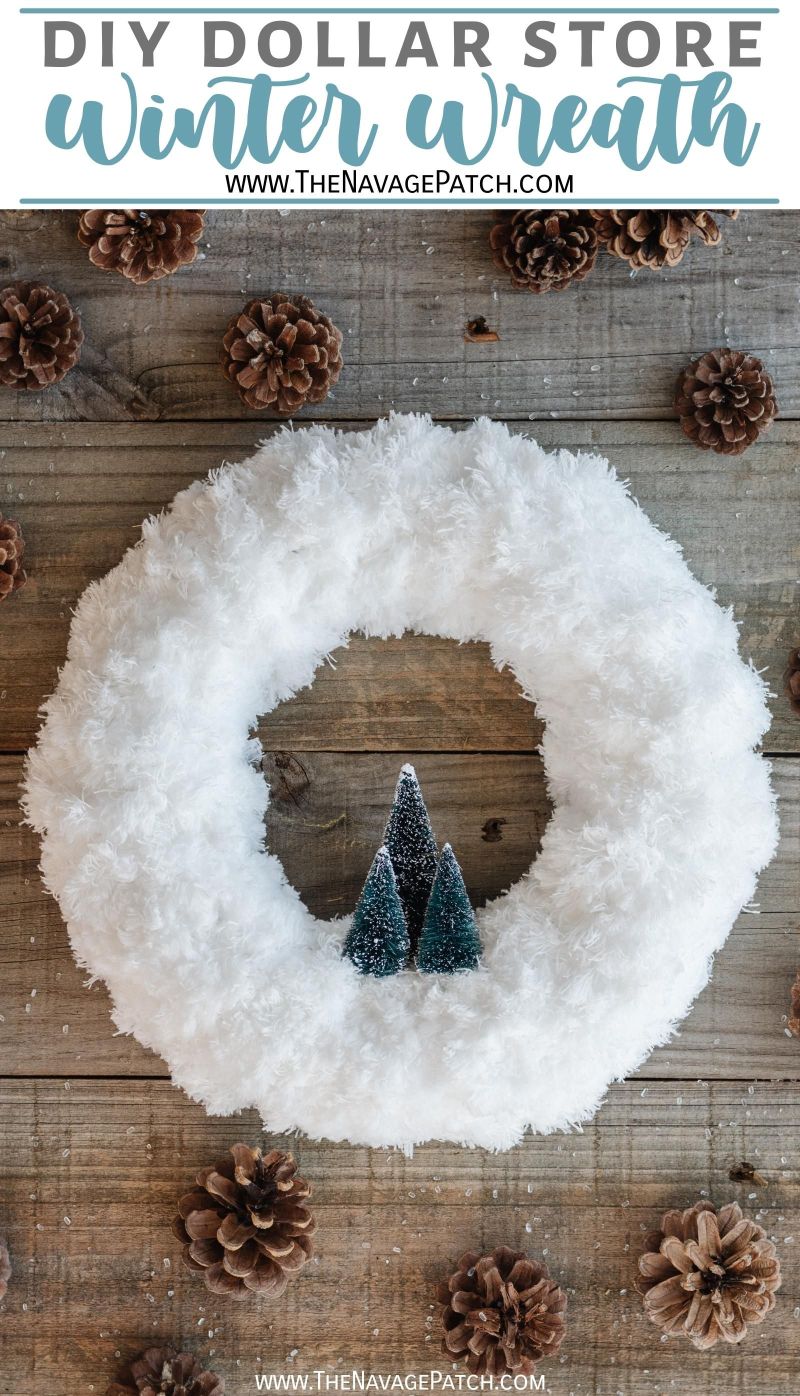
- DIY Dollar Store Mop Wreath
- DIY Faux Fur Trees
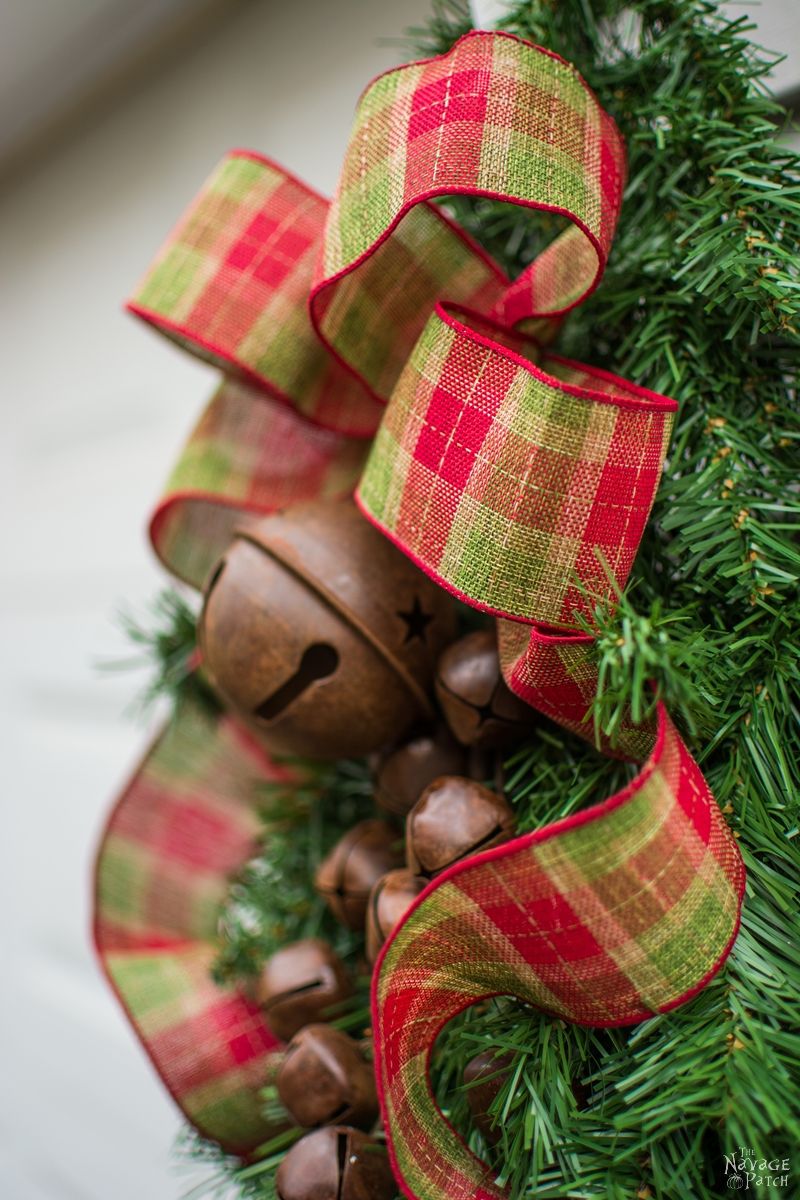
- DIY Faux Antique Brass Bells
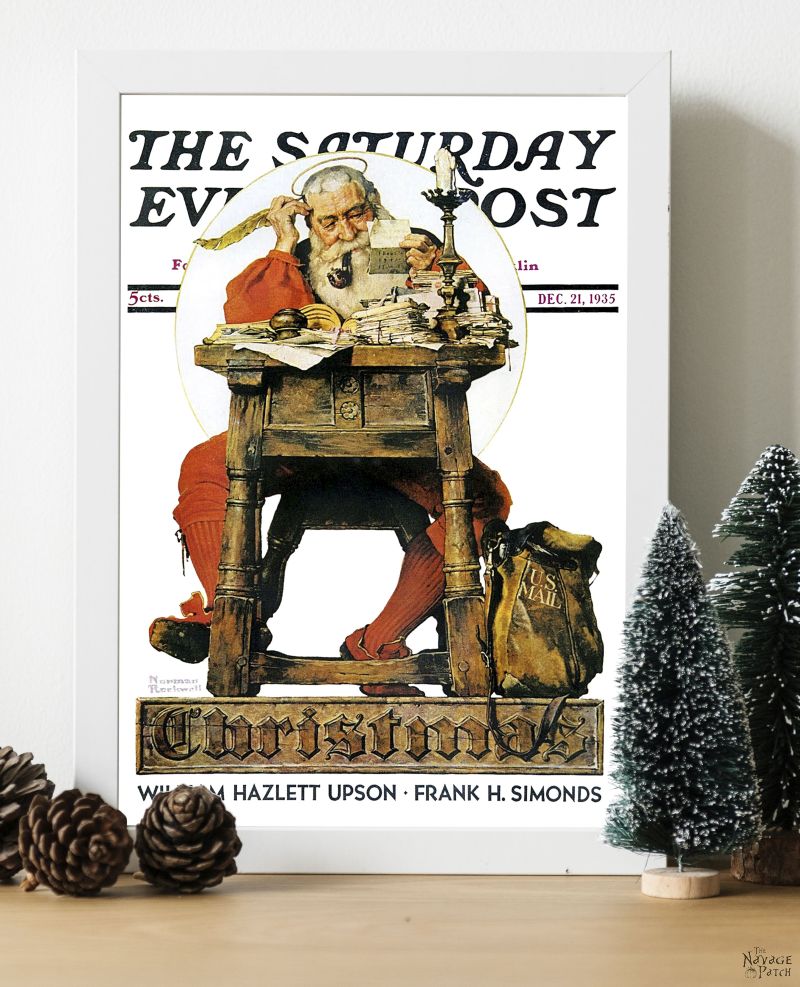
- Free Vintage Christmas Magazine Cover Printables
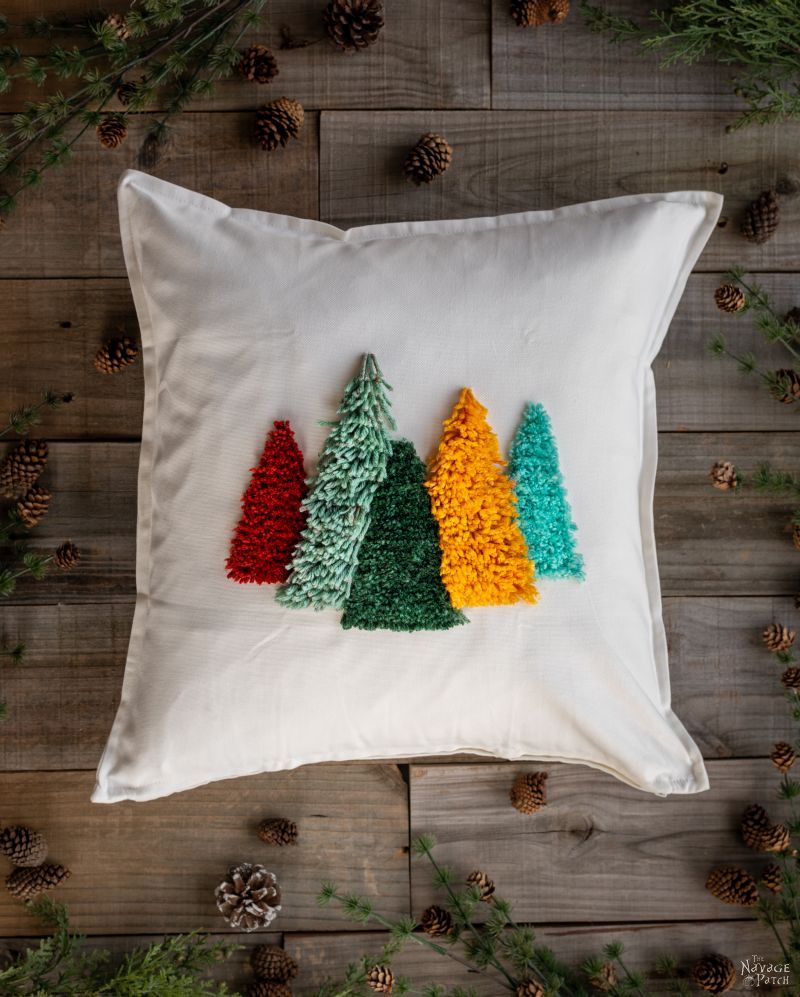
- DIY Shag Tree Pillow
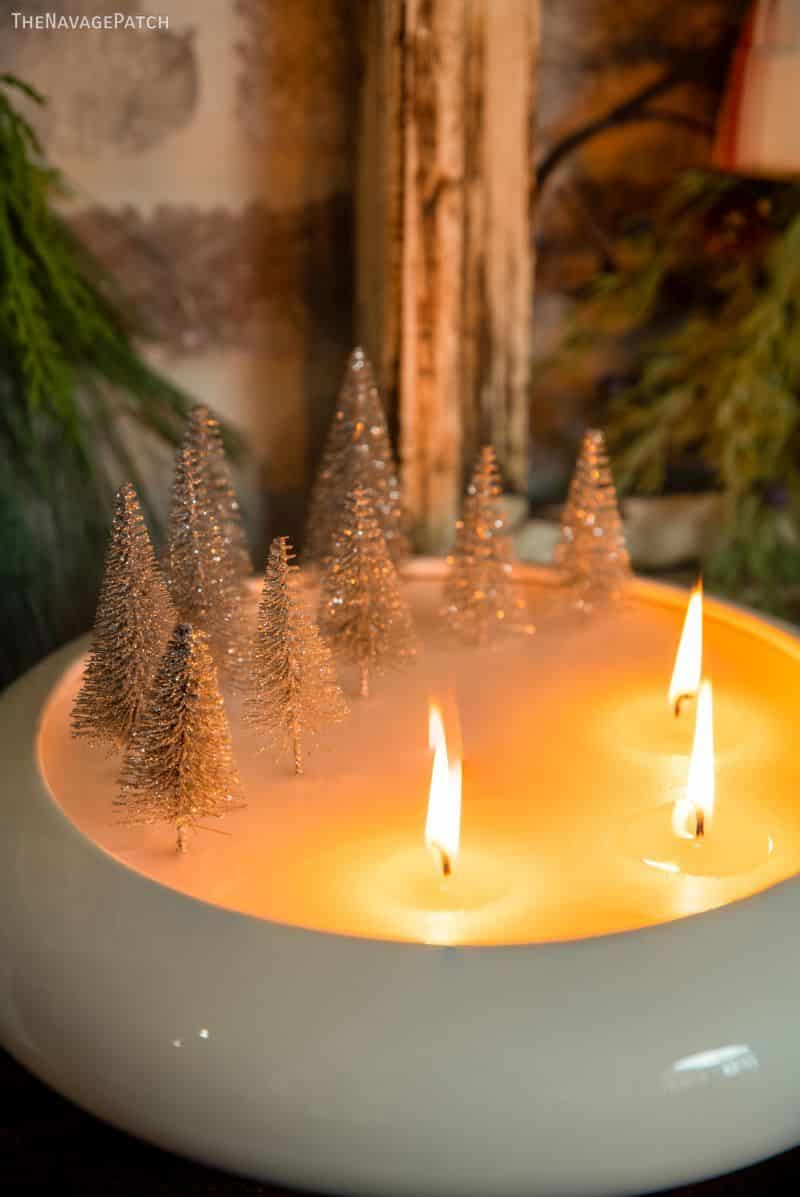
- Easy DIY Christmas Candles
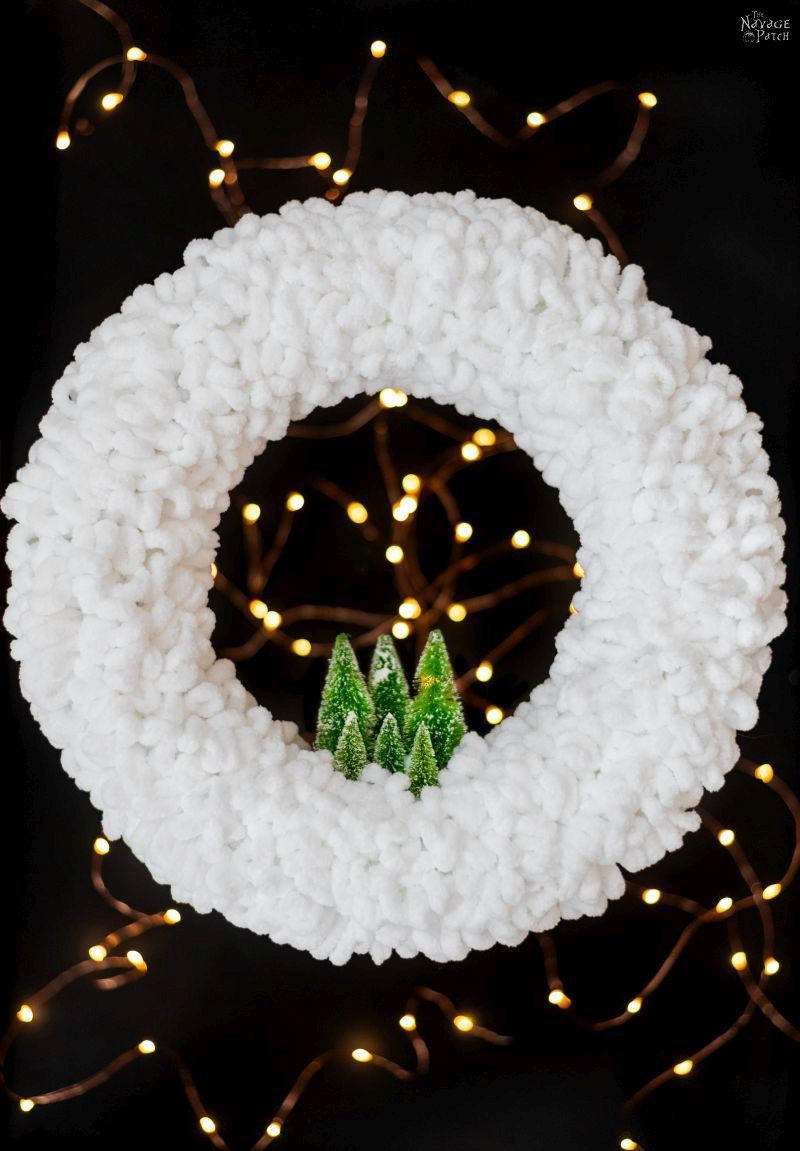
- DIY Winter Loop Yarn Wreath
- DIY Christmas Decor: Faux Tree Repurposed 3 Ways
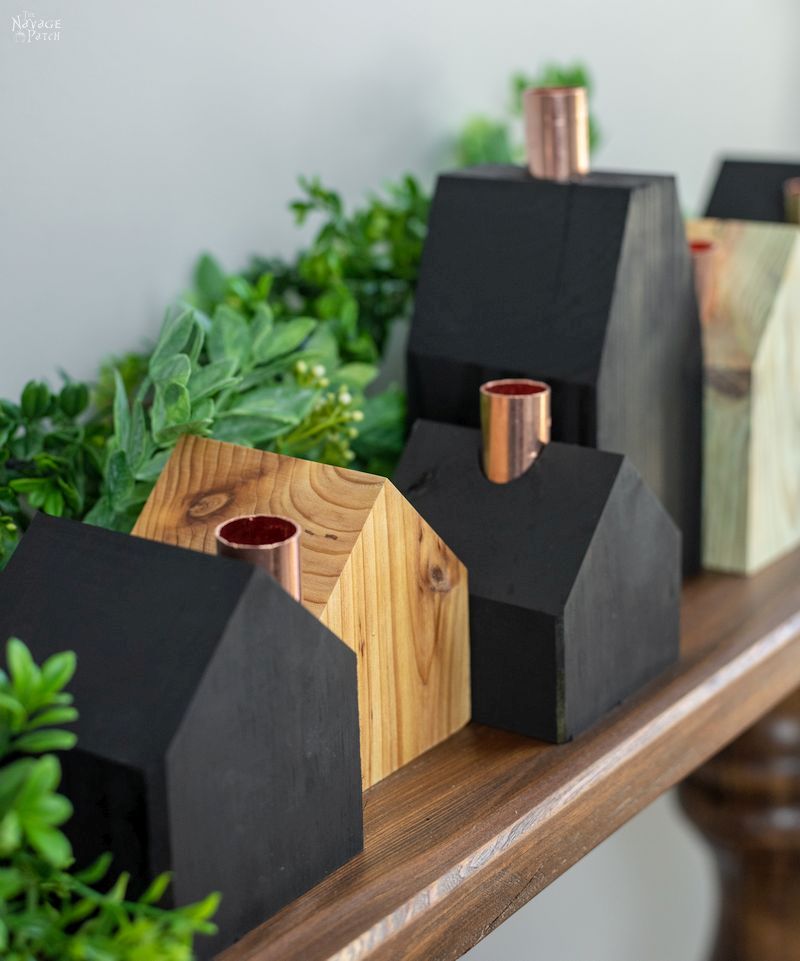
- DIY Wood House Candle Holders
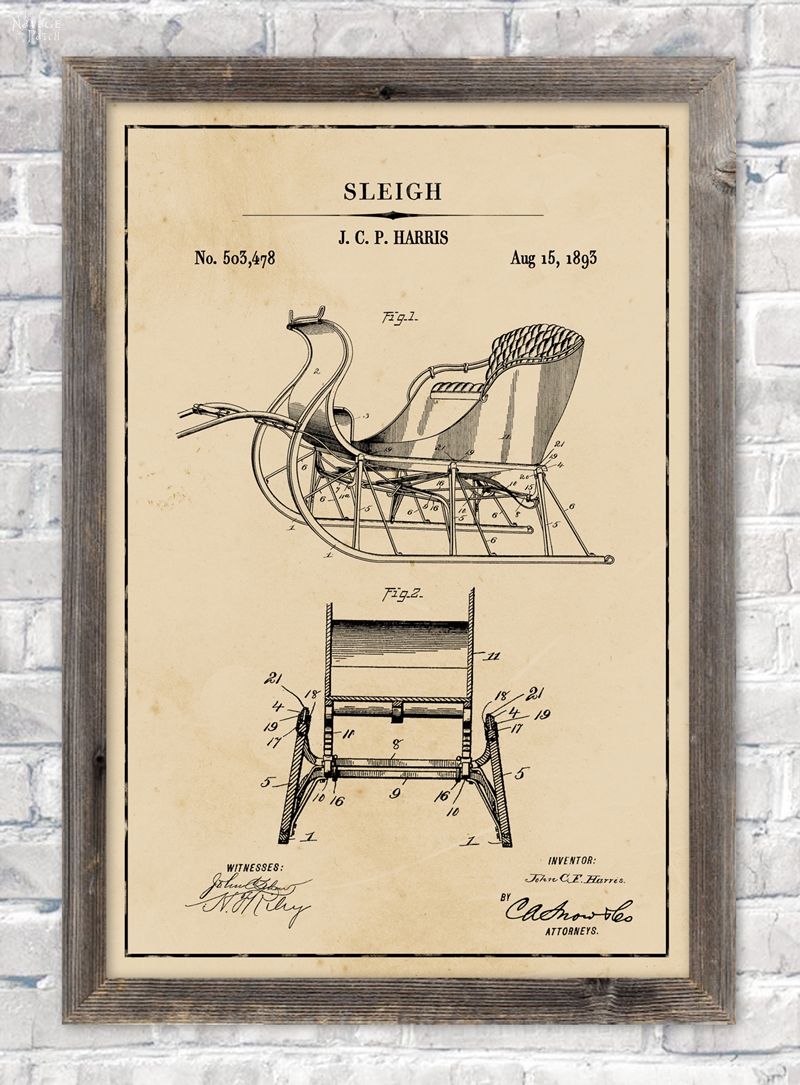
- Christmas Patent Wall Art And 18 Free Printables
- DIY Epoxy Wood Shim Trees
- DIY Dollar Tree Snow-White Nutcrackers
- Free Watercolor Christmas Printables (20+ BEAUTIFUL Holiday Prints)
DIY Dollar Tree Duster Trees VIDEO Tutorial
Watch our short and fun video below for an overview of our DIY Dollar tree duster trees before you read the detailed step-by-step tutorial.
On Tiktok
This is one of those crafts that will take so much longer for me to write about than it will take you to make, so let’s cut the chatter and get crafting!
DIY Dollar Tree Duster Trees Tutorial
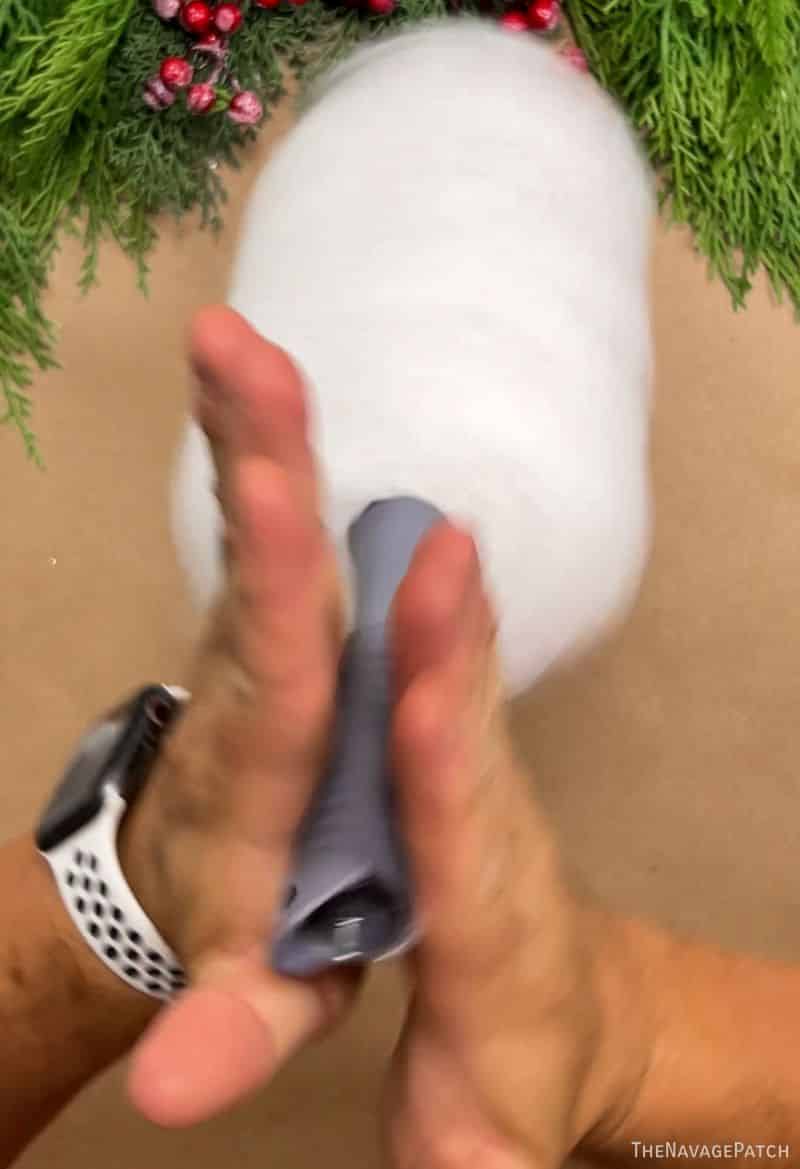
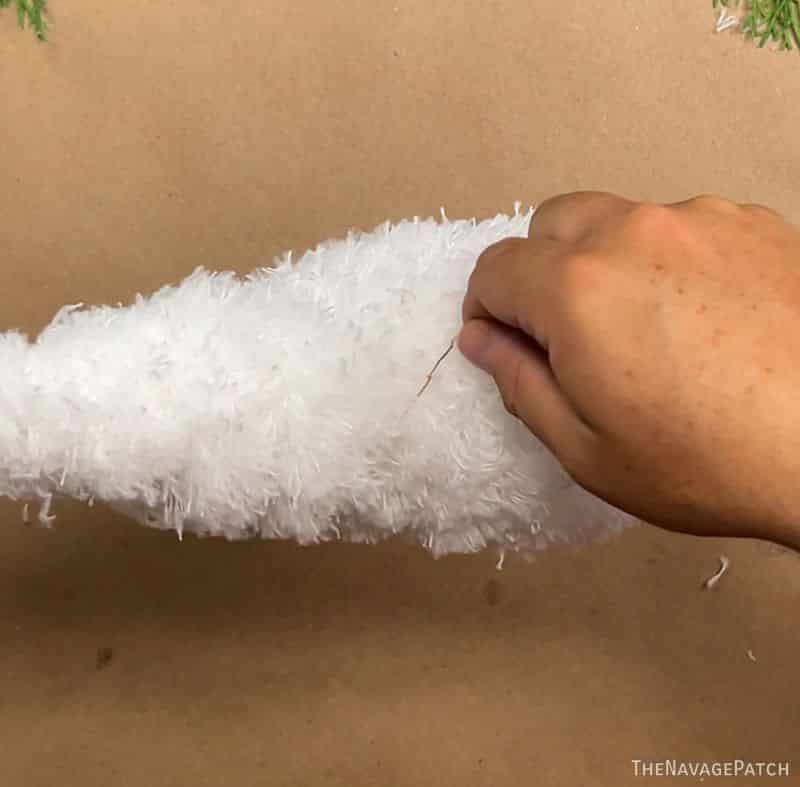
Step 1 – Fluff it up!
Spin that duster in your hands – back and forth – to get those hairs (strands? fur?) really standing on end.
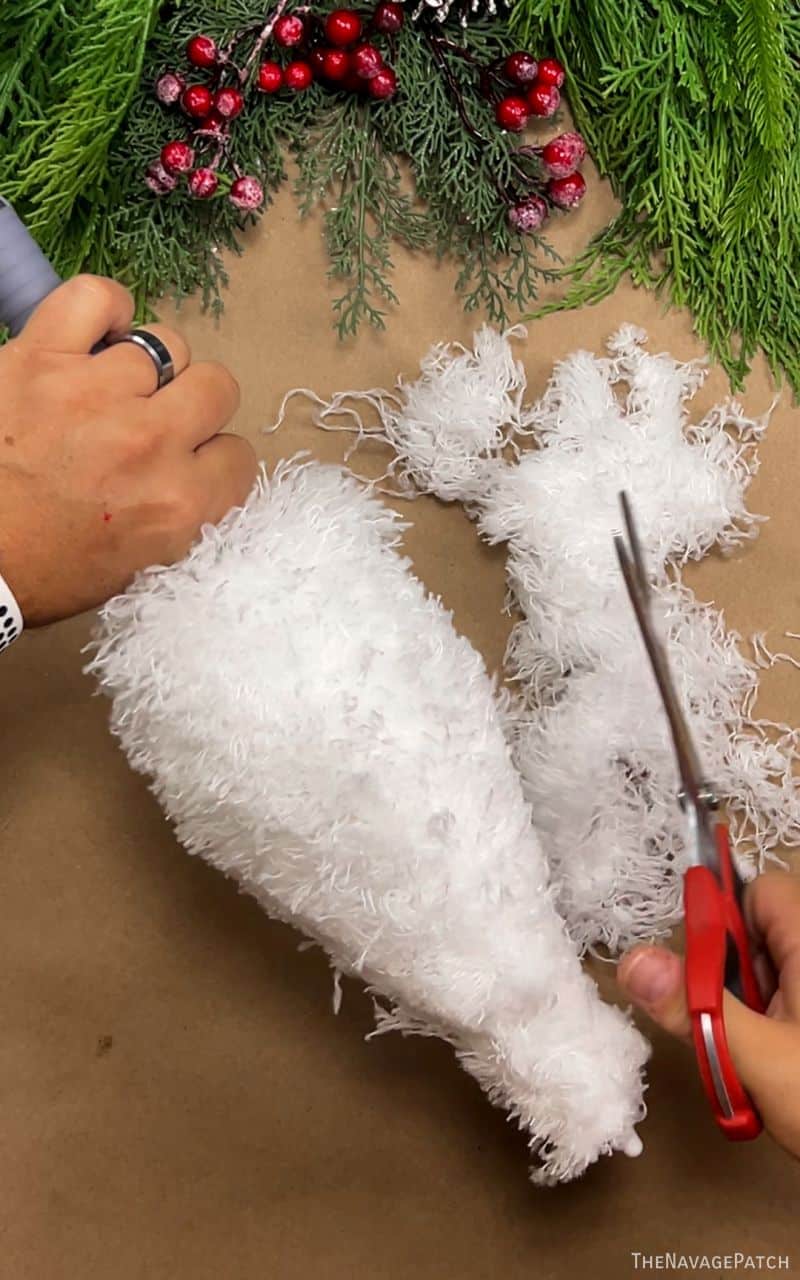
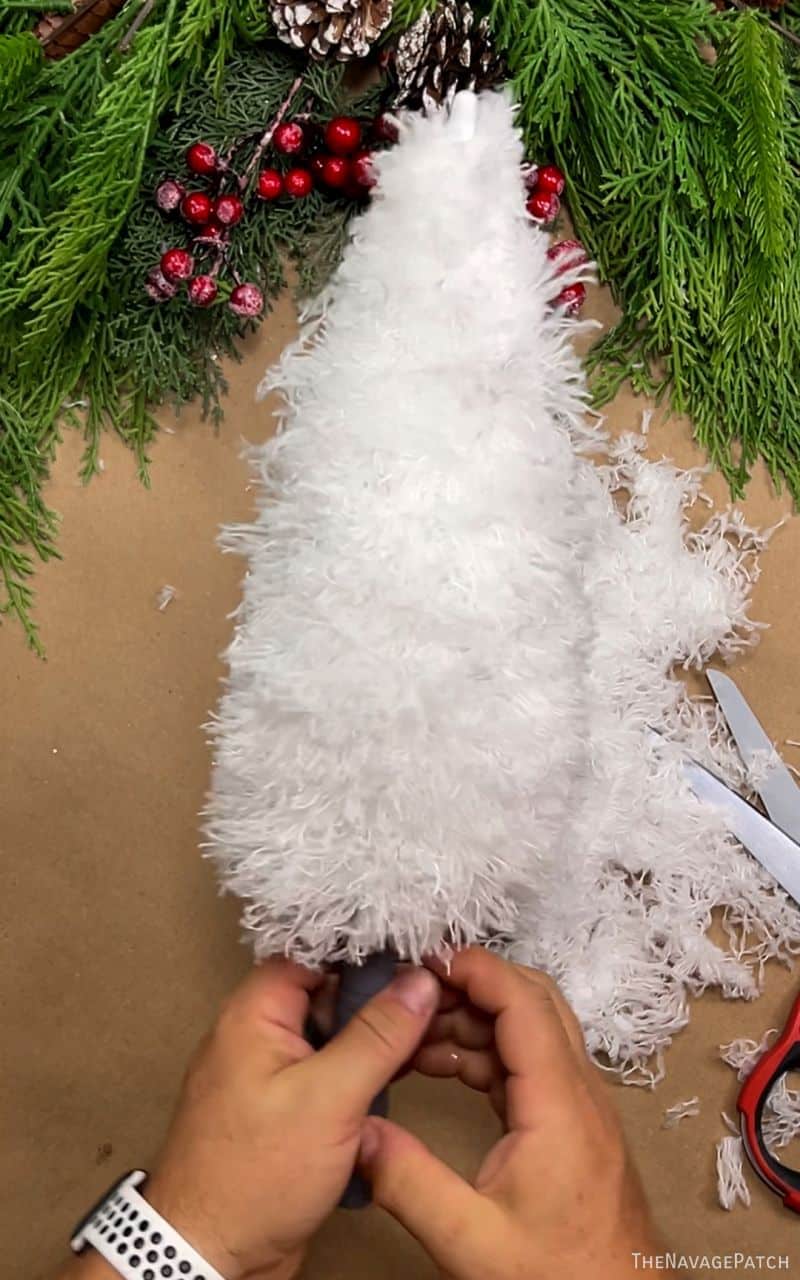
Step 2 – Haircut
Trim the duster starting from the top middle and angling out to the edge about 3/4 of the way to the bottom.

Don’t cut farther than this. I mean, you can, of course. The craft police aren’t going to bust down your door and haul you off to a prison cell made of popsicle sticks and hot glue or anything. It’s just that we found the trees looked better when I trimmed them to the exact point my finger is pointing to.

Keep trimming, and soon enough you’ll see a familiar shape emerge through the fluff.
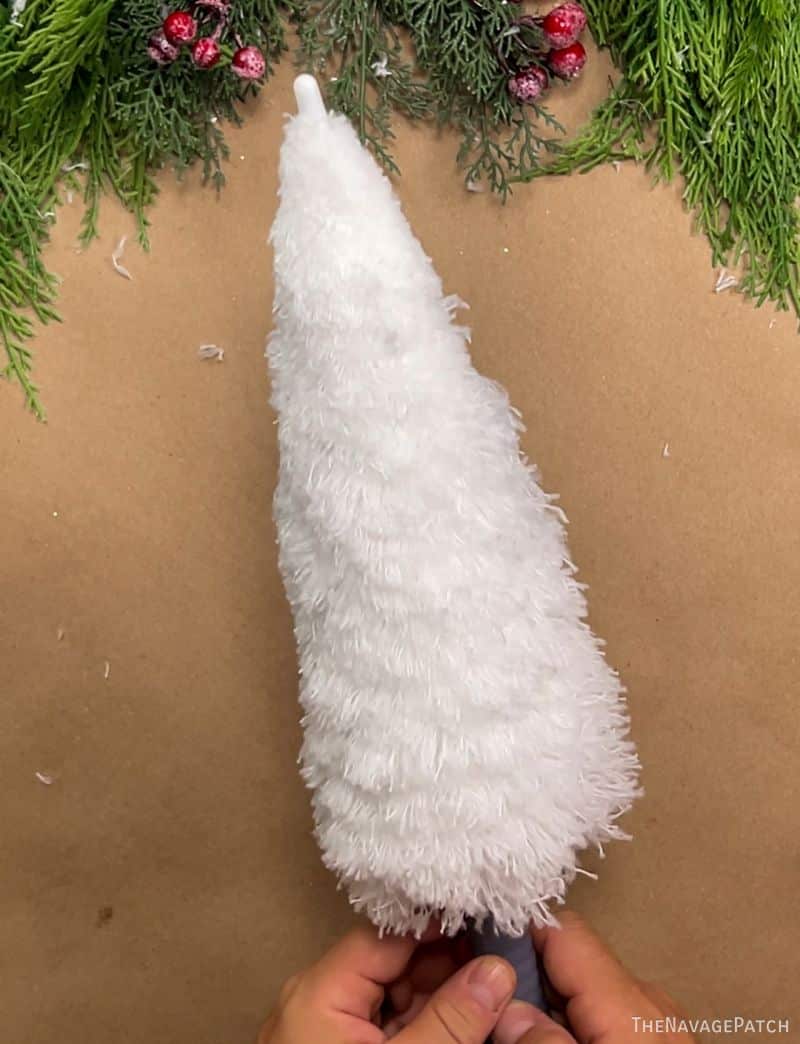
Every once in a while, you can spin-fluff the tree to see if everything is looking evenly cut.
From here, just keep trimming until you’re happy with the shape!

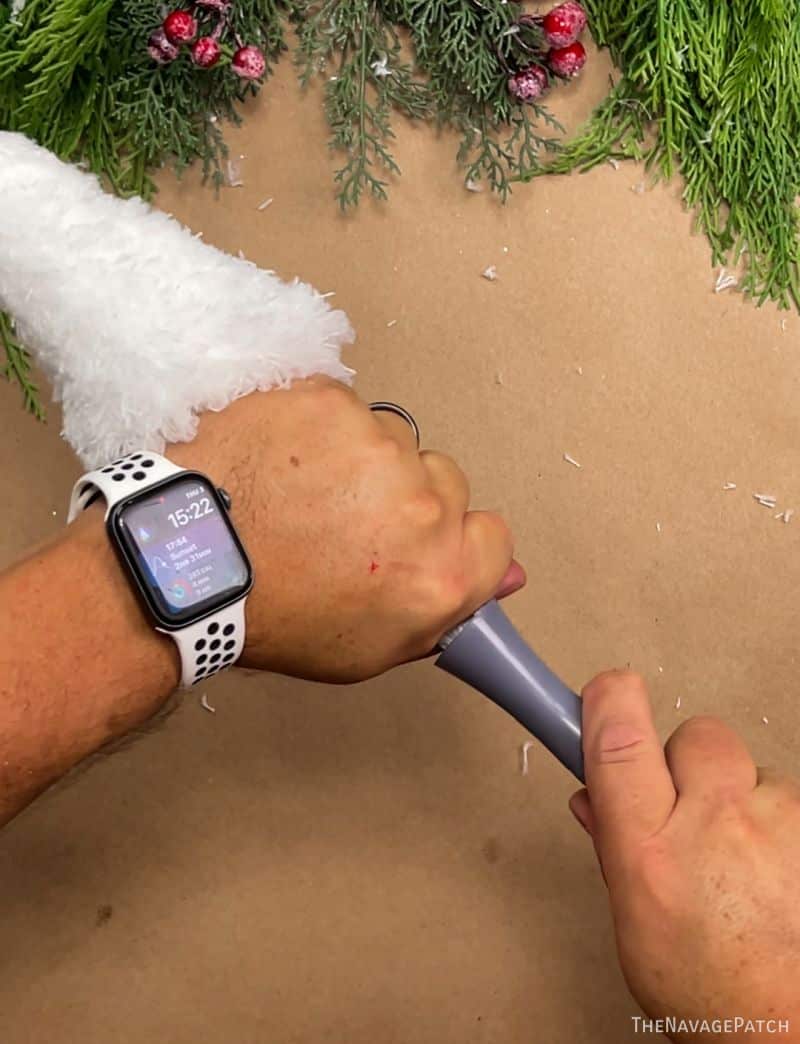
Step 3 – Remove the handle
It’s time to remove the handle. You could even do this in the very beginning, but I found it easier to hold the handle than the thin wire stem in the middle. The handle is secured with a bit of hot glue, but if you keep twisting the handle in the unscrewing direction, you’ll break the glue bond, and the handle will unscrew itself from the twisted-wire spine.

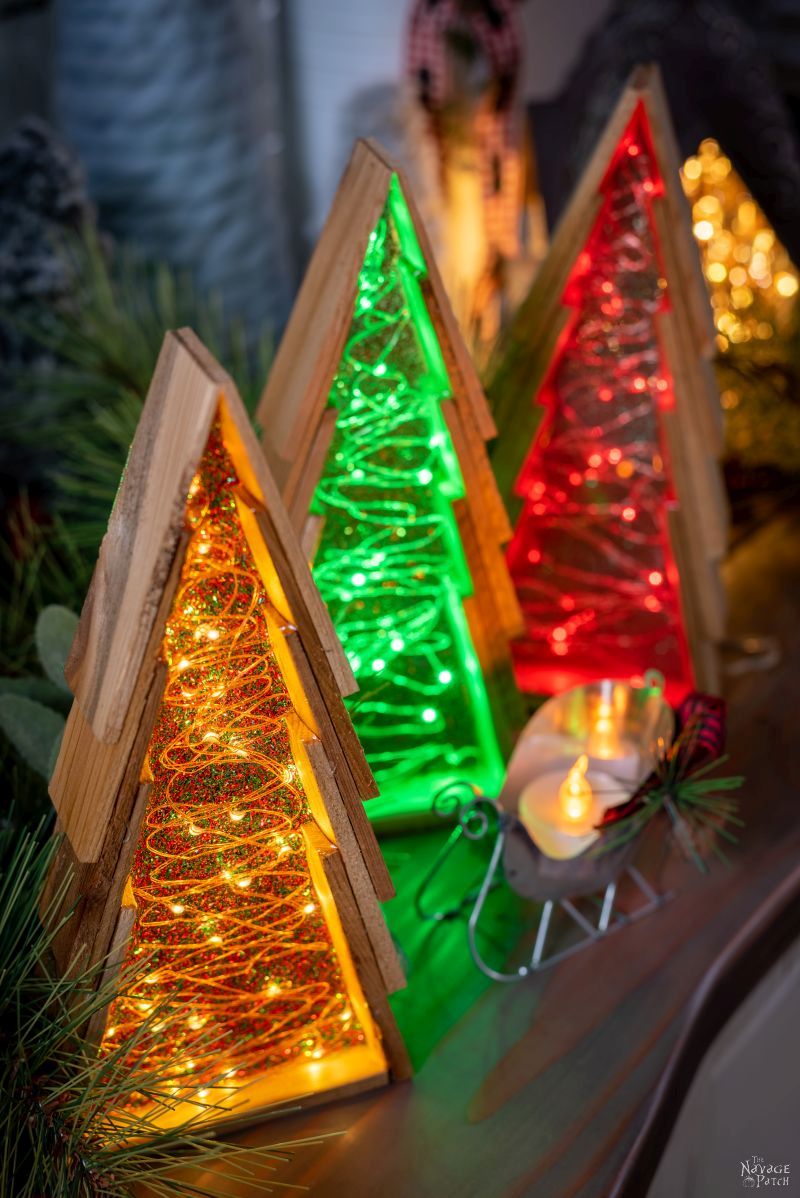
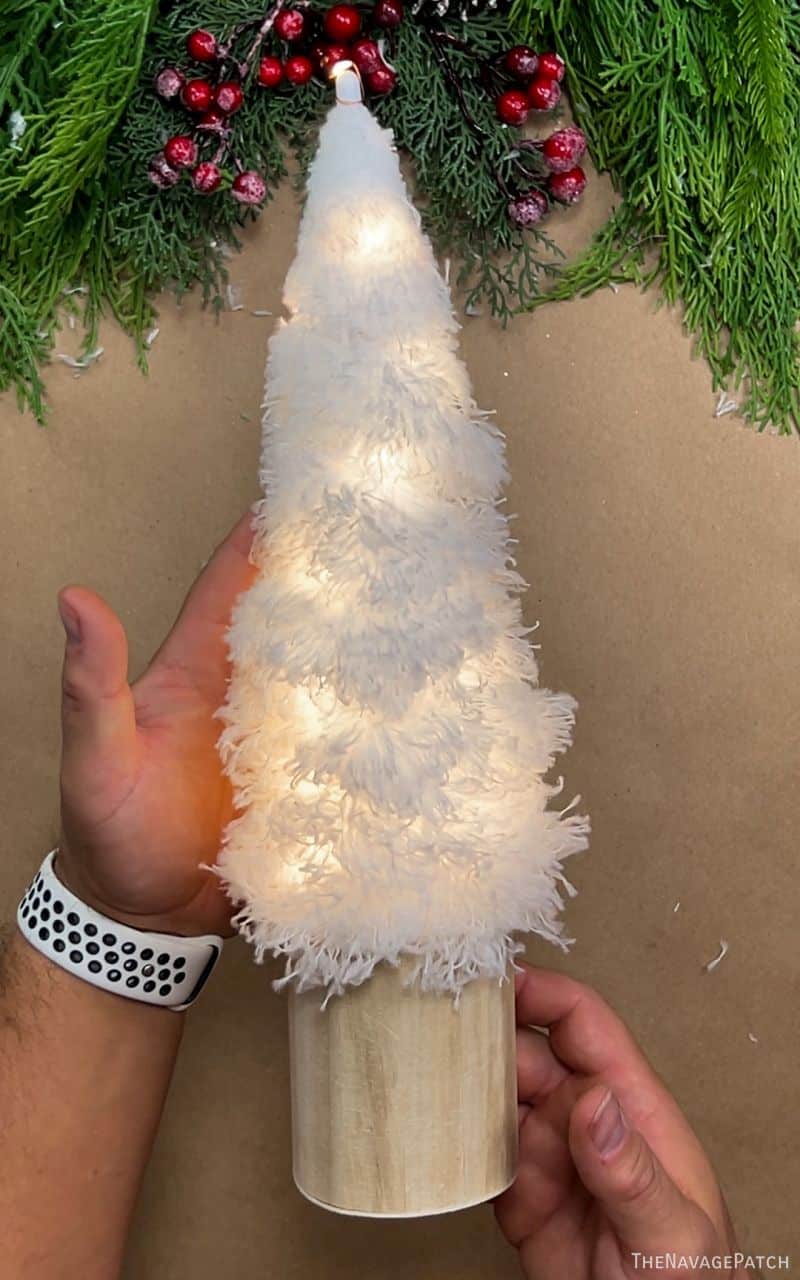
Step 4 – Add lights
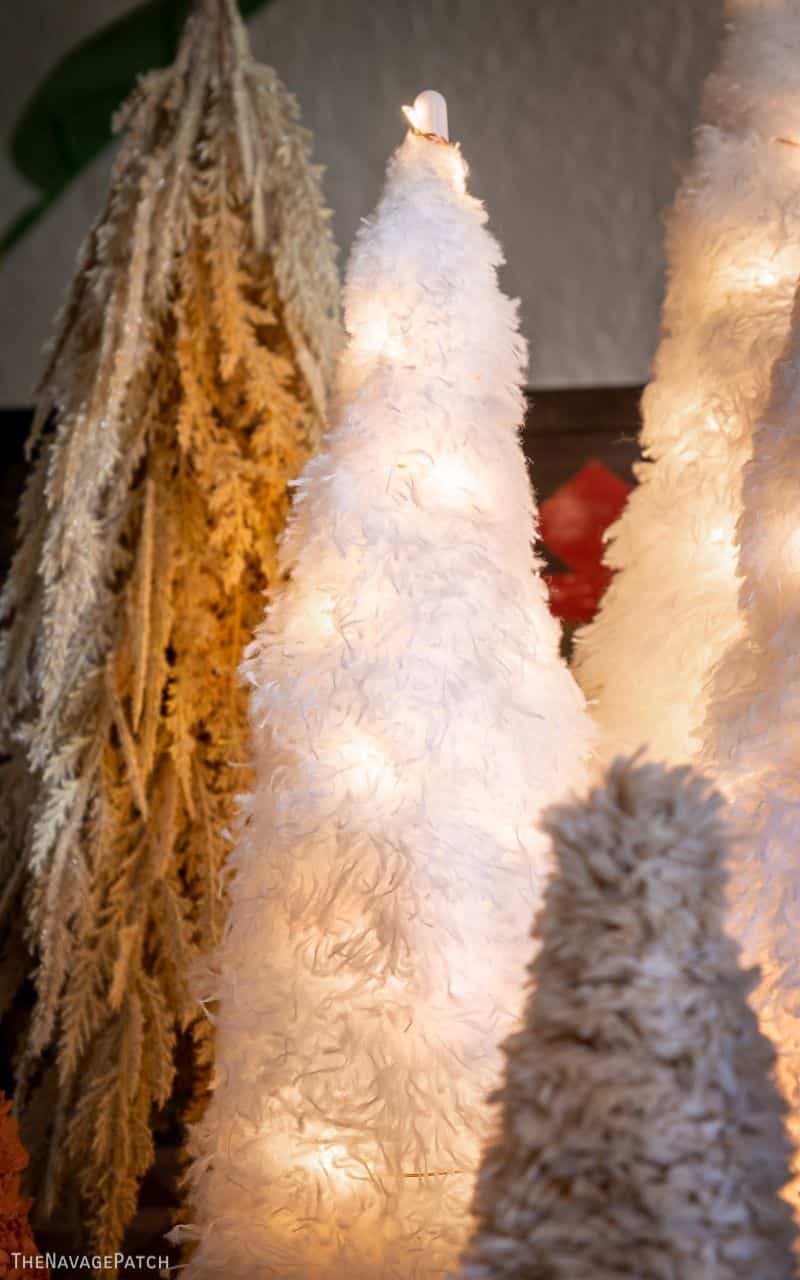
Wrap a strand of battery-operated LED fairy lights around duster tree, starting up top and working down. These trees allow you to nestle the lights into the fluff, so the wire won’t be seen.

Step 5 – Mount
You can mount the tree anywhere you’d like. I’ll show you how we mounted ours.
For the first duster tree, I got a Dollar Tree wood box from our CraftStash™

I put some Dollar Tree floral foam (also from the CraftStash™) in the box.
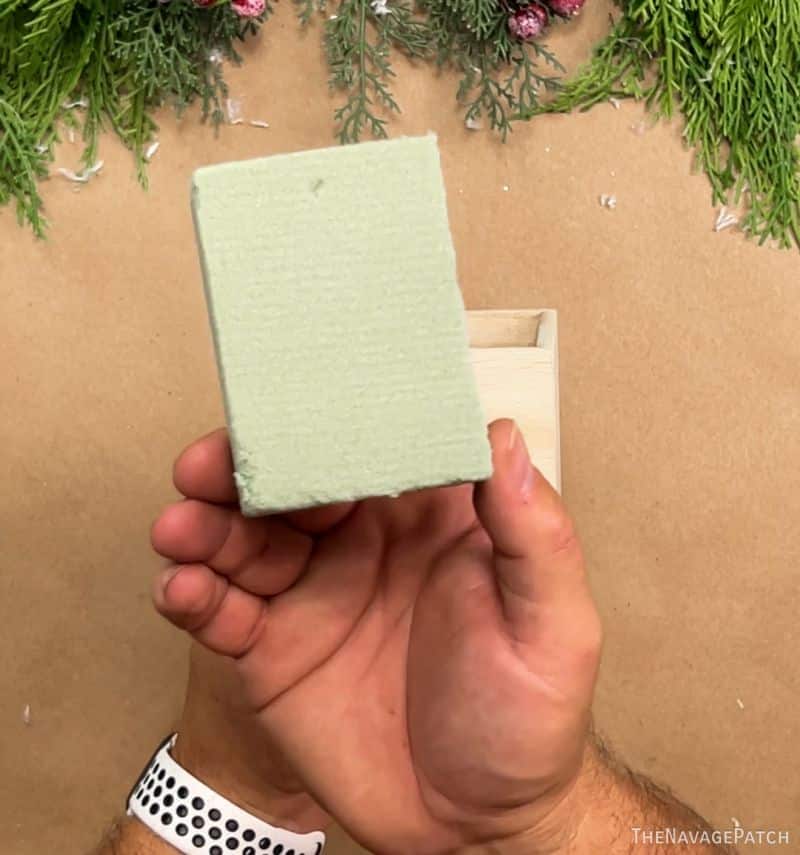

Then I stuck the wire tree base into the floral foam and tucked the fairy light controller in the box. Both square and round boxes are from Dollar Tree.
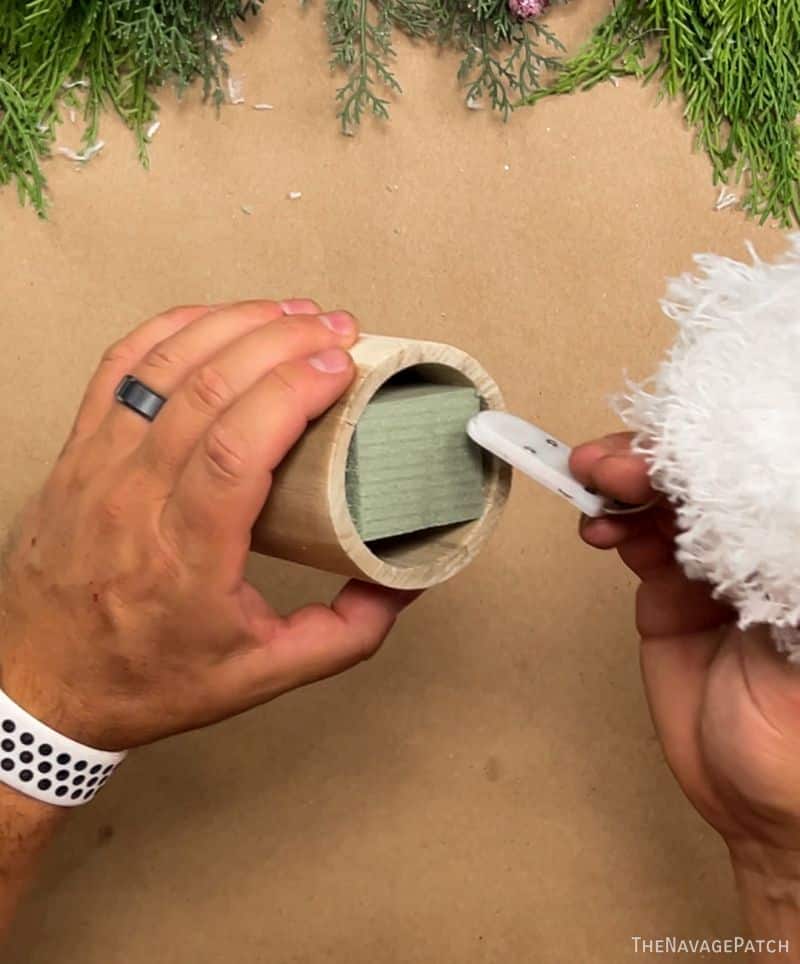
Astute Astrids and Noticing Nancies will have seen the box has magically changed from square to cylinder in the picture above. I decided round was a better look, but you decide for yourself.
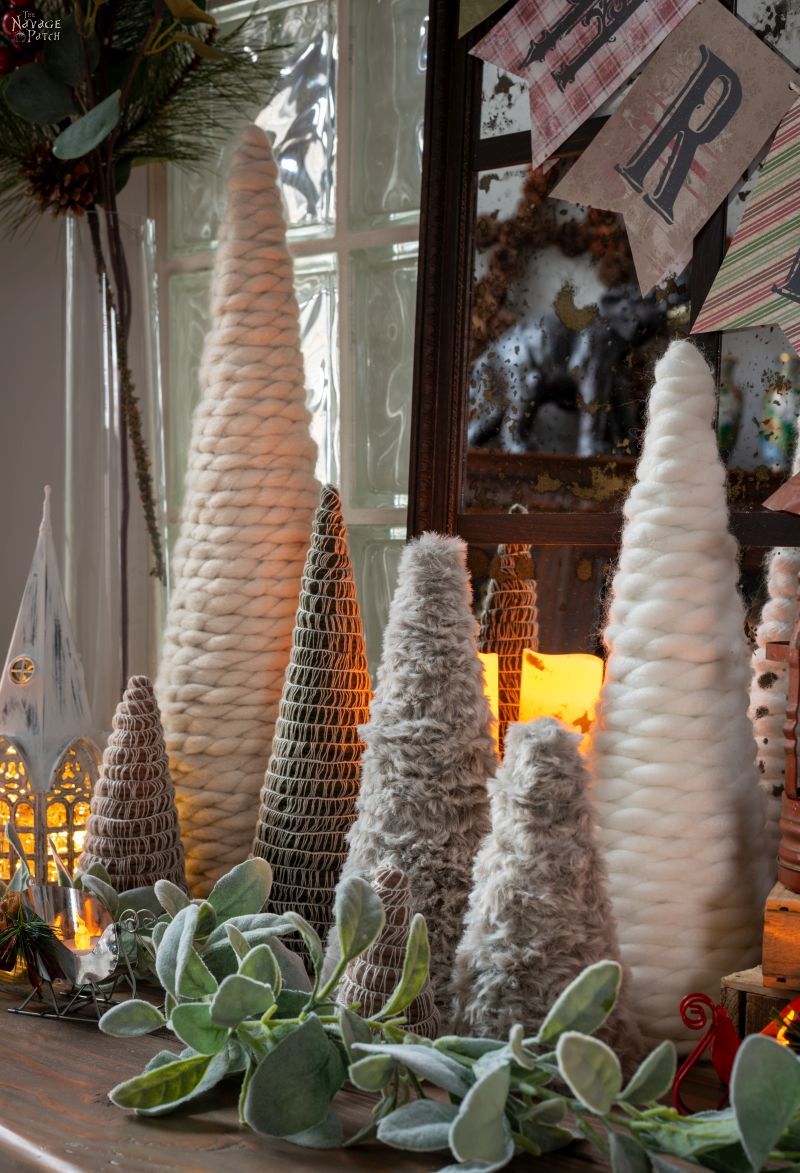
Here’s how my duster tree looks when unlit and sitting in its cube.

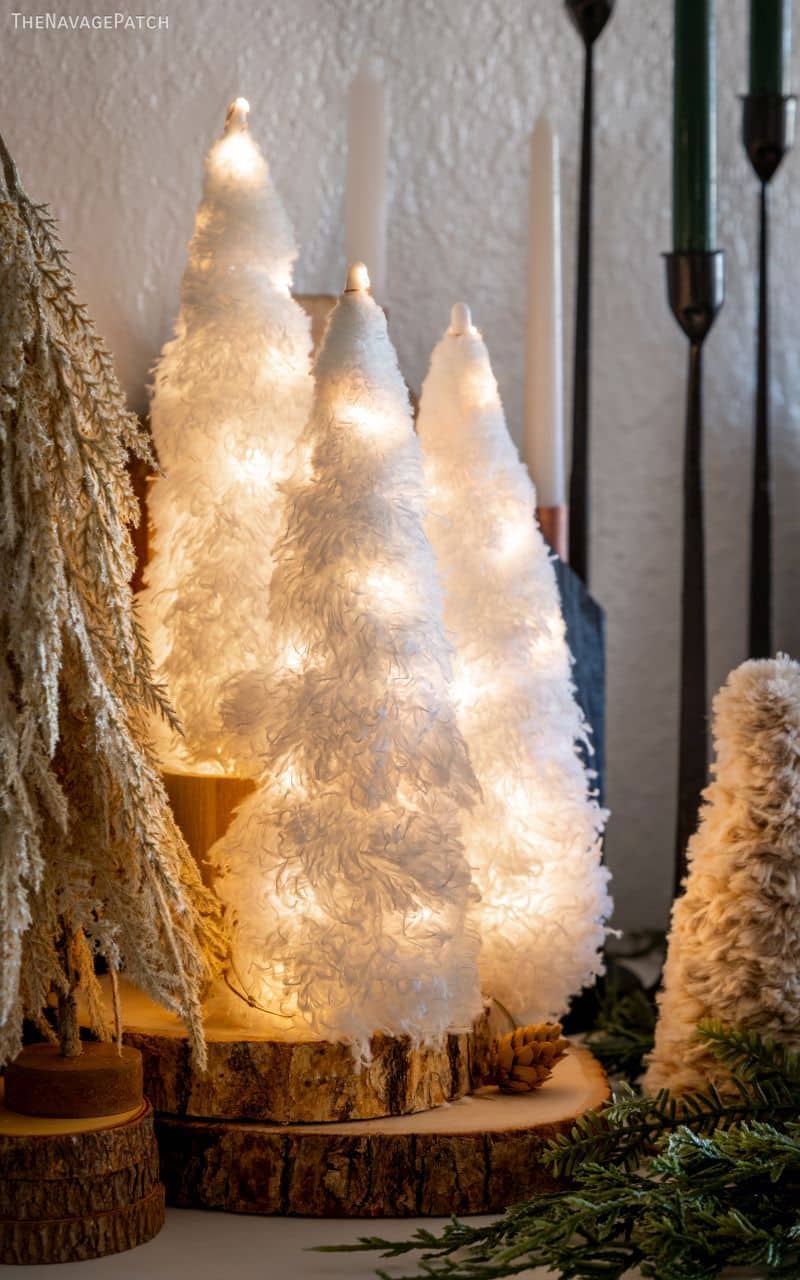
And here it is all lit up in its cylinder!
Which do you prefer?
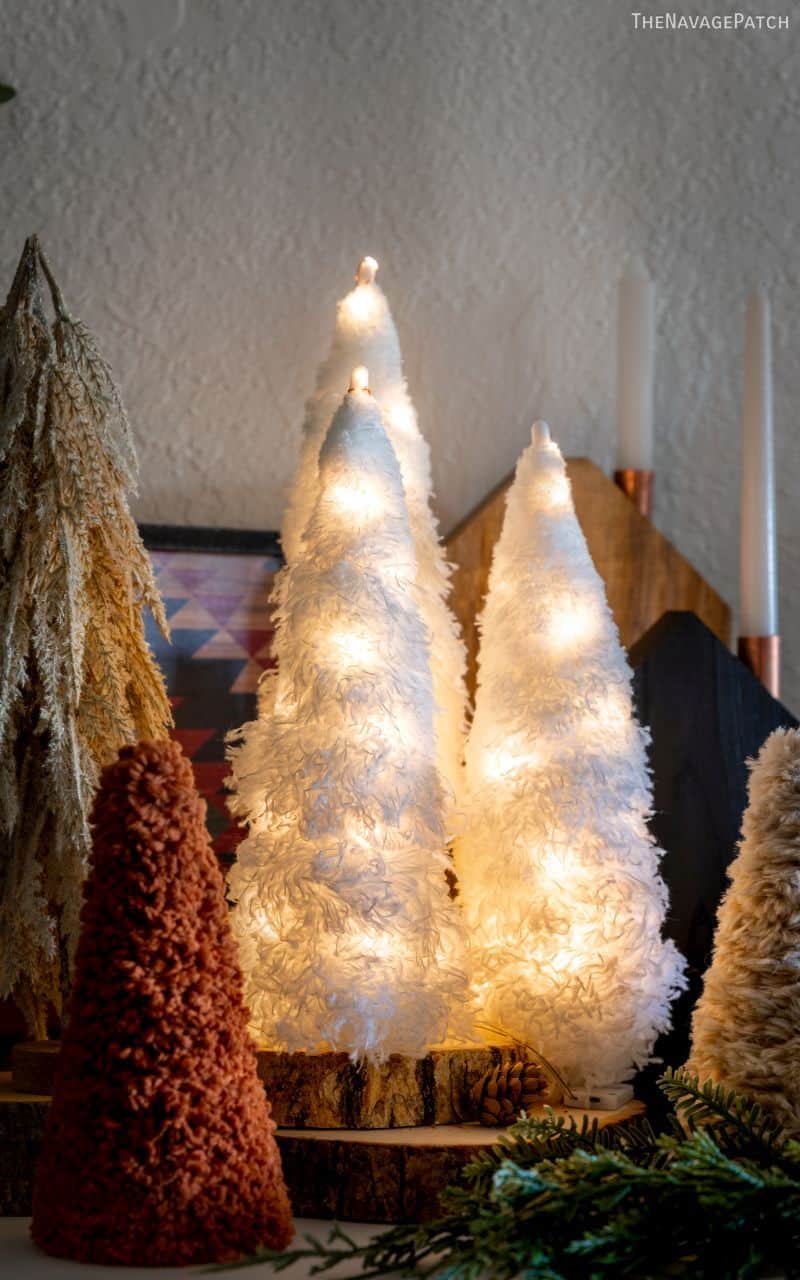
To mount the next two duster trees, I used two log slices I had on hand.

I drilled a hole in each large enough to accommodate the tree’s wire, but I didn’t drill all the way through the wood.

To display my DIY duster trees, I placed one log slice on the other and placed the boxed tree onto the top log slice.


Wow, Greg and Handan! Your creativity and uniqueness never ceases to amaze me! Love your duster trees!
Thank you so much, Gail! 🙂
Thank you, Gail! This one is so easy and looks amazing! 🙂
You and Handan are amazing. I love this idea and will give it a try.
Thanks, Sara – have fun with it!
These are adorable! And great directions as always.
Thank you, Kristi! 🙂
No mops at the $1.25 Store I was at yesterday. Nice looking tree!
These are the dusters, not the duster mops, Carla! 🙂
THANK YOU! THANK YOU!!! These are magnificent!!!! I make your yarn trees in every color imaginable, also your mop wreaths and I thought those were brillant but THESE are making me run not walk to pick some up at the $1.25 store or as I think of it now, don’t want to change my name to the real price store.
Thank you again for the fantastic idea&tell Handan to keep the ideas flowing!!! We all love them, oh, and Your Master Crafter directions!!
Thank you so much, Deb! It’s our mission to present inexpensive DIYs that actually look good! 🙂
Just Genius !!!
How great and easy this is – off to Dollar Tree I go 🙂
Thanks, Sue! 🙂
Oh my gosh, I LOVE this!! I am definitely going to have to make this!! It does not look like a Dollar Tree craft. Thanks for sharing.
Thanks, Gail, it’s my pleasure! 🙂
This is such a great idea!! I’ll see if I can find some dusters at the dollar store nearby and give this a try. I don’t have any beautiful tree logs like you do, but I’ll make it work with whatever I find/have on hand. Thanks for this post!
Thanks, Juliana! Yeah, you can mount these trees on literally anything! 🙂
Love these. I am going to see if I can dye them. Maybe try a variegated colored tree. Great job!!
Mona, they take dye beautifully! Especially if you dye them with tea or coffee… ask me how I know 😀
Have fun crafting! -H
Just wondering if the round container was big enough to fit the battery holder too, or did you light all 3 trees with one long string of lights? In other words, aside from the square container, where did you hide the battery holders for the other trees?
Hi Sara, the round container does fit the battery pack. For the other two trees, I just hid the packs behind the trees. You can even see one in one of the photos!
Looks like a trip to Dollar Tree for me! This is an adorable craft. Thanks so much, Greg. Wasn’t sure what to put on our mantle this year and you’ve solved the problem!!!
Thank you, Julie! So happy to help! 🙂
You “guys” are just too much! They are Beautiful, Beautiful, Beautiful!!
Once again, Nice Job! Oh…I have been to dollar tree, twice in my life. I really must catch up! Off to buy me some dusters!!
As always, thanks for sharing!
Thank you, Wendy! Have fun with it! 🙂
Love them!!!
Who would have thought to use a duster for a tree?
Only Handan & Greg, that’s who!!
Will be making a few of these duster trees (if I can find the at DT).
And I love making trees, using jute, yarn, shims, wood, material, burlap, cloth tarps (even stuff some of them them).
Stars too!!
Thanks for sharing.
Thank you, Danni! We’ve got more tree projects coming up!
Now you’re going to make me go back to $ tree for a new project! I’ve been looking for the cheap little plastic fireplace, smh. We have 2 stores and not a one to be found. Looked online guess what out of stock. I’m bummed. So now I’m going back to look for these dusters wish me luck. Love your blogs. Keep them coming.
Michele
Good luck, Michele! 🙂
Love it going to try this weekend!!!
Thanks, Sara – have fun!
Greg,
I love the duster trees! I am heading to the Dollar Tree in the morning. I have three stores very close. I made the witch brooms for Halloween, and they turned out fantastic! I received complements from the goblins. Thank you and Handan for the great ideas.
I’m so happy to hear it, Marian! Good luck with the duster trees! 🙂
OMGosh, these are so cute! Bonus, they will go with some yarn trees that we have for our mantle!!
I am thinking a little wooden star cutout would be perfect at the top as well.
Thanks for another awesome idea!!
Our pleasure. Mo! Have fun! 🙂
I’d be curious if it’s possible to snip off the top plastic or if the fluff would start to come off the top. Maybe bend the tip over? Hmm, looks like I’ll have to give it a go. Thanks for the great project and inspiration.
We debated the same thing, Wendy, but decided to leave the white nub, as it looks better than a metal wire. Give it a shot though!
Went to two stores and couldn’t find them, do you have an online link?
I’m afraid I don’t for these dusters. They seem to be hit or miss in stores.
I ordered a case last year! https://www.dollartree.com/standard-essentials-flexible-duster/333651
Ugh!! I can’t find the dusters!!! I guess I’ll be stopping at every Dollar Tree!
It’s so frustrating, I know! I wish they would just have one brand of certain everyday items that they carried always and everywhere!
These are SO pretty! I never in a million years would have thought this up…thanks for sharing this original (and budget friendly) project!
Thank you, Claudine! They’re pretty fantastic for their price and simplicity!
First time I’ve seen you guys. Loved the chatter and detailed directions
Welcome, Sharon!
I am wanting to make the dollar tree trees. But where do I really find them with the metal in the middle?
These are adorable and I’ve already ordered the dusters! The shaggy tree to the left and back of them, what is it made of? The greenish one? 💜
Thank you, Carrie! The shaggy tree tutorial is here!
Thank you so much!