DIY Dollar Tree Light-up Wood Stars
These Dollar Tree light-up wood stars are one of the easiest, cheapest and most beautiful crafts that work for Christmas and year-round decor!
I’m getting old.
And as the days melt into weeks and the weeks congeal into months and the months lump together to form years, I find myself yearning for simple things, especially when it comes to crafts and DIYs.
Oh, there may come a time when I’m old and feeble and get a day off here and there, and perhaps then I’ll enjoy pottering around my craft room or garden engaging in complex and complicated projects that take up a whole day or more. But until that time, I (well, we, actually) need it fast, quick, speedy and cheap. Life moves pretty fast around here. Pause to yawn, and you may miss a week.
This little Dollar Tree project is just what we’re looking for in these hectic times – a simple DIY that looks like so much more than the sum of its parts.
This isn’t my first time monkeying around with wood stars that light up. Back in the olden days in Connecticut, I made some rustic ones like this.
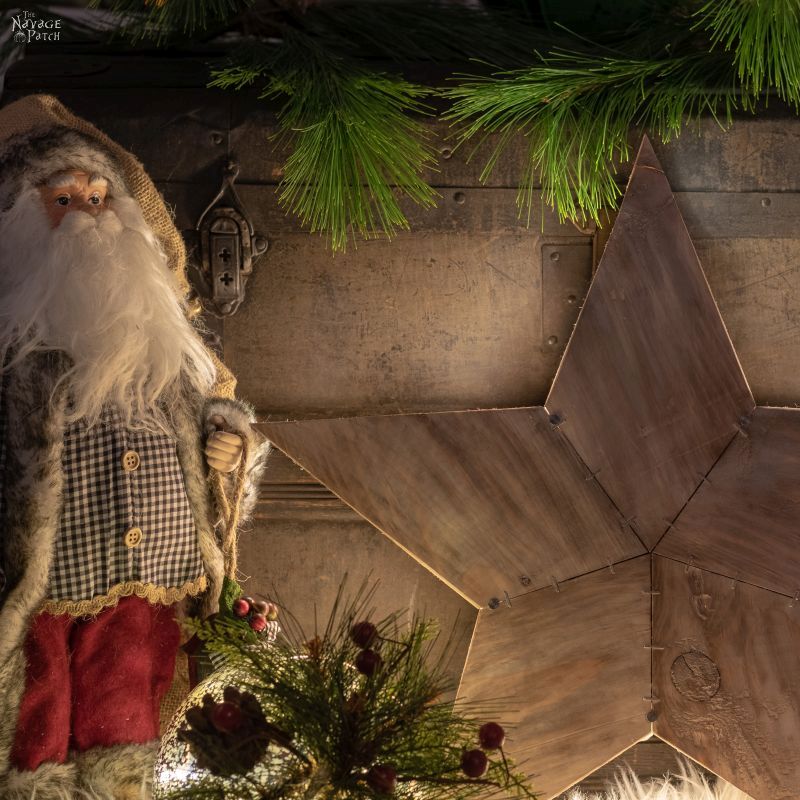
I used saws and sandpaper and staples and stain, and I probably spent a few days making them.
Don’t get me wrong, I still think they’re beautiful. But jeezum crow, I sure spent a lot of time to make them! When time is cheap, we spend it frivolously. But these days, time is dear, and my babes and I are much more miserly in how we spend it.
Ebenezer Scrooge would be proud.
So enough of my yapping. As I blab on about time, I’m just wasting yours! Let’s dive right into these incredibly simple, ridiculously quick, entirely affordable and absolutely stunning DIY Dollar Tree Light-Up Wood Stars!
DIY Dollar Tree Light-Up Wood Stars SUPPLIES LIST
Affiliate links are provided below. Full disclosure here.
- Dollar Tree Wood Stars (these are in Crafts section, not in Christmas section)
- Small wood cube or wood bead
- LED fairy lights – you can use Dollar Tree fairy lights, or these remote controlled LED fairy lights, or any other fairy lights you may have on hand.
- Khaki velvet ribbon for hanging the light-up wood stars (optional)
We love to see our craft projects out in the wild! If you try this seasonal craft project, take a picture and post it on Instagram, be sure to tag us – thenavagepatch
DIY Dollar Tree Light-Up Wood Stars VIDEO Tutorial
Watch our short and fun video below for an overview of our DIY Dollar Tree light-up wood stars before you read the detailed step-by-step tutorial.
On Tiktok
DIY Dollar Tree Light-Up Wood Stars Tutorial
Step 1 – Go and get your stars!
Just like what happened after I posted about our duster trees, these stars will probably sell out fast, so go and get ’em before they’re gone. Just remember, these wood stars are in the craft section, not with the seasonal decor.

While you’re there, get yourself a package of these little wood cubes. They’re good for all sorts of fun and creative stuff!

By the way it’s black paint under my nails, not dirt 😀
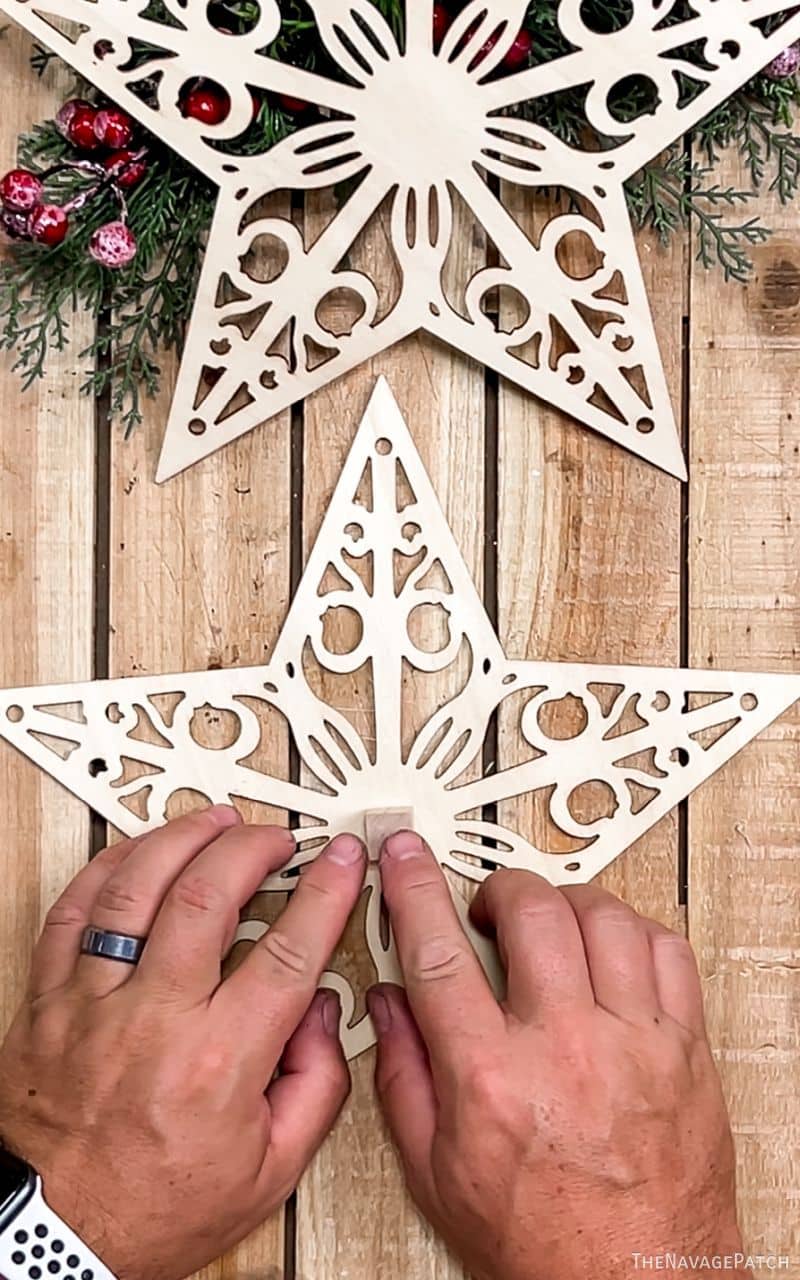
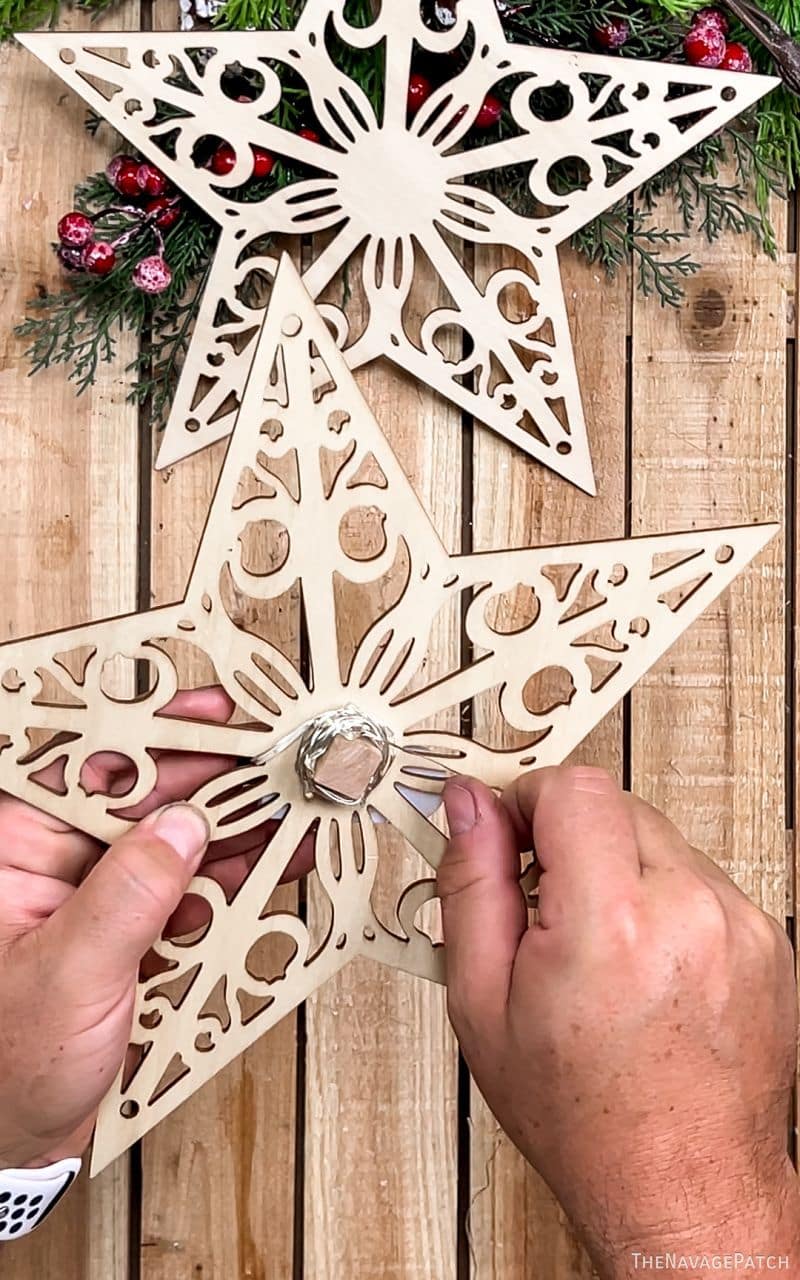
Step 2 – Glue the cube
Put a dab of hot glue on the cube and stick it to the middle of one star. Now go pour yourself a spiked eggnog, because you’re basically done!

Step 3 – Wrap the lights
Feed the end of the fairy lights through the back of the star and then wind the strand around the cube.

About LED Fairy Lights
LED fairy lights come in many lengths and colors, and they can be battery-operated or plug-in. For these light-up wood stars, we used battery-operated lights that are 6.5 feet long and remote-controlled. A 6-pack costs about $14.88, so that’s about $2.50 per light. (These used to be $13, but it seems the seller is capitalizing on the increased order flow resulting from our social media posts.) You can make these stars with Dollar Tree fairy lights, but they won’t be remote controlled, and the battery pack is bigger. We suggest paying another dollar per light for not only the remote feature, but also the 8 different light settings. To see one of the settings in action, please watch our video linked above.
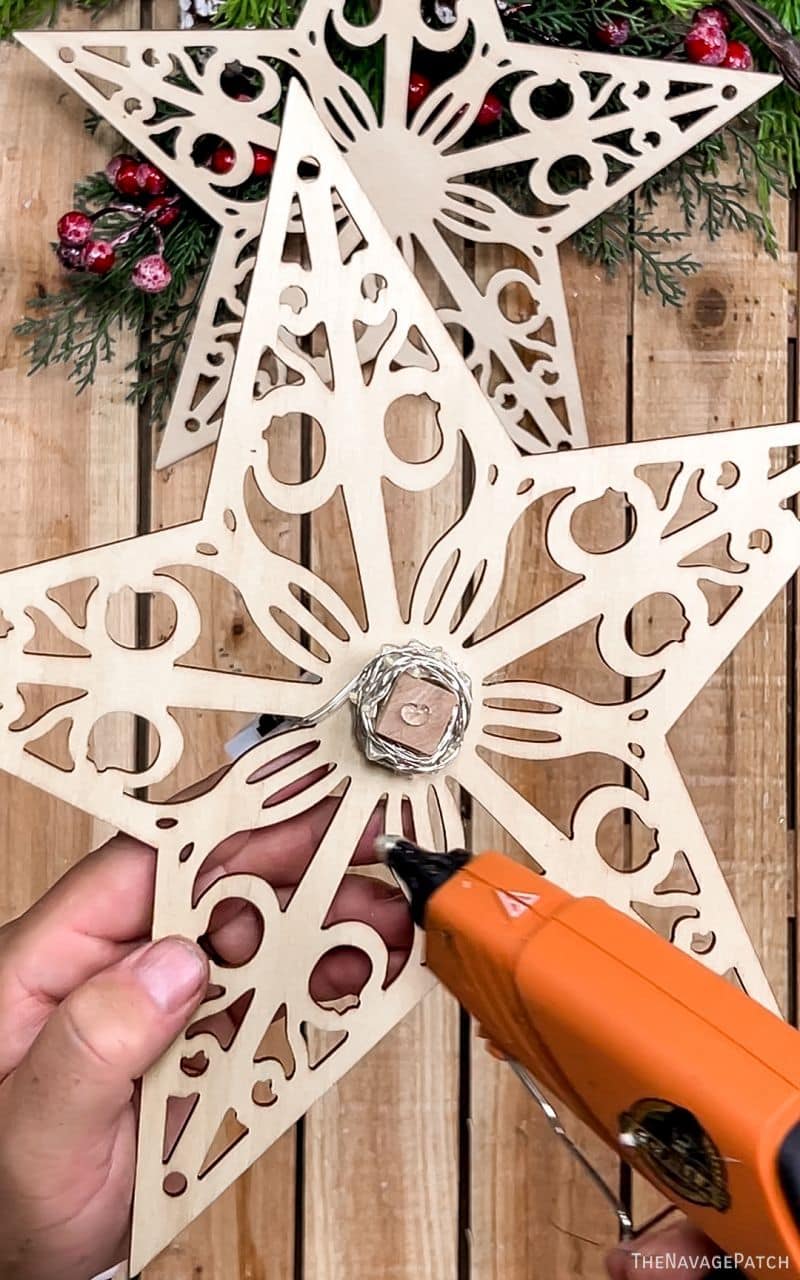
When you reach the end of the strand, secure the tip with a tiny dab of hot glue – just enough to keep the strand from unravelling.

Step 4 – Glue the other half
Put another dab of hot glue on the cube and then press the other star onto it.

You can see the battery pack in the picture above. You can leave it like that or glue it to the back of the star as I did. Just be sure to glue the correct side so you can still access the batteries when it’s glued!
Now go pour yourself another eggnog, because all that’s left is to hang your stars and enjoy!


Great easy and quick craft. Love these kind of easy crafts. By the way have you seen the popcorn garlands made out of the same spray foam you used to make the Halloween crafts? The guy just sprayed large globs of the spray foam, stuck a plastic straw in each one, let them dry and strung them on some type of string with red Christmas balls. Looks kind of like cranberries, I think he was going to hang them on as a garland on his house. Looked kind of cute.
Thank you, Mona! Yep, I’ve seen them done by Jeff Mackay – he stole that idea from The Sits Girls (they did it in 2019), just as he stole our light-up snowy village wreath, literally 2 days after I posted it on TikTok and claimed it as his own idea.
Just ordered the fairy lights (they’ve been in my shopping cart for forever, lol). This is too cool and easy not to try. Thinking could spray paint in a metallic for extra bling – but if I hang in a window wouldn’t even need it. What did you use to hang these?
Easy and pretty is my motto for holidays this year and this ticks every box. Thanks for sharing.
Thank you, Marguerite! I used khaki ribbon to hang them – I’ve just linked it in the post! 🙂
Well that may be black paint under your nails, (dirt wouldn’t offend me either as I like to dig in the garden) but that IS real blood on your digit – is it not ?? You’re a brute when you DIY I see. This is a great winter project from now until March-ish, so thank you for your ideas and hard work. 😘
LOL, I’m pretty much always bleeding from somewhere, Cheryl! Just last night, I cut off a piece of fingertip cutting foam for a project. Sure keeps Handan on pins and needles, lol!
You tell him Cheryl! He keeps biting his cuticles and I’m having the biggest war to stop it 😀
Love this project! Beautiful!
Thank you so much! 🙂
I bought one of their (Dollar Tree) wooden snowflakes, and now I think I’m going to get another one and do this!
Absolutely, Jana! 🙂
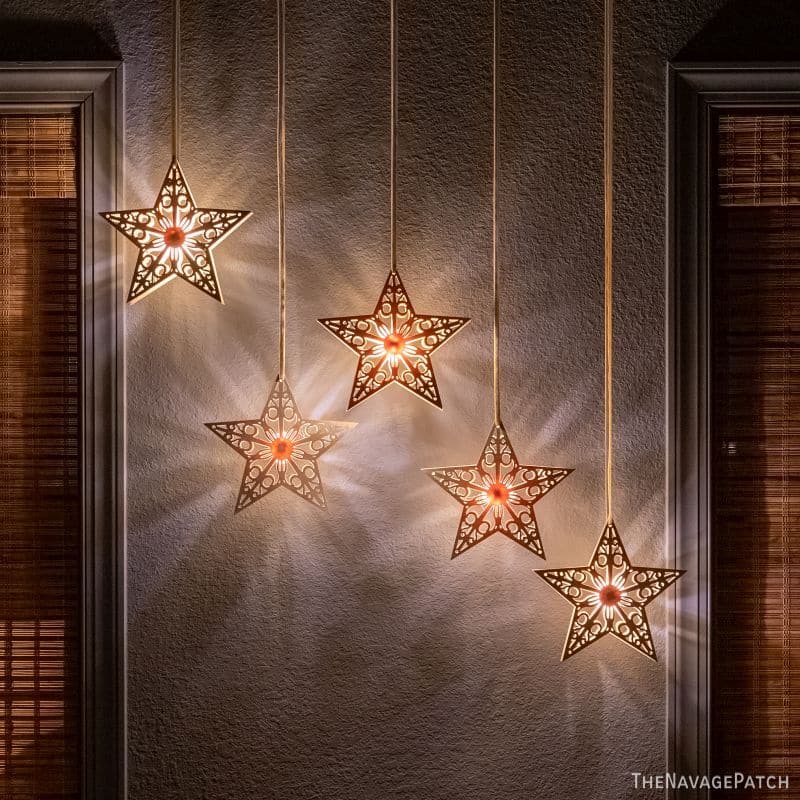
What makes it look like the center is red?
That’s just the light glowing through the wood! Isn’t it cool! 🙂
Bought a dozen of these DT wood snowflakes just yesterday with no idea what I was going to do with them. Then your post pops up! Gorgeous, fast & easy. Just my style during this busy time of year!
Serendipity, Zoe! 😀
Not for the first time I find myself wishing we had Dollar Tree stores in the UK! These are beautiful and I’d love some for my home. I’m on a mission this year to make it as pretty as possible to try and raise spirits. I am now off to search online and see if I can find something remotely similar here. Wish me luck! I’ve spent weeks searching for things that I could use to turn the outside into a giant gingerbread house but haven’t got very far. Any ideas for something like that in the future would be good. 😉
We’ve got a gingerbread project coming up, Donna, so be on the lookout!
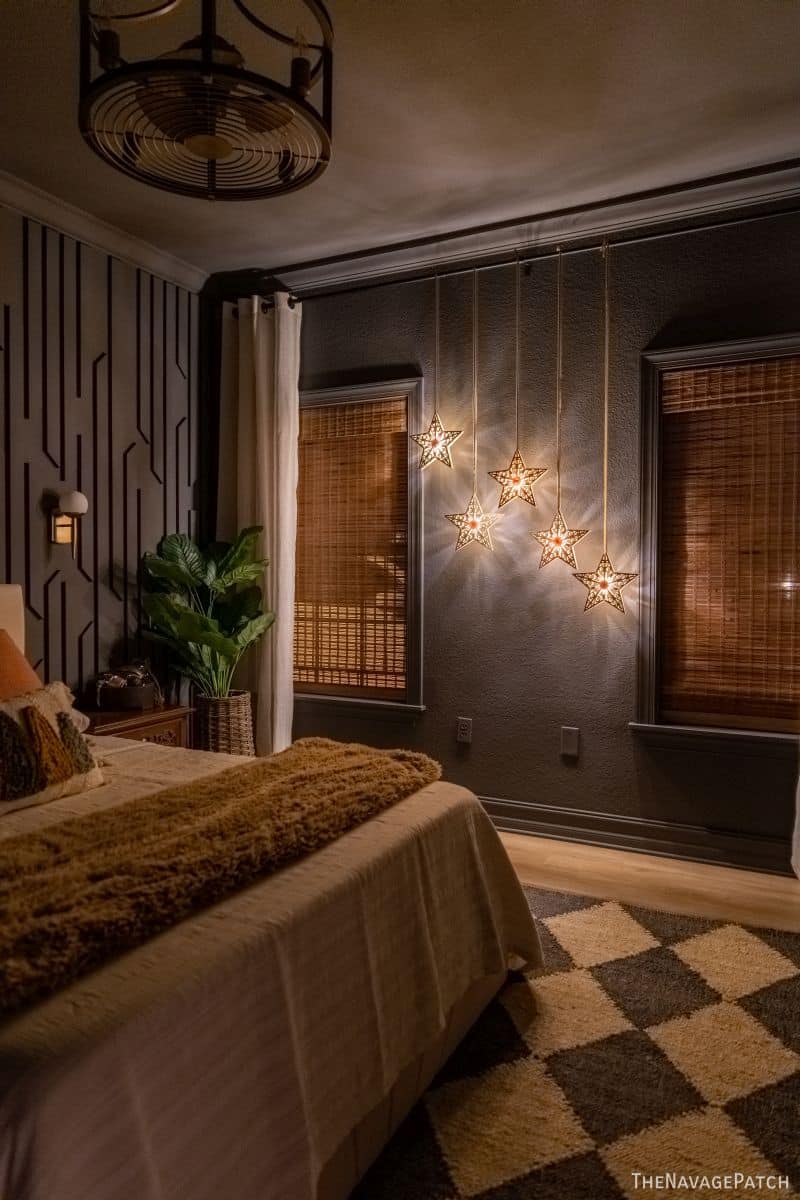
Hi, I love these! What are yours hanging from in your guest bedroom? Def going to make these!!
Thanks, Kay! They’re hanging from a curtain rod we hung all the way across that wall! 🙂
Me encantan tus ideas: fáciles y económicas. Me aportan muchas muchas ideas. Muchas gracias.
Gracias, Rocío! 😊
Love these! I can’t seem to find the stars in the “wild” Dollar Trees in Columbus, OH. Their website sells them in a package with 2 other forms and you have to buy 36 of those packs. Did you get yours individually in the stores in FL?
Hi Jen, we did. I first bought them one store, and then a month later when we needed more, it took more of a search. Unfortunately, that’s the norm for DT – you gotta travel a bit and hit a bunch of stores to find everything. Good luck!
Where did you get the strings of lights? The stars are amazing and seem so easy to do! I have a 100 year old house and hardly any outlets – so battery powered decorations are great.
Hi Mary Ann, they are linked in the supplies list in the post! 🙂
These are beautiful! It looks like the center is red – or is that just how the light looks shining from behind the wooden cube?
Cool, right? That’s the color of the light after passing through the wood!
Does the remote for the fairy lights work for all strands, or it I made 5 stars would I need to operate 5 remotes?
One remote rules them all!
Love this! Thank you for posting. Your crafts are fun, affordable and relatively straightforward
Thank you, Teri!
Did you use the 6.5 ft of fairy lights?
Yes, I used the 6.5 remote controlled lights!
I absolutely love this idea! The light-up wood stars are such a charming touch for home decor. Can’t wait to try making them myself! Thanks for sharing the step-by-step instructions!
These light-up wood stars are such a cute idea! I love how simple the instructions are, and the dollar store materials make it super affordable. Can’t wait to try this for my holiday decor! Thanks for sharing!