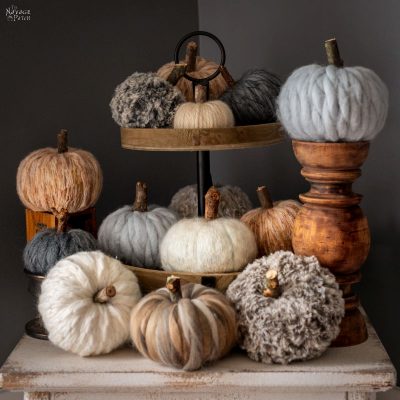
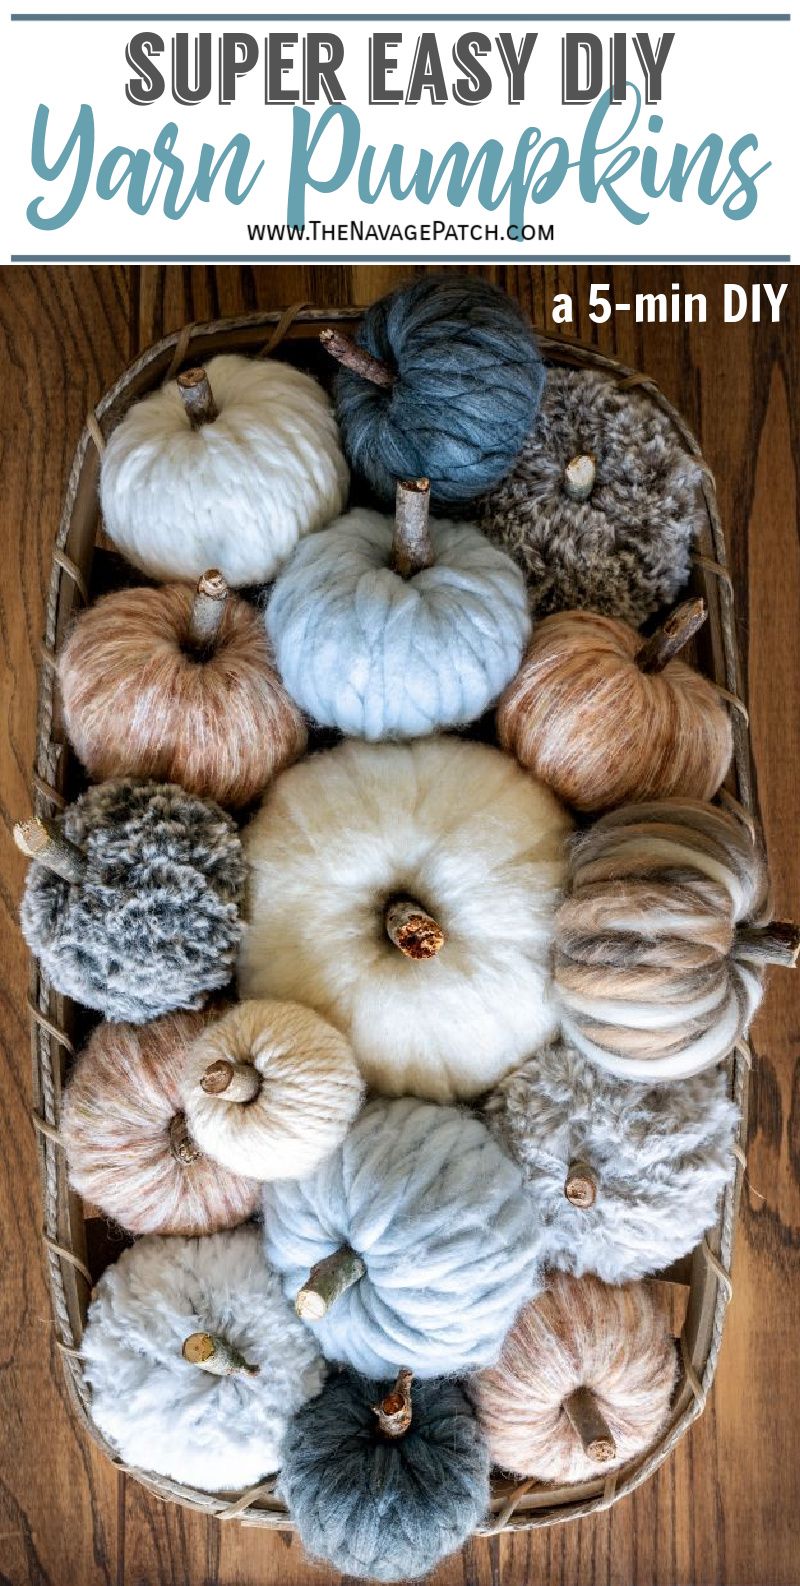
Easy DIY Yarn Pumpkins
Our easy yarn pumpkins are a cinch to make with inexpensive foam pumpkins and yarn from the Dollar Store and Walmart, but they look like a million bucks!

Sometimes my babes just nails it with an idea.
Now, I know what you’re thinking – “Yarn pumpkins? She didn’t think of yarn pumpkins! I’ve seen so many people do them!”
And no one is disputing your claim, madam.
But what Handan did is make them easy. She’s an engineer. It’s what she does!

Anyway, she’d been hoarding foam pumpkins for over a month, buying a handful here from Dollar Tree and an armload there from Walmart (which actually sells them cheaper than Dollar Tree) and even splurging occasionally at Kroger, Michaels and Hobby Lobby.
As usual when she starts laying in vast quantities of a particular craft supply or decor item, I know something is brewing in that squirrel brain of hers – a mighty tempest that will manifest in yet another craft for Your Long-Suffering Author to make, photograph and write about.
So it was with the foam pumpkins.
And here I am writing about it.
You may recall last year, we made some Mambo Yarn Trees and Faux Fur Trees.
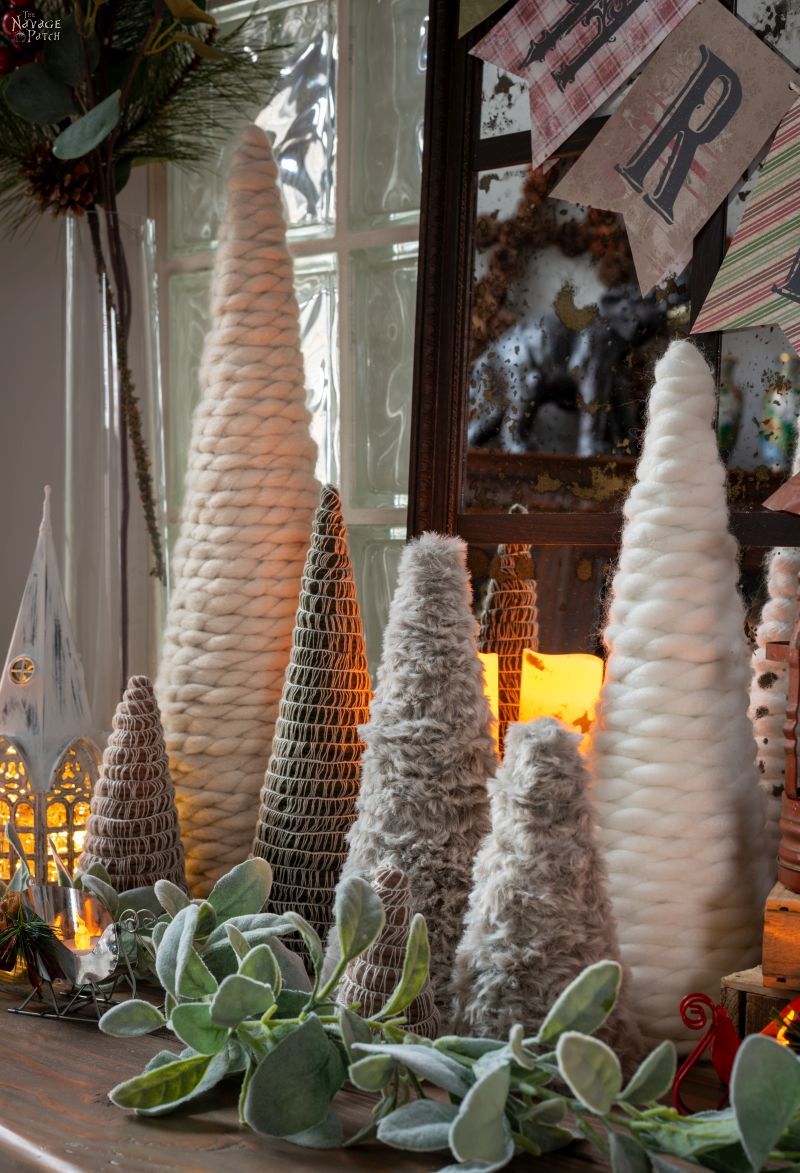
We also used a few other types of yarn to make those trees. The point is, the same thing happened last year as happened this past month – only with yarn instead of pumpkins. Those two projects turned out great.
I think this one is even better!
So, as I said, we were well provisioned with pumpkins. We also had a boatload of thick yarn and a whole bunch of faux fur yarn left over from those previous projects.
Handan’s idea was to make yarn pumpkins (been done before), but do it differently (new and exciting!) We watched videos of women (Always women. Where my dudes at?) using yarn needles (is that what they’re called?) or hot glue. Gah! What a mess! And Handan saw that they all suffered from the same fatal flow that not only made their project harder, but it made the final yarn pumpkin not look as good as it should.
The secret, you see, is in the hole…

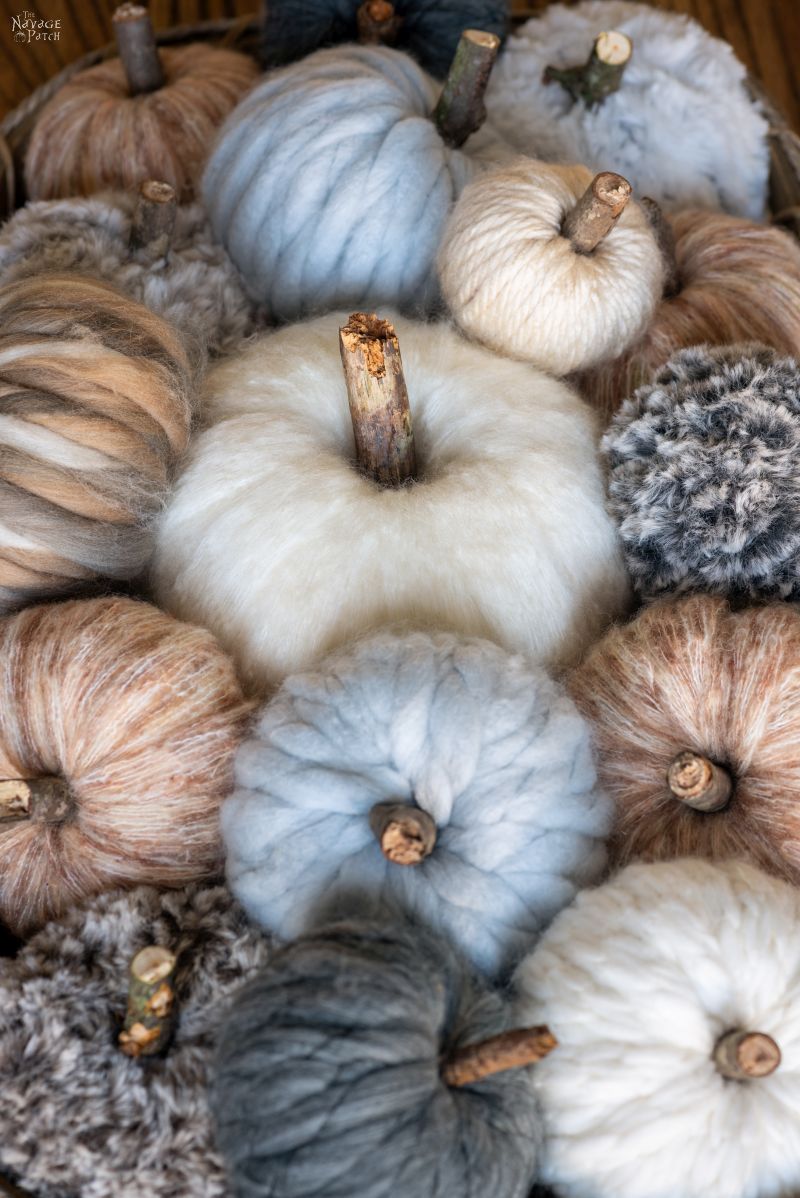
You’d never guess that these easy DIY yarn pumpkins came from such humble beginnings! And we also found some interesting yarn at Dollar Tree, so this can truly be a Dollar Store project should you wish. The yarn pumpkins I made for this written tutorial and for the YouTube video use the Dollar Tree yarn and Walmart foam pumpkins.
Okay enough of my yapping, let’s make some simple stupid yarn pumpkins.
Easy DIY Yarn Pumpkins

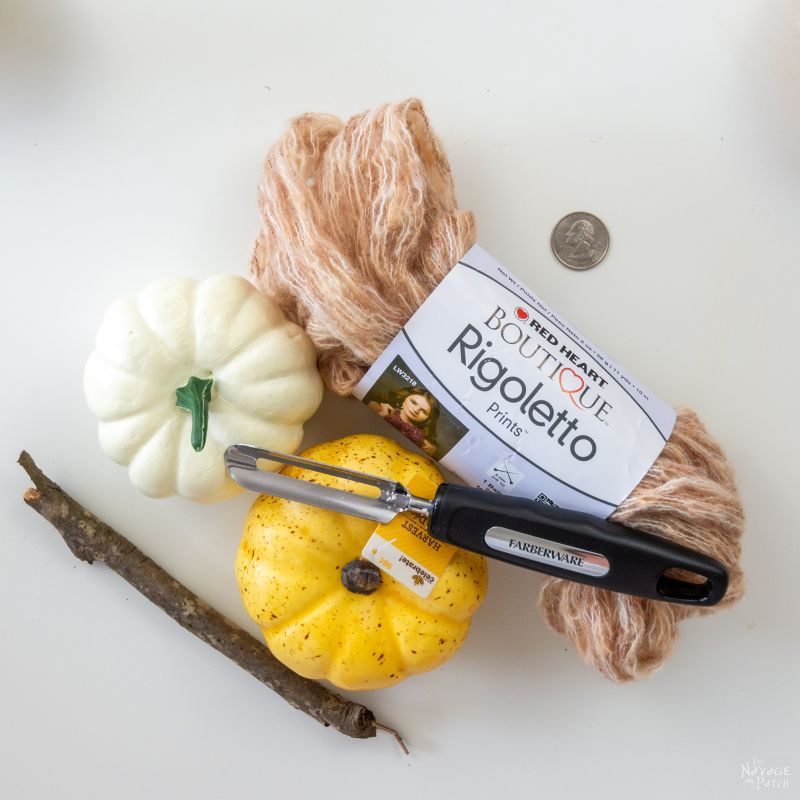
SUPPLIES LIST
Affiliate links are provided below. Full disclosure here.
- Dollar Store foam pumpkins (Walmart sells them for 98 cents)
- Assorted thick yarn, faux fur yarn or Red Heart Boutique Rigoletto yarn (small skeins available at Dollar Tree – it’s what I used for this tutorial)
- Small tree branch pieces for stems (you can also use cinnamon sticks if branches are not available)
- Apple corer or potato peeler with apple corer
- Scissors
- 25 cent coin (yeah, I know it’s a quarter, but if I just wrote “quarter,” you’d be all, “Quarter what?? He forgot something!”)

DIY Yarn Pumpkin Video Tutorial
DIY Yarn Pumpkin Written Tutorial
Okay, you’ve got your pumpkins. Good for you! You’ve taken the first step towards greatness!

Plastic stems are for the birds. Well, not literally, of course! But pull that sucker out of there and throw it in the trash.


Place a quarter over the stem hole – it’s the size of the hole you’ll want for the Red Heart Rigoletto yarn. Other, thicker yarns and faux fur yarns will require a bigger hole. More on that later.

Stab around the circumference of the quarter to mark your hole.

Dig a circumference down about halfway or more.

Then flip the pumpkin and dig from the other side. No need for the quarter – just eyeball it.


If your foam starts breaking up while you’re digging, just pull it out. This isn’t brain surgery, madam! No need for a delicate touch!

When you’ve broken through, simply push the rest of the styrofoam out with a finger until you have a clean hole through your pumpkin.

Time for the yarn. Measure and cut about 3-4 feet of the Red Heart Rigoletto yarn. If you’re using other thicker yarns or faux fur yarns, then make that cut at about 6-8 feet just to be on the safe side. Grab an end, tie a knot and shove it through the hole. The knot on the end makes it easier to push the yarn through and to pull it out from the other side.


Grab the end and pull the yarn through the hole.


Once you have about half the yarn pulled though, feed it back through the hole: push the knot in, pull the knot out from other end and wrap.


Push the knot in, pull the knot out, and wrap.


Push, Pull and Wrap. Couldn’t be easier!


It’s a lot like making a loop yarn wreath, but you don’t need to pin anything on the pumpkin.
More Easy DIY Fall Decor Ideas
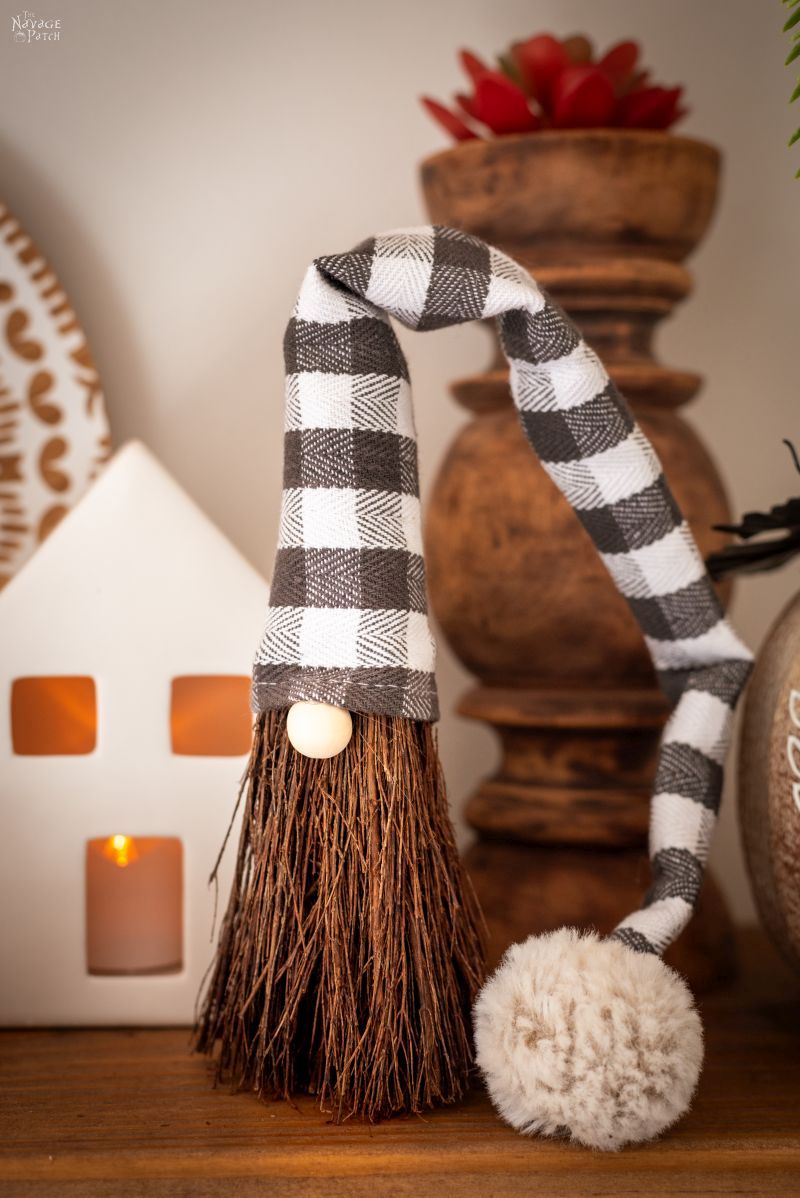

- DIY Scented Broom Gnomes
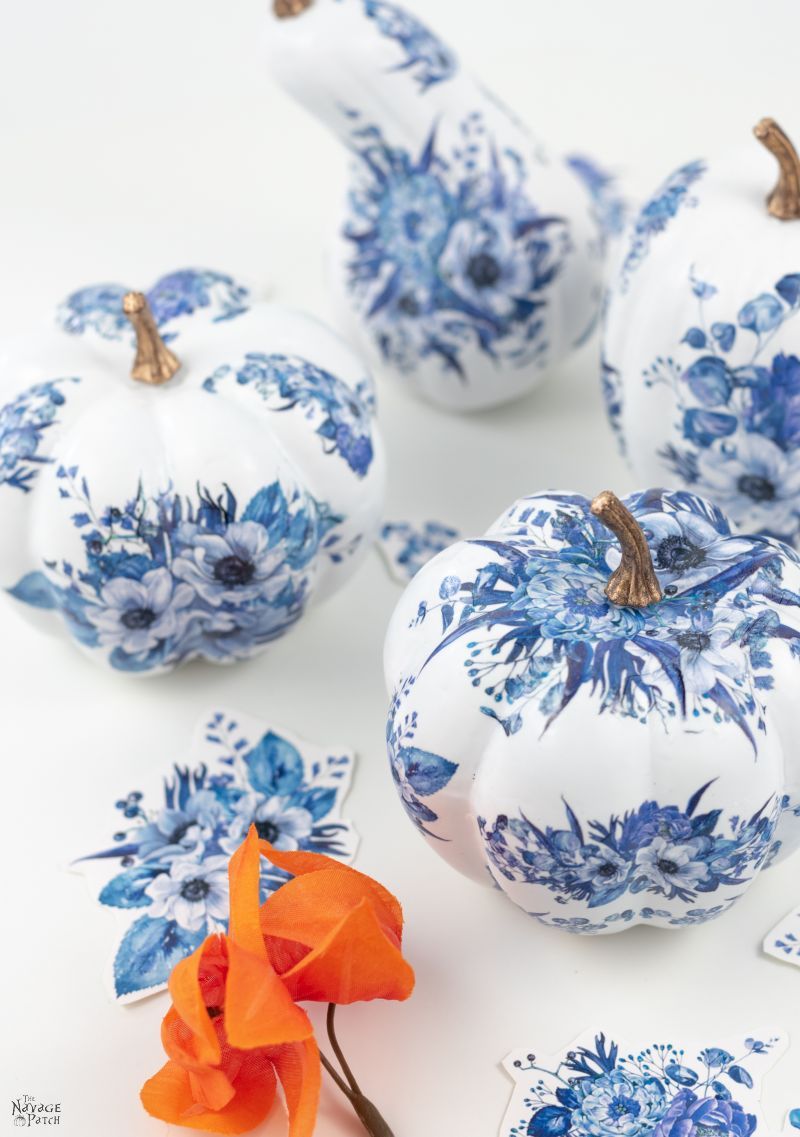
- DIY Dollar Tree Blue & White Porcelain Pumpkins
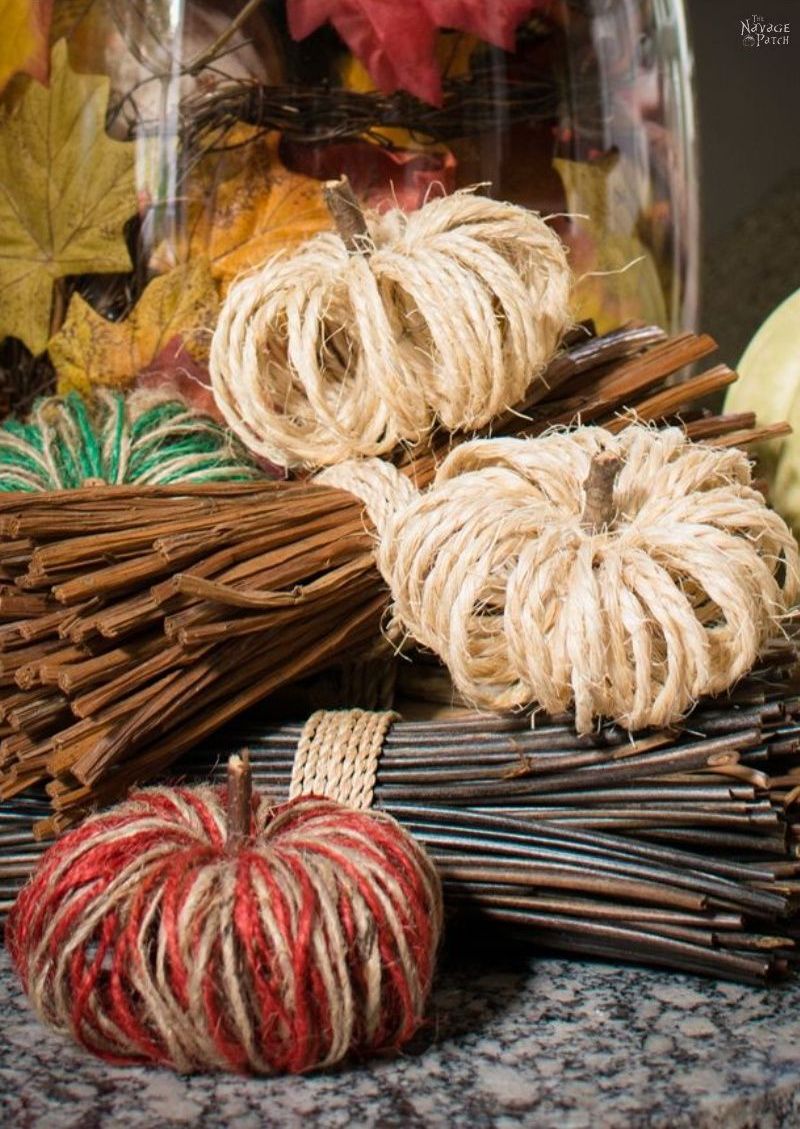
- DIY Sisal Twine Pumpkins
- DIY Dollar Tree Fall Wreath
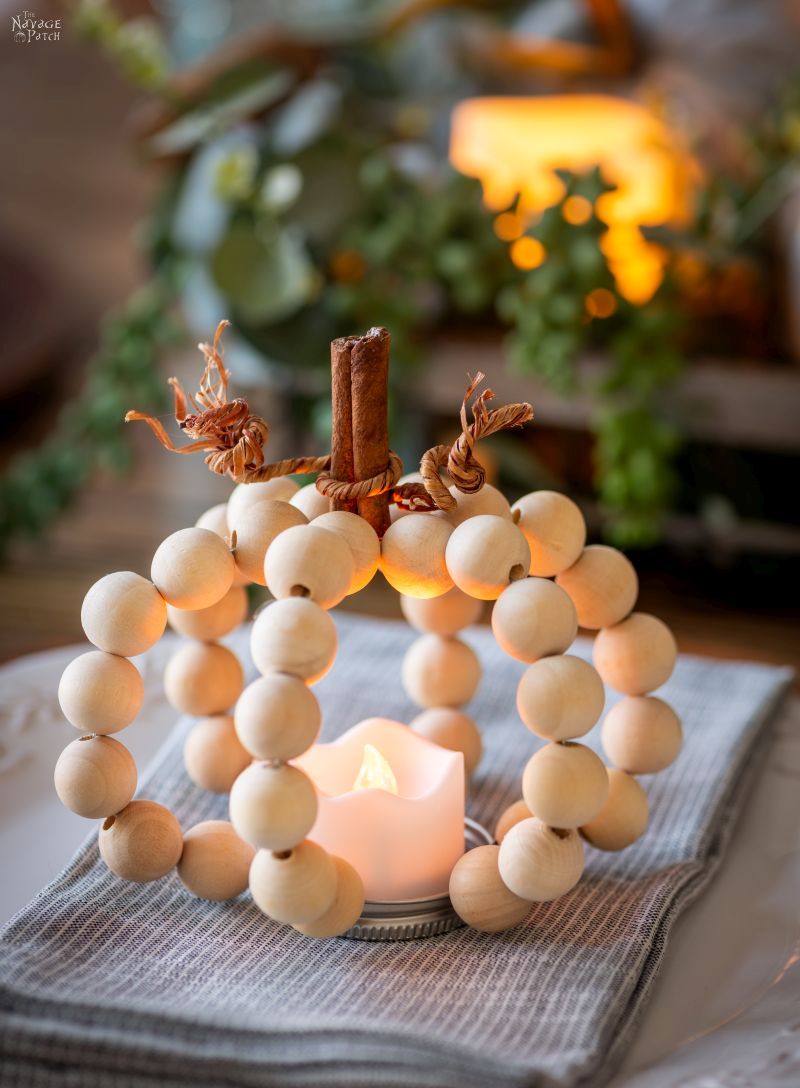
- DIY Wood Bead Pumpkins
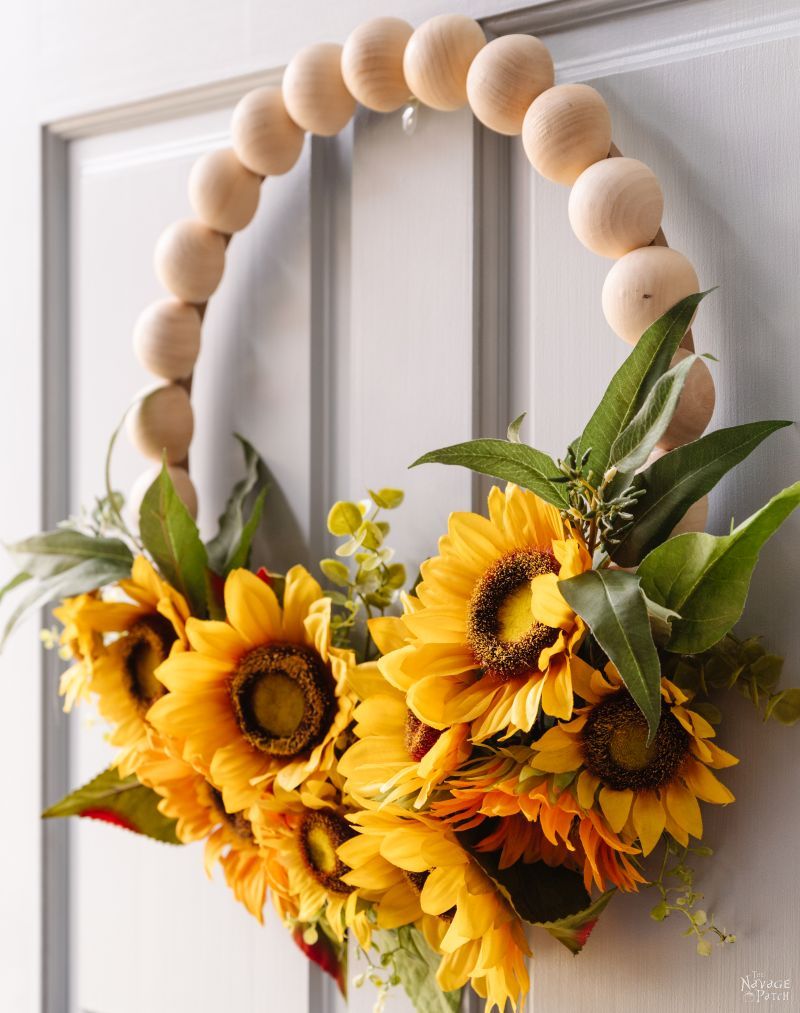
- DIY Fall Bead Wreath
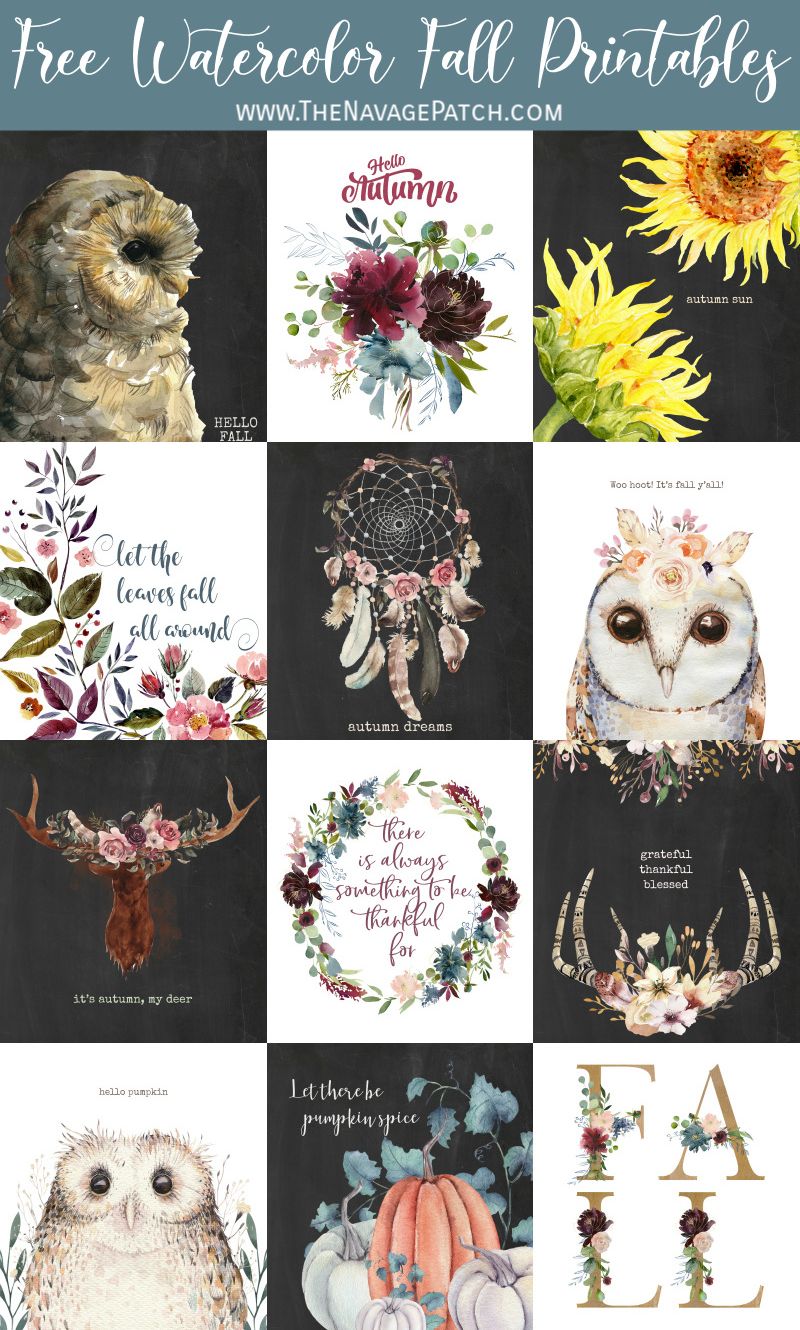
- Free Watercolor Fall Printables
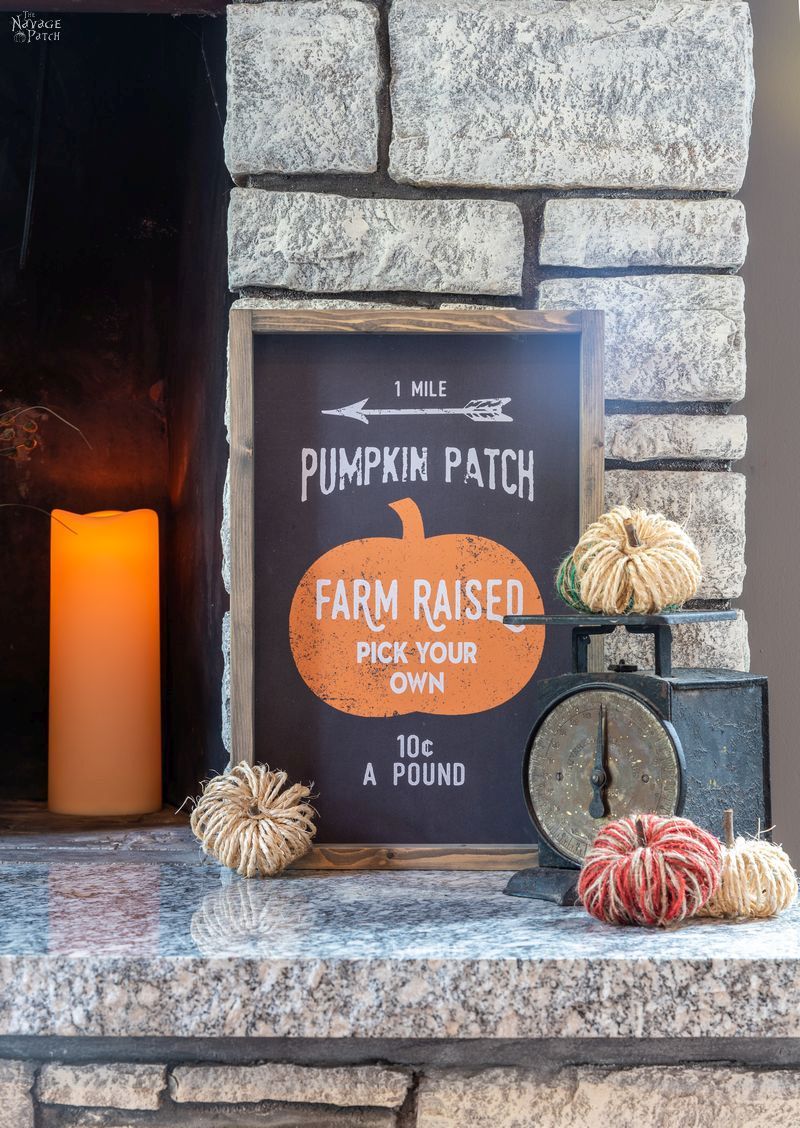
- Pottery Barn Inspired DIY Fall Signs (With Free Printables)
- Amazing FREE Vintage Botanical Prints
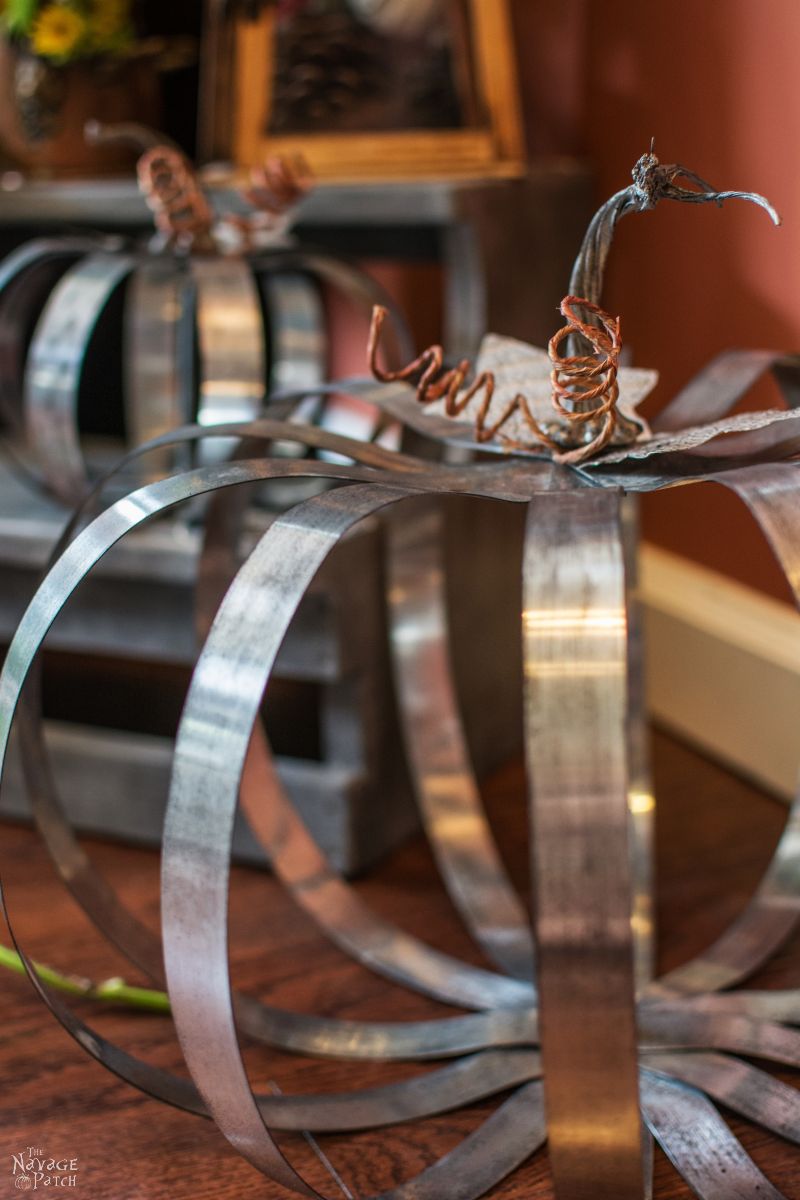
- Pottery Barn Knockoff Metal Pumpkins
Once you reach the end of the yarn, just let the piece dangle and go to work on the other end.

Flip the pumpkin over, and tie a knot in the other end of the yarn

Repeat what you were doing before: Push, Pull and Wrap!


When you’ve covered the entire pumpkin, set aside the piece you were working on for a moment.

Trim the first end and tuck it into the hole.


For the last wrap, look for any places that have a thinner cover or any pumpkin showing through, and bring the yarn up to cover that spot.

Trim most of the excess.

Then push the end into the hole.


Grab your stick piece and push it in.


I told you it was easy! Time from start to finish: about 5 minutes.

Now go crazy with some other yarns! We used all sorts to make ours. Note that the faux fur yarn shown below is pretty thin. To make wrapping faster, we doubled it over and tied a knot at the fold. But Lion Brand also has other faux fur yarn named “Go for Faux, Thick & Quick” which we used for our DIY Faux Yarn Christmas Trees and some with our pumpkins. If you’re using Thick & Quick, you don’t need to double it over.

For the thicker yarns, you’ll need a wider hole. Don’t worry – it may look enormous at first, but the thick yarn will fill it up by the end.

That’s that! Super simple (and cheap!) DIY Yarn Pumpkins that look like something Hobby Lobby would sell for $9.99!


We love to see our craft projects out in the wild! If you try this seasonal craft project, take a picture and post it on Instagram, be sure to tag us – thenavagepatch


Share it on Pinterest & Facebook!


Super cute and super simple! My kind of craft!
Totally simple! ?
Love these pumpkins. They look like like they were purchased from a boutique. Can’t wait to try this!
Thank you, Deborah! They really do look amazing! 🙂
This is one of those why-didn’t someone think of this before ” ideas!
Question-Some of the pumpkins look like yarn was braided. Is that just due to folding the yarn over?
I know, right? Those pumpkins were made with thick braided yarn – nothing complex about this project! 🙂
Great project! Watching the video, I was wondering how long it would take you to run the yarn through your fingers to keep the twists out, but you got it towards the end. I wanted to reach through the screen and show you how! Love how you wound it from both ends; I firmly believe in energy conservation–especially when it is MY energy! Gotta go check my yarn stash and see if I already have some yarn that work for this one!
LOLOLOL! Obviously I’m new to the whole yarn thing! I’ll get it eventually though!
OMG!! Are these pumpkins cute or what? I can’t wait to go to the $ store tomorrow. Hope they have their shipment of pumpkins. And the white Loopy Yarn wreath, I’m making those, too. If you lived next door, I’d be over to steal what was left of the baby blue yarn. I want a pumpkin just like yours I can taste it. Thank you, thank you. Stay safe!
Thanks, Beverly! Don’t forget Walmart! They’ve got great little ones for under a buck!
Love them! Great idea to cut all the way through for easier wrapping!
Thank you, Audra!
I saved this post before I even watched the video. I knew this was going to be an awesome tutorial. Can’t wait to make over my dollar tree pumpkins! Thanks for sharing! So glad I found your blog!
Thank you, Marsha – we’re glad you found us, too! 🙂
My 12yo daughter and I had a great time making these. They were easy, but look like they came from a boutique!
Oh good! We love to hear success stories! 🙂
I can’t wait to make these next year. Plus, I just saw DIY yarn Christmas trees at Joanne’s this year, so I’m glad you have that project too. They are both great.
Thank you so much, Theresa! 🙂
Can you tell me what brand(s) of yarn you used? Particularly the cream-colored pumpkin in the middle and the multi-colored pumpkin next to it? I can’t find anything online or in stores that looks like it. Thanks so much!
Not only are these absolutely gorgeous, but it was fun to read through your tutorial as well. I lost this page, but found it again and this is how I will be spending my day today. Thank you for the inspiration. Can’t wait to get started.
Ummmm why in the heck didn’t I think of this?!?! BRILLIANT! I bought a bunch of pumpkins last year and spent forever trying to paint them only for them to look like trash. So I gave up. Luckily I hoard craft supplies like glitter and glue sticks will save me in the zombie apocalypse so I still have the half painted pumpkins!! This is perfect to do while watching a bit of tv. My kind of craft! Thank you!!
You’re welcome, Kaitlin! I hope you have fun with it! 🙂
A little tip: I found that I saved a lot of yarn–and searching for my needle from the middle of a yarn-dense pumpkin–by catching the yarn at the top then again at the bottom–back and forth, back and forth–versus always going through the pumpkin. Thanks for the idea!
Ahhh! Thanks for the tip, Barbara!
I’m trying – and failing – to visualize this. Do you mean going through like a figure 8?
I love your yarn pumpkins! They are exquisite! I have gathered materials and I am planning to craft them with my teen granddaughters when they are here next weekend, I love your yarn colors and styles in particular and I have found suitable yarn matches for our project, but I cannot find the soft variegated yarn used on the pumpkin shown right above the supplies list. It is ivory, brown, gray… Would you please tell me the manufacturer, type, and color name? Thank you so much!
Hi Linda, I believe that is this yarn here.
Thank you for the link to the yarn. I ended up crafting these yarn pumpkins with my teen granddaughters this weekend! We used your beautiful color scheme inspiration and made almost three dozen pumpkins for two baskets! We found our foam pumpkins on clearance at Hobby Lobby and also got some from Amazon. We used pumpkins in a variety of sizes and about a dozen different kinds and colors of yarn.
We developed our own technique though where we would fold a long length of yarn in half, insert the loop formed at the half way point into the top of the pumpkin and out the bottom, then put the two ends through that loop and pull tight. Then we went over and over with our loose ends of yarn two at a time through the top hole of each pumpkin and out the bottom until finally two shorter tails were left hanging out the bottom, pulling tight each time. If we needed more yarn to finish a pumpkin, we just cut another length and repeated the process until the pumpkin was completely covered and all the tails were out the bottom. We found that yarn in shorter lengths of 4 to 6 yards or shorter were more manageable. Then we inserted a stem into the top and cut off the pieces of yarn sticking out of the bottom hole. We used some vine wrapped wire circled around a pencil and put the curled “vine” under the stem before pushing it into some of the large pumpkins. Our stems were cut from branches from a trimmed tree from our yard.
Our finished yarn pumpkins are gorgeous and definitely look expensive… like they were purchased from a boutique… And we had a great time crafting together! Thank you so much for your idea, your inspiration, and your help!
I’m so happy to hear this, Linda, and your pumpkins sound amazing? If you are on Instagram, could you post some pics and tag us? If not, please email me some pics at greg@thenavagepatch.com. We can’t wait to see your creations! 🙂
I love these! I made a bunch to coordinate with my upcycled sweater pumpkins that I also make. I found that if the original pumpkin is a really different color than the yarn I’m using, I just brush on a quick coat of craft paint (similar color to the yarn) before wrapping and it helps hide any areas that want to peek through, especially when using yarn that is not quite as chunky.
/Users/jaymie/Desktop/Business stuff/Products/Pumpkins/Yarn Pumpkins/IMG_5679.jpeg
Oooh, that’s a great tip, Jaymie, thank you!
I have a confession to make. I have never watched a video of you before today. I saved everything for when I get the supplies. Today I watched and it was so much fun reading what the other pumpkin had to say about you. Which is why I follow you two, You make me laugh and after I feel good all day long. So thank you for the great craft ideas and for the laughter. Love you guys.
Thank you so much for writing this comment, Judy! Your uplifting words have made me feel so much better and ready to tackle another day! 🙂