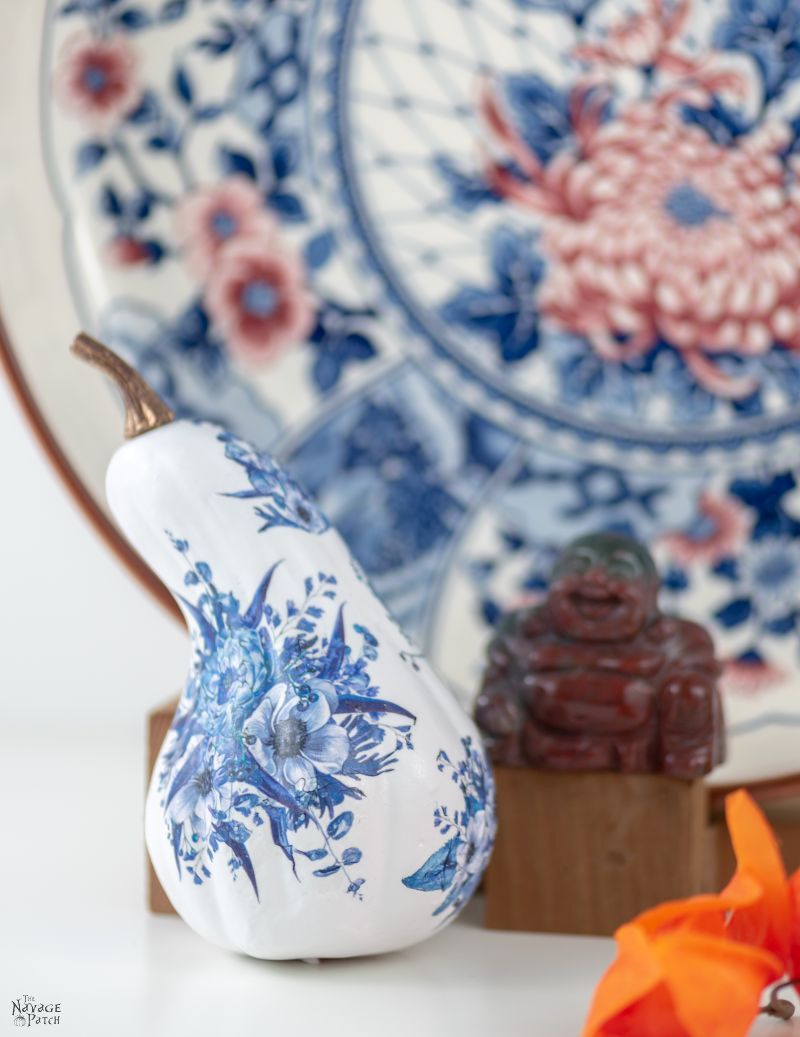
DIY Dollar Tree Blue & White Porcelain Pumpkins
These DIY Blue & White Porcelain Pumpkins look worthy of a museum! You’d never guess they started as humble dollar store pumpkins!
My babes is a sucker for blue and white porcelain.
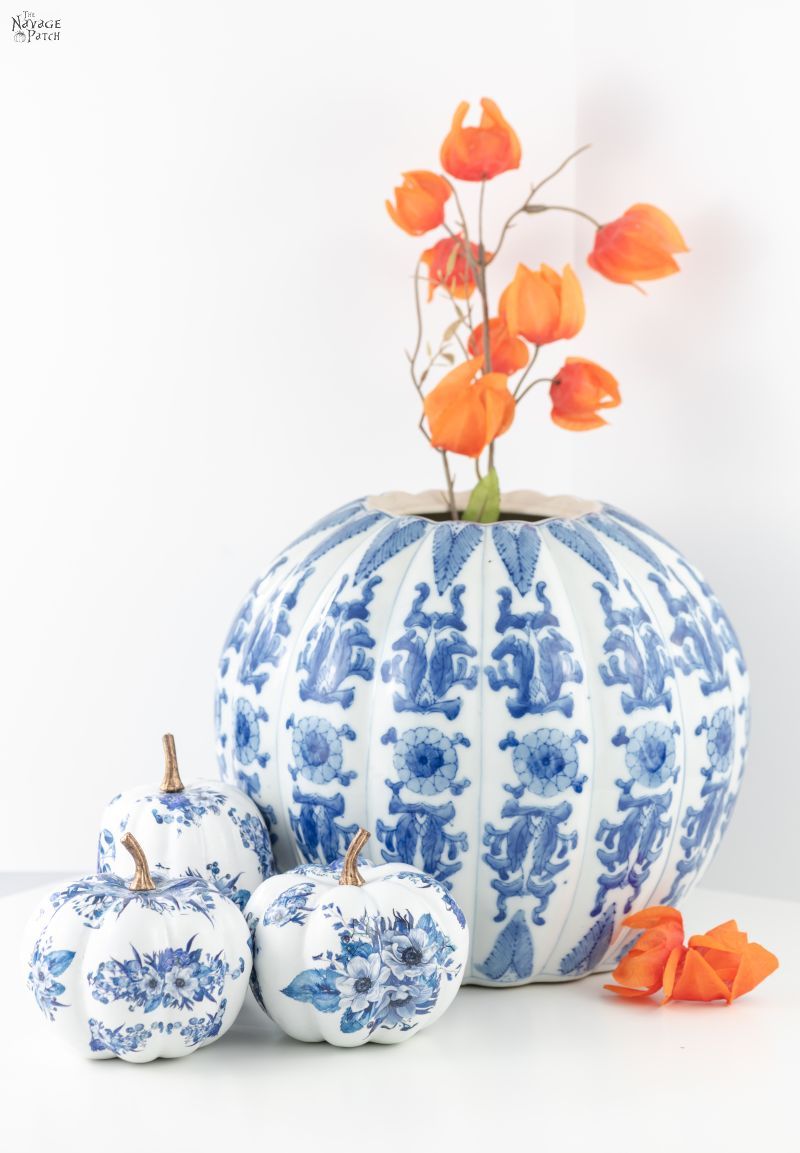
For years, she’s been trying to fill our living room bookcases with blue and white porcelain pieces. It all started with a vase she painted. You can see it there all lonely in the corner of the far cabinet.

But you know Handan. She’s not going to pay full price – even for the blue and white she holds so dear.
So we’ve been collecting pieces at a snail’s pace.
One here from a secondhand shop.
One there from a tag sale a year later.
And so on.
It wasn’t until this summer that we finally filled those cabinets with blue and white porcelain pieces.
But was it enough for my babes, the blue and white addict?
Well, kinda.
But then again, it wasn’t.
I mean, she had her fill of actual blue and white porcelain. In fact, we now have a little bit more than we can display.

But my babes wanted just a wee bit more…you know, just for the season.
From pumpkins.
Dollar store pumpkins.

And tattoo paper.
She wanted DIY dollar store blue and white porcelain pumpkins!
And she wanted me to make them for her.
The woman was on to something.
I could sense it.
And when she’s on to something, she won’t let go until she gets it.
I gotta stop here and tell you two things.
Second, of all the hundreds of crafts and upcycles we’ve done, I think this one is my favorite!
It’s top three at the very least.
DIY Dollar Tree Blue & White Porcelain Pumpkins
DIY Dollar Tree Blue & White Porcelain Pumpkins SUPPLIES LIST
Affiliate links are provided below. Full disclosure here.
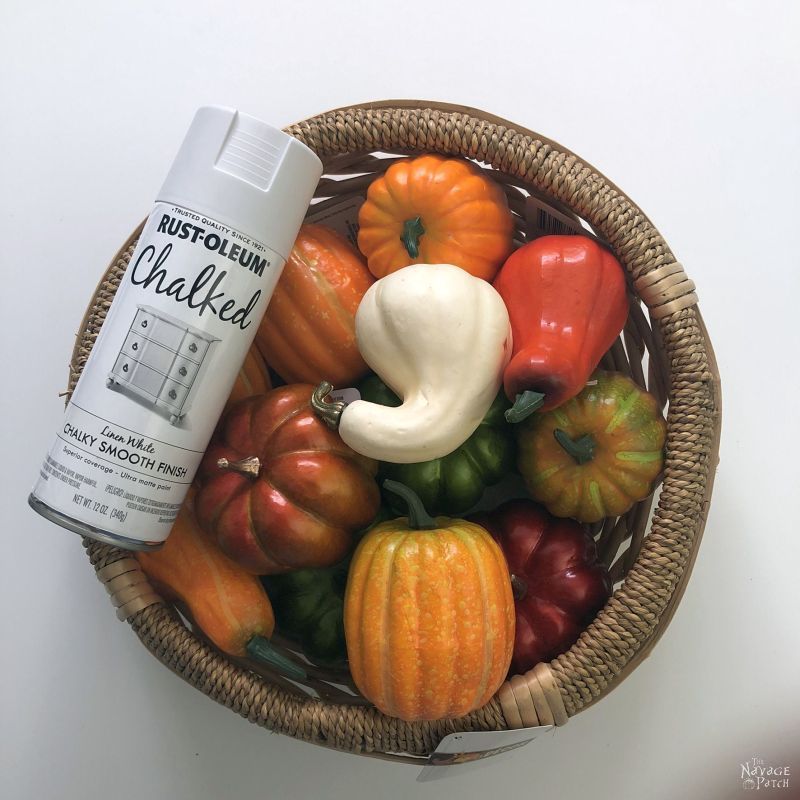
- Dollar store pumpkins
- White spray chalk paint
- Temporary tattoo paper – we used Silhouette temporary tattoo paper as it can be used with ink jet printers.
- Free printable blue floral designs
- Inkjet printer
- Scissors
- Washcloth or microfiber cloth
- Gold or silver spray paint (for stems, if needed – some pumpkins already have gold stems)
- Triple thick glaze

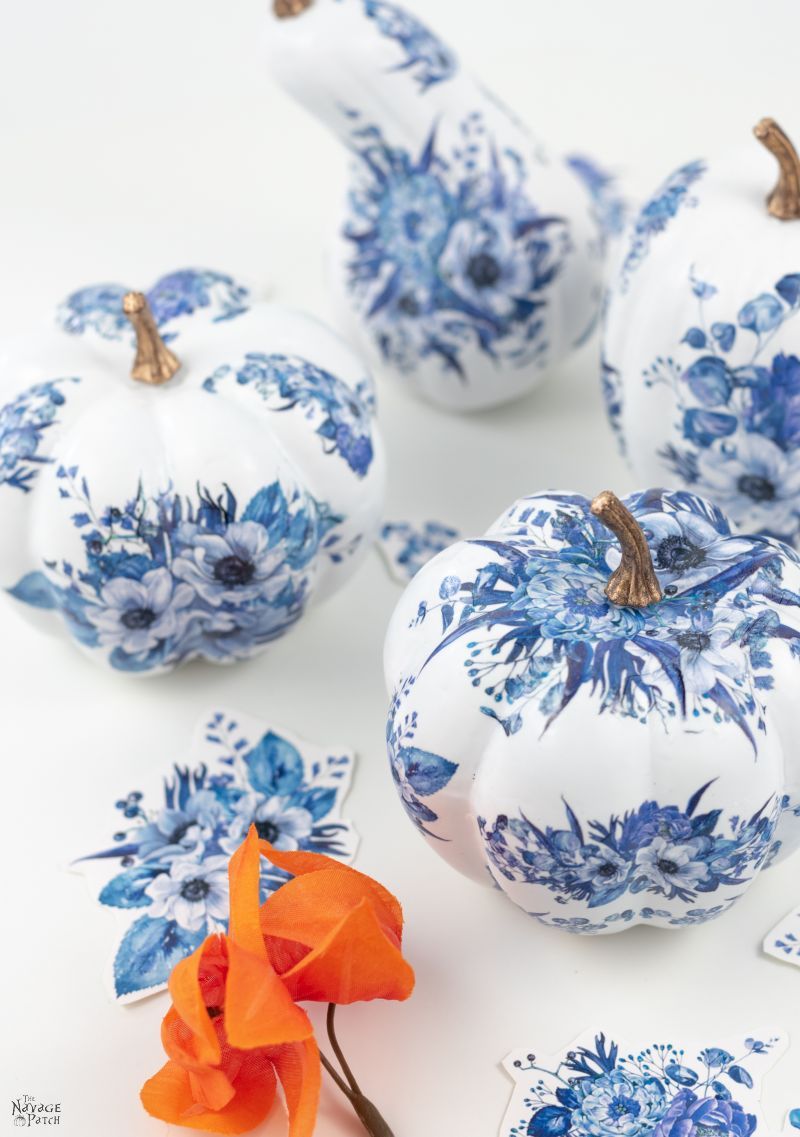
These blue & white porcelain pumpkins hit all the right notes for a stellar crafting project: they’re cheap, they’re easy, and they would look right at home behind glass in a museum of fine art!
The moment the glaze had dried, I knew we had a winner on our hands, and I just couldn’t wait to take pictures and start writing this post!
Let’s see how it’s done!
DIY Dollar Store Blue & White Porcelain Pumpkins Tutorial
Step 1 – Paint the pumpkins
First I removed all the pumpkin stems. That was easy – I just pulled them out.
We’ve been wanting to try Rust-Oleum’s Chalked spray paint for a while now, but we haven’t had the chance.
These pumpkins presented the perfect opportunity.
Now, normally, we’d mix up a batch of the best DIY chalk paint in the known universe, and thin it for our paint sprayer.
But this was a small project, and we wanted something a little quicker, so we turned to Rust-Oleum’s Chalked in Linen White.

You all know how to spray paint, I trust, so I won’t spend too much time on this step.
I will say, though, that I sprayed about 4-5 coats. I like to use thin coats with spray paint. It’s not only better for adhesion, but you avoid drips that way, and the end result is much nicer than one thick coat. With spray paint, you only need to wait a few minutes between coats, so don’t think that 5 coats of paint is going to take you all day.

If your pumpkins have green stems, I’d recommend spraying them some sort of dirty gold color or maybe silver. Ours came in a mix of green and aged bronze/gold color that was a perfect complement to the white and blue pumpkins.
When the paint was fully dry, we moved the pumpkins back inside to be tattooed.
Step 2 – Print and trim designs
We printed our blue floral designs on tattoo paper using our inkjet printer.

Then I cut out and trimmed around each design. Since cut these designs with scissors, there was no need to use the special backing that comes with the tattoo paper. That backing is only needed when cutting designs on the tattoo paper with a Cricut or Silhouette. It also protects the tattoo design from grubby fingers. As long as your hands are clean and dry, you won’t need the backing. Trust us on this – we’ve tattooed lots of pumpkins already and dozens upon dozens of Easter Eggs without using the backing sheet, and we’ve never had a problem!

Step 3 – Tattoo the pumpkins
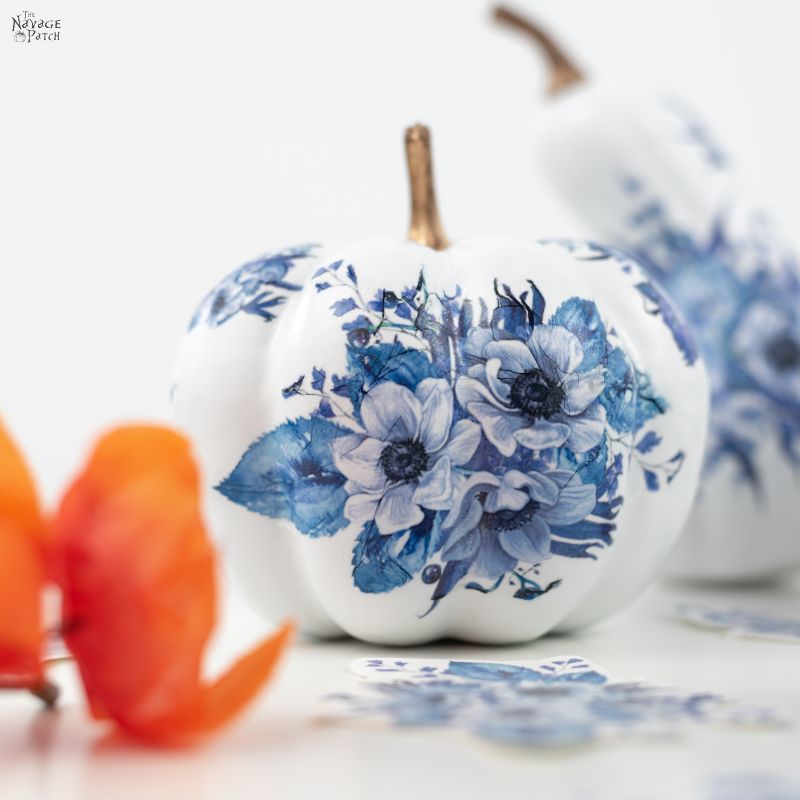
For this step, I first wet my microfiber cloth and then rung it out until it was nearly dry.
I positioned a tattoo facing up so I’d have a sense of how it would look.

Then I flipped it over and held the printed side against the pumpkin.

I carefully covered the tattoo with the damp cloth and pressed evenly all around without moving the tattoo.

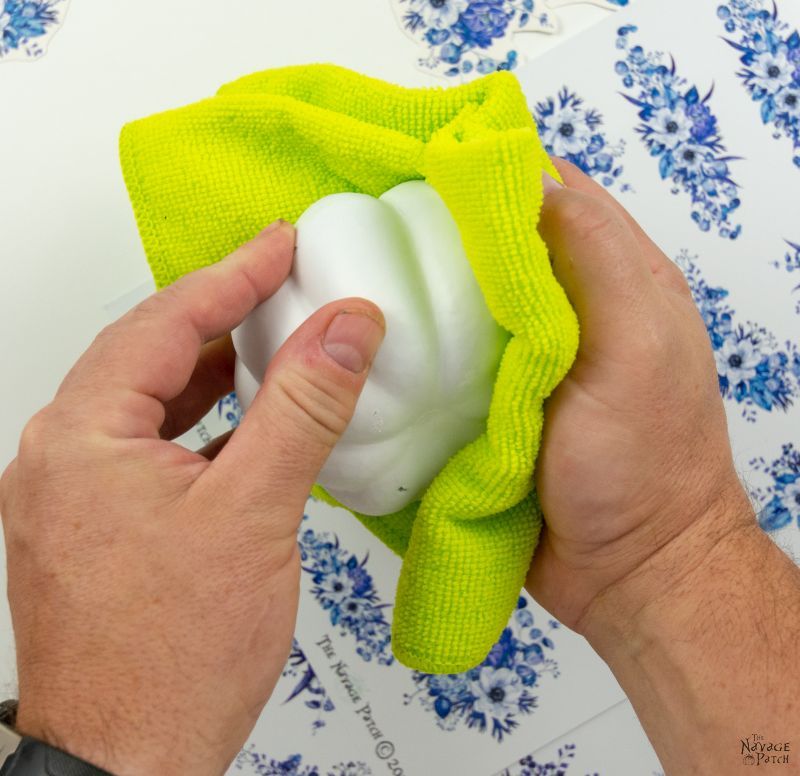
Since the pumpkin has grooves, I used my finger to press the tattoo into those grooves.

It won’t take long to transfer. After a minute or so, I slide the backing from the tattoo.

There will be areas where the tattoo didn’t fully stick – usually in the grooves. To fix those areas, I wrapped the damp cloth around my finger and lightly dabbed and pressed the areas until the tattoo stuck to the grooves of the pumpkin.


I repeated this process with different designs all around the pumpkin.
Get creative here. Use as many or as few as you’d like!
Let’s also connect on
Step 4 – Seal the blue & white porcelain pumpkins
When I was satisfied with the tattoos, I took my pumpkins outside for a gloss coat. Rust-Oleum’s Triple Thick Glaze is perfect for this step, as it goes on clear, dries glossy, and stays clear.

As with the painting, applying several light coats is the way to go with Triple Thick Glaze. I gave each pumpkin 4 coats, waiting a few minutes between coats.
I used a coat hanger cut into pieces to hold each pumpkin while spraying, and then I stuck the hanger pieces in a box to let the pumpkins dry.

After letting them dry for a couple of hours, I stuck the stems back in and brought them inside.
So what do you think of our DIY dollar store blue and white porcelain pumpkins?

I think Handan hit it out of the park with this idea.

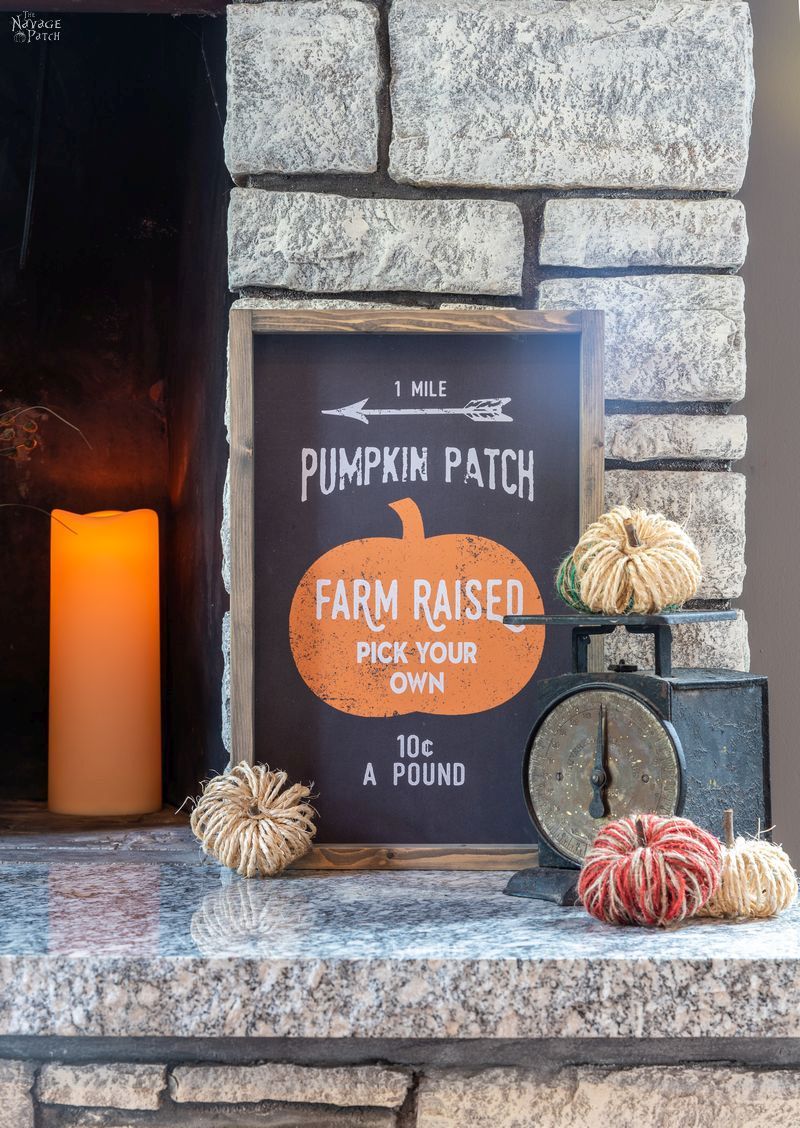
More Easy DIY Fall Decor Ideas
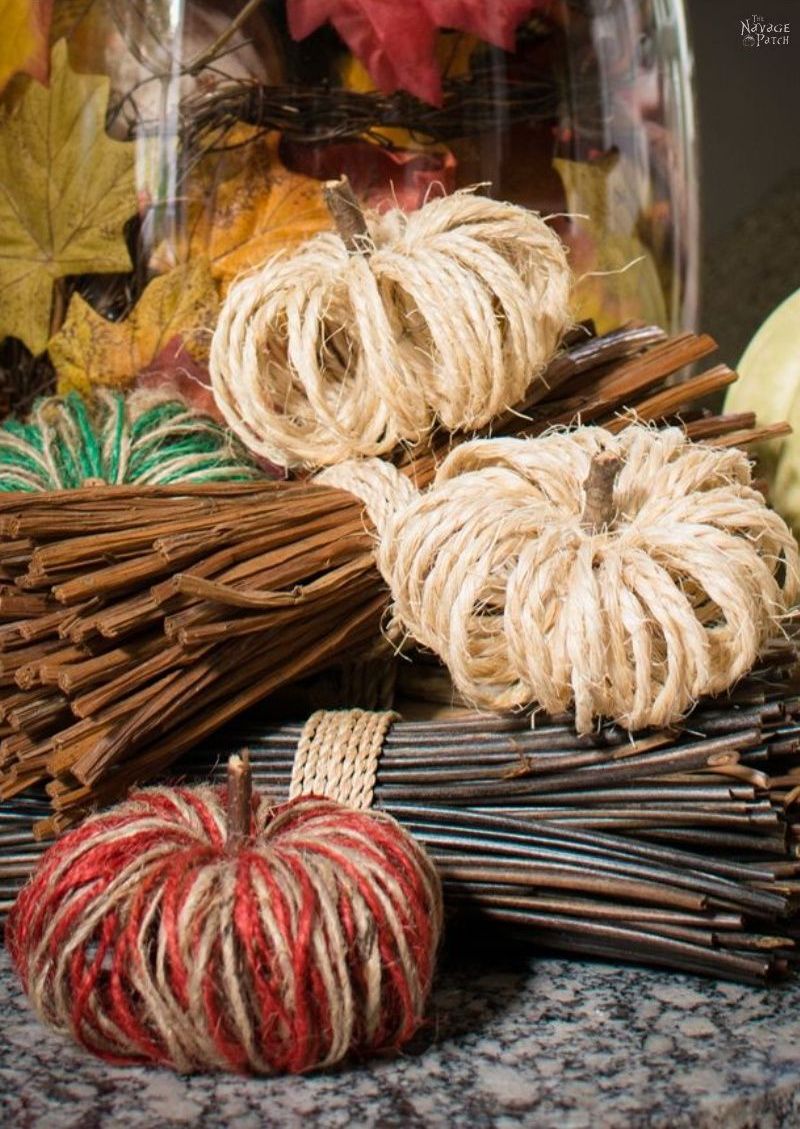

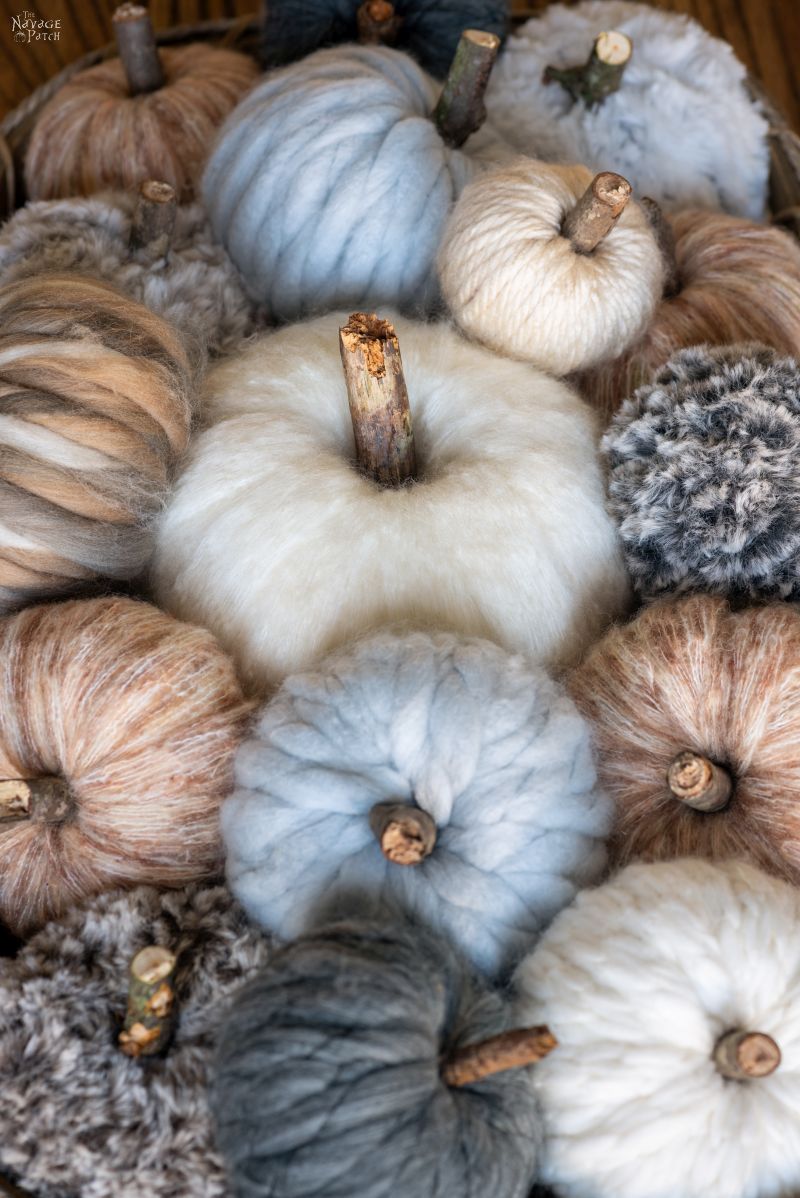
- Easy DIY Yarn Pumpkins
- DIY Scented Broom Gnomes
- DIY Sisal Twine Pumpkins
- DIY Dollar Tree Fall Wreath
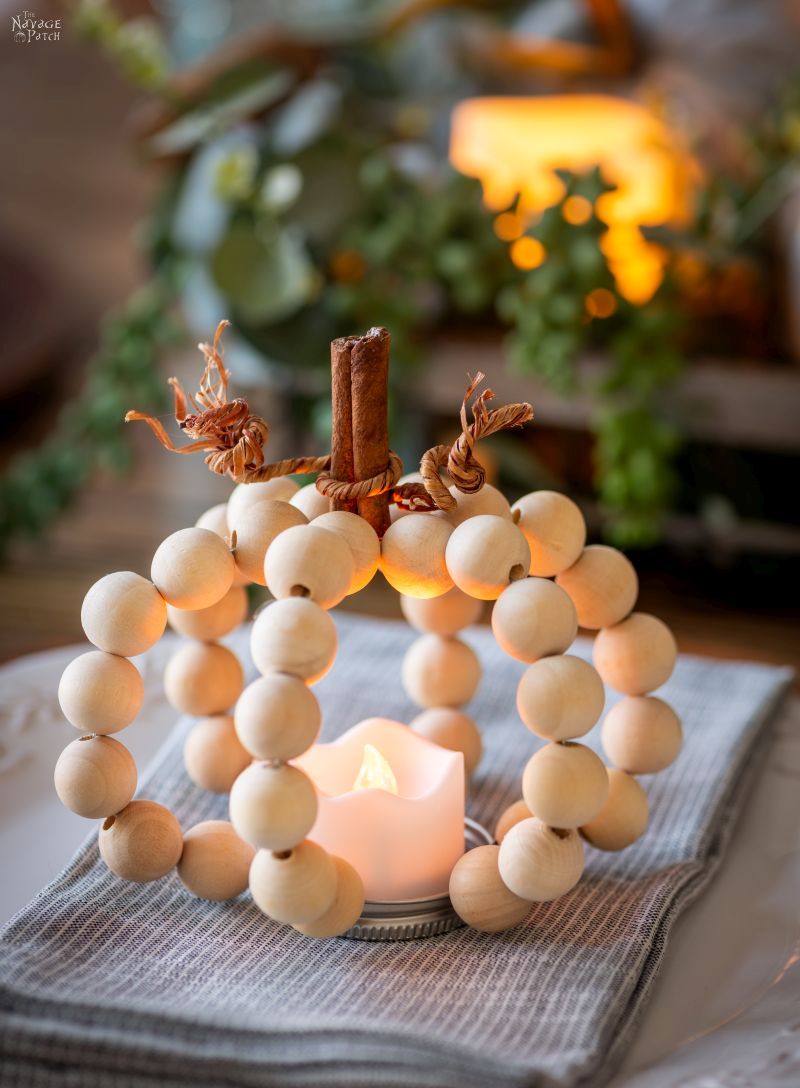
- DIY Wood Bead Pumpkins
- DIY Fall Bead Wreath
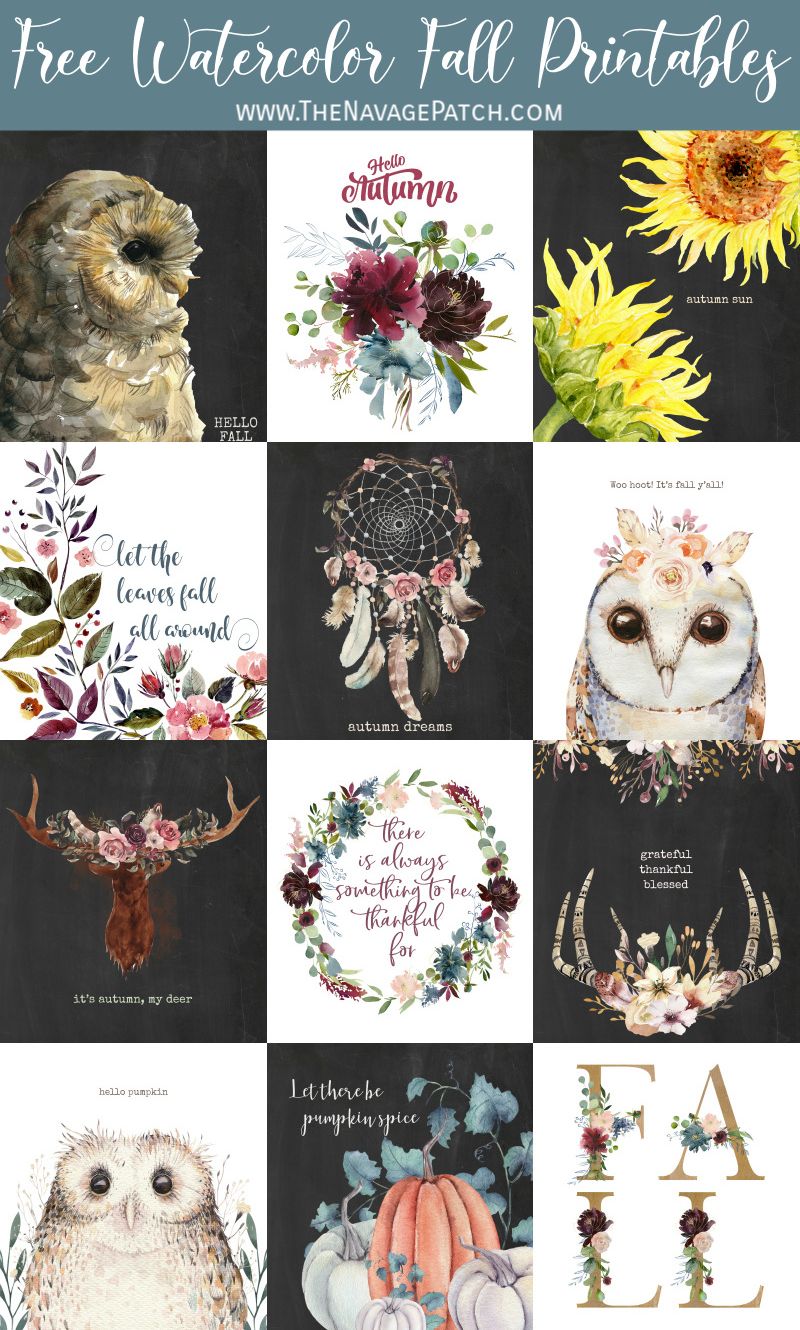
- Free Watercolor Fall Printables
- Pottery Barn Inspired DIY Fall Signs (With Free Printables)
- Amazing FREE Vintage Botanical Prints
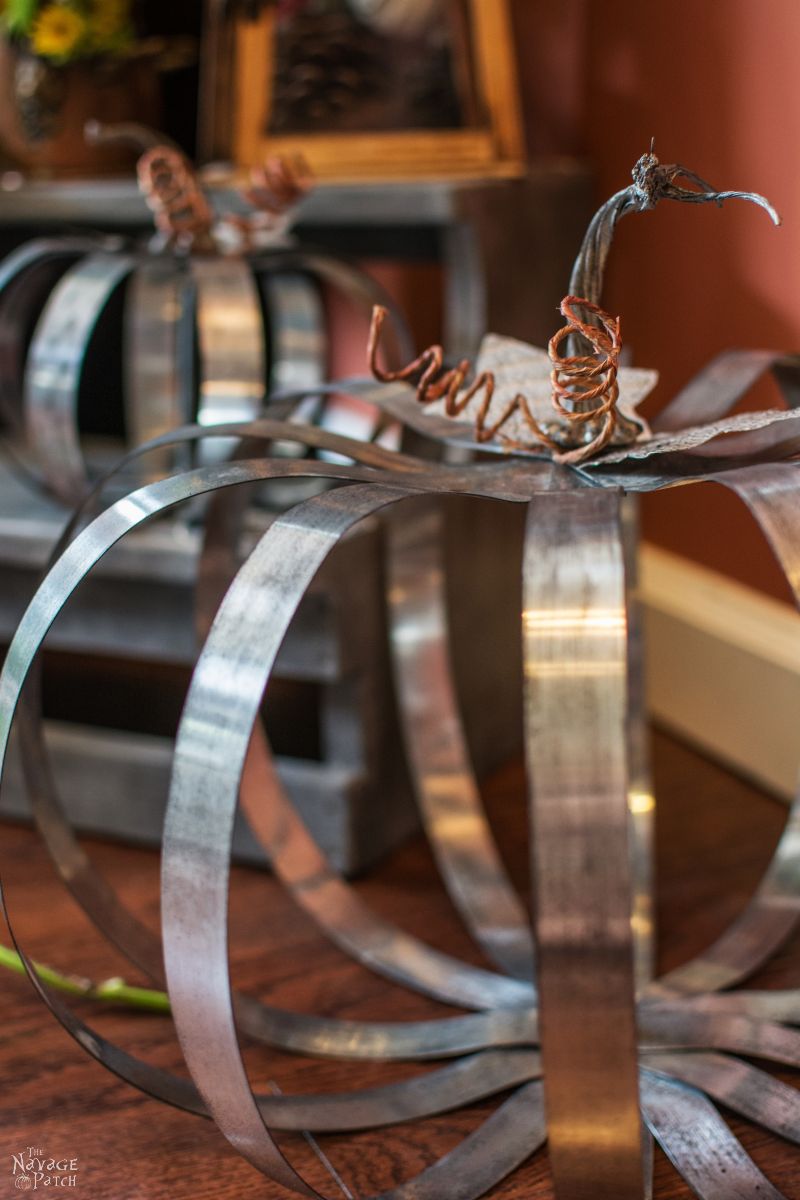
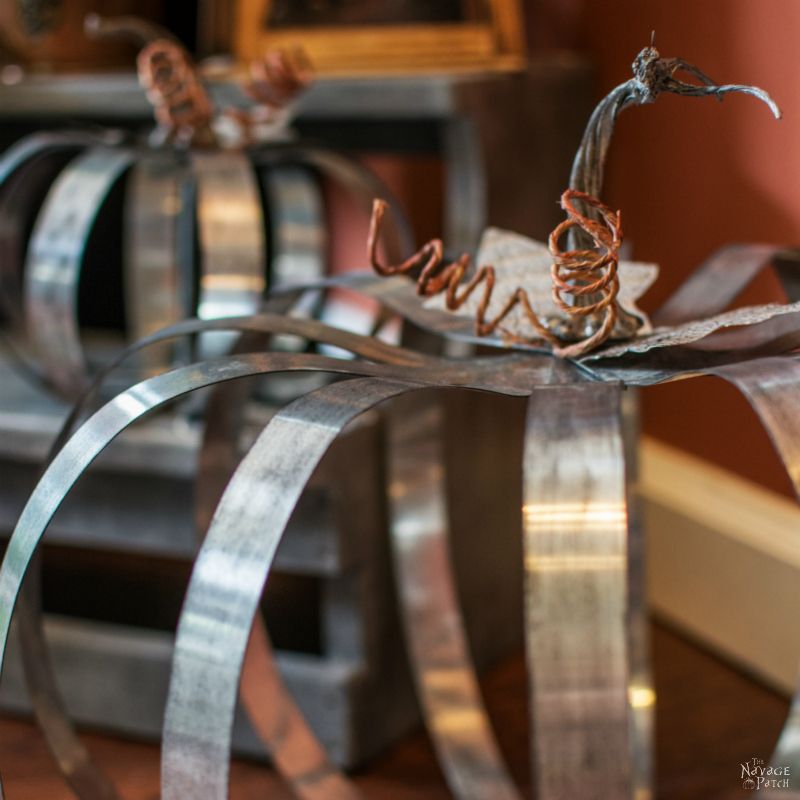
- Pottery Barn Knockoff Metal Pumpkins

Wouldn’t you agree?


And we’re not finished with her tattoo method for pumpkins!


We love to see our DIY projects out in the wild! If you try this DIY project and take a picture and post it on Instagram, be sure to tag us – thenavagepatch
Next week, we’ll have some more designs to share with you!


Oh, and if you’re wondering how those bookcases are looking, now that they’re full of blue and white porcelain, here ya go:

*******
DIY Dollar Tree Blue & White Porcelain Pumpkins free tattoo designs
Now click on the button below to download today’s free blue and white porcelain tattoo designs. If you’re a VIP, you can also find them in the Fall section of The VIP Patch.
take me to your
amazing freebies library
If you’re not a Navage Patch VIP, you won’t be able to access our Freebies Library. But that can be easily fixed! Subscribe for free on the form below and become a Navage Patch VIP. Once you subscribe, a password will be sent to you in our Welcome email, and that will give you access to The VIP Patch [Freebies Library] and today’s blue and white porcelain tattoo designs.
Here are some more easy DIY pumpkin ideas for you!
DIY Sisal Twine Pumpkins
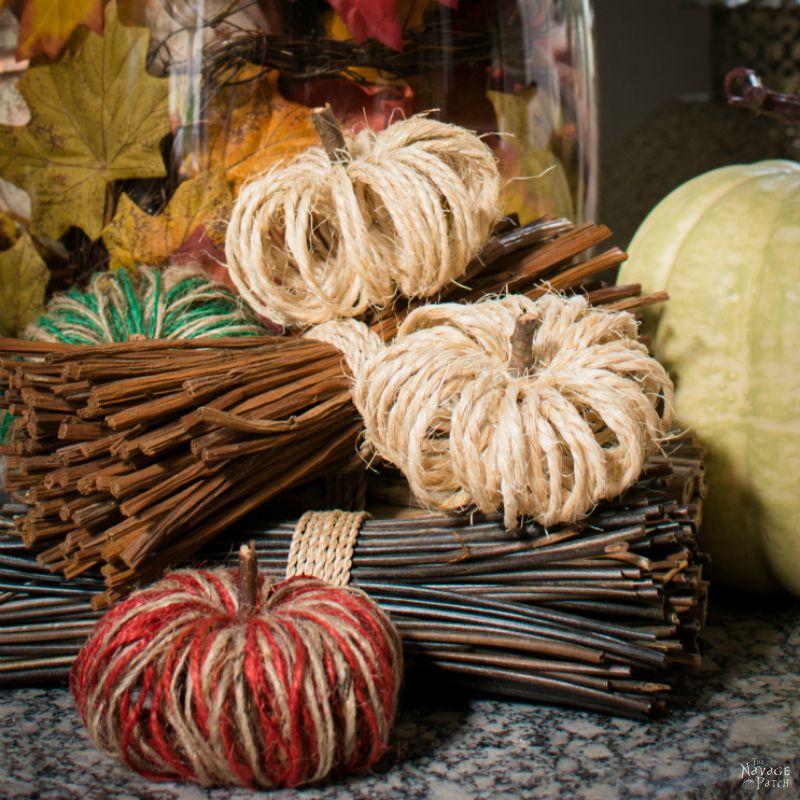
Easy DIY Yarn Pumpkins
Pottery Barn Inspired Metal Pumpkins
DIY Mesh Pumpkins (A 5-minute DIY)

Share it on Pinterest & Facebook!

Love them! I would never have guessed they were dollar store DIY!!
I know, right? What a difference! 🙂
Absolutely beautiful!
Thank you, Maryjane! 🙂
These look great. Dang though, I just bought a real ceramic one like this from Home Goods. It was only $5.99 though so I didn’t spend a lot. I love the Delft look. Reminds me of my trip to Amsterdam–love that city.
Thank you! Yeah, the Dutch are big on blue and white, too! We have a bunch of Dutch pieces in our collection now. 🙂
I still have a resin chicken (don’t ask-it called to me in Home Goods) that I wanted to paint a Delft pattern on. I messed up the first attempt at a handpainted design so I just stripped it last night to ready it for repriming. These decals with make the job much easier. Now I have to get some tattoo paper–dang but your posts keep making my Amazon shopping wish list longer and longer.
Cool! Send pics of the chicken when you’re done!
Ok, this is flat out amazing.
Thank you, Denise! (I kinda think so too!) 😀
I love blue and white porcelain too and I love these pumpkins! What a great idea!
Thank you so much, Junette! There’s a ton of great Dutch blue and white with windmills – I love that style!
They’re gorgeous! What an unusual idea!
Thanks, Mom!
Love!!! ? Kudos!!
Thank you, Erin! 🙂
Absolutely beautiful
Thank you so much, René!
Love blue and white too. These pumpkins are amazing. Definitely on my “To do” List.
Thank you for sharing. You guys are so talented. Many blessings to you.
Thank you so much, Dorothy! Our blessings to you as well! 🙂
Another perfect perfect project! I am so excited to try this technique! The blue and white pumpkins will fit perfectly with my navy theme! Thank you again for such a great project!
Thank you, Linda! I’m so happy you like it! Good luck with yours! 🙂
Well…you knocked this one….out of the pumpkin patch!!! They are just genuinely FAB!!! You bookcase vignette is outstanding as well. Gees, I do luv those pumpkins, though…THANX!!! franki
Thank you, Franki! I agree with knocking this one out of the patch – I can’t get over how awesome they look! 🙂
Best.craft.ever! Love this one! Handan has quite the collection, but THESE are phenomenal 🙂
Thank you, Sara – I agree! 🙂
This is PERFECT! Thank you! EXACTLY what I wanted to give my daughter for fall since she is TOTALLY into the blue and white — she has quite a few Chinoiserie pieces but no pumpkins! She’ll love these! I can’t wait to try them!
Oh and hi cousin! Hope you all are doing well! Hope I can see you sometime!
Colleen
Hi Cousin! Oh, yeah – these would be a great gift! Do you guys get back to CT much?
Really love this idea. Thanks.
Thank you, Connie, and you’re welcome! 🙂
I always love your ideas but this is brilliant! I love the blue and white so much, they look amazing! Thanks for sharing!!
Thank you, Jane! We really love this one, too! 🙂
Oh…my…God, Becky. Look at those pumpkins! I’m not going to be able to rest until I have filled my life with them. Blue and white pumpkins as far as the eye can see. Thanks for sharing!
LOL, thank you, Carly! I like blue pumpkins and I cannot lie… 😀
These are absolutely beautiful, will have to make some to add to my blue and white collection of dishes and other items…
Thank u so much for the print outs ….
Thank you so much, Maria! I hope you enjoy yours! 🙂
Your pumpkins are beautiful! And you have inspired me to try tattoo paper – which seems so much easier than decoupage napkins which I’ve done in, of course, purple and white! BUT, finding purple and white chinoiserie images is no easy fete! Thanks loads for the inspiration, though!
Hi Gail – thank you! Oh yes, this method is not only easier than decoupage napkins, but it looks waaaayyyy better. And the best part for you is that you can tweak the colors in photoshop to purple! Have fun with it! 🙂
Hi Gail, I have a little surprise for you! Check your email! 🙂
You guys are the best! Thank you so much! I never would have imaged getting these images in purple! I even googled purple and white chinoiserie images with no luck! And thanks for converting the color, too! I don’t have photo shop!
BEAUTIFUL!
Thank you, Cecilia! 🙂
I. LOVE. THIS! You hit this out of the park and your directions are excellent. Hoping for more blue and white designs and/or suggestions of places to look for them. Love your website and subscribe to all.
Thank you, Phyllis! I think we have a winner with these blue and white designs, so you will definitely be seeing more posts like this one in the future! 🙂
Love, love, love these! I had no idea there was such a thing as tattoo paper ?
Isn’t it great when you learn about a fun and awesome product? Have fun with it, Susan! 🙂
Oh, and can’t wait to see what those skulls are going to be!!!
Coming soon! 🙂
Wow, just wow. so elegant and rich looking. A must try.
Thank you, Olga! I know, they look right at home with the real blue and white porcelain!
These are stunning. Thank you for the inspiration!
Hi Rachel, thank you so much! 🙂
Quite simply amazing!!
Thank you so much, Harjith! I agree! 🙂
These are so pretty! What a great idea!
Thank you so much, Nicole! 🙂
They are beautiful. I sure wish I knew more about my computer and printer and “how they work”. I tried once to make a copy on a overhead sheet: took me weeks to get it unstuck! And I would love to change it to ‘red’ but use photo shop as you suggested to the lady who wanted purple….Yeah…ok..What’s that and how to you go about using it..? Haha. …
Thank you, Laura! Keep an eye out next week – we’ll be offering more tattoos in different colors! 🙂
Another winner! These are so chic and expensive looking! I have one question: which tattoo paper do you use? I have tattoo paper, but it doesn’t look to be the same. It transfers inked images, generally to grandkids skin, and it works beautufully. Yours looks more like the decal type that slides off a carrier sheet. Is this correct? I don’t want to risk ruining the project I have in mind, using the wrong paper.
Thank you so much, Marianne! We used Silhouette’s temporary tattoo paper which is most likely similar to what you have. So ours wasn’t a waterslide decal paper. Ours also transfer images printed out using an inkjet printer like yours does.
Here is the link to what we used exactly for you to check: https://amzn.to/2ZAx4p1
But keep in mind, any tattoo paper that says “temporary tattoo paper” on the package should work nicely!
I hope this helps 🙂
Handan, thank you for the info. Can’t wait to try this technique. ?
Greg, I was at W*alm*rt and was in the pi*n**r l*adies section. There were bowls that the outside was wood and the inside looked exactly like your pumpkins! I immediately thought of you and Handan! I love your ideas and thank you for inspirational posts. So my friend….I challenge you to make that bowl. I took pictures true but don’t know how to share them.
Hi Jeanne, send the pics to my email – greg@thenavagepatch.com Thanks!
Stunning guys. It’s another blow Pinterest up craft idea but you always come up with such cool projects. LOVE!!!
Thanks, Michelle! Yep, Handan sure does come up with good ones! 🙂
These are fabulous and can not wait to attempt making some. I am having a problem though trying to get to the images after signing up. I keep getting told that your site has too many redirects. At first I thought maybe it was sue to using Safari but it is giving me the same message on Chrome.
Hi Pamela, don’t worry – we have a solution. Not sure why some people get that error, but this should fix it: Right after you get the error message, go to our home page (https://www.thenavagepatch.com) and then click on The VIP Patch link from the main menu (on left-hand side of the menu) once again. That should stop the error message and let you in The VIP Patch. Let me know if you’re still having trouble.
What is the difference between tattoo paper and stencil paper for making copies to adhere to the pumpkins? Is tattoo paper the only option for adhering your printables to the pumpkins? I love this idea, but I have to spend $15 for decorating a dollar store pumpkin, lol.
Hi Lori, the stencil paper that is used by tattoo shops comes in several different forms, but the ones you’ll see on Amazon are the thermal ones and they need to be put through a thermogenic transfer maker to have the tattoo design ready to use. Though they may create similar results they are not like the temporary tattoo papers you would be able to use with an inkjet printer.
As for the price of the temporary tattoo paper, it is actually $10 for two single sheets (per sheet it’s $5.) The one we linked has two packages for $15. So you’re getting 4 sheets of temporary tattoo paper for $15 which makes it even cheaper per sheet – $3.75 to be exact. We used one sheet per pumpkin, so each pumpkin can be made for $4.75 in total (including the cost of pumpkin.) If you were to use less number of tattoos on pumpkins, of course that price will go down even more.
I hope this info helps! 🙂
Tattoo paper *three cheers* Honestly, fake tattoos and tattoo paper really changed my DIY game. It’s so much easier than decoupage and now that you can buy the blank stuff and print any design you want, old school decoupage is basically a thing of the past. Plus it’s much easier to use on curved pieces as it’s much thinner. That and slide on water transfer paper have given me a whole new world of possibilities. Isn’t modern technology a marvel?
You nailed it, Jay! It’s wayyyyyy easier than decoupage and without all the gluey mess! We’ll be doing a lot more with tattoo paper in the future!
Holy cannoli! This is the first decorating blog hosted by a guy! And praising his lady, on top of that!
You two are the cutest DIY couple!
Great idea and I’m jealous I didn’t think of it…
Just subscribed so I can get the freebies….
Can’t wait….and keep ’em coming. Curious to see what you two have on tap for Christmas with the white cabinetry etc and blue…
LOL, I know, right? Totally against the grain! Glad to have you with us, Susan, and we hope to hear from you again! 🙂
As with everyone else, these are fabulous pumpkins! My question is this: I have always had to seal the foam pumpkin before spray painting … does Rustoleum’s Chalk Spray Paint not melt the foam?
Hi Christina, there was no need to seal the dollar store pumpkins, as they already had a plastic coating on them. But even if they didn’t, there would have been no need, because the Chalked spray paint doesn’t melt foam (yes, we tried it!) 🙂
Help! I have been trying for 20 minutes to find the blue and white delft style napkins? For the blue/white pumpkins!
Hi Pam, we don’t have delft style napkins, but we have printable blue and white floral designs that can be printed on tattoo paper and transferred to the pumpkins. You can find them in the Fall section of the VIP Patch. Please let me know if you have any more questions! 🙂
I sprayed the pumpkins with the chalk spray but I cannot
get the transfers to transfer except for little dots here and there.
What am I doing wrong?
Hi Carol, are you using Silhouette tattoo paper?
Thank you for this tutorial, I love these! I want to do a small blue & white Christmas tree for my dining room this year, so I’m going to try this on ornaments.
Oh yea, it would look great on ornaments!
These are perfect.. I used to try decoupaging pretty (expensive) paper napkin prints onto things like this, it worked ok, but the tattoo paper is JeenYus! 😉 I can’t find the blue printables anywhere though.. I’ve signed up, looked over the VIP page, read all of the instructions, but I’m lost on where to find the printables 🙁 Thank you guys so much for sharing your cool craftiness 🙂
Thank you, Kathy! We’re so happy you like them! 🙂
oops… I found them!! 😉
I adore these pumpkins! I did some last year with paint and jewels from the dollar tree and these will look fantastic with mine from last year.. I’ll need to make room for more and more because MORE is better, right?
Thank you, Donna, we love them, too! You can never have too many, that’s for sure!
You like thousands of others walk into Dollar Stores looking for the items in this article. It is a lovely article, well written, and very appealing. But the real truth is: NOT ALL DOLLAR STORES ARE CREATED EQUAL!! The manager of your local Dollar Store has practically NOTHING to do with what your local store receives. This is all done by computer! If you have wondered why you can’t find all of the products you see advertised it is because the main data base won’t order it. So unless you live in an area that gets these products, or are willing to purchase by the case load you are SOL! So quit singing the praises of Dollar Store and demand what they advertives without having to order by the caseload. Disgruntaled Customer!
Hello Barbara, all Dollar Stores carry faux pumpkins. Some have the bigger size, some have the smaller size, but all of them have foam pumpkins which you’ll need for this tutorial. So for our Dollar Store tutorials, surely Dollar Stores are created equal. 🙂
I have subscribed almost everyday to get your newsletter and printable s and I have never received the email. So is this site still open?
Indeed we are. I see you signed up on the 26th and our Welcome Email went out to you then. Sometimes that email gets blocked, so I will email you directly with the information. Sorry about that!
Will the tattoos transfer to real pumpkins?
They should, Rita, but we’ve never tried, so I can’t say for sure. Best way to know is to give it a shot! 🙂
Am I correct in thinking you must print these using an ink jet Printer? I do not have an ink jet printer and would love to try this.
thanks
Hi Olga, you can find tattoo papers made for both printer types: inkjet printers and laser printers. The one we are linking in the post is for inkjet printers. But below is the link for the one that you can use with your laser printer.
Printable tattoo paper for laser printers
I hope this helps! Happy crafting! 🙂
Just drop dead gorgeous idea! So…would Silhouette clear sticker paper work for this or I HAVE to get temporary tattoo paper? I already have the former. Please let me know if possible, thanks!!
You do need the tattoo paper, Rupa (I’m guessing that is your name I hope I’m right, lol!). The sticker paper would be far too thick to look good. Have fun with it! 🙂
Can you do this with plates and bowls and cups?
Love it!! Brilliant idea and amazing result!🍒
Thank you, Olga! 🙂
Hi,
This DIY is amazing! I would like to try it.
I do not have the printer and the tattoo paper. Do you sell and ship the tattoo ready to use? I live in Tampa Florida.
Thank you,
Eman
Stunning! I want to make them. But I don’t see the blue printables for the pumpkins on your VIP Patch site under Home Decor. Am I looking in the wrong place?
Hi Susan, they are in the FALL section of the VIP Patch! 🙂
I have waterslide paper. Could I use that instead of the tatoo paper?
Hi Jennifer, no the waterslide decals are too thick – we tried!