How to Install a Toilet & DIY Wainscoting
In part 3 of our guest bathroom renovation, we’ll show you how to install a toilet bowl, how to install board and batten wainscoting and more.
CONTINUED FROM>>
I started my hunt for the new wall paint color by asking Google. I figured I’m not the only clueless schmuck out there trying to coordinate wall with tile.
“What wall colors go with beige bathroom tile?” I typed.
The results flooded in, and most looked like this:

I started to panic. What had we done? Why did we just slap down some random tile we found at the dump without giving a moment’s thought to what it may or may not coordinate with? My spirits spiraled downward, as I imagined life trapped in an all-beige bathroom. Walk in a man, full of vigor and purpose; walk out a husk, drained of verve and devoid of passion and humanity. Beige devours the soul.
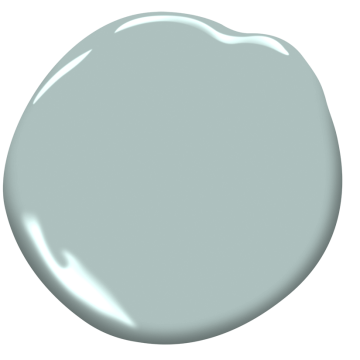
But then I saw flickers of hope among the ocean of beige photos on my screen. I saw subtle blues and greens, and my spirits lifted. With the beige tiles and the white wainscoting we were planning, perhaps bluish greenish gray walls would complete a triumvirate of natural colors that would give the room a coastal feel. My eyes first settled on Benjamin Moore’s Wedgewood Gray:
I alerted Handan, and we both agreed it could work, so we grabbed a spare tile, donned our coats and drove into town, whereupon we discovered that our Benjamin Moore store was closed. I mean closed as in vacant, empty, gutted and dark. It seems we need to get out more often. We had no idea.
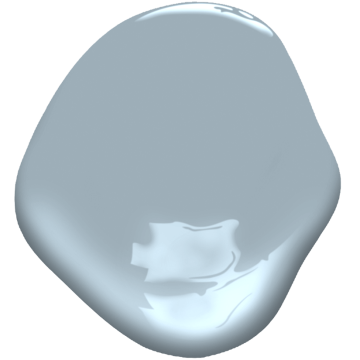
No matter! The only surviving local hardware store in our town, Ace Hardware, is a Benjamin Moore dealer, so we drove there to see the Wedgewood in person. When we arrived, floor tile in hand, Handan and I began pouring over the color samples and placing the colors we liked all around the tile. We quickly ruled out Wedgewood Gray in favor of the bluer side of the spectrum. After some hemming and hawing, we settled on Winter Lake (color code 2129-50):
You’re now looking at that color and thinking either, “Oh it’s lovely. Greg is so smart and handsome, and he really knows his color!” Or, “Hmmmph, I don’t know what Greg is thinking! I like the Wedgewood much better. In fact, I like the beige even more. Greg is such a pontificating ignoramus!”
But the beauty of Winter Lake is that it is a chameleon color. I’ve never seen a color change so much with different lighting conditions. You’ll catch some glimpses of it in this post, but you won’t see its full potential to dazzle until I take the glamour shots when the project is finished.
Okay, back to the paint store. Handan saw that Benjamin Moore had a new (well, new to us, anyway) high-end paint line called Advance. The Advance line is marketed for trim, cabinetry and other surfaces where durability is key. We bought it for walls figuring, meh, probably can’t hurt, possibly can help.
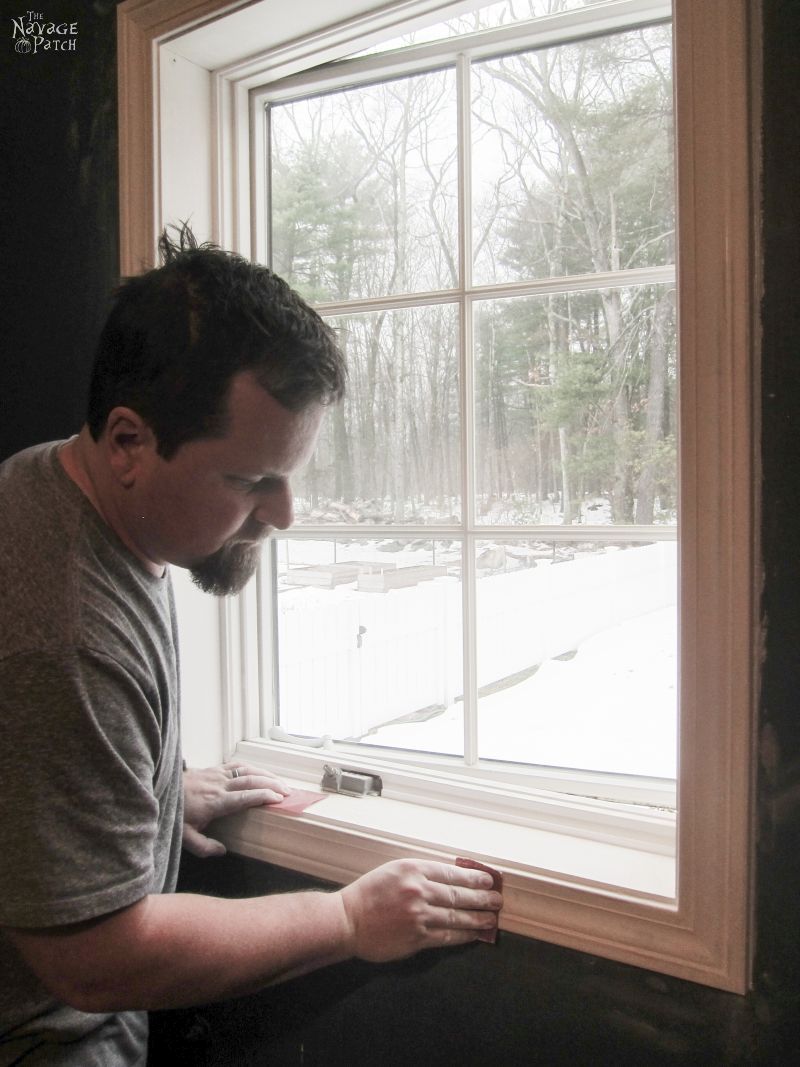
Before she tackled painting the walls, Handan wanted to paint the trim. We decided to tone down the gloss by using semi-gloss ultra white latex paint. First, Handan tried to paint directly over the old paint. This led to some yelling and tears minor frustration, as the paint wouldn’t stick. Handan was way out of her element painting with semi-gloss and painting over gloss. She’s a flat matte chalk paint girl, and these glossy paints were Greek to her. We consulted the internet and learned that glosssy trim must be sanded or deglossed first, so I did a little of both. First I sanded with 150 grit sandpaper…
…then I used a deglosser, just to be sure.
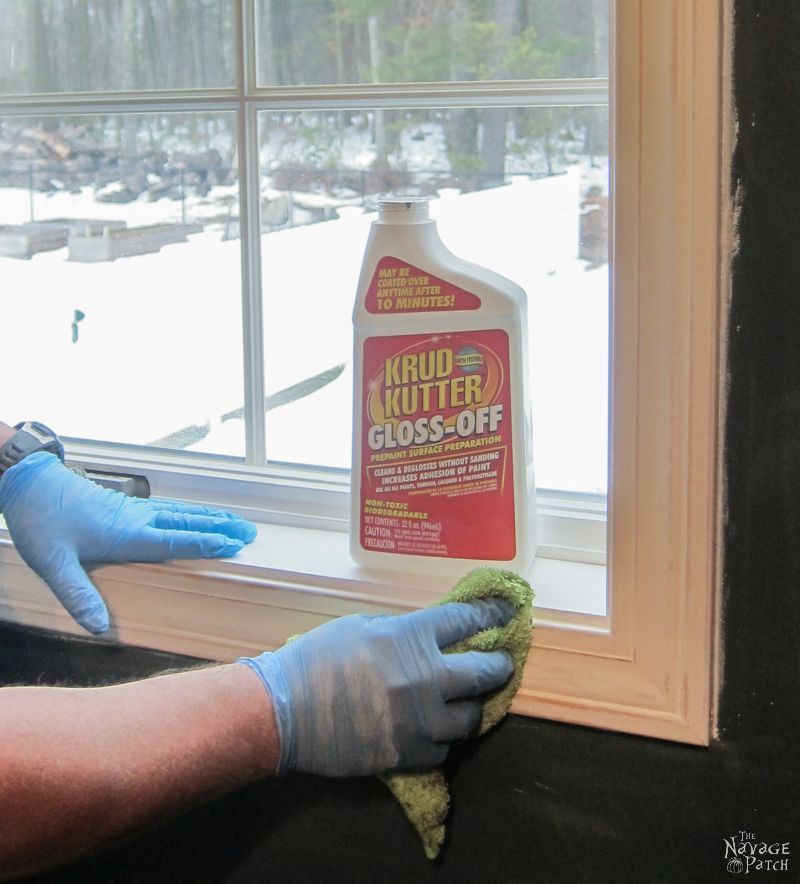
I’ve tried a lot of deglossers and strippers, and this Krud Kutter is a great choice for simple cleaning and deglossing.
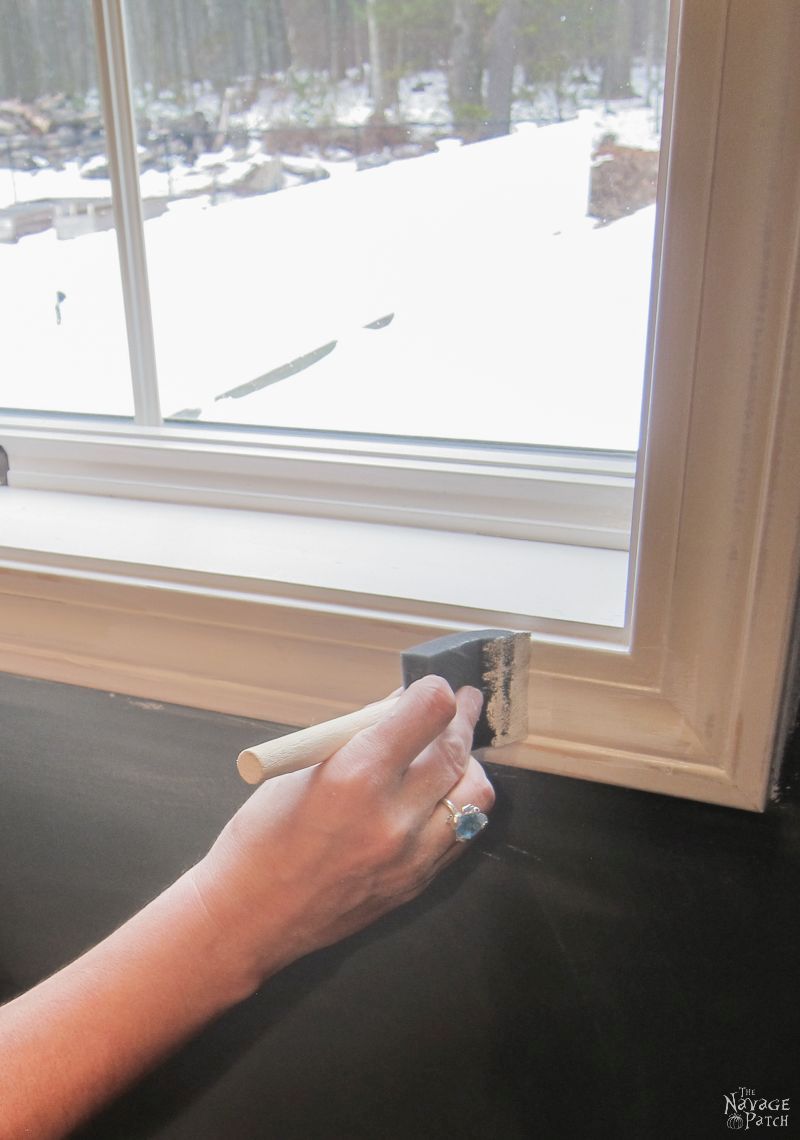
Once the window trim was prepped, Handan went to work again, this time with great success. She used a foam brush, applying several lights coats, as opposed to one or two heavy coats. The results are stunning: a professional-looking paint job with no brush marks. You’ll see better pics in the final post.
Before Handan started painting the walls, I marked a line 43 inches up from the floor.
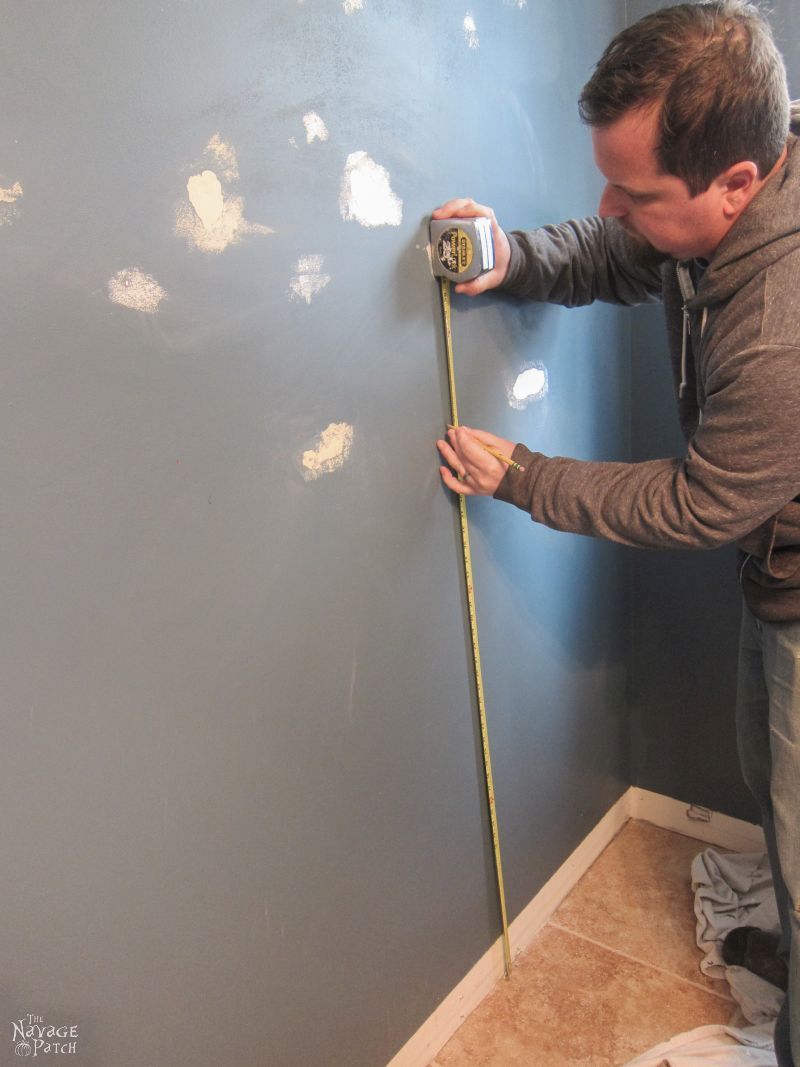
I planned for the wainscoting to be 45 inches tall, and the top rail is about 4 inches wide, so 43 inches would be just about in the middle of the top rail. Above the mark, Handan would paint the walls with Winter Lake, and below the line, she would paint the walls ultra pure white. We will be building the wainscoting in place, and the wall will be acting as the panels between the wainscoting stiles.
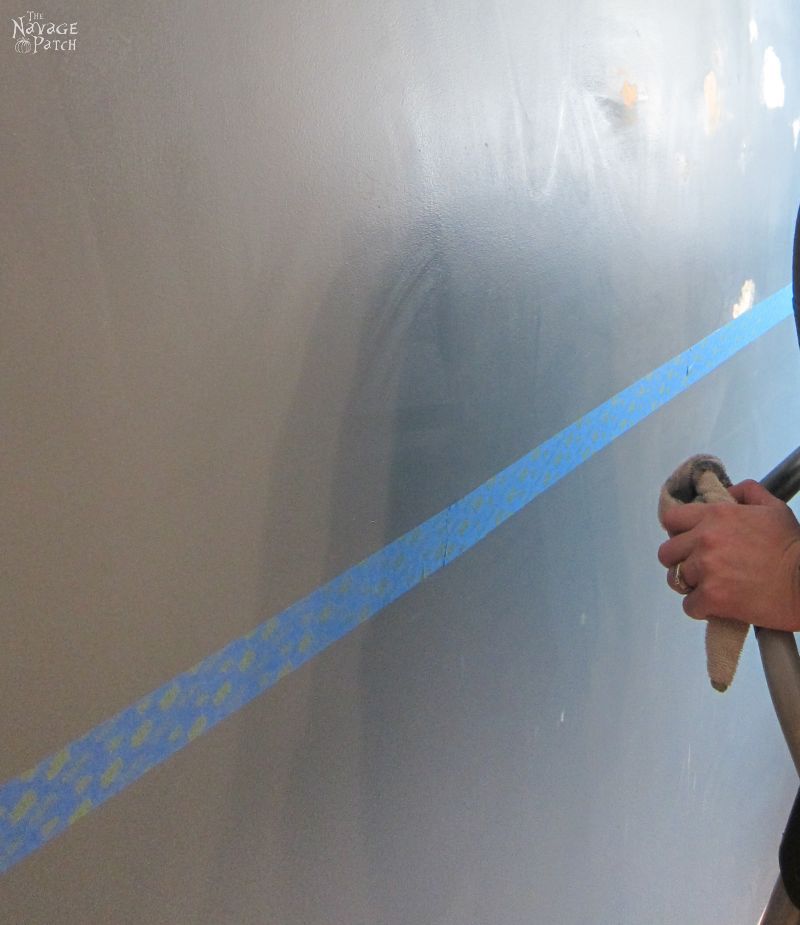
Handan ran a line of tape around my mark, then gave the walls a quick pass with a damp rag to remove any leftover dust from her wall repairs.
Since Handan covered every detail of wall painting in a previous post, I’ll just say that she painted the walls.
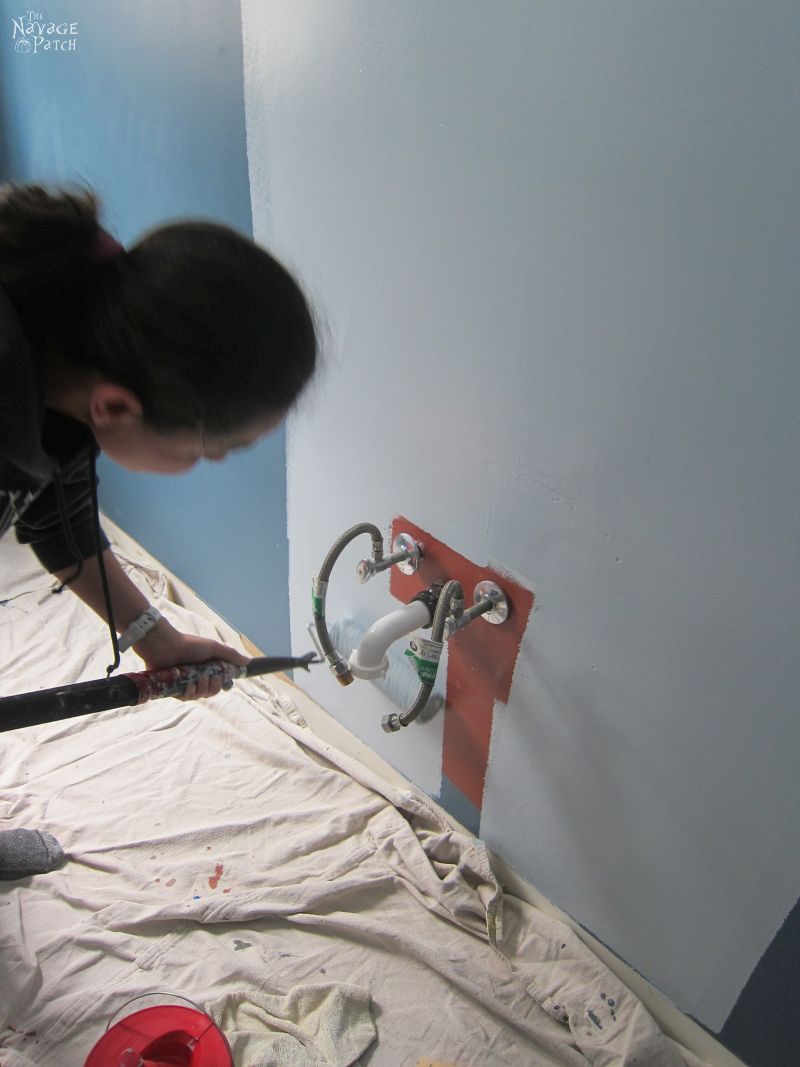
This wall where the toilet and sink will be is not getting wainscoting, so Handan painted the whole wall with Winter Lake. Here’s a great example of how this paint can fool the eye. Next to the previous dark blue, Winter Lake looks like a very pale blue or light gray, so much so, that when she started painting, we thought the hardware store had given us the wrong paint!
The Benjamin Moore Advance paint, in our early estimation, is going to be great. It behaves differently than latex paints though. It takes longer to dry between coats, and leaves a tacky feel like an oil paint would before it’s fully dried. The smell is more potent than regular latex, but it’s not overpowering. Perhaps the biggest testament to its strength though, is how well it stuck to the paint bucket. Normally, Handan leaves a bit of paint in the bottom of a 5 gallon bucket when she’s done painting. When the paint has dried the next day, she simply peels it off the bottom of the bucket in a single layer and throws it away. The dried drips on the sides of the bucket are easily scraped off with her fingernails. But the Advance paint is different. She couldn’t peel it from the bottom! She worked on the bucket for a good half hour, with fingernails, scrapers and scrubbers before she got it clean and ready for more paint. Instead of being annoyed at the work it caused her, she was thrilled. If it worked that well in a bucket, imagine how well it will protect the walls!
After the first coat, I noticed the wall had blistered in a couple of the places that Handan had repaired. This was our first wall with such extensive repairs, and our first encounter with blistering like this. I again asked the Oracle of Google for help. To solve the issue, I cut out the blister with a utility knife, making sure to cut all of the loose paper underneath so the edges were clean.
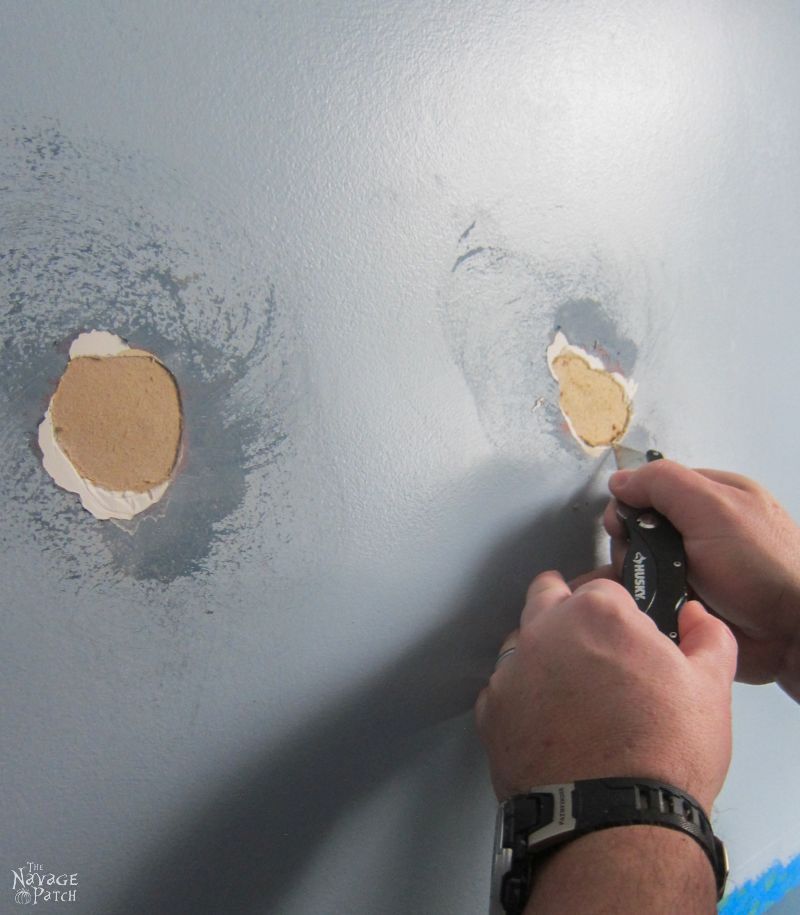
In the past, I would have covered these holes with spackle and called it a day, but that is what causes the problem. The solution is to seal the paper with primer before spackling.
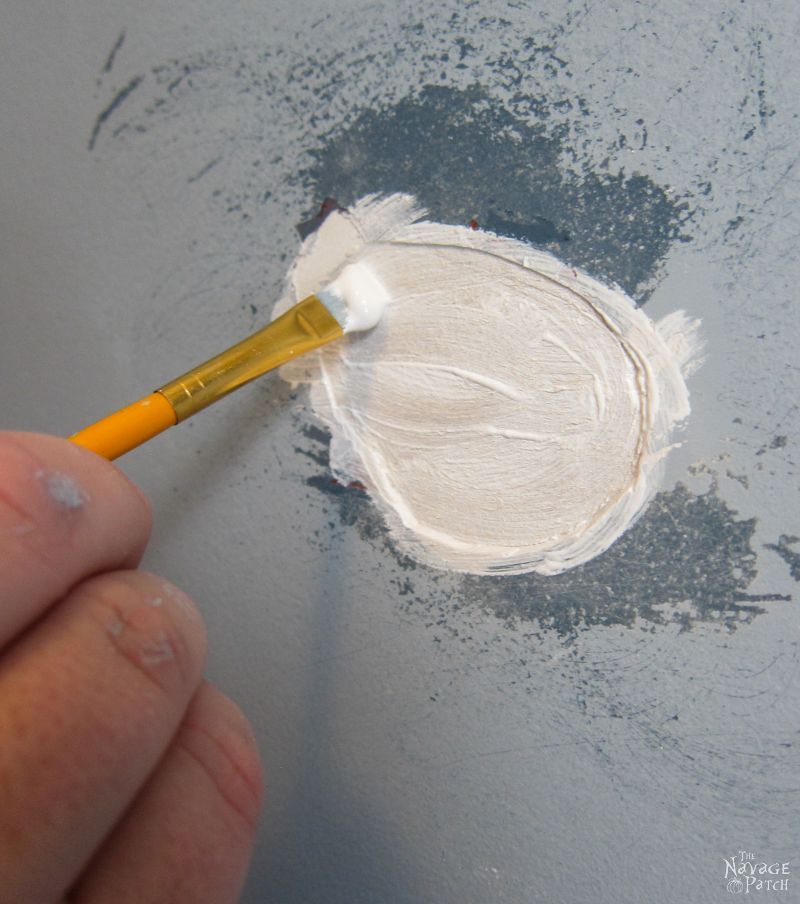
I carried on with the spackle and sanding and then Handan re-painted the wall. This time, it was perfect.
Since the toilet wall wouldn’t have wainscoting, we decided to install the baseboard, so we could get the toilet in sooner. I used a piece of 1 x 6 primed pine board for the bottom rail/baseboard. I made cutouts for the toilet plumbing and the sink vanity, then Handan painted it with semi-gloss ultra pure white. The rest of the wainscoting would be painted with a satin sheen, but since this baseboard would likely see some water, she decided to use semi-gloss. When Handan was done painting, I installed it. I applied trim and molding adhesive to the back of the rail…
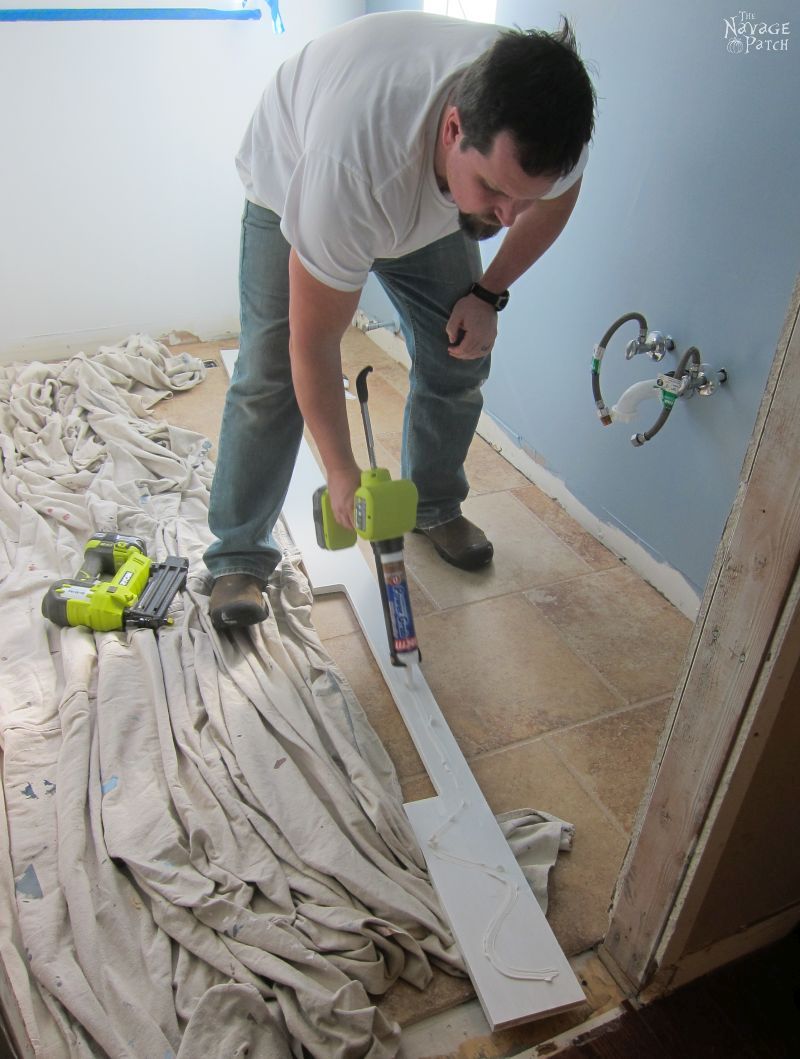
…and secured it in place with long brad nails shot in at a downward angle. This should be done with longer finish nails, but I don’t have a finish nailer, and I didn’t want to be hammering anything into the soft pine trim.
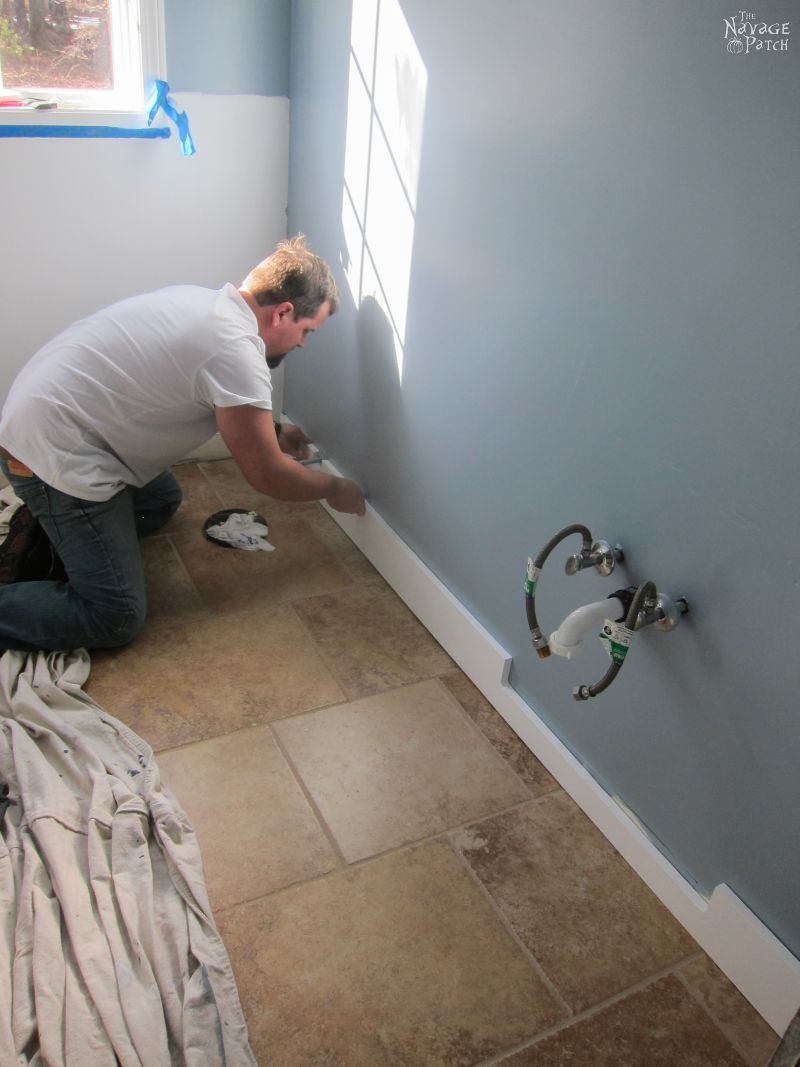
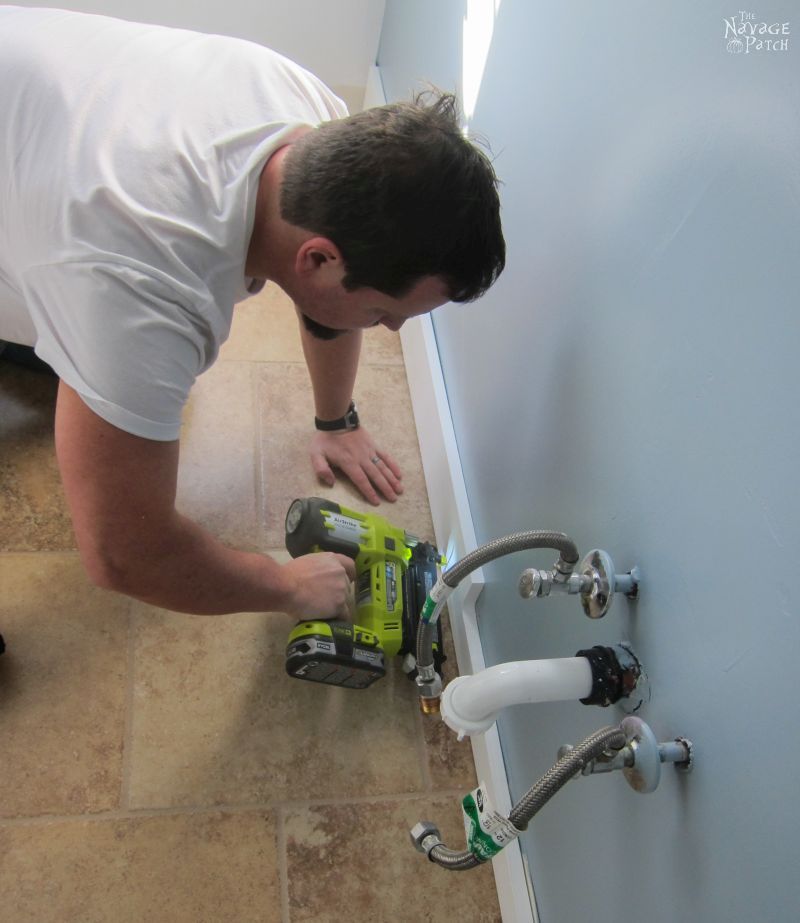
Like most houses in America, ours doesn’t have flat or square walls, so there were gaps showing, but that’s what caulk is for! Caulk can make a project cobbled together by a platoon of one-armed monkeys look like it was crafted by a cadre of skilled carpenters. It’s that good.

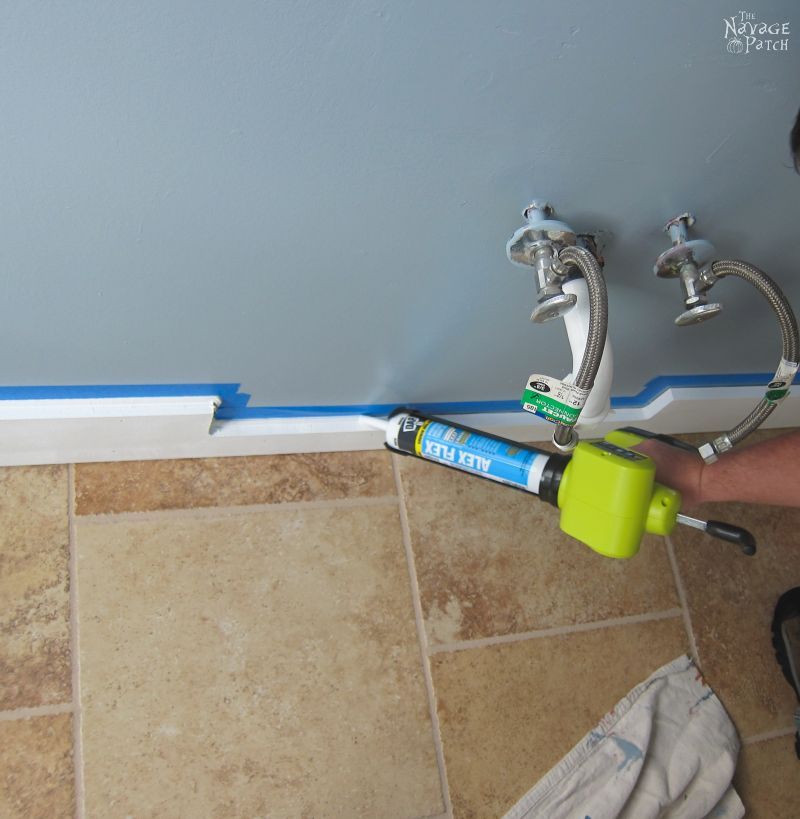
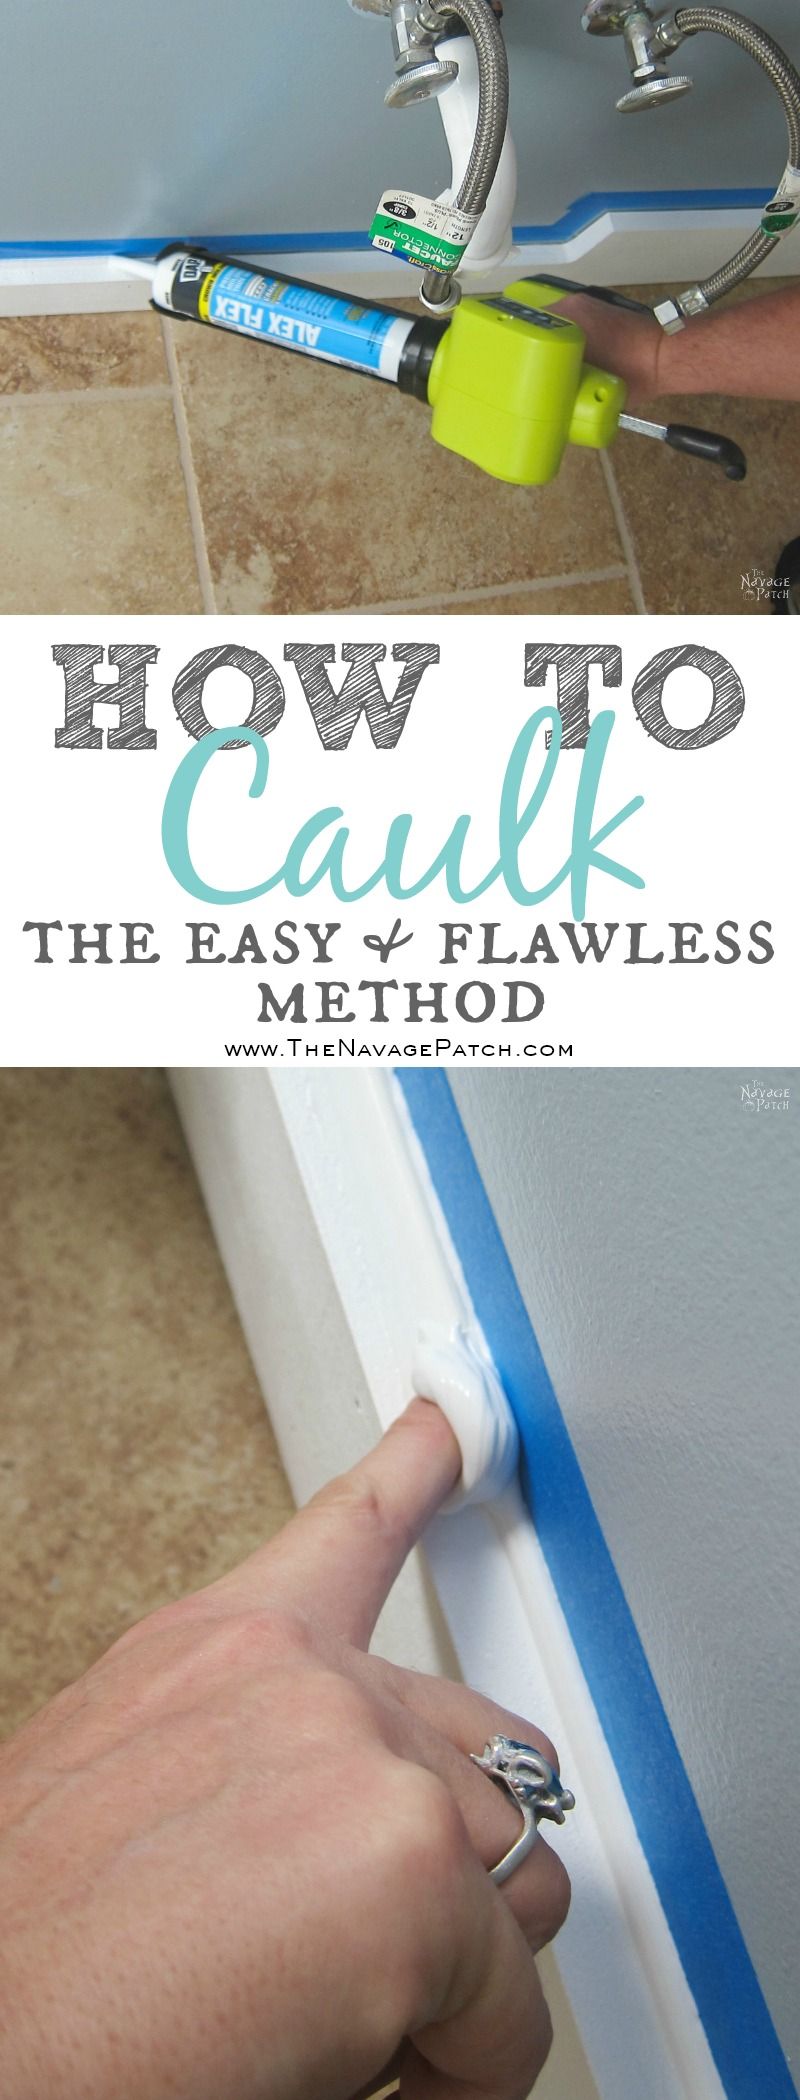
But caulking itself is a skill that must be mastered. One of the keys to a successful con caulk job is painters tape. Handan tapes either side of the gap to be caulked (only one side is taped in the pics above and below), leaving 1/8 to 1/4 inch space between the gap and the tape. And don’t fall for those silly caulking tools hanging in Home Depot. Nature invented the best caulking tool, and most of you have five of them hanging off the end of each arm.
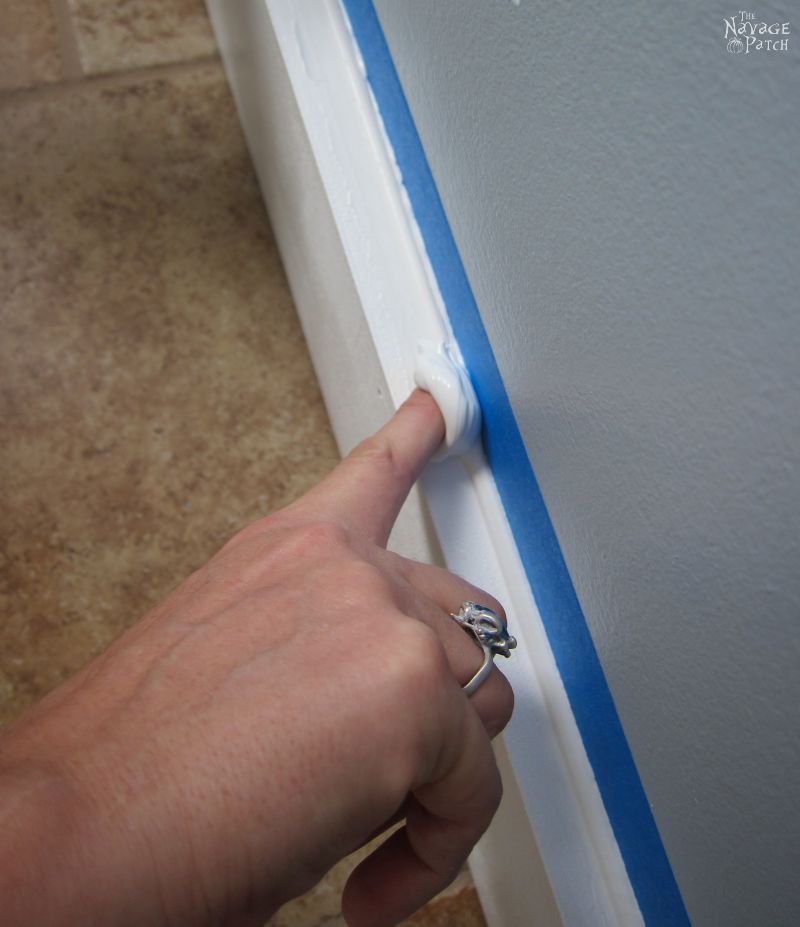
Tape, caulk, smooth with a finger, and then peel the tape. It’s that simple.

There were some gaps between the bottom rail and the floor. Those will be hidden later with caulk.
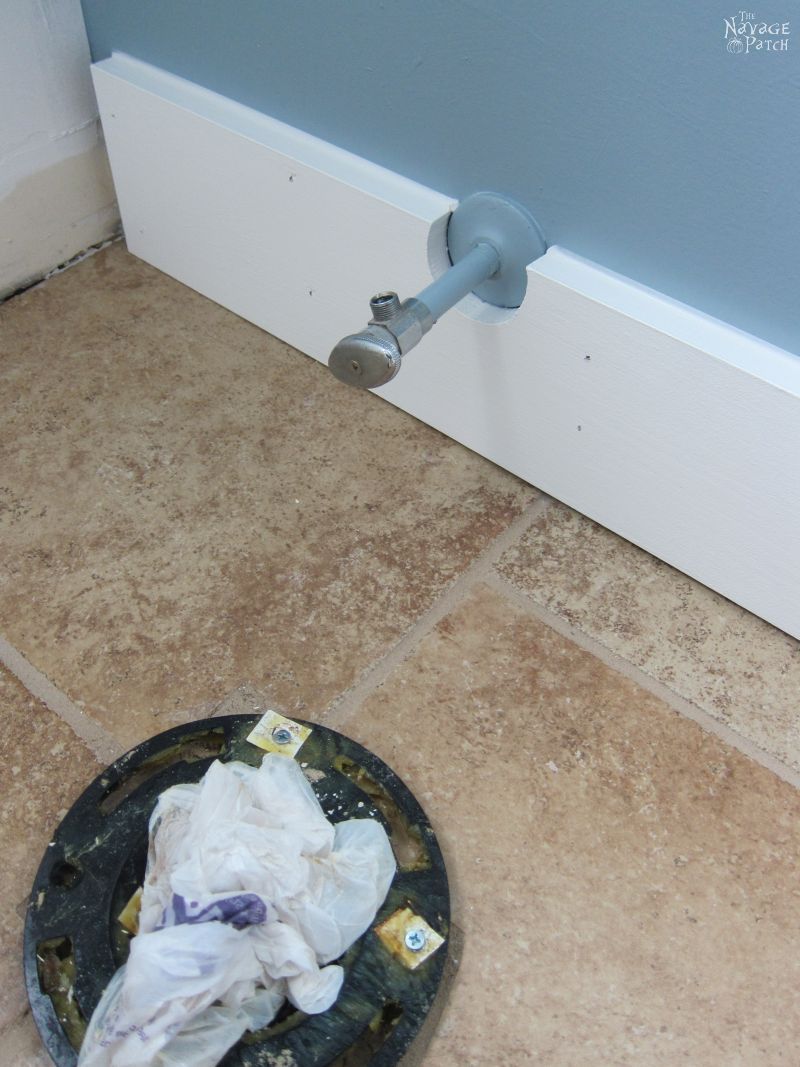
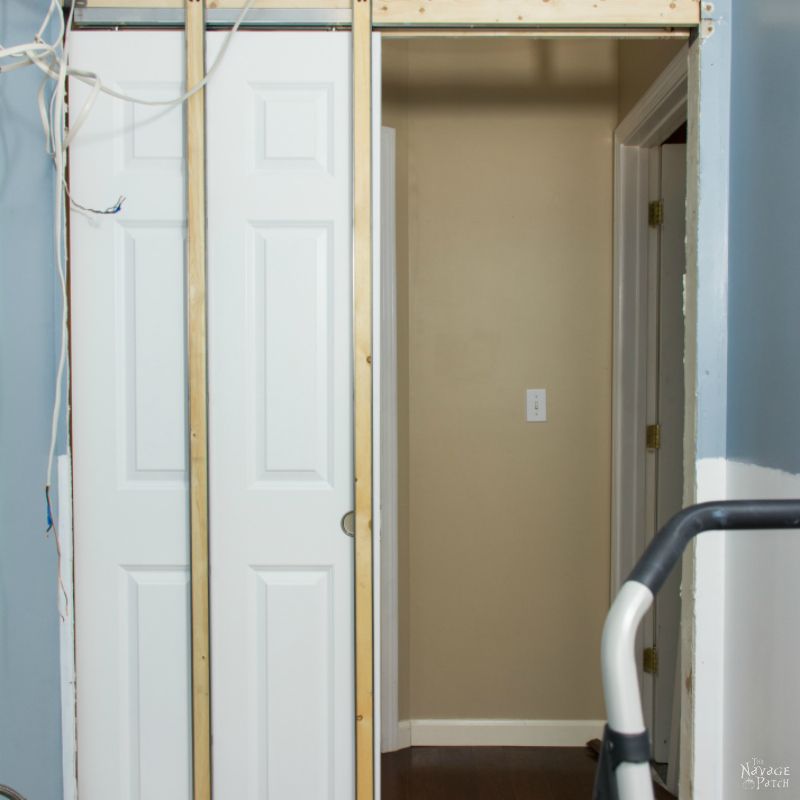
We decided to install the board and batten wainscoting on the far wall before installing the toilet. The rest of the wainscoting will be installed after I build the pocket door, and I will include a more detailed tutorial then.
I measured and cut the pieces I would need: bottom rail, two top rail pieces to go on either side of the window, and four stiles – two long and two short. Handan then painted the pieces with a sponge roller.
I applied trim and molding adhesive to the bottom rail and spread it out a bit with a plastic taping knife.
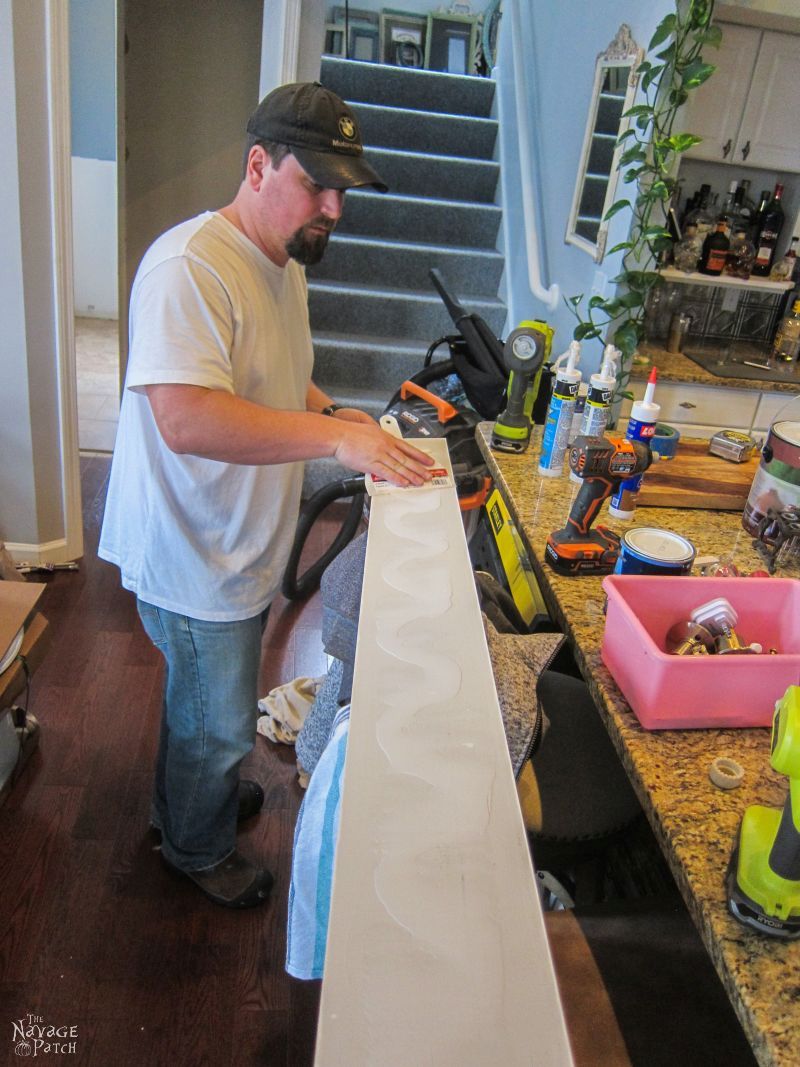
I put it in its place and secured it with brad nails.
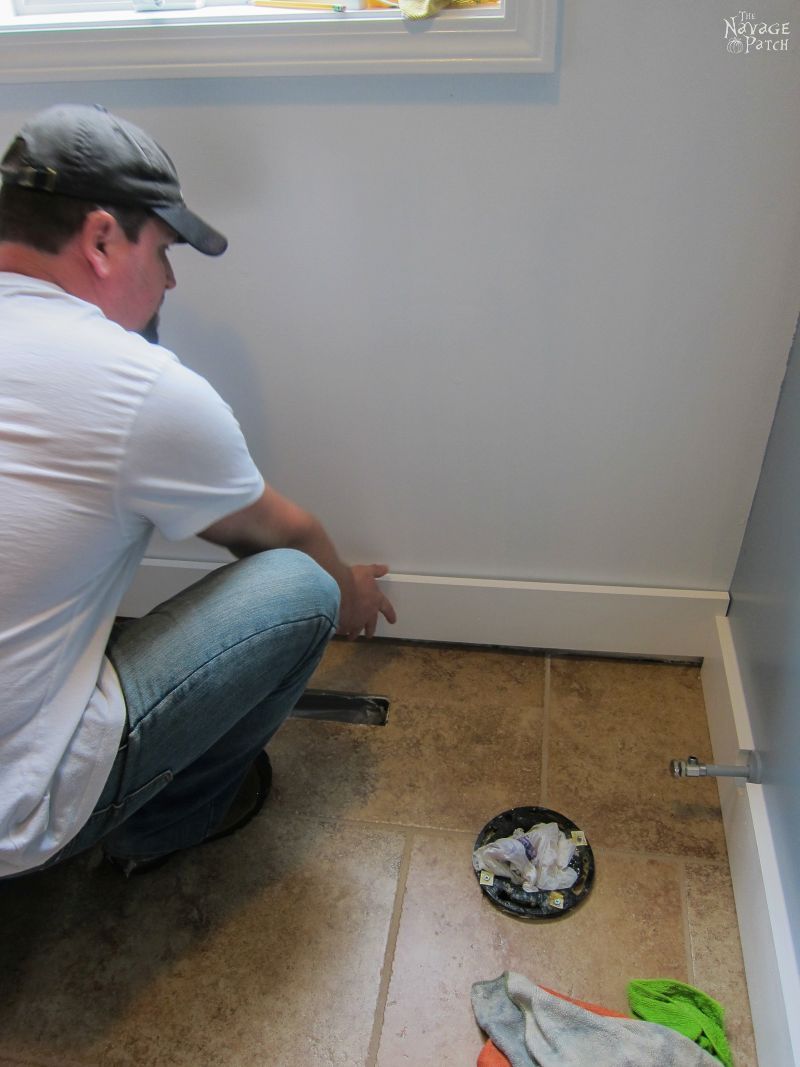
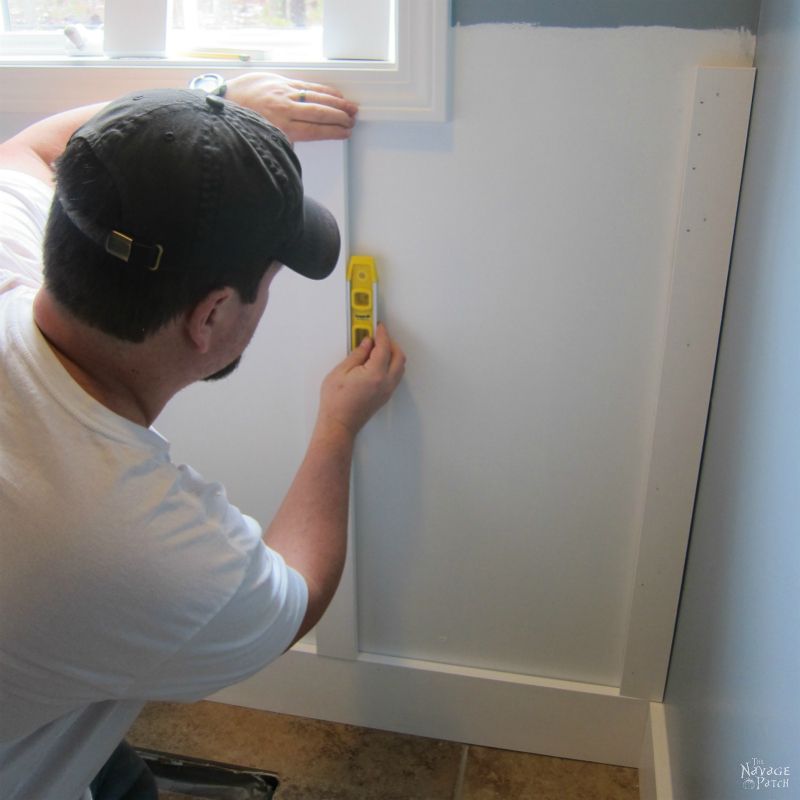
Next, I placed the two end stiles and checked for level.
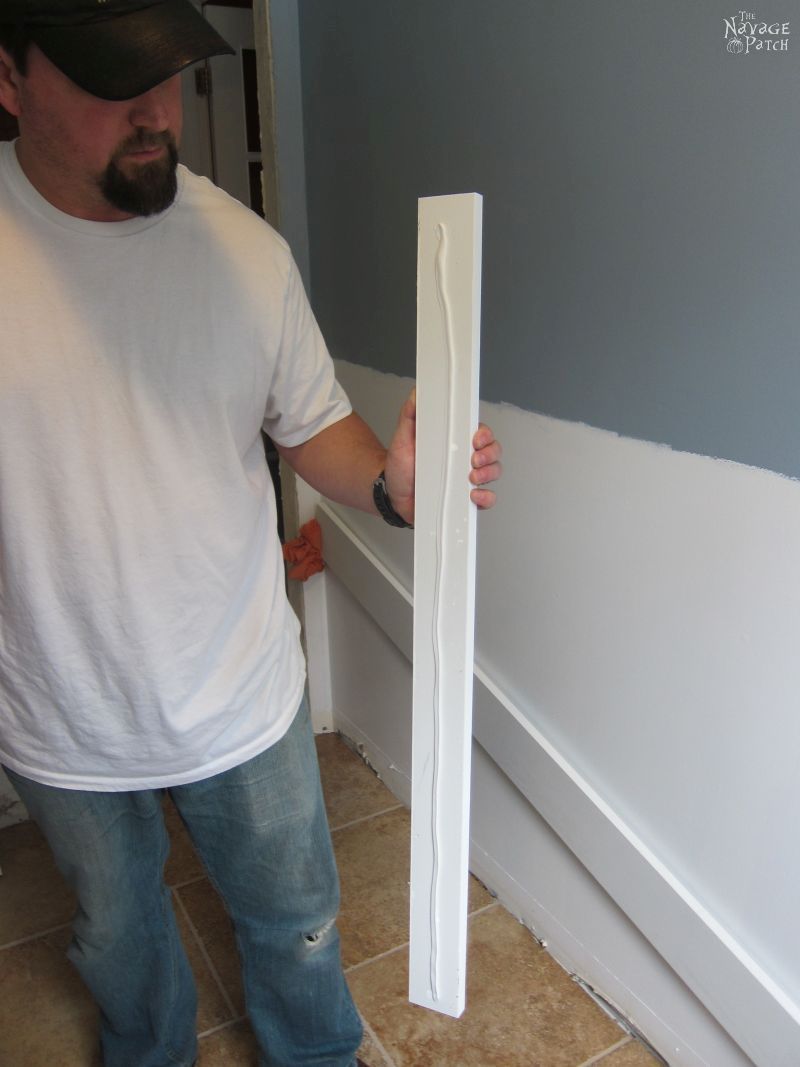
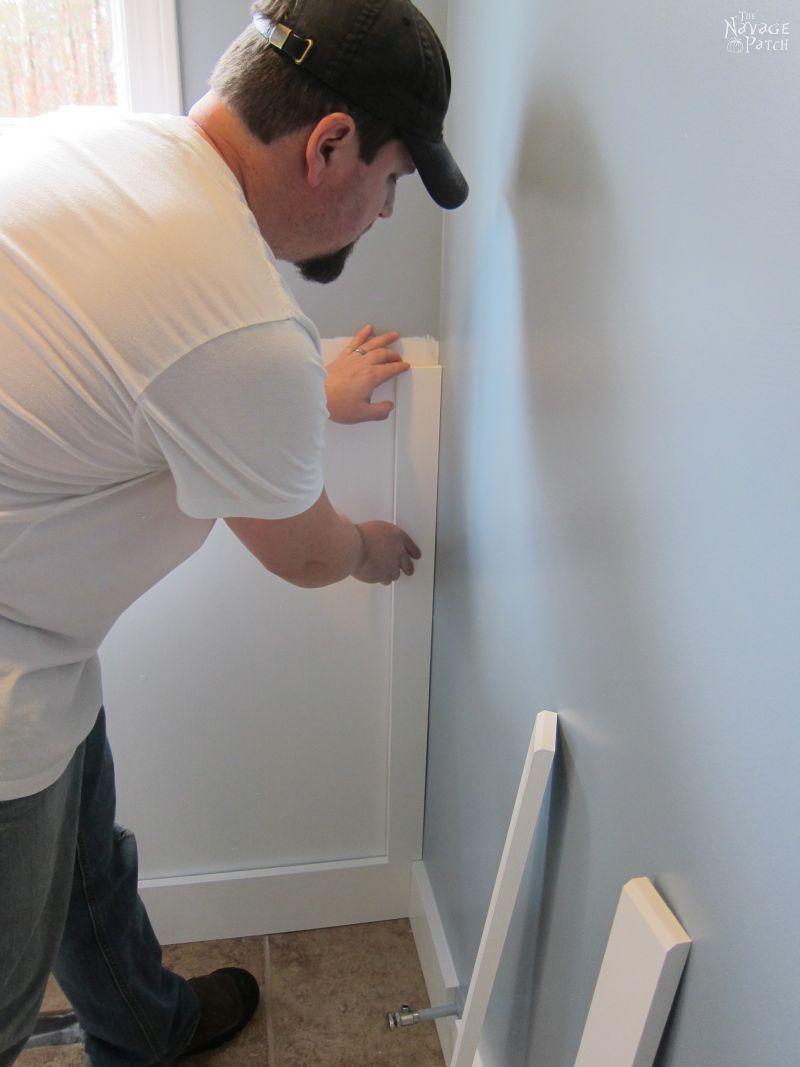
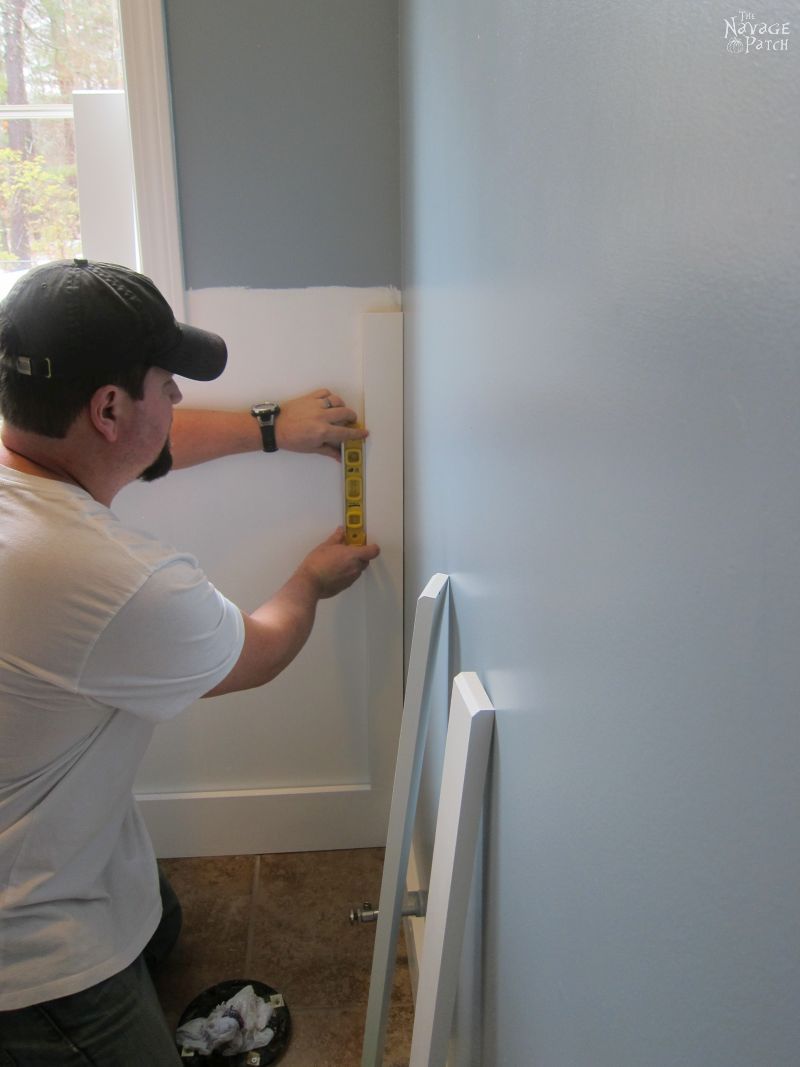
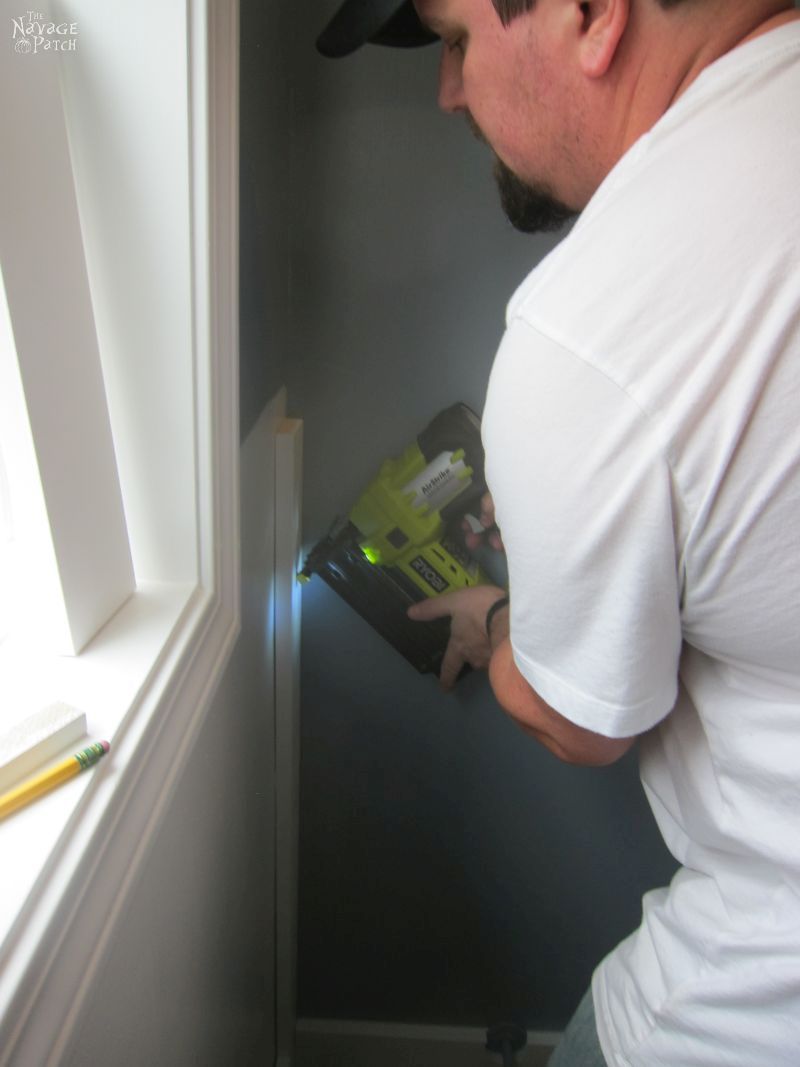
I placed with smaller middle stiles in the same way.
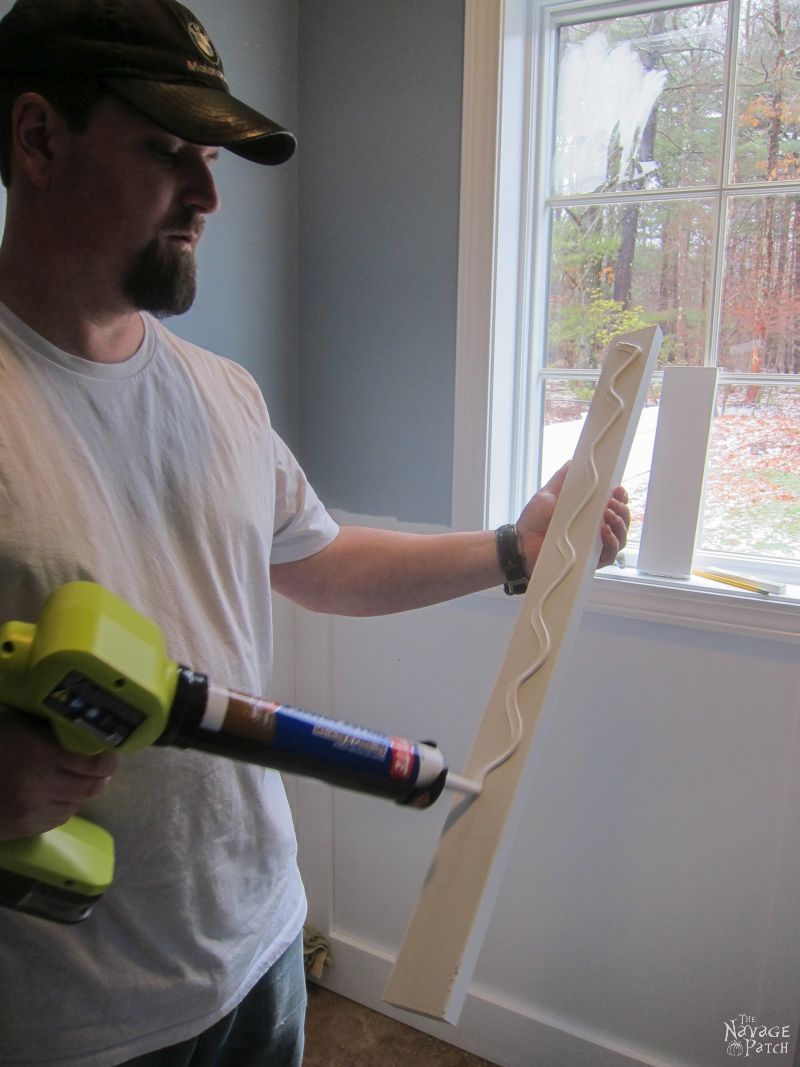
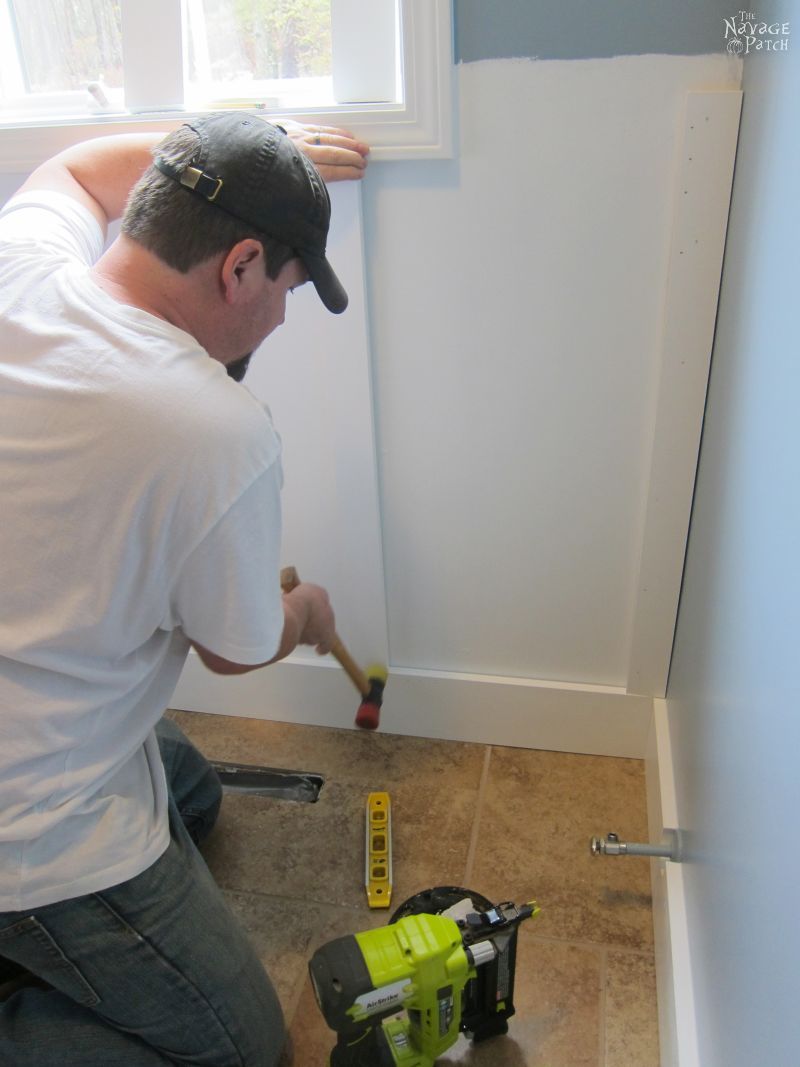
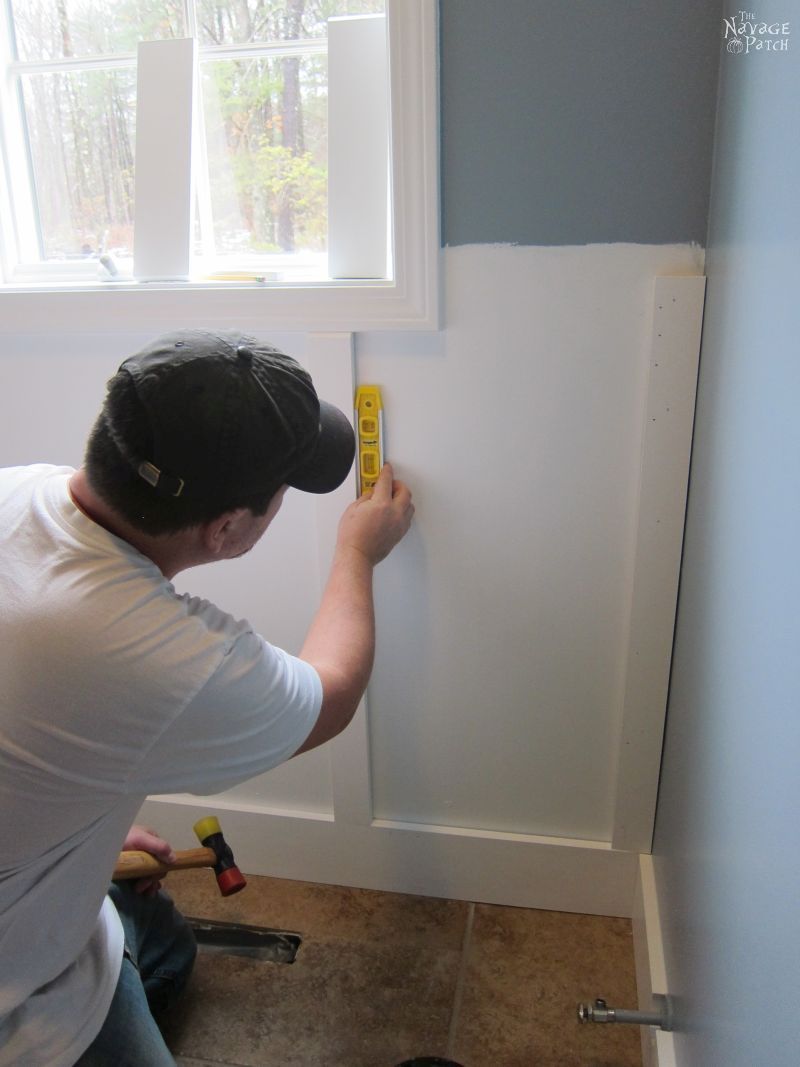
After the stiles, I installed the two small top rail pieces in the same manner as the stiles.
When I finished, Handan swooped in with the blue tape.
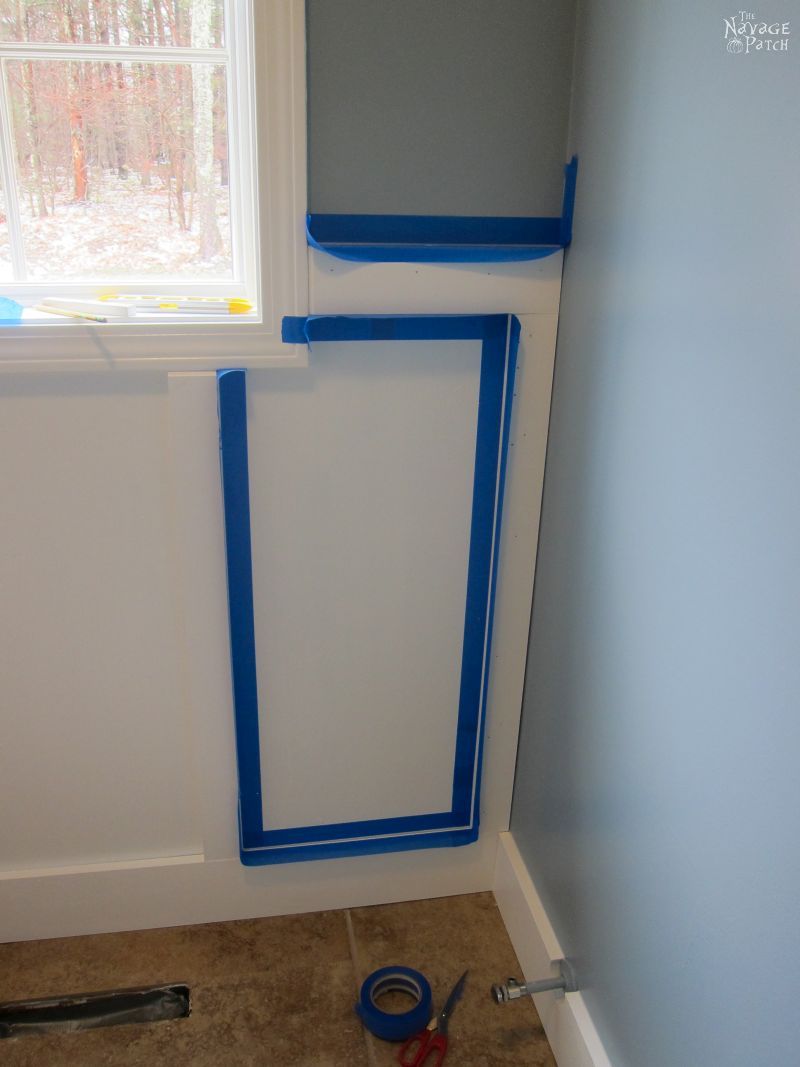
And I worked the caulking gun. I said it in our Living Room Makeover post, and I’ll say it again here: this battery-operated caulking gun is the greatest invention since the dry martini.
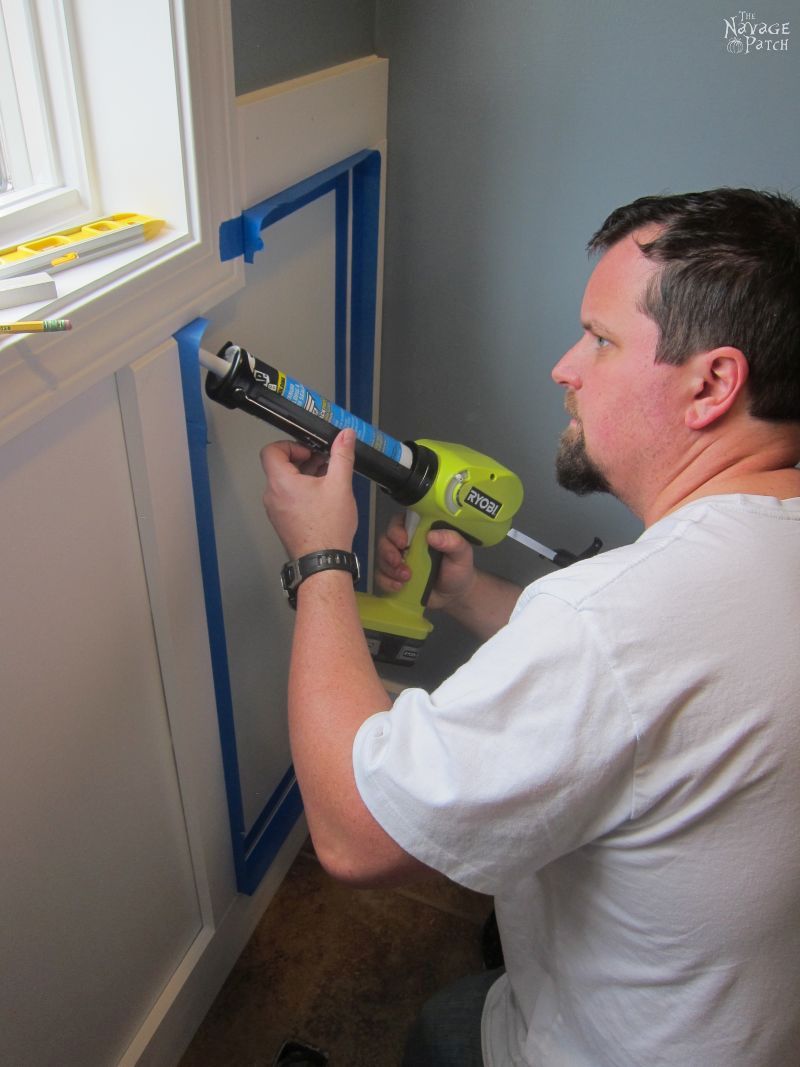
Good lord, that face! What am I so worried about? I look like I’m patrolling the streets of Fallujah with an M-16.
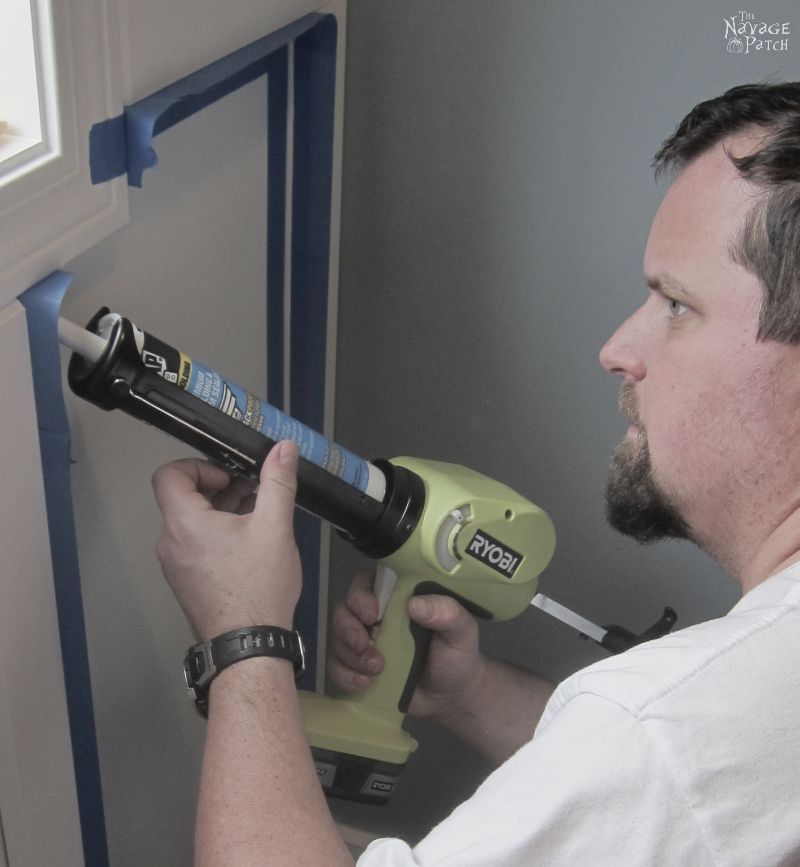
Maybe I just take my caulking really seriously?

Caulkman strikes again.
Handan and the magic finger smoothed out my mess.
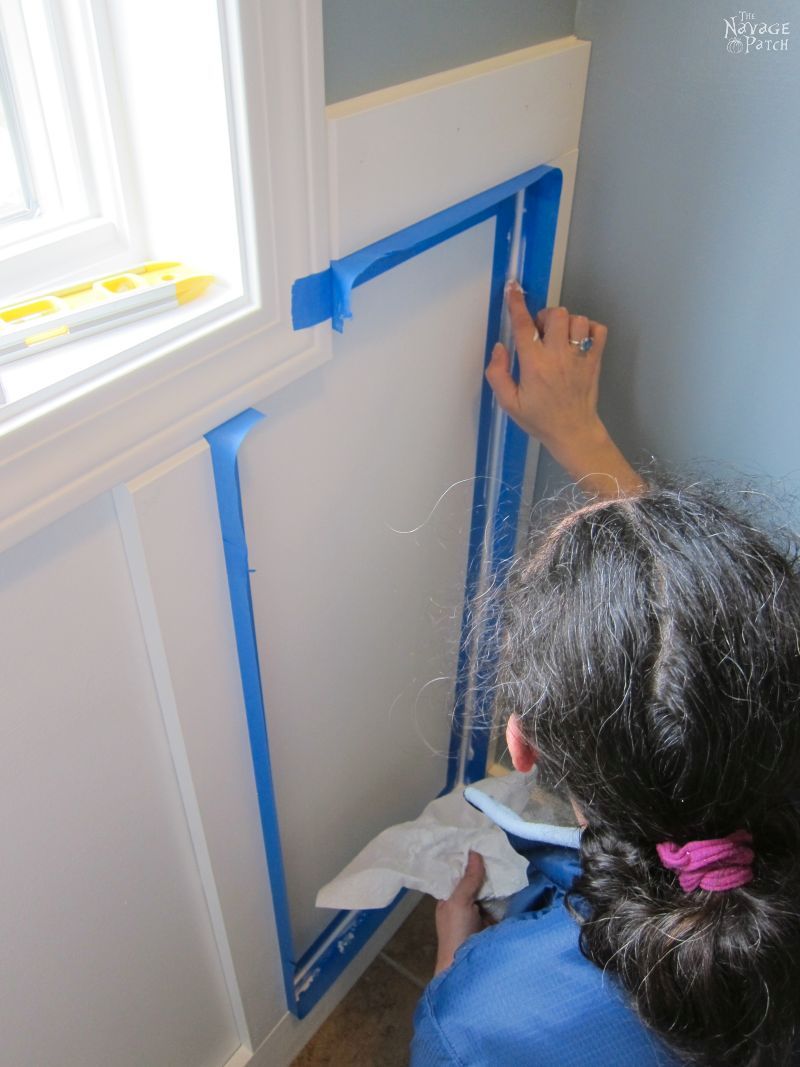
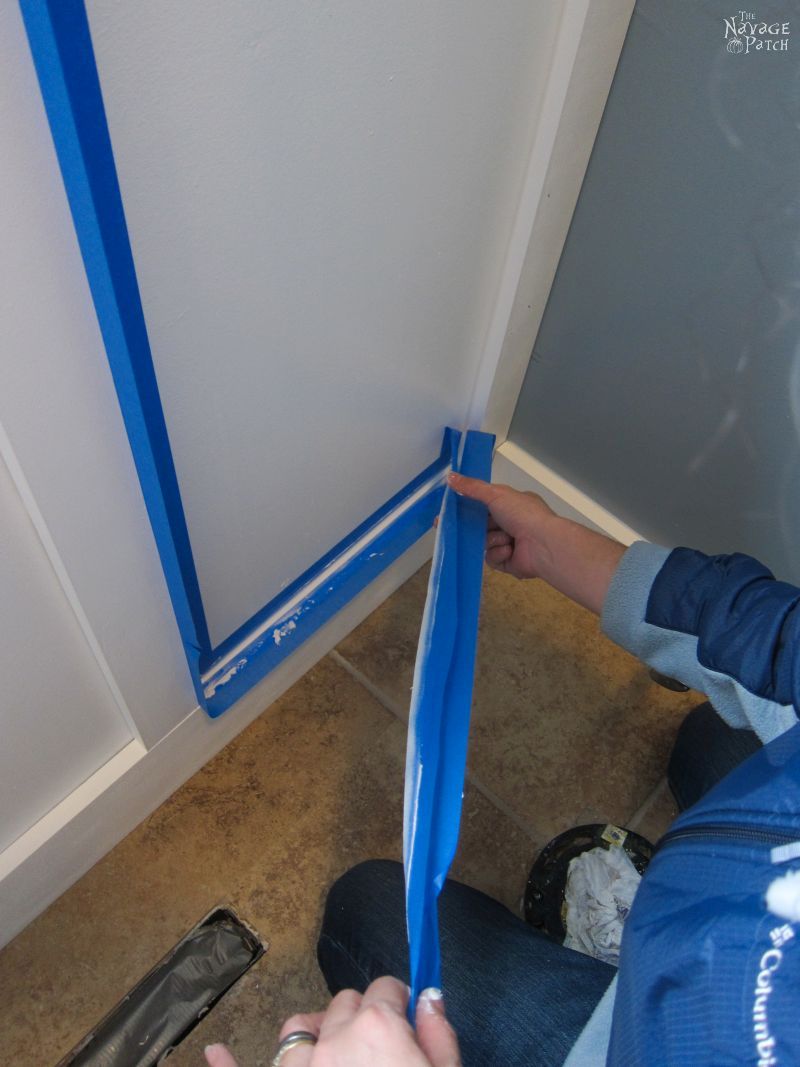
And the wainscoting was nearly finished on the far wall. Handan would fill in the nail holes and paint the whole thing with another coat or two, but first I wanted to install the toilet. I was itching to try out my new throne.
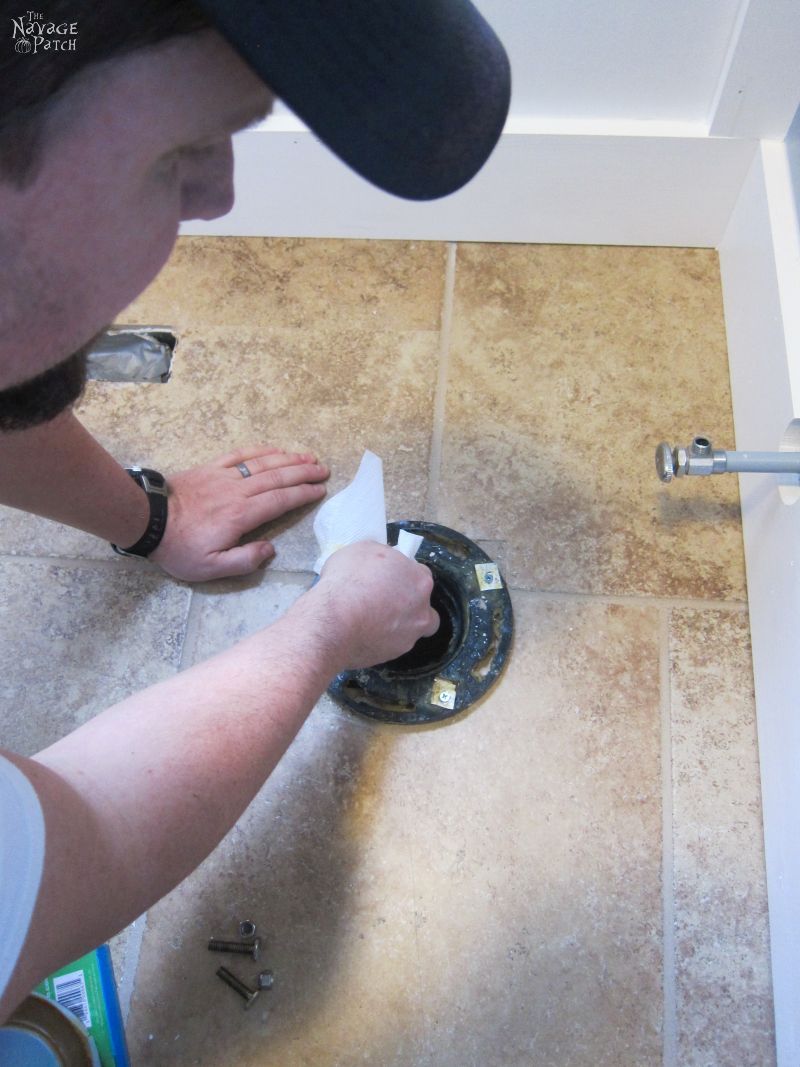
I uncorked the poop pipe and cleaned off the remaining wax residue.
Next, I got the wax ring ready.
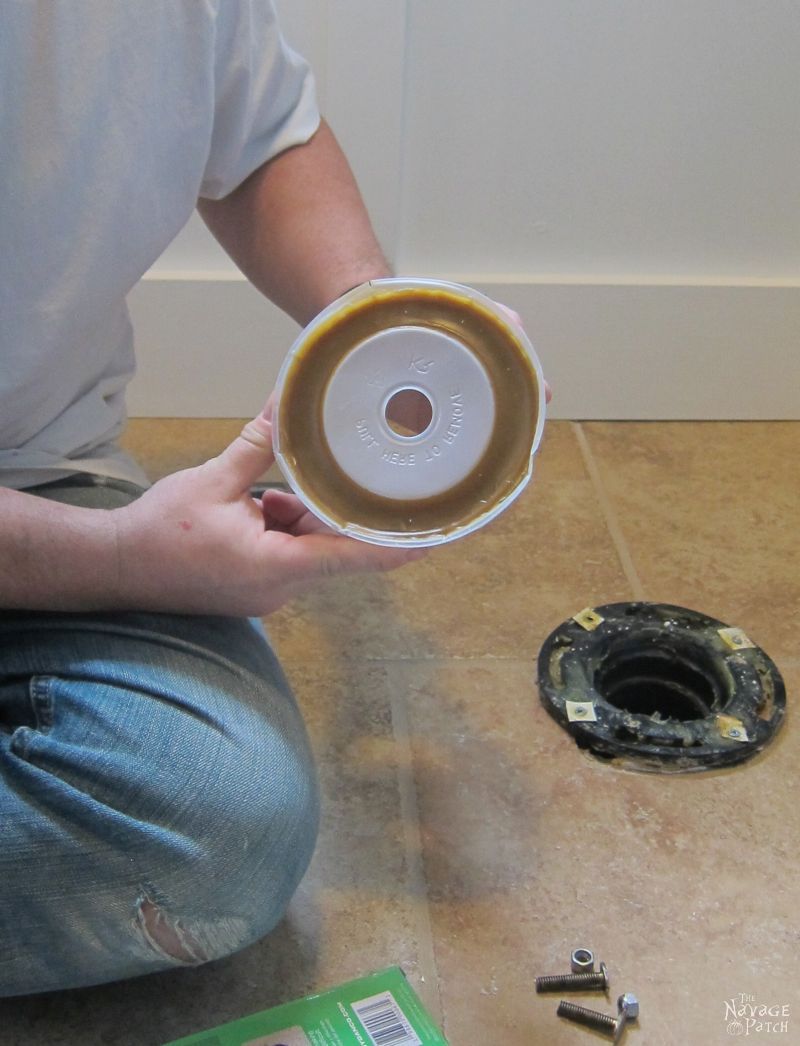
Normally, the wax ring would be placed around the toilet horn, but I was going to be trying a new product…
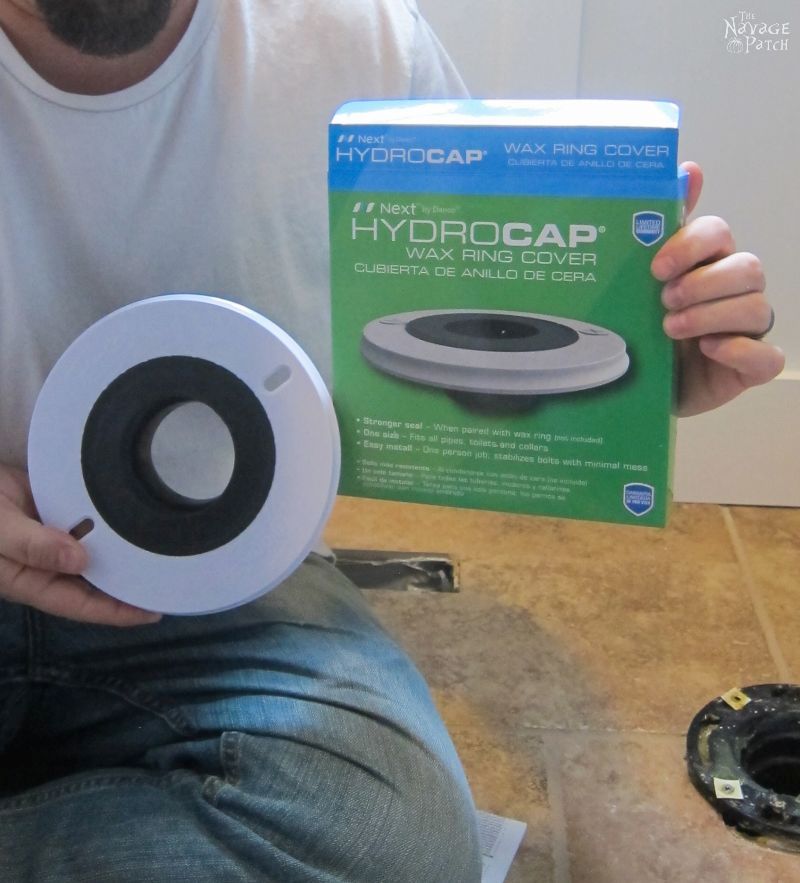
The Hydrocap Wax Ring Cover makes installing a new toilet (or removing a toilet for painting) a simple and mess-free endeavor. I put on some protective gloves, since the wax ring is a sticky mess.

I hit an engineering snafu, but decided to soldier on in the face of adversity.
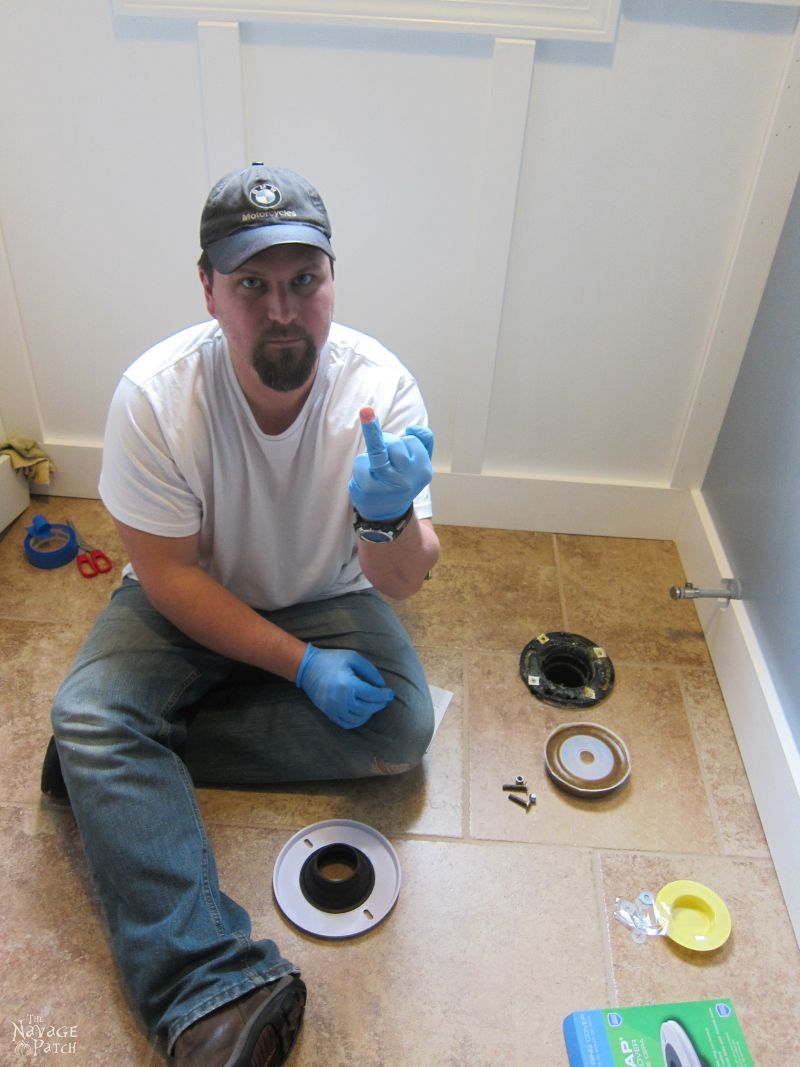
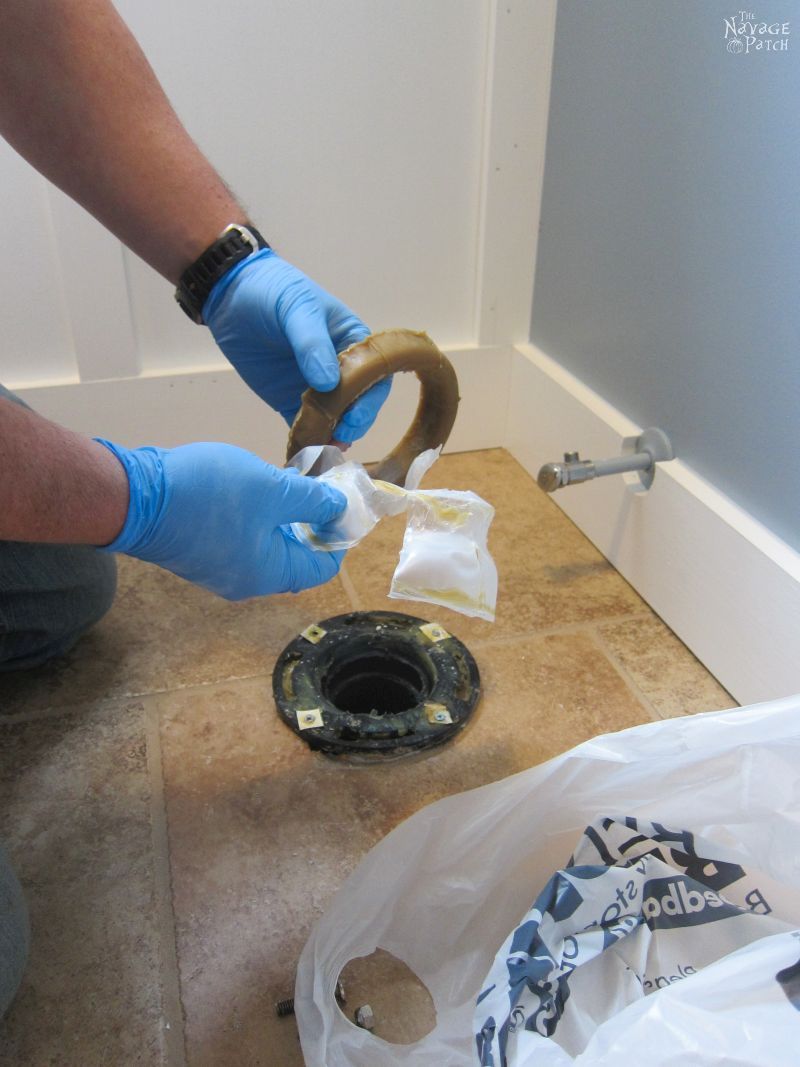
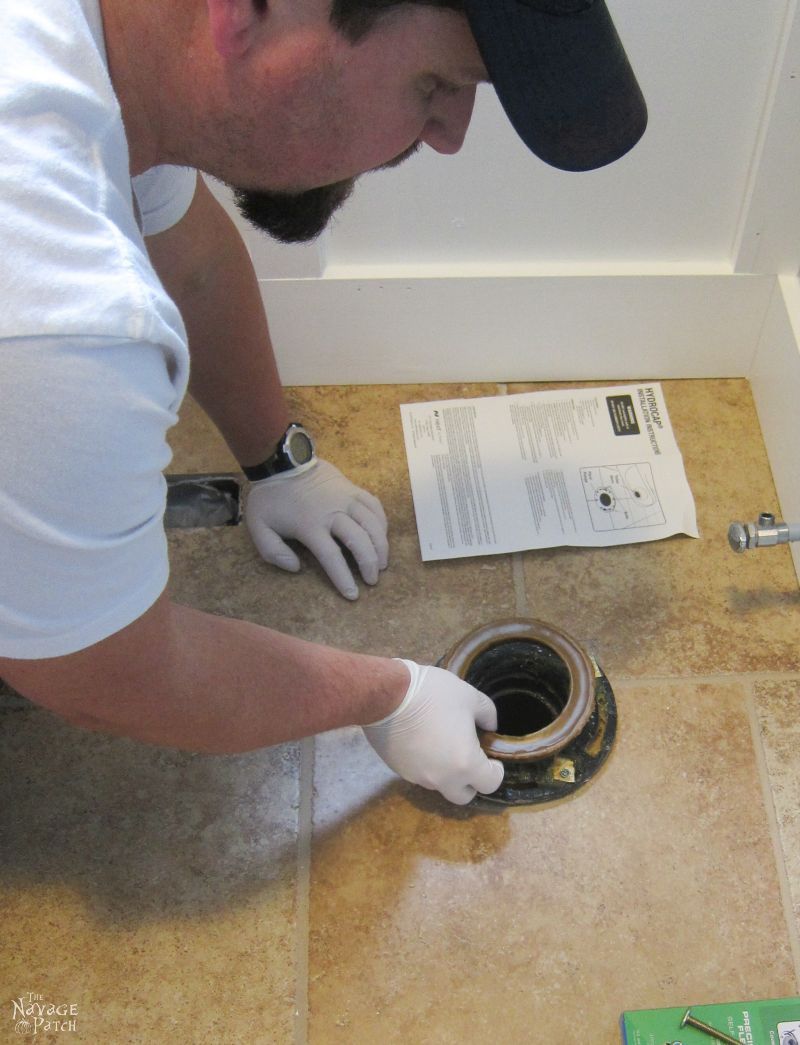
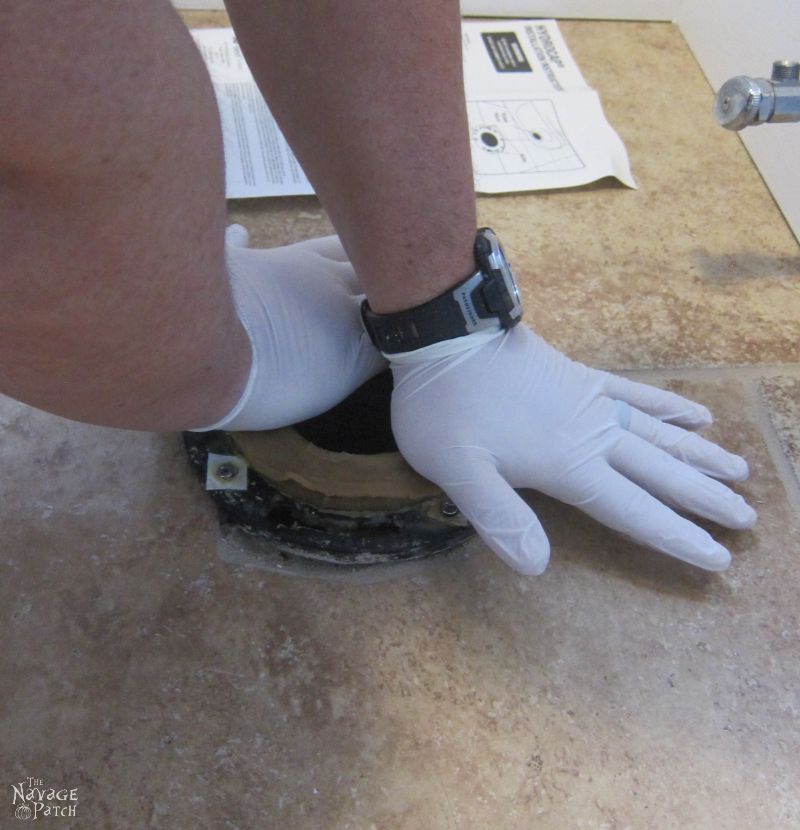
I mashed the wax ring flat to accommodate the Hydrocap.
I then inserted the bolts.
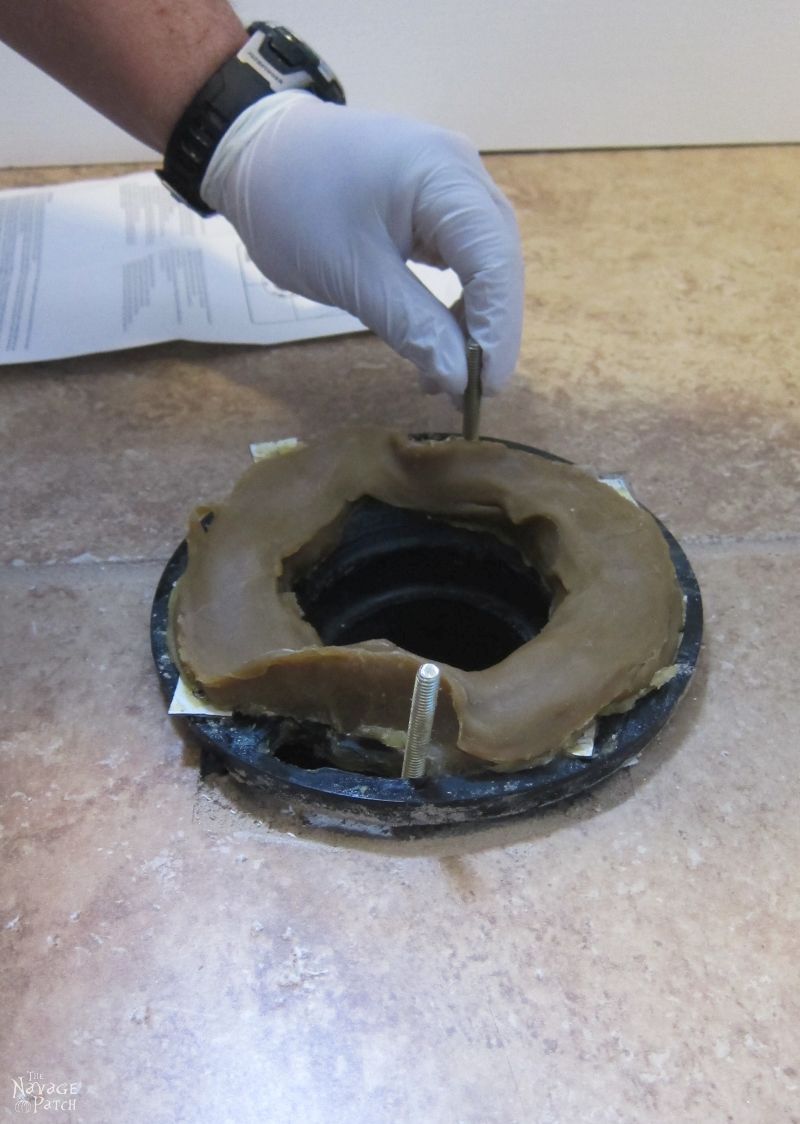
Then I placed the Hydrocap over the bolts and pressed it into the wax.
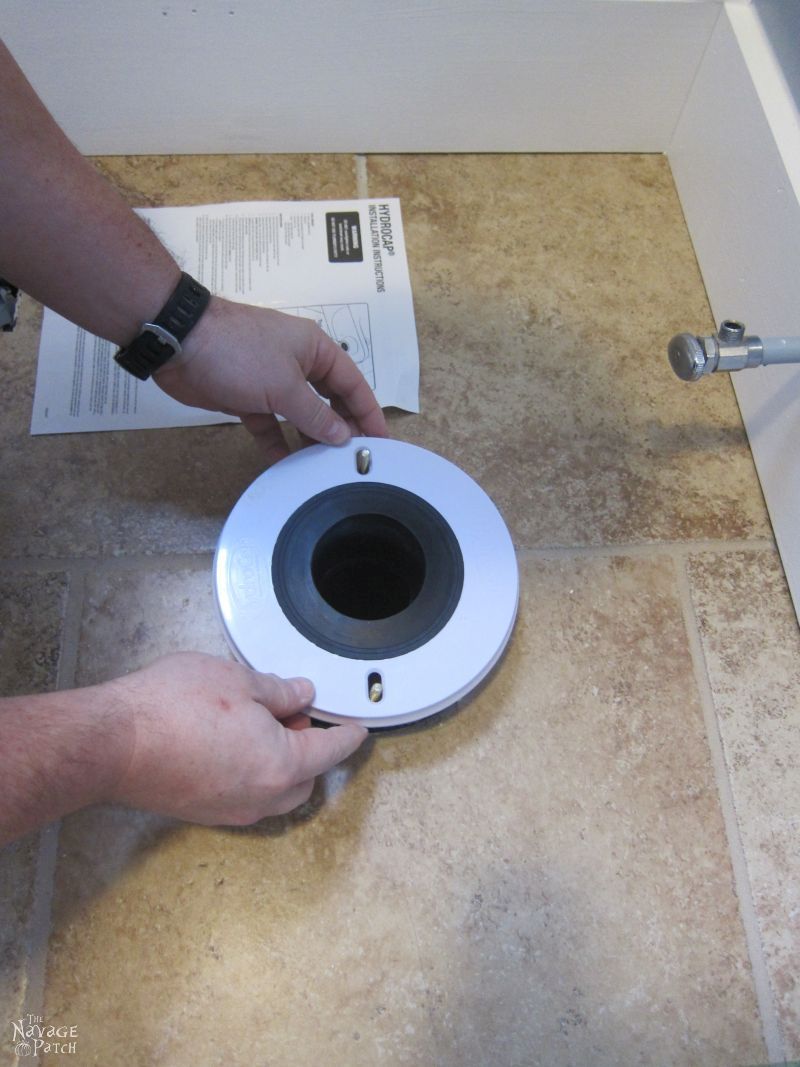
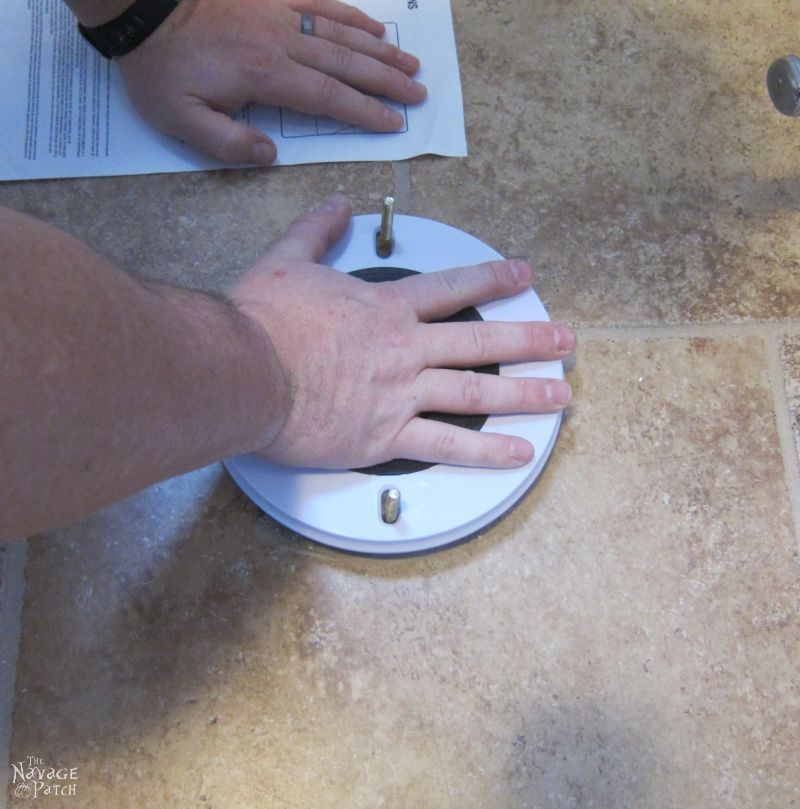
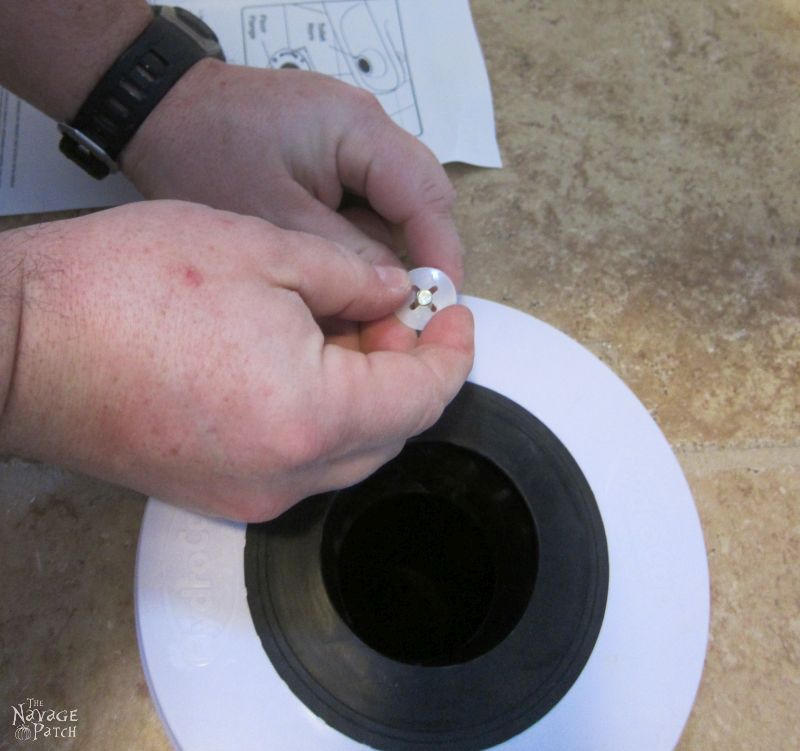
I secured the bolts in an upright position with the two provided plastic star washers.
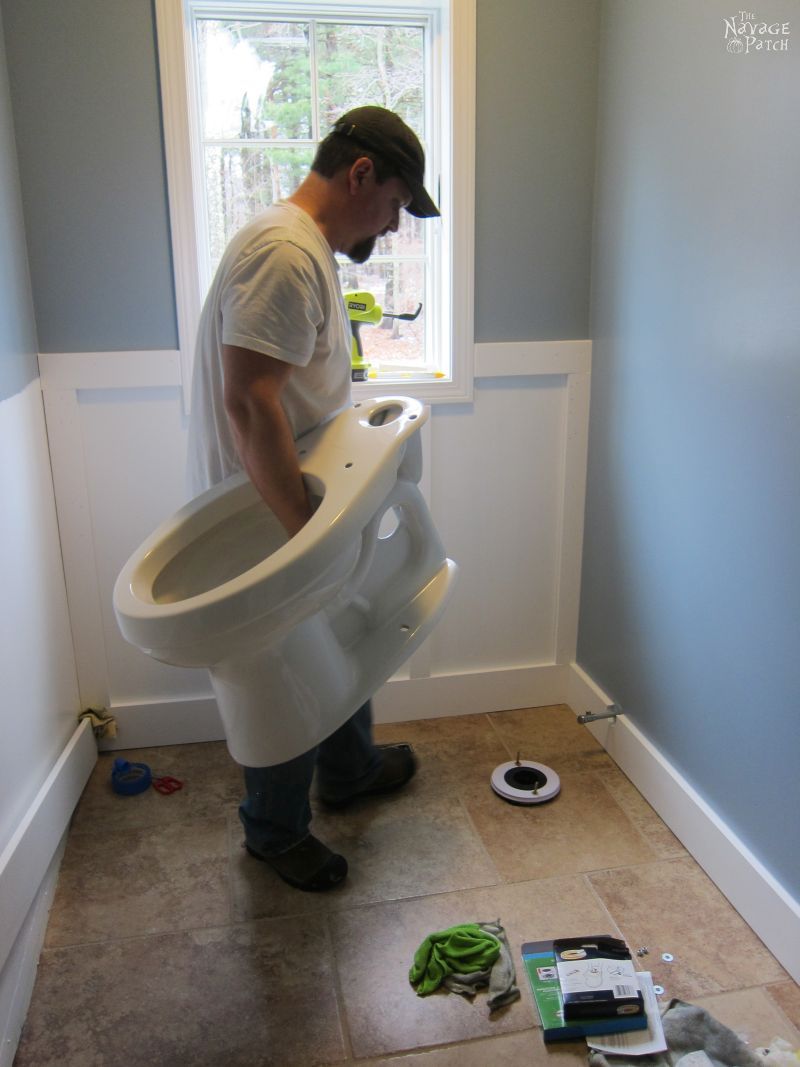
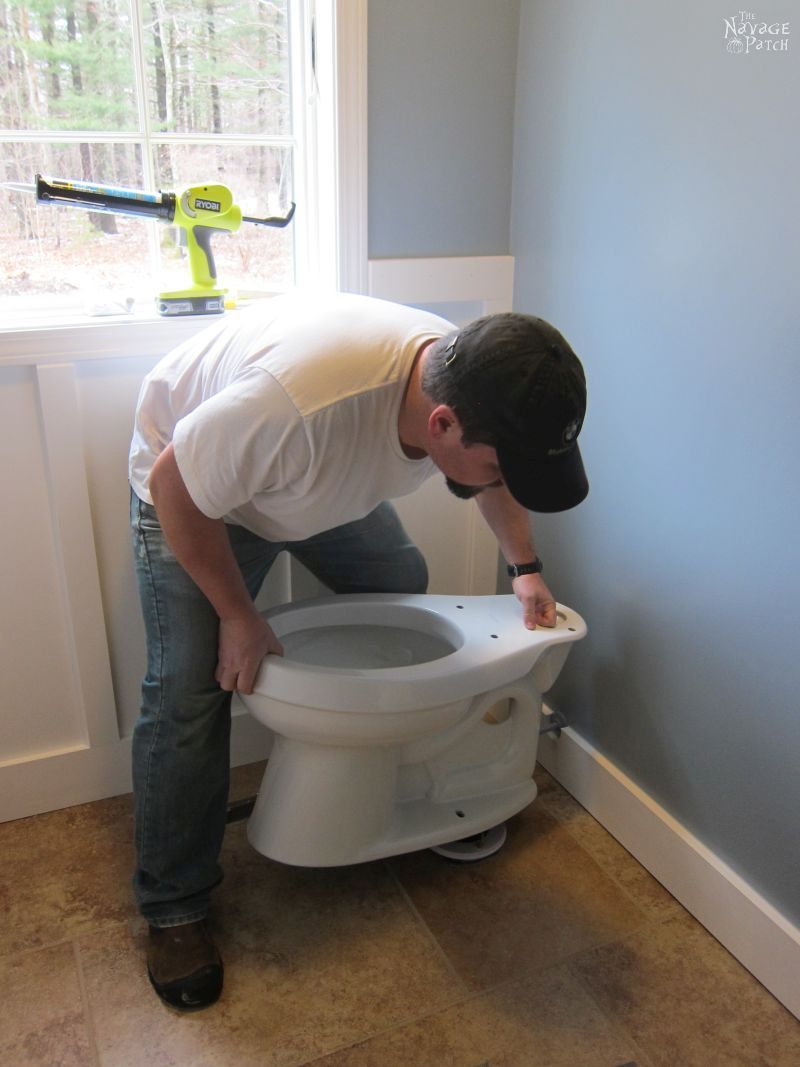
Next, I installed the toilet.
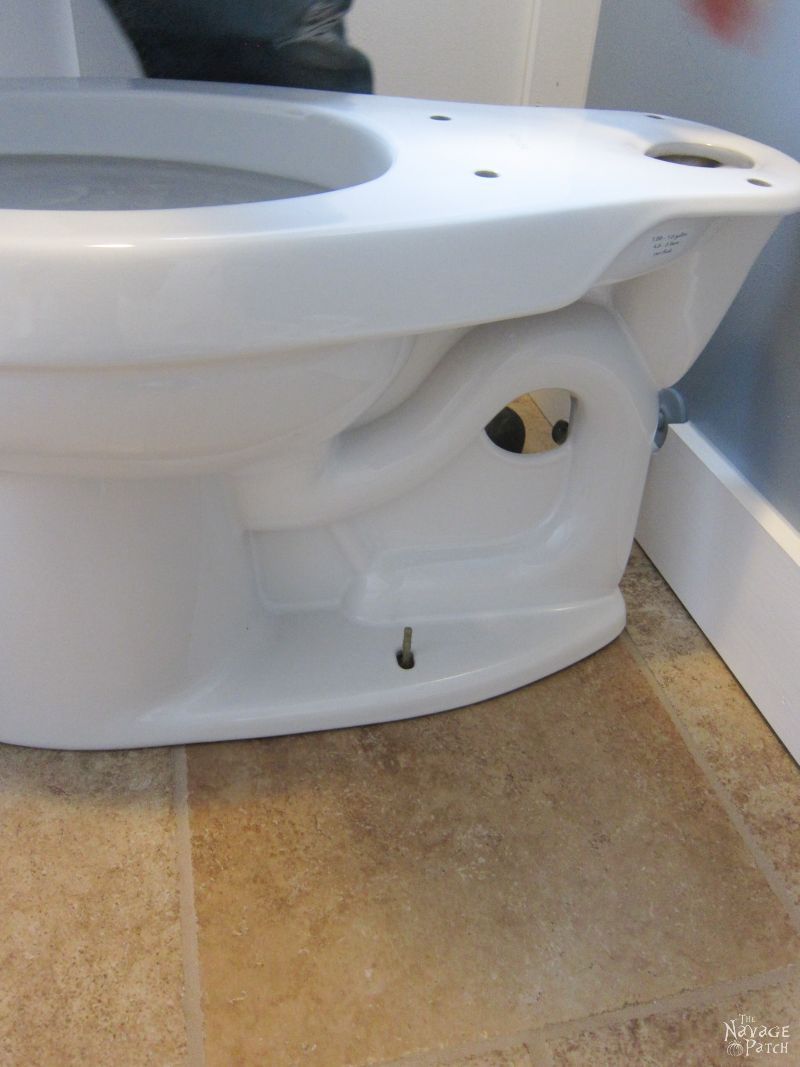
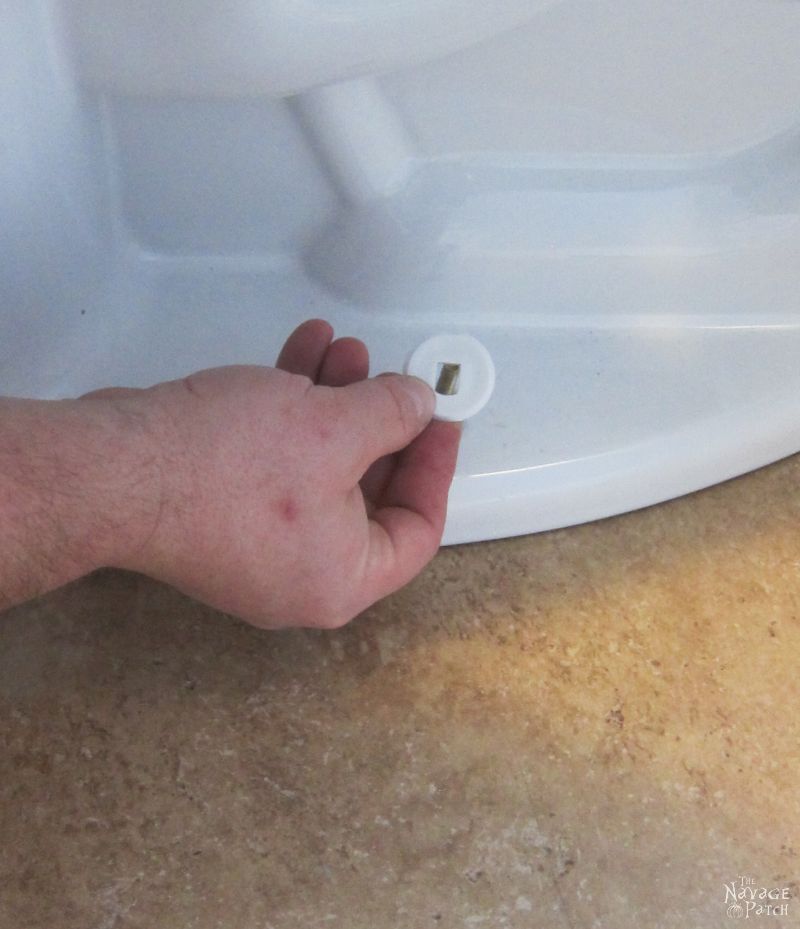
This little plastic washer is what the screw caps attach to. It goes on before the metal washer and nut.
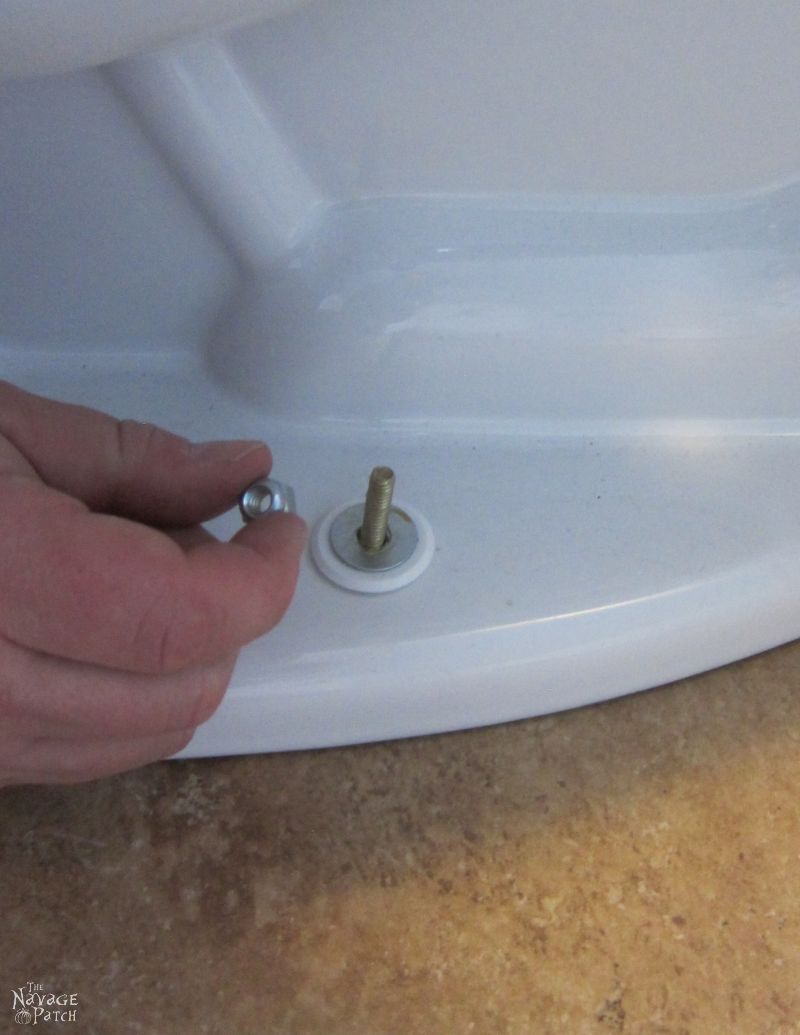
I tightened the nuts with a wrench, and my toilet was almost ready!
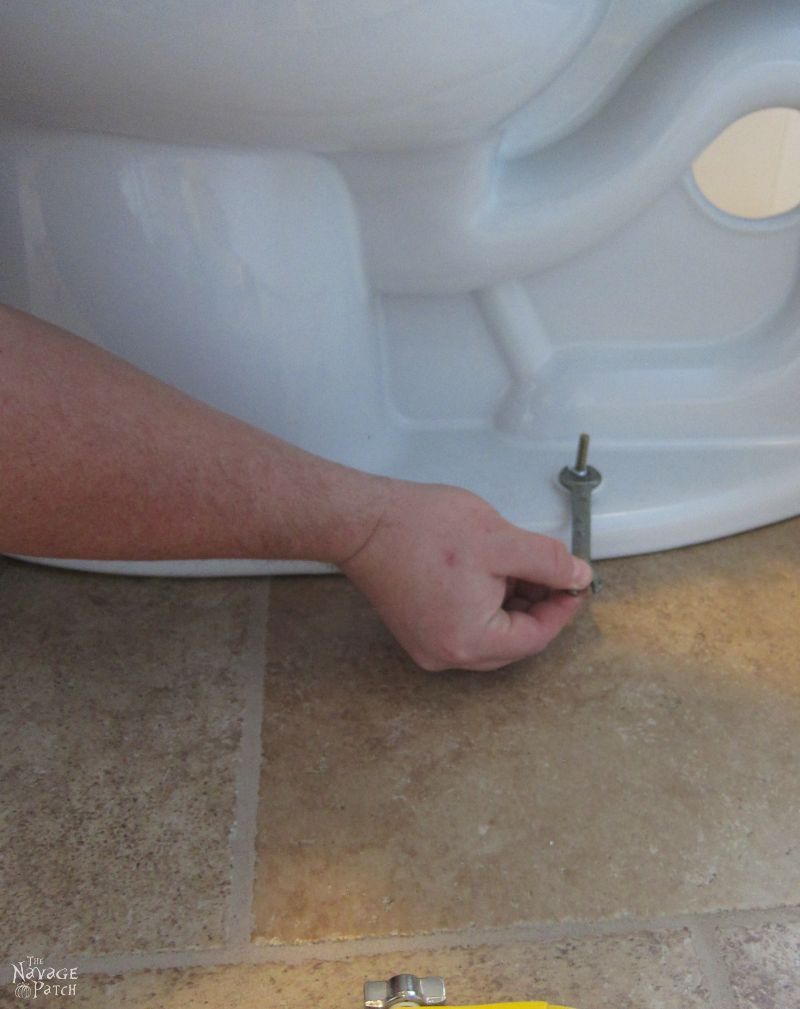
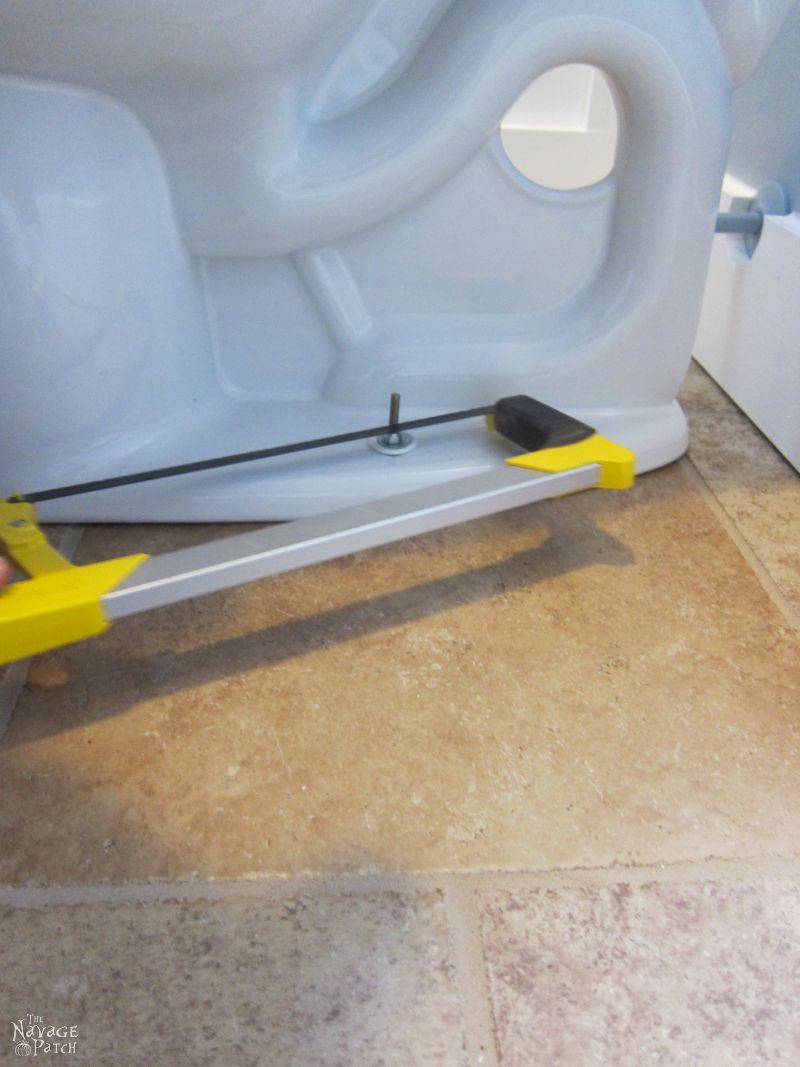
Before the screw caps could be installed, I had to trim the bolts with a hacksaw.
I installed the tank with the provided bolts and rubber gasket.
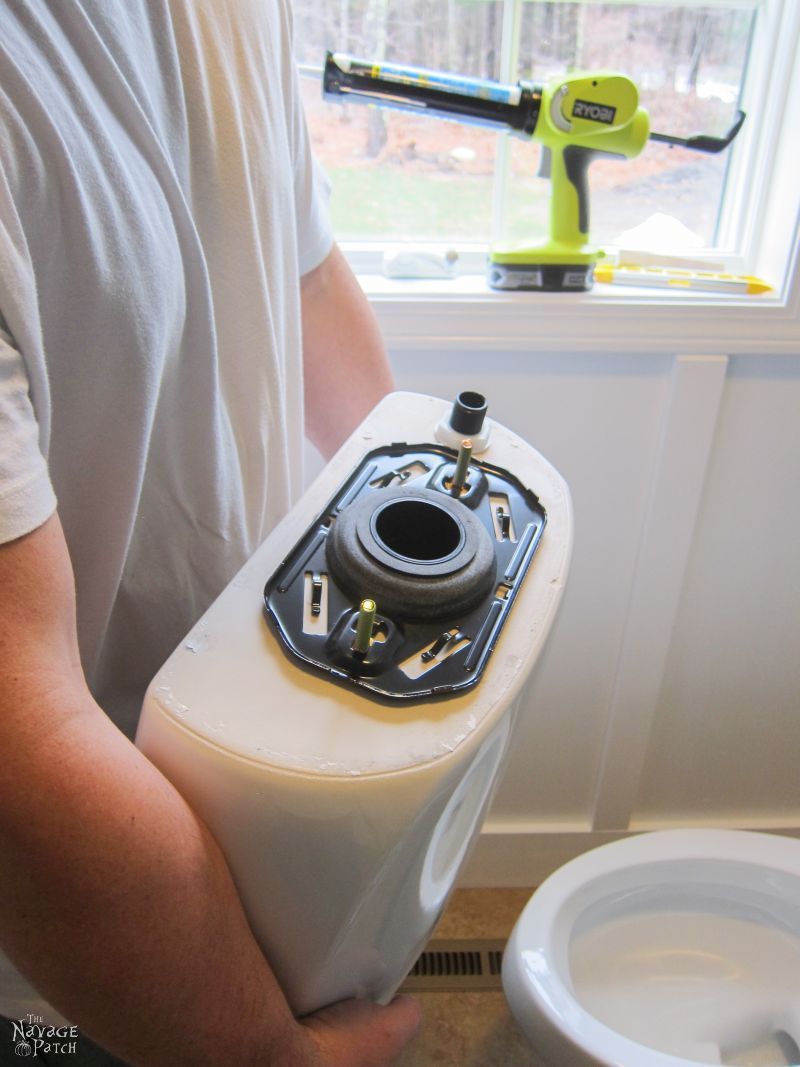
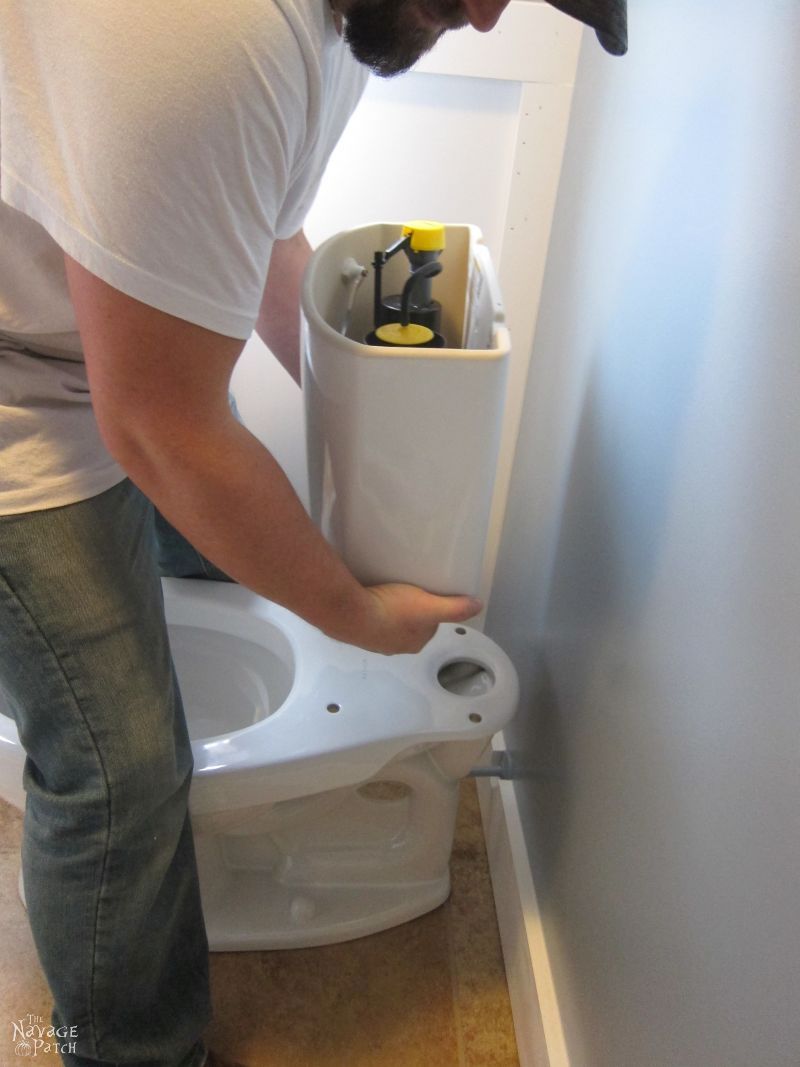
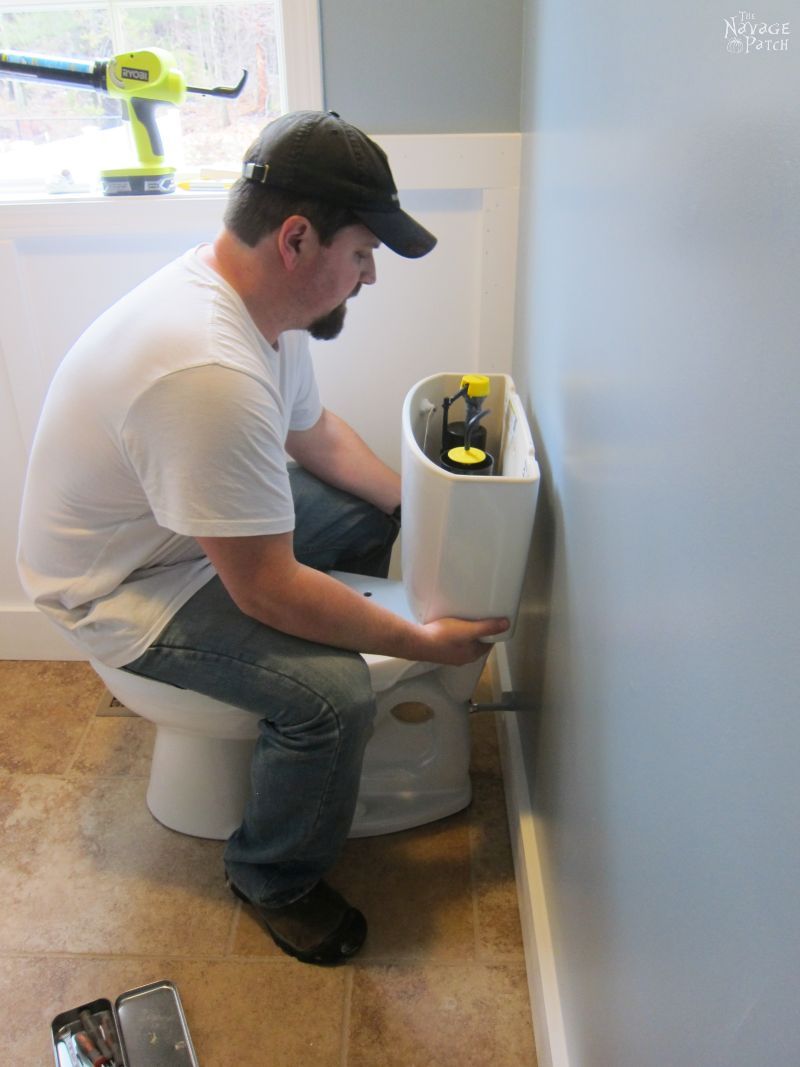
And then I attached the water line.
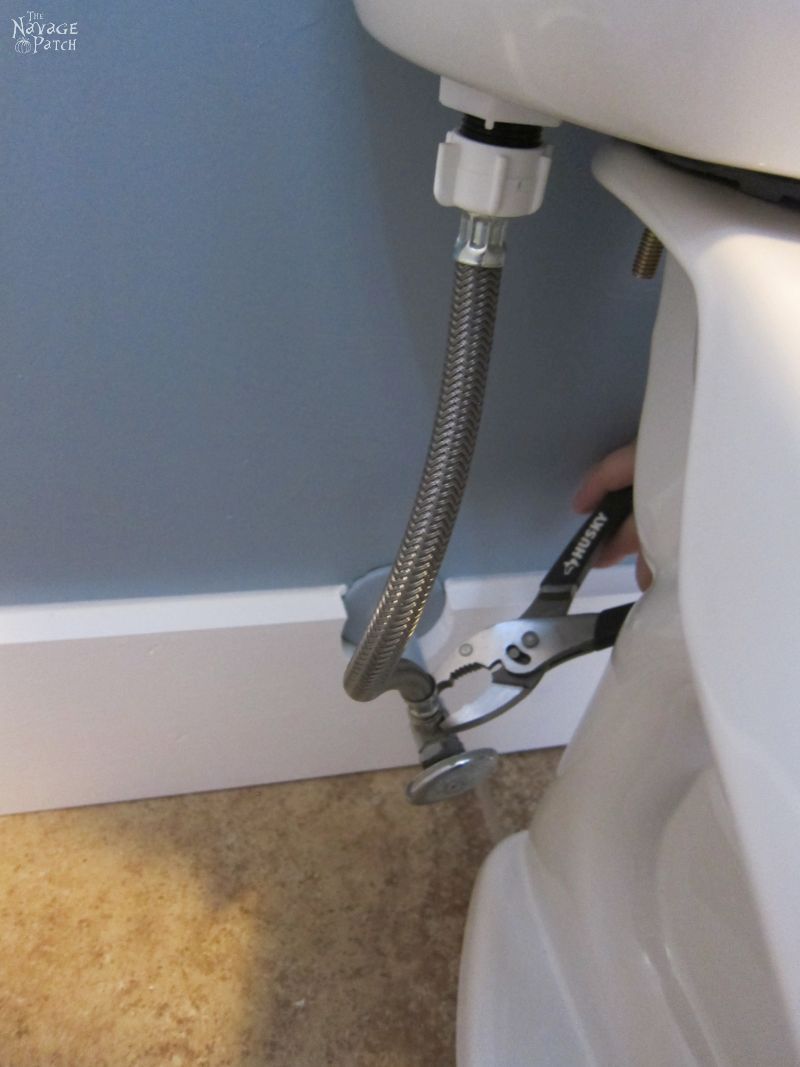
With nervous fingers, trembling with anticipation, I turned on the water. The tank and bowl filled!
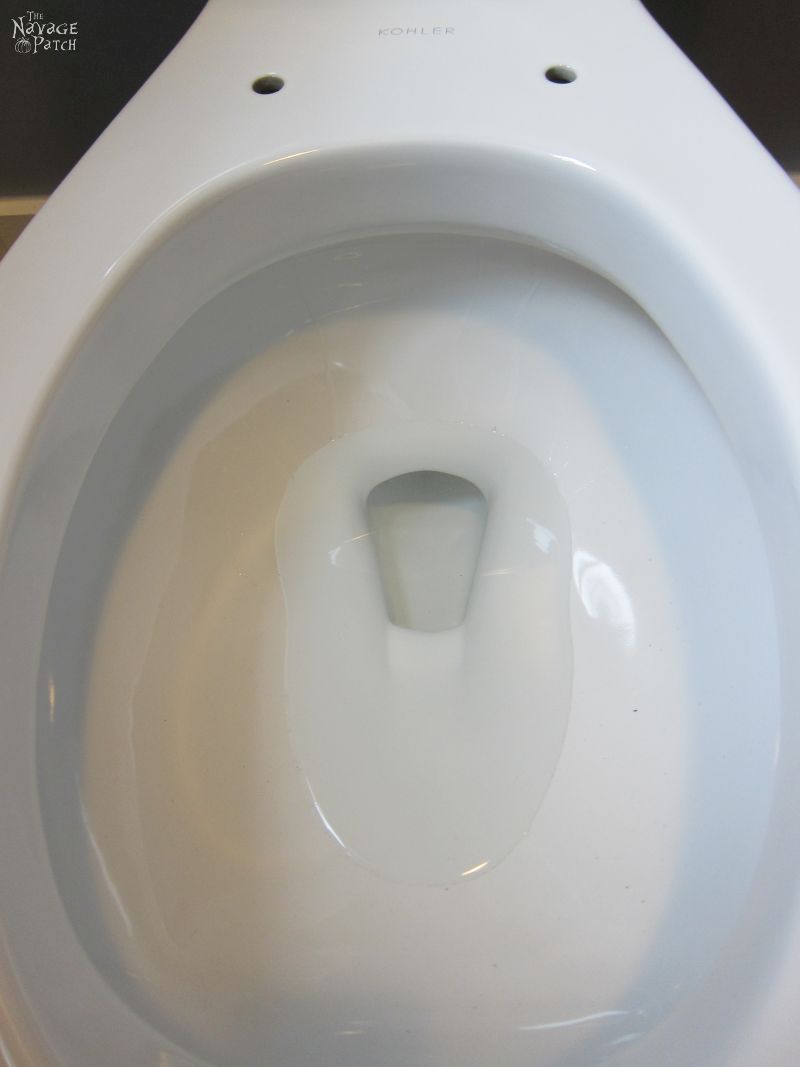
My heart quickened as I reached for the flush handle. HUZZAH!
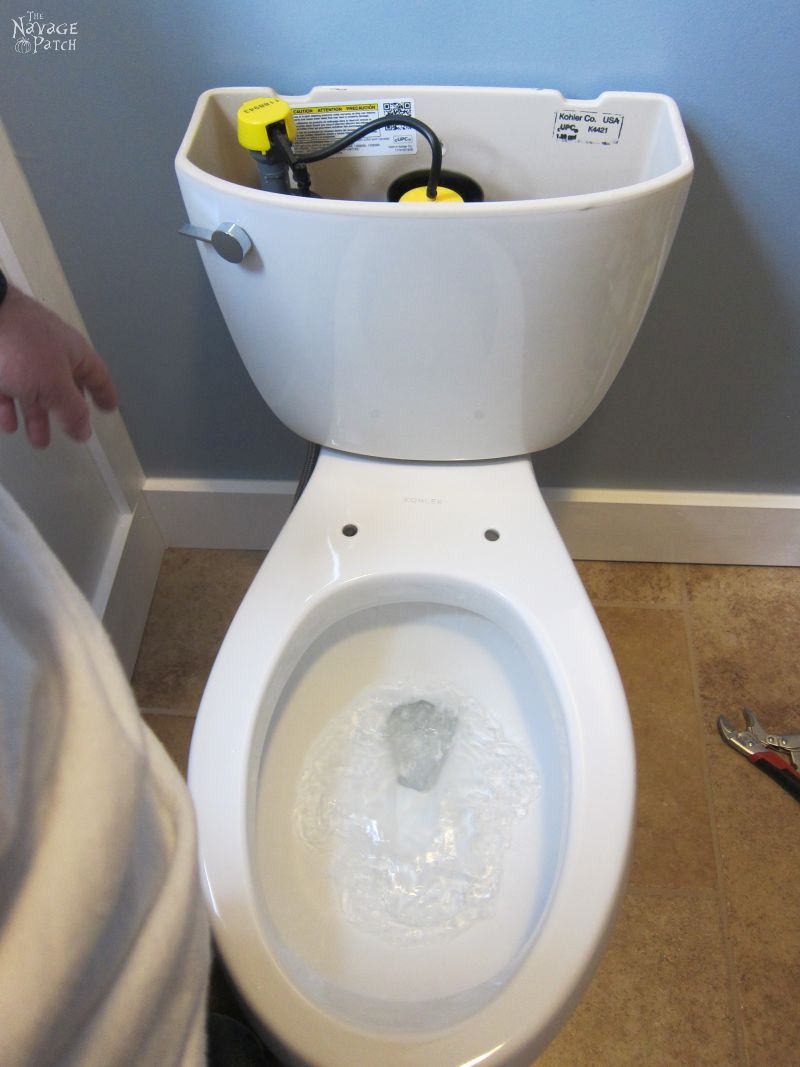
I installed the seat and then sat a moment to revel in that glorious moment.
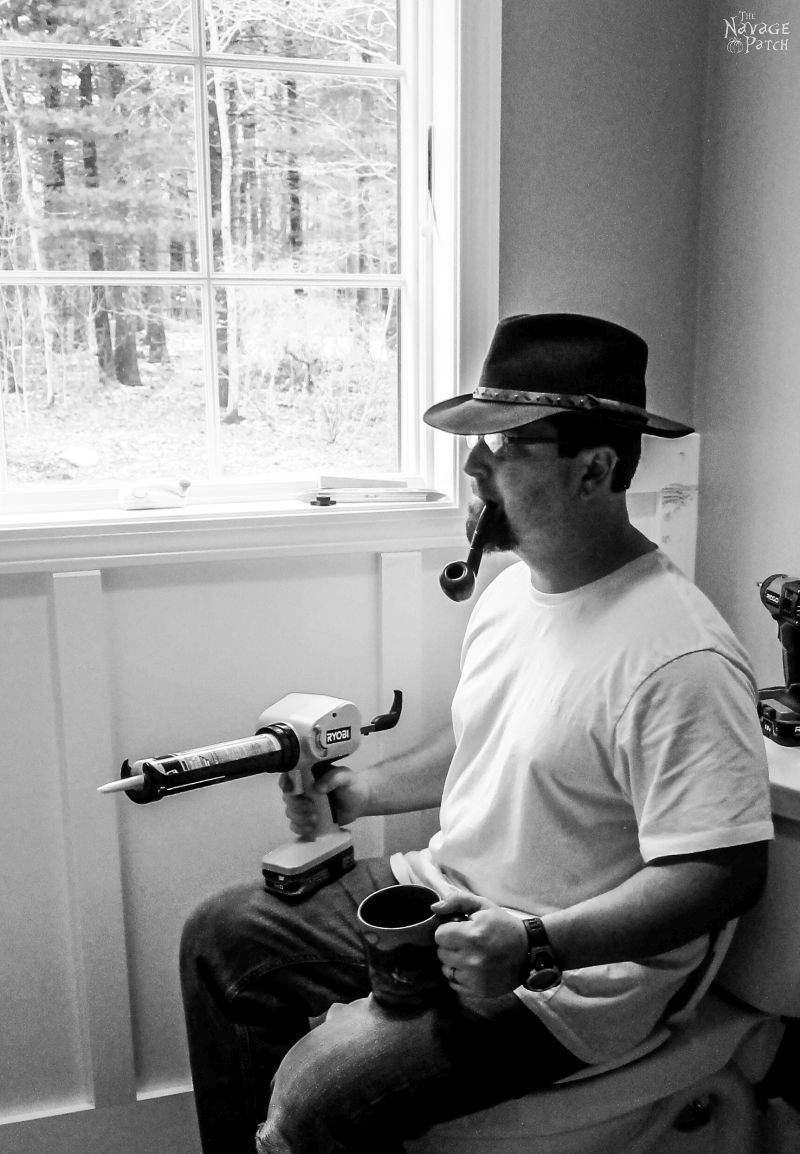
It brought to mind the poem “Out Fishin,'” by Edward Guest. My nana used to have a framed print of the poem hanging in her kitchen. I have it now.

Except, I changed the words just a wee little bit. 😀

With the toiled installed, we left the rest of the wainscoting work until I built the pocket door, and that will be the subject of my next post.
CONTINUE ON TO>>
We love it when you share our posts on Facebook and Pinterest!


omg greg you are a hoot, bathrooms looking mighty fine and that a cute little crapper you got there xx
Thank you, Chris!
Thanks for the caulking lesson. I will have to forward to my husband!! A funny and informative post too.
Thank you, Helen!
Just found your blog today and I’m hooked! Browsed and read, read some more, getting a handle on your timelines. I was so disappointed when I realized your new toilet had visible ‘poop tube’ as that feature is so unattractive. Your toilet is so obvious and a skirted toilet would give such a cleaner look, plus so easy to clean. Secondly, if I knew you I would buy you a pair of knee pads! Every person over 40 should own a pair.
Thank you, Sue Ellen! I don’t know, I kinda like the poop tube. Makes the whole thing more of an engineering marvel, if you ask me. 🙂 As for the knee pads- yes please! I really could have used them on this project, lol!
Dude, you got a lot of nice toys…work working clamps, battery powered caulk gun, air nailer, etc., now do yourself a favor and buy a set of metric and SAE box wrenches, adjustable crescent wrench, and channel locks….one does not remove and attach brass/chrome plated shutoff valves, or compression fitting with a pair of pliers…..try box wrenches 😉 ….
Also, 1/4″ plywood subfloor????? Attempting to minimize the ‘bounce’ with screws is foolhearty….over time, they will loosen and your nice tile floor will start to fall apart. You should talk to some experts or, google is your friend *before* you start a project…hardi board is well known to be the best subfloor in this kind of installation….hope it lasts…..
You’re right about the subfloor. Wonderboard would be better. But plywood is what we removed with the old tiles, and they were still perfectly sound after 20 years. The bathroom doesn’t see a lot of moisture so I think it’ll be good.