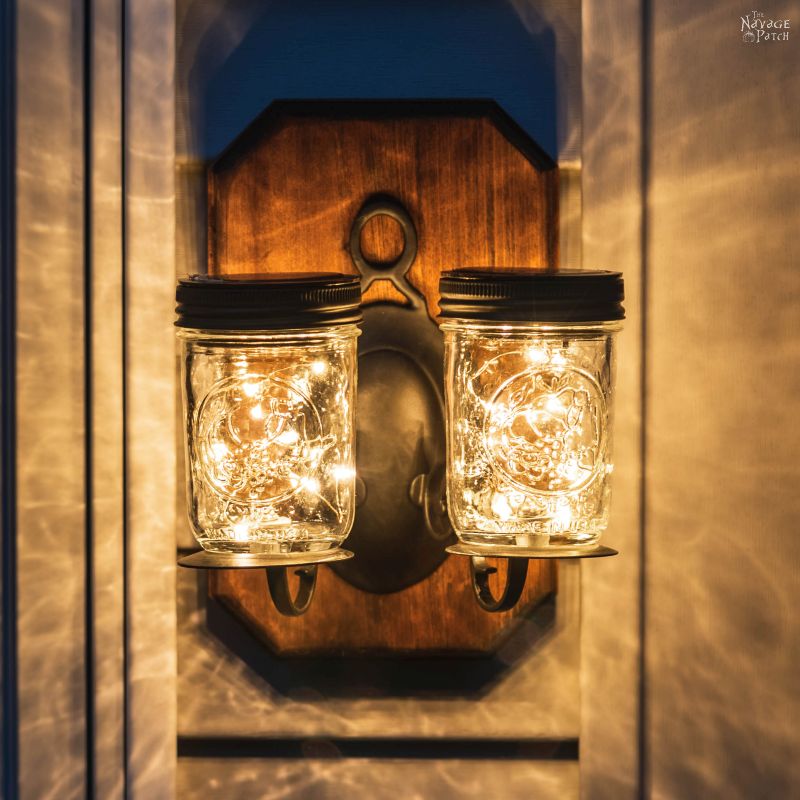
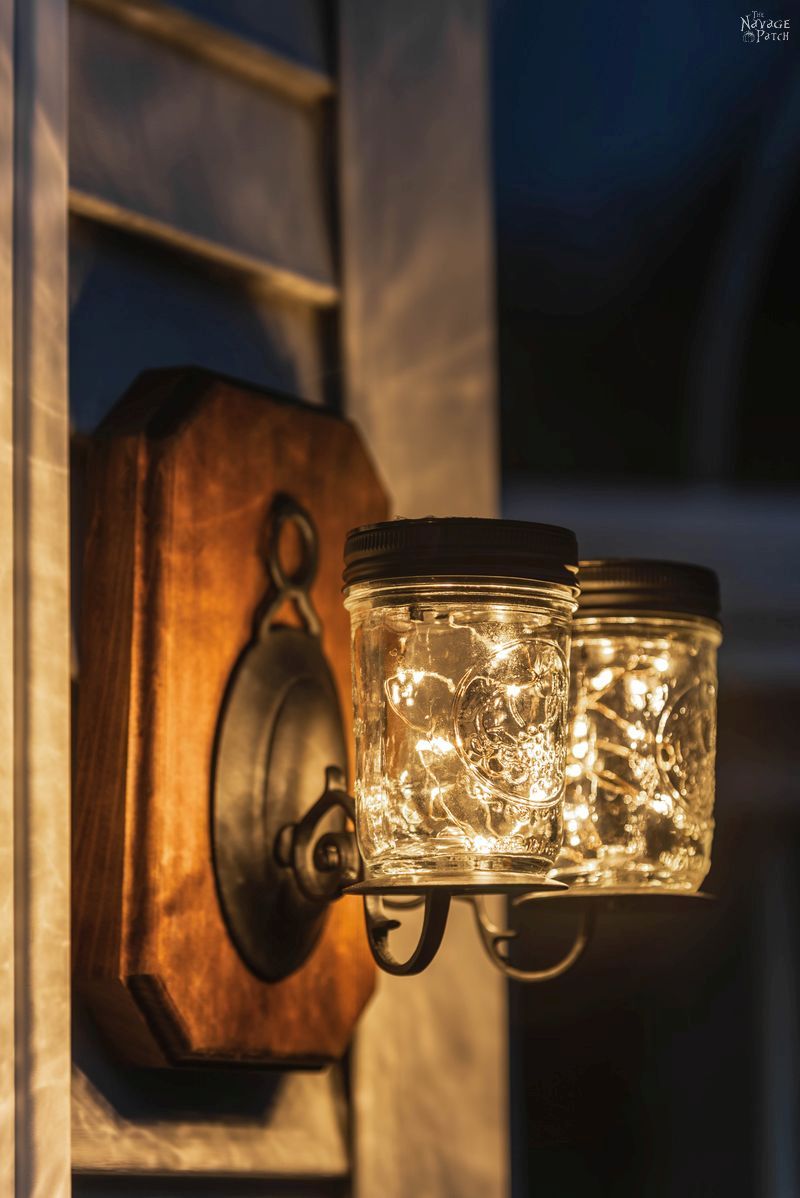
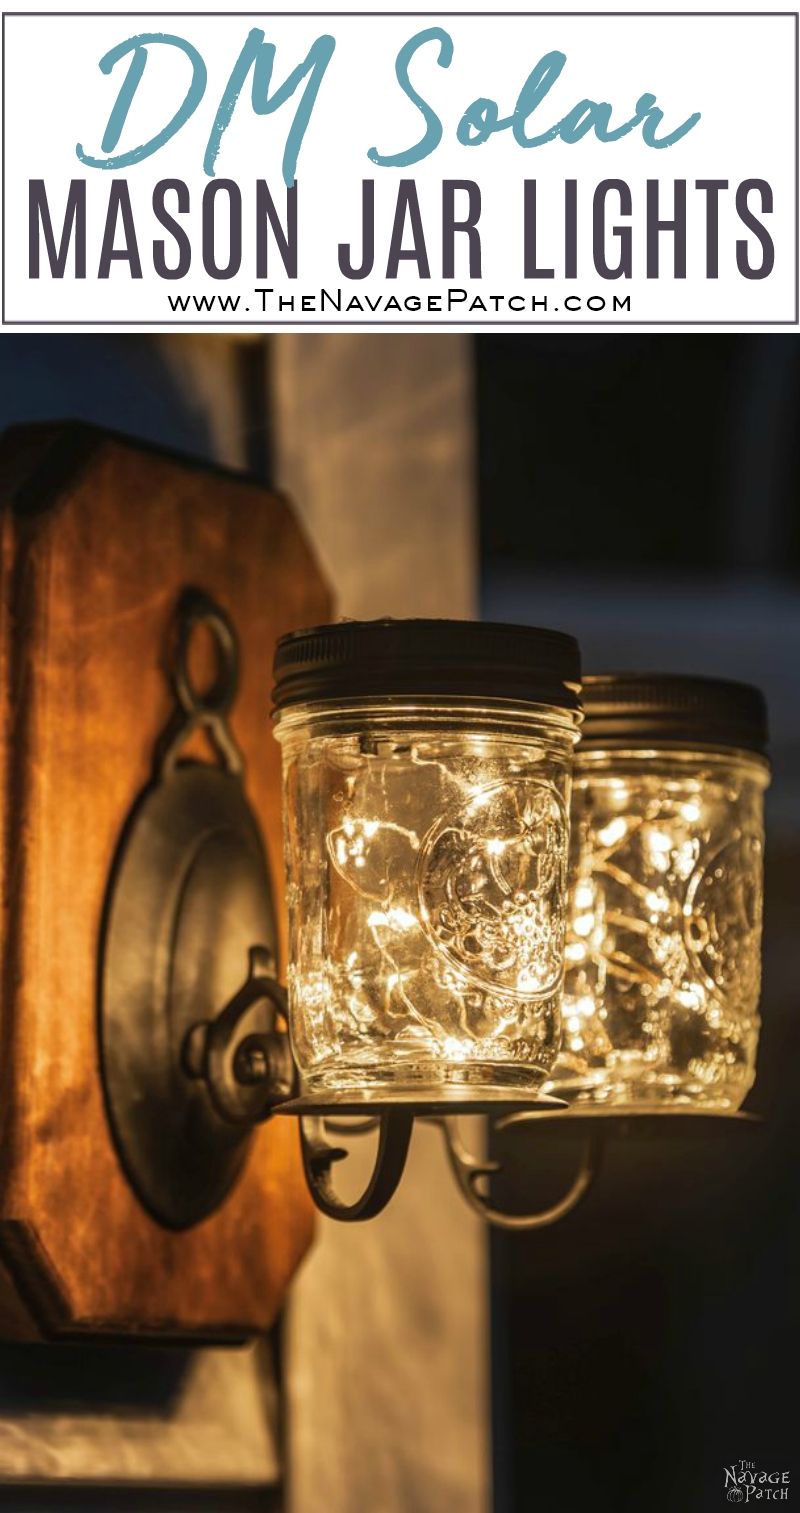
Solar Mason Jar Lights
These solar mason jar lights are an easy DIY that will add a little magic to your deck or patio at night! All you need are old sconces, mason jars, and solar fairy lights!
Do you know who loves the word “sconce?”
Geese.
Especially Long Island geese.
It is their favorite salutation.
It is their most common valediction.
They love to scream it when they are chasing children around a lake.
“SCONCE! SCONCE! SCONCE!”
This is usually followed by a painful nip in the buttocks for the hapless child who mistakenly wandered too close to a gaggle of geese’s gabbling goslings.
And did you know that it is entirely and utterly impossible to say the word “Wisconsin” without also saying the word “sconce?”
It is the primary reason that Wisconsin is the number one destination of the Long Island goose when it goes on summer holiday, much to the dismay of the more cultured and far nicer Canada goose.
And were you aware that my dear wife loves blueberry sconces?
Oh yes!
“Hey babes!” She says after I return from the bakery with bread and scones. “I want a sconce! Will you bring me one?”
“Don’t be a jerk!” She admonishes.
“But they’re called scones.” I remind her.
“No! They’re sconces, and I want a blueberry sconce!” She smiles and smacks her lips.
Who am I to say no to that smile?
“Okay, my babes. One sconce, coming up!”
As far as Handanisms go, “blueberry sconce” is right up there with “Bad Bath & Beyond” and “Apple Crumble & Finch.” 🙂
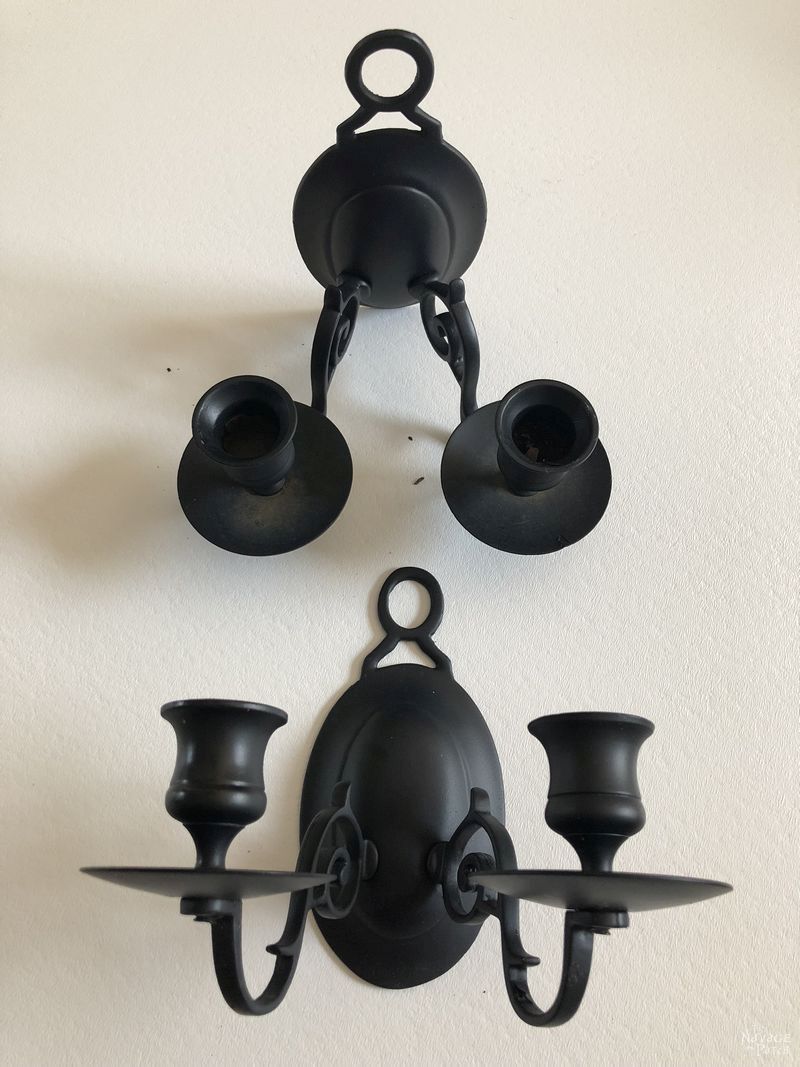
Okay, getting back to real sconces, Handan picked up a pair of fake-brass ones at a tag sale a few years back. She painted them black and hung them on either side of a window overlooking the deck. She put solar pathway lights in the candle holders, but we tired of that look, so she took the lights out last year, and the sconces have been hanging empty ever since.
But this week, she had a little stroke of genius. She’d been wanting to do a project with some solar mason jar lights she had on hand. Why not combine the two?
I told her that I’d take over the project. After all, I’m starting to like these quick and easy projects!
I took the sconces off the siding and laid them out for a look.
Then I disassembled them so I could paint the pieces again.
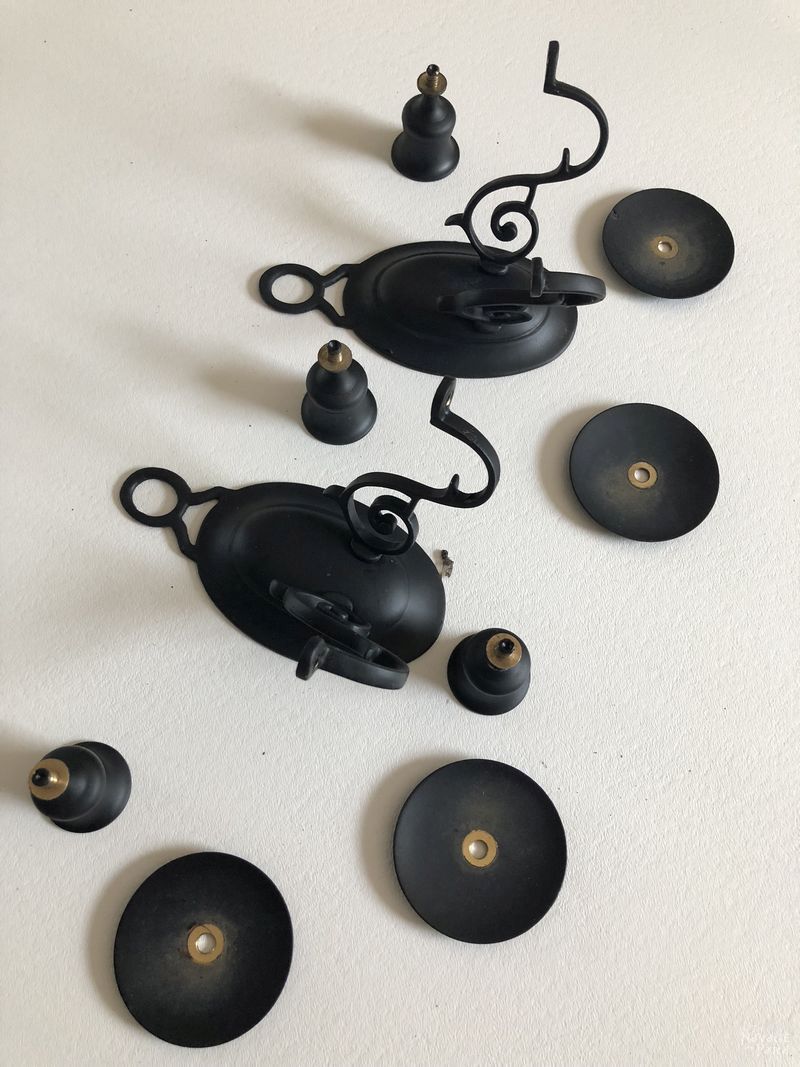
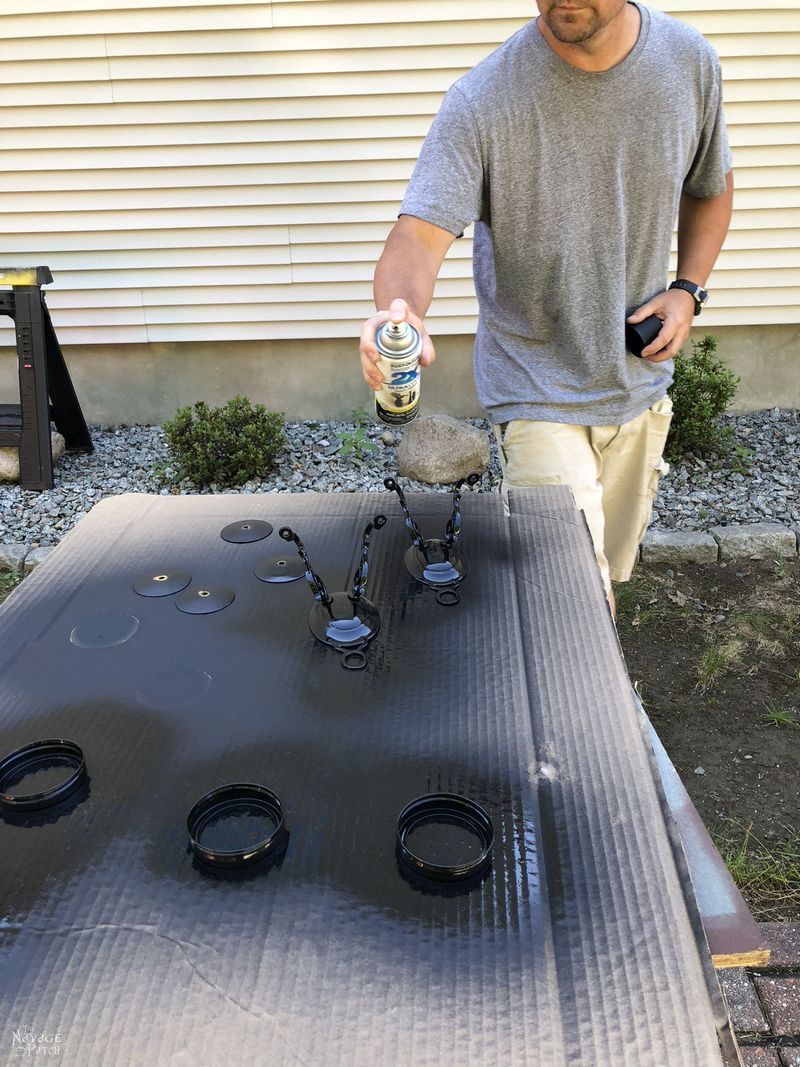
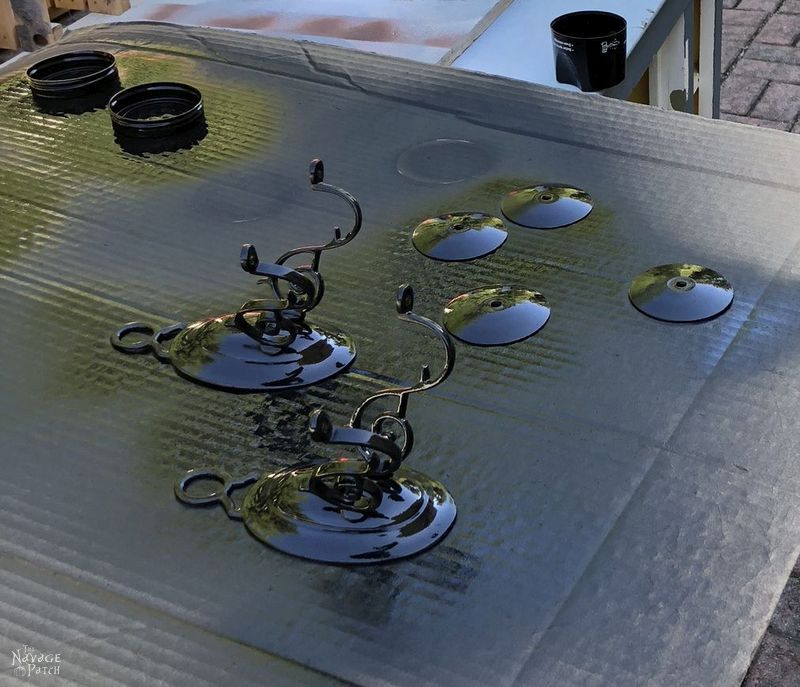
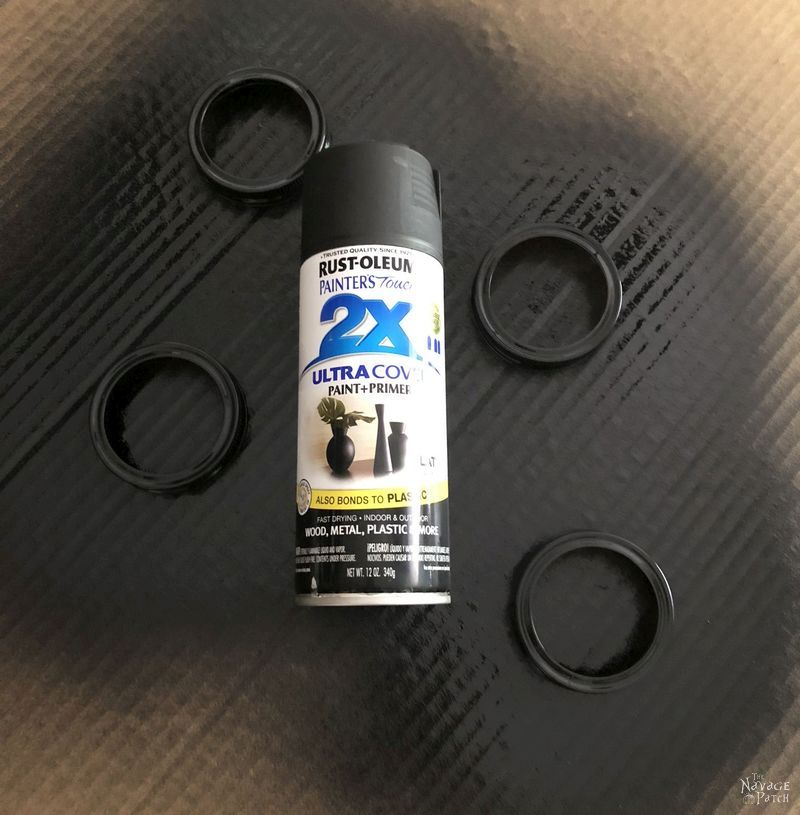
Since I’d be using 4 mason jars for these solar mason jar lights, I got 4 screw rings from my canning stash and painted them as well.
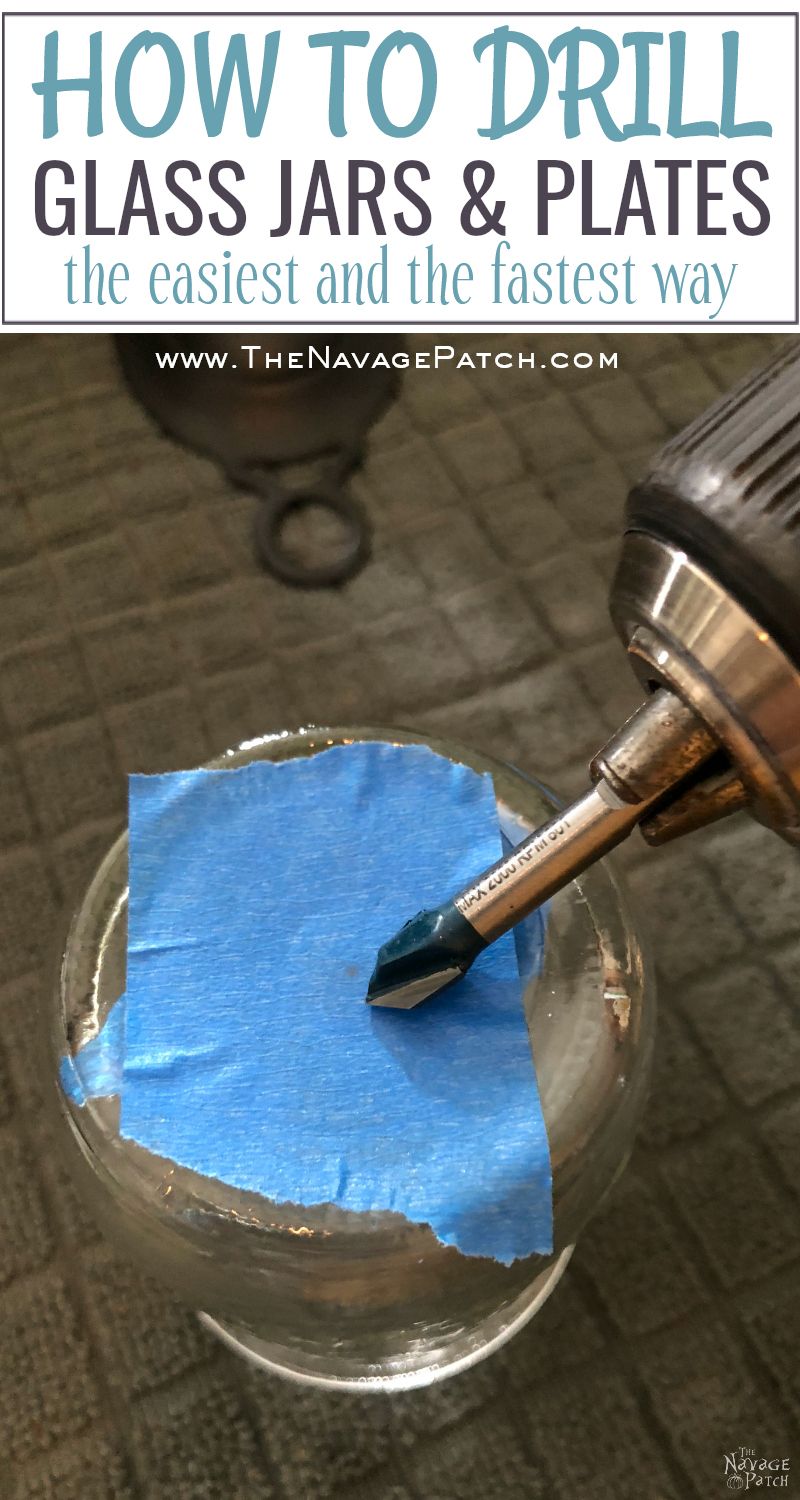
I needed to cut a 5/16 inch hole in the bottoms of the mason jars to accommodate the screw. There were two main types of glass drill bits I found for sale: carbide-tipped at Home Depot and diamond-dust-encrusted from Amazon. I ordered the diamond set from Amazon and also picked up a carbide set from Home Depot for comparison.
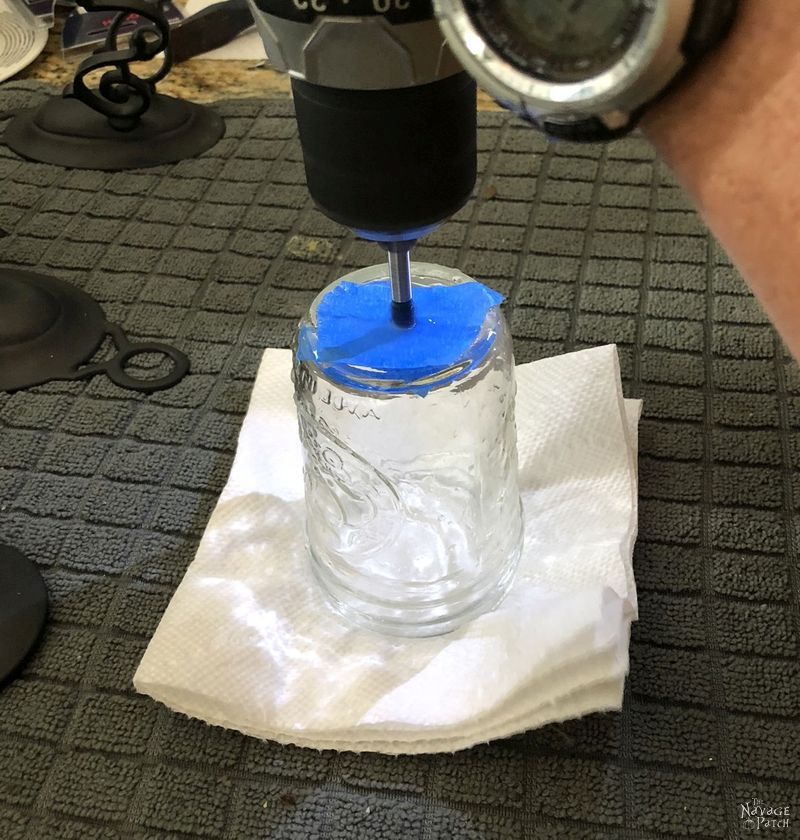
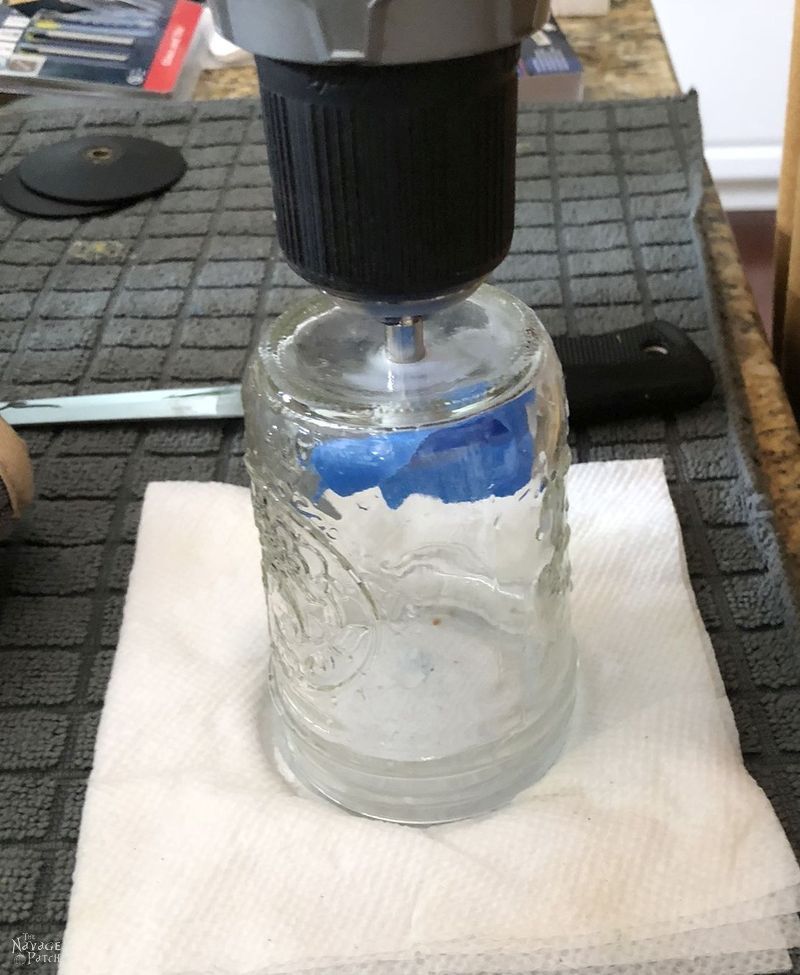
I started with the carbide-tipped drill bits. To prevent flying glass in case of a break, I put painter’s tape on the bottom, inside and out.
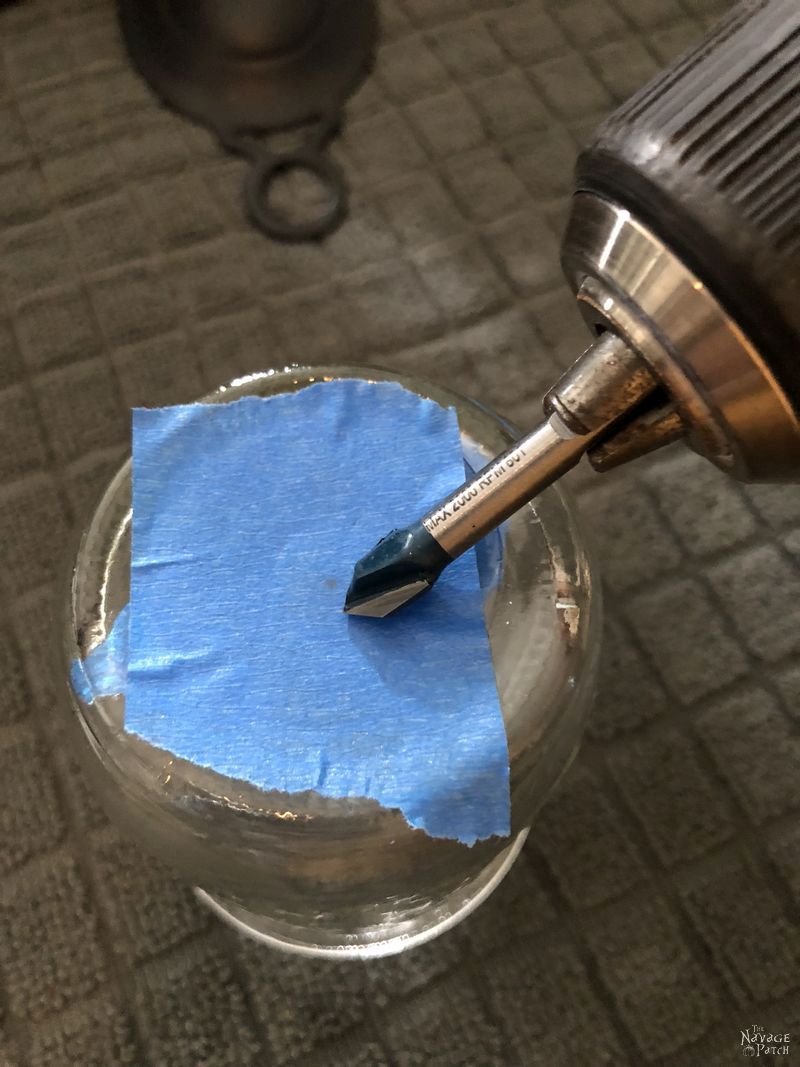
Then I started to drill, applying only light pressure, since this was my first time drilling glass, and I didn’t want anything to shatter. After about 10 seconds, it became apparent that I should be wetting the drilling area. I pooled some water in the indentation and put a paper towel beneath.
And drilled some more.
I think it took about 10 minutes to drill a dinky little hole in the mason jar!
But I had my hole.
For the second jar, I decided to speed things up a bit by ramping up the power and the pressure. I was a little nervous about the jar shattering in my hand, so I wore an oven mitt as a precaution.
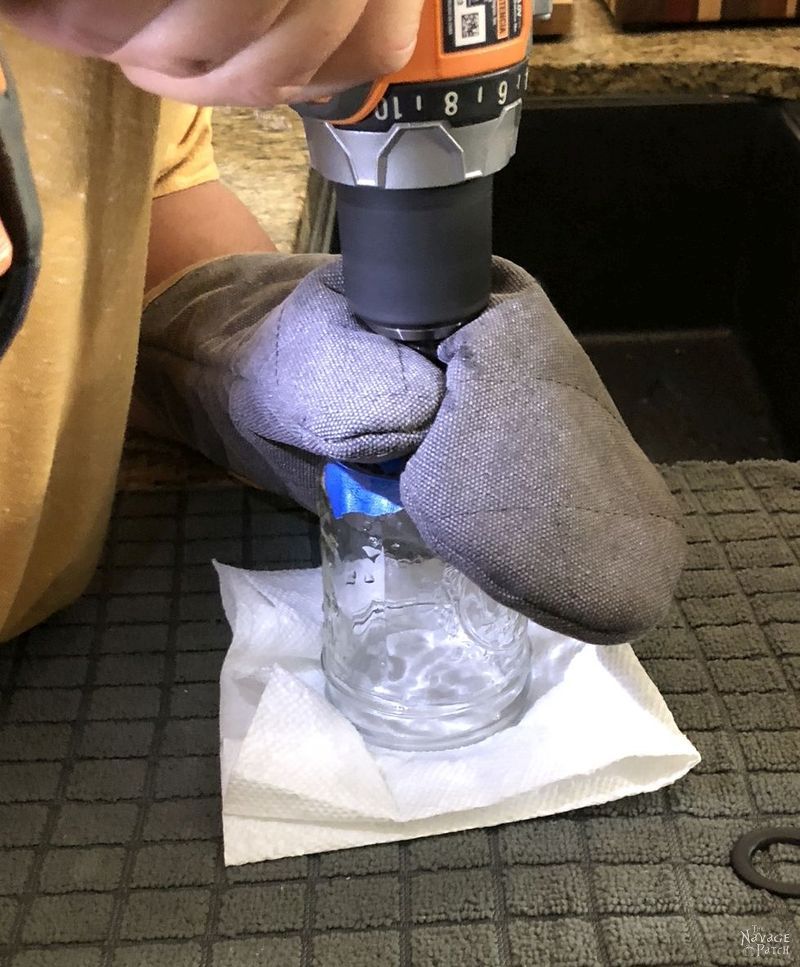
I managed to cut through the second jar in about 5 minutes instead of 10, but in my haste and zeal to speed things up, I cracked the entire bottom of the jar.
I was entirely displeased with the carbide-tipped drill bits, and I wondered how the hell they’d gotten so many favorable reviews online.

“Nuts to this!” I muttered to no one in particular and reached for the diamond-encrusted bit. Diamonds always trump carbide. I should have started with the best.

Ohhhhhh, this was drilling! This was the Marilyn Monroe of drill bits! I cut through that silly jar in about 20 seconds.
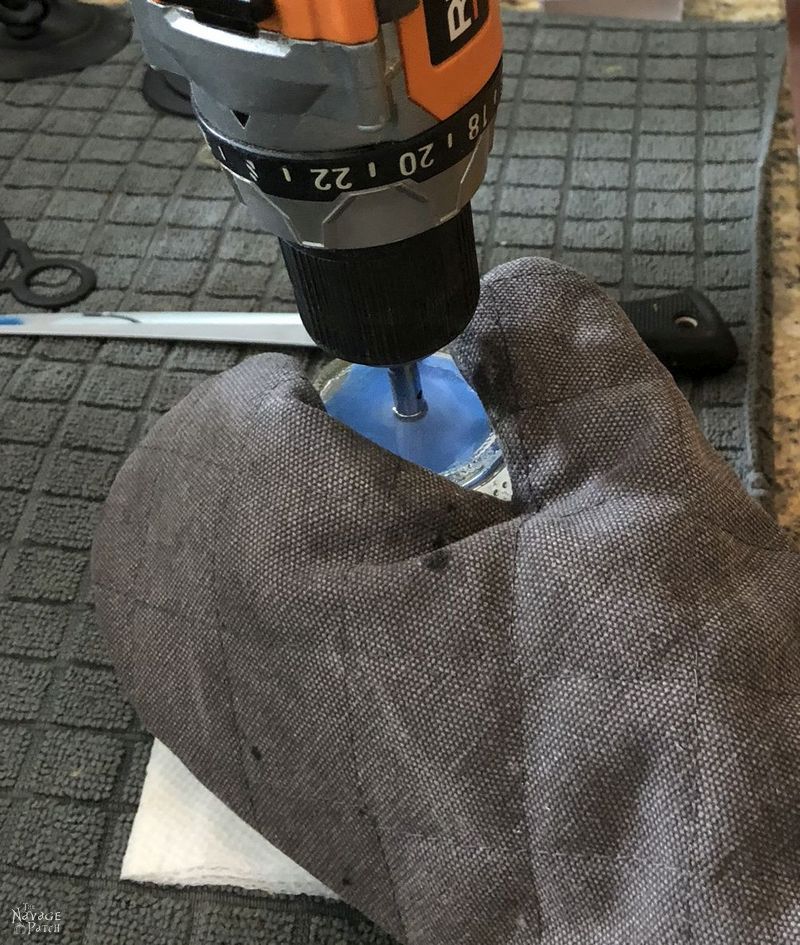
And unlike the jagged hole from the disgraced carbide-tipped bit, this diamond-encrusted hole-poker made a smooth and perfect circle.
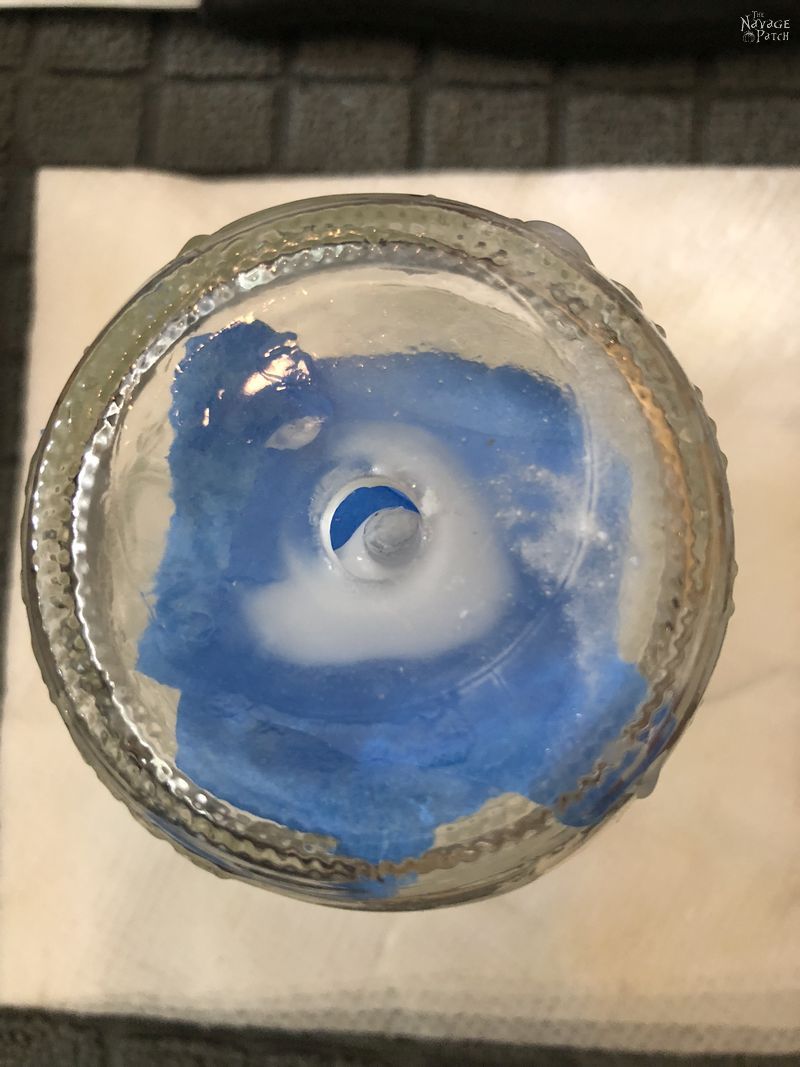
With my perfect glassholes glass holes ready and waiting, it was time to assemble my solar mason jar lights.
Okay, my friends, this is one of the projects I did with Handan taking pictures, which means I had to sort through about 7000 pictures for this post. This is one of those projects that is so easy, a blindfolded monkey could make them after two shots of tequila. I could just let Handan’s pictures do the talking, but where’s the fun in that?
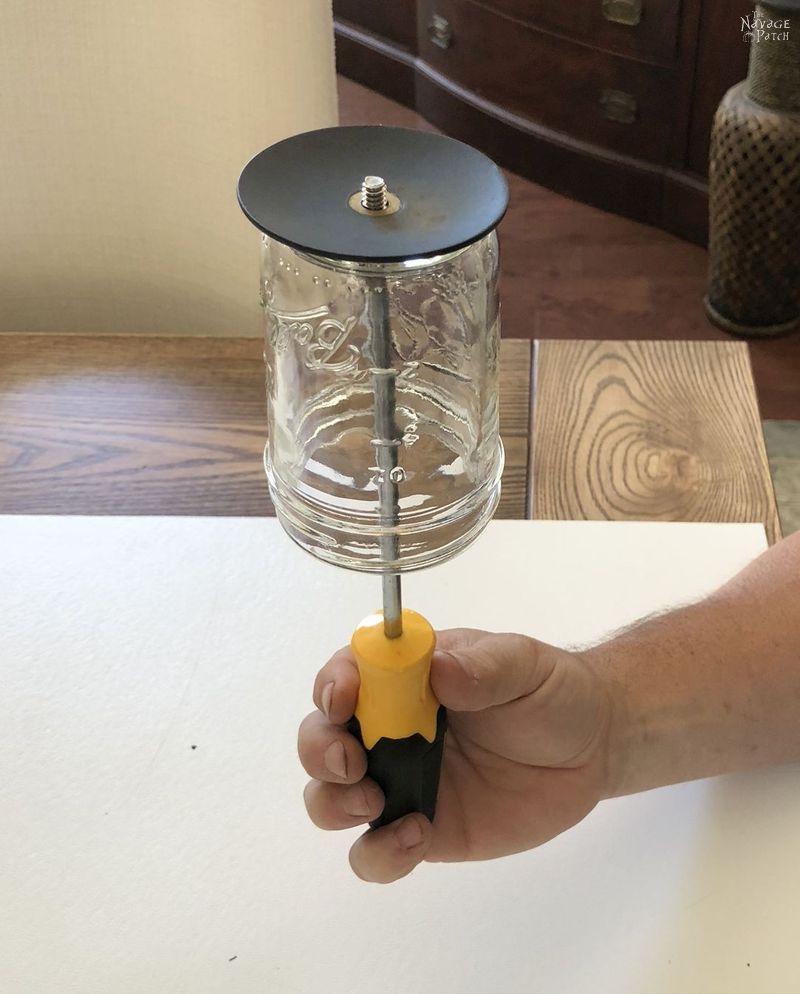
I placed a washer on a 1/4 inch stainless screw and stuck it on a screwdriver.
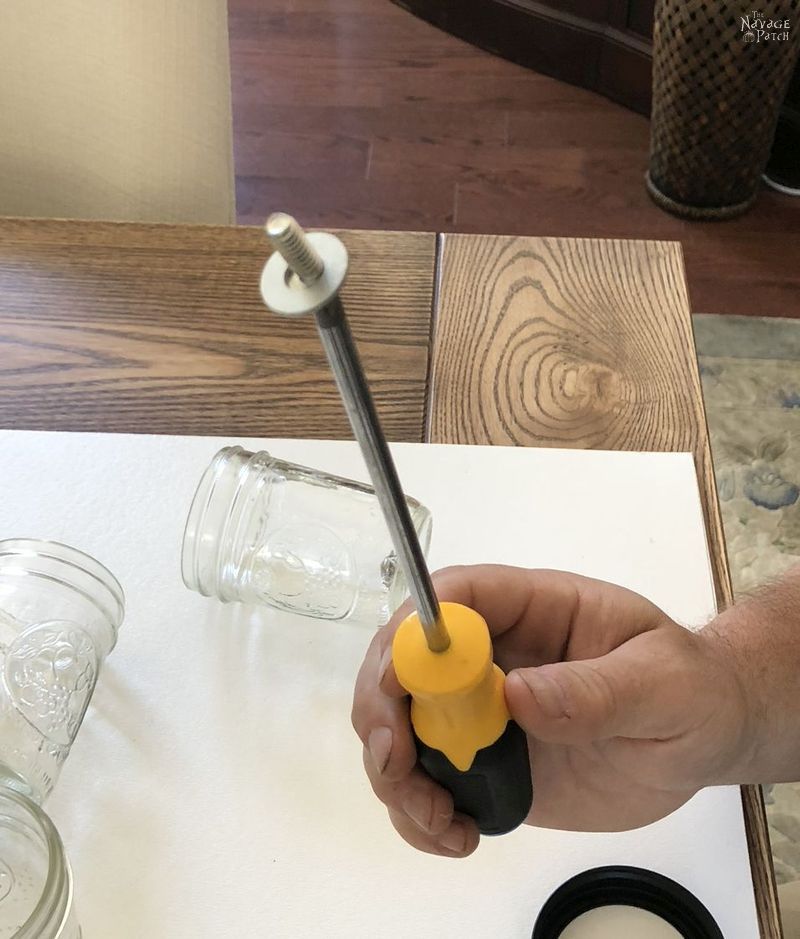
Next, I slid the jar over the screwdriver. Are you still with me? Don’t go dozing off now – this is important stuff!
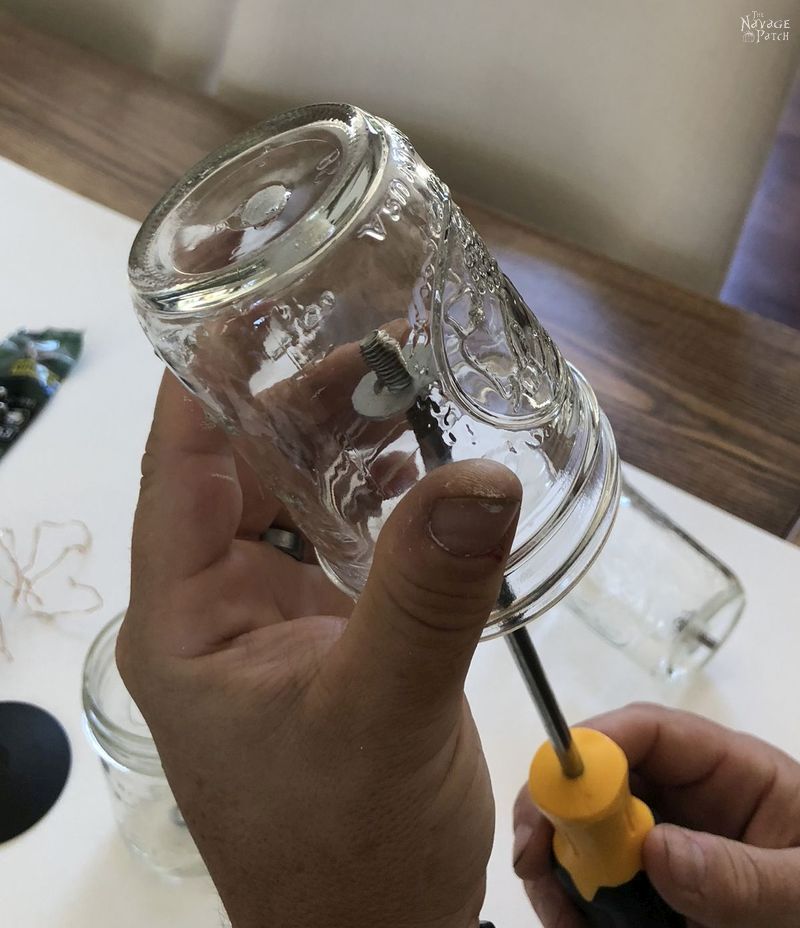
Then, I poked the screw in the hole. Oh, really now! Get your minds out of the gutter! I know what you were thinking!
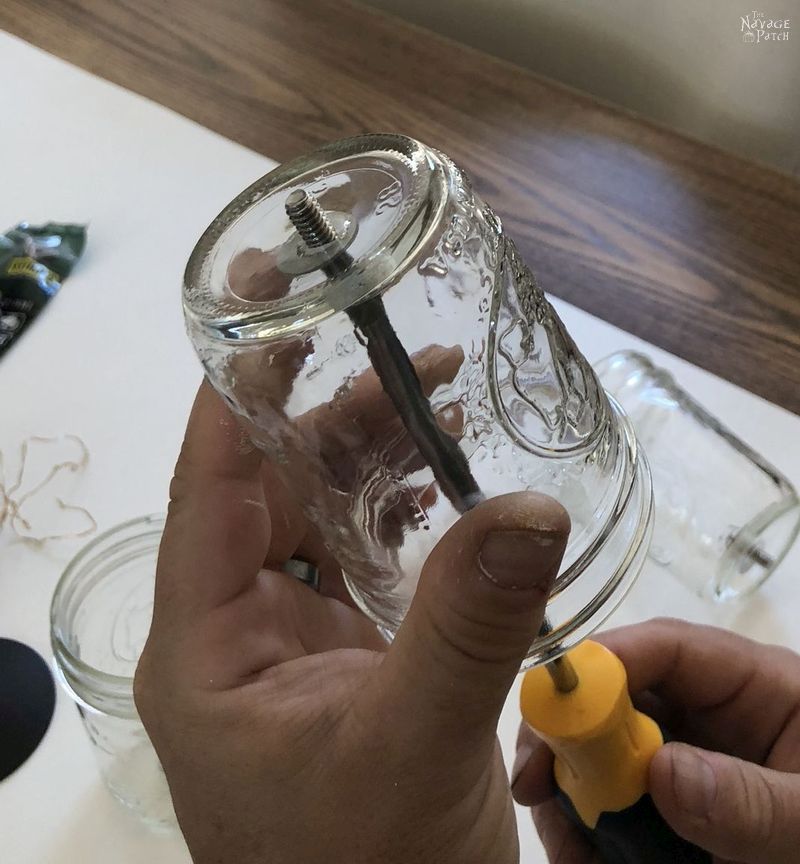
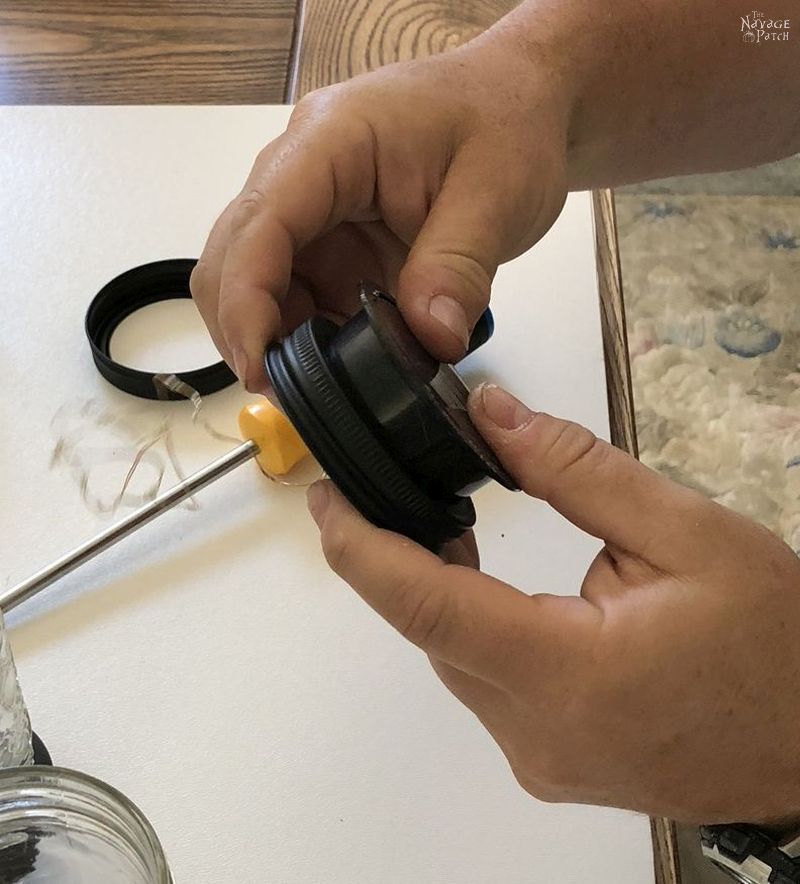
With the screw through the hole, I picked up the jet-black ring-of-mounting and marveled at its beauty.

And then I plopped it on the screw.
Ta-DAAAA!
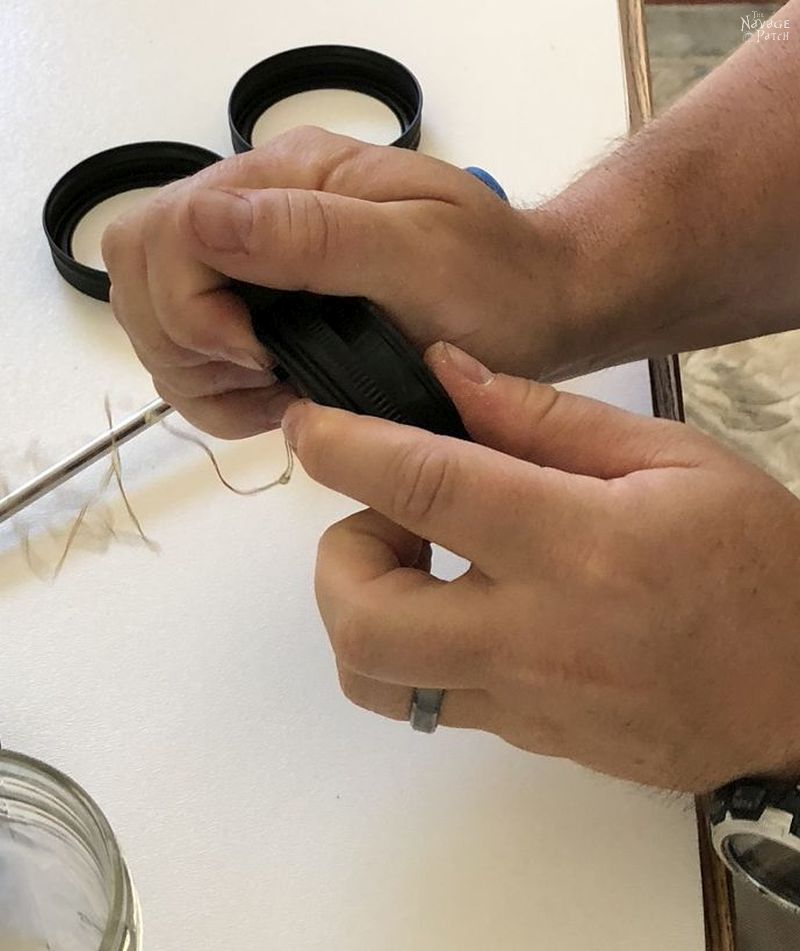
I held the sconce body over the screw and drove that baby home!
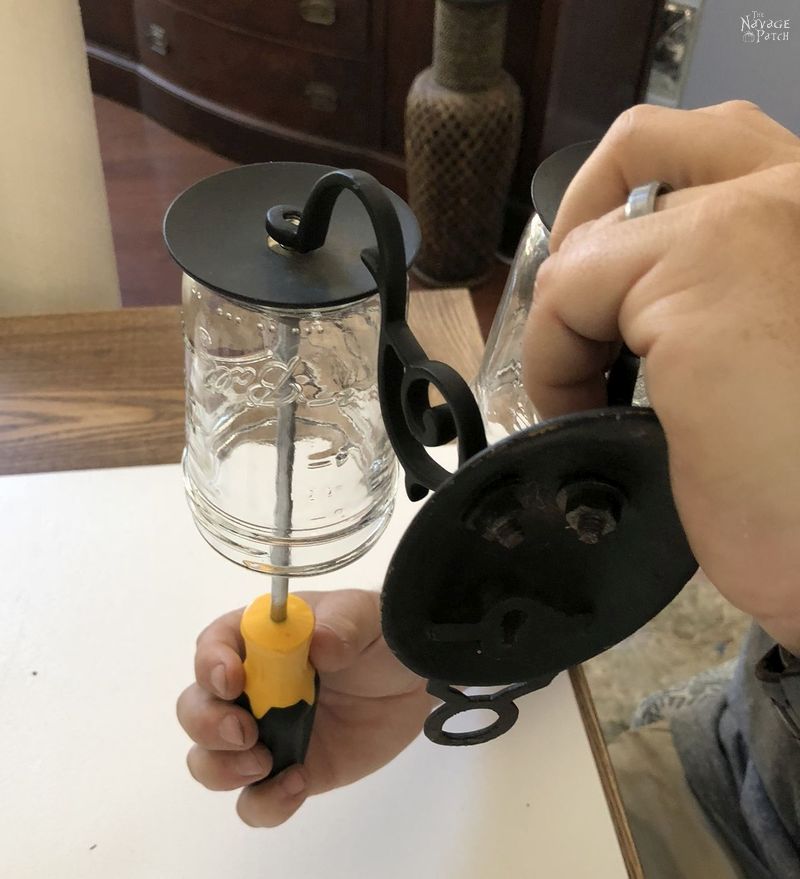
Mounted and ready for lights.
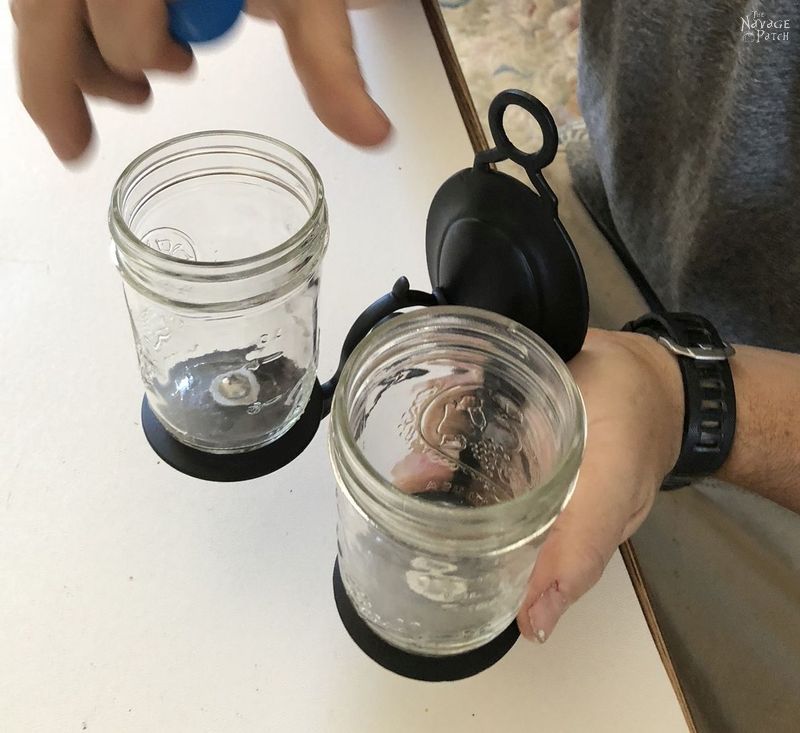
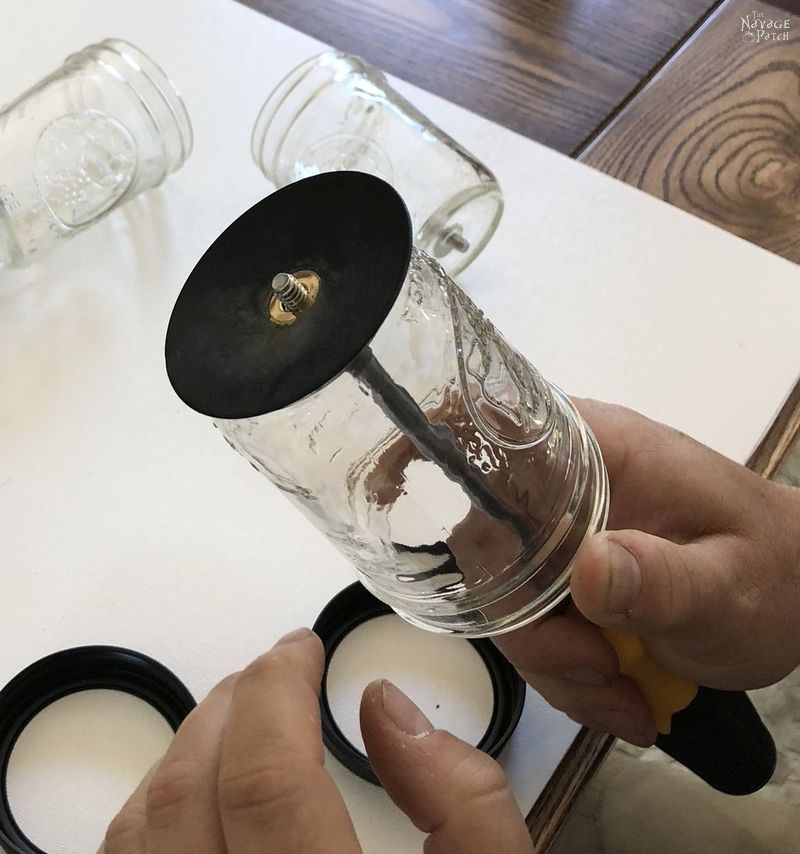
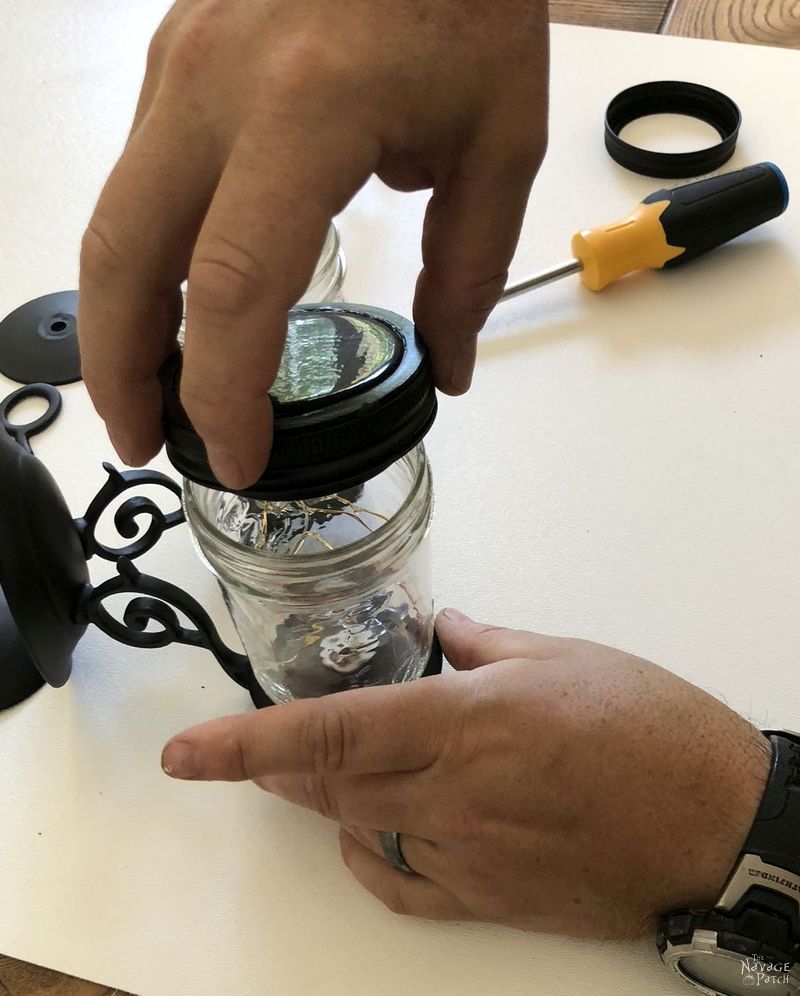
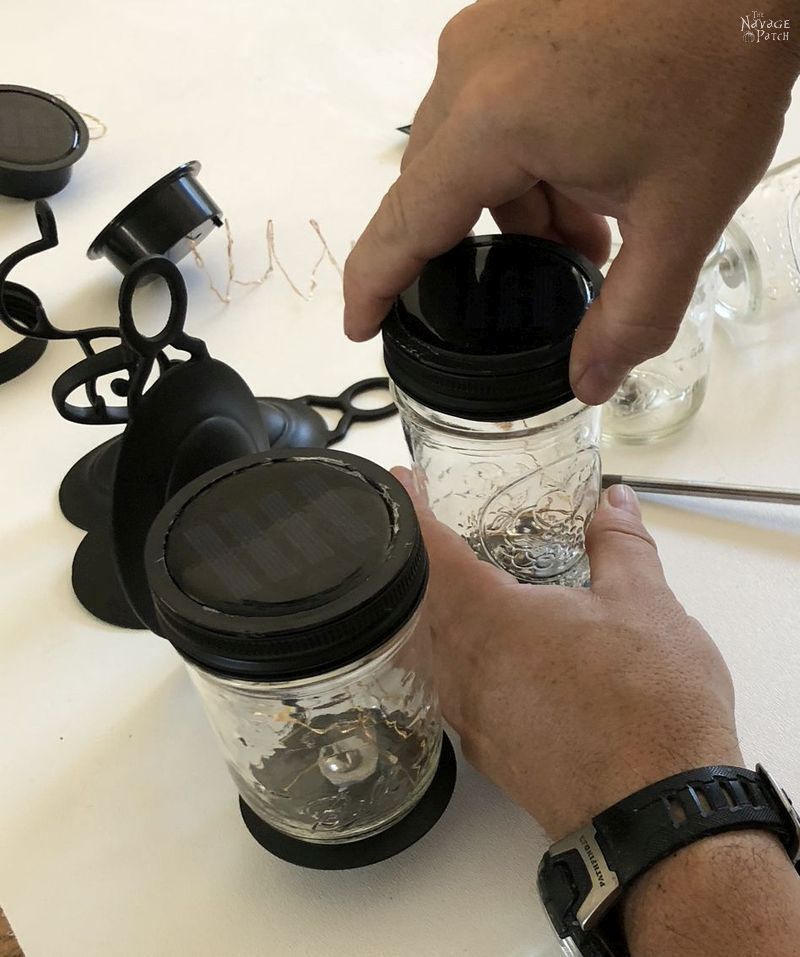
I inserted the solar lights into the mason jar screw ring…
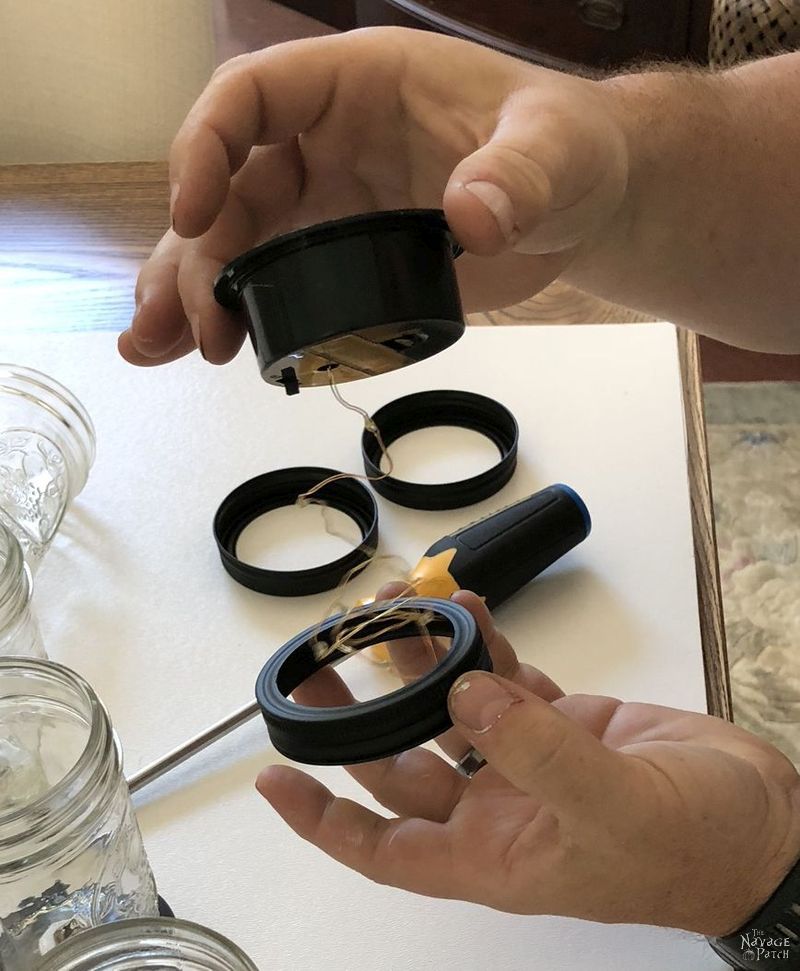
…and pressed it on home.
I then screwed the cap onto the jar. This is varsity level stuff happening here, so I hope you’re paying close attention!
More screwing…
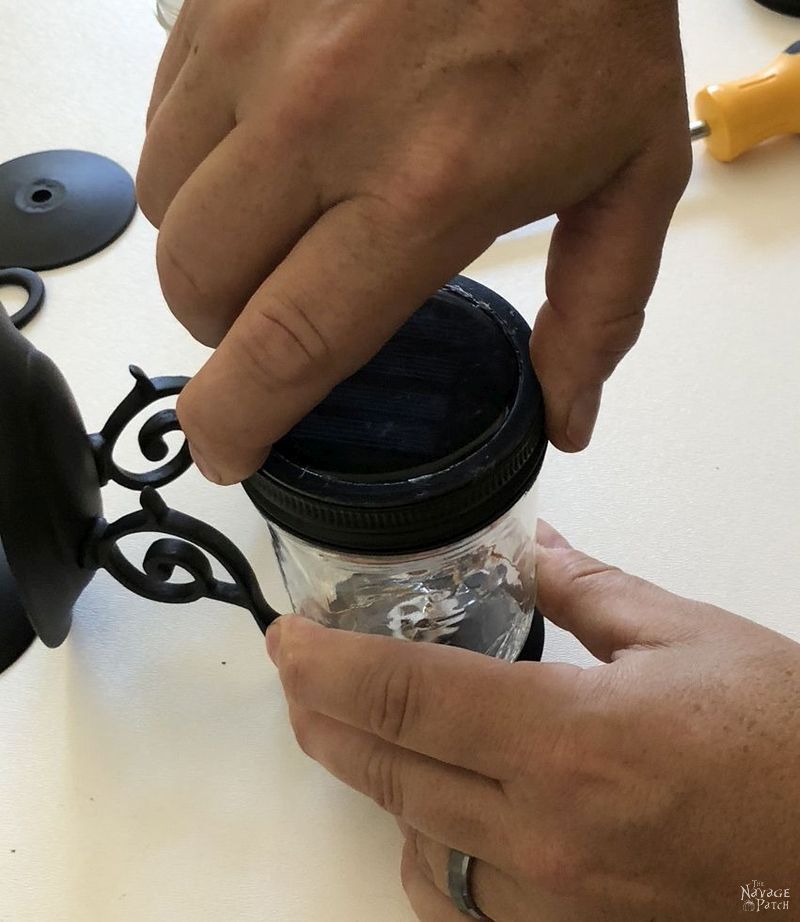
Even more screwing…
Phew! That’s a lot of screwing for one post!
Oh wait! Holy crap! It’s done!
Well, almost. I just wanted to touch up the screws with some black paint.
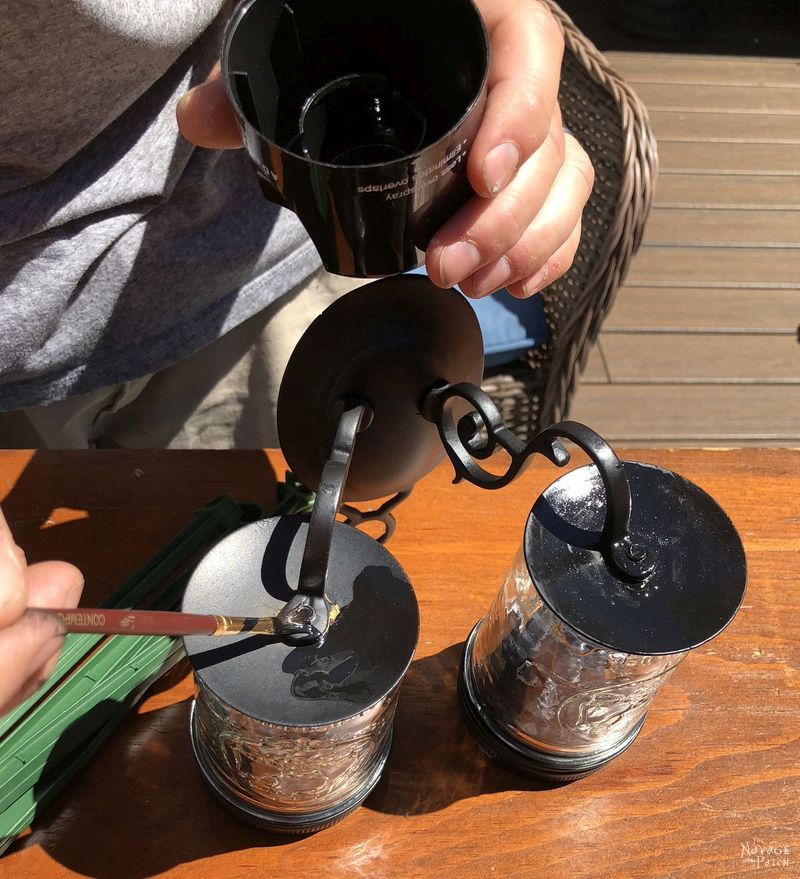
I mounted them into their places and had a look.
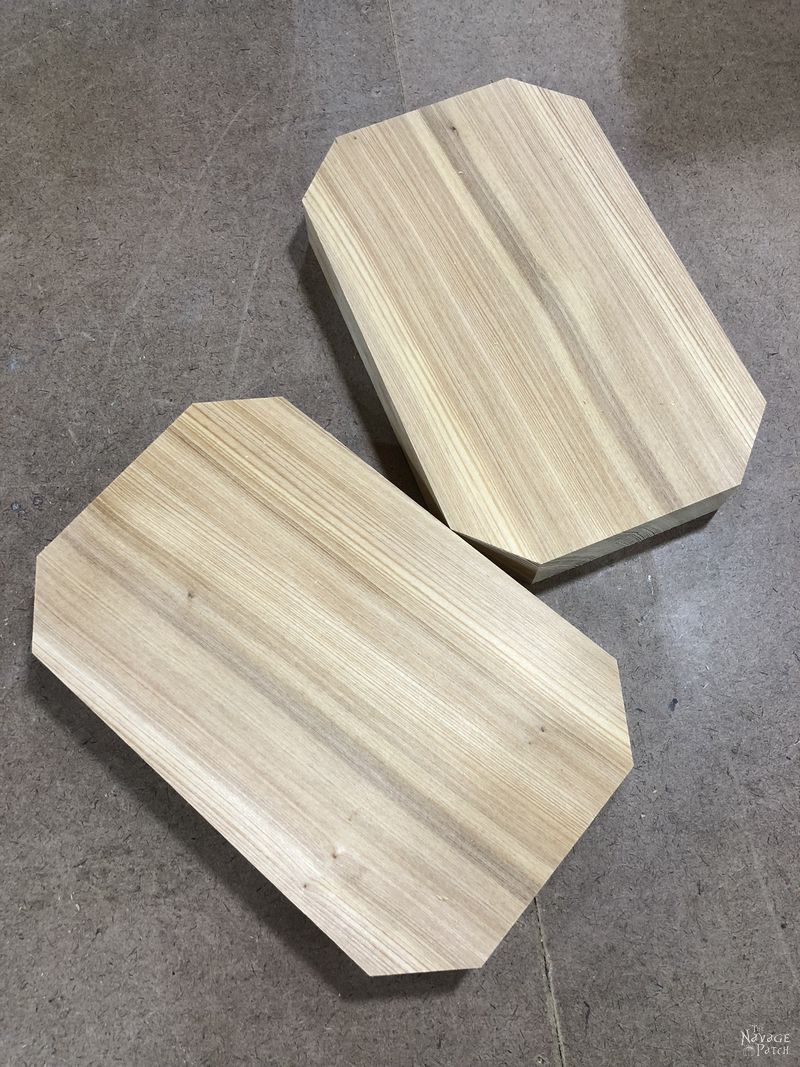
Not bad, not bad. But I thought the gray siding overpowered my little solar mason jar lights, so I whipped up a couple of simple wooden backings for them.
I had some leftover cypress from my DIY farmhouse console table, so I cut two pieces to fit the sconces and the siding.
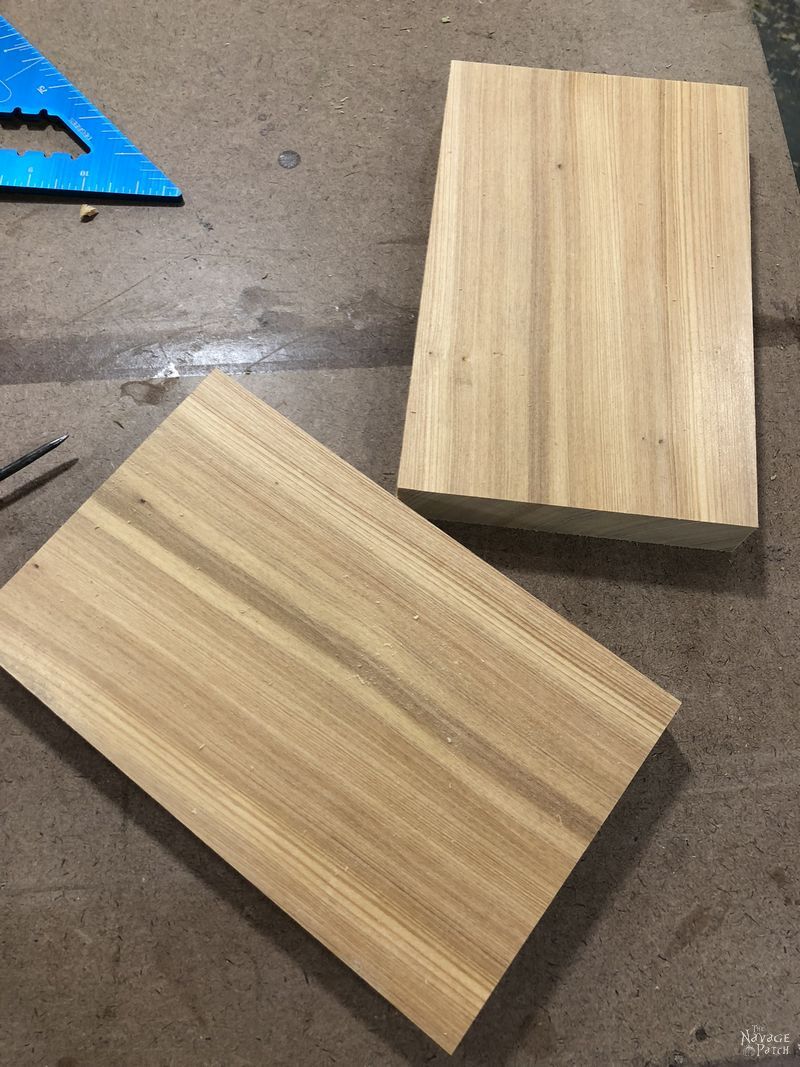
I chopped off the corners to give it a better look.
And then to give it some class, I used my one and only “fancy” router bit on it.
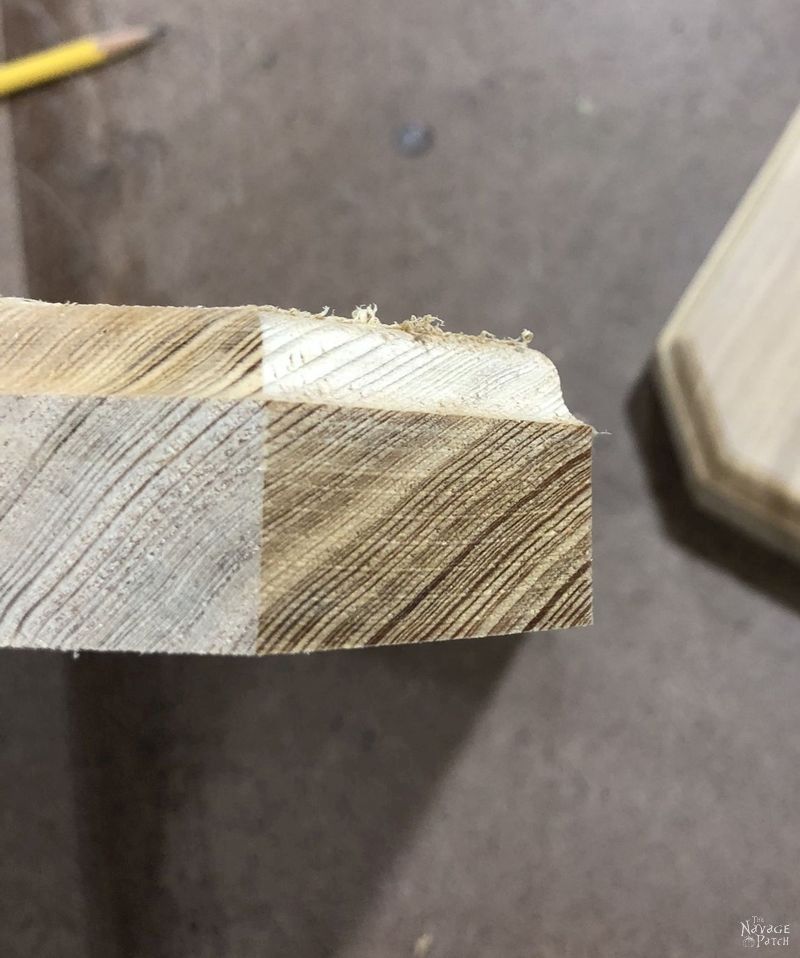
Oooooh, look at those curves!
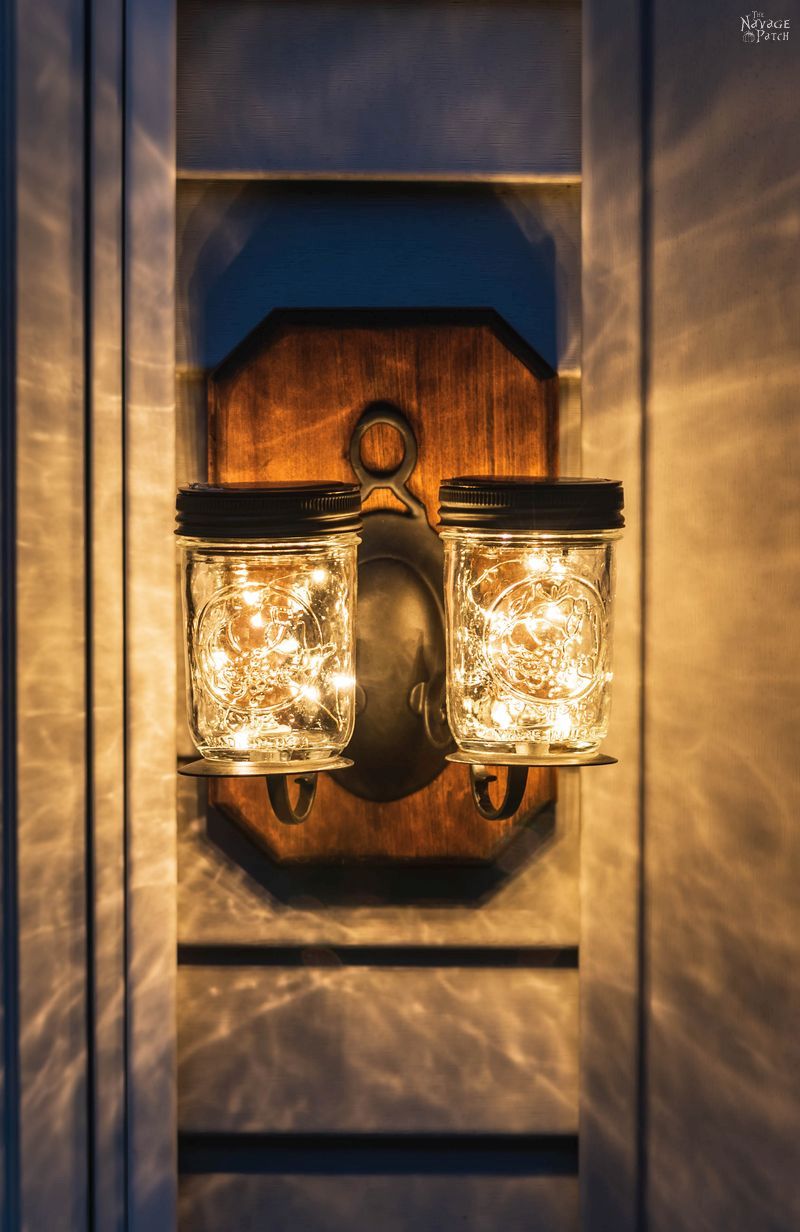
I stained the sconce holders with Varathane Red Mahogany so it would match our outdoor chalkboard and industrial utility cart. I didn’t take pics, but if you really need to see me staining something, you can watch me slapping some on that old wooden-boobed woman. LOL, not my wife, you silly! This woman!
When the stain dried, I applied a few coats of Varathane Spar Urethane. Cypress is a naturally oily wood, but a little extra protection never hurts!
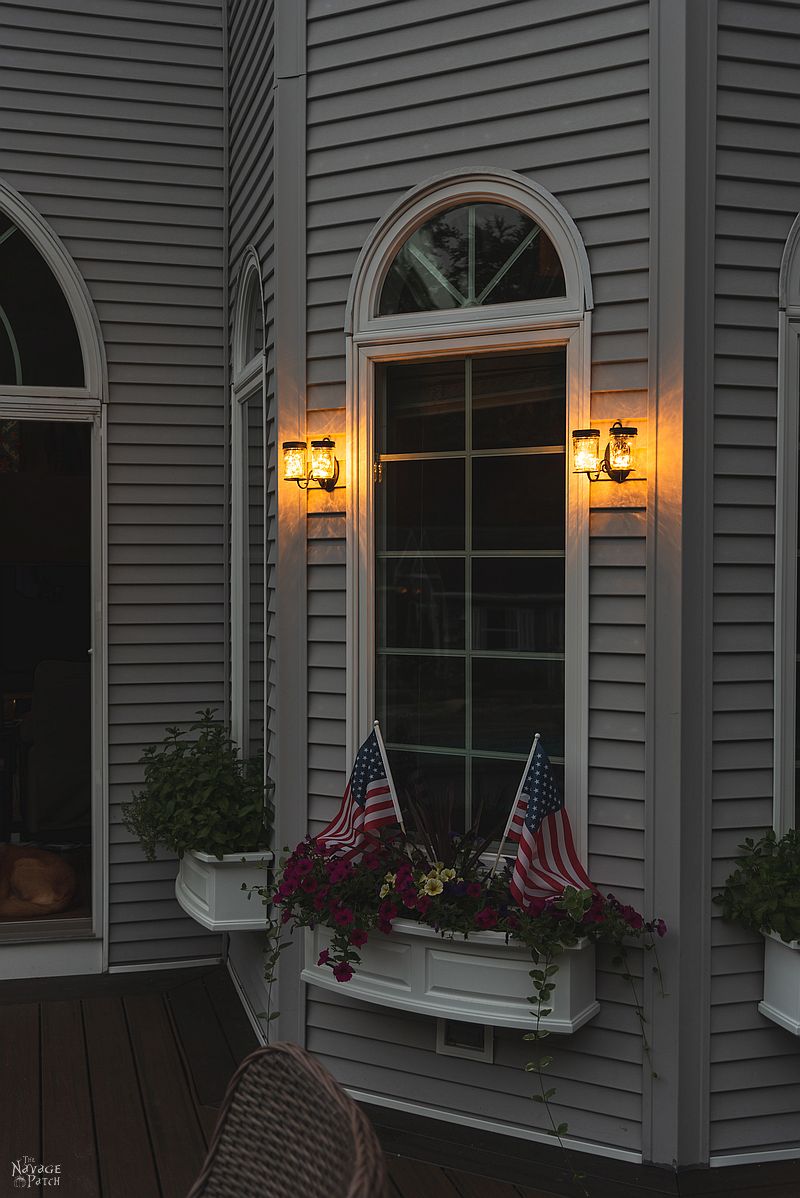
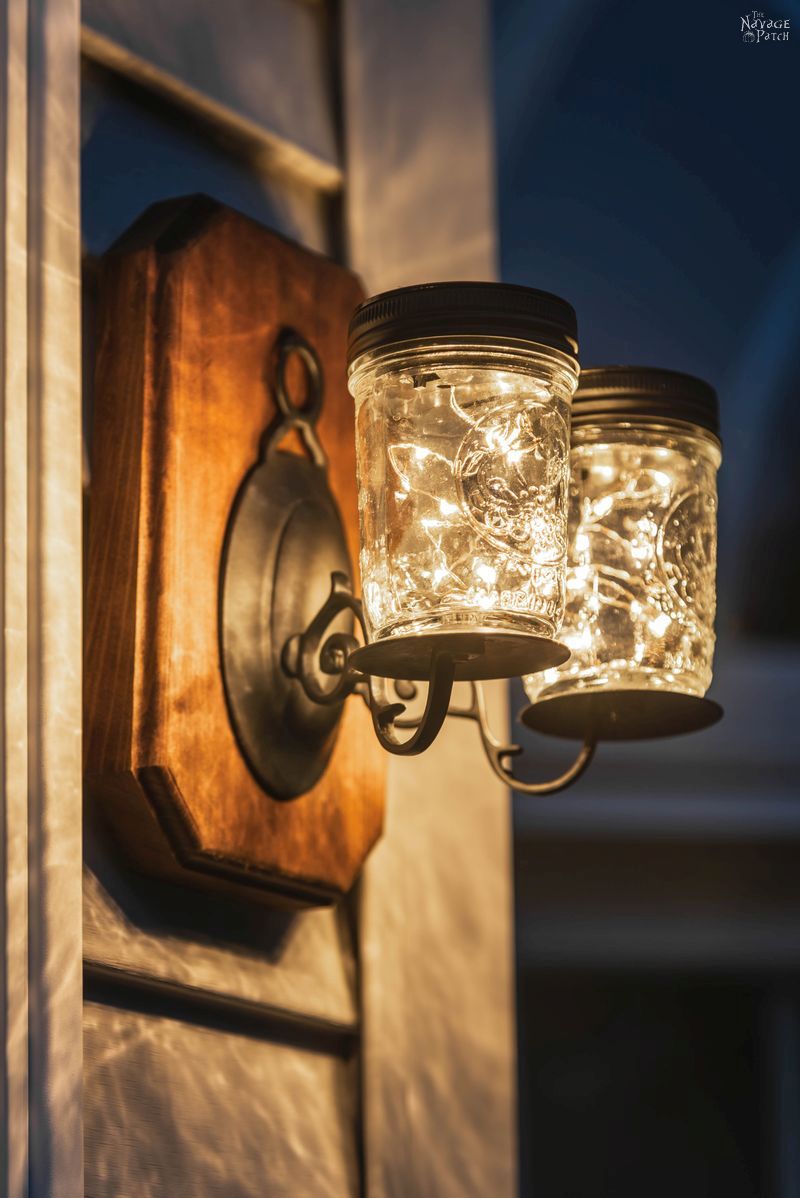
And here we are. Done and done. Handan loves these solar mason jar lights, and she already has some more awesome ideas for new projects. Enjoy the pics and keep an eye out for more solar lighting projects!
We love it when you share our posts on Facebook and Pinterest!
well greg I suppose iffen you let miss handan off the hook for sconces instead of scones I will let you off the hook for oven BIT instead of oven mitt hahahah very cute on the lights btw xx
LOL, that’s what I get for proofreading at 6am on a Saturday before the caffeine kicked in!
Ha!! I LOVE your naughty commentaries!! Those sconces look great, and I like the way you turned the bottoms upside down, to drain/fit better! I’m getting those drill bits! I have had several projects in the works (cabinet) that entailed china, or glass, but I never could find a decent drill bit! Thanks for the continual inspiration and ideas!
Thank you, Terra! Yep, if you wanna do some serious glass drilling, those diamond bits are going to be your best friend! 😀
They look fabulous!!! I made some with peanut butter jars and solar posts that go in the ground. It was a lot of work. I had to cut holes in the tin tops and glue the solar inside that hole. Also took the posts off. Then I took iridescent see through paper and crumbled it up inside the glass. It looks like a party at night and pretty during the day.
Wow, they sound really cool, Marcia! Send us some pics! greg@thenavagepatch.com
No wonder Handan loves you!!!!
Thank you, Cheryl! 🙂
Awesome sauce Greg and thank goodness Handan was on hand to take all those pretty pics of you doing all that hard work 😉
I know, right? That was exhausting work!
This is so wonderful! you guys are filled with great ideas.
Thank you so much, Maria! 🙂
This is fab! I hope you’ll share it at Talk of the Town!
Thank you, Angie! Handan will share it with Talk of the Town.
Hello Handan and Greg,
These are awesome!!! Love how you’ve created then recreated these solar lights! Great job, you two!! Pinned to my Ethereal Lighting and DIY Projects boards for you and our readers, thanks. <3
Hugs,
Barb 🙂
p.s. Stopping over from the Talk of the Town link party at My Repurposed Life. Saw your lights featured, congrats!!! 🙂
Hi Barbara – thank you so much! 🙂
this is the bEST tutorial on pinterst !!!! Love how you show everything soooooooooo clearly. Your editorials are priceless. Thanks for sharing.
Thank you so much, Yvonne! 🙂
Wonderful witty post! GORGEOUS!
Thank you, Elizabeth! 🙂
Love your stuff. Going to have to try a few of them myself. Thank you..
Thank you, Cheryl, and you’re welcome! 🙂
Where did you buy the solar lights? Great looking project!
Thank you, Kathie! You can find those solar lights right here –> https://amzn.to/2Hd6f0s
What a fresh breath of air! My new fav. DIY’er! Thanks for the laugh!!!
Thank you so much, Jessica!! I’m so happy you found us! 🙂
I’ve never followed anyone! Y’all will be my first. Nice stuff and easy to understand. Keep posting the pics, very helpful actually! A joy to read too! Entertaining!!! Y’all keep it up.
Woo Hoo, we’re the first!! 😀 Welcome aboard, Penny and Merry Christmas!
Thanks for the idea, I never could figure out how anyone cut a hole in glass without it shattering!! Thank you so much and it was very entertaining to read, Loved it..
Hi Laura, thank you so much! Happy New Year to you! 🙂
What size diamond bit did you use?
Hi Jo, you’re really stretching my memory here, lol, but after looking at both drill bits in the post, I’ve concluded that the diamond drill bit is 5/16″ because that was what the carbide one was. Good luck!
L O L. Thank you for the great tutorial. I love your sense of humor. You said out loud what I was thinking. Crafting is always a trial at first and loved that you shared your process with us.
😀 Thank you so much, Christina!
That was amazing they are beautiful and had so much fun watching your it. You are so funny . Thank you Sharon .
Thank you so much, Sharon! I aim to please! 😀
Awesome job on those Solar Lights! I love them.
Thanks, Brenda! 🙂
You are amazing! I laughed so much reading this project. Can’t wait to see the next one. Take care now and God Bless
Thank you so much, Debbie! 🙂
Did you use water on the diamond crusted bit. Too?
Hi Julie, yes water is always a good idea when drilling glass. Good luck!
This article explained everything perfectly . Thanks for sharing this awesome guide on drilling glass.
My pleasure!
Wonderful idea! And a great demonstration. Thank you!
Thank you!
Did your mini lights come attached to the solar portion? Where did you purchase? I’ve only ever found the mini lights attached to a battery pack.
Awaiting your earliest reply…thank you so much. Lorraine
Great project! And I love how many of the components could be thrifted, too!
Pretty much all of them! 🙂
They look beautiful I especially like the stained piece you added to the back of them. They look really nice and I love the flower boxes underneath also. Great creations. Thank you for sharing.
Thank you, Misty!