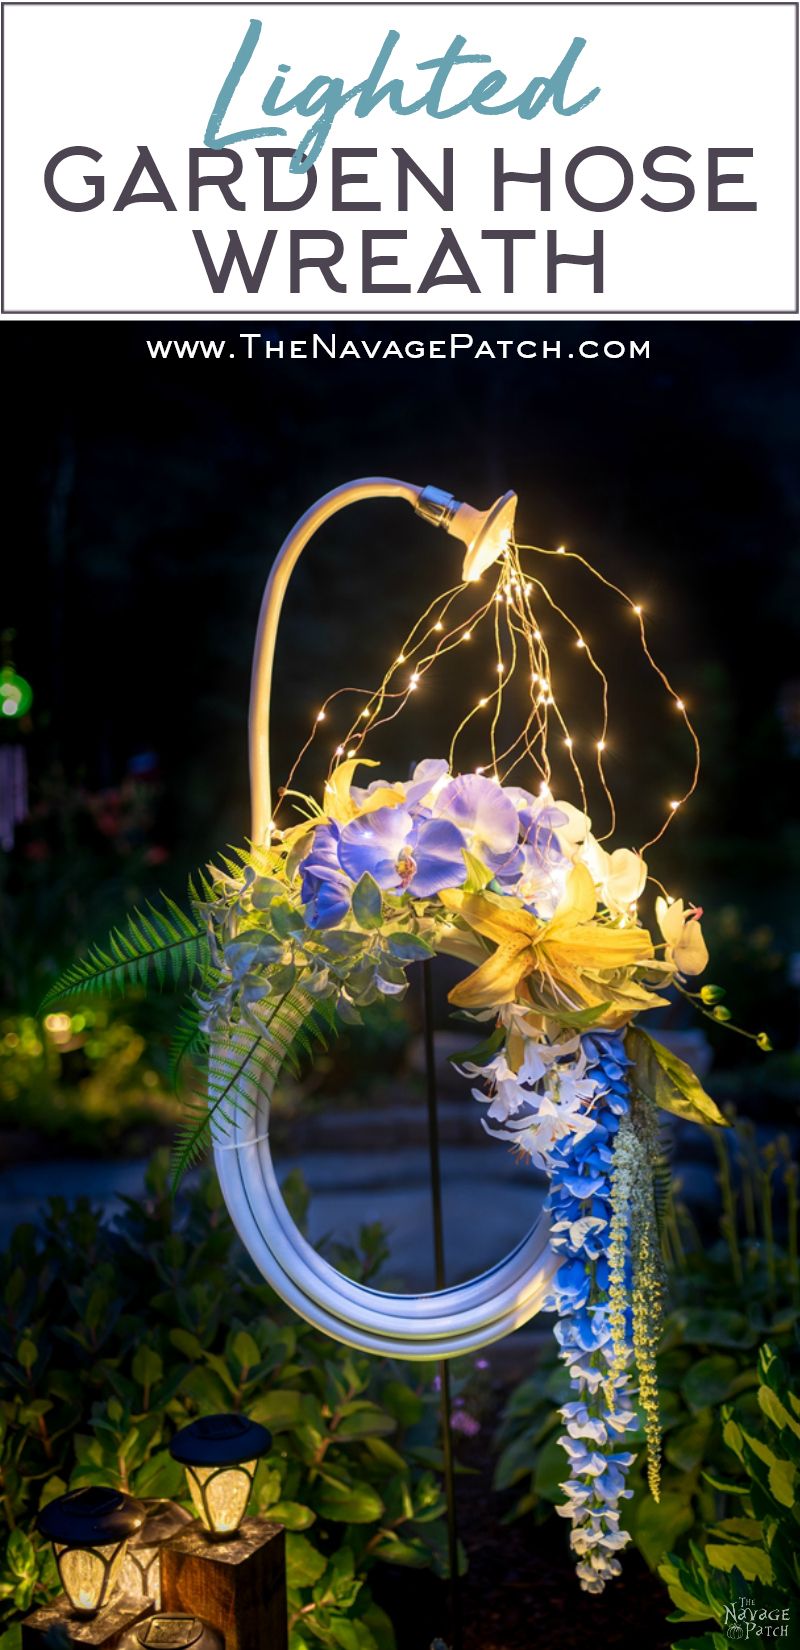
Lighted Garden Hose Wreath
In this simple, step-by-step tutorial, we’ll show you how to make a stunning lighted garden hose wreath. Day or night, on a door or in a garden – it looks fantastic!
Our deck is coming along nicely – we’re almost there! Greg is currently working on the outdoor dining table, while I’m trying to finish the smaller items. And once we are done with them, Greg will be doing the reveal. But until then, I wanted share the latest and greatest addition to our deck: a lighted garden hose wreath!
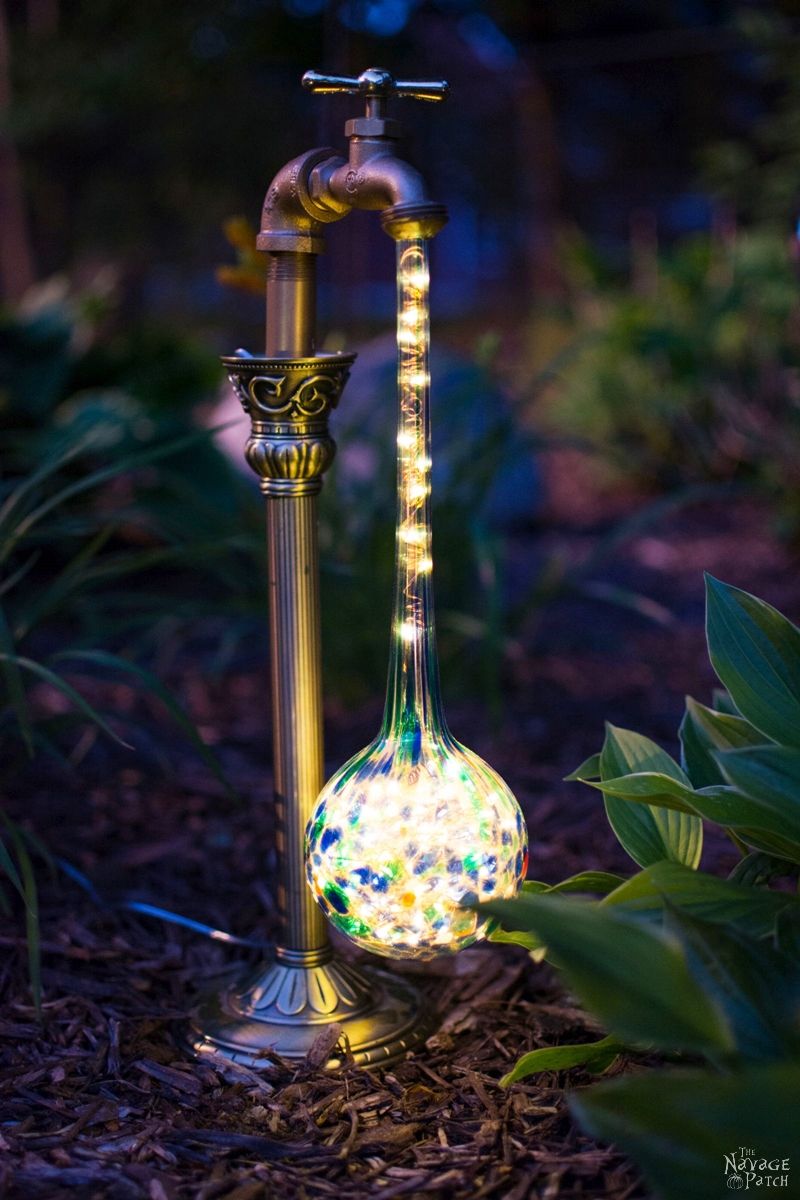
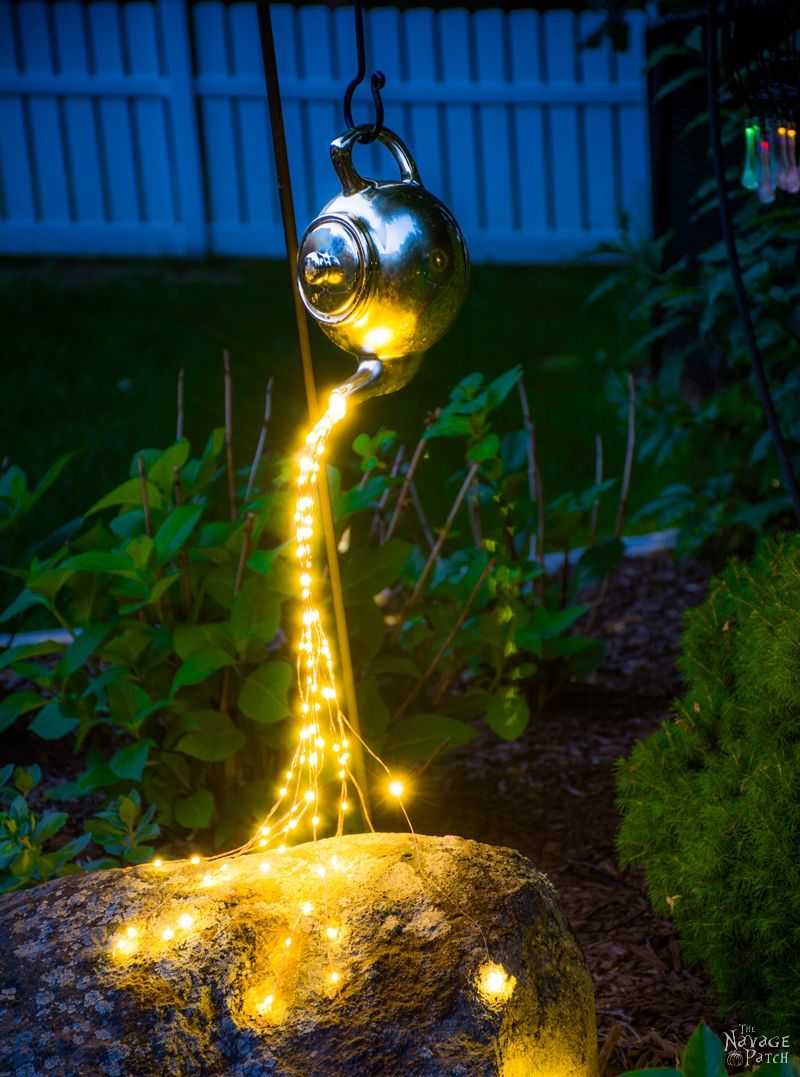
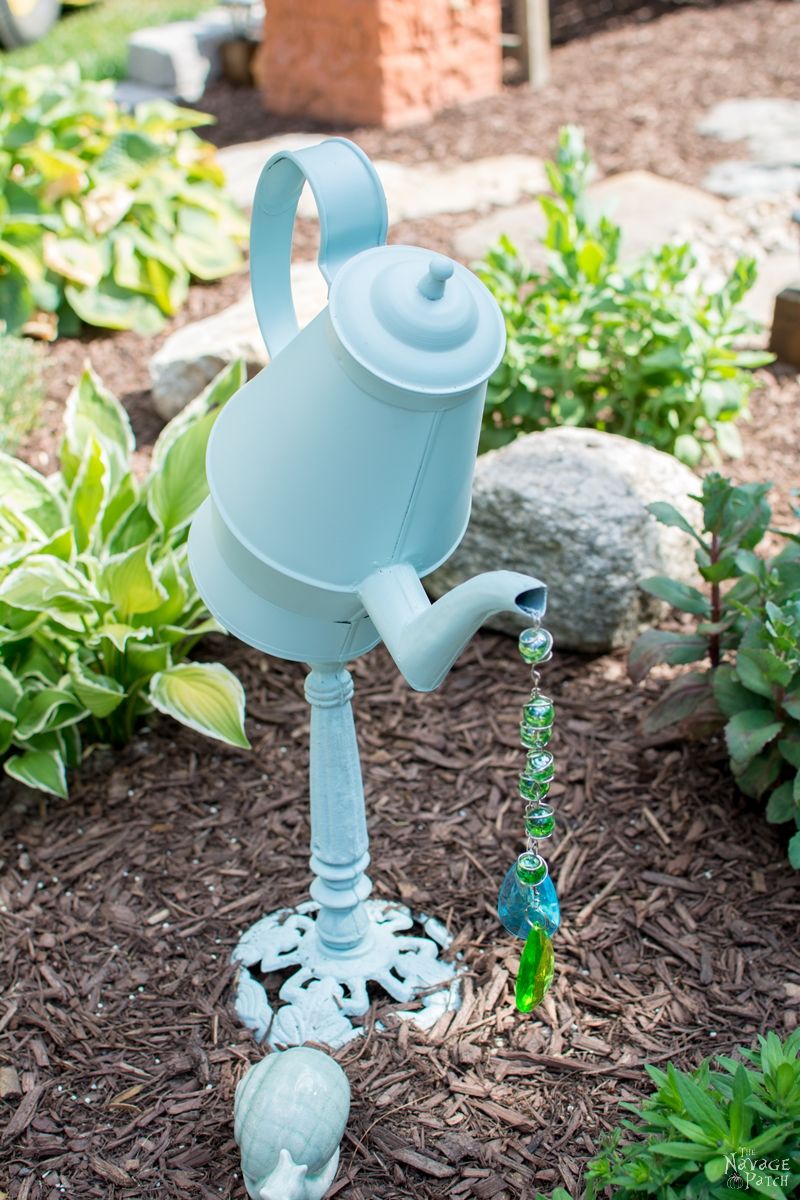
Do you remember my spilling solar lights (aka teapot lights)? Well, in principle this lighted garden hose wreath is similar to that, but since it’s a wreath, I didn’t use solar lights. And as you can see, instead of using a teapot, I upcycled a garden hose this time! Ok, ok… instead of me yapping about the differences between the two, let’s get on with our wreath tutorial, shall we?
Oh also… before going any further, I want to warn you that this a picture-heavy post. But that’s only because I really wanted everyone to be able to follow the steps without having any questions about the process. And also maybe because I’m pretty proud of my lighted garden hose wreath, so I couldn’t stop myself from putting a ton of beauty shots. Anyway…I’m just letting you know – so you might want to get your scrolling finger ready for some good exercise, hahaha 😉
Now that the long post warning is out of the way, let me give you the materials list for our lighted garden hose wreath.
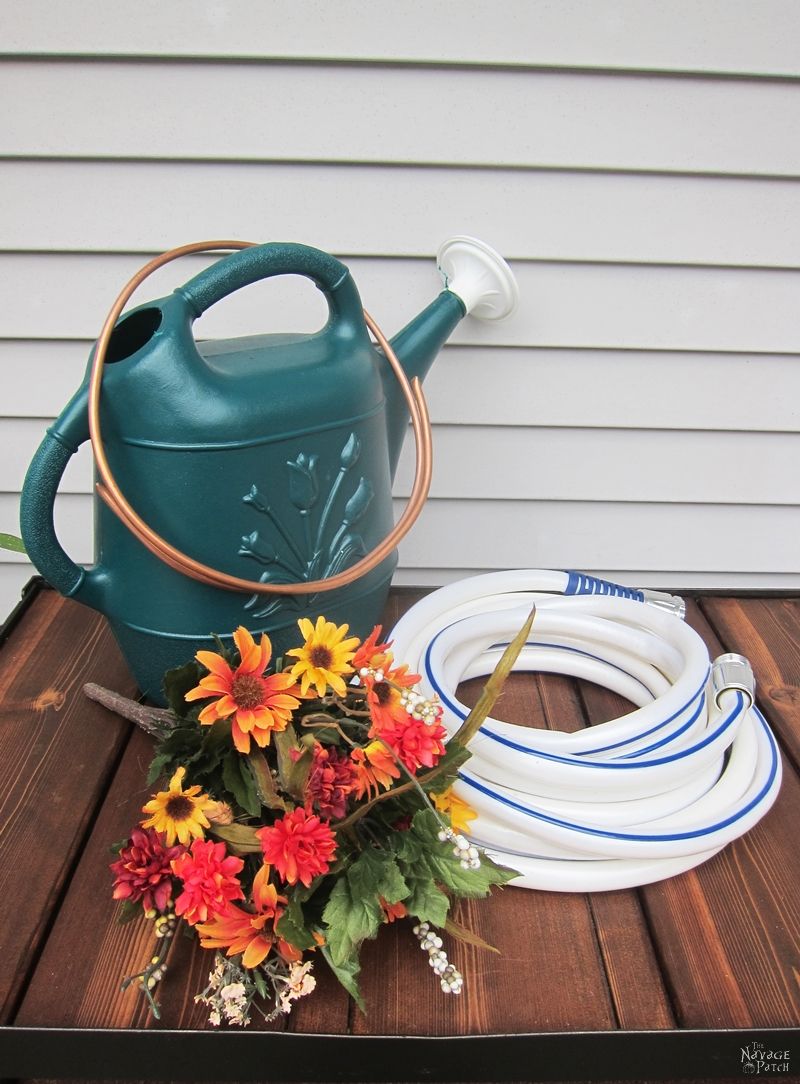
Garden Hose Wreath SUPPLIES LIST
Affiliate links are provided below. Full disclosure here.
- An old or new garden hose – I used a 25-foot marine hose. You don’t have to stick with 25 feet, but keep in mind that with a shorter hose, your wreath may not look as full, and with a longer hose, your wreath may be too heavy to hang.
- 30 inch length of copper tubing – it’s something that almost all hardware stores carry. But if you can’t find it at your local hardware store, here is one I found on Amazon.
- Watering can nozzle – last year I bought my watering can for $4.50 at Ocean State Job Lot, and I used the nozzle from that. I suggest looking in your local stores for one, but if you can’t find one, here is a nozzle from Amazon.
- Flowers of your choosing – we got ours at Michaels, and you can find the list of our floral stems later in the post.
- Zip ties – if you don’t have it on hand, you can also use wires. Or you can check the nearest Dollar Store, as they always carry them.
- Foam wreath form – I bought mine from Dollar Store. But if you don’t have a Dollar Store nearby, then you might want to try Amazon.
- A pair of scissors
- Wire cutter
- A drill (or just a drill bit)
- A piece of thick craft wire
- A hot glue gun
- And finally our star player: Battery-operated fairy string lights – I used two 10-foot/30-LED warm-white starry lights. If you’d like your lights to be colorful, then you might want to check these string lights out. If you want your string lights with a remote control, then these will do perfectly for this project!
Building The Garden Hose Wreath
After I gathered all the supplies, I straightened the copper tubing.
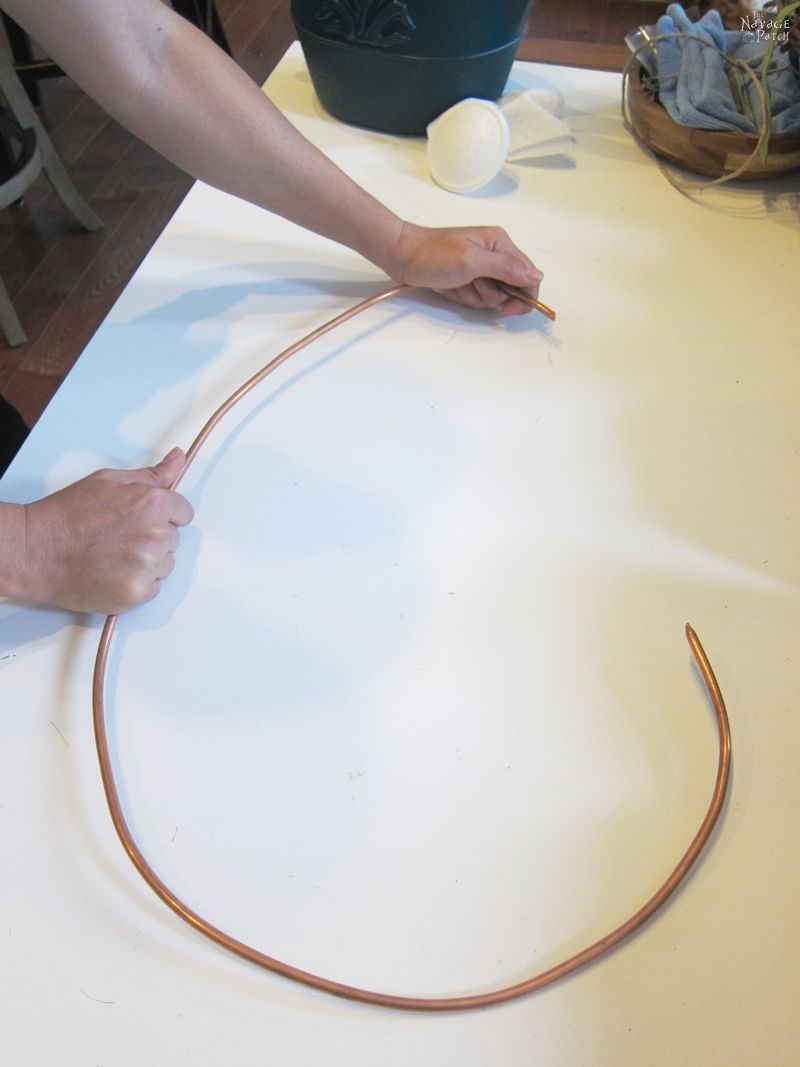
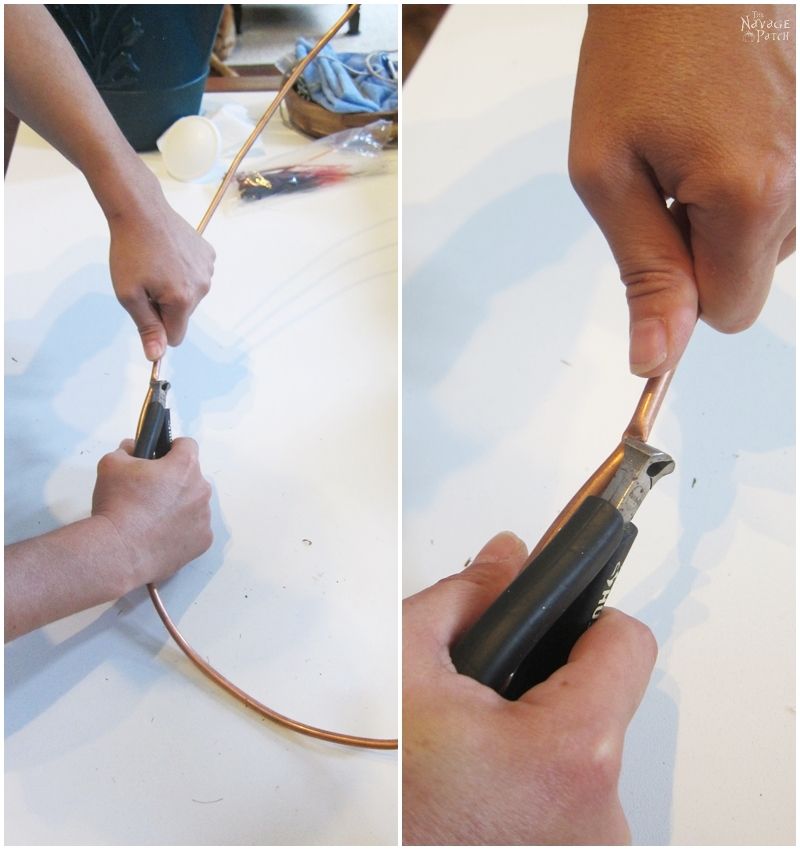
Then I measured and cut a 30-inch length.
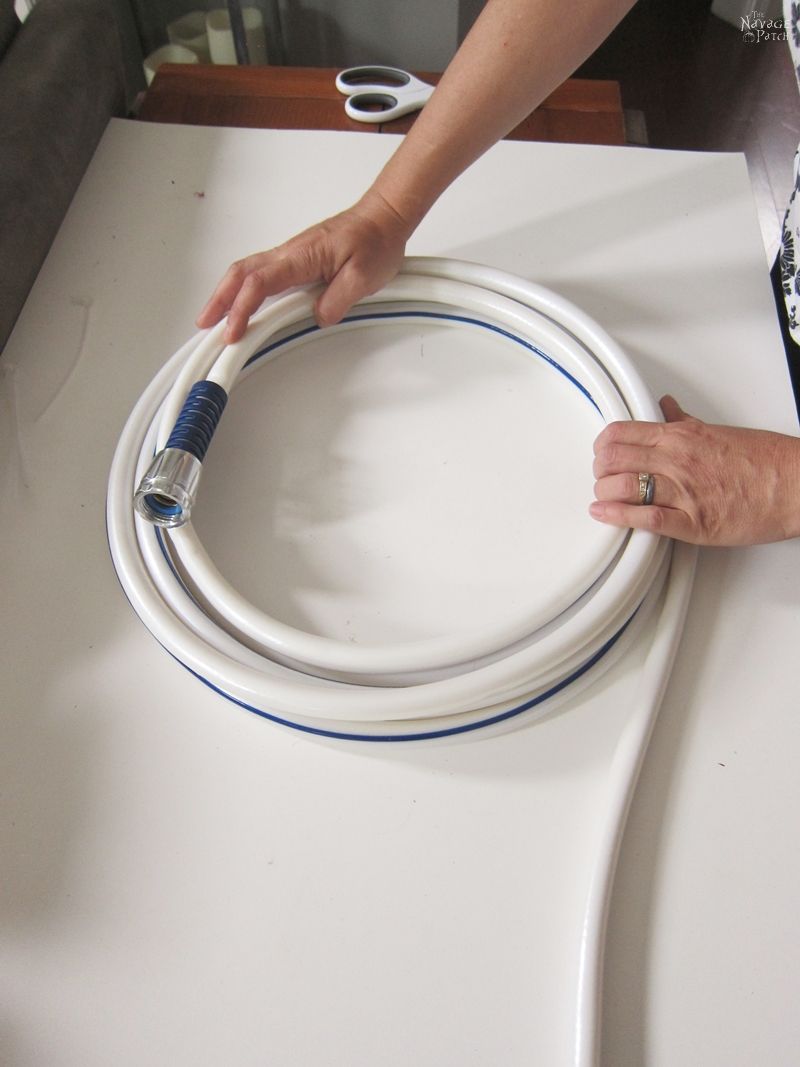
Next, I ran the copper tubing through the garden hose. The reason why I put copper tubing is because I wanted to create a “b” shape with the garden hose. Also, running copper tubing allowed me to bend the top part of the garden hose in the way I wanted. 😉
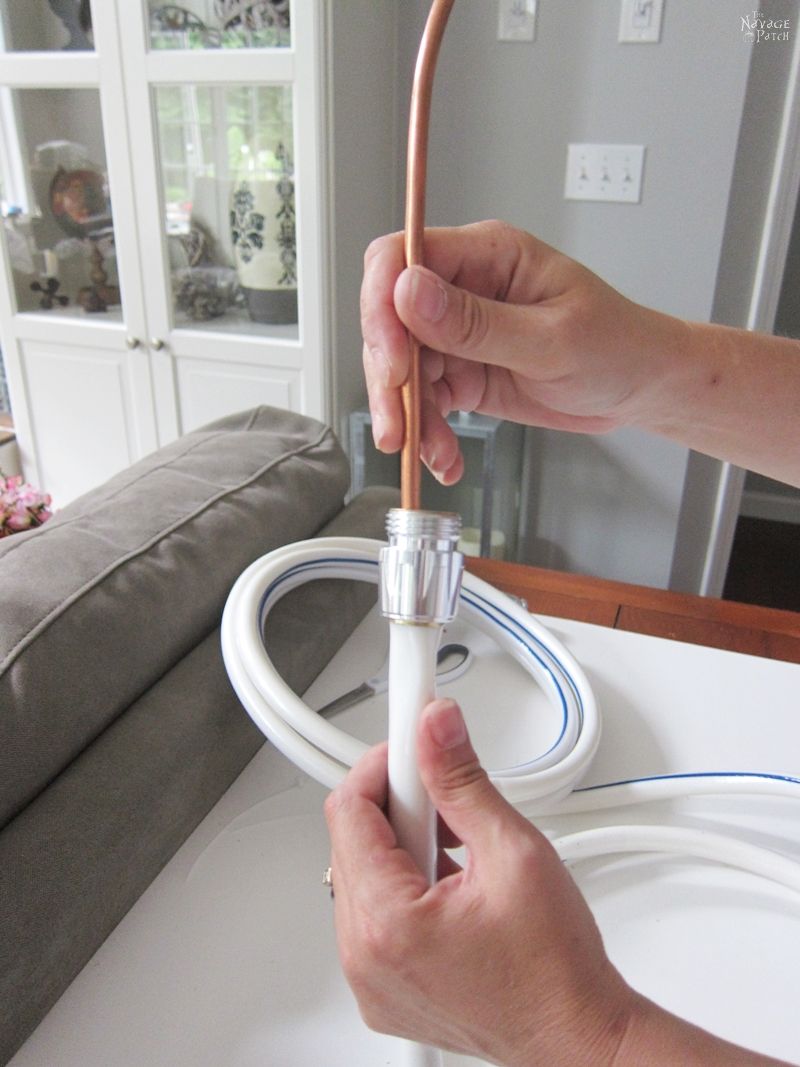
Once I ran the copper tubing to create the long neck I wanted, I started rolling the rest of the garden hose into a circular wreath shape.
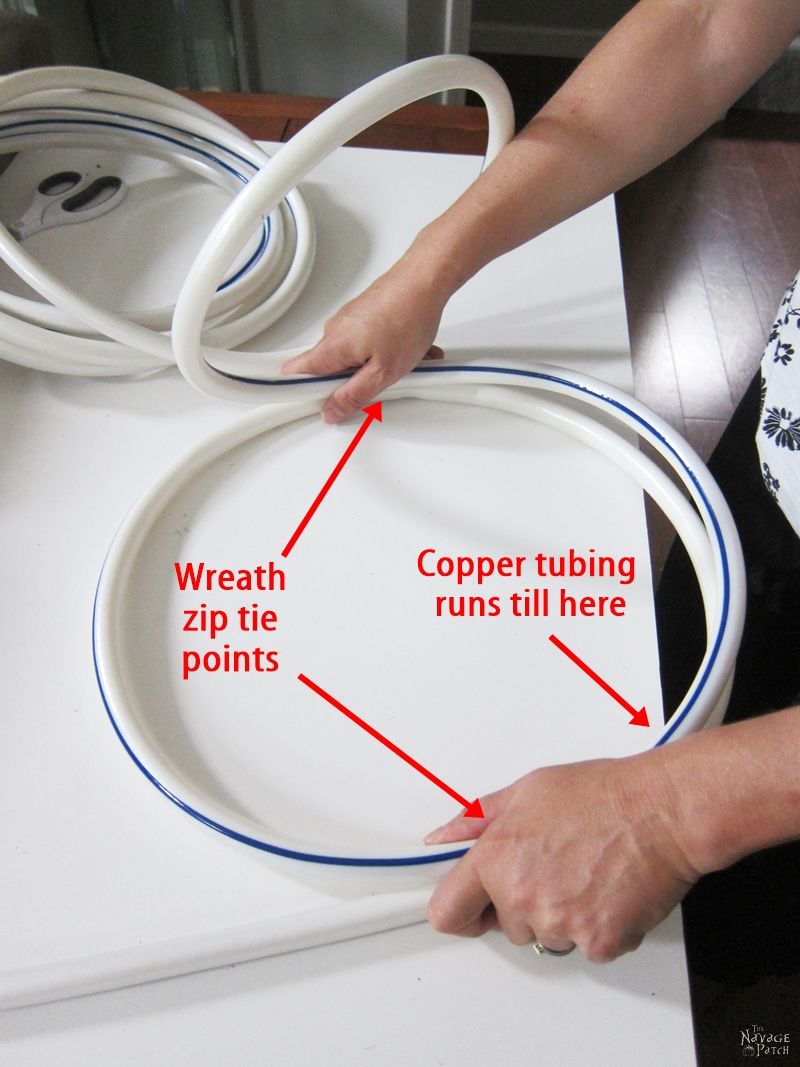
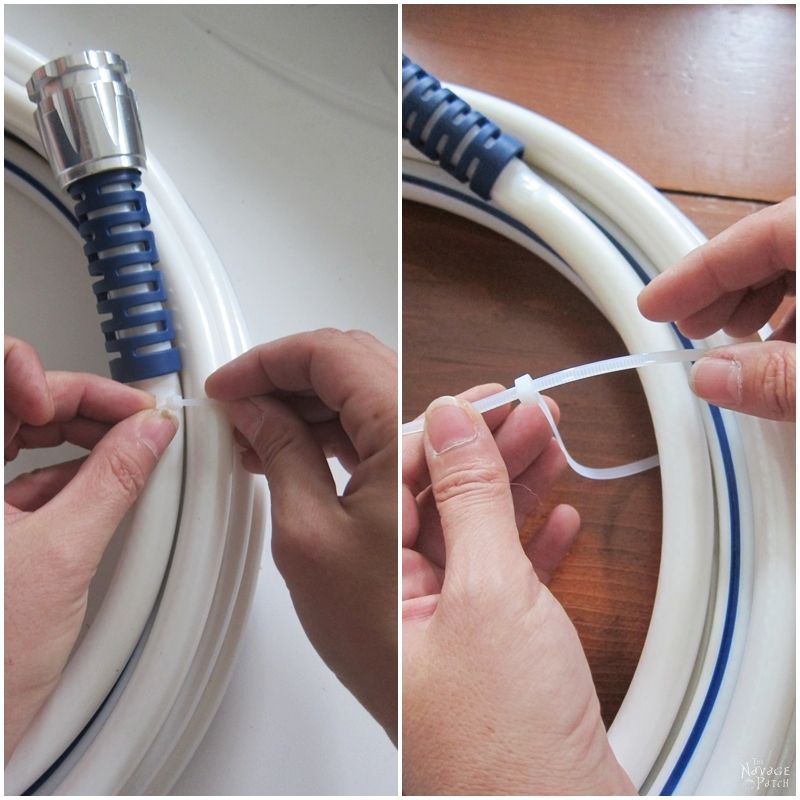
Next, I zip tied the wreath at the two side points (shown in the second picture above) to secure the wreath’s circular form.
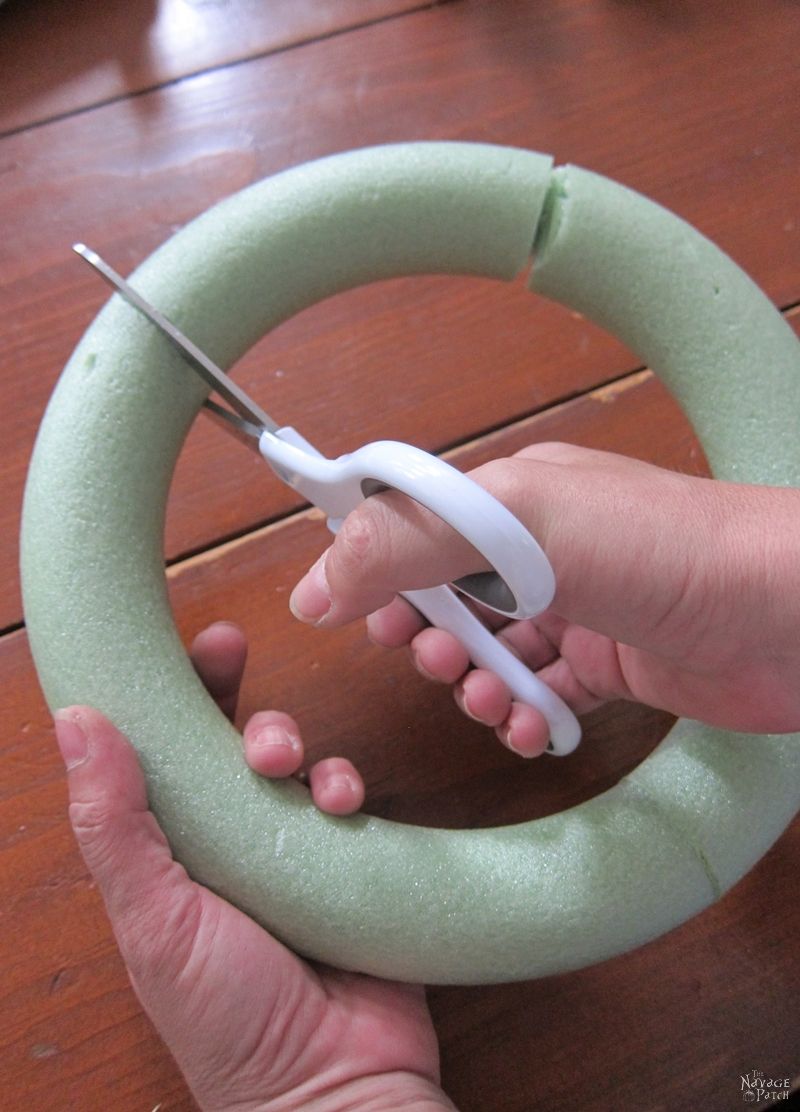
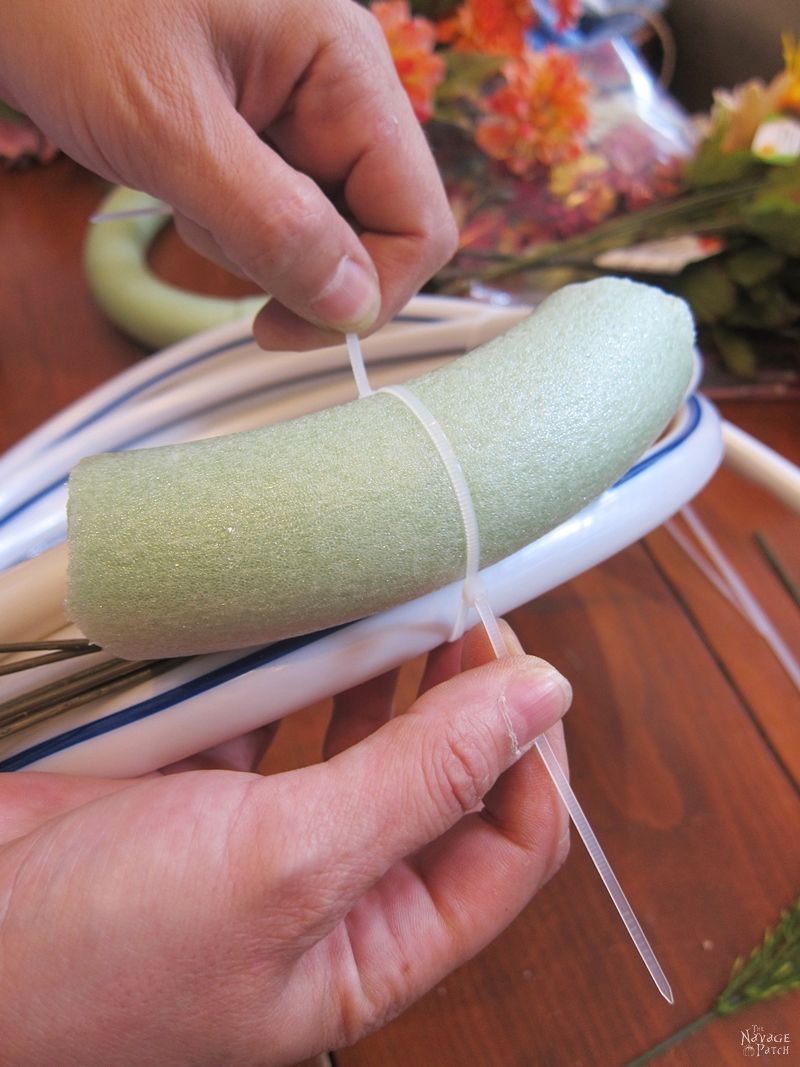
Now that the hose’s shape was nicely set, it was time to adorn the wreath. To do so, I cut a small part of a foam wreath form.
I placed it on top of the garden hose wreath…
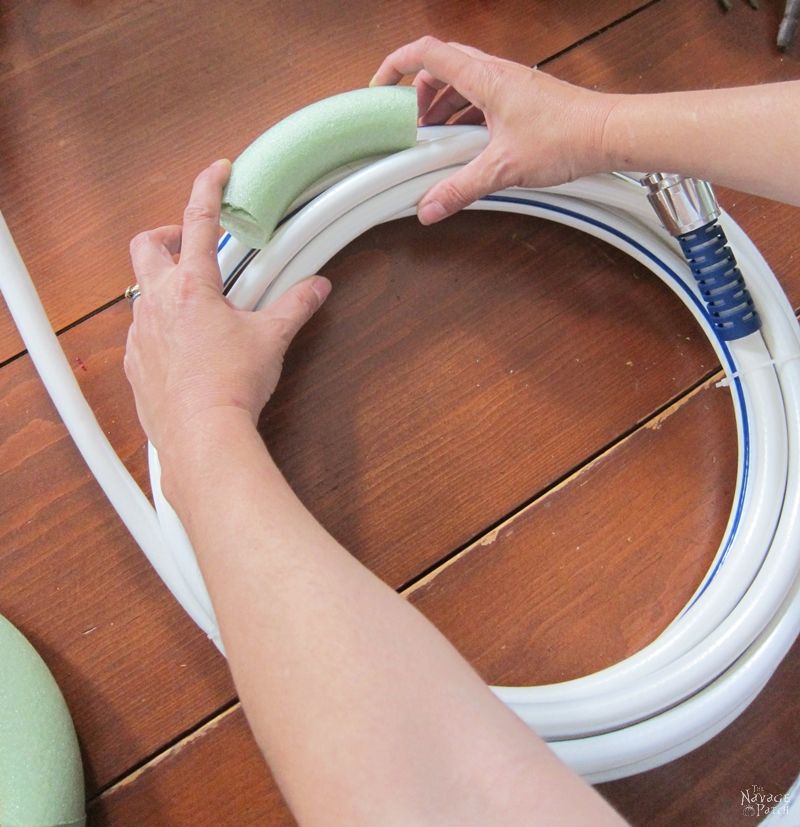
… and secured it in place with a zip tie. I have to say, when I am not using hot glue, I love using zip ties with wreaths, as they are very practical and especially with this project, they made my job much easier.
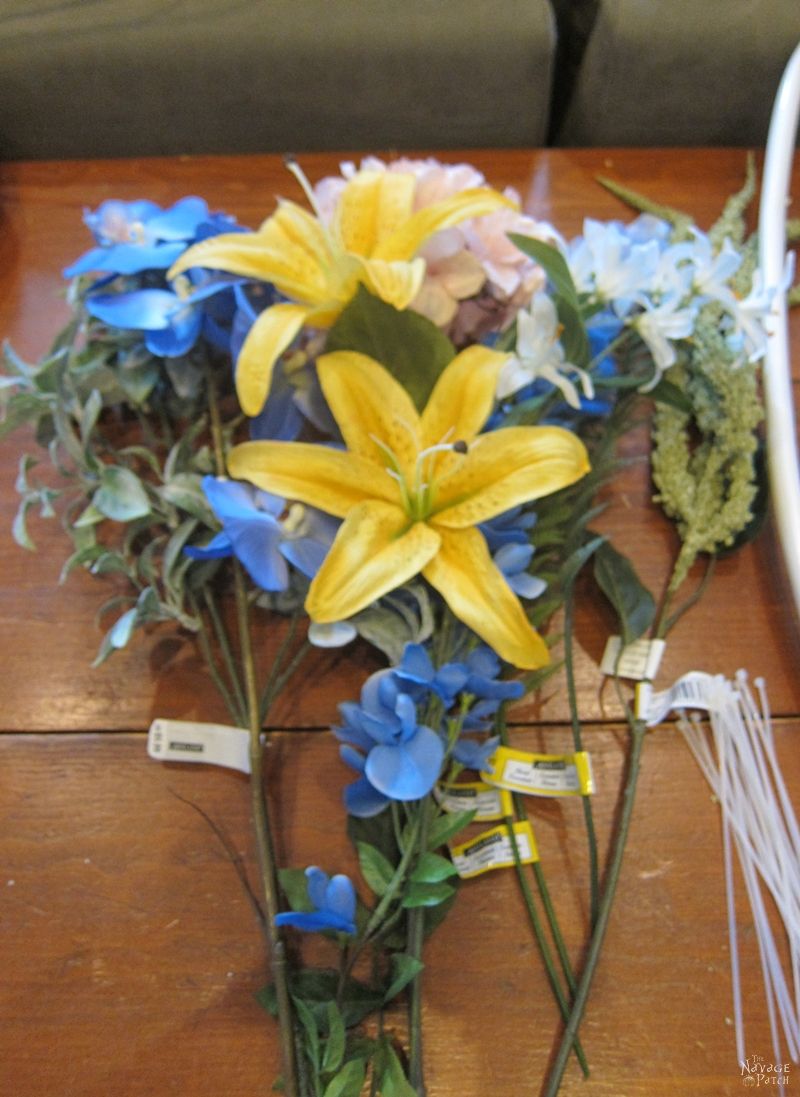
Next, I gathered all the flower stems we bought from Michaels. Michaels always has a great selection of flowers. Luckily, they also had a great coupon selection for this weekend, so it was like hitting the jackpot: great faux flowers at affordable prices.
By the way, believe it or not it was Greg who came up with this floral arrangement. As he is the “beauty shots” photographer of this blog, I trust his eye much better than my own. Hence I asked him to choose all the flowers for this wreath, and he went with the ones listed below.
FLOWERS LIST
Before cutting the stems in to pieces, I first did a bunch of trial runs: Greg and I arranged the flowers in different ways to see which one we both liked most. Once we were happy with an arrangement, I took a picture of it (by the way, Greg’s arrangement won!). When doing trial runs with a wreath, taking pictures always helps, as you can go back and check how the flowers should be placed. 😉
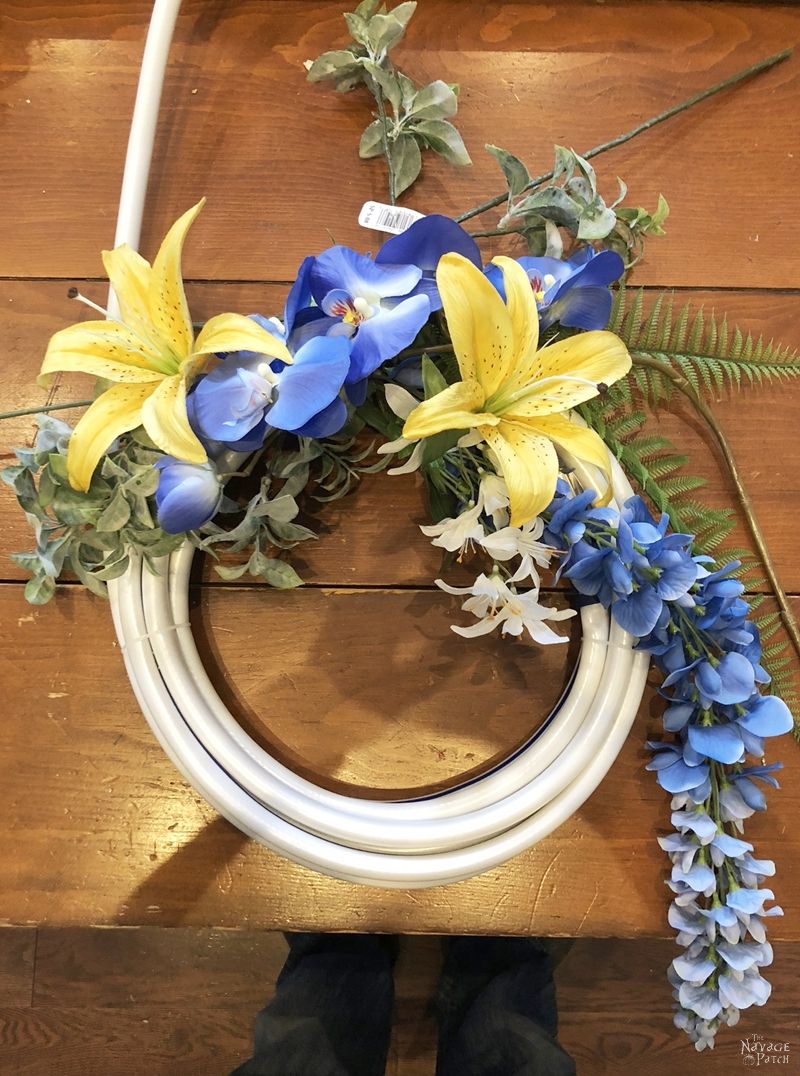
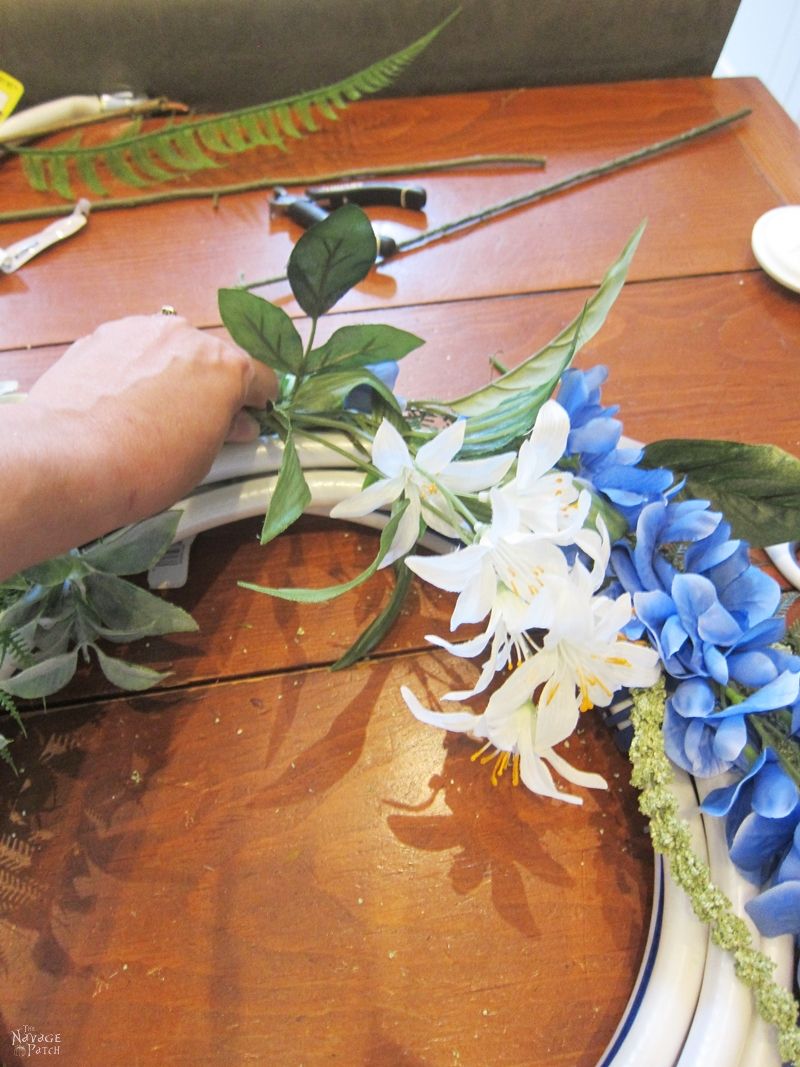
Now that we had decided on an arrangement, I started cutting the flower stems into parts and building the flower part of the wreath.
Adding Lights To The Garden Hose Wreath
Once I was done with the flowers, I moved on to the last part of the wreath: adding the fairy lights. I took the plastic nozzle off of the watering can…
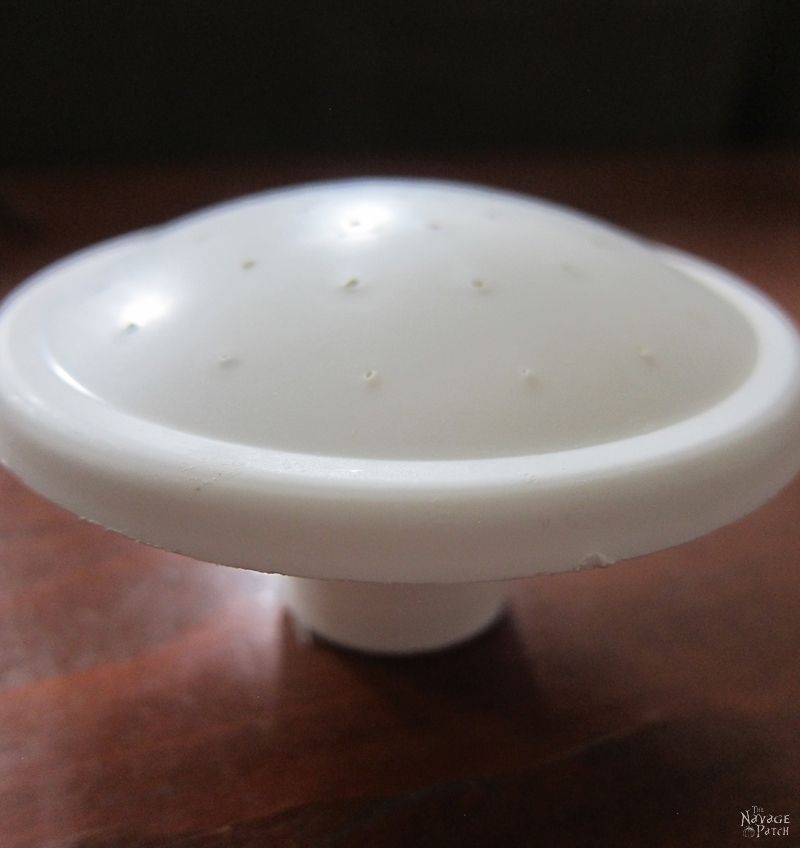
… and using a step drill bit (by the way any drill bit will do), I enlarged some of the holes on the nozzle. As the plastic was pretty flimsy, turning and pushing the drill bit by hand was more than enough force. But if you will be using a metal or harder plastic nozzle, then you may do this step with a drill.
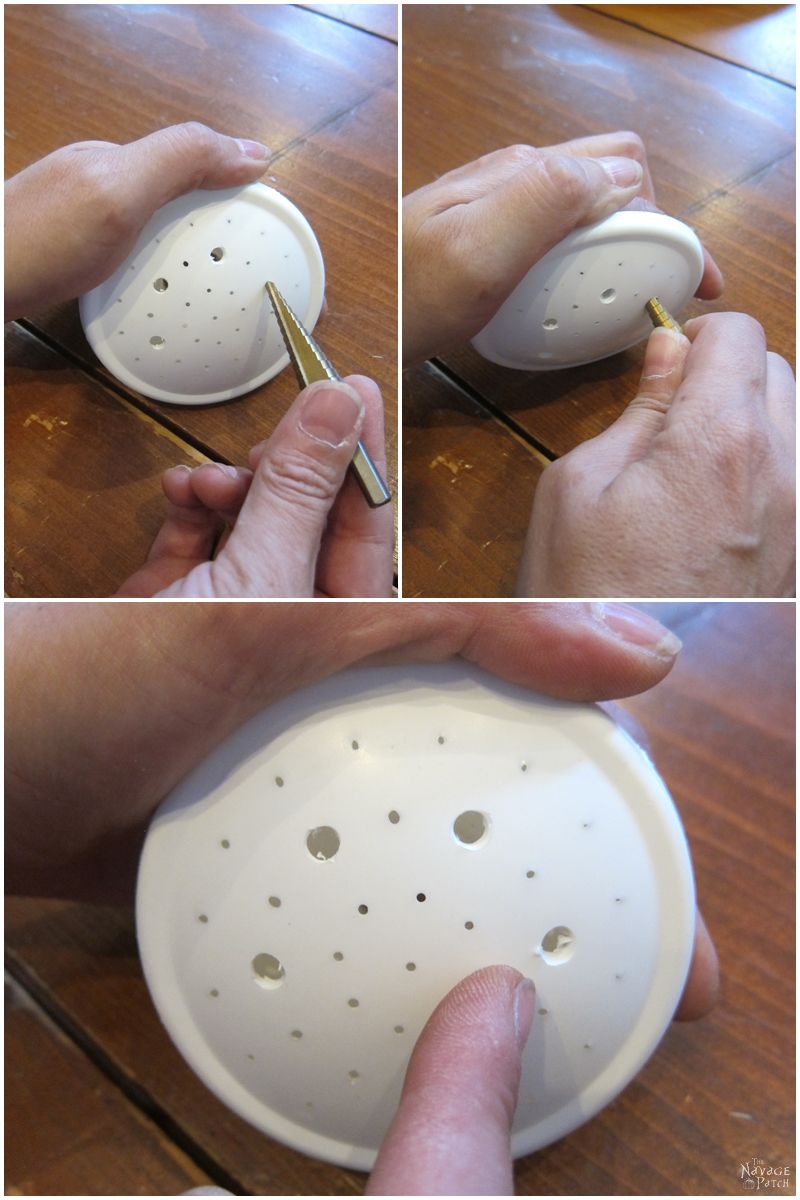
In total, I enlarged 7 holes: 1 in the center and 6 around that.
Before moving on to adding the lights, I want to answer a question that I know I will receive a lot: I didn’t use solar string lights this time, because the ones I have have pretty big the solar panels, so I knew I couldn’t hide them properly and still have them get charged with sunlight at the same time.

Therefore I went with the string lights pictured below. I love these, as they are small, their batteries last quite a long time, and you can turn the lights on and off at the time of your choosing. That said, if you really want to use solar lights with this wreath, then you can use these bottle cork solar lights. Cork solar lights have small solar panels shaped like a cork, so they can be hidden easily even on a wreath.

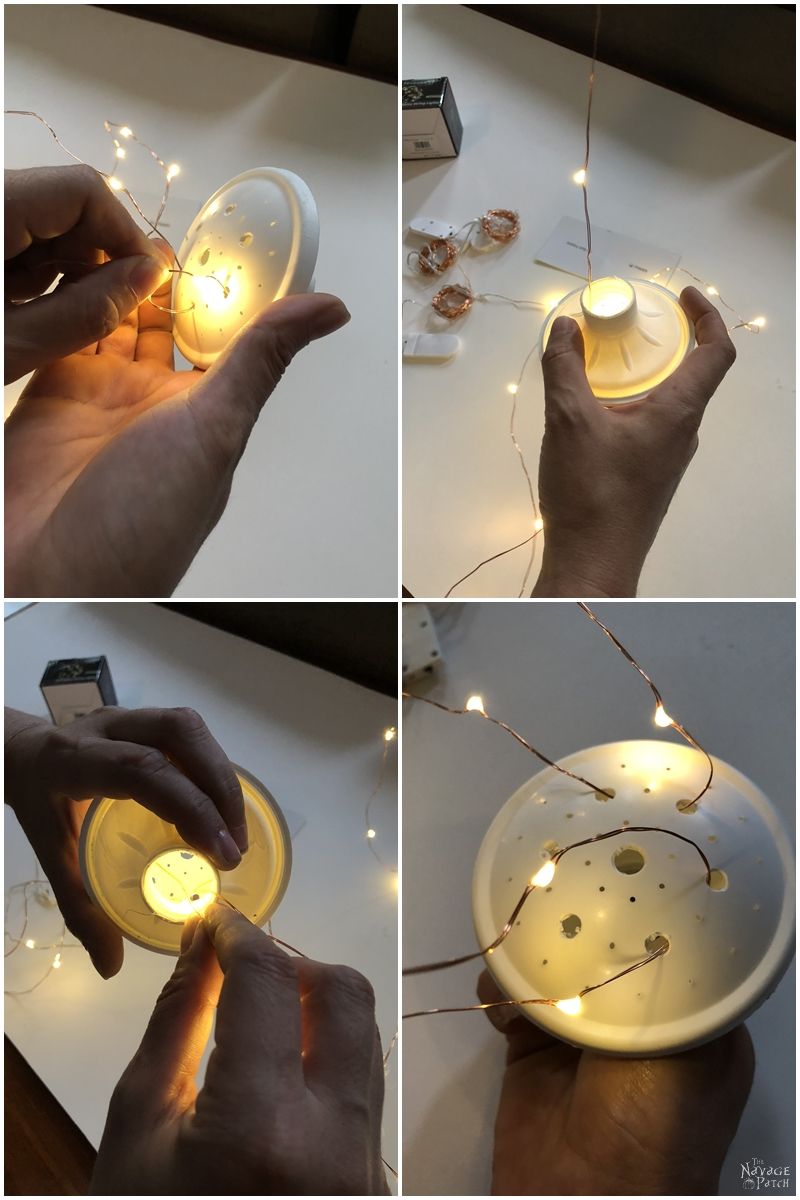
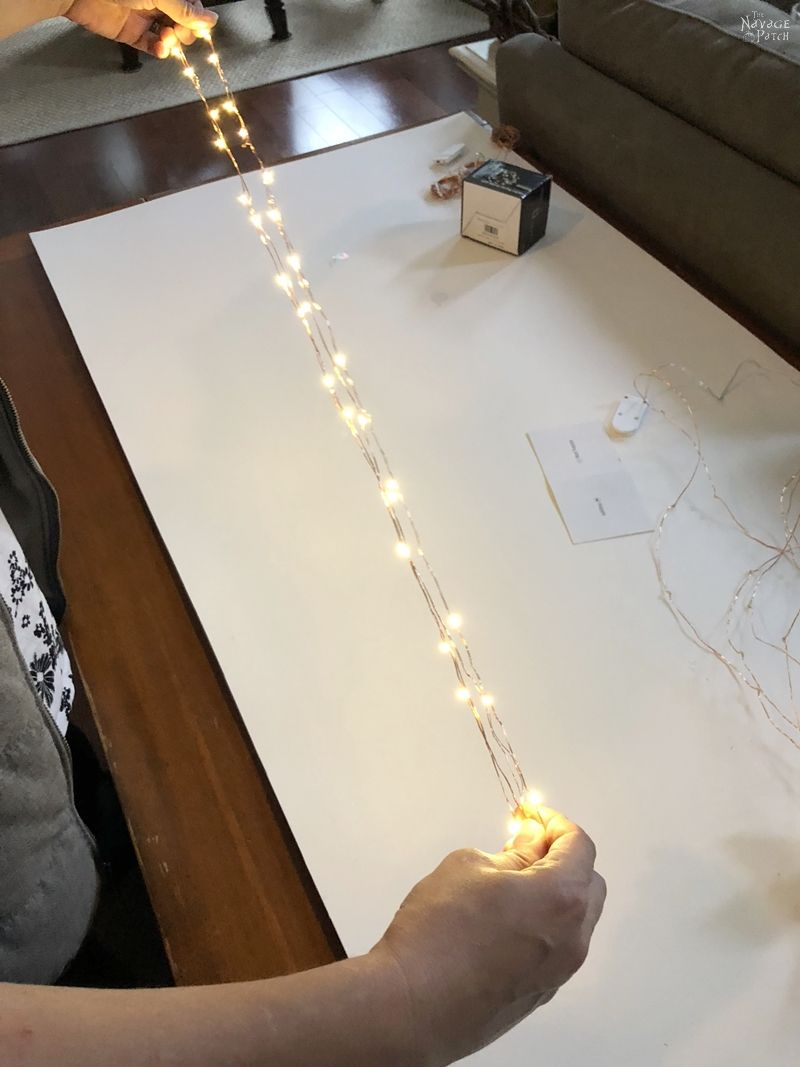
Moving on with the tutorial… As the lights I used are only 10-foot lights, I used one for the center hole and one for the 6 surrounding holes. Also, I wanted to show you that you can attach these lights in two different ways, which is why I used two lights for different holes.
The first way is threading them: I picked the open end of the lights (the end that doesn’t have the battery panel) and threaded it through the holes I enlarged, except the center one. And that was it.
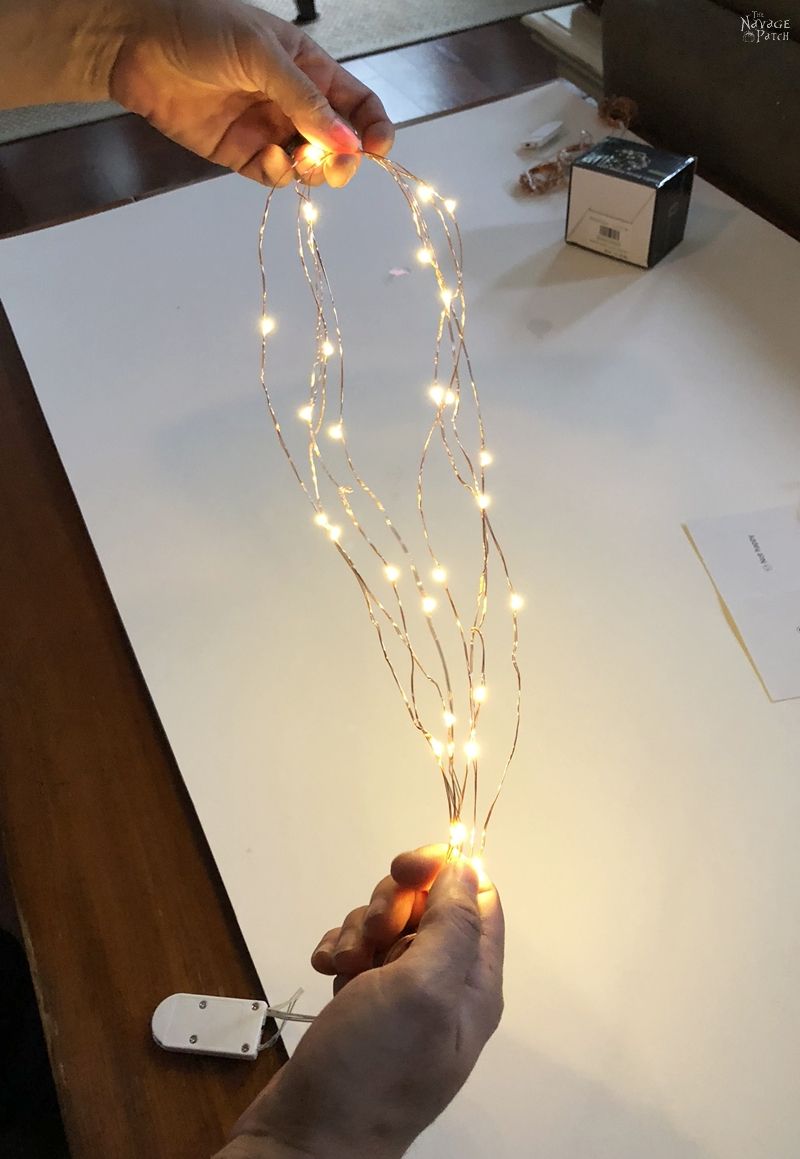
The second way is for those who don’t like tedious threading. Ok, maybe threading wasn’t that tedious, but hey – I don’t want to imply that I’m too lazy, ok? Anyway… moving on… For the second way, I folded the light first in half…
… and then again folded it in half…
… and once again, I folded it in half. In other words, I had about a foot or 1 1/2 foot long strings after the last fold – I’m giving the measurement, so if you’re not using 10-foot lights, you can figure out how many times to fold 😉
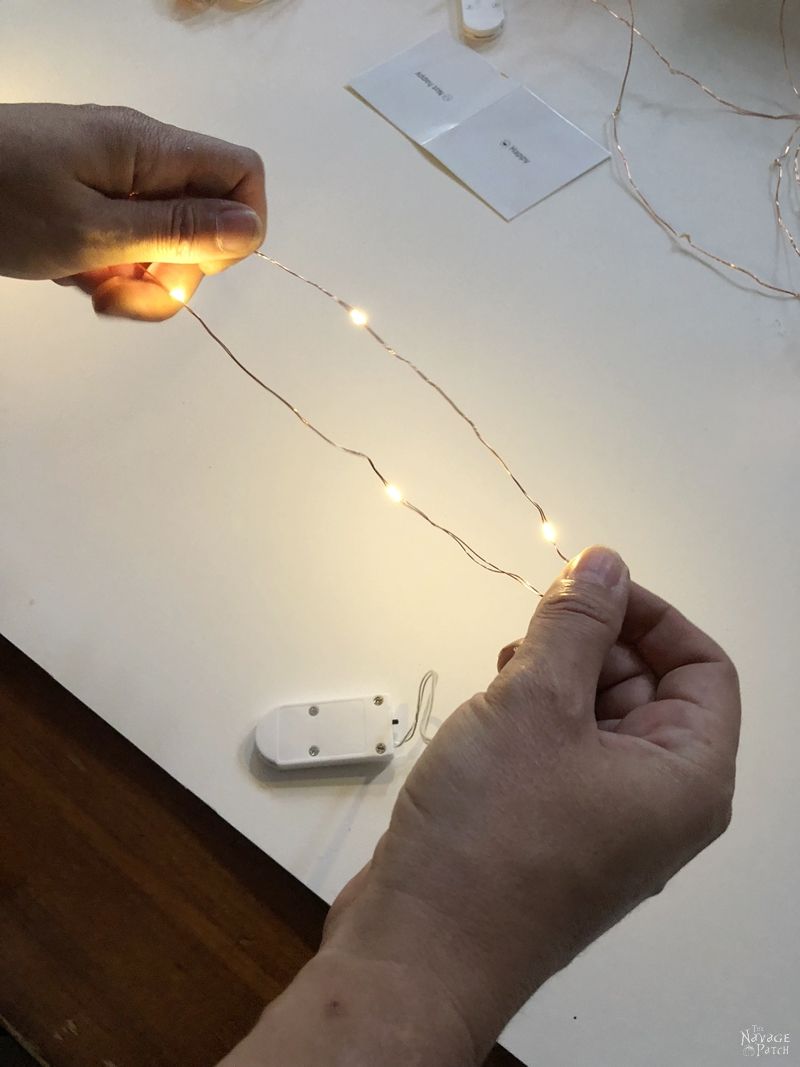
Oh by the way, make sure you turn the lights on to see if they are working before going through these steps. There is nothing more annoying than seeing that the lights don’t work after all the work is done. Luckily that didn’t happen with these lights, but Christmas experience is talking here – LOL.
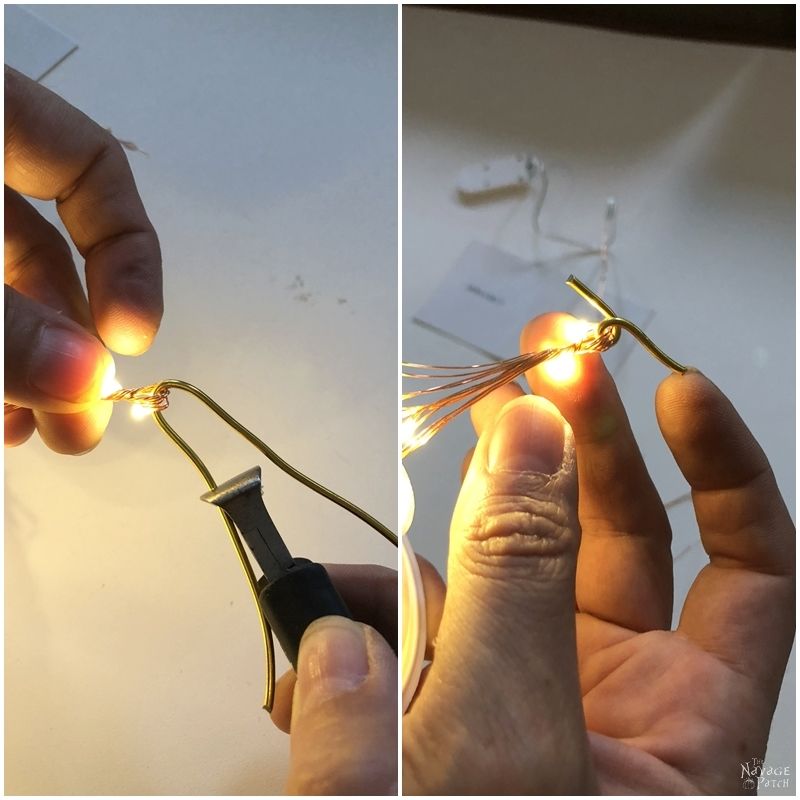
After the last fold, I put a thick craft wire through the loop.
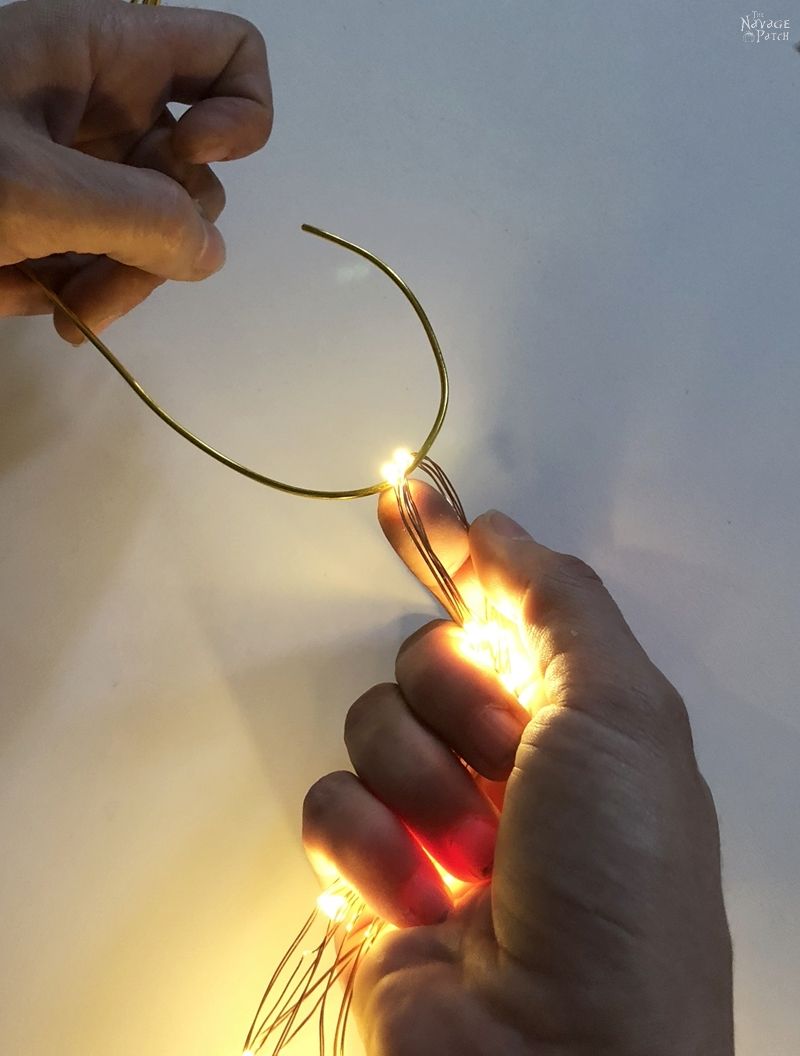
The craft wire was to help pull the lights through the center hole of the nozzle as shown in the pictures below.
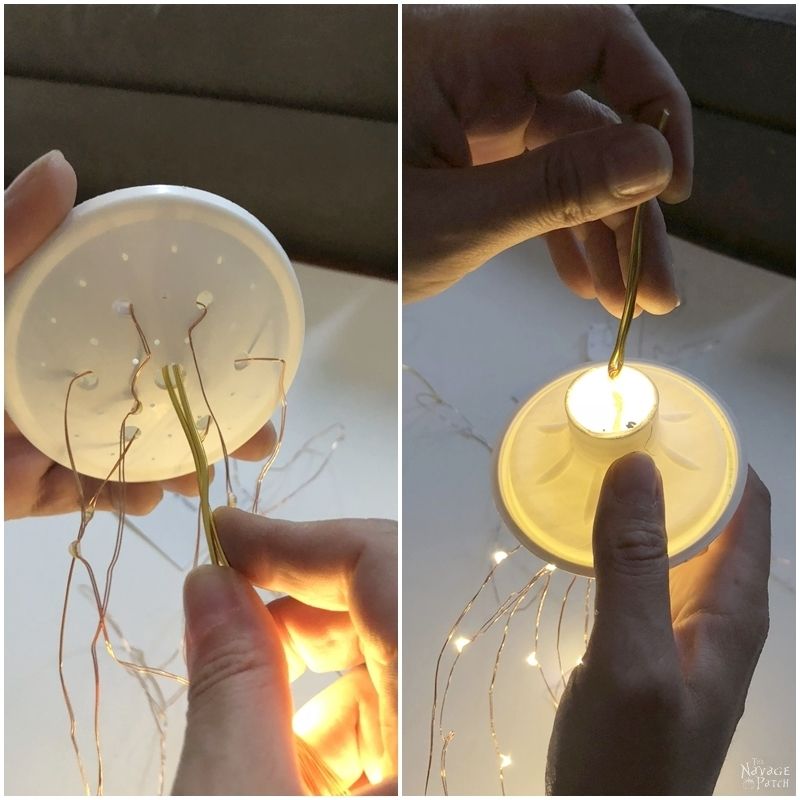
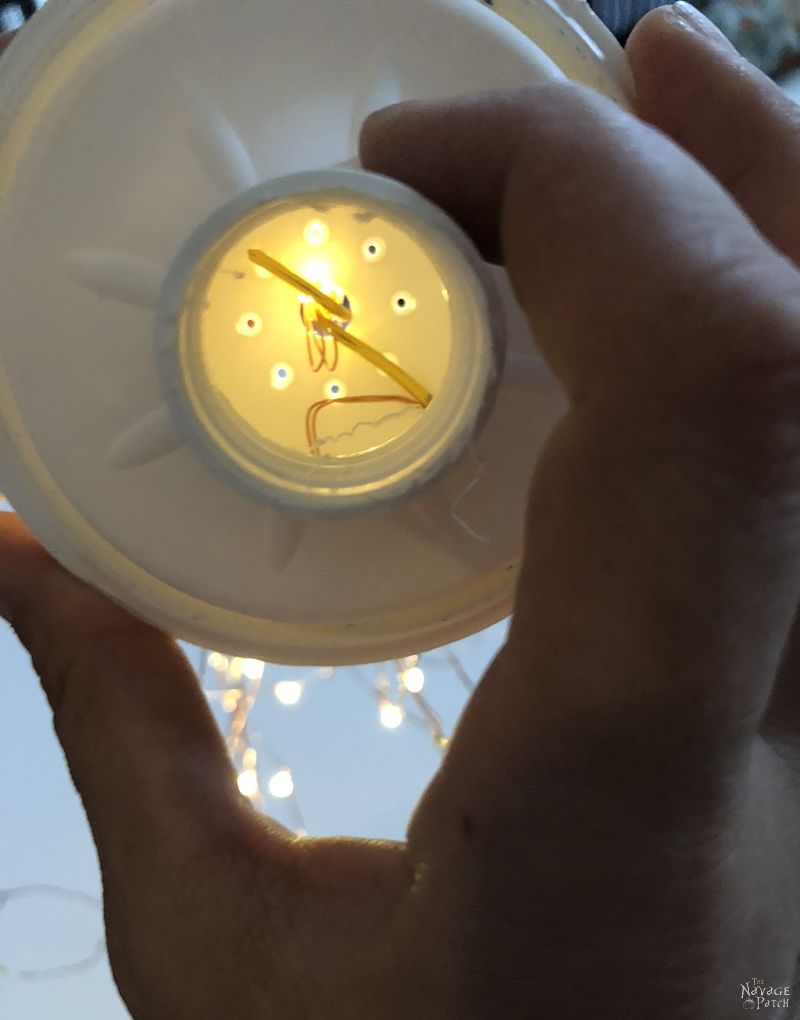
Once the lights were pulled through the center hole, I cut the craft wire shorter and turned it into what I call a loop-lock (No, this is not a technical term. I totally made this one up! LOL), as shown in the pictures below.
Once I made the loop-lock, I slowly pulled the lights from the other end of the nozzle, and that placed the loop-lock right to the center hole, keeping the lights locked in place.
Now it was time to glue the nozzle to the end of the garden hose. I used hot glue, as it’s always easy and quick.
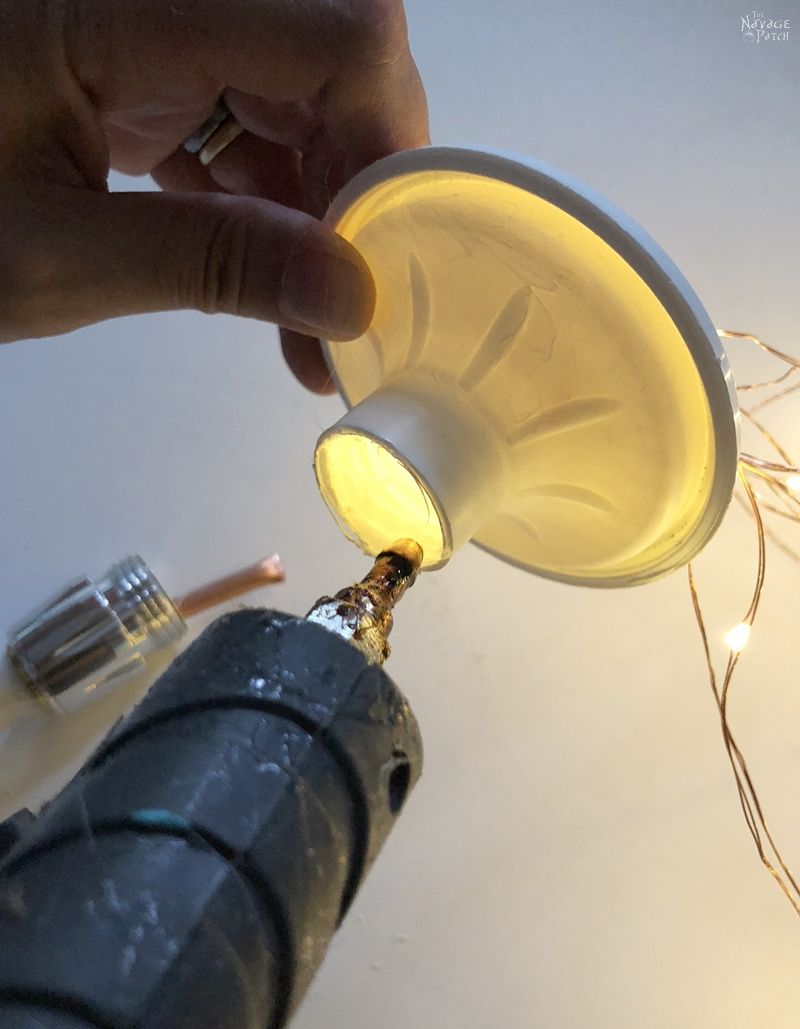
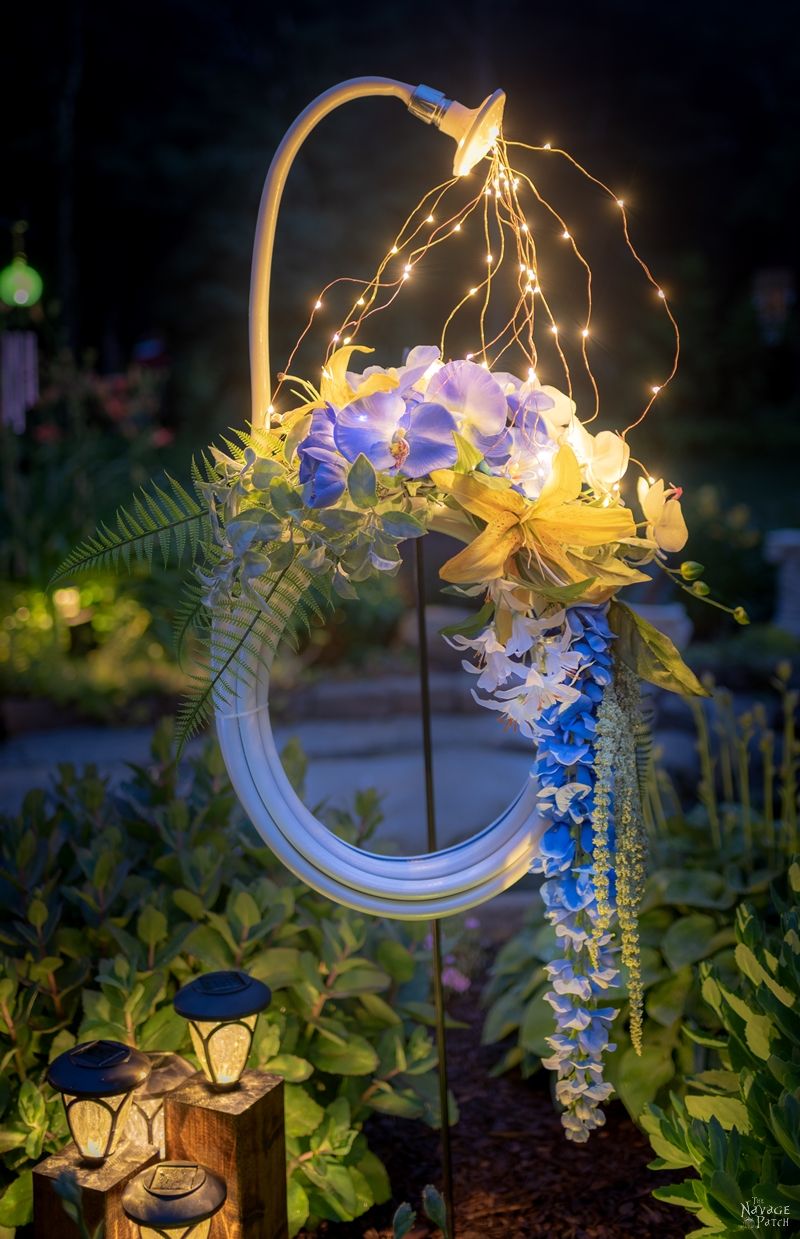
Do you see the copper tubing at the end of the hose in the upper picture? That’s where we’re going to glue the nozzle – to the end where we slid the copper tubing in from. So it’s going to look like the hose is watering the flower wreath from the top 😉
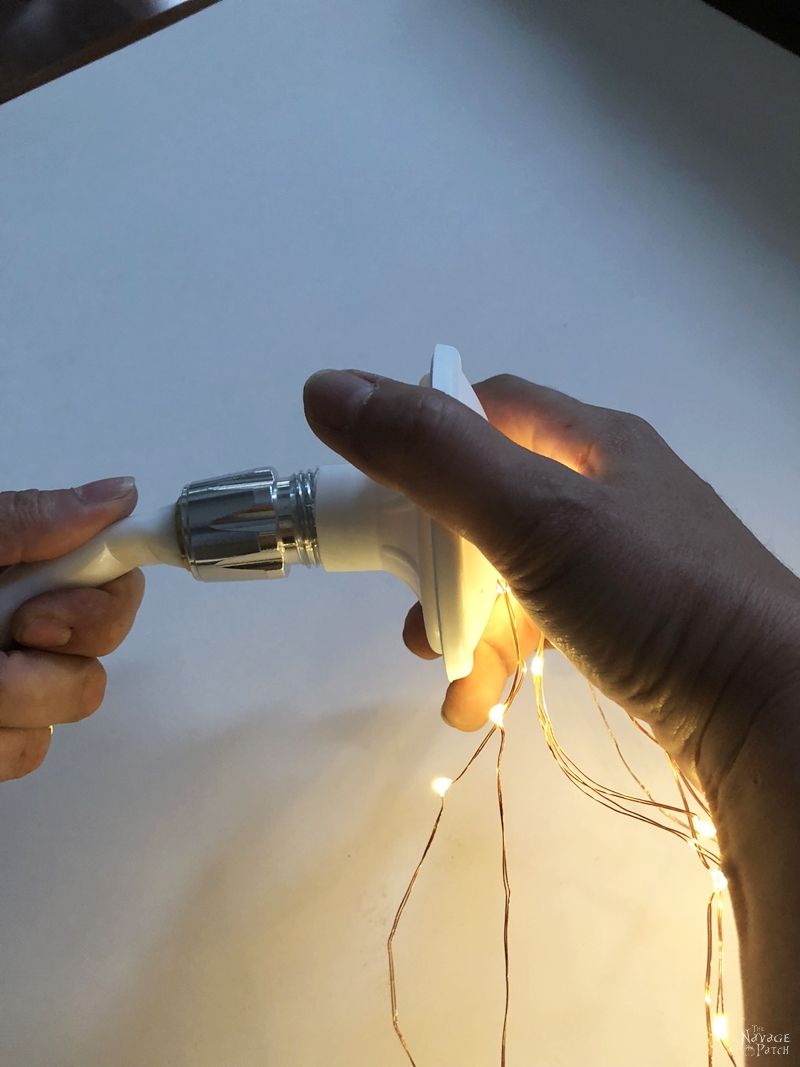
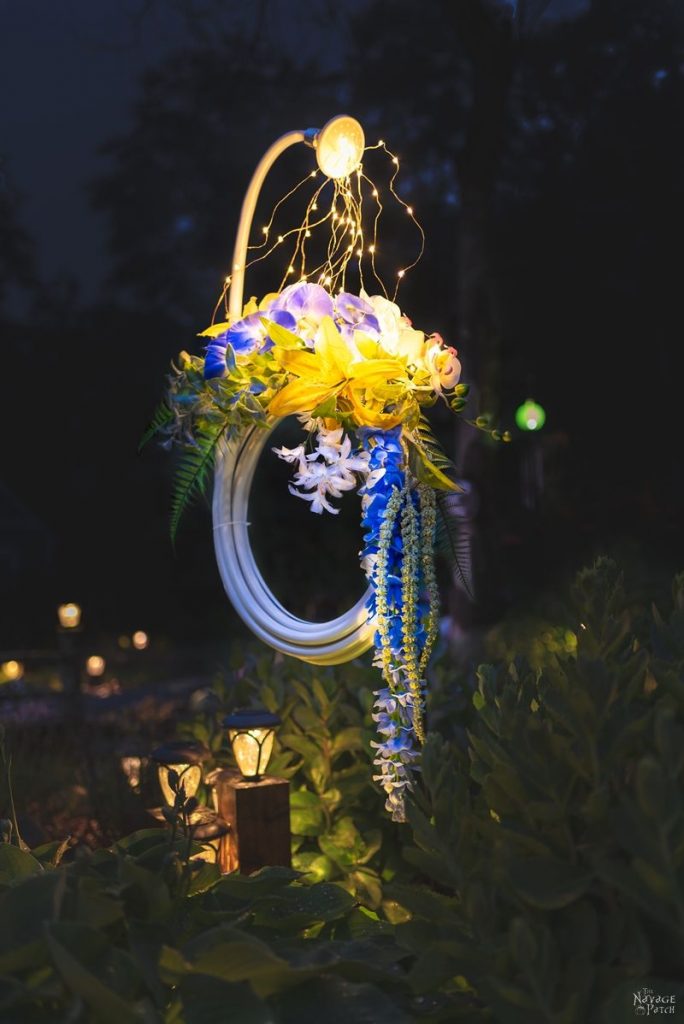
Once the nozzle was secured in place, I started arranging the string lights to make the whole thing look a bit more magical, and that was that!
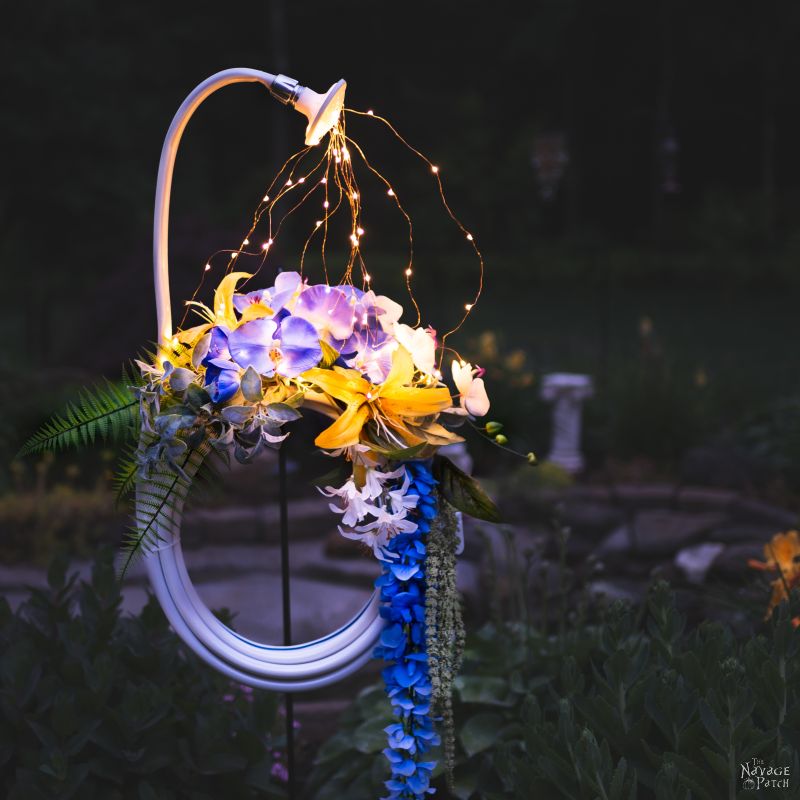
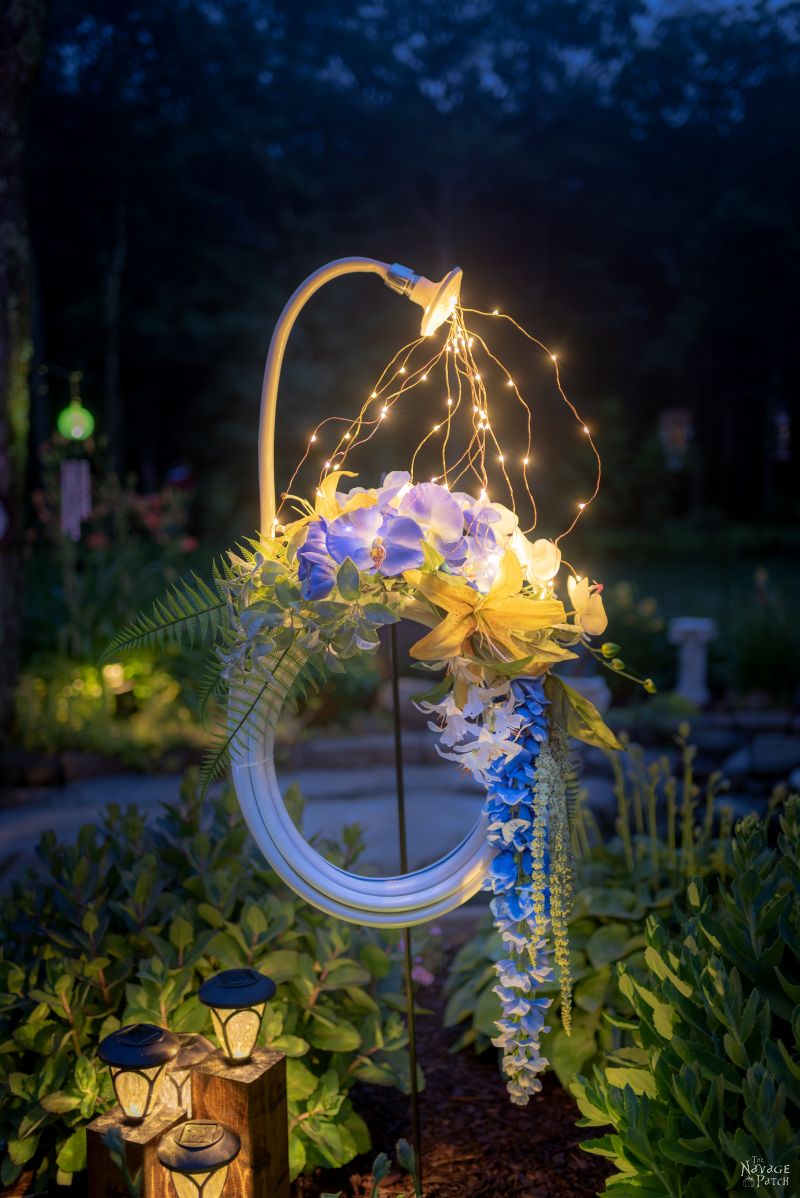
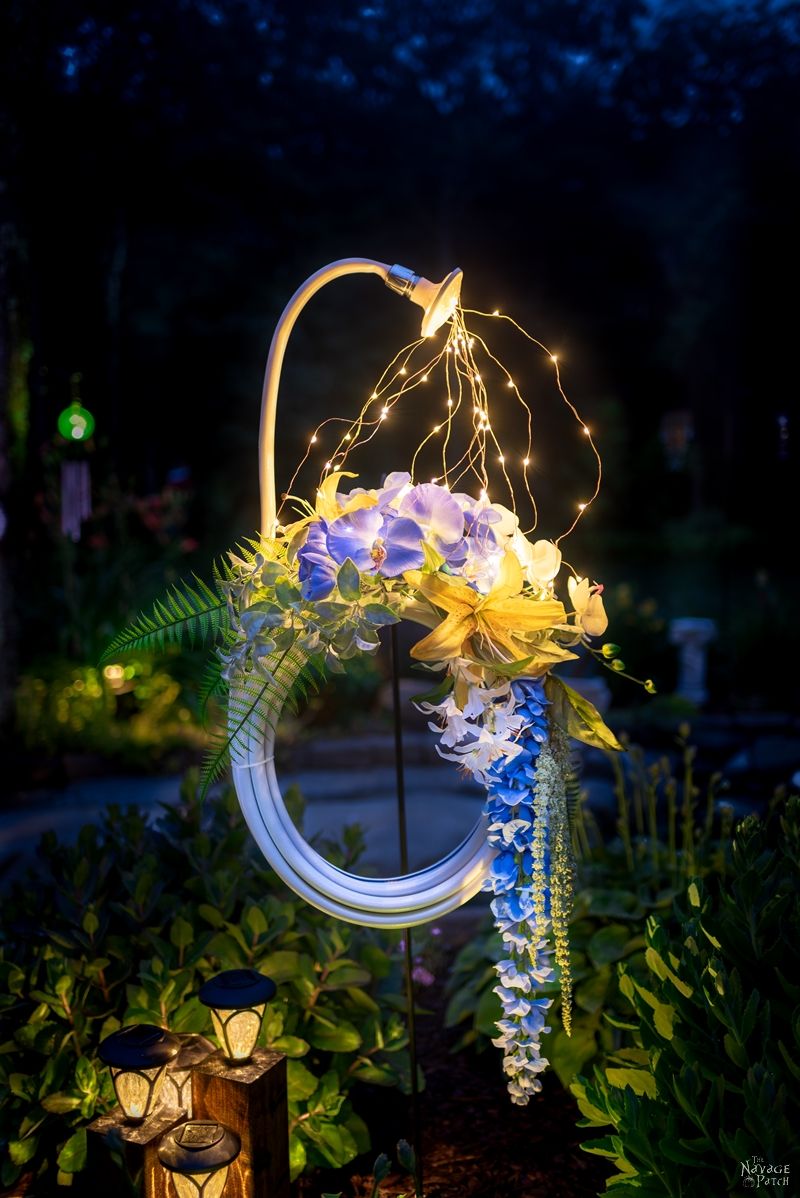
Ladies and Gentlemen… *insert drum roll here*… may I present to you my lighted garden hose wreath!
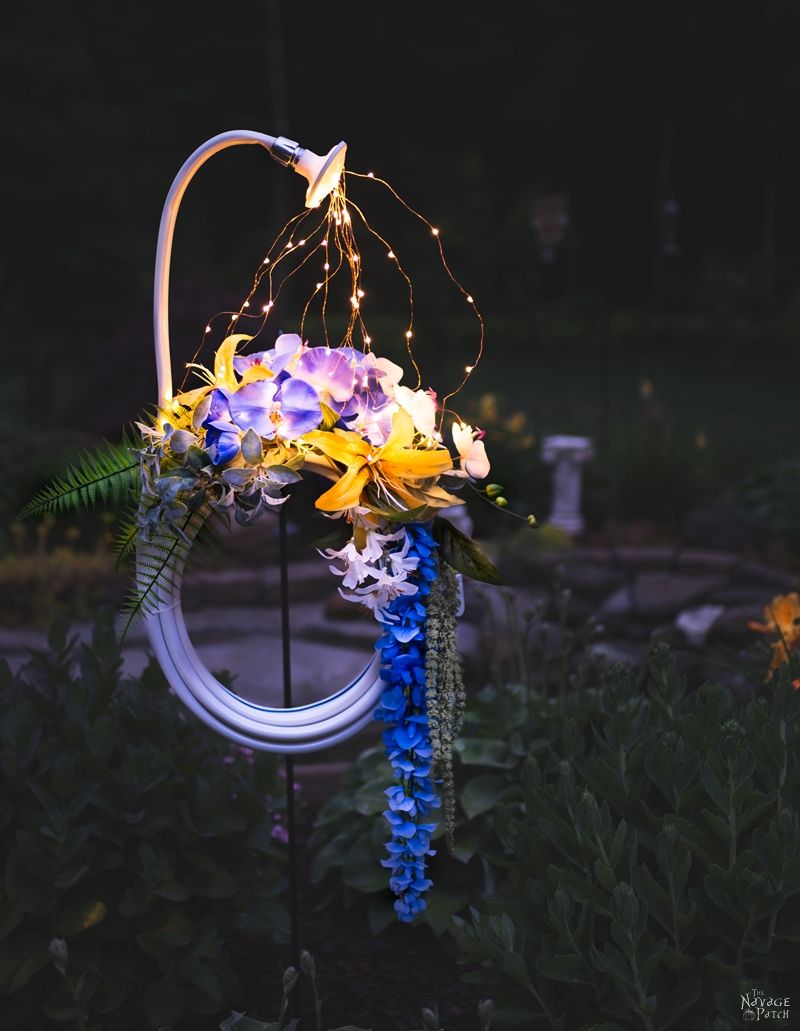
So what do you think? Looks dreamy, doesn’t it?
I love the flowers, I love the lights, I love everything about it! With this one, I’m really so proud of myself! There I said it 🙂
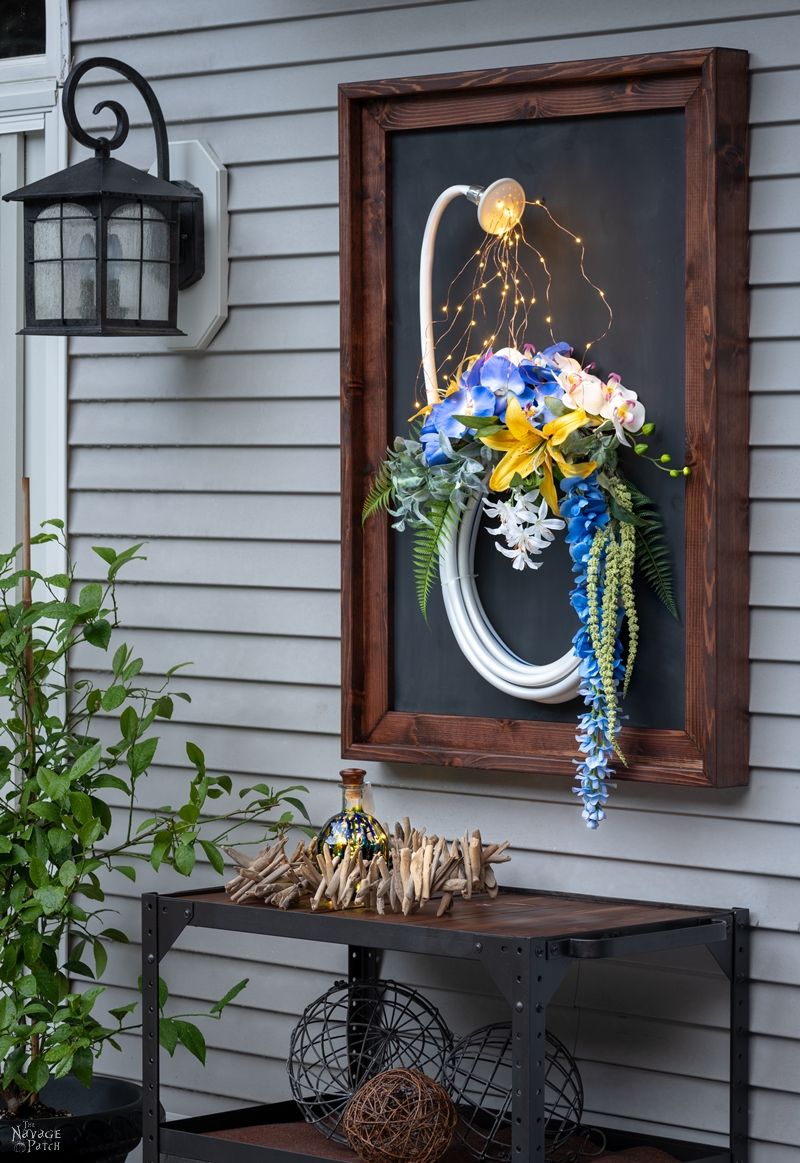
And the best part is that you can use it as a wreath hanging on a frame or on your front door…
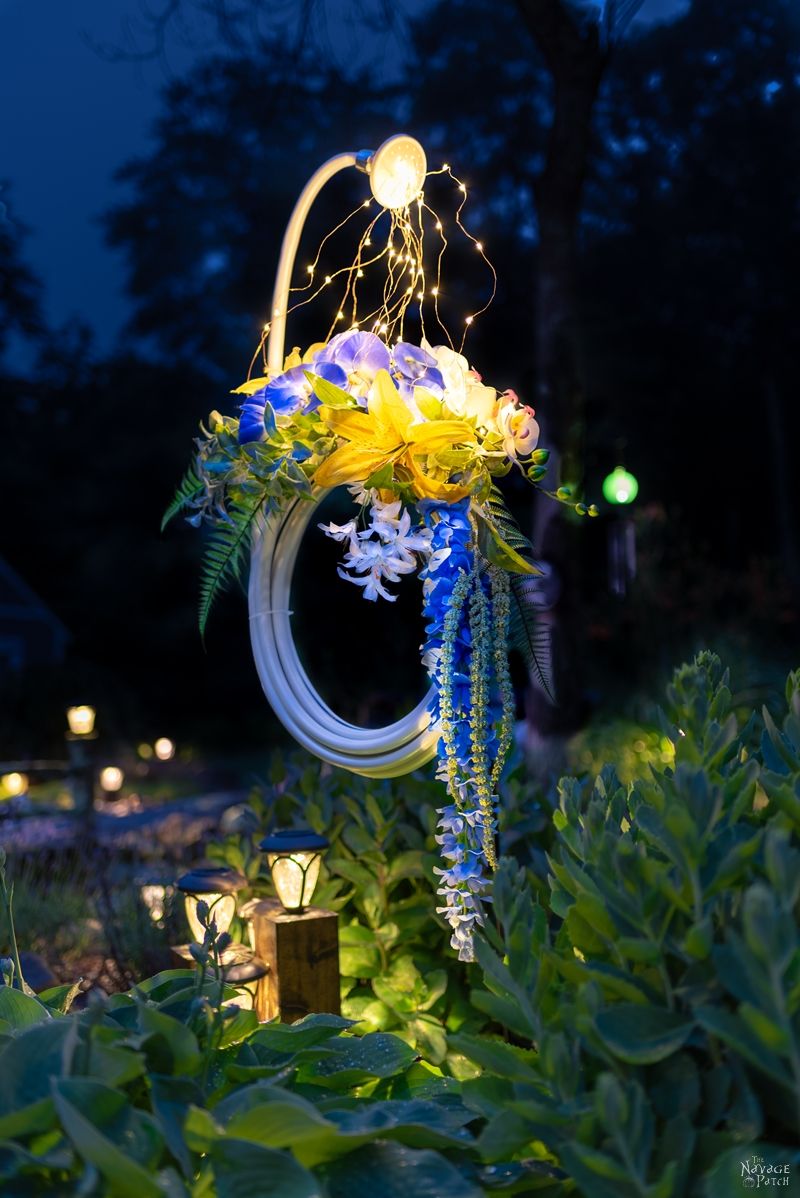
… or you can use this as a garden decor just by hanging it on a shepherd’s hook and leaving it in the garden.
And now here are a couple of close-up pictures to show you how real those flowers look.

As I mentioned before, Michaels always has a great selection of flowers. I mean really… look at these… almost real! Don’t you agree?

I have to say, I’m not the greatest wreath maker in the world, and I always get intimidated by wreath projects. But as you can see, even I managed to pull this one off. Therefore, trust me when I say this: making this wreath is quite easy! Put it this way – the hardest part for me was to come up with a decent flower arrangement, no kidding! [*ahem* who came up with the flower arrangement? – Greg] So I hope you all give this one a try, because I know you’ll love it, as it adds a gorgeous glow to wherever you place it!

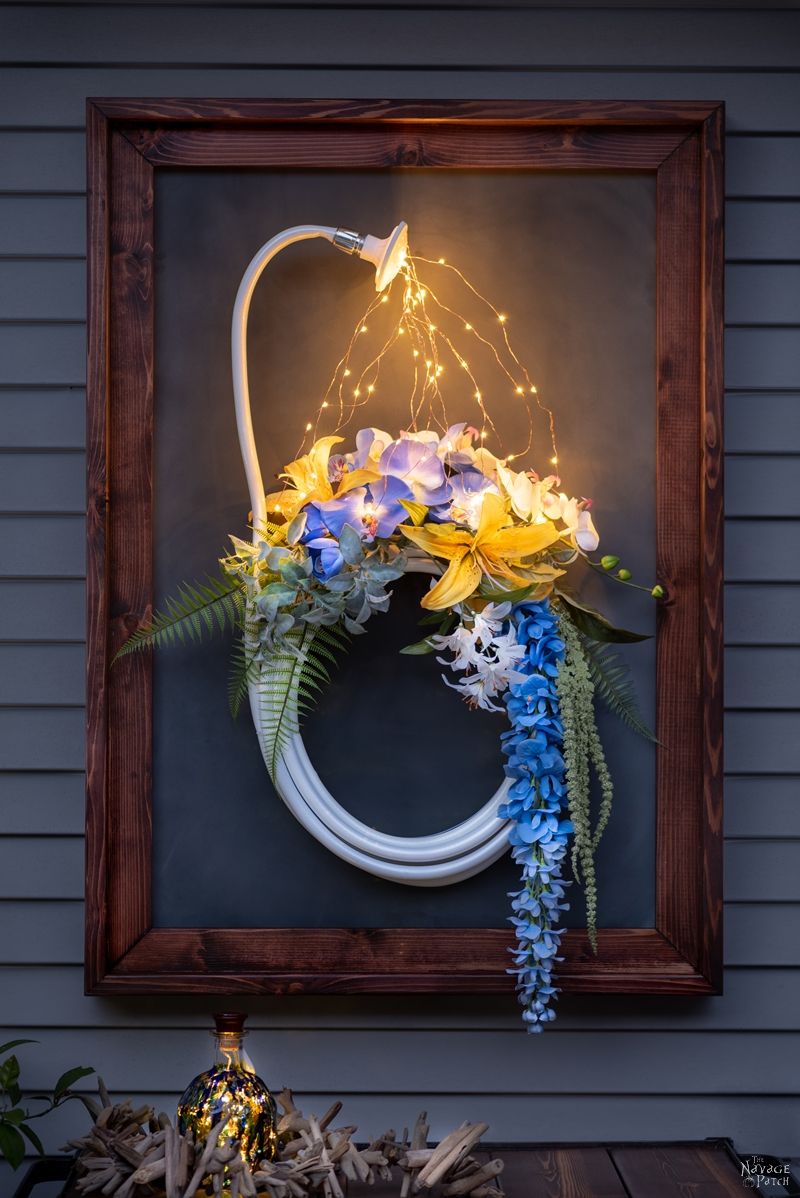
Before I leave, In case you are wondering how I hung the wreath on our outdoor chalkboard, I used these magnet hooks. The chalkboard is magnetic, so these magnet hooks make it pretty easy to hang anything on it. If you want to make one similar, check out Greg’s outdoor magnetic chalkboard post!
Before you leave, here are some more garden decor and lighting ideas for you:
We love it when you share our posts on Facebook and Pinterest!

Handan, you did it again! I love it! I also really appreciate all the pictures because I am definitely a tactile-visual (do and see) learner! I get really intimidated looking at all the flowers too! Great choices Greg and great tutorial Handan!
Thank you so much, Giselle! I’m also a visual learner, hence I was thinking that putting the step-by-step pictures would help. It turned out so lovely that I want everyone to be able to make it for their homes or gardens! 🙂
WoWZeerZ!!! How Awesome is that? Well Done! Looks Amazing! You Did it again!!
It is, isn’t it, Shaun? I really love this one better than my teapot lights, because we can keep it also on our deck! Thank you so much 🙂
Shaun is soooooo right Handan. You have that special touch when it comes to creating magical things for the garden. Love this wreath so much.
Simply lovely. You each know your strengths and weaknesses and are willing to let the other step in when needed. The results are stunning. Great job both. I like the tip to take a picture of the flowers to remember their placement. I do like how your mind works.
Thank you so much, Annetta! I agree – Greg and I complement each other well and that’s why we make a great team!
I always enjoy my visits to The Navage Patch. Your projects are interesting, the writing is entertaining and sometimes I even think I could attempt some of the projects.
Oh that is awesome to hear! Thank you so much, Georgia! 🙂
This is beautiful! Just curious, though…where are the battery packs on the lights? Are they hidden in the flowers? Did you put the lights into one hole and then out another?
Thank you so much, Jana! Yes, I hid the battery packs on the side of the wreath. If you check the second page of the tutorial, there you can see how small those battery packs are. So hiding them behind the cascading flowers was so easy. 🙂
As for the lights, I used two different methods. First method is as you said: in from one hole, out from another. Second method uses just one hole. Second method is hard to explain without the pictures, hence you might want to check the pictures on second page as they’ll show you better than I can explain.
handan, greg’s chalkboard prompted me to come here and check this out and it is freaking awesome, that said I am positive I never got this post you know I would have commented xx
Thank you so much, Chris! LOL – Don’t you love his proctologist picture? I think I should get him that costume for Halloween! LOL
This is beautiful! I have some lights floating around to use, I’m inspired. I’m way behind on my Navage reading, 3 weeks of no email!
Thank you so much, Derry! Oh 3 weeks off of emails and electronics? Lucky you – I bet it felt great!
I wish I had a place to work to follow up on some of these projects. I am so amazed at how attractive a garden hose can be when it is used in such a manner. I don’t know how you come up with your great ideas, but keep them coming!
Bloody brilliant! I will be making this. Thank you for such a meticulous tutorial.
Thank you so much, Phyllis! 🙂
Thank you, Phyllis! I’m sure you’ll love it, because it looks really gorgeous in person!
Gorgeous! I love this! Can it be hung outside where it might get rained on? I’m thinking of hanging it on the side of my garden shed, but it’ll get wet. What do you think?
You absolutely may, Lorraine! We had ours hanging from a shepherd’s hook in the garden for a time, and it looked wonderful!
I absolutely love this project I’m making 3 of them. 1 for me 1for my daughter-in-law and 1 for my sister’s birthday. She is soooooooo hard to buy for. I’m so glad I saw your instructions I tried to figure it out by myself I did pretty good you did answer a few questions I had?
Awesome! Please send us a pic of your completed project! greg@thenavagepatch.com
I saved a bookmark for this project! IN 2018!!! Today I’m ready to put the lights in the nozzle for the first one I am making. Will be making another. One to hang off the railing on our upstairs deck where my container garden resides and the other will go on our front porch. I have been excited to have an excuse to make them!! Now to figure out where that safe place is that I put the two nozzles! Have been collecting supplies as they appear over the last 3 years!!! Senior citizen budget and all!!!
WooHoo! Send us a pic when it’s finished! greg@thenavagepatch.com