Simple DIY Magnetic Poster Hangers (No Power Tools Needed!)
These Magnetic Poster Hangers are a simple DIY that will allow you to hang and swap your posters and printables with ease for under $3. No power tools required!
Let’s face it, swapping framed pictures and posters is a royal pain in the rump.
By the time you take the frame down, disassemble it, swap the picture, reassemble the frame and then try to hang it straight again, you’ve sprouted 12 new gray hairs, missed dinner, and you’ve already grown tired of the new picture.
Take it from me, ladies. I know what I’m talking about here.
My wife is a remorseless and tireless printable printing machine.
She has no mercy for my picture-swapping blues.
She has no time for my sorry excuses.
There’s a new printable waiting in the printer tray, and she wants it hung with the utmost speed and efficiency.
“But, my babes!” I say, in the throes of valiant protest. “Our frames are jerks!”
It is a well-reasoned and impeccably-voiced argument. Surely she can see that I am correct and that the frames are indeed jerks!
Instead of agreeing with my brilliant rebuttal, she unfurls her index finger and points at the wall.
“Awwww, man!” I say. “Nuts to this!”
Perhaps it is my wounded expression, or maybe it’s my slumped shoulders, but a change comes over my babes.
“Wait.” She says. “I’ll show you an easier way.”
And then she whispers in my ear and my eyes light up.
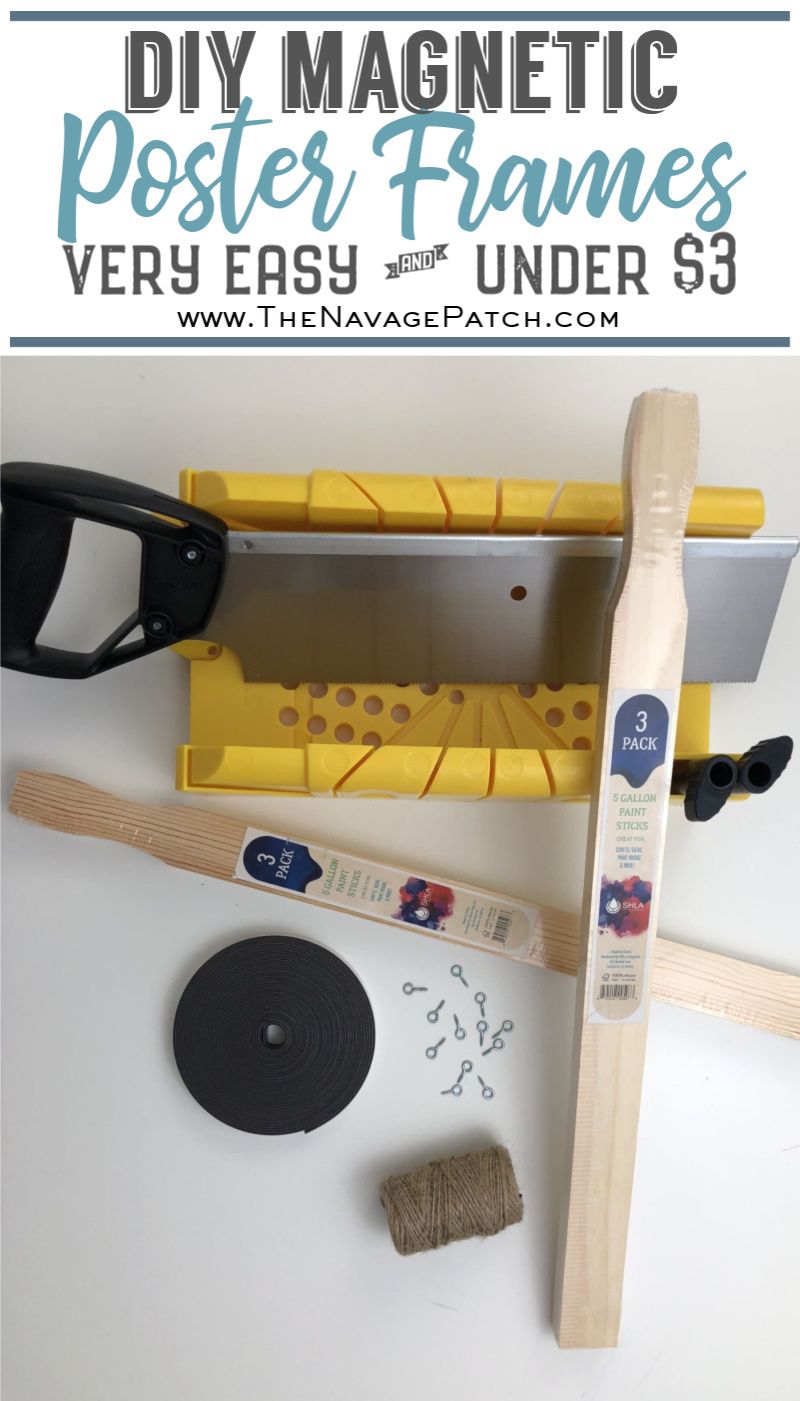
Simple DIY Magnetic Poster Hangers
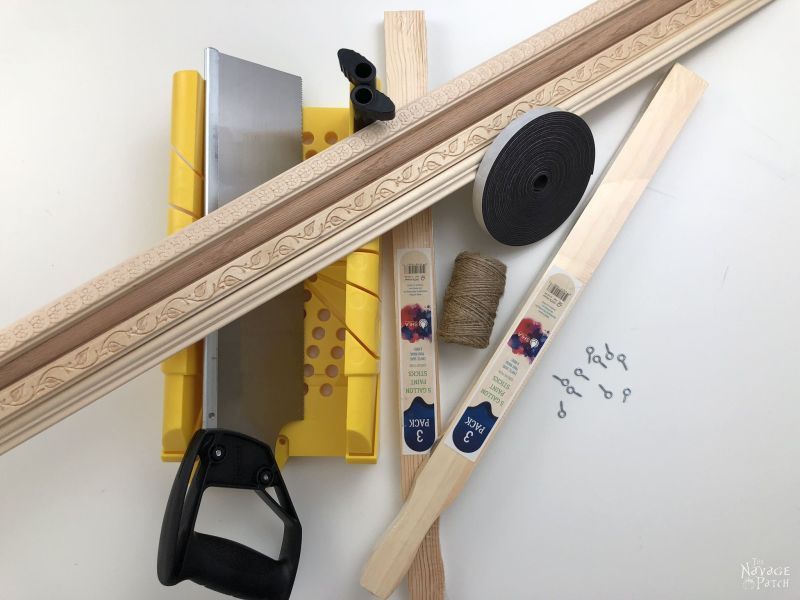
- Miter box
- Paint stir sticks and/or decorative trim – you can get the paint stir sticks from Lowe’s or Home Depot for a dollar.
- Magnetic tape – we bought ours at Michaels with a 40% off coupon. If you don’t have Michaels near by, you can get a magnetic tape from Amazon.
- Super glue
- Twine
- Small eye bolts (optional)
- Stain of your choice
Video Tutorial
Simple DIY Magnetic Poster Hangers Tutorial
These magnetic poster hangers are cinch to make, and anyone can do it, since they’re made without power tools.
We know that many of you don’t have a powered miter saw, so we picked up a very inexpensive one to keep in the new craft room for small crafts like this one. It saves me having to run to the dungeon every time I need to make a simple cut.
We made magnetic poster hangers from 4 types of decorative trim that we bought from Home Depot. We also bought some extra large paint sticks from Lowe’s for a dollar – they’re ruled on one side, so cutting them is a breeze!
Step 1 – Cut the pieces for the magnetic poster hanger
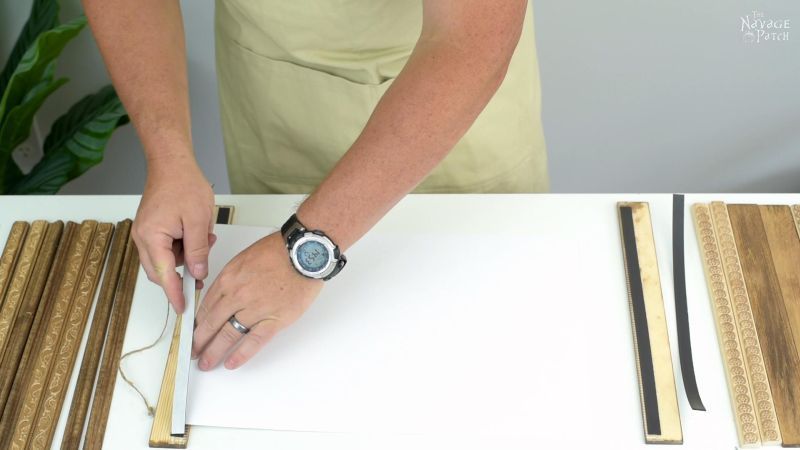
To cut the frame pieces to length, I first measured 13 inches. That’s long enough to hold anything we can print at home.
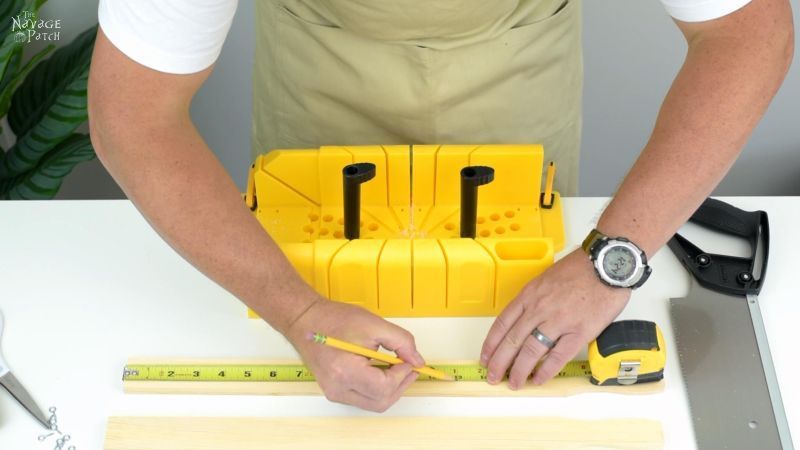
These were already ruled, so I really didn’t need to do that first step.
I did it all for you, madam.
All for you. 😉
Kinda hard to see the ruler, but it’s there!

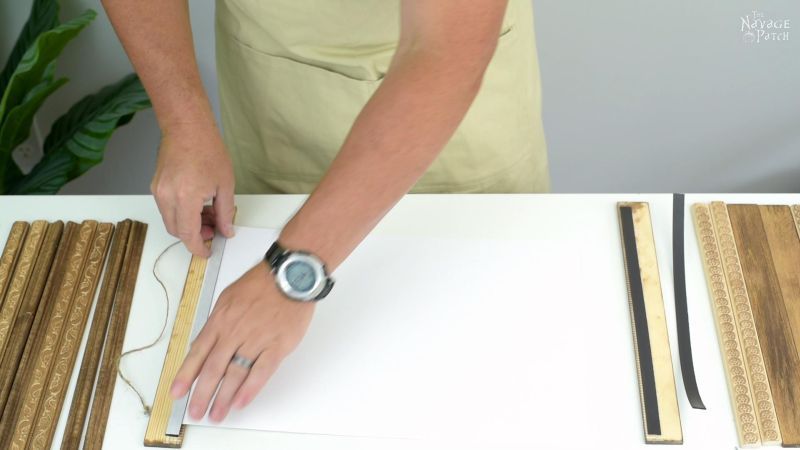
I secured the paint stick in the miter box with the locks.
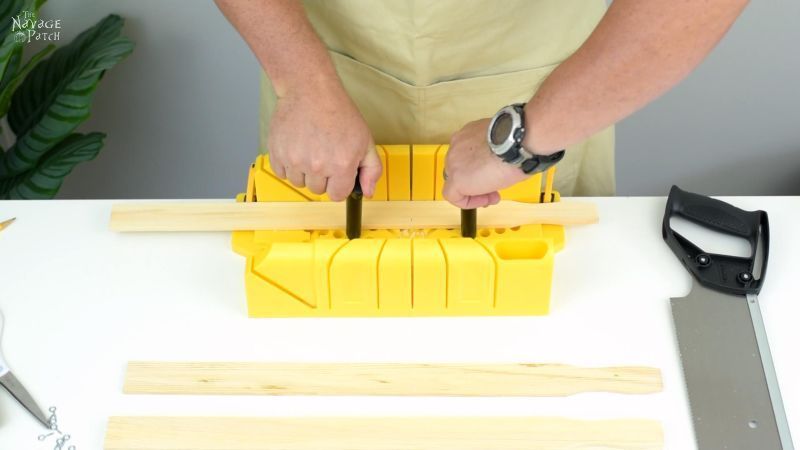
And then I cut at my mark. This miter box is pretty awesome for its size and price! It’s much easier to use this upstairs for small cuts than to run back and forth between the basement and the craft room!
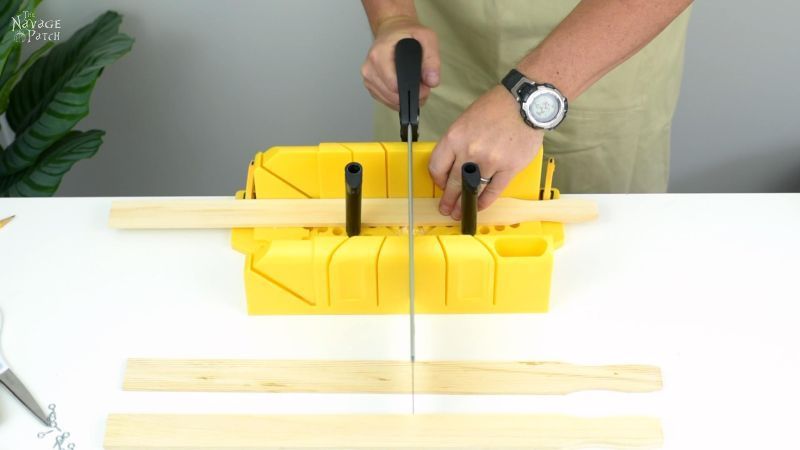
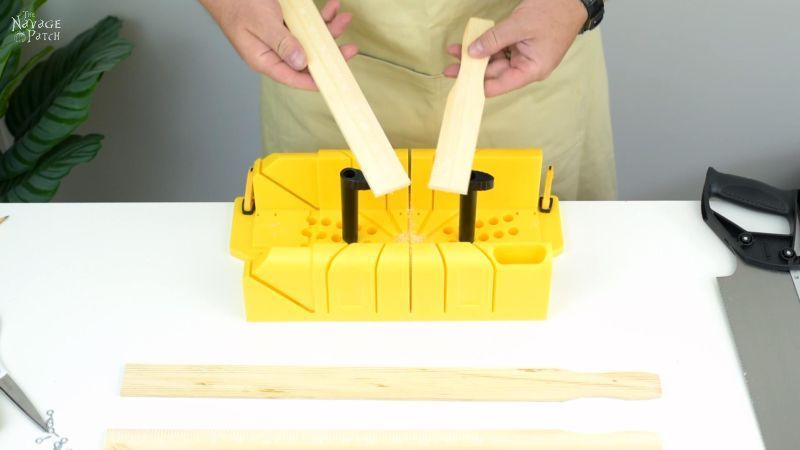
After cutting the paint sticks, I worked my way through the trim, cutting everything to 13 inches.
Step 2 – Stain the pieces
Then I had to go to the dungeon to stain them.
I used Minwax Special Walnut on all but the rounded hardwood trim. It already had a beautiful red color, so I just sprayed that one with polyurethane to deepen the wood’s natural color (not shown below).
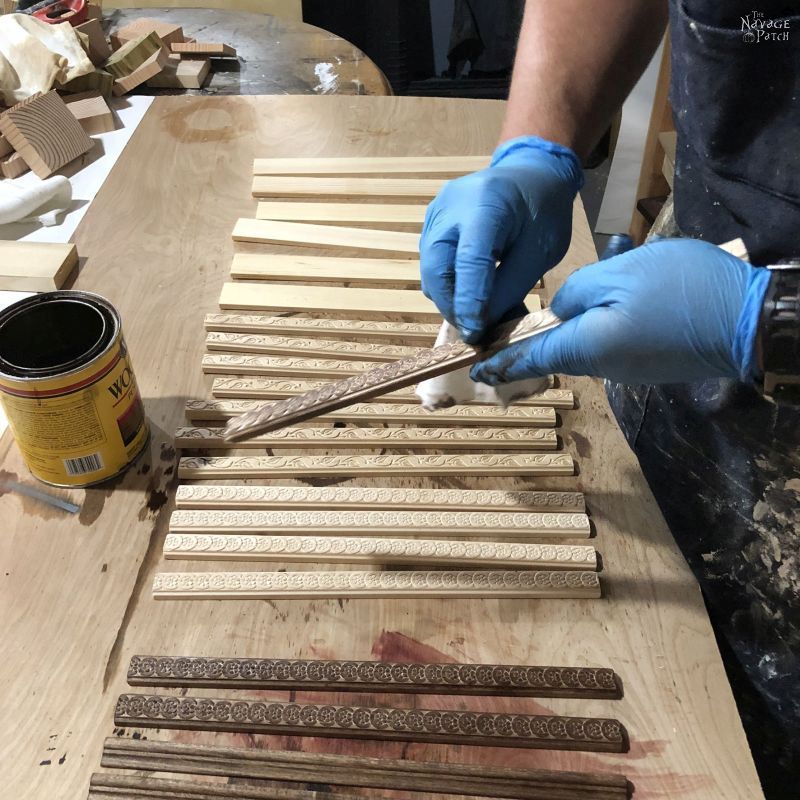

I stained some dark and some very light. By lightly rubbing a rag with just a touch of stain, I could keep the stain out of the grooves on some pieces, giving a nice contrast.
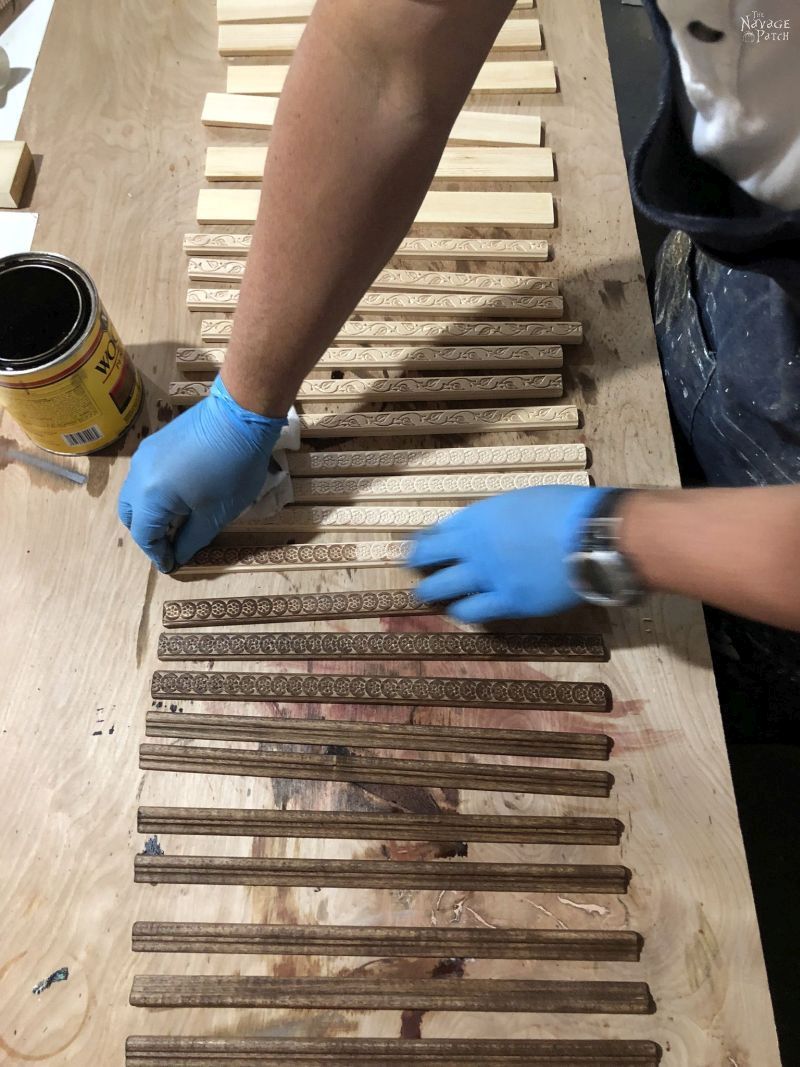
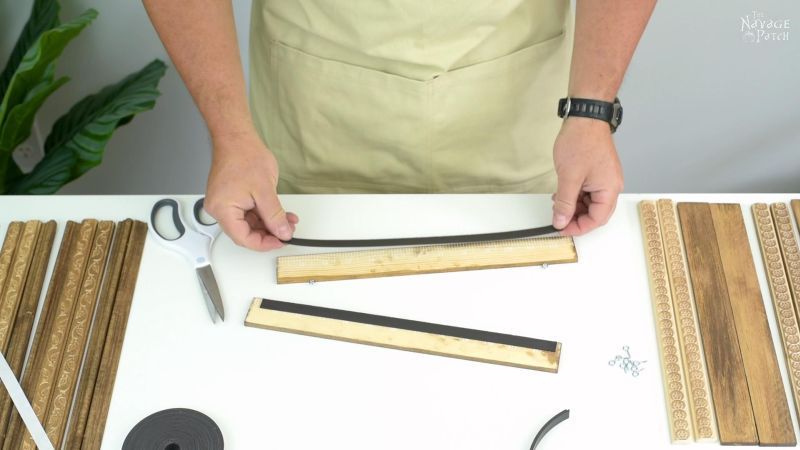
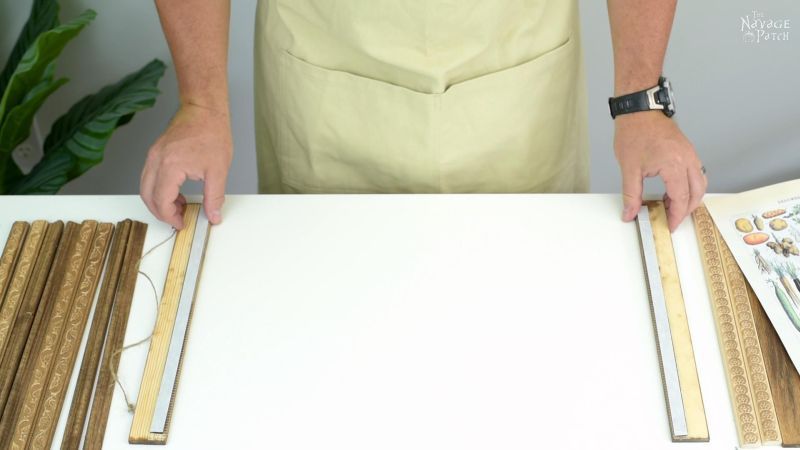
Step 3 – Attach the magnetic tape
When the sticks had dried, I took them back to the craft room for the next phase: attaching the magnetic tape.

I measured about 12 inches of tape and cut it.
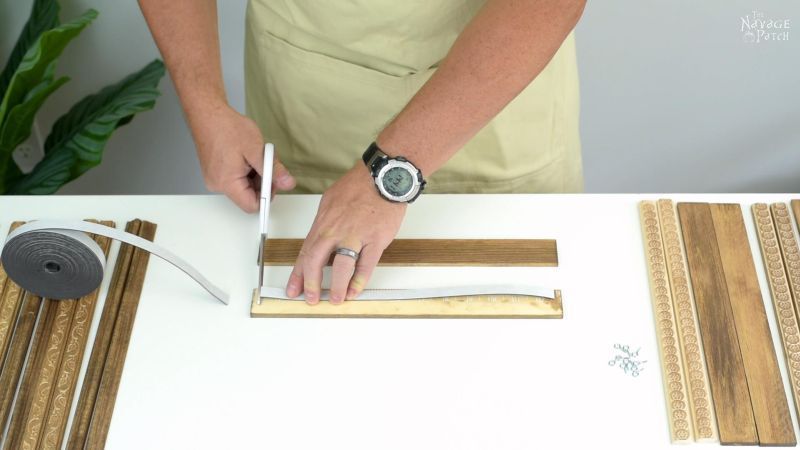
Then I used the cut piece to measure and cut 3 more strips.

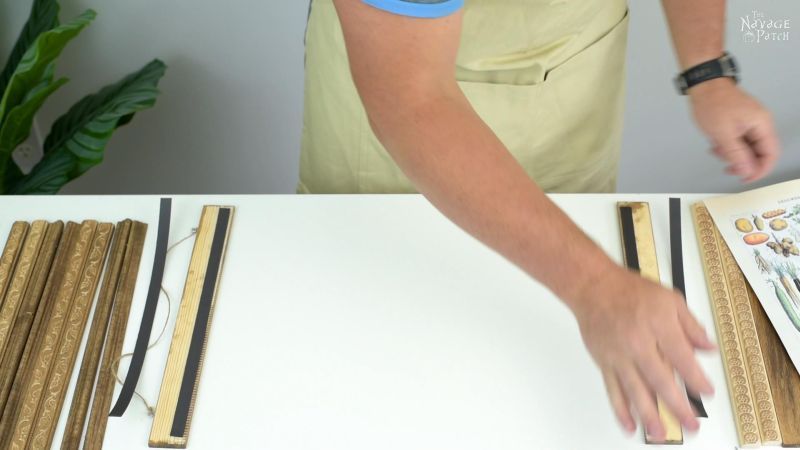
I peeled the backing from the sticky side….
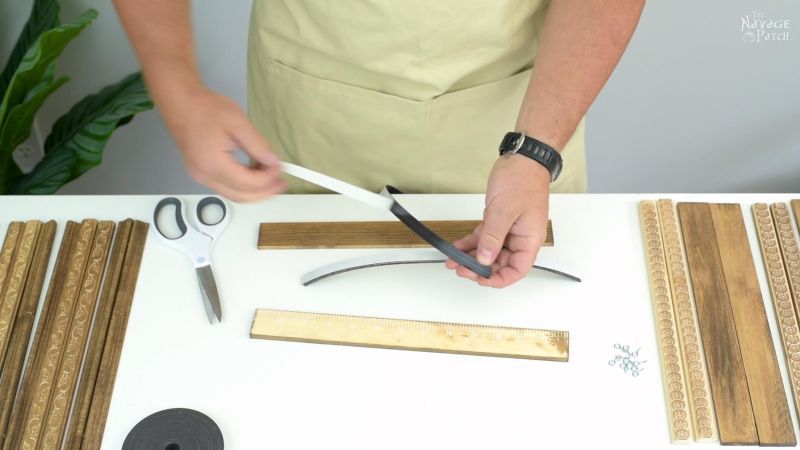
and prepared to press it on the wood.
But here’s where you will do things a little differently!
Fast forward to the next day after we built all these frames and hung a whole bunch of posters. We woke up and emerged from our bedroom to find the floor entirely littered with everything we had hung the day before.
It turns out that the adhesive on the back of the magnetic strips lack the gripping power for wood.
No worries!
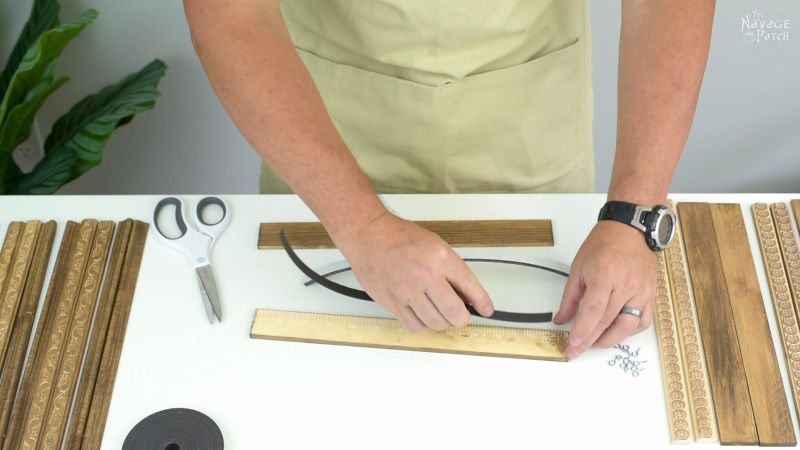
I went back and added a line of super glue on the wood and reattached the magnetic strips.
Problem solved!
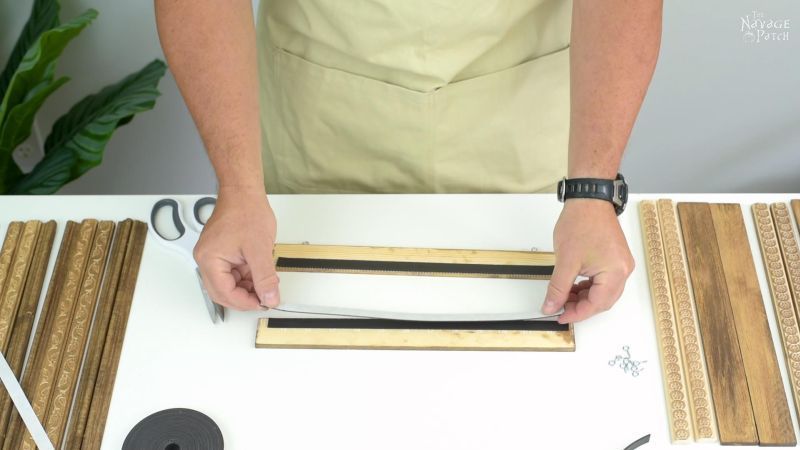
So now imagine a bead of super glue underneath that magnetic strip.

I attached another magnetic strip to the other piece (don’t forget the super glue!)
After gluing the magnetic strips, I placed the remaining two strips (with the backing still on the tape) onto the glued strips. Those strips will be removed later to insert a poster and then put back to secure the poster.
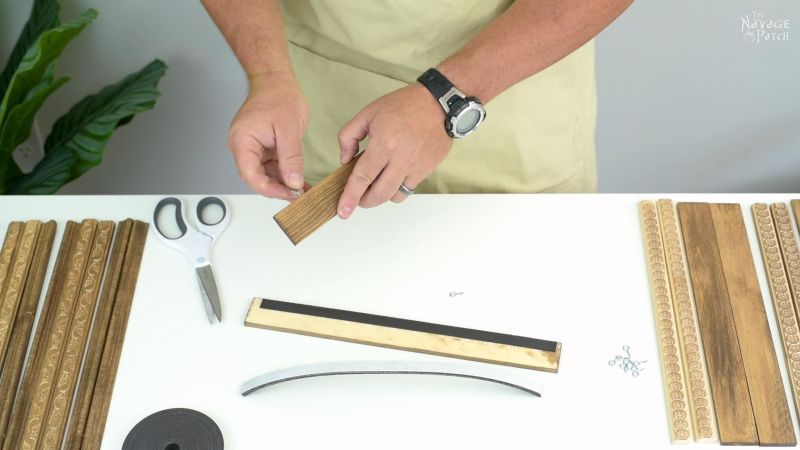
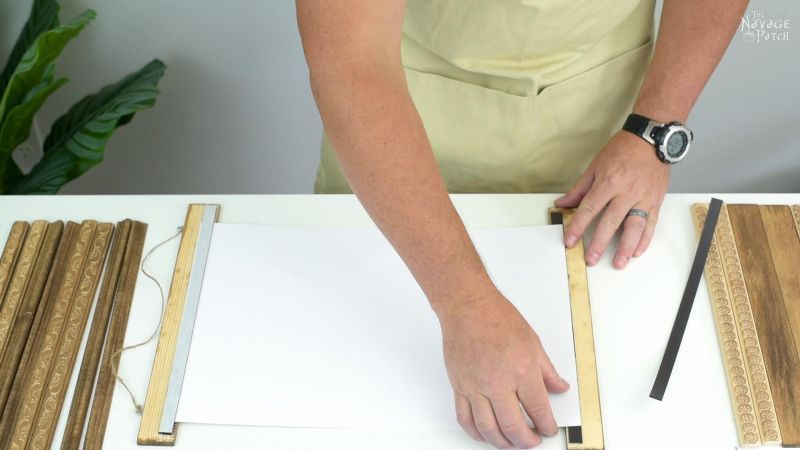
Step 4 – Attach eye bolts and twine
At this point, I screwed in two small eye bolts. You don’t need to do this step. You could just wrap the twine around the ends of the wood to hang.

Okay, that completed one magnetic poster hanger. Let’s put it to use!
Step 5 – Hang a poster!
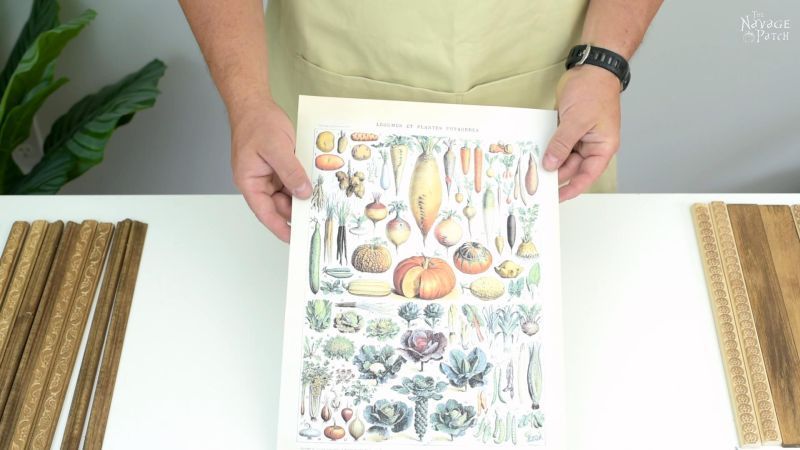
Remove the two magnetic strips.
Flip the poster.
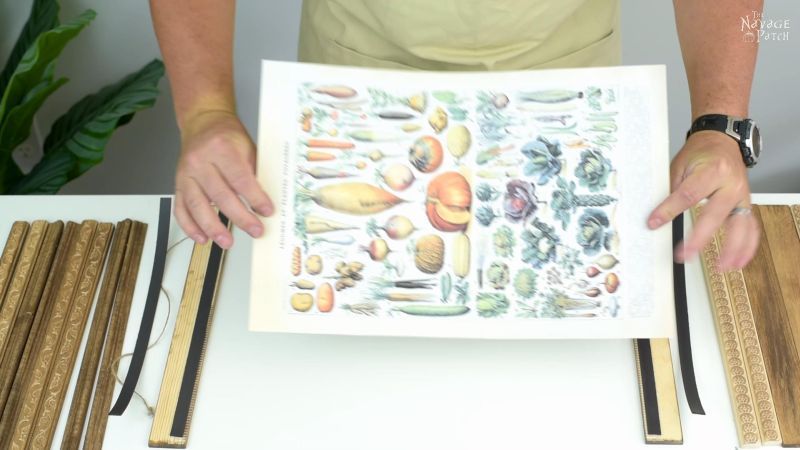
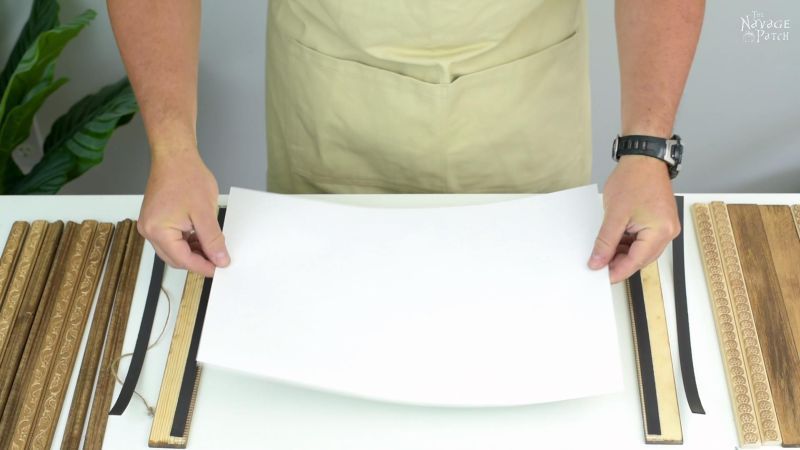
Place it on the top piece.

Secure it with one of the magnetic strip.
Align the bottom.

And secure with the remaining magnetic strip.

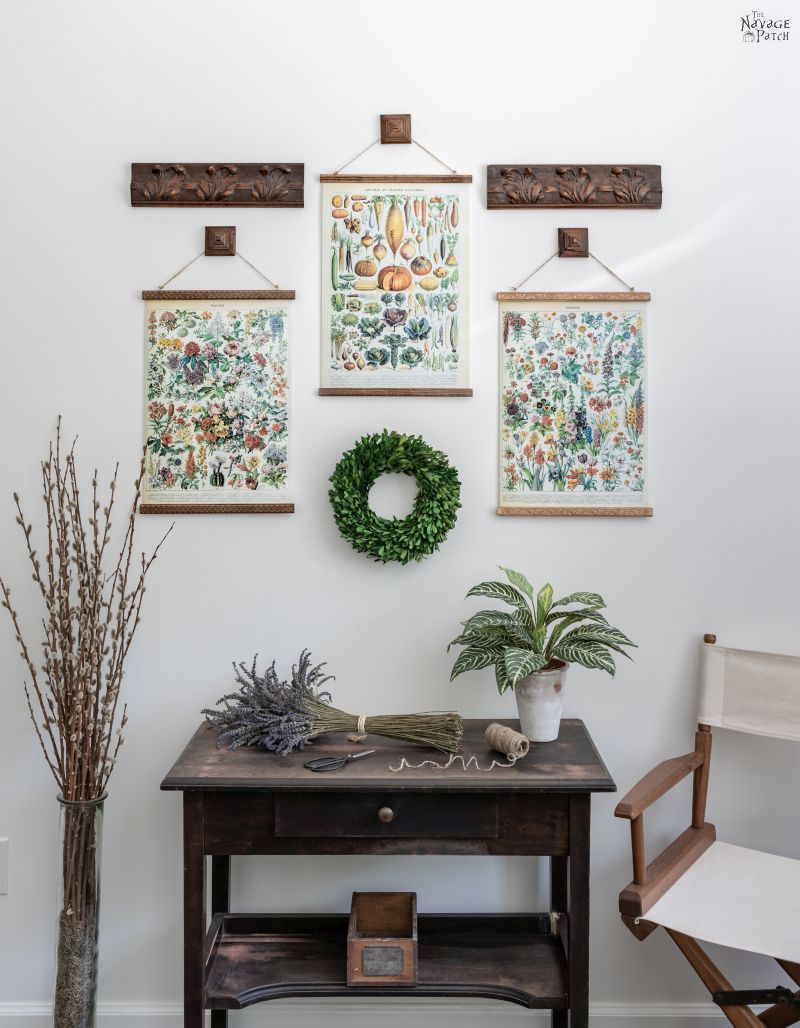
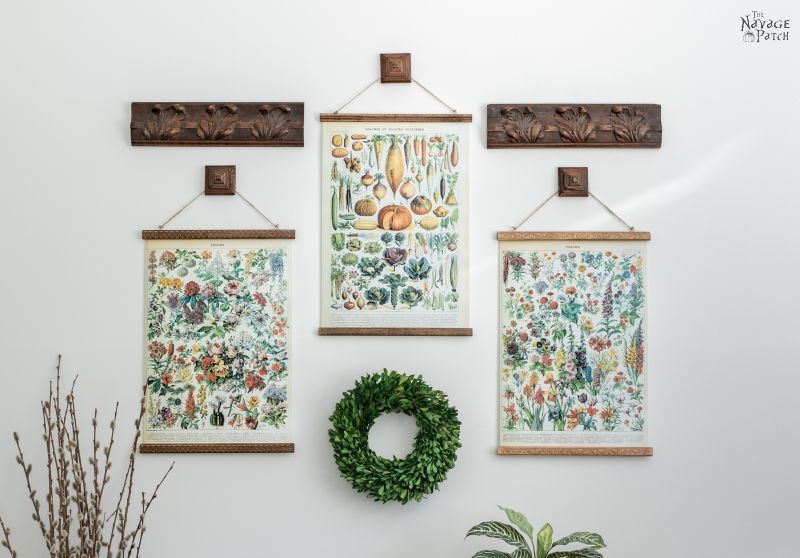
Ta-Da! You’re simple DIY magnetic poster hanger is finished!
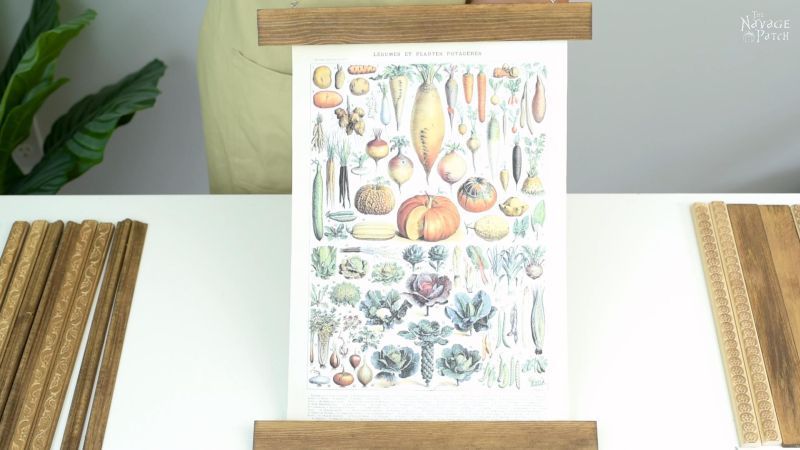
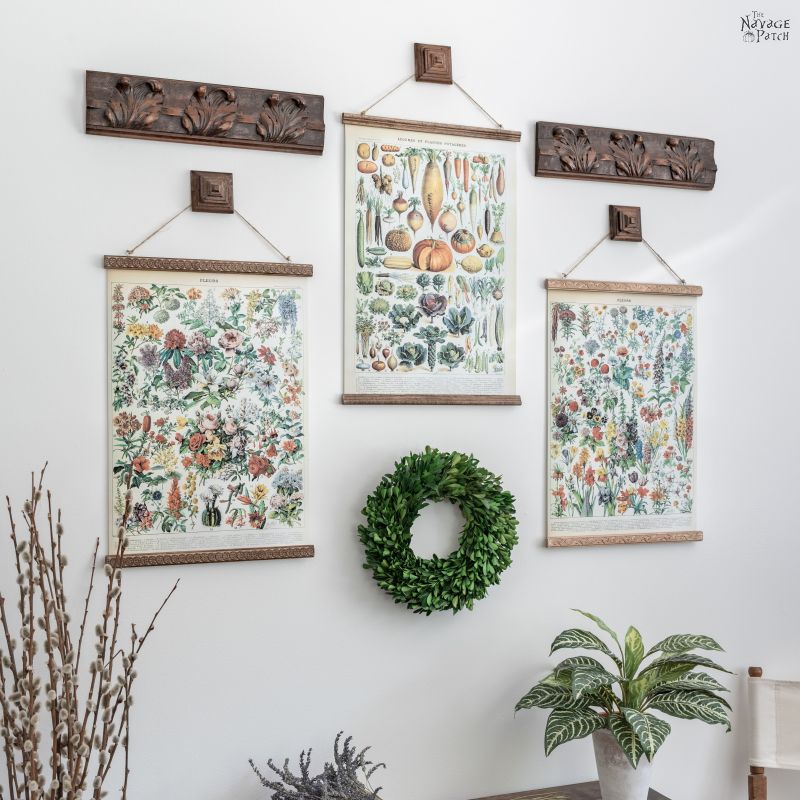
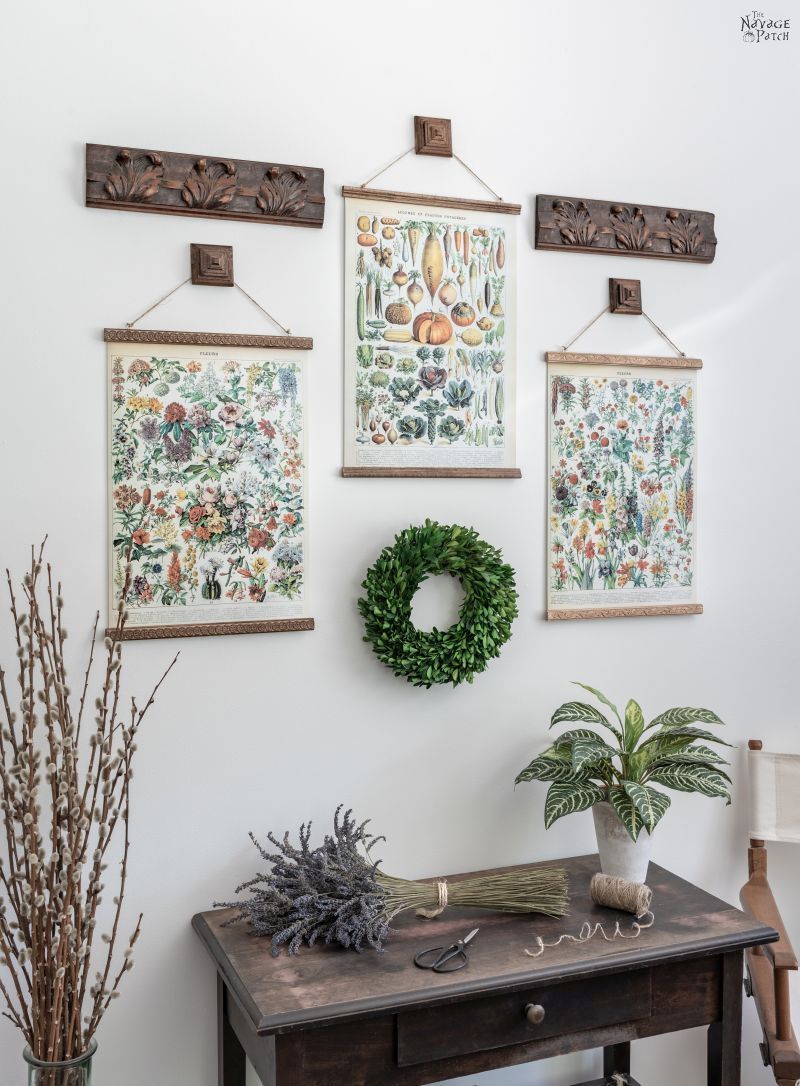
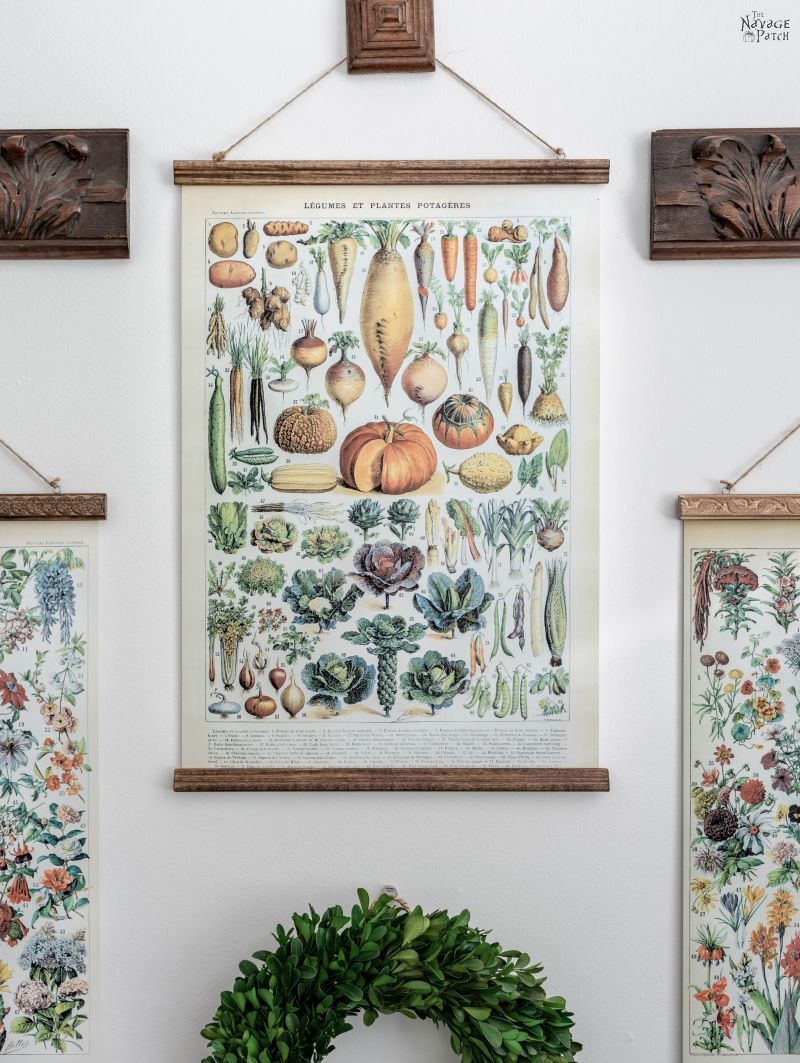
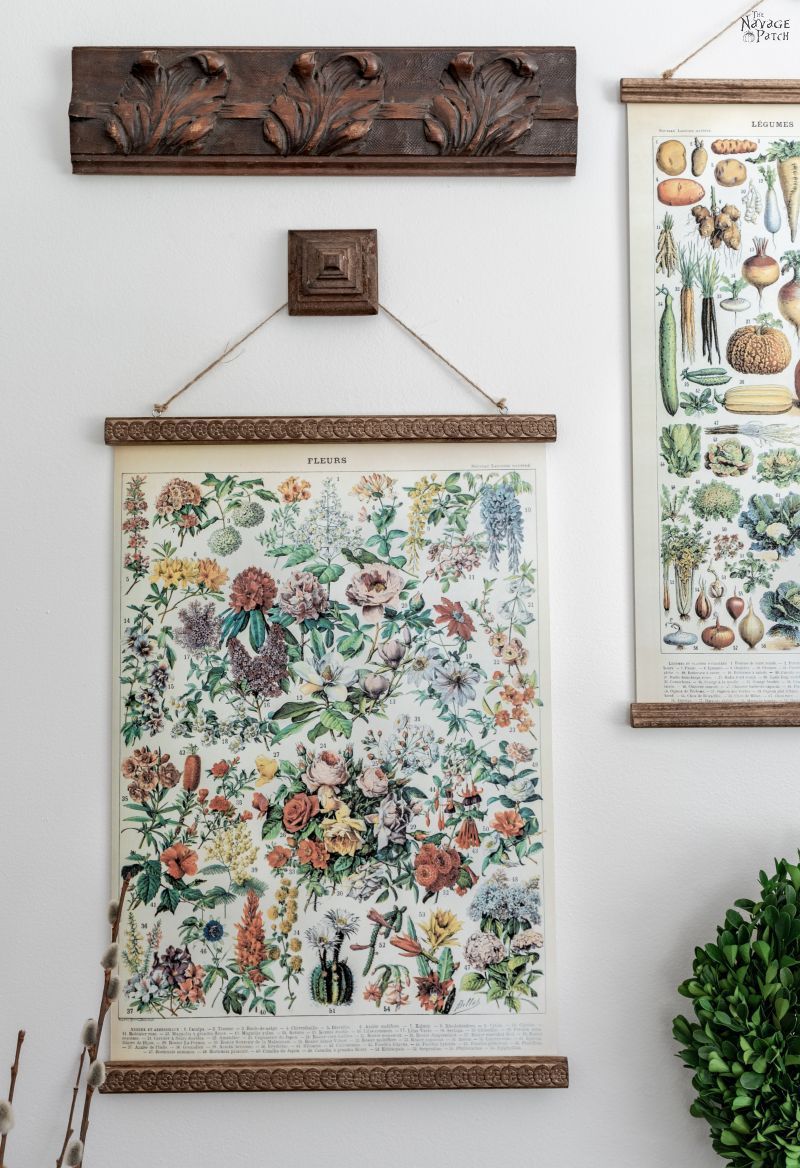
If you like the prints you see in these frames, you can check out our free Vintage Botanical Prints post.

We love it when you share our posts on Facebook and Pinterest!
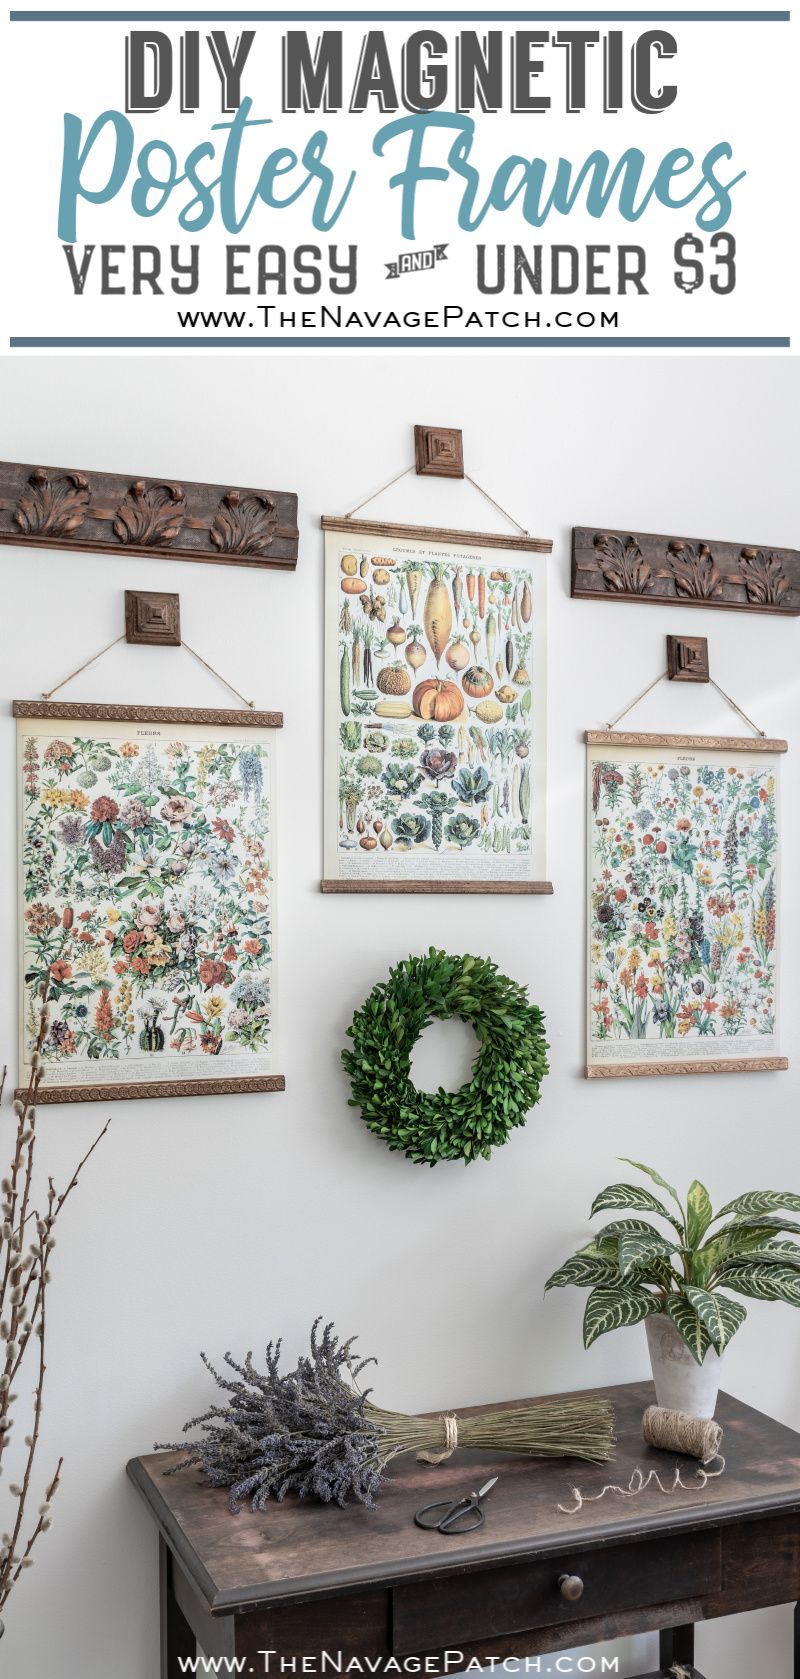


Great idea. I love those carved wood plaques too.
Those came from an incredibly ornate (and incredibly broken) piece of furniture we got from Put and Take years ago. We never got around to rescuing the piece (a buffet and hutch i think?), so we harvested it for usable ornate bits. 🙂
Bellissima!!!
Grazie mille!
Ooh i kike those ,another great idea from, The Navage Patch ‘ brain boxes, what clever little d i y/ crafters you are!Entertaining too, who needs T V with you two around?
Thanks, Catherine! I always fancied we were like one of those British cop dramas! 😀
Genius! I have 6 of these wood hangers on my wall (and I add more at Christmas time) that I swap out but I’ve been using staples. This is so much easier and less destructive! Thank you!!
Awesome! Now you can hang even more!! 🙂
Very Nice! May have to try and make these!
Thanks for sharing!
Thank you, Renee, and you’re welcome! 🙂
Beautiful ! I hate changing out frames. LOVE this idea. Was wondering where the other wood pieces are from ?
Thank you, Shelly! Those other decorative bits came from an ornate antique hutch we found at Put and Take a few years back. There was a buffet and a hutch. The buffet was trashed, so we just took the hutch. It turned out to be beyond rescue, so we harvested it for ornate parts! 🙂
Dang, you guys are geniuses! Doing that project today!
Awesome! Good luck, Karen! 🙂
What printer do you use for all of Handan’s fancy printables?
Hi Sara, we have this Canon and we swear by it. For the price, you won’t find a better printer!
This would be a fantastic way to hang kid’s artwork!
Absolutely, Val! 🙂
Awesome! Awesome! Awesome! Perfect for all the vintage recipes I want to hang in my breakfast room! Just enlarge them and go! I love the art printables! They’re unbelievable!
Thanks!
We’ll be sharing those printables next week! 🙂
This is perfect for a child’s never-ending works of art! Thanks for posting!
Exactly! It’s perfect for that! 🙂
Another great idea! Wish I had it when the children were little, but definitely will put to a good use. Thanks for sharing!
Thank you, Frani! It works for all ages! 😀
Can you share the brand (and where you got it) of the inexpensive miter box you used for this?
Hi Christie, it’s a Stanley that we got from Home Depot for about $15.
Hi Christie, Walmart has the same exact miter box for even cheaper: Stanley Miter Box
Thanks so much for this tutorial! I only have so much wall space so it will be great to be able to easily change a display.
There is a company that makes great vintage type posters (Cavallini) that also makes a kit that let’s you hang them like this. But the poster can’t be changed out, it’s mounted with adhesive, and they are about $15. I’ve wanted to hang one of their posters, but didn’t like the idea of adhesive. Now I can make my own!
Hi Sandy,
I know Cavallini and their poster kits. In fact I really love their posters, hence I was trying to find the vintage images they are using in their kits for about a month now. Finally I found the books / encyclopedias they got those images from and started putting them in a decent printable format. Greg will be sharing the first lot of posters (vegetables, flowers and trees) next week! 😉
For Christie who asked what miter box was used:
Greg provided clickable links in red to the products he used. Unfortunately the link for the saw and miter box is for one from the UK so shipping is more than the item! A quick search showed that near me, Home Depot sells the same Stanley set for about $16. I bet you can find it near you too.
You’re right! I corrected my links to Home Depot. I thought I had found the same thing on Amazon for the same price, but I didn’t notice it was coming from the UK with $15 shipping! Ooops! I’m surprised that Amazon doesn’t carry it for a cheap price – it’s nearly double what Home Depot sells it for!
Hey Greg (-: I love this helpful DIY! But what happened to the paint sticks? Did you just end up using only decorative molding strips?
Hi Constance, since I showed how to make these hangers only with the paint sticks, we wanted to show how they looked with the different types of decorative trim. We made 14 hangers that day, so we still have a lot left to fill with printables! 🙂
Got it! Thanks (-:
I’ve always seen these used with another piece of wood to clasp the poster between them but I like this much better as it cuts down on the bulk that’s really not needed. These would be excellent for both hanging kids art but also for teenagers who have a never ending cycle of posters or pages torn from magazines of their favorite hottie of the month. This way you don’t ruin the poster OR the wall, which is just amazing. I’ll never forget trying to hide all that ripped paint on a wall with another poster.
That’s what Handan thought, too! We’re not inventing the wheel here – just refining it a bit! You’re so right about teen room walls. Mine were riddled with push-pin holes!
What a great idea! I’m going to try to make this! Thanks for sharing your tutorial!
Thank you so much, Sylvia! They are so easy to make! 🙂
Do you think this would work on a larger scale ? Like 24×36 posters ? Just tweak with longer wood and double up on magnet strips side by side ?
It should. I think doubling up the magnets is a good idea, though – just in case. Give it a try and let us know!
These look like a perfect solution for hanging some of our odd-sized prints. I noticed on the description for the magnetic tape on Amazon that it says that the tape won’t stick to itself or other magnets, but it doesn’t seem like you had that problem! Do you know if you used a special brand? Thank you for sharing!
Hi Julie, the tape isn’t very sticky. If you check the post, you’ll see that we had to reinforce the tape with a bead of super glue. It’s a simple solution, and the frames work great!
Wow! Great work here. So informative and helpful. We will recommend for many of our clients to check out this webpage. We sell the prints and posters and our clients at KURIOSIS are always looking how to hang their photos.
Thank you, Maryna! 🙂
These look great! I understand the adhesive part of the tape has trouble sticking to the wood and super glue was needed. But what about the magnetic tape sticking to itself, as mentioned in Julie’s comment? I also read two strips are not magnetic to each other, but it seemed to work for you, yes?
Hi Claire, the magnetic strips stick to each other perfectly – more than enough to hold the posters. 🙂
These look great! Love the idea of using pretty bits of wood for it too. I’m looking to hang a really pretty but quite delicate piece of fabric on my wall without putting holes in it. It’s quite large, do you think this would do the job for that too? or will it work best with just paper? the fabric isn’t very thick but it’s obviously quite a bit bigger than a poster and possibly heavier. Thanks for the lovely idea and tutorial! ?
Hi Carla, it should work, but if your fabric is too big and heavy, you can upgrade to small rare-earth magnets. You can find them here on Amazon: https://amzn.to/3l43PSw
Hi. How thick is the wood your using? I have a choice to buy wither 4mm or 8mm or try and scavenge something probably thicker. I didn’t quite click that it is only one piece of wood on each end so can be relatively thick?
Hi Brenda, ours is 3/8 inch thick, so that’s basically 8mm. You could go thinner or thicker though – up to you!