Vintage School Desk Makeover
Our friends bought a vintage school desk and asked if I would restore it for them. I agreed, and in the process, I learned how to fix blotchy stain!
Back in October, our friends Angelo and Gina asked if I would be willing to help them out with a little project. On a recent trip through Amish country, Gina happened upon a 1930s-era vintage school desk, and she just had to have it.
For it’s age, the desk wasn’t in terrible condition, but it would benefit from a little TLC. They asked if I’d be up for the job.
Are you kidding? I love working on old furniture!
I told them I’d not only restore their tiny little desk, but I’d write a blog post about it, too!
They dropped off the desk on a brisk October morning, and I told them I’d have it ready for them in about a month.
Give or take.
We were heading into the holiday blogging season, and time was at a premium, so I’d have to pick away at the desk whenever a few free moments presented themselves.
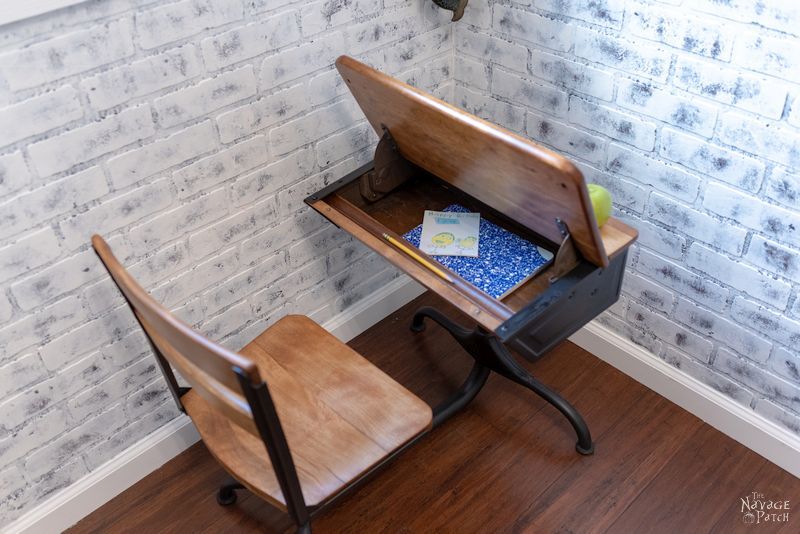
Here’s how the desk looked before I got my grubby little hands on it.
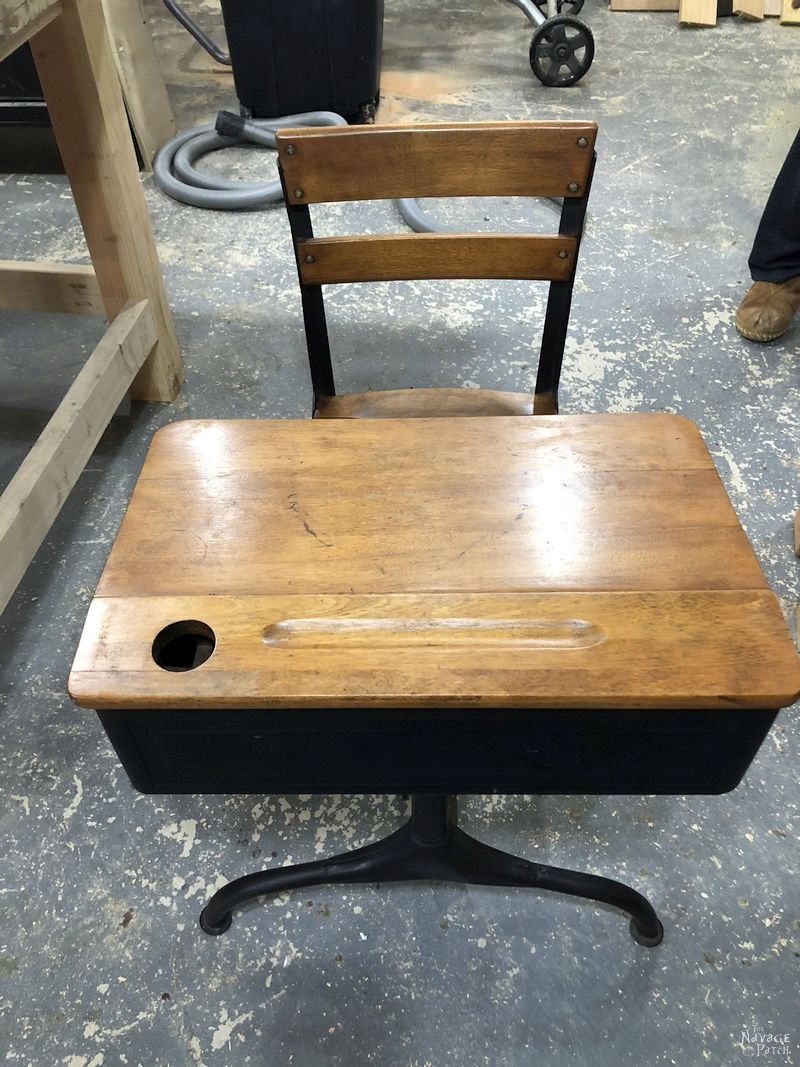
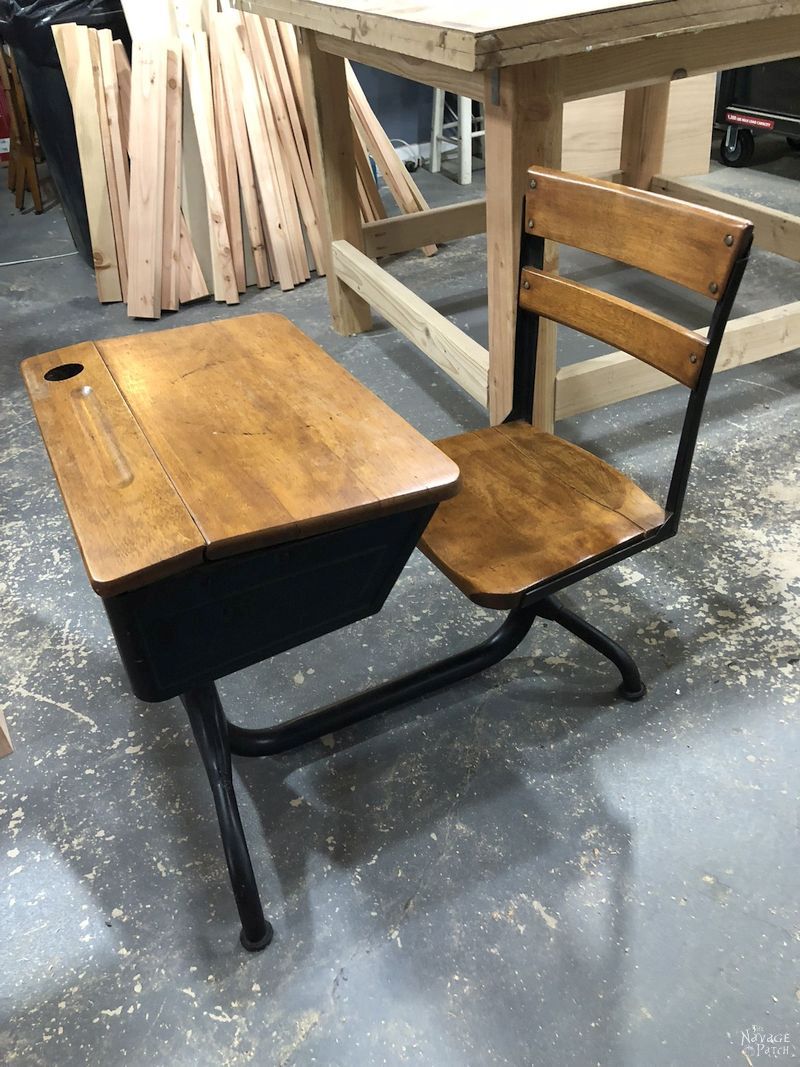
The seat was cracked in two. Generations of squirmy little butts couldn’t break it, but dry weather finally got the upper hand.
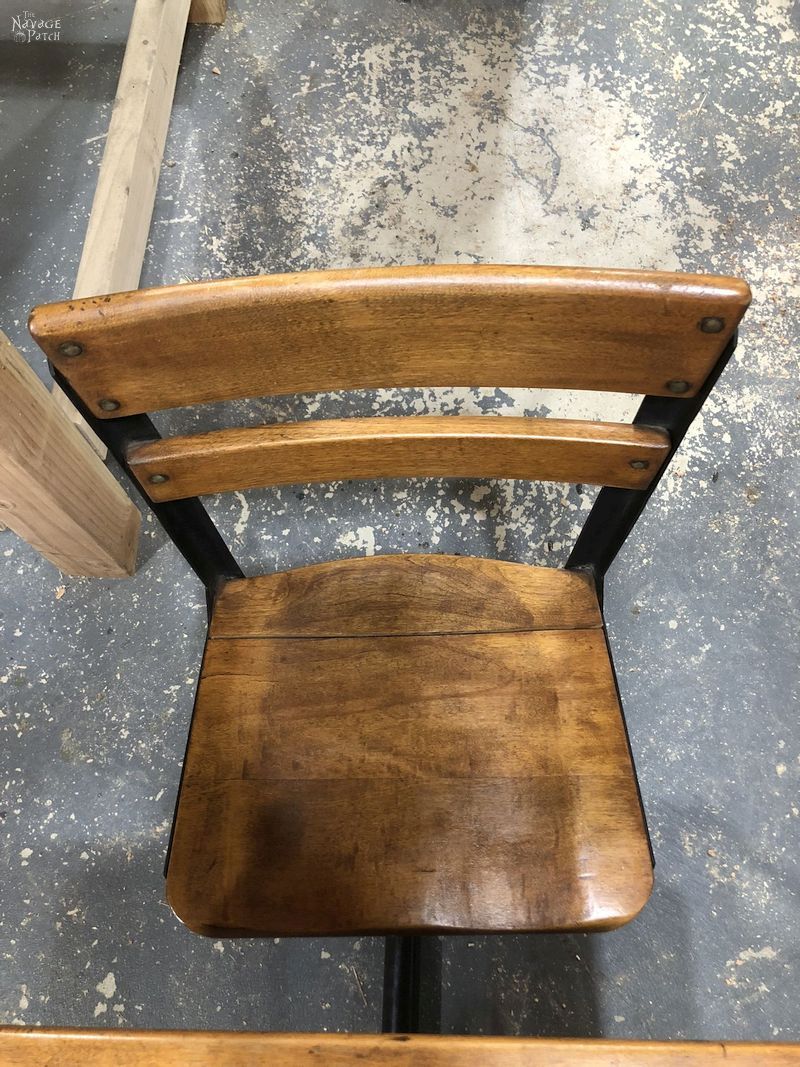
I tried to imagine all the books and pencils and drawings and frogs and forbidden notes this little desk held over the decades.
It was going to be a fun project!

For a vintage desk makeover on a larger scale, be sure to read about how my work desk came to be. Yep, that’s the typewriter I use to run The Navage Patch! [and yes, next to it is the carrot that keeps him moving LOL -Handan]
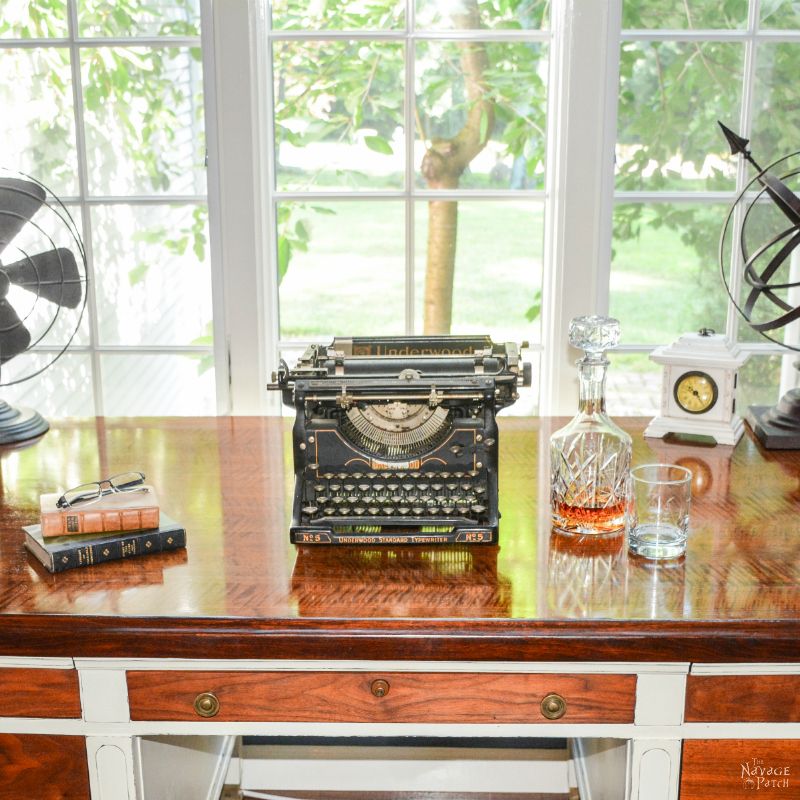
Okay back to the pipsqueak desk.
The first step to any good reconstruction is a good deconstruction.
When I was little, I loved taking things apart. Toys, radios, electronics, clocks, watches, you name it. If it had an inside full of stuff, at some point I would pull all that stuff out.
There was just one problem.
In my zeal to probe the inner workings of the world around me, I paid no heed to what I was ripping out.
I never knew how to put the things I took apart back together again.
So it’s fortunate that Handan was with me as I started attacking the old desk with a flat head screwdriver.
She had the presence of mind to segregate all the screws by size, wrap them in little bundles of blue tape and set them aside in a plastic container.
I imagine Gina would have been pretty pissed if I returned her desk in pieces or worse, as some sort of deformed Frankendesk.
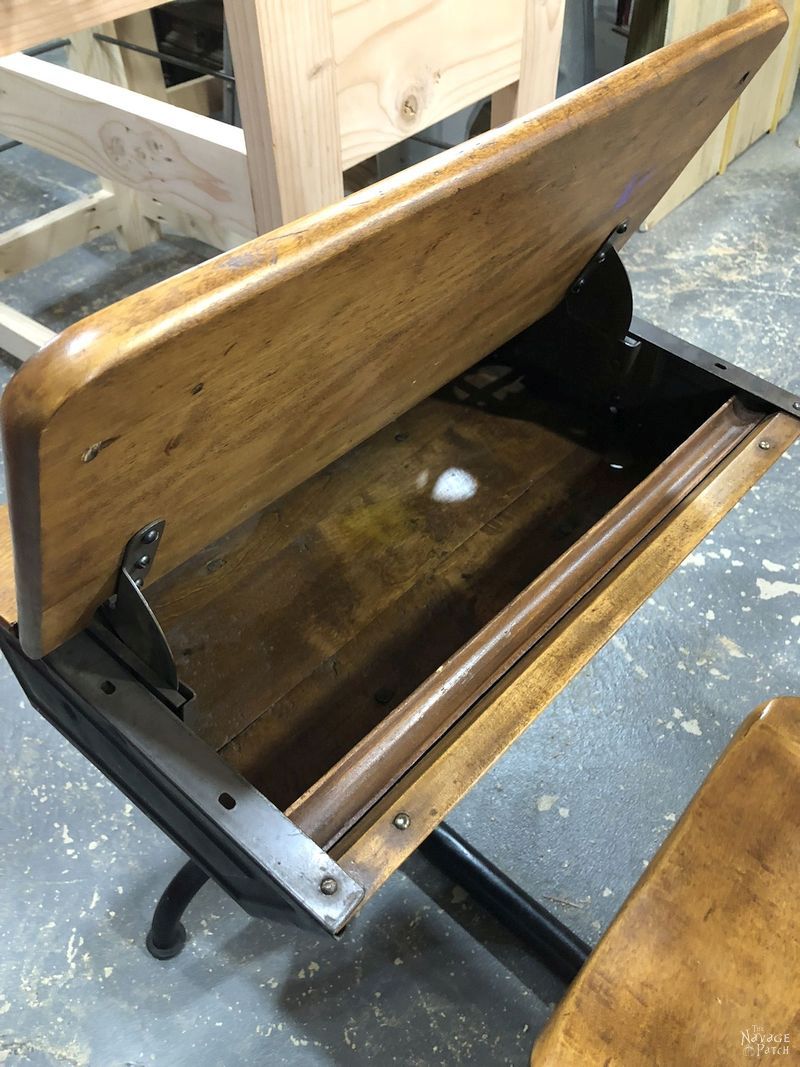
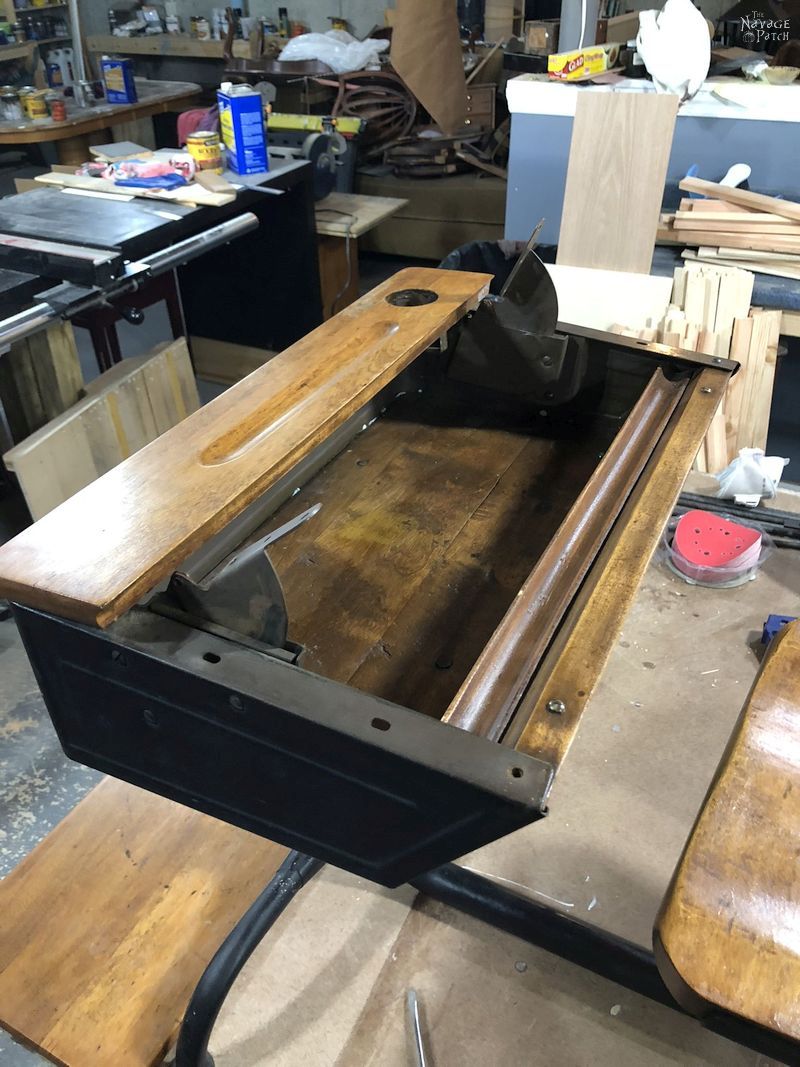
Anyway, off came the pieces. First the desktop.
As expected, a hidden cache of rusted and torn childhood memories came flooding out.

Bobby pins, Monopoly money, pencil leads, staples, the little paper circles from a hole punch – the forgotten detritus of half a century of blathering teachers and bored students.
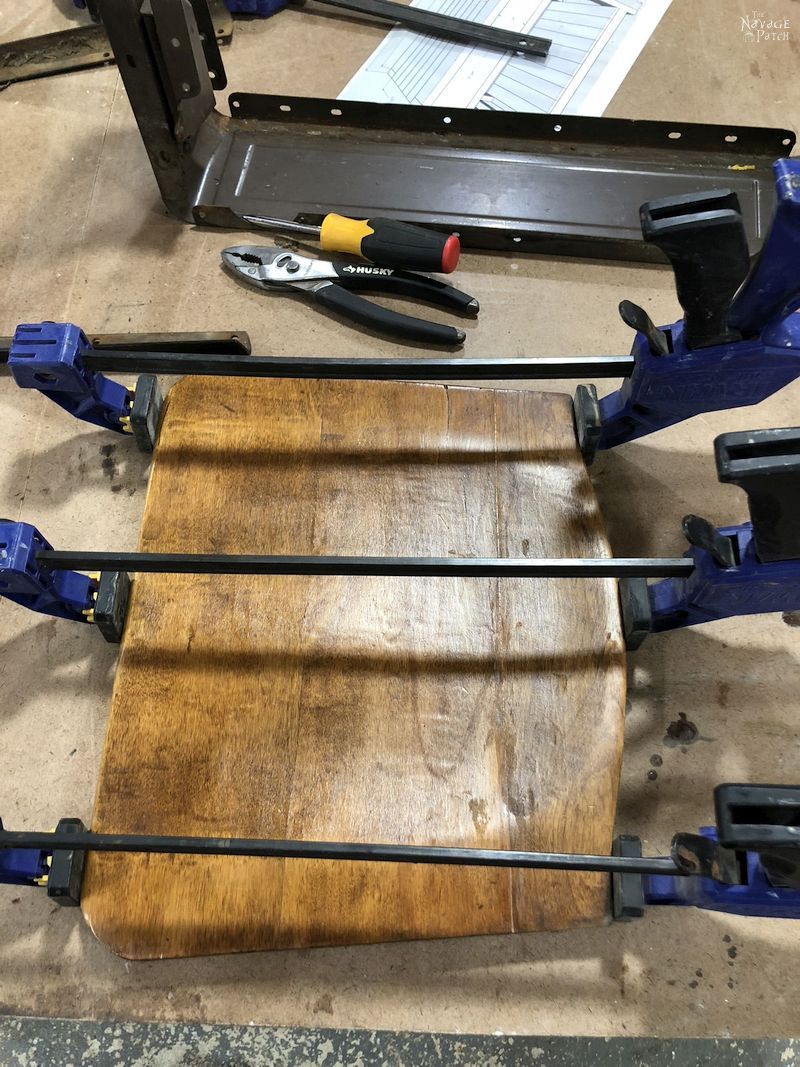
I finished the disassembly and had a look at the seat. Might as well start there.

I ran some wood glue down the fractured edges, made the seat whole again and clamped it all together to dry.
The next day, I started sanding with my most powerful random orbit sander to chew through the grime and decades-old finish. I don’t know what kind of wood the seat is made from, but it is hard!
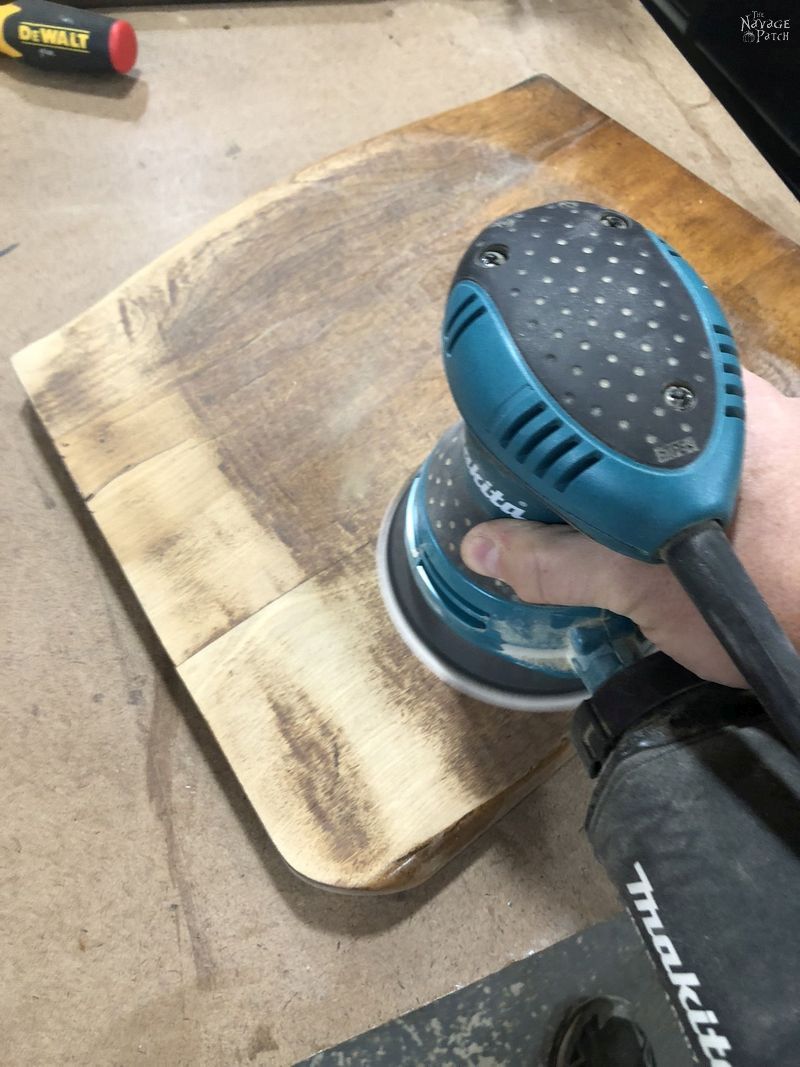
In addition to the seat, I sanded the back support and the desktop
I sanded until I thought I had enough of the old finish removed to hit it with some new stain.
Spoiler alert: I was wrong.
Oh, god, how I was wrong.
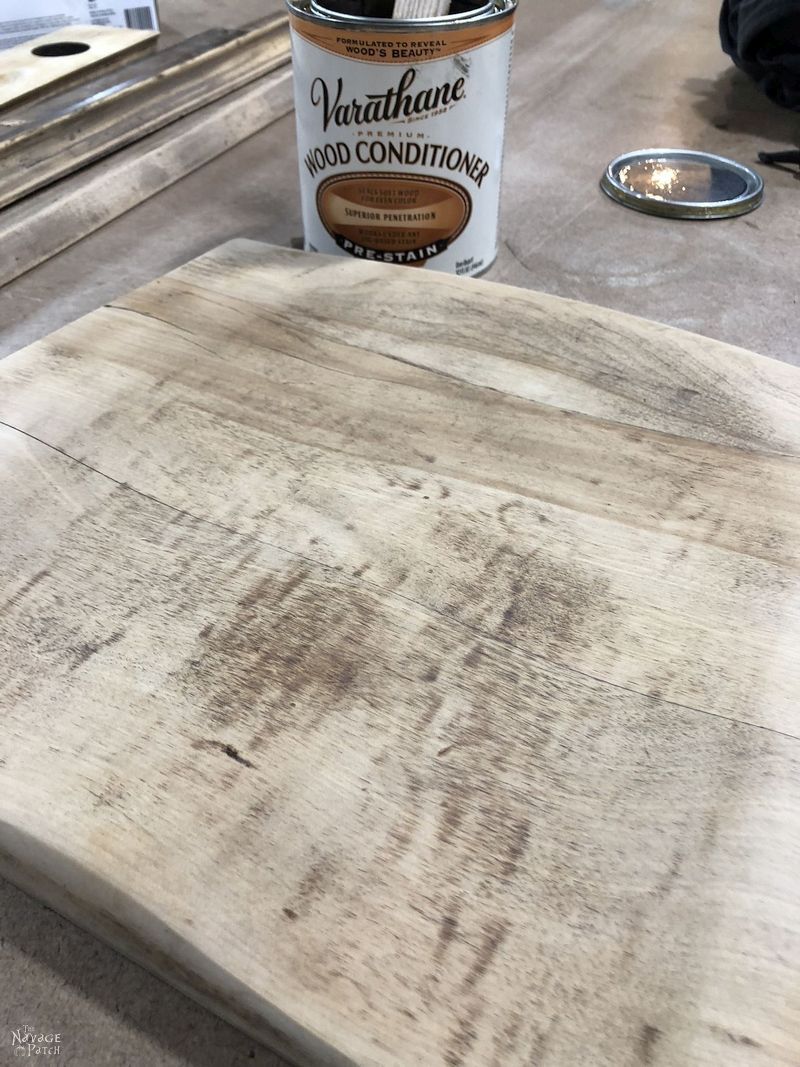
I first applied some Varathane Pre-Stain Wood Conditioner. It’s a great product that I use all the time to prevent blotching when I stain.
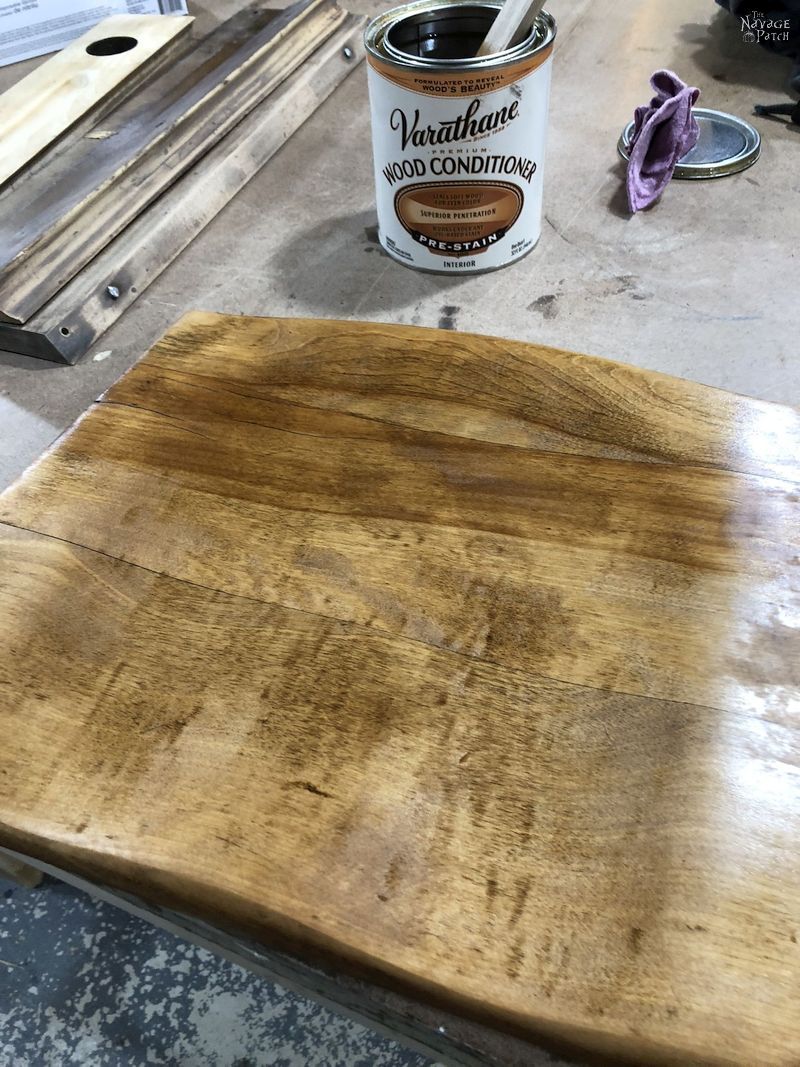
Part of me sensed a problem, but the part that didn’t want to deal with any problems told that other part to shut the hell up and keep out of the way.
I had tested a bunch of stains to find the best color match for the original and settled on Minwax Golden Oak. It’s the perfect color for school desks and chairs!
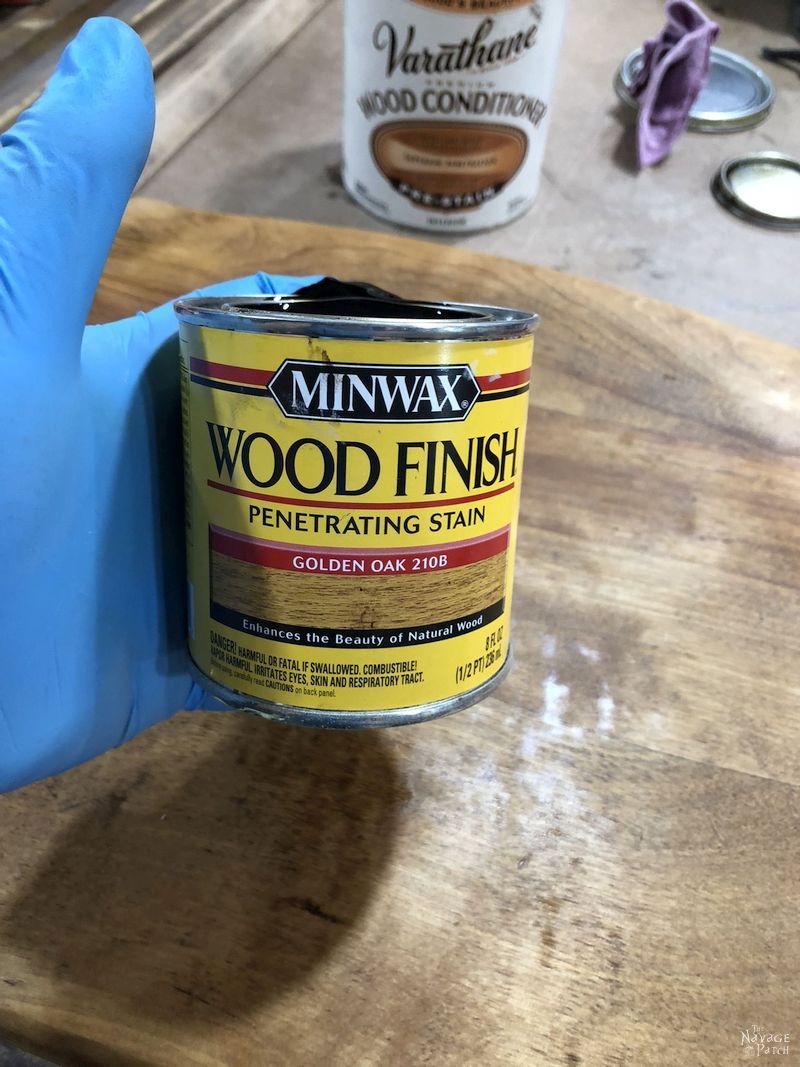
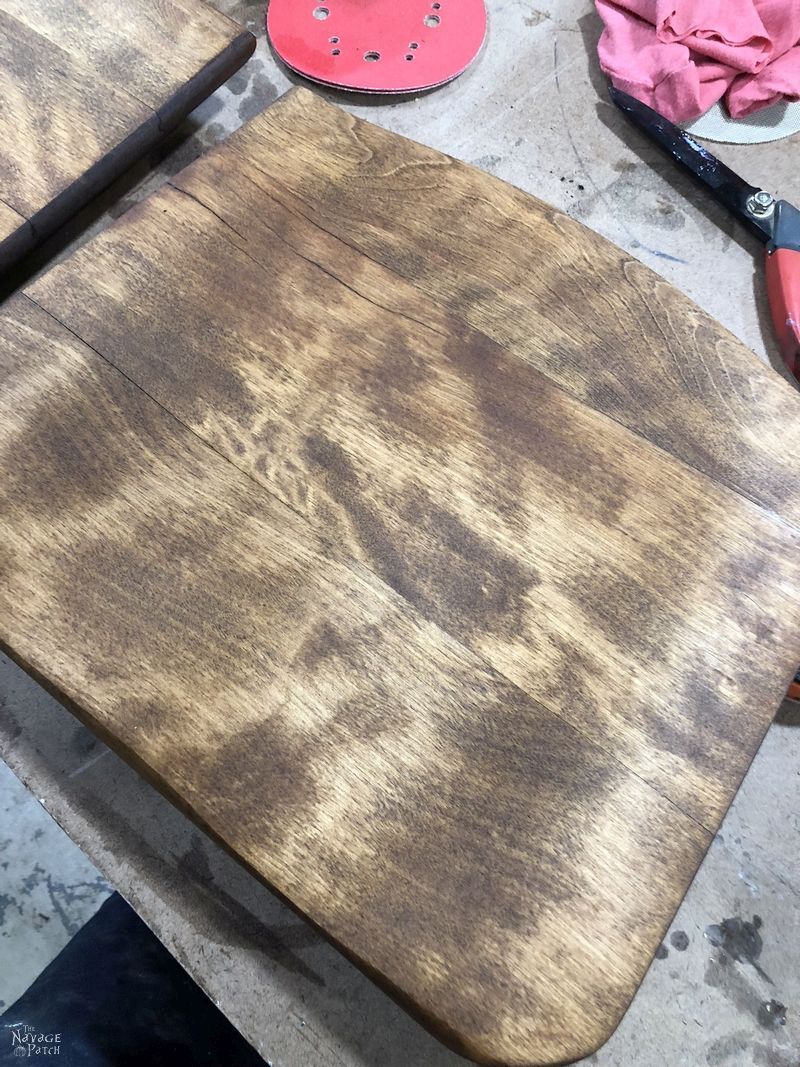
I wiped on the stain and then looked in horror at my work.
Never in my life had I seen blotching this bad! I took another look from a different angle.
Yep, total crap.
Fearing a total re-sand and re-stain (this project was supposed to be quick and easy!), I made the really bad decision to go a shade darker by applying a coat of Minwax Early American on top of the Golden Oak.
See, here’s the thing about blotch-prone woods. The darker the stain, the worse the blotching will appear, because those denser areas will barely accept any stain while the more porous areas get even darker. So instead of evening out the color, I ended up with even more contrast!
This was a disaster. There was nothing to do but grab my sander and a new jumbo pack of 60 grit sanding discs. This was going to take some time!
I sanded and sanded and sanded. If the seat had been made of pine, I probably could have sanded it all to dust. But this wood was like iron.
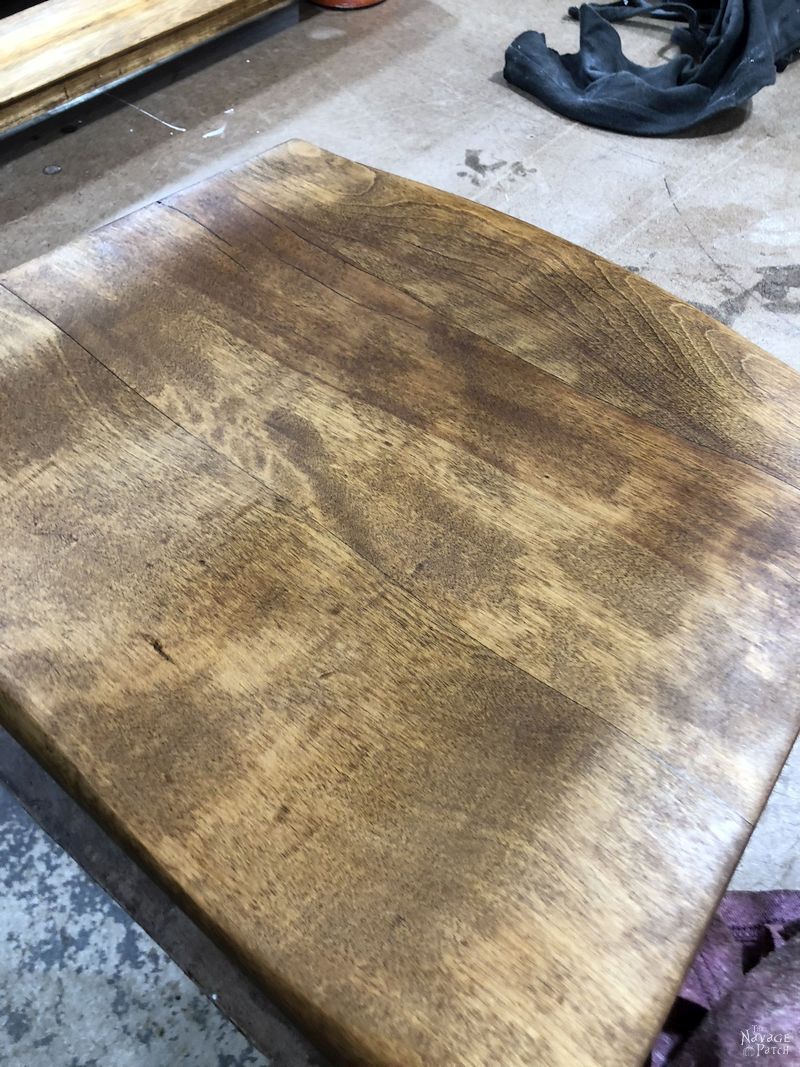
After a time, I got to this point.

I needed to sand more. After another long stretch (at this point, my hands were getting numb from the vibration) I got it a little cleaner.
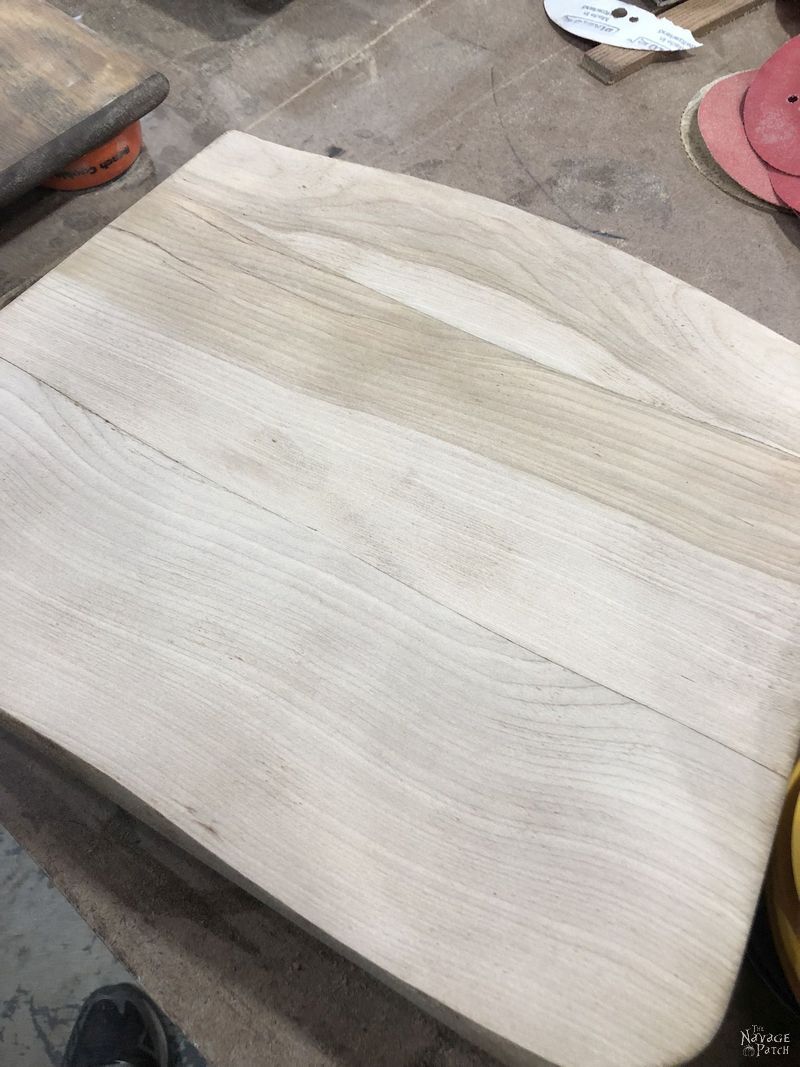
I almost called it quits at that point. It looked good enough, right?
But “good enough” wouldn’t cut it. Gina loved this piece of furniture, so I had to give it my best.
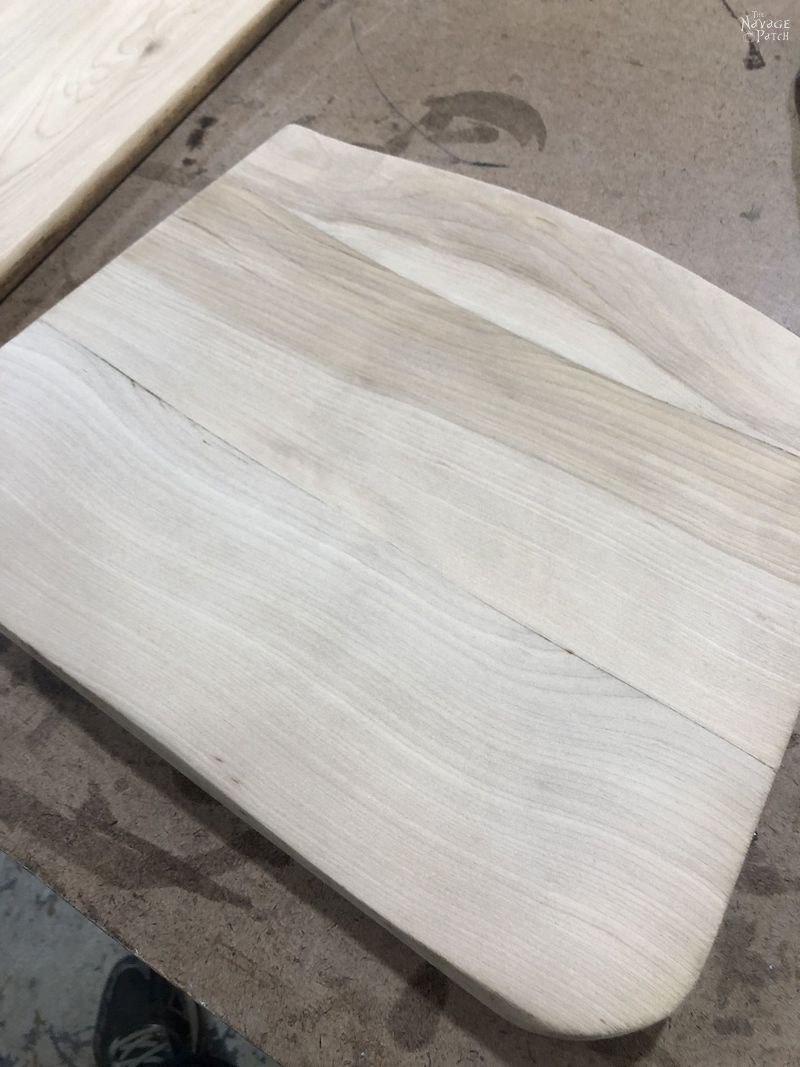
So I sanded some more.
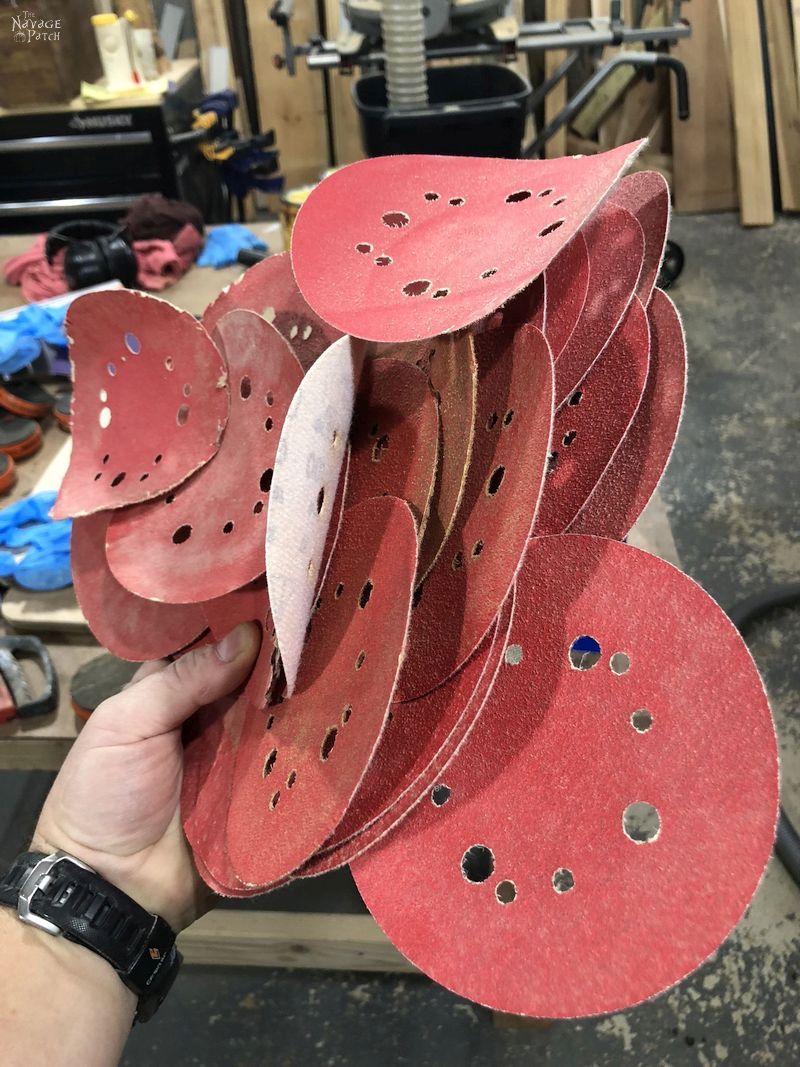
Here’s a pic of the spent sanding discs, and this picture doesn’t include the very first ones I used!
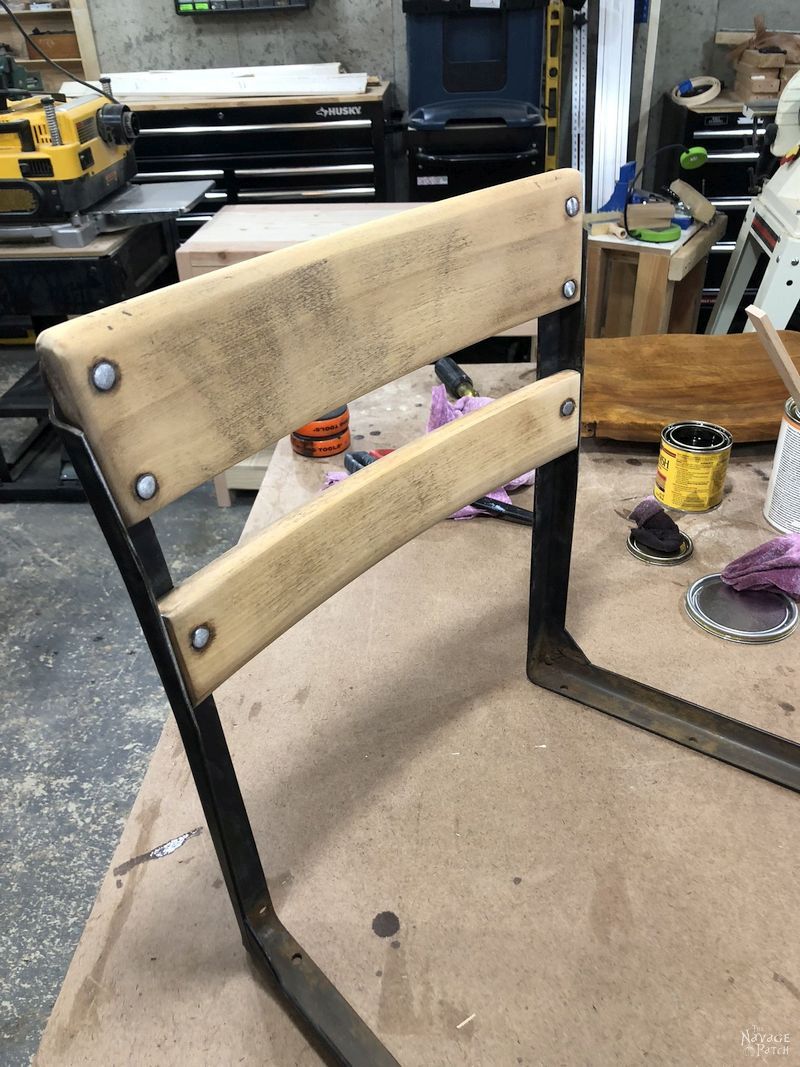
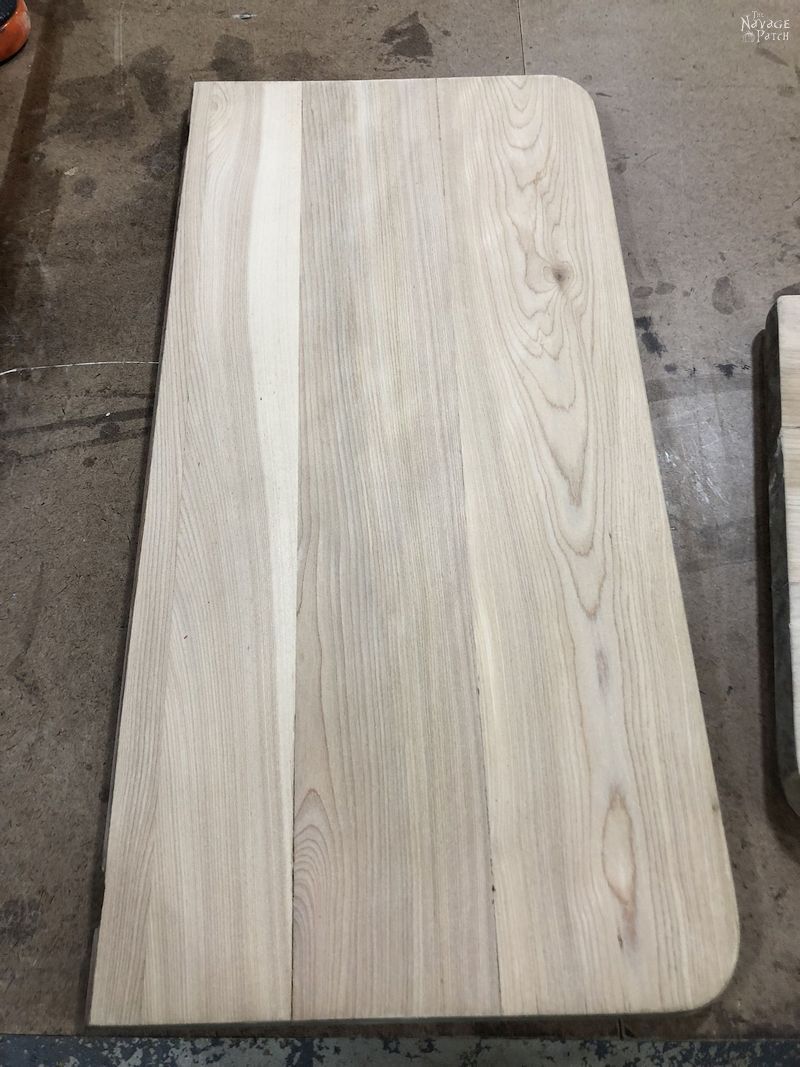
But in the end, it was worth it. I finally got all traces of old stain removed, and the wood was looking clear.
Thankfully, the desktop and chair back were a little easier to sand.
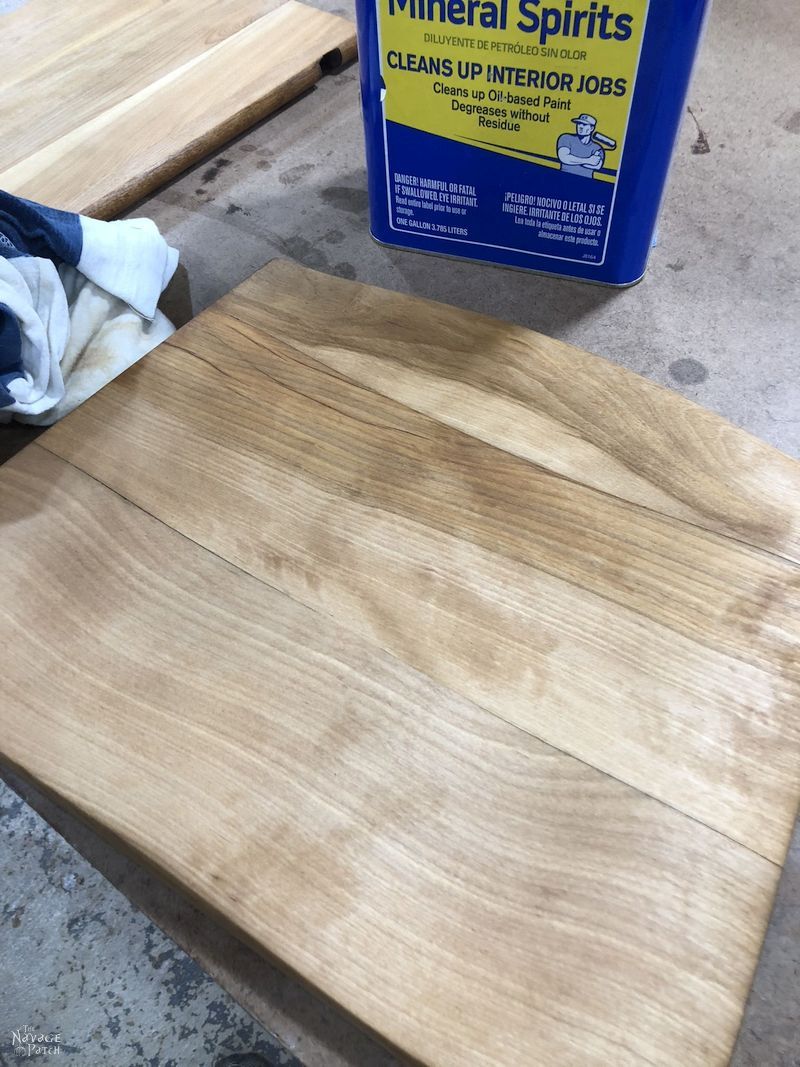
I gave all the wood pieces a good cleaning with mineral spirits.
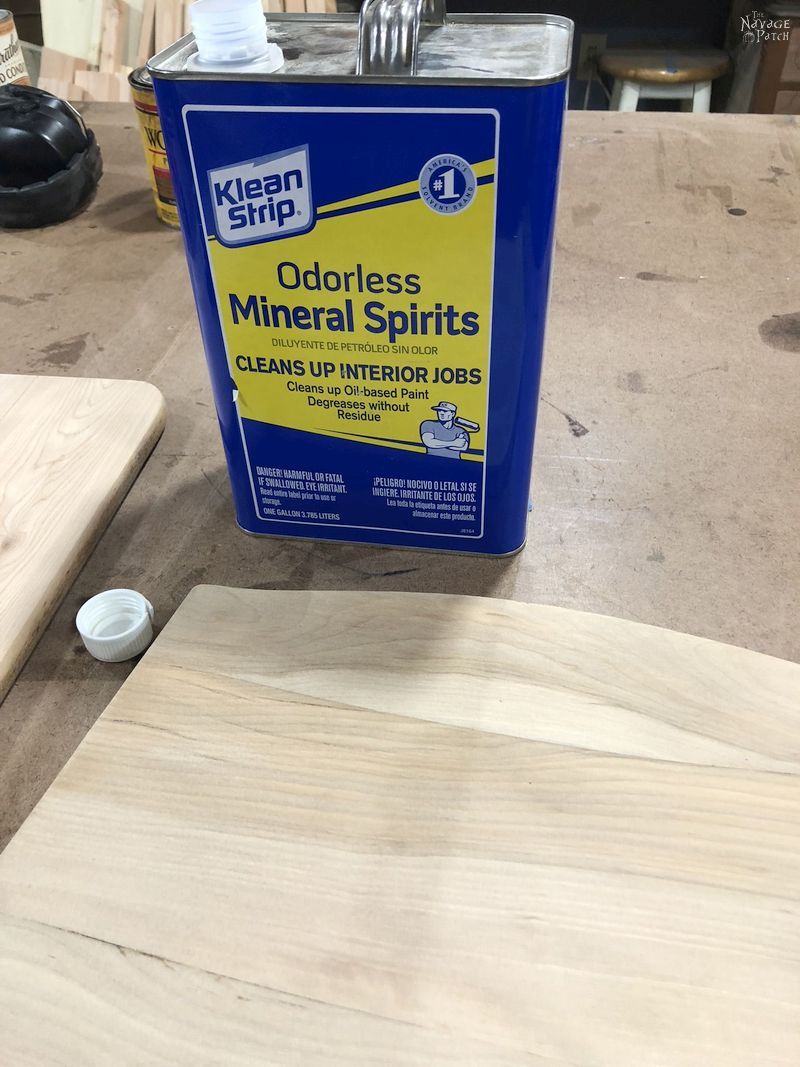
I could see that I would still need to deal with blotching.
How to Fix Blotchy Stain
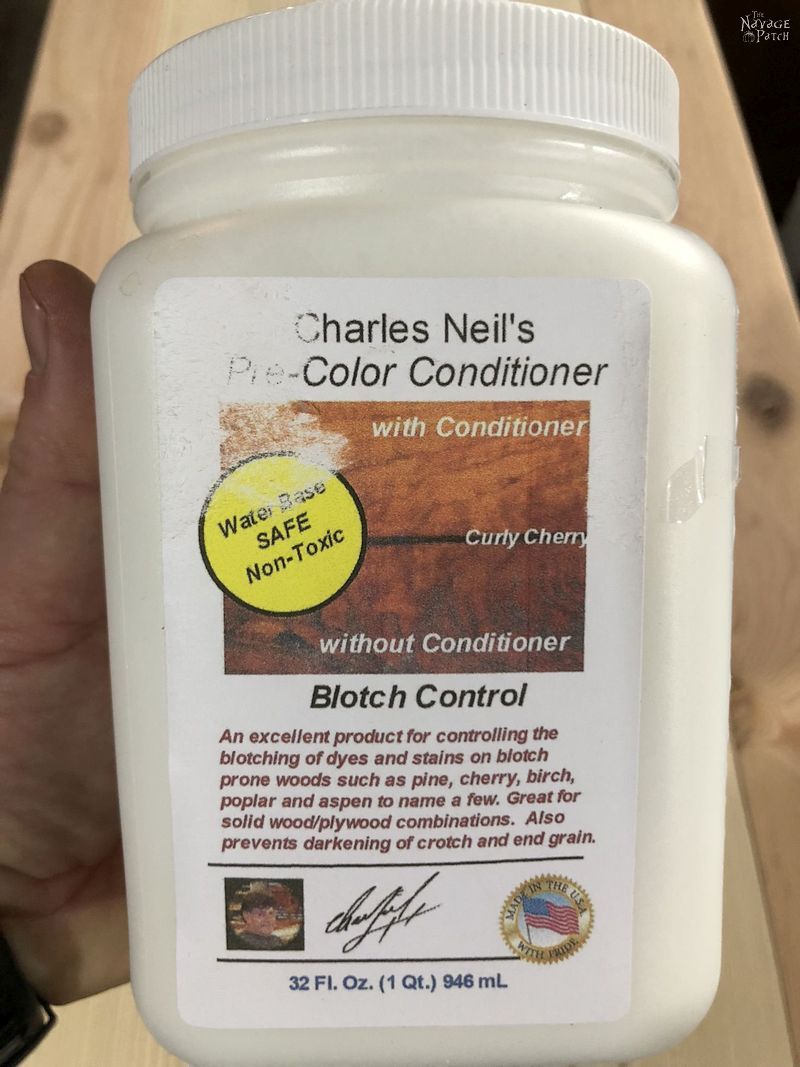
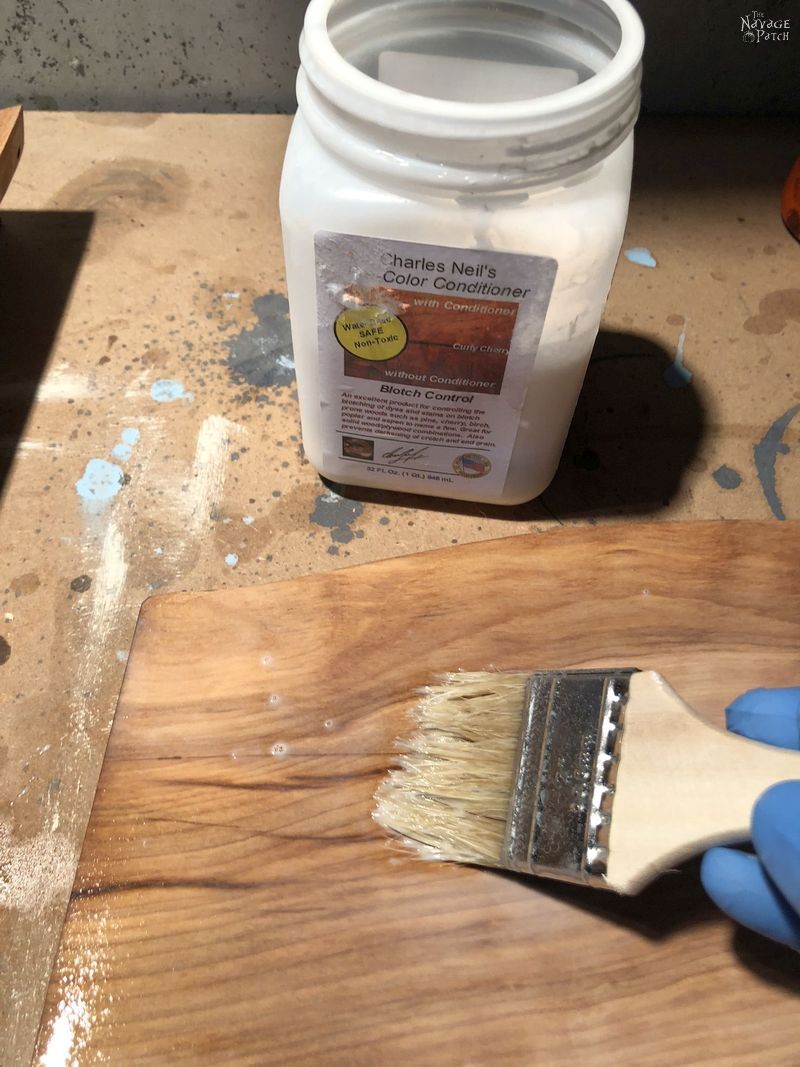
Now that I knew what I was up against, I turned to the internet to try to solve the botching issue. I read up on all sorts of techniques, tips and tricks to prevent blotching, but one article stood out above all others. Marc Spagnuolo, aka The Wood Whisperer, recommended a product from another legendary woodworker named Charles Neil. If it’s good enough for Marc, it’s good enough for me. I have come to trust him completely when it comes to woodworking. He’s a straight shooter and a funny guy, to boot.
I went to Charles Neil’s site and ordered his pre-color conditioner. It’s a bit pricey compared to the stuff you’ll find in Home Depot or Lowe’s but it seemed like it was going to be worth it. (Spoiler alert: it is!)
I followed the instructions that Charles had provided for applying his conditioner.
The next day, I was ready to stain.
I was nervous!
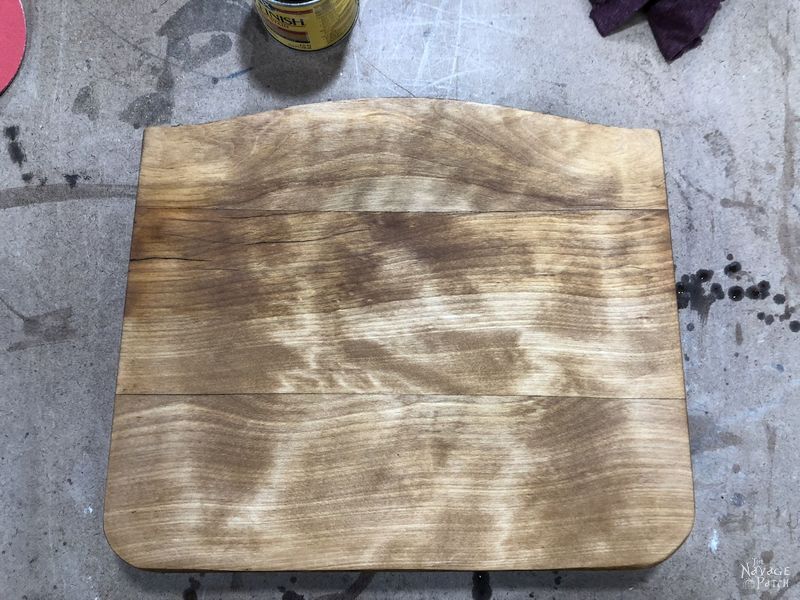
With an unsteady hand, I started wiping on the Golden Oak.
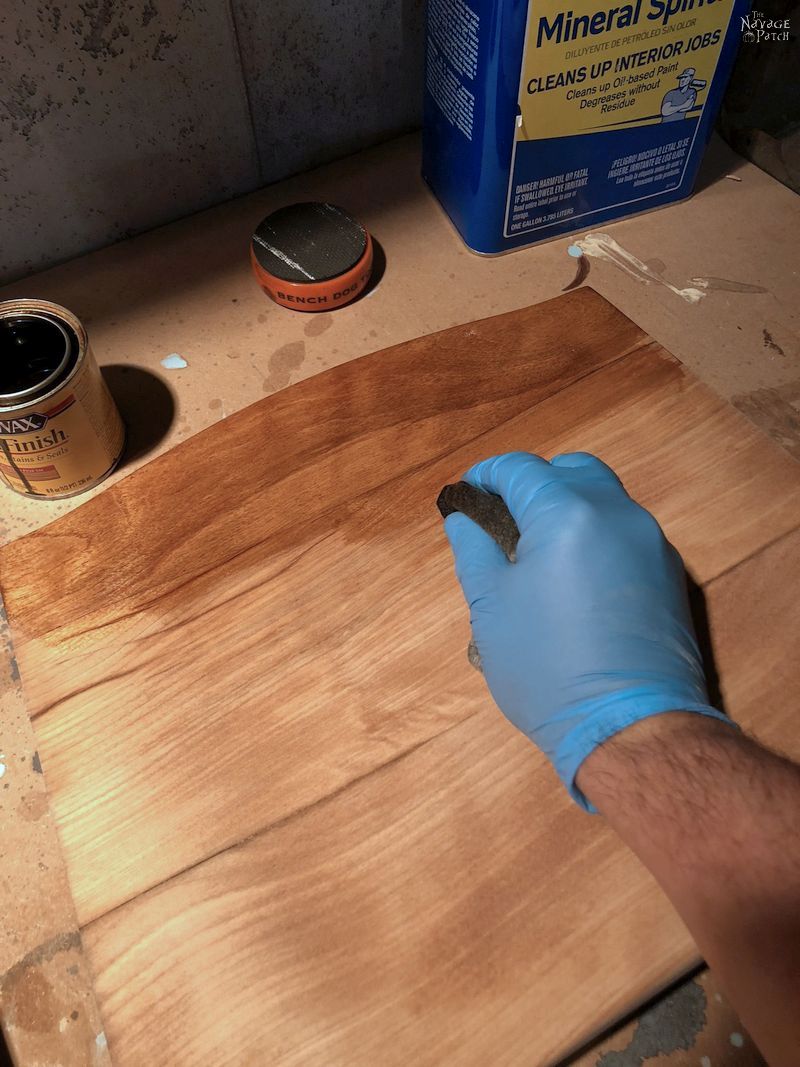
Once I finished, I stood back and had a look.
Phew!
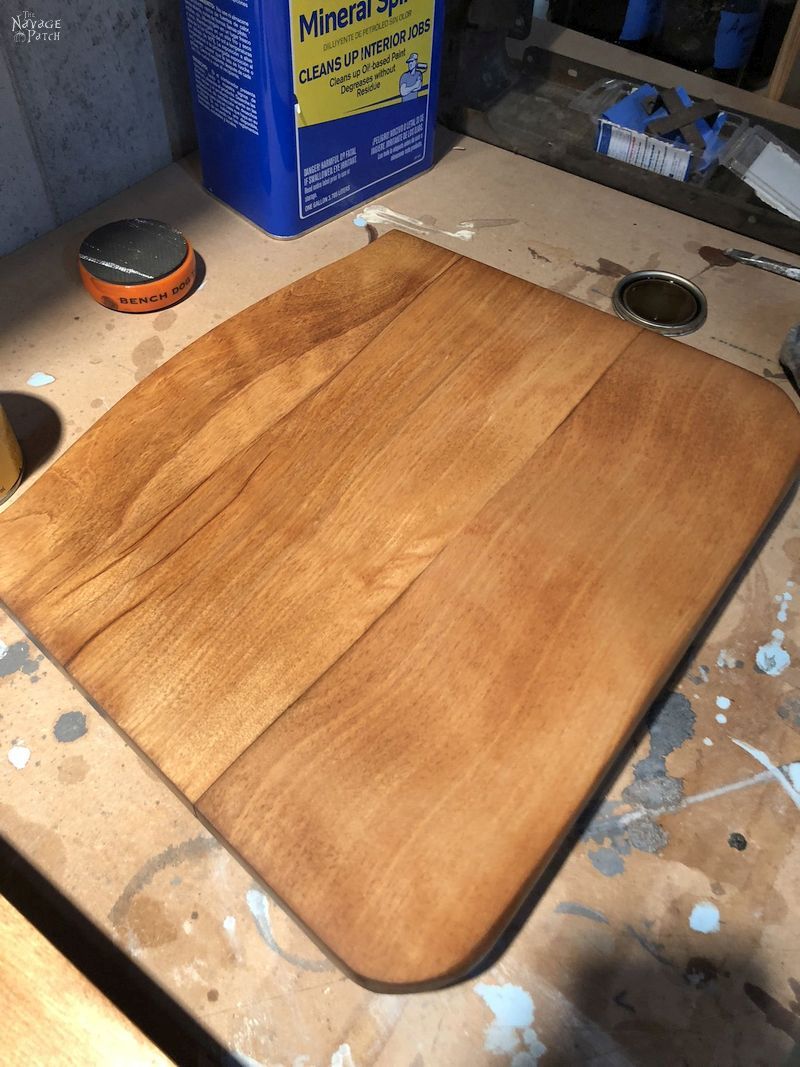
It looked awesome! Thank you Charles Neil!
I stained the rest of the pieces and let them dry for a couple of days.
Gina didn’t want anything too glossy for a finish, so I decided to mix up a batch of DIY wipe-on polyurethane with a satin finish.
I mixed equal parts poly and mineral spirits and started wiping.
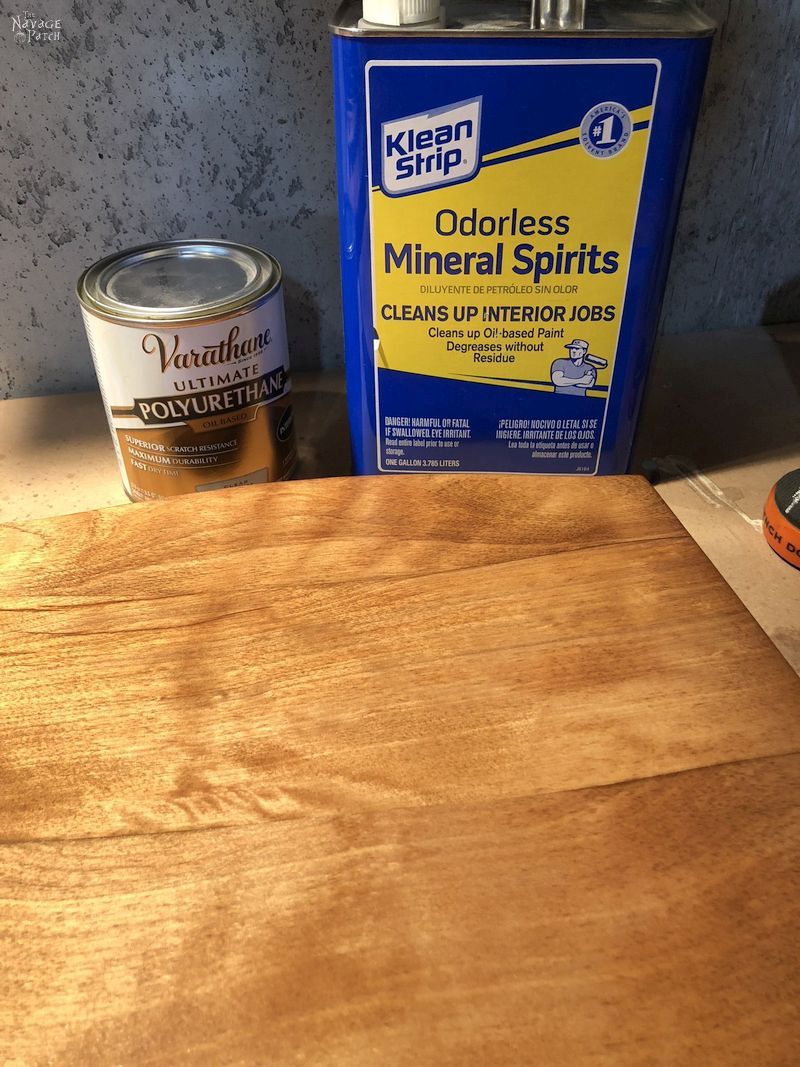
I applied four coats of my wipe-on poly and then let the finish cure for a few days.
The next step was to paint the metal parts. Gina wanted a simple flat black. Easy enough! We generally have a half dozen or so cans of Rustoleum flat black and flat white in our basement at any given time. They’re our two most-used colors.
I taped up any wood that was showing or anywhere I didn’t want to paint. I left the inside of the desk unpainted to preserve a bit of what it once was.
I hauled the pieces to the spray tent (too cold to spray outside these days!) and gave them four coats of flat black.
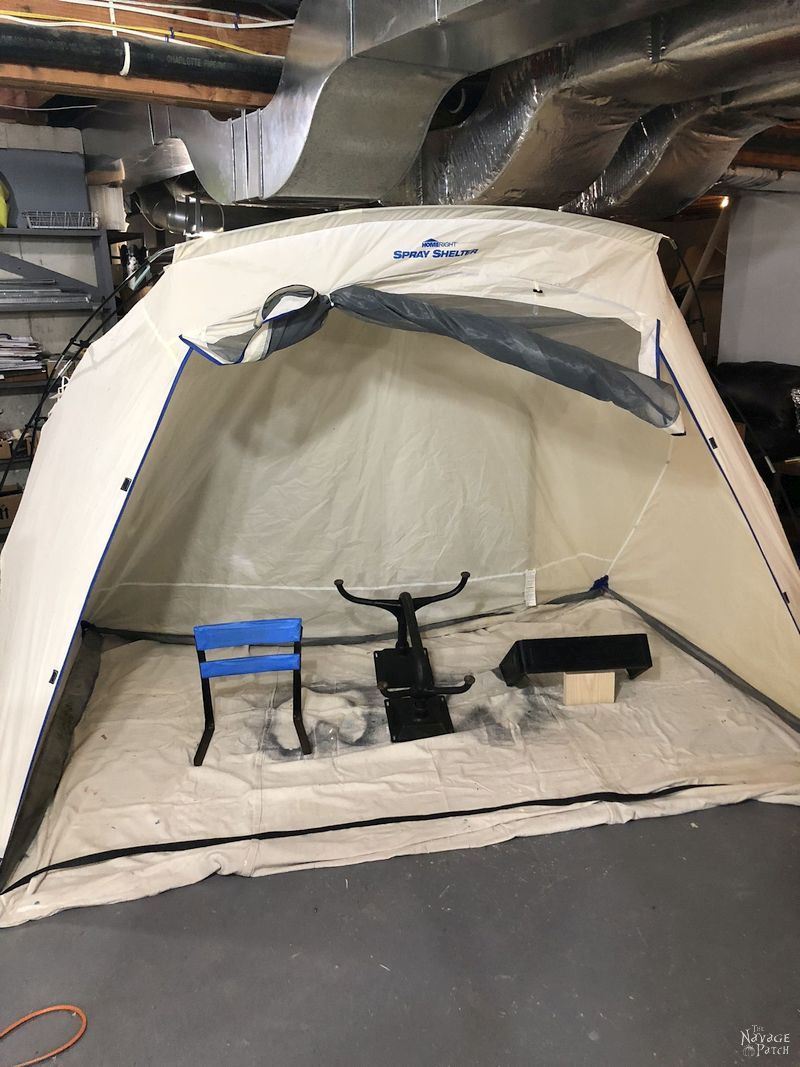
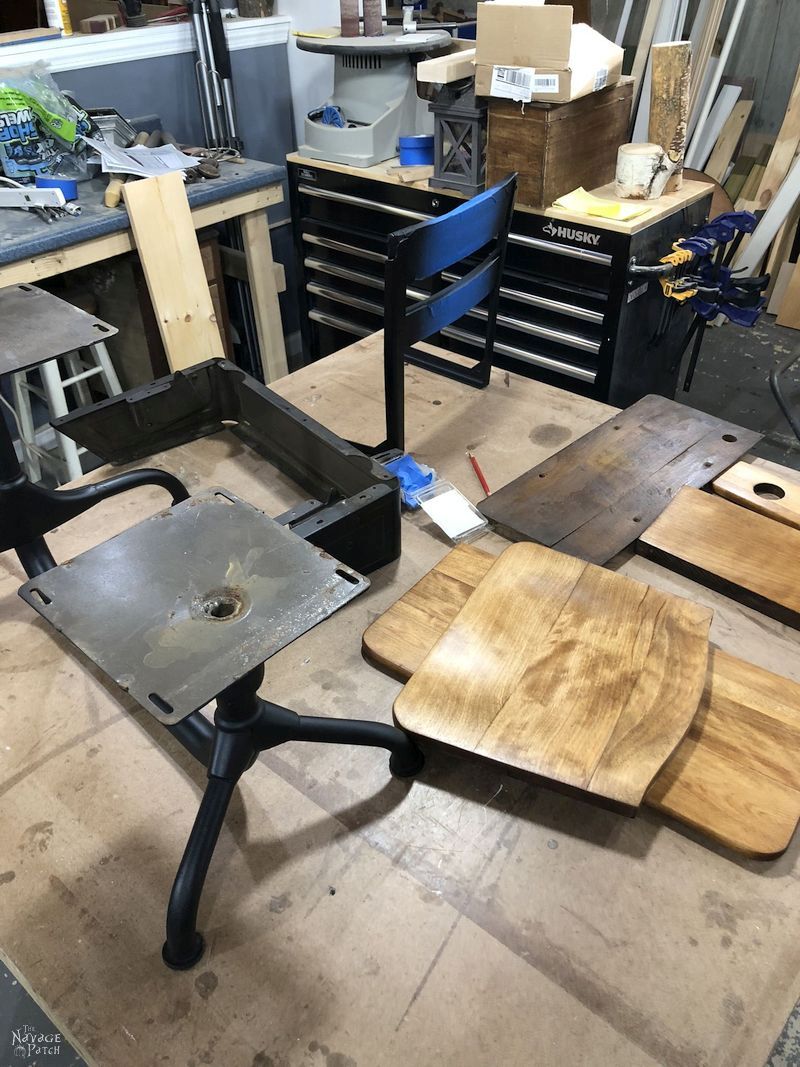
About two months had passed since I started this project, so thank god Handan had sorted those screws for me! I brought the pieces to the work table and got ready to build. It’s weird – the seat looks really blotchy in the picture below, but really it doesn’t look that bad, as you’ll see in the beauty shots. The light must have caught it wrong.
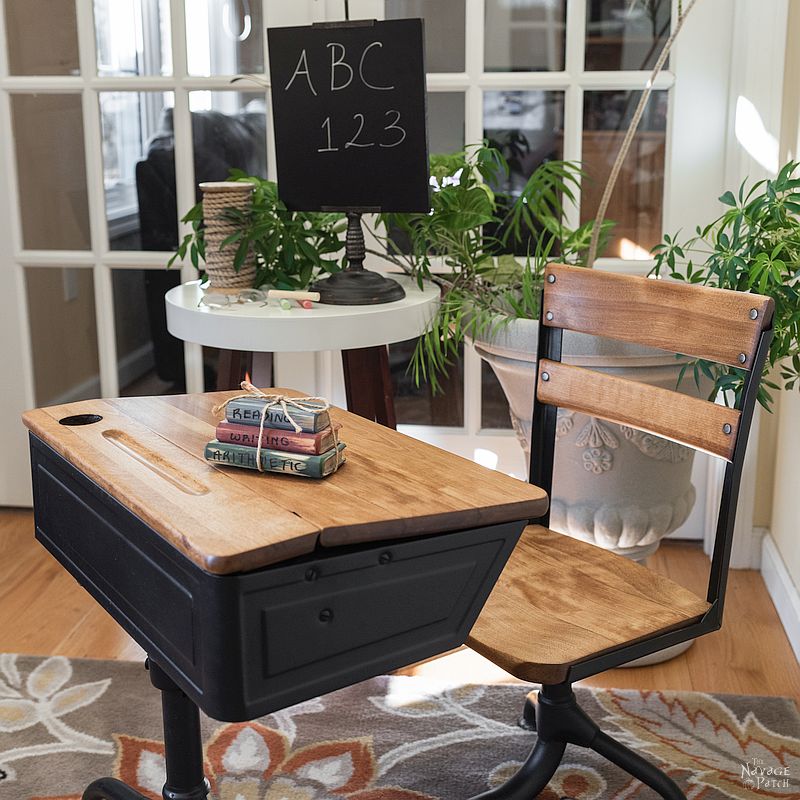
After re-assembling the desk, I took it upstairs for a few photos before delivering it to Gina and Angelo.
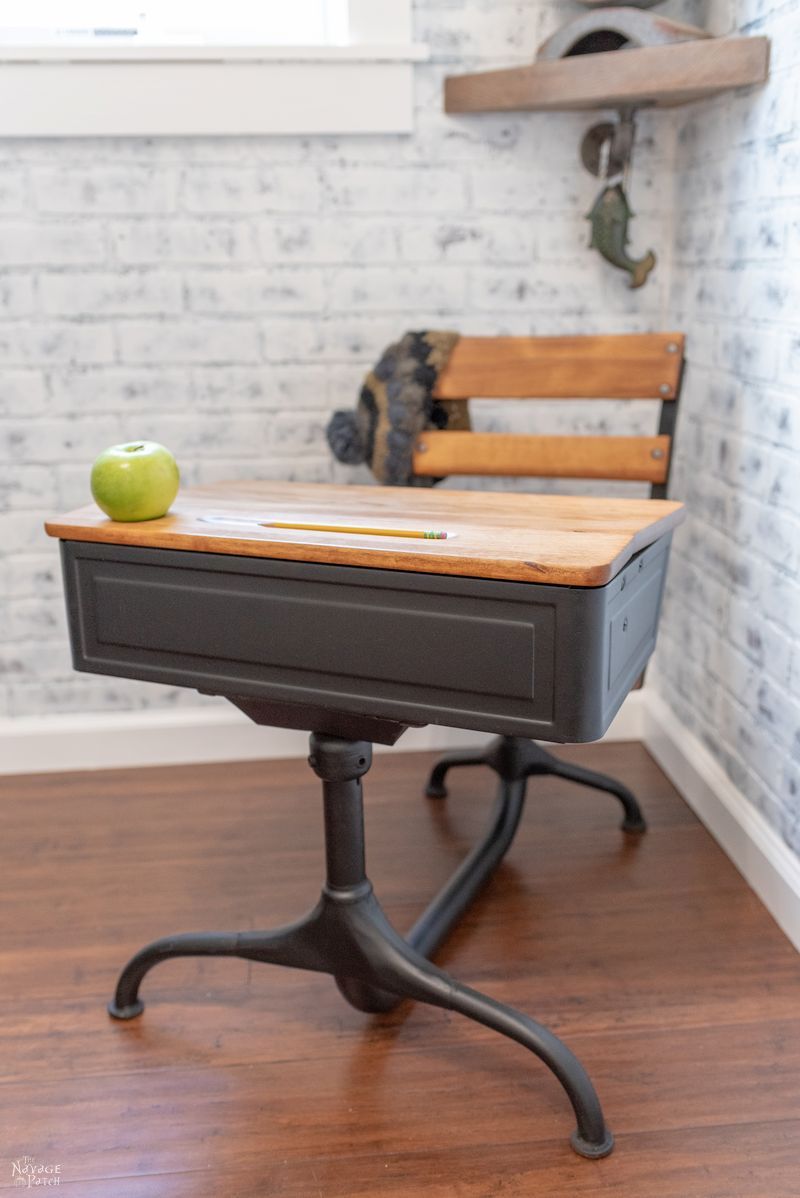
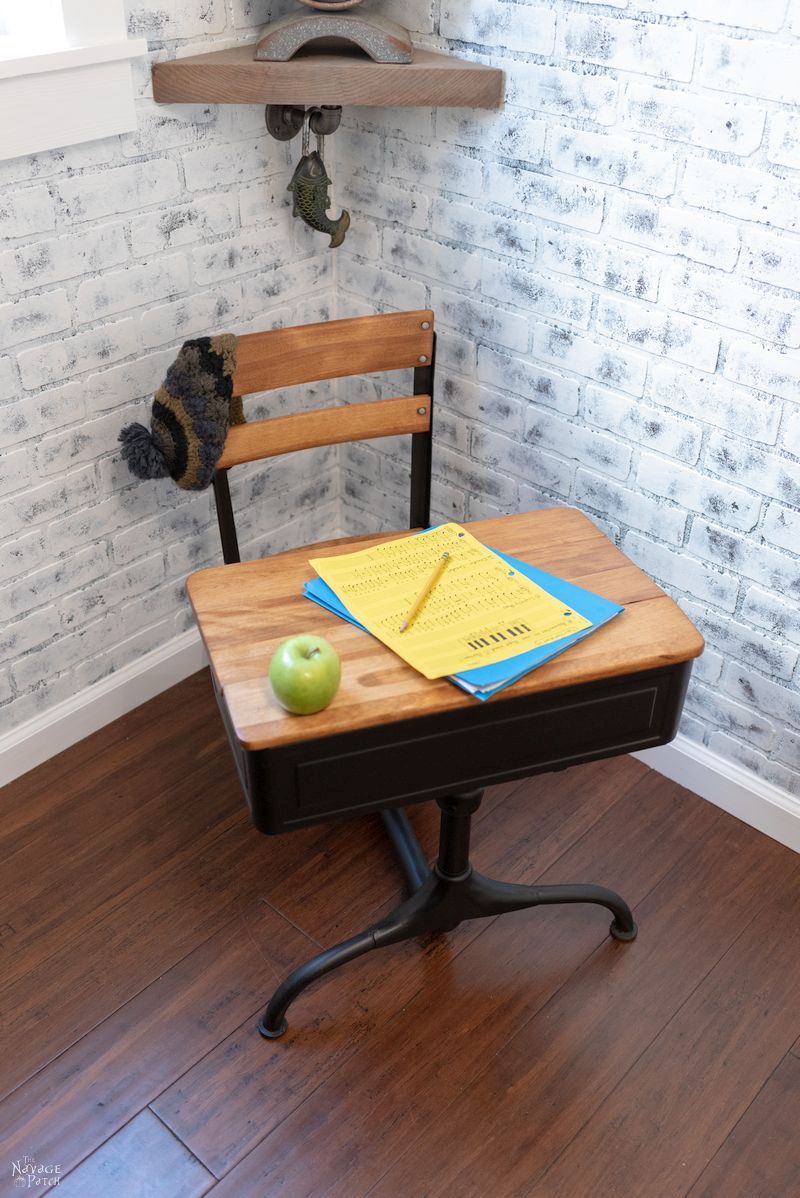


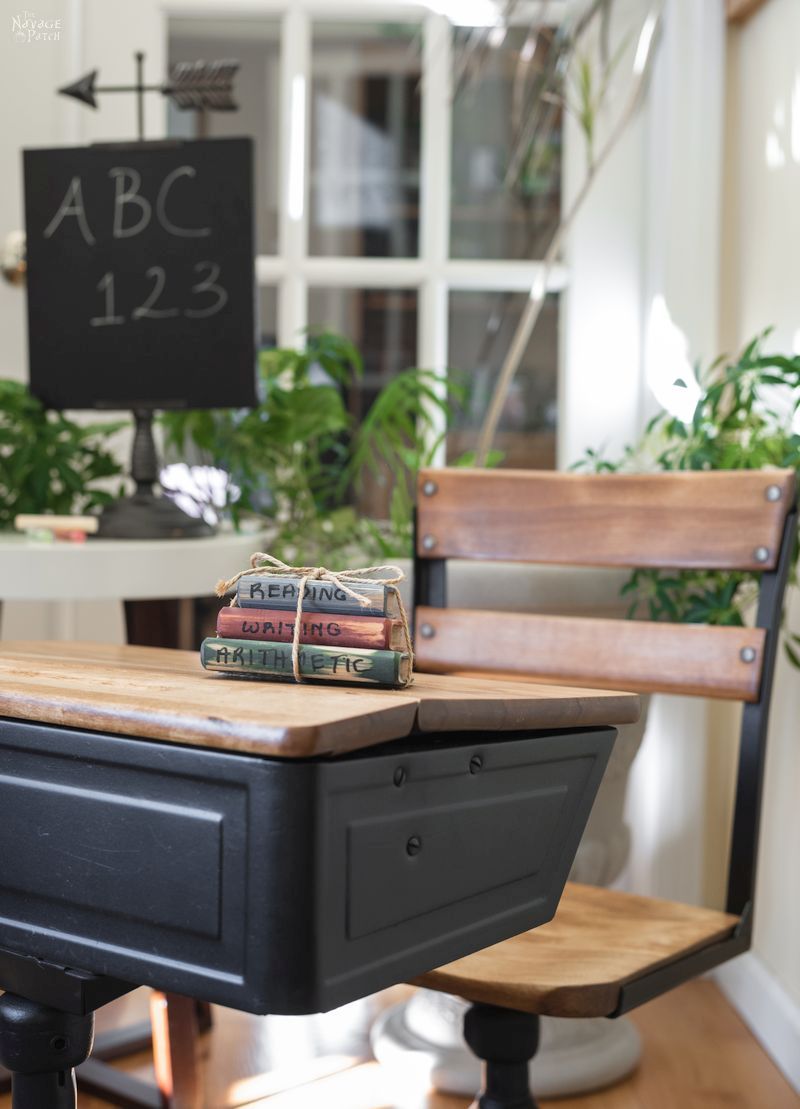
Once delivered, I took a few more pics in its new home.
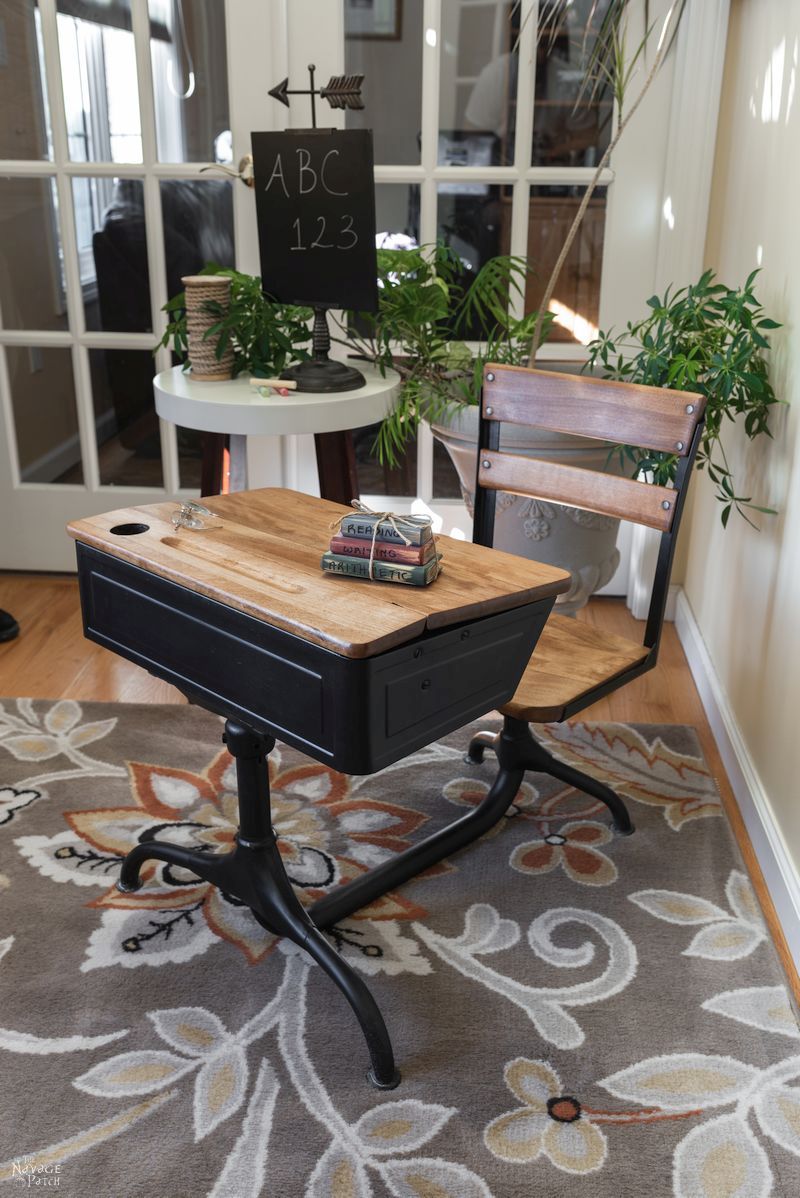
Gina loves the restoration, and that makes me so happy! This was a tougher project than I anticipated, and it was all the more nerve-wracking since it was for a friend!

But it turned out great, and I learned a lot about stain in the process!

Do you have any stain disaster stories? Any tips or tricks? I’d love to read about them in the comments!
We love it when you share our posts on Facebook and Pinterest!


It looks mahvalous. Restoring old furniture is fun and sometimes frustrating, but definitely worth it because a lot of vintage pieces have better wood than what many new pieces have.
You are so right about that, Laurie! Things were built to last back then. Not at all like today’s “planned obsolescence” manufacturing mindset!
You’re so dang handy! Can we clone you??? 🙂
Yes, please! I’ll take two of me! 😀
You did an incredible job! As usual, I might add. I have pinned this for future reference. I don’t know about the cloning. You are a bit young for me. Do you have an older brother? 🙂 lol
Thank you so much, Linda! No older brother – you’re stuck with me, lol! 🙂
Beautiful! The desk looks wonderful. 🙂
Thank you, Claudine! 🙂
I wonder what the wood was, after all that? I don’t think I’ve ever seen that many sanding discs used on one small surface! Isn’t solid wood of this quality much nicer than all the MDF and plywood rubbish everything is made from these days?
Gorgeous work, as always. I bet they were over the moon with their restored desk!
It was weird, Jay. I kept thinking I was going to destroy the butt-curves on the seat, but man, that wood was strong!
Beautiful!! The desk looks amazing!! What a wonderful job!!
Thank you, Maria! 🙂
Lots of work. Phew! I remember the days of sanding and refinishing furniture. But it looks beautiful.
Thank you, Marcia! Yeah, this one took a LOT of sanding, lol! 🙂
It turned out fabulous! Great job!!
Thank you so much, Debra! 🙂
We will forever be in awe of the magic of The Navage Patch…and behind the curtain all the hard work, thoughtful planning, and leaps of faith to restore this desk. In your capable hands, the desk makeover earned an A+. We appreciate the many hours of creative memories and happy pretend play it brought to our two girls and the place it has earned as a treasured heirloom. As always, Greg and Handan, your vision and passion is unmatched. Thank you for taking on our “little” project. Thank you for the sweat equity and leap of faith needed to restore this piece. I am touched it earned a place on your blog and its story will continue to inspire. Sincerely, Gina & Angelo
Gina, it was my pleasure! I always enjoy working on old pieces of furniture because each project teaches me something new. Thanks to your little desk, I know a lot more about stain and blotching than I did before, and that knowledge helped me out when I build the two consoles for our gerbil cages. I’m so happy you and Angelo are happy with the result. Handan and I look forward to seeing you guys soon!
You did a beautiful job. We had desks like that in school. Some even that old with the ink wells. The nuns did make us use fountain pens but by then they had little ink cartridges not the pens that drew up the ink. Palmer Method of Penmanship was required. Now some kids don’t know cursive. Times have changed, but the desk looks as fresh, as I am sure it did, when it was new. Your projects are inspiring.
Thank you, Patricia! Unfortunately, penmanship has been dead for decades. We didn’t learn it in the 70s, so I wonder when they stopped teaching it? It’s a shame though, because I can barely read anything Barish writes, lol!
Turned out so good!
Thank you, Revital! 🙂
They had desks like this when I was in 3rd grade (age 7-8). I showed my toy-boy husband and he had never seen them in his life. Made me feel OLD! As always Greg, I love your work and your great sense of humour. If I pay for your train trip to the airport, will you come over here for a month or two. I’ve got lots of work that you could finish off (please).
Suzanne (Australia)
Thank you so much, Suzanne! Hmmmm, two months in Oz? Depends – are you living in one of those places it’s almost 50c?
WOW! Fabulous job! I hope Gina fully appreciates the time, effort and money you spent to get it to this glorious state.
I don’t know if you’re familiar with her blog, but Kristi of “Addicted2Decorating” recently had a post about getting rid of the orange/yellow hue of pine with wood bleach. Look her up if you want to see what a gifted powerhouse she is in all kinds of craftsmanship!
Thank you! Yes, I know Kristi’s blog. I just read that post about wood bleach, and I will definitely try it the next time I’m up against some reddish pine. I’ve always found it tough to stain, so that’s a great tip!
Greg: you really stuck with it. Looks beautiful. I will be using the products you recommended to again refinish the “old school desk” that we have sitting outside our front door. Where can I purchase the Charles Neils Conditioner? Live in Missouri. Am finding Amazon as an easy go to. Another question – I used a product that said on the can, that it was for outdoor use, but not so much. What do you recommend and how many coats? Any help would be appreciated. Again, I follow your work and it is beautiful. Sunny
Thank you, Sunny! Ok, first of all, you can find a link to Charles Neil’s conditioner in the post. Just look for the underlined text in the part where I’m writing about it. Second, what was the product you used for outdoor use? Was it a polyurethane? Is the piece you want to protect in full sun? Is it totally out in the open? Is it painted or stained? What kind of wood it it? I can certainly help you with a little more info. 🙂
Greg: Thanks for the tip. In answer to your above questions, polyurethane and “Yes” is the answer to all of them. I am not sure of the wood type. It looks a lot like the one you worked on. Sunny.
For outdoor use in an area of full sun and exposure to the elements, your best bet is spar urethane. I’d skip the spray-on stuff and go for the brush-on. I’m not sure what the thing is – how big, complicated geometry, etc – but I’d try to brush on 4 coats. Spar urethane is made for outdoor use, hence the word “spar,” which supports the sail on a sailboat. They were made of wood, as was the mast way back in the day. Spar urethane is formulated to stretch a bit and therefore resist cracking in wet or humid regions or from seasonal temperature and humidity fluctuations. In the end, the sun, wind and rain will always win, so if you want to keep the thing outdoors forever, you would need to periodically re-apply the urethane – maybe every few years? It’s hard to say without knowing specifically your climate. Anyway, give it a shot. It will certainly work better than standard indoor/outdoor polyurethane.
You did an awesome job refinishing the desk, Greg! And I like that it looks brand new and maintains its’ original character! I had desks similar to that one when I was in school, but I think they were all wood! Yes, I’m that old! Lol! But I must say that I hated them! It was hard sitting in them or even trying to sit down. I was a small, skinny kid and even I had to turn sideways to sit down. I don’t know how the larger kids managed. In any event, your talents continue to amaze me! You are so creative!
Thank you, Gail! I always liked these desks because of the storage space accessed by the flip-up desktop. By the time I hit the public school system in the 70s, the desks were a bit bigger, but the storage was accessed by a slot in the front of the desk. It was impossible (for me, at least) to keep anything organized, and all of my grade school teachers noted my disorganization on my report cards, lol! On the plus side, the chairs were detached, so there were no issues sitting or standing!
OMGosh, Greg! I think I would have freaked, too, about the blotching… It’s amazing what oils from our skin can do to wood over time, huh? I think I would have called it a day and hit the paint can. Gladly pinning for when I do some woodworking on our furniture coming up soon!!! Our new house here in Texas closes this week and we will be bringing our furniture back to it in March. Let the woodworking begin!!! Yeah! {Lots of scratches on many pieces from being moved a lot when we’d get in there over the past 3 1/2 years… Ugh!
Happy sanding and I cannot believe how many discs you went through! {No, I can. ;)}
Barb 🙂
p.s. Greg and Handan, I saved your https: and one of your photos to a future post on refinishing a couple of our tables. I hope that was okay? It’d be a little future promo for you guys! 🙂 I will definitely let you know when I write it and publish later this summer/next fall. Let me know if this is okay, thank you. <3
Hugs,
Barb 🙂
Of course it’s okay, Barb – thank you so much! 🙂
I know, right? I’ts one thing to screw up your own project, but another matter entirely when it’s someone else’s! Yeesh, talk about stress! Good luck with your new house – what city/town are you moving to in TX?
Wow, The desk looks amazing. You did a great job. I will try it for sure. Thanks for the sharing your DIY projects with all of us.
Thank you!
Hi! Thinking of doing this too! Any tips on how you prepped the metal before painting? You did a wonderful job!
Thank you, Loren! Since this desk wouldn’t be used, I simply cleaned the metal with mineral spirits and then painted. If I knew the desk might be used and handled, I would either sand it a bit first and then prime, or even easier, use self-etching primer and then paint.
This is great. Thanks a ton for the step by step. I found a free school desk like yours on craigslist and just finished restoring it in time for the virtual learning school year. Great results and I could have not done it without your guidance.
Thanks!
That’s awesome – I’m so happy I could be of help! Cheers to a successful school year!
Hi! This turned out lovely! I am working on an old desk, smaller than this one, right now. I do have a question for you. Did you sand down the desk to the original metal prior to painting it? Also, did you strip the wood before sanding it? I did on the desk I’m working on. I think I applied and scraped the wood 4 times. There must have been at least a dozen layers of varnish on the top! But since I stripped it first, I only had to use 3 sanding pads on my sander. Anyway, if you see this and can send me answers, I’d appreciate it. Thank you.
Leslie in Colorado
Hi Leslie, thank you so much! Okay, I did sand the wood – that was A LOT of sanding! I took off the old finish and stain. But I did not bother sanding the metal – I just painted it. Because this was to be a showpiece, and not actually used, I just sprayed over the old metal after cleaning it with mineral spirits. If the desk were to be used, I would have taken the extra steps of light sanding followed by primer. Good luck with you desk project! 🙂
I am in the process of refinishing the exact same vintage of desk for my daughter. I took the time to strip the paint off of the metal and repaint it too. The project is coming together quite nicely.
As a note, I ordered the blotch control on your recommendation but the Charles Neal shop has been quite slow to get it out in the mail. They produced a shipping label and it hasn’t moved from their site in 2 weeks! Did it take as long for you to receive it?
Hi Ray, that is odd. I ordered mine on November 17, 2018, and it shipped on November 18. Have you tried calling him? It’s a small operation. I wonder if someone there is sick. I hope you resolve it soon – it’s great stuff!
It look like its white walnut or chestnut
Ahhh…two woods I’ve never (knowingly) worked with. Thanks, Doug!
I have a similar desk that I am going to refinish. I was wondering what was the most challenging part of the makeover, when you say: “This was a tougher project than I anticipated…” ? I am far less experienced than you are and want to do this right. Thanks!
Hi Cindy, by far the most challenging part was taming the blotchiness of the wood. If I had known that going in, it would have saved me a lot of time – I would have made sure to sand thoroughly, and I would have used the Charles Neil pre-stain right off the bat. The challenge was figuring it out. Hopefully, you won’t have the same challenge, as I’ve laid out a good course of action. Good luck with yours!
I have an old desk given to me from my kindergarten teacher the metal is rusted how do I fix this? The wood I can handle and it’s missing a piece of wood. Pretty sure it’s more that 50 years old considering my age. Can this just be sanded and painted?
This is gorgeous. I have almost the exact same desk I am redoing! The wood is similar and seems ultra hard. I’m going to keep on sanding and love the flat black metal. Mine is now painted red with like a black ‘grain’ or something. My parents redid this for me at least 50 years ago! Now it’s time to glam her up! We live in an old schoolhouse so this is going to be awesome!
Thank you, Kim! Yep, the wood back then was no joke! I sanded for days it seemed! 😀
Hello Greg, I am trying to restore the same model desk for my wife. I am stuck getting the front panel off the desk. I have all the screws removed, and the top edges are loose, but the bottom corners just won’t budge. Are they welded by chance? Thanks,
Ray
Hi Ray, can you send a pic or pics to greg@thenavagepatch.com? I’ll have a look and try to jog my memory. Thanks!