
West Elm Inspired DIY Industrial Bookshelf (with Free Plans!)
Our DIY Industrial Bookshelf / Storage Tower is a wood and iron beauty with a ton of storage space for a fraction of the cost of its West Elm inspiration!

What’s a guy to do when he’s got champagne taste but he’s on a strict beer budget?
Well, he could say “screw the beer,” and drink his champagne until he ends up in debtor’s prison.
Or he can buck up and drink the beer until such day as he can afford the champagne.
Unfortunately there’s no middle ground. He can’t very well make his own champagne, unless, of course, he owned his own vineyard, but in that case, he’d probably be able to afford the champagne anyway.
But we’re lucky, Handan and I, because we’re DIYers. When we see something that’s out of our league like, say, a piece of furniture, we can usually find a way to build a reasonable facsimile for a fraction of the cost.
So when my babes starts thumbing through the fancy catalogs of fancy furniture for fancy people, I know two things are certain:
- We won’t be buying anything from those fancy catalogs. Handan is far too shrewd and thrifty for that. But that doesn’t mean we won’t end up with something similar because…
- She will find something she loves, show it to me and then inform me that I will be making one for our home.
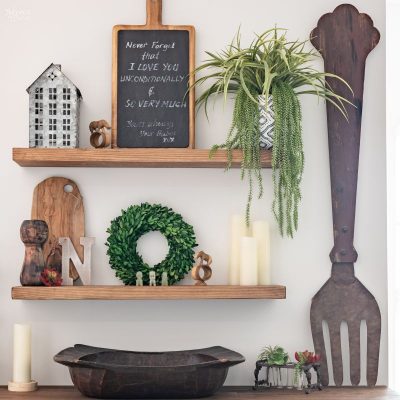
Case in point – our craft room makeover. She included the following picture as inspiration for a storage solution.
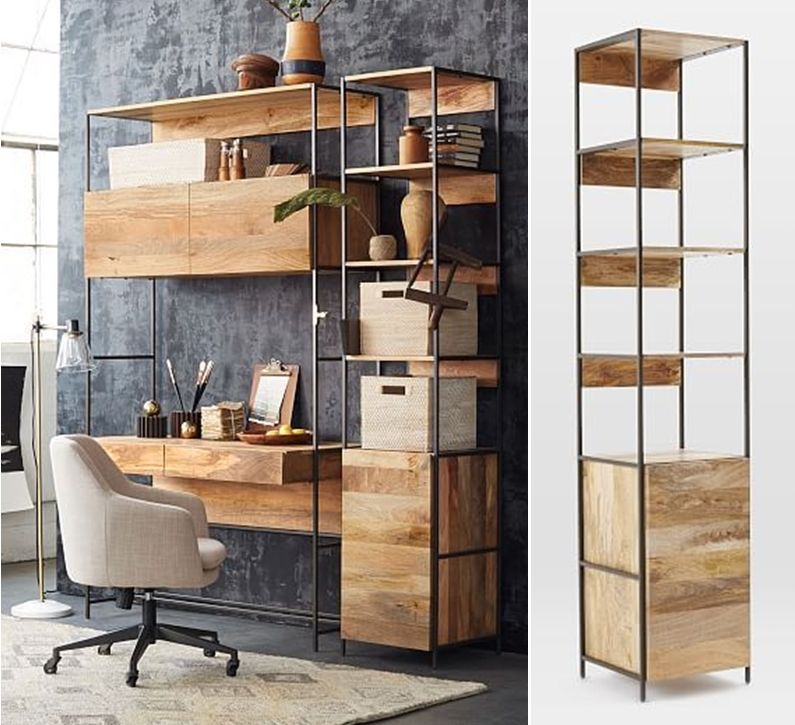
That industrial beauty is sold by West Elm. It’s just a few pieces of square steel tubing and some wooden shelves.
No biggie, right? I mean, how much could it possibly be?
$300?
$400 if it’s a total rip-off?
I asked her how much they’re selling it for, as I have very little experience with West Elm or any other purveyor of fine furniture.
“Seven hundred dollars, my babes.” She said.
“Seven hundred? For the storage tower and desk? Okay, not too bad, I guess.” I said.
“My babes,” She said, “It’s seven hundred just for the storage tower. The desk is twelve hundred.”
I sputtered and gagged and nearly choked on my own tongue.
Seven hundred??
Does it come with its own marching band?
Does it make breakfast in bed?
Does it tell jokes and give back rubs?
I couldn’t understand. It was just some metal and wood!
I looked at the catalog. “Made from richly-grained solid mango wood…”
Mango wood, eh? So that’s their angle.
Find a wood that’s relatively rare in America but as common as oak in the tropics, build the thing with cheap labor in India and then sell it to the American suckers at super-inflated prices as an exotic artisanal piece, handcrafted by neo-hipsters exiled on the Isle of Snoot.
Mango wood, indeed!
Anyway, Handan wanted me to build something similar, but not exactly the same.
She wanted a few adjustments to the West Elm inspiration.
For one, she wanted the bottom part to be a pull-out file drawer on wheels. We’re getting rid of my old IKEA filing cabinet, so I’ll need someplace to keep my super-important and top-secret business files.
Second, instead of shelves, she wanted storage cabinets – a large one in the middle with a door, and a smaller one up top.
She drew a sketch (and a good one, too!) and I understood.
Then she told me to make two of them.
Ugh.
These DIY Industrial bookshelves / storage towers would not only hold my files, but also my laser printer, paper, photography supplies and a whole lot more. Since this craft room also doubles as my office, our furniture also needs to do double-duty to meet the needs of both craft and office storage.
For those who might not need to keep files, the file drawer can be replaced with a regular storage drawer or even used to store fabrics.

With Handan’s sketch and measurements in hand, I turned to Sketchup to design our West Elm inspired DIY industrial bookshelf / storage tower.
Instead of square steel tubing, I designed it with angle iron, and I replaced the mango wood with birch plywood. It’s cheap, it’s easy to work with, and it looks great when stained.
I know, I know, plywood doesn’t have the hipster cachet of “mango wood,” but hey, I guess I’m just a regular schlub like that.
But really, just think of all the mangoes I saved! Sure they claim that the trees have gone barren before they harvest them for West Elm furniture, but I’m not sure I buy that line of corporate malarkey.
I’m looking out for the mangoes over here, folks. Somebody’s gotta do it, or your mango-kale-banana-peel smoothie from Fresh Monkey might go up a few bucks!

Assuming you have the basic tools already, one industrial bookshelf / storage tower will cost about $200 to make. I made two, and my cost was about $300, or $150 each.
Compare that to $1400 for 2 West Elm towers!
Okay, let’s get into it and see how it’s done.
The full supplies list, cut sheet and plans are on page 3.
West Elm Inspired DIY Industrial Bookshelf / Storage Tower
It may look complicated, but this is really an easy DIY.
Essentially, it’s just 3 boxes supported by 4 metal supports.
I cut all my wood to size and got ready to build.*
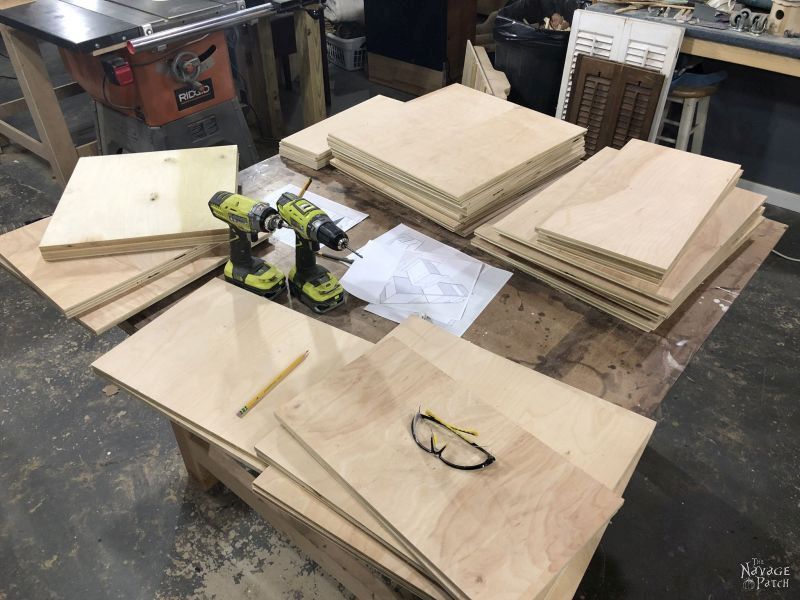
*By “got ready to build,” I mean I drank two coffees, farted around on Facebook for a while, inspected the plumbing, practiced some ninja moves in the mirror, inspected the plumbing again, yawned twice and got to it.
Oh, by the way, for those of you with table saws, did you know they make a special blade especially for plywood? I’ve owned a saw for 6 years, and I’ve built countless plywood projects. All of them have suffered from tear-out along the bottom edge of the cuts I make on my table saw. I had no idea a special plywood blade existed until after I cut all the wood for this project. Since then and since becoming aware, I ordered the blade and tried it out on another plywood project.
Oh my!
It is a miracle! The blade cuts through plywood with ZERO tear-out! I can’t believe I only just learned of this blade, but I am so happy to have it now!
If you already knew about the plywood blade – kudos to you! You’re obviously a super-genius, so what the heck are you doing here reading my childish scribblings?
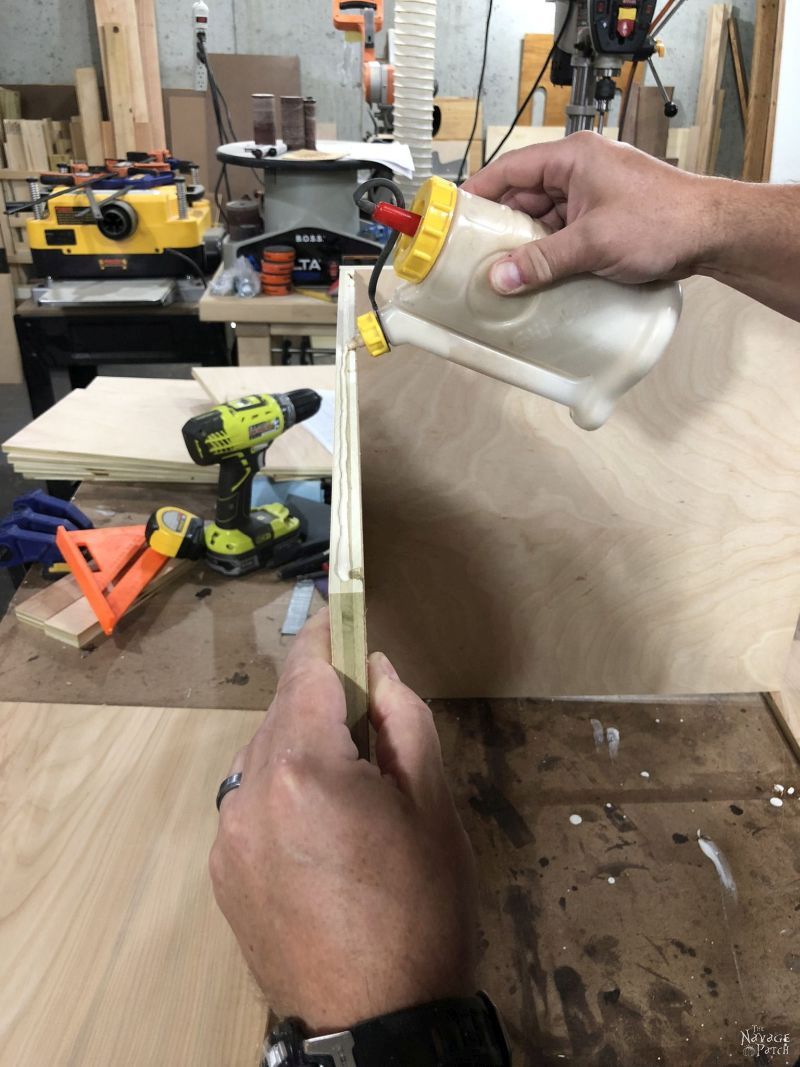
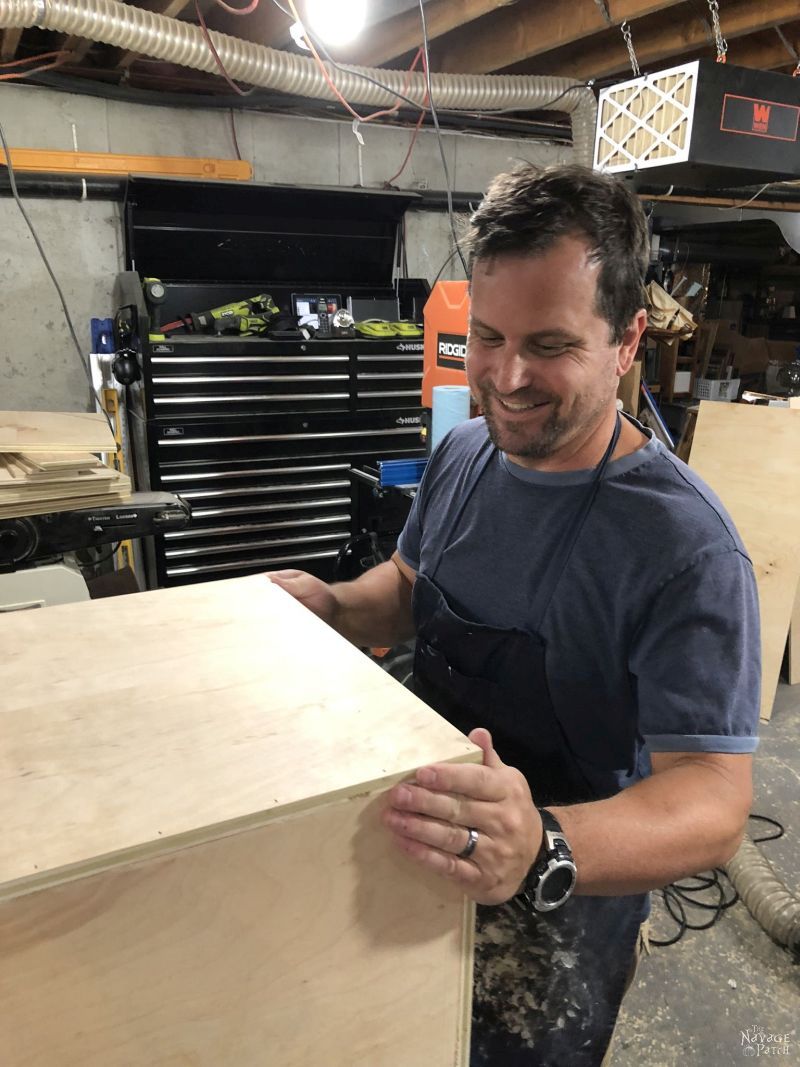
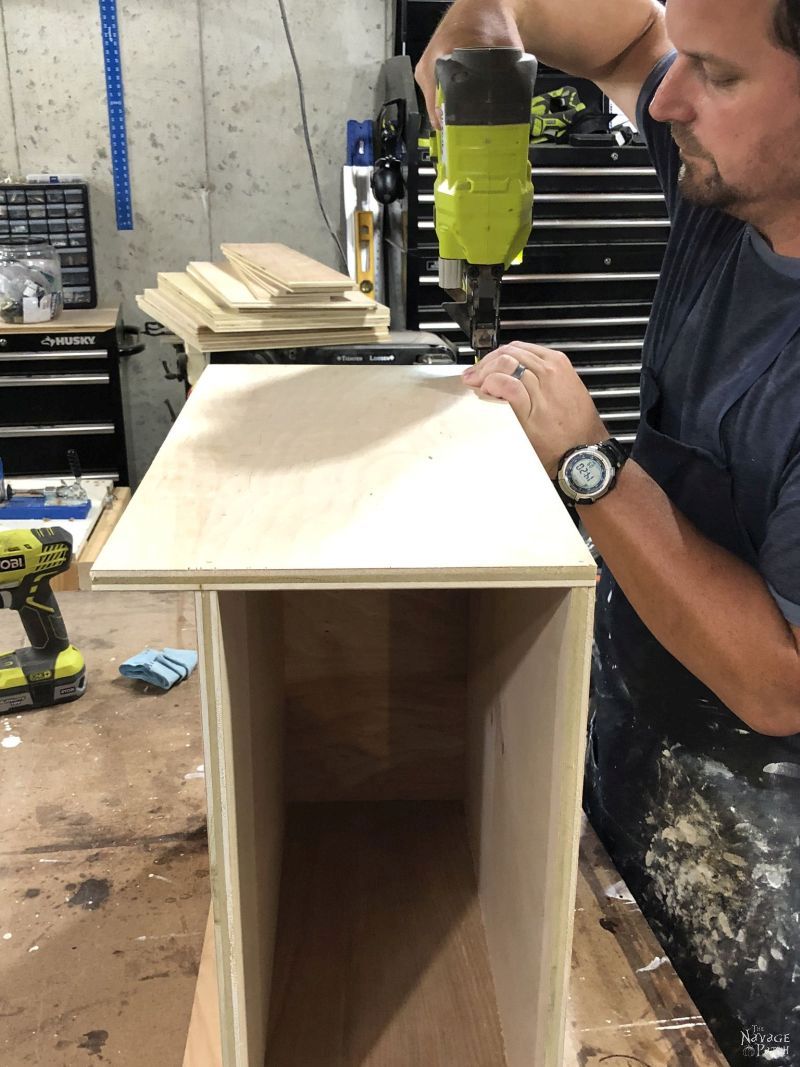
Anyway, building boxes from plywood is simple with just wood glue and brad nails.
Squeeze, wipe and shoot is all it takes!

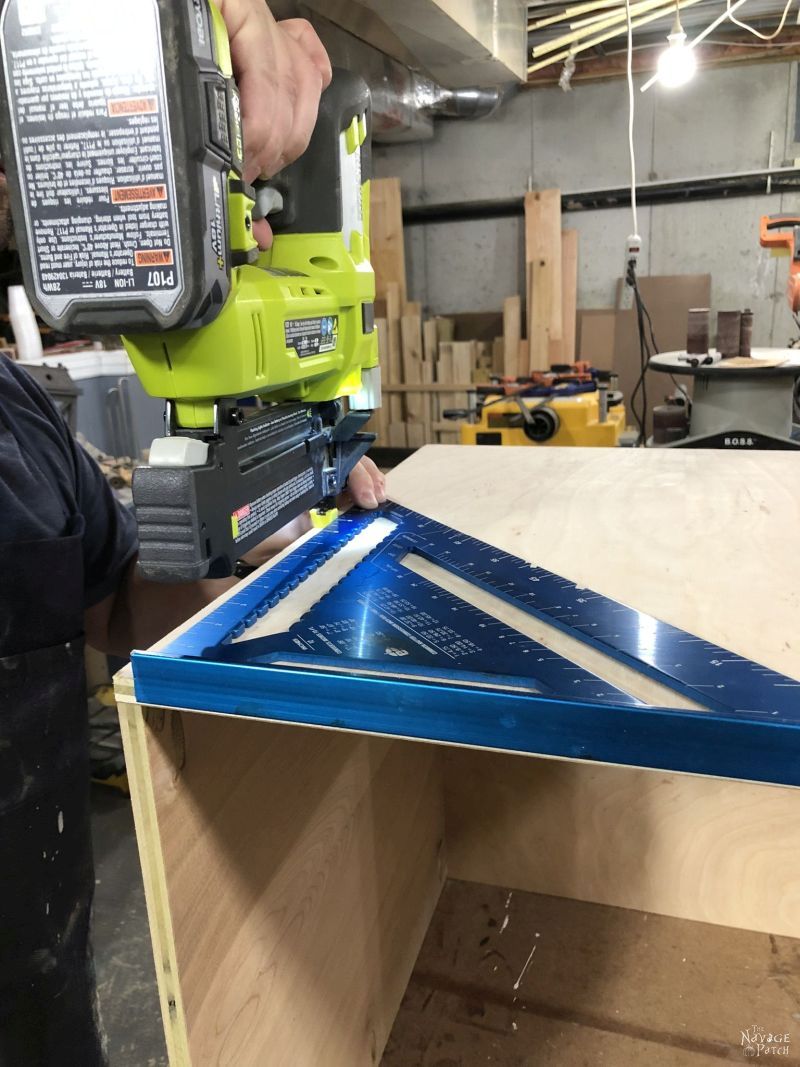
The one drawback for some people with using brad nails is that the small nail holes will be visible in the final piece. For me, this isn’t a problem, especially for a rustic or industrial piece. I just make sure to keep the nails evenly spaced and in a straight line. The easiest way to do this is with a speed square.

Of course, building boxes is not very complicated, and certainly not very exciting for the squawking hen my babes behind the camera, so of course she decided it would be a smashing time to start making fun of me.
I tried to explain that if she kept it up, there might be a tragic accident if the speed square slipped out of my hand and flew towards her head.

She was unfazed and continued her hen squawking.
Okay, okay, it was actually all pretty funny, and instead of chucking tools at the squawking hen my babes, she made me crack up a little bit.
Of course, when she least expects it, I will have my revenge. I think a sneak attack with ripe mangoes is just the thing…
Squawking hens hate overly ripe mangoes!
So, box after box, I built the components of our industrial bookshelf.

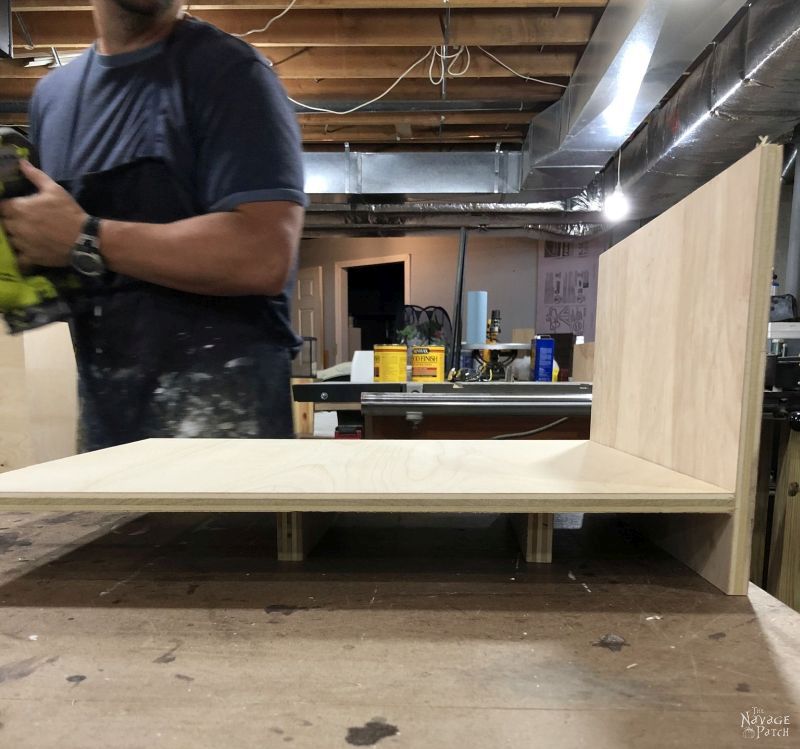
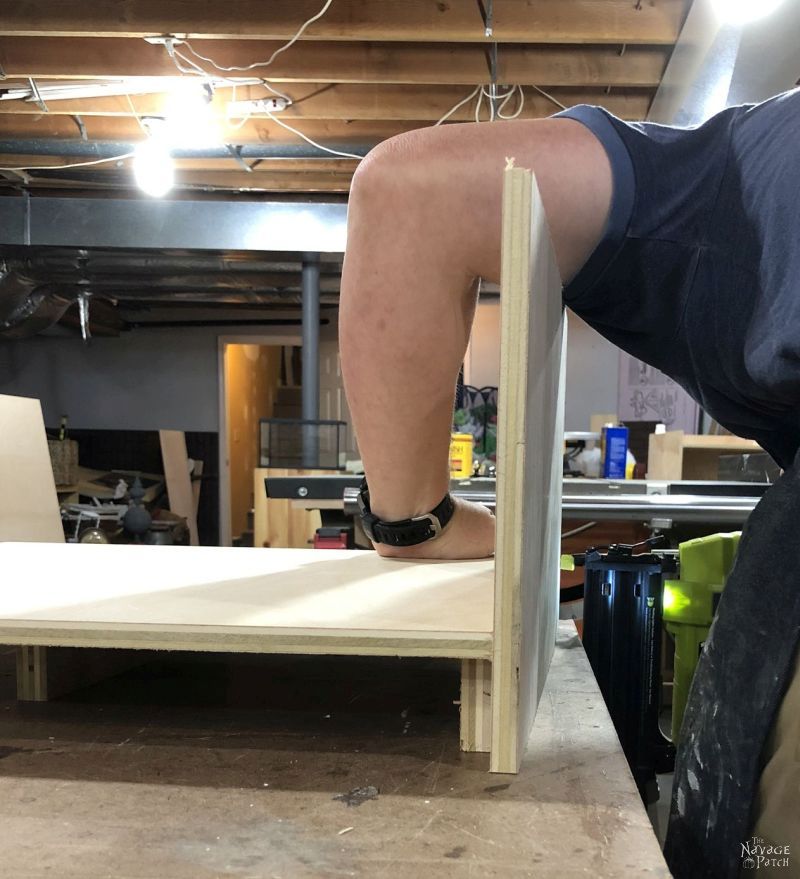
Again, the tutorial for these is on page 3, but here’s one trick to help when building the top unit. I cut a couple of pieces of scrap plywood to 2 inches wide.

I then built the top piece upside down upon those two pieces of scrap.
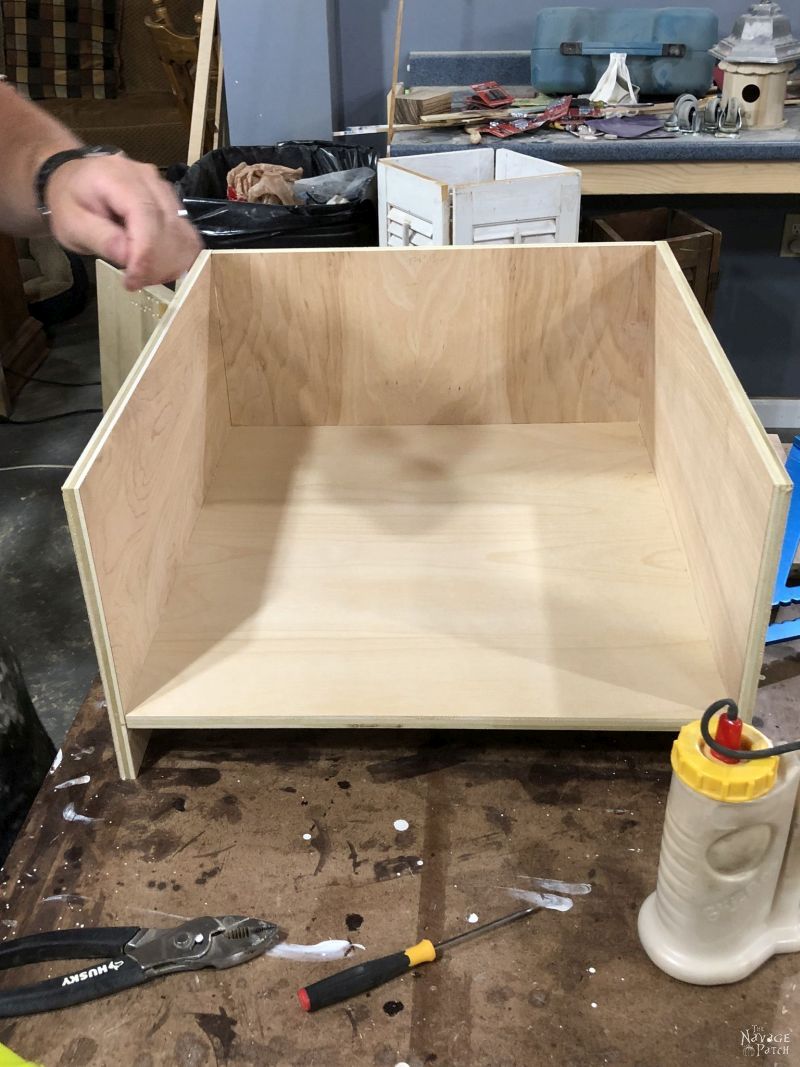
Once this last component was assembled, I stacked it aside and began building the file drawers.

We wanted to have the file drawer on wheels for two reasons:
Click “Next” below to go to Page 2
We love it when you share our posts on Facebook and Pinterest!


Those look great. BTW, you can get wood plugs for pocket holes: Kreg Pocket Hole Plugs
Thank you Laurie! You know, I have those plugs. They’re great when painting the project, but they still stick out when staining. Better than nothing though, I guess! 🙂
I love those. They’re not to big that they take up a lot of room but still has a lot of storage. And I like your price tag much better. Y’all make a great team. 🙂
Thank you, Kathy – that was exactly the idea! Big storage but small footprint! 🙂
OMGoodness I love these towers and I also love your detailed instructions while providing humor into your blog!!! I always look forward to your tutorials, thanks!
Thank you so much, Carol! It is my pleasure to inform and entertain! 🙂
My favorite build by you yet!! I think it looks better than the West Elm piece! Ooooo ….how about some pottery barn inspired accent pieces?
And I’m hoping you’ve got a few Halloween pieces up your sleeve for the Fall 🙂
Thank you, Tracey! We’re done some Pottery Barn inspired posts in the past. Search for them on our site. Also – Halloween is our jam, so get ready for it! (and also check out our Halloween posts from previous years!) 🙂
Amazing! I love the way these turned out, and your detailed directions are unbelievable. Though this is way beyond my skill set, I love reading the plans (and your comments, of course). Thanks for a wonderful and entertaining blog.
Thank you so much, Dyan! I aim to make it entertaining, even for those who’ll never attempt the project! 🙂
Very nice! I wish my dh were so handy!
Thanks, Rap! Stick a hammer in his hand and point at a nail – he may be handier than you think!
Looks great!
Thank you, Revital! 🙂
Love these! Attractive, sturdy, functional and actually fit in a normal sized room! Looking forward to the Holiday posts. Well done and many thanks.
Thank you, Melissa! We’re looking forward to the holiday posts as well! 🙂
Ya’ll are an amazing team. You can build with mango wood when you retire to the Isle of Snoot – for now, keep knocking out the incredible plywood projects. Great post.
Thank you, Kay! Isle of Snoot – here I come! 😀
Actually, I like your version of the towers much better than West Elm. To me, if I were building, yours is much more functional. Yay to Handan for coming up with the great design. I sure wish my hubby was still able to do the woodworking he was so good (and creative) at doing. I’d have him on a couple of these in a heartbeat!
Thank you, Connie! We also like ours better than West Elm’s – they’re more tailored to our needs. 🙂
I absolutely want to copy this!!
Thank you, Harjith!