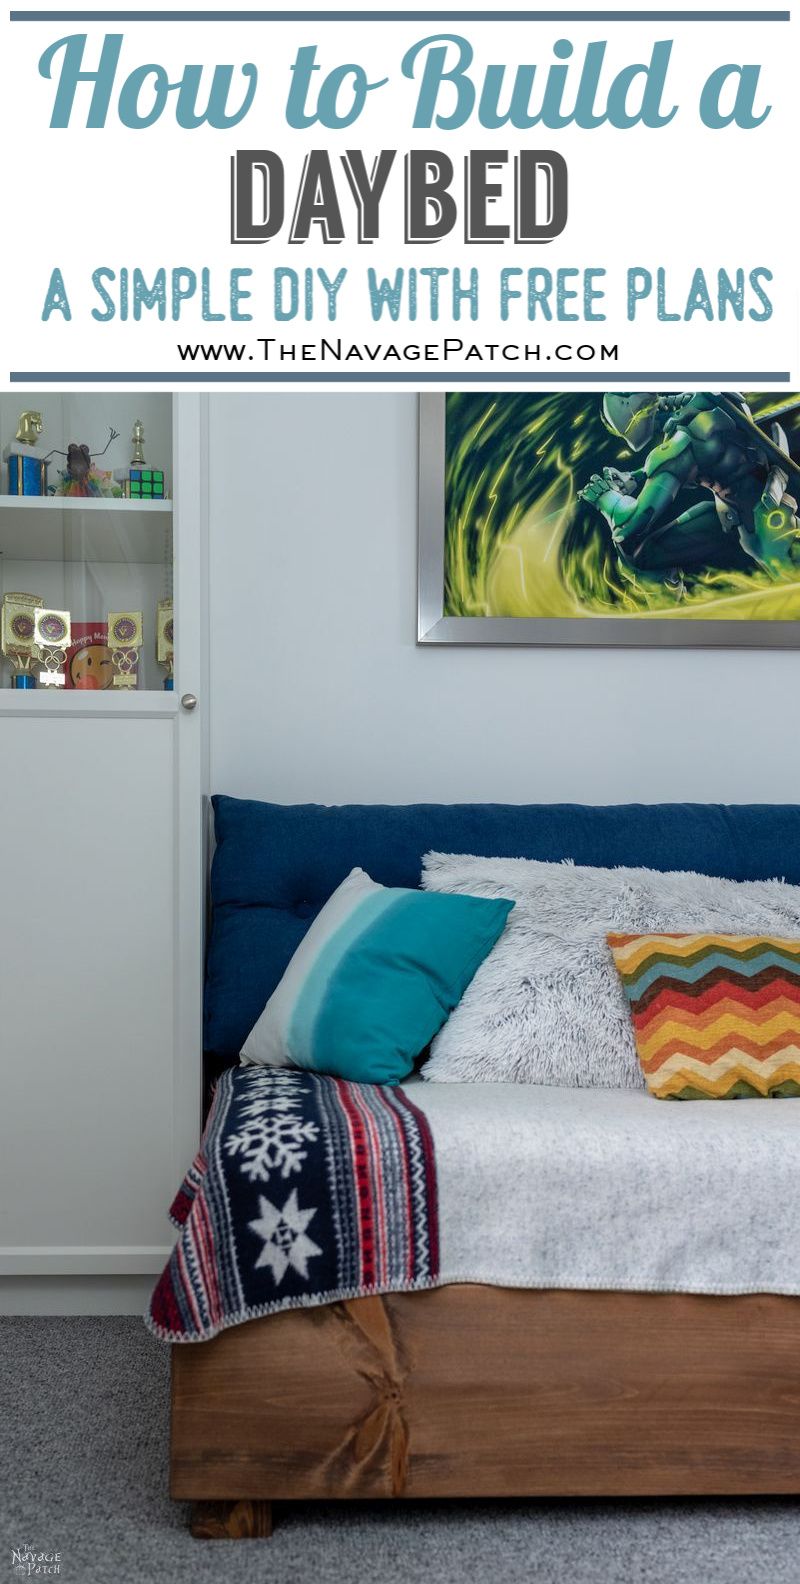
DIY Daybed
A DIY Daybed is an easy and affordable solution if you need seating that quickly converts to a bed. We’ll show you how to make a simple daybed on the cheap.
Today’s Modern Teen is a vastly different creature than the Teen of Yesteryear, but however much social media and video games have fractured their young minds, there are a few constants that seem immutable.
- The remorseless drive to devour metric tons of food
- Rapacious cravings for sugar
- A visceral aversion to neatness and tidiness (this one may be skewed toward the male end of the spectrum)
- Highly selective memory
- Highly selective hearing
- Aggressive slouching
- Acute mumbling
- The miraculous ability to have life all figured out by age 15
- The need to sit, sprawl, stretch out or sleep on any and all surfaces while studying or relaxing
This post will address the last bullet point.
Barish has a chair and a desk that suffice for some of his studying needs, but as he’s a naturally fidgety person, that chair can’t satisfy his butt for long. Soon after plopping onto its faux-leather cushion, he’s overcome by the fidget palsies and must leap up and pace the room while karate-chopping invisible ninjas – all this while solving his algebraic equations or writing some bit of computer code.
When he has dispatched all of his invisible foes, his next stop is the recliner – the one he never actually reclines in. He acts like a blanket, draping himself over it and then spinning the recliner round and round.
Then there’s the bed, which is a perfectly lovely platform from which to spill his body halfway onto the floor.
And then there’s the floor – the sole dominion of shoe soles and children.
I vaguely remember being young and limber enough to conform to any surface. Ahhh, to have those days again!
But past is past and gone is gone.
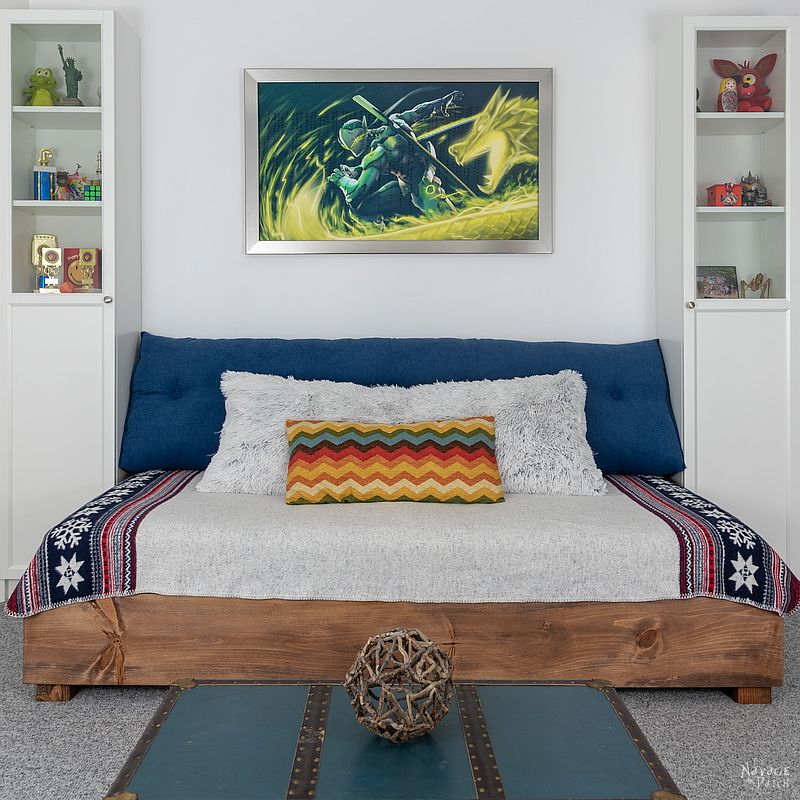
One of the stated goals of Barish’s Teen Bedroom Makeover was to give The Boy (and his friends) yet another place to unfurl, unwind and soak in some rays from the Flat Screen Overlord.
With that in mind, we decided to take the twin guest bed out of his Second Room (which served as nothing more than a junk and clothing repository), make a new DIY daybed to better fit the mattress, put it in the First Room and flank it with a couple of IKEA bookcases.
The daybed would serve as a sofa while watching the boob tube or zapping digital aliens, and it would still serve as a guest bed when needed.
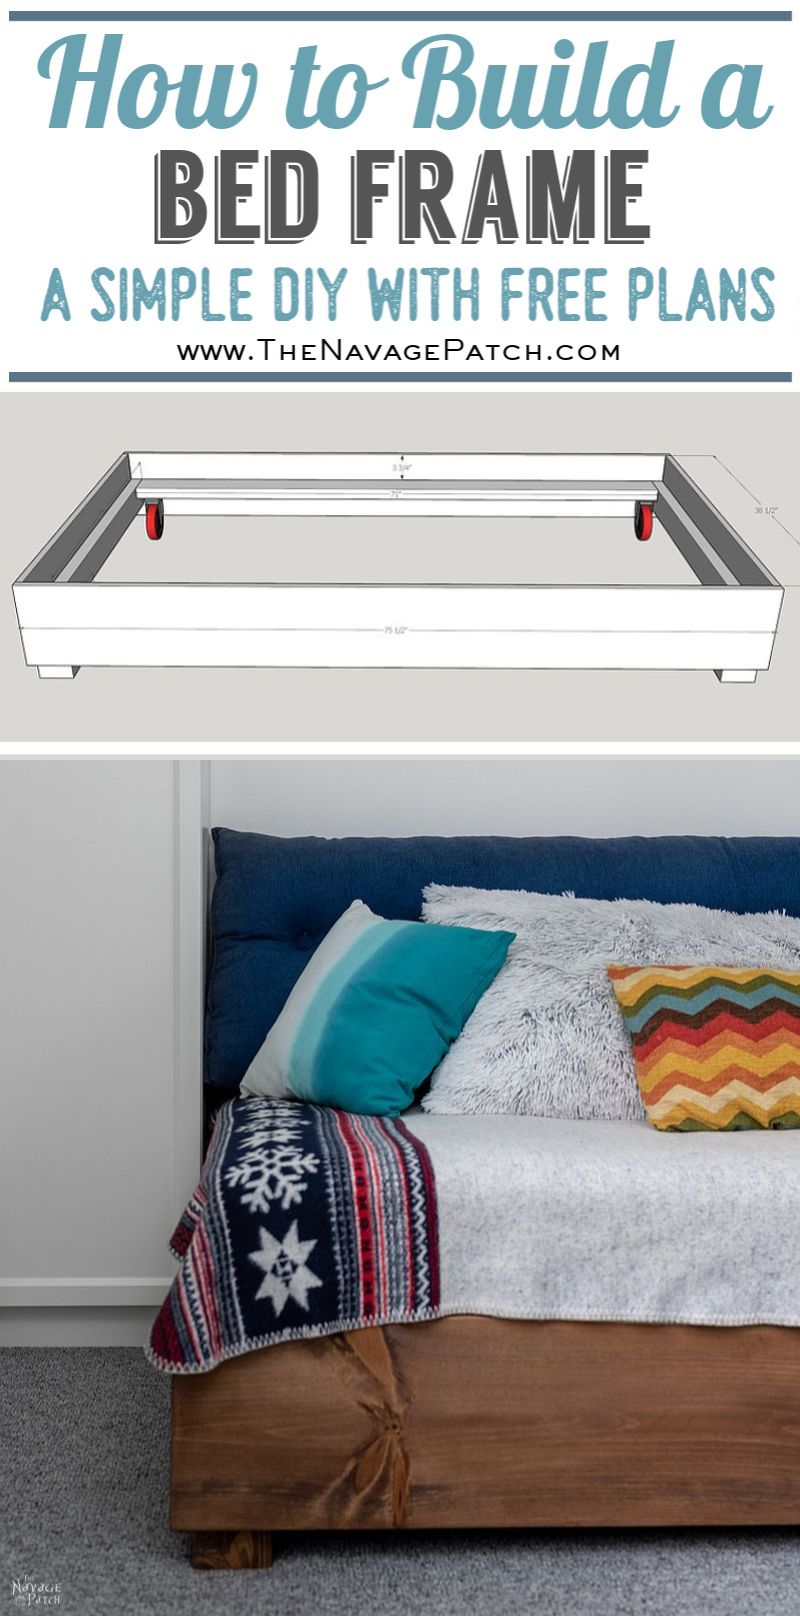
I took some measurements and designed a simple daybed in Sketchup.
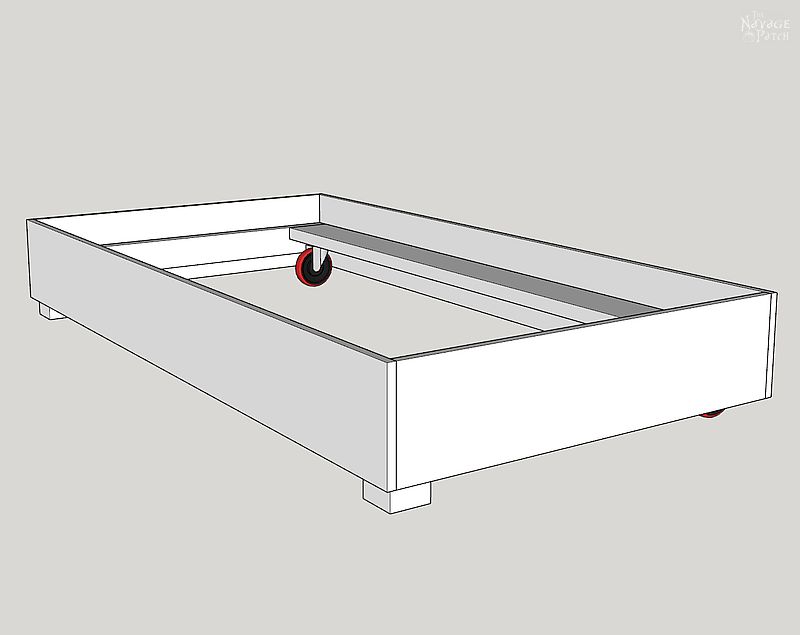
Casters in the back would help to slide the daybed out from between the two bookcases we’d be building, but they’re probably not needed for most people. I’ll show you how to build a daybed with casters and without.
DIY Daybed
For a Daybed With Casters
- (3) 1 x 10 x 8 pine boards (or use 1 x 8 x 8 boards if you want to save some money)
- (1) 2 x 6 x 8 pine board
- (1) 4 x 4 x 8 pine board (you only need 15 inches, so scraps would be perfect if you have them)
- (2) 2 x 4 x 8 pine boards
- (5) 1 x 4 x 8 furring strips (for bed slats)
- (2) 5 inch casters (5 inch wheel diameter, 6 inches overall height)
- Kreg Jig
- 1 1/4 inch and 2 1/2 inch Kreg Screws
- Drill and impact driver
- Wood glue
- 2 inch wood screws
- Stain of your choice
DIY Daybed With Casters Cut List
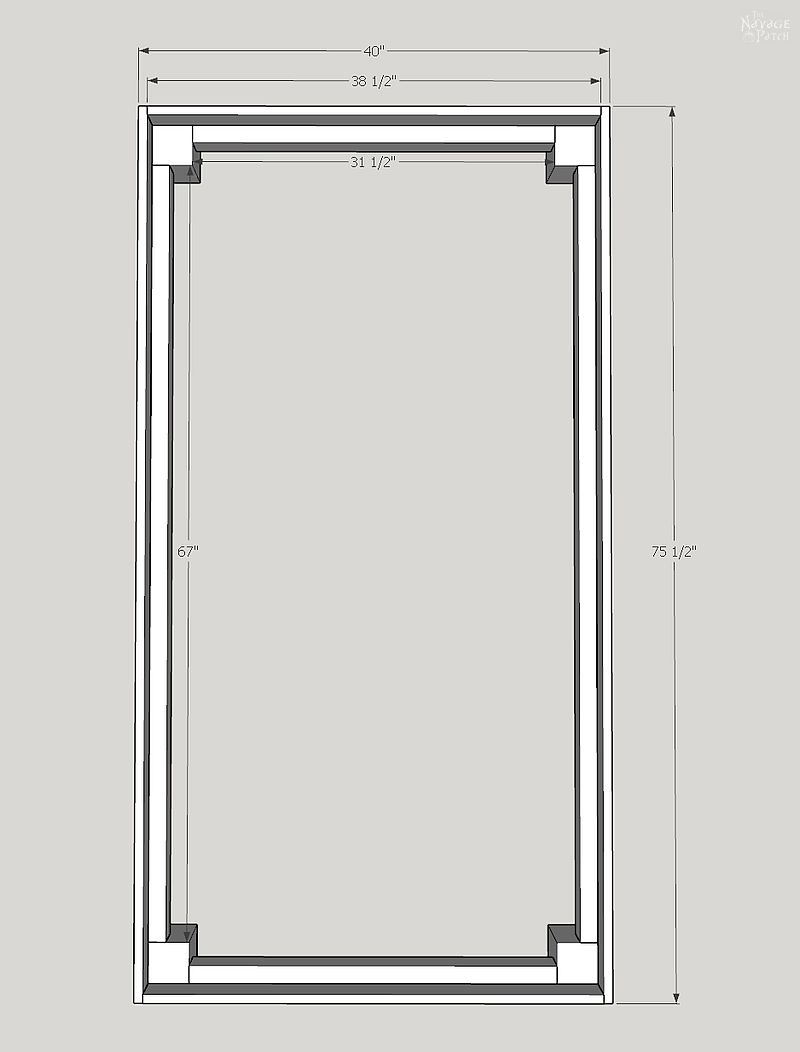
- 1 x 10 –> (2) 75 1/2 inch pieces, (2) 38 1/2 inch pieces
- 4 x 4 –> (2) 7 1/2 inch pieces
- 2 x 6 –> (1) 71 inch piece
- 2 x 4 –> (1) 67 inch piece, (2) 35 inch pieces
- furring strips –> (10) 38 7/16 inch pieces
For a Daybed Without Casters
- (3) 1 x 10 x 8 pine boards (or use 1 x 8 x 8 boards for half the price)
- (1) 4 x 4 x 8 pine board
- (3) 2 x 4 x 8 pine boards
- (5) 1 x 4 x 8 furring strips (for bed slats)
- Kreg Jig
- 1 1/4 inch and 2 1/2 inch Kreg Screws
- Drill and impact driver
- Wood glue
- 2 inch wood screws
- Stain of your choice
DIY Daybed Without Casters Cut List
- 1 x 10 –> (2) 75 1/2 inch pieces, (2) 38 1/2 inch pieces
- 4 x 4 –> (4) 7 1/2 inch pieces
- 2 x 4 –> (2) 67 inch pieces, (2) 31 1/2 inch pieces
- furring strips –> (10) 38 7/16 inch pieces
How to Build a Daybed
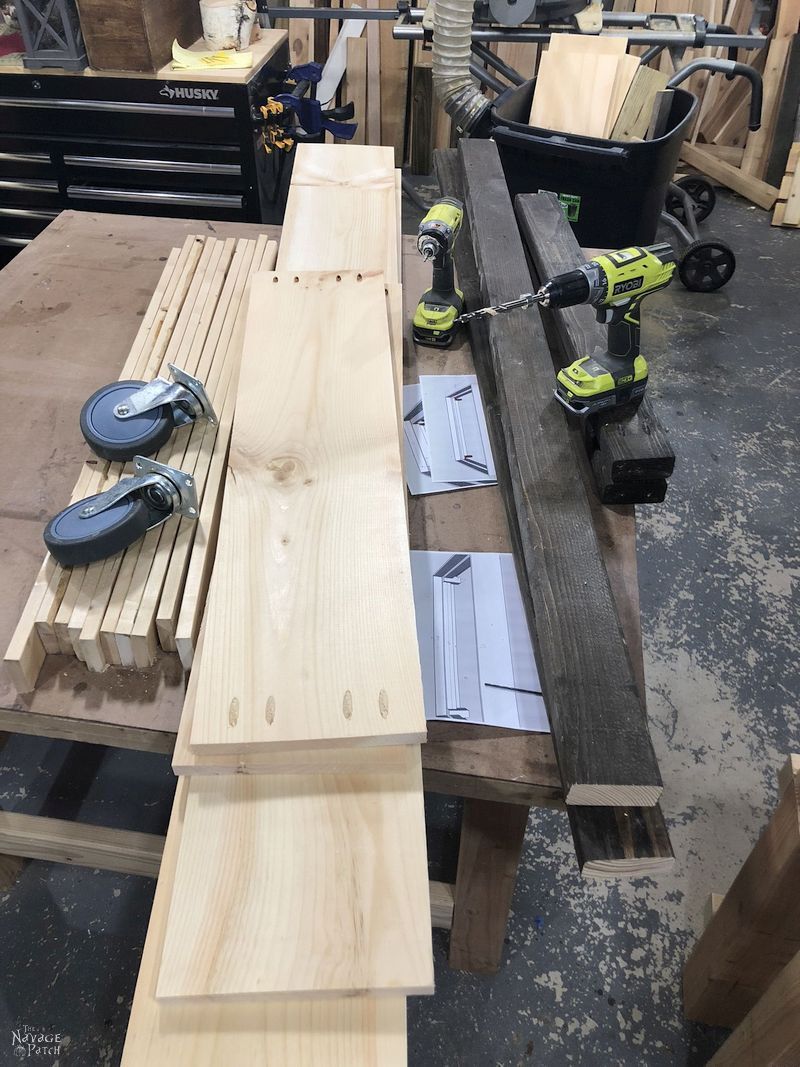
Step 1 – Cut lumber to size as specified
Note that I designed this DIY daybed to exactly fit the twin mattress we have. Other mattresses may vary slightly, so it pays to measure first.
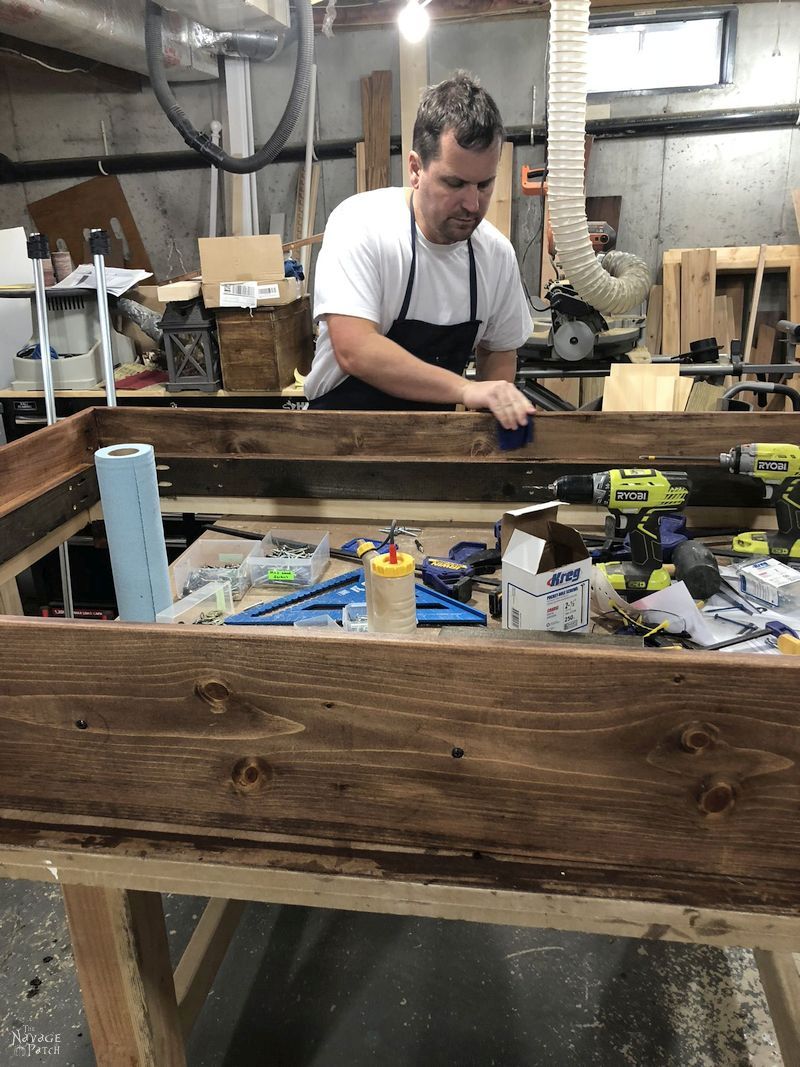
After cutting the lumber, I drilled 4 pocket holes in both ends of the short 1 x 10s. Pocket screws and glue make the DIY world go ’round!
The stained lumber pictured below was salvaged from the old twin bed frame. Reuse, recyc…blah blah blah, you know the drill!
Step 2 – Assemble the outer frame
The easiest way to hold boards together for pocket screwing is with parallel clamps. I used a speed square to make sure everything lined up properly.
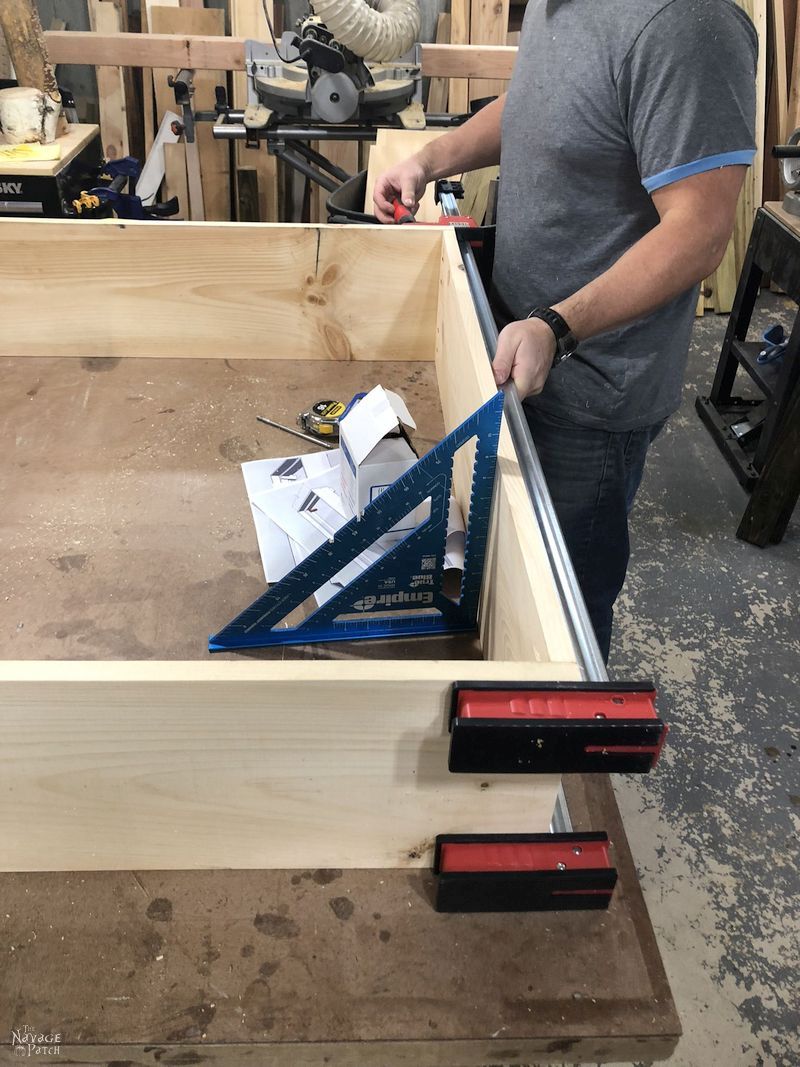
Sixteen Kreg screws later, and the outer frame was done.
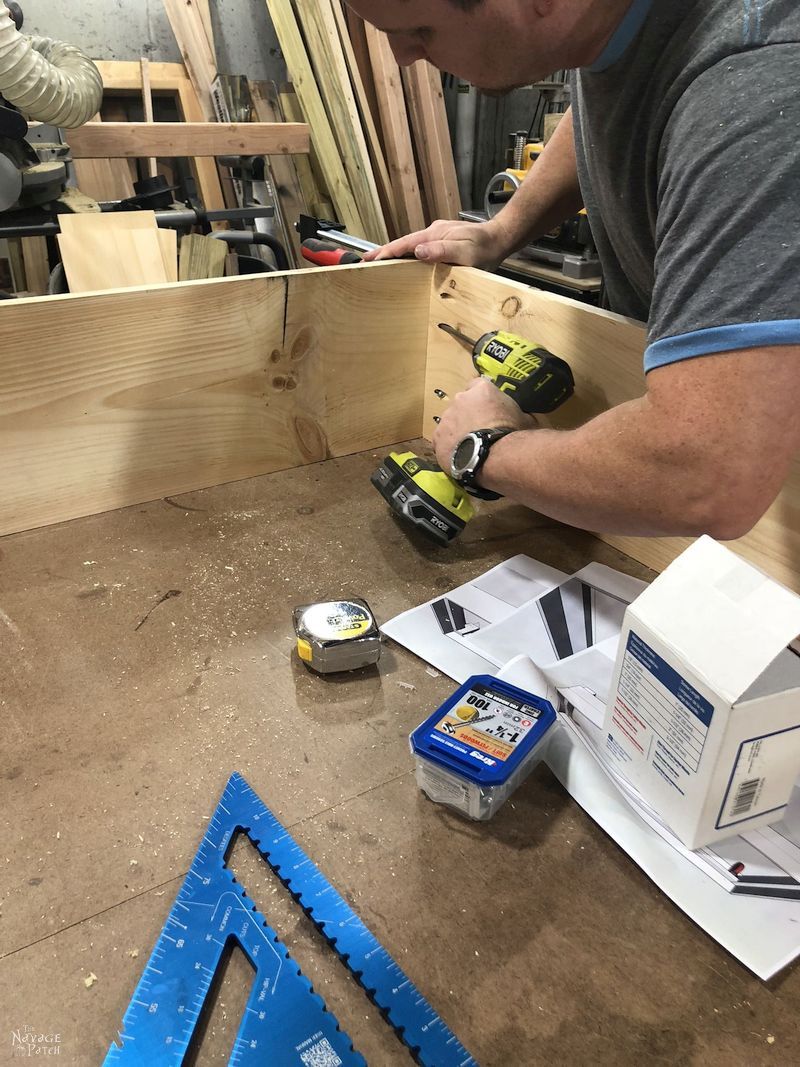
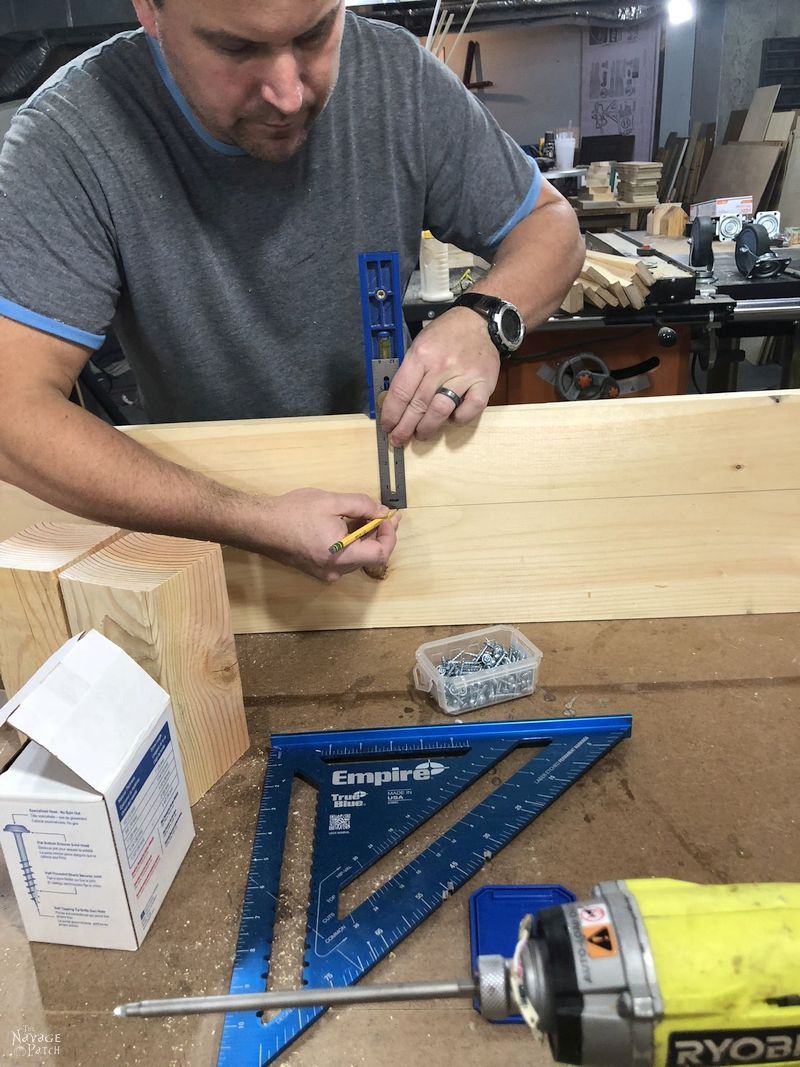
Step 3 – Start attaching inner frame pieces
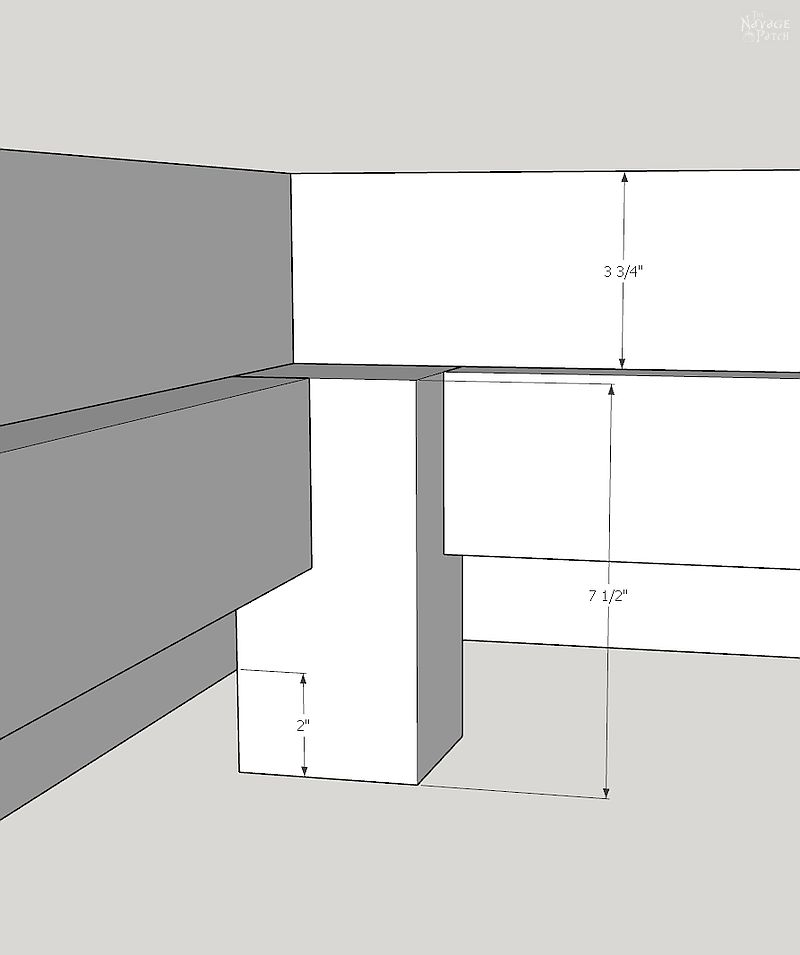
I set my Kreg Multi-Mark to 3 3/4 inches and drew a line all the way around the inside of the daybed frame.
Next I laid the 67 inch 2 x 4 along the line, leaving 3 1/2 inches at either end (that’s the width of the leg), clamped it and then screwed it in place from the inner side with 8 screws. For added strength, you can glue the 2 x 4 as well.
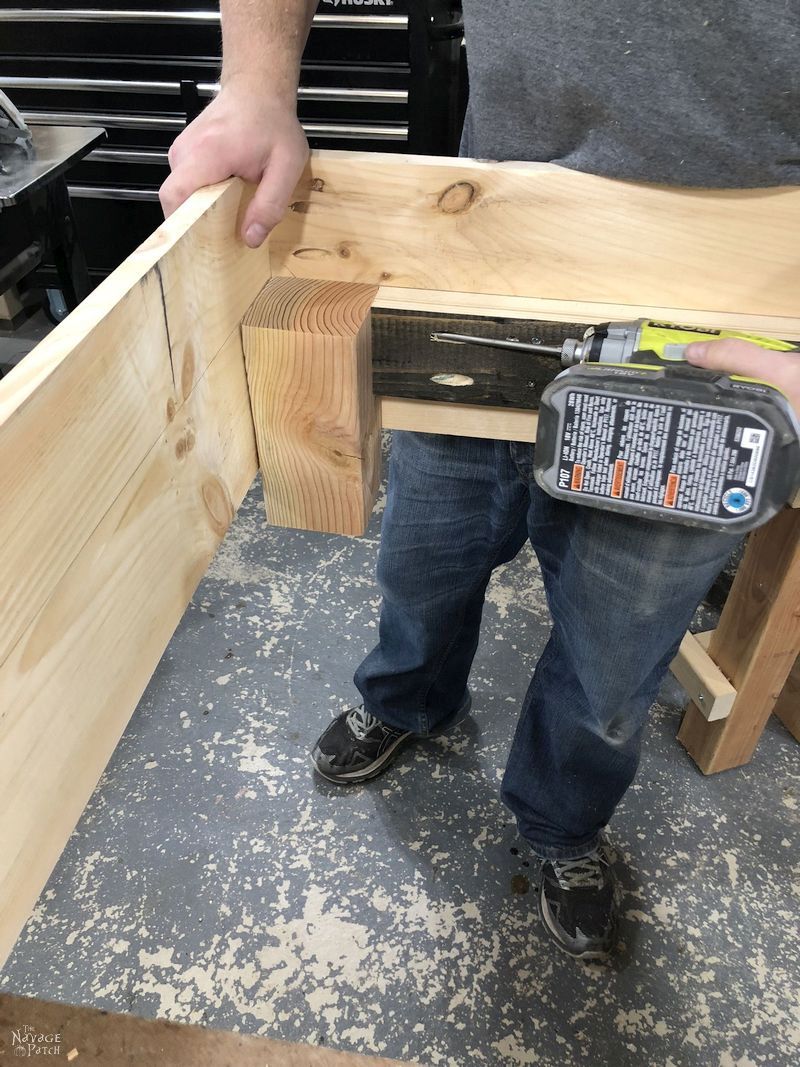
I applied wood glue to two sides of the leg, put it in place and then secured it with pocket screws
For a DIY daybed without casters, you would repeat this step on the opposite side and then attach the two 31 1/2 inch pieces in the same manner.
The Daybed with casters is a little different. Because the caster is 6 inches tall, I needed to make some adjustments under the hood.
Step 4 – Attach casters
By using a 1 x 6 and turning it, I gained enough space underneath to accommodate the caster, plus I gave myself a big enough area above to fit the caster’s screw plate.
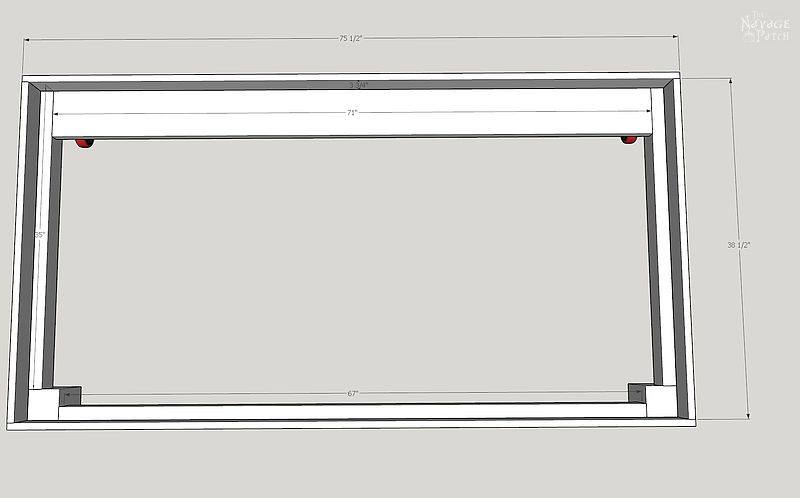
Please remember that we bloggers are sometimes partially, often mostly and occasionally completely full of crap, so when you hawkeyed readers notice in the next picture that I’m not using a 2 x 6, that’s because I goofed and didn’t initially consider the size of the caster’s screw plate when I originally designed this daybed.
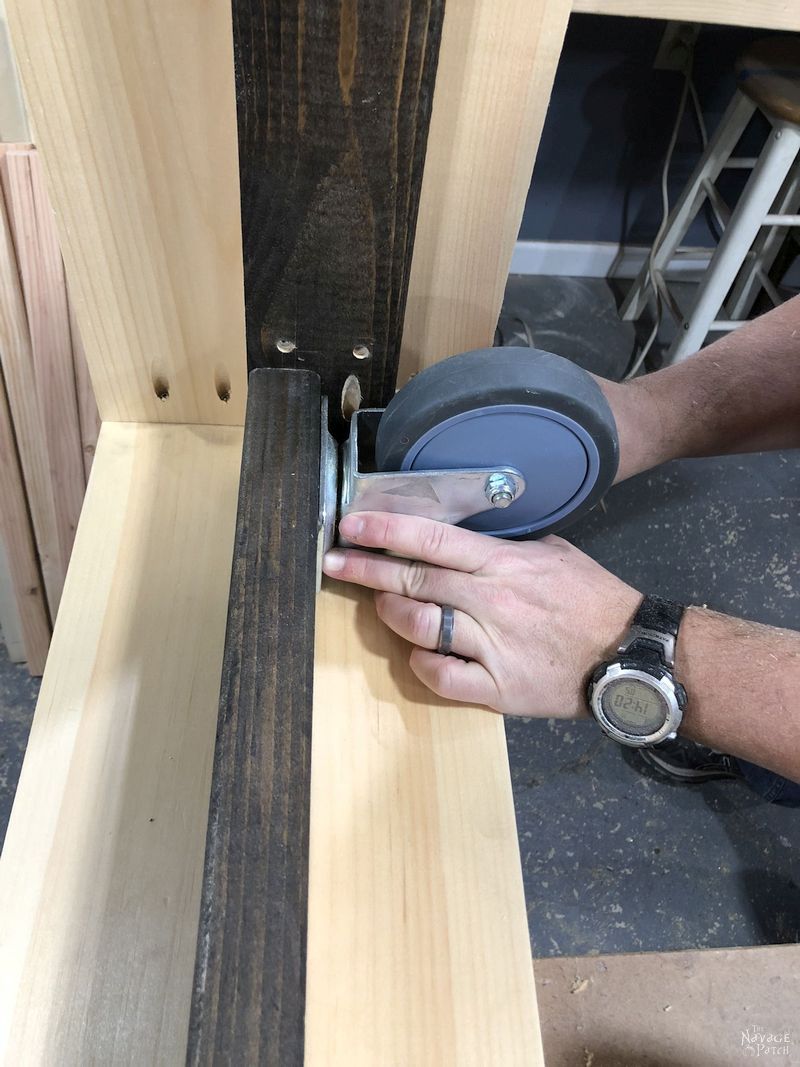
In order to make my caster fit, I had to use a swivel caster (which I already had on hand) and turn it sideways. To prevent the caster from swiveling all over the place, I braced and shimmed it with wood blocks (not shown). It’s not the most elegant solution, but it works.
Fortunately for you, I reworked the Sketchup plans to properly accommodate a 6 inch tall (5 inch wheel diameter) rigid caster.
Also, since the caster side of the DIY daybed would always be against a wall, I screwed that 2 x 4 (in your case a 2 x 6) in place from the outer part of the back.
Step 5 – Stain the DIY daybed
After applying Varathane Pre-Stain Wood Conditioner, I stained the daybed frame with Minwax Special Walnut.
On a side note, I honestly don’t know if I have the tallest head in America or if Handan is just a master of catching weird angles. It doesn’t seem excessively tall when I look in the mirror, but really, what do I know?
Yeah, we all know the answer to that, so you can sing along with me:
I know nuthin’!
Anyway, where was I? Oh yeah, Old Longhead was slappin’ some stain on his daybed…
When it dried, he placed the slats to make sure they fit.
Huzzah! They fit!
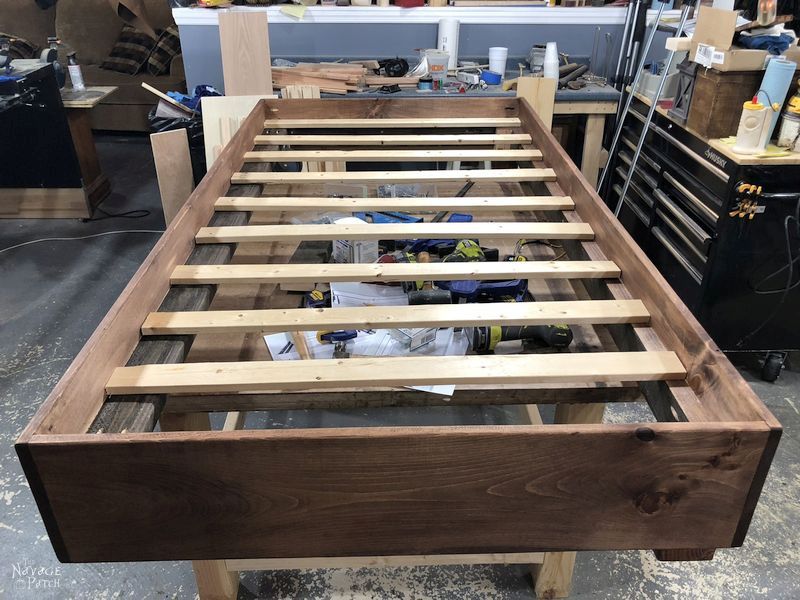
There’s no need to drill or nail those slats in place. Once the mattress is on them, they’re not going anywhere.
With that, my DIY daybed was finished. I left in in the basement while we sorted out those bookcases…
Building and Installing the Bookcases
So, we took a trip to IKEA.
Yup, IKEA.
If you’ve been following this blog, you’ll know my feelings about IKEA. Go on and read about it, I’ll wait here. It’ll give you a better understanding of what happened.
…
Oh, you’re back?
Good!
So, guess what?
I’ve had a change of heart as I’ve matured and grown these past few years.
I actually enjoyed my time in IKEA with Handan!
And because I wasn’t itching to leave and getting on her nerves, she got to enjoy herself, too.
It was a delightful day! 🙂
Okay, so what did we buy?
Well, aside from a few odds and ends that we’ll be putting to later use in Barish’s bedroom makeover, we bought two white Billy Bookcases.
They’re cheap enough, and we thought they’d look great flanking the DIY daybed.
When we returned home, Barish was champing at the bit to start building his new furniture.
It was a miracle! The Boy was interested and wanted to help!
Not only did he want to help, he wanted to be in charge of the build!
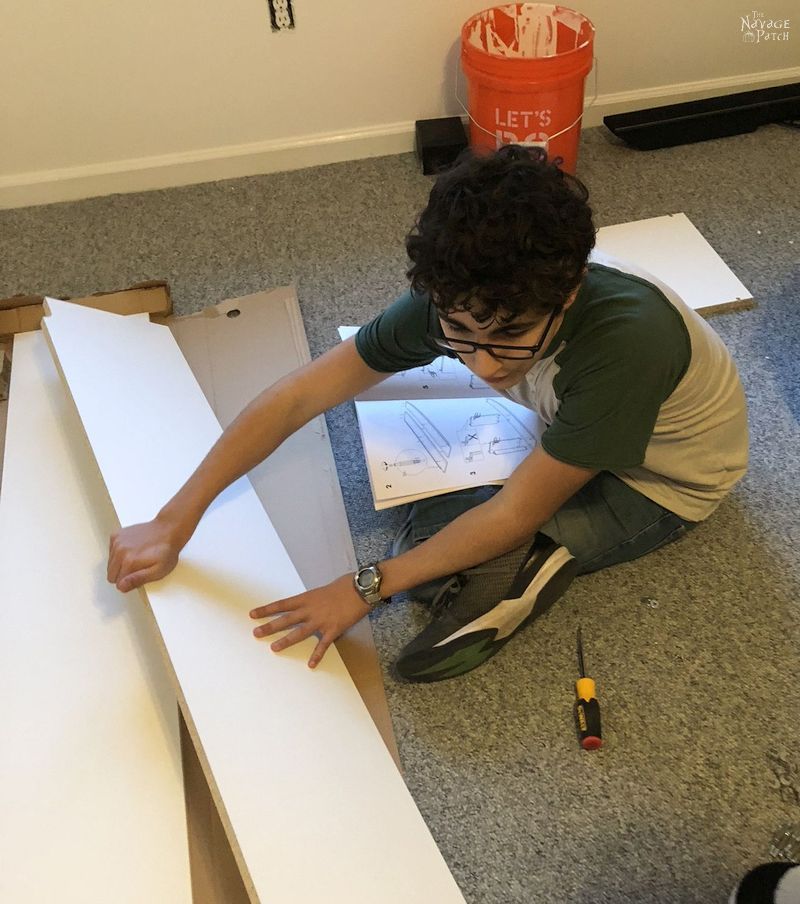
His mother was over the moon at the unexpected and most welcome development! The engineer in her tried to take the helm a few times, but I reminded her that this was Barish’s project, and she needed to let the boy spread his budding engineer’s wings.
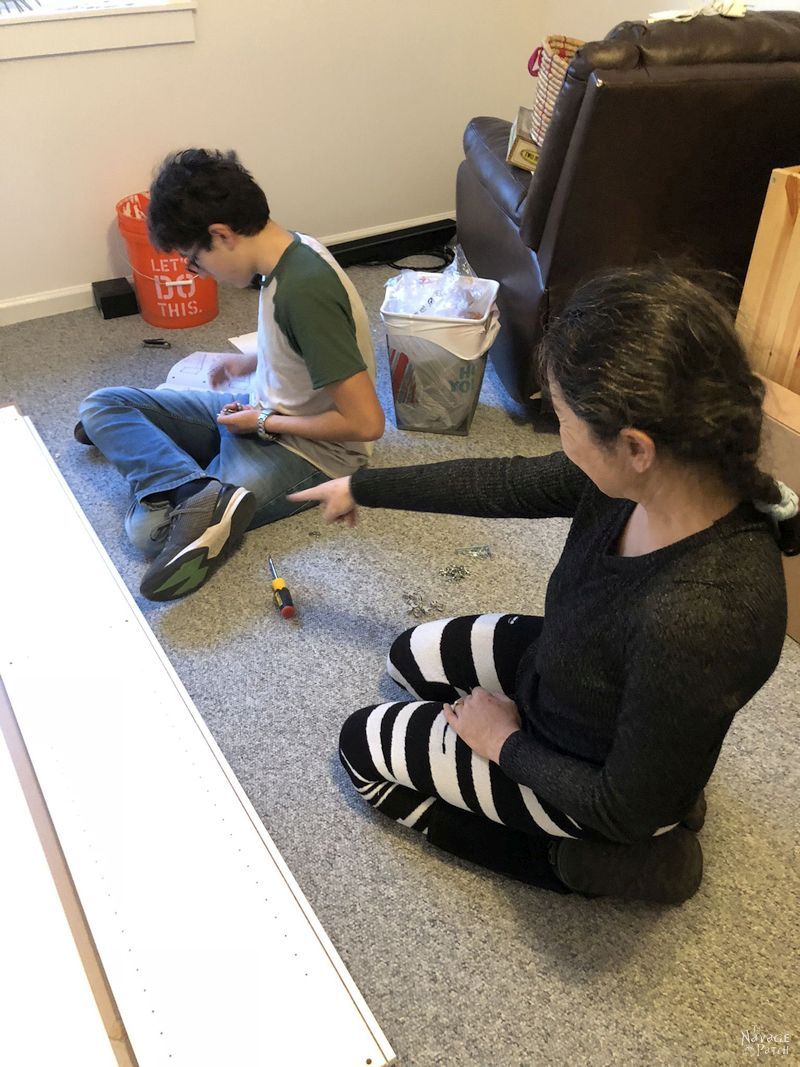
They made a good build team – mama and her boy.
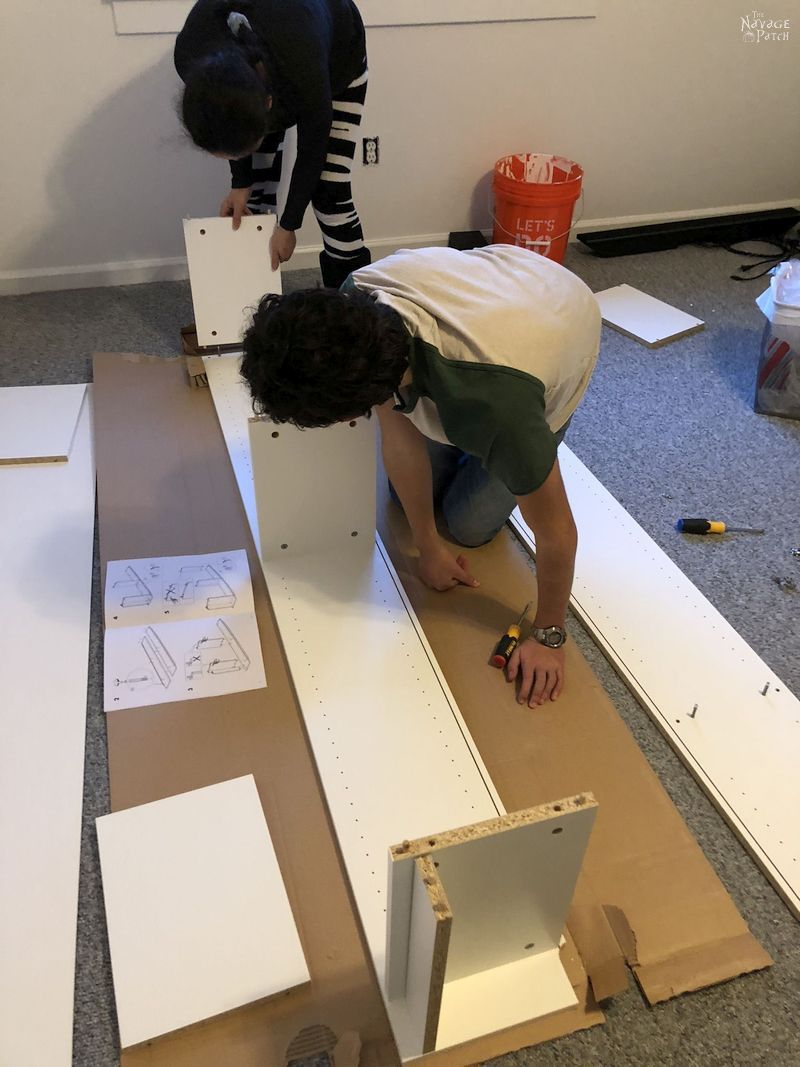
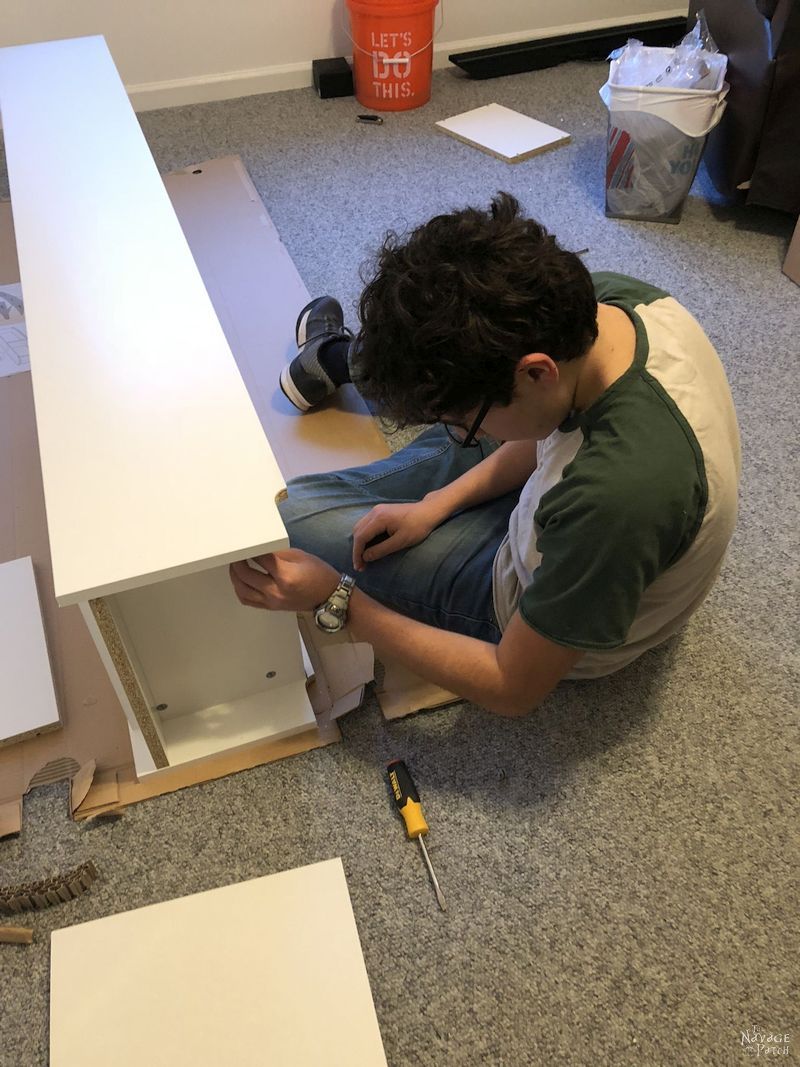
The Boy even got his first work-related injury – a dinky little splinter.

Undeterred by his grievous wound, he soldiered on and finished building the bookcase.
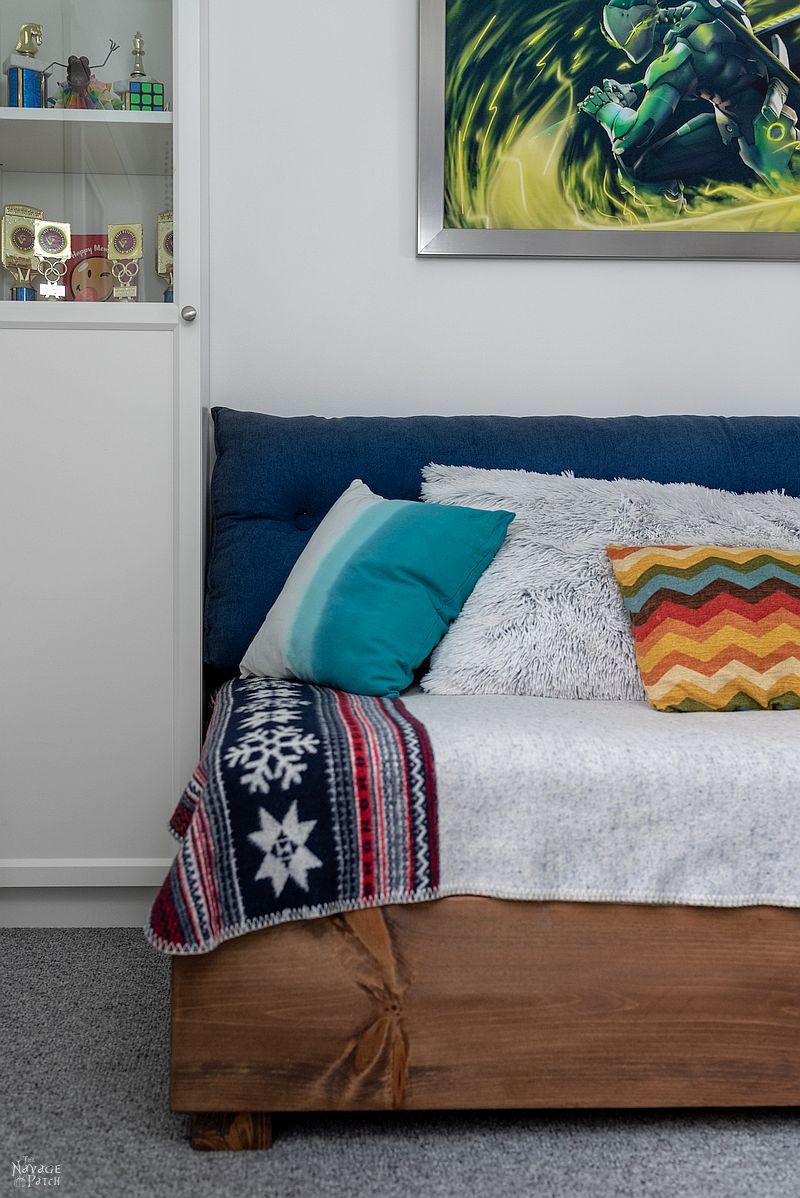
Handan and Barish maneuvered the bookcases to their new homes, and we rolled the DIY daybed in between.
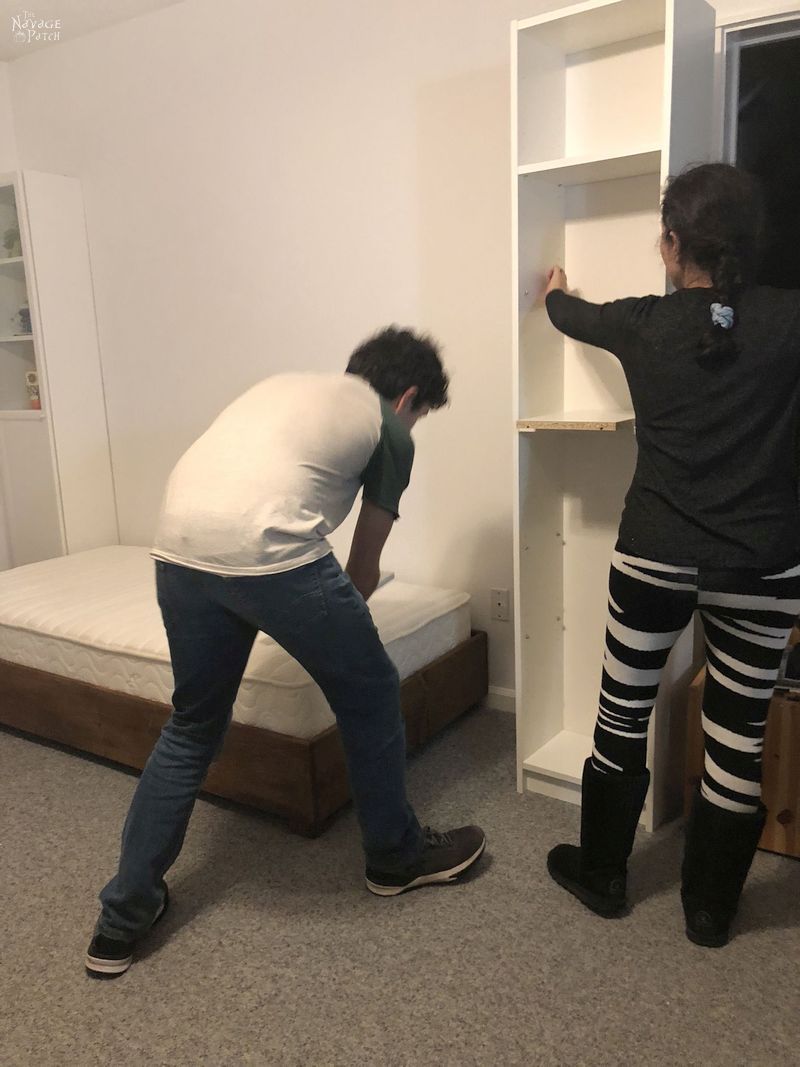
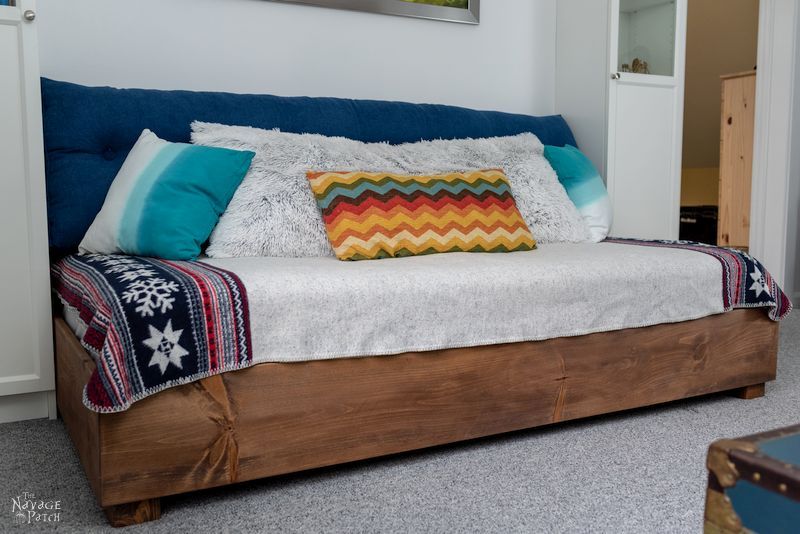
They then filled the bookcases with mementos from Barish’s childhood, and Handan made up the daybed.
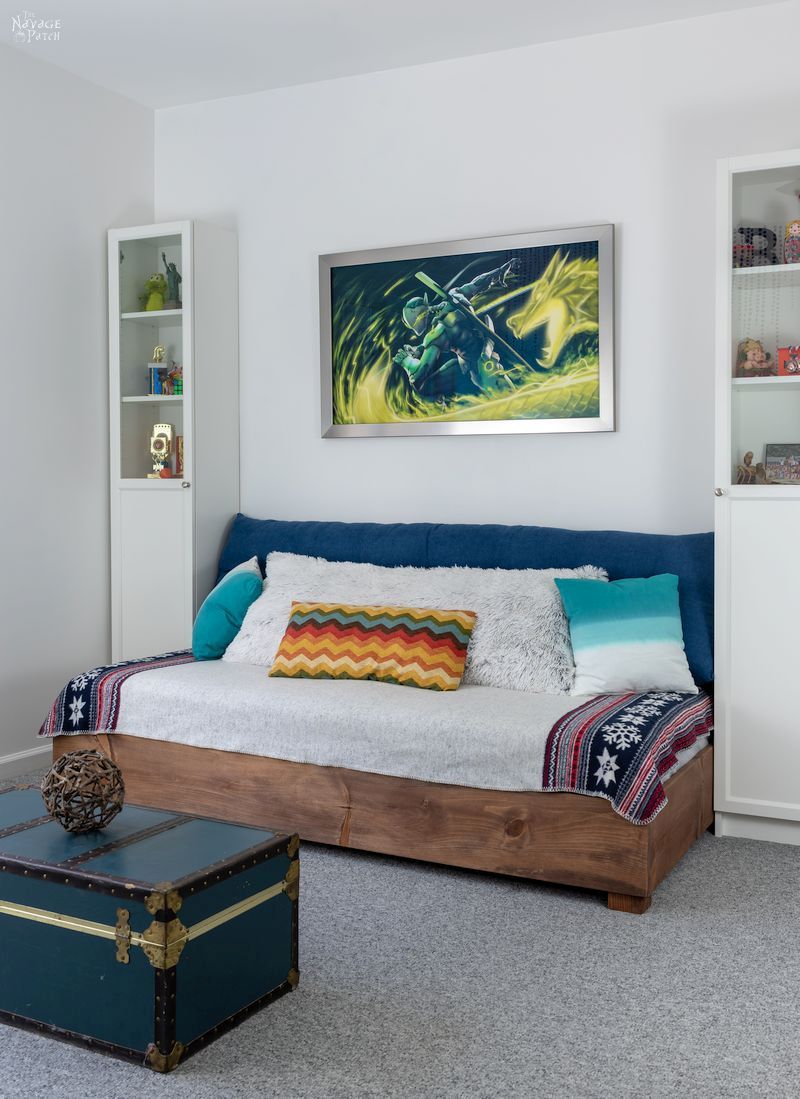
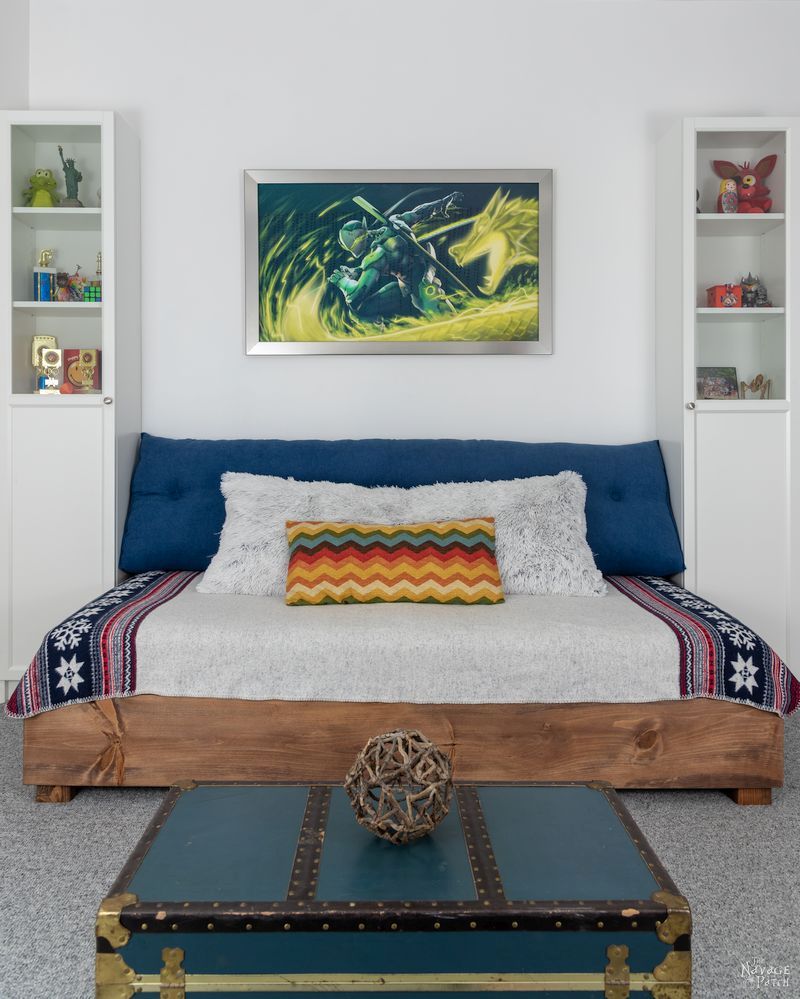
Barish picked out a poster for his birthday a year and half ago, and we had it framed. It had been sitting in storage ever since.
Finally, we were able to hang it!
Here’s the new Teen Lounge and Sleeping Space. We think he’s going to love it. What do you think?
Teen Bedroom Makeover Checklist (for The First Room)
Teen bedroom ideas and laying out the game planDIY alcohol ink switch plates- Paint the walls
Build 2 IKEA Billy bookcasesBuild a daybed- Hack IKEA Kallax into a TV stand
- Create an accent wall
- Buy or DIY plugin sconces
- Make wooden wall art
- Build a small chess table
- Build 2 guitar display frames
- Buy a new desk
- Change the fan
- DIY fired alcohol ink art
- Hack IKEA Laptop Stand
- Buy throw pillows
- Add greenery: faux plants, air plants, DIY air plant holders
- Metal filing cabinet makeover
- DIY Craftsman style trim
- World map wall art
- Small closet makeover
- Barish’s first room reveal
Click here to see more teen bedroom makeover posts as we continue to cross items off our checklist!
We love it when you share our posts on Facebook and Pinterest!


Nice daybed. Handsome young man building with his Mom. His room is turning out great. What a wonderful family you three are.
Thank you, Amanda! It was great to see them building together! 🙂
It’s great to see someone his age taking an interest in something that’s not on his/her phone!!
Great job!!
I know, right? LOL!
Certainly looks fabulous (as well as neat and tidy, but we know that won’t last!). My girls would have loved that as well!! So much fun when they get involved with us in projects!
LOL, he was under strict orders not to touch the daybed until I had taken some pictures! 😀
Trust me, girls are just as messy if not more so! At least, mine is! I will be pinning this project for when I redo my guest bed. I can’t wait to see the finished room.
I had no idea! I thought messiness was a boy thing! I guess we’re all fighting the same battle 🙂
Looks fantastic! My youngest is a 16 yr old son, so everything you wrote in beginning of the post…..so relatable! I have been thinking of doing the same thing with 2 twin beds, but in an L shape. Where did you get that long blue pillow that goes across the back of the bed?
Thank you, Marlene! Handan will give the link to the pillow here in just a minute 🙂
Hi Marlene,
Here is the link for that long blue pillow:
https://amzn.to/2tghBZK
Awesome! Thanks!
Wow Greg that is one beautiful bed. I know Barish will be very happy in that room which is already shaping up to be fun and colorful. The best part of this story is of course that he wanted to be involved with the project! Moments like these are timeless!
Thank you, Mary! I couldn’t be happier that Barish is now helping out – another set of hands is always welcome around here! 🙂
Wow what a fabulous day bed! You’re such a great family and so talented. On the subject of mess, i once took a temporary part time cleaning job in a Youth Hostel, i was horrified when i saw the state of the girls dorms the boys were much cleaner and tidier.
Thank you so much, Catherine! I find it very interesting that people are claiming girls are messier than boys, lol!
Awesome looking daybed. The stain again just looks fantastic on that wood. Everything has a very cool mid century / smoke room vibe. Perfect for a young guy.
I also have a wood bed frame and my only hassle was that with all the moving about I do at night (just can’t lie still – dunno how people do it!) the slats squeaked on their runners like crazy. And then because they moved around so much, they warped a lot faster than anticipated and…long story short, my mattress fell out from under me and unceremoniously dumped me on the floor. I definitely let out a rather unmanly scream. I ended up flipping the slats over and screwing them all down and problem solved on the squeaking front – wish I had done it from day one!
(And let Barish know that Genji rocks and excellent choice on the artwork! BIG Overwatch fan here!)
LOLOLOL! I thought that kind of thing only happened in movies and cartoons, LOL! I will tell Barish that you’re into Overwatch – he’ll be thrilled that (at least one of) our readers are into that same things that he is!
Where did you find that large long pillow in the back? I have a small one bedroom apartment and my bed doubles as my “couch” for watching tv. Right now I just lean against the wall since I don’t have a headboard and it would be nice to have that long pillow in back for support.
Ah, I just saw a previous comment where the link to the pillow was posted.
Came across these plans, and really like it for our teenagers. Thanks for sharing all of this information with us. Is there updated measurements or plans with a full size bed somewhere? Many thanks!
Hi Daniel, apologies for the late reply. Unfortunately, I don’t have plans for a full size bed.