DIY Pantry Remodel on the Cheap
This DIY Pantry cost less than $500! A dream pantry doesn’t have to break the bank if you know where to save money!
Astute madams who’ve been lurking around The Navage Patch blog for at least two years will doubtless remember that I, your long-suffering narrator and antihero, was tasked with a pantry makeover mere weeks after moving into our Florida home by none other than my lovely wife, Shrimpus Maximus.
The very same astute madams may then be rightly wondering why I’m now tasked with remodeling that which I just (relatively speaking) made over.
Well, it’s simple, really.

First, we’re waiting for our new kitchen to be installed, and while the old pantry (which was still new in my books) might have had some cachet during the reign of The Green Monster:

It was about to find itself looking like a hillbilly on holiday in Dubai once the new kitchen gets installed.
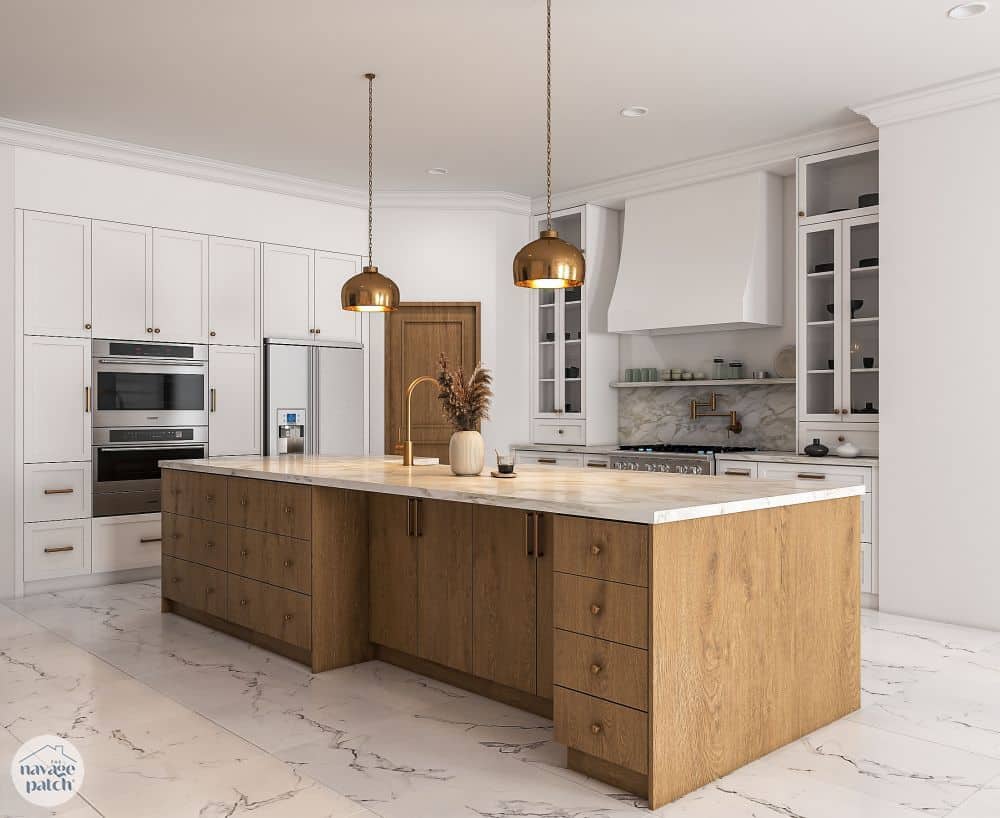
As a reminder, the above picture is CGI. There’s been some confusion about that due to how good the rendering is!
Second, this remodel has been brewing in my babes’ brain since before the paint was dry on my April 2022 makeover.
It’s a strange feeling to hear the words, “It looks amazing my babes! You’ll be giving it another makeover soon!”
I’ll be giving who to the what now?

But the Shrimp works in mysterious ways, so if she wants a new pantry, she’s gonna get a new pantry!
So once more unto the breach, dear friends, once more!

Sayonara shelves, I hardly knew ye.
DIY Pantry VIDEO Overview
Watch our short and fun video below for an overview of our DIY Pantry before you read the detailed account below.
Watch Our Tutorial On YouTube
On Tiktok
We love to see our DIY projects out in the wild! If you try this DIY project and take a picture and post it on Instagram, be sure to tag us – thenavagepatch
pantry makeover Source LIST
Affiliate links are provided below. Full disclosure here.

Handan’s vision for the new pantry is much grander than the one she had for my original makeover. That one involved ripping out the feeble wire shelves that came with the house and replacing them with six full, wrap-around shelves that made full use of the 10-foot ceilings.
For this remodel, we’ll be giving up a bit of storage space to have cabinets with drawers and a countertop for small appliances. The lost pantry space will be more than made up for with all the new cabinetry that will be installed in the kitchen.
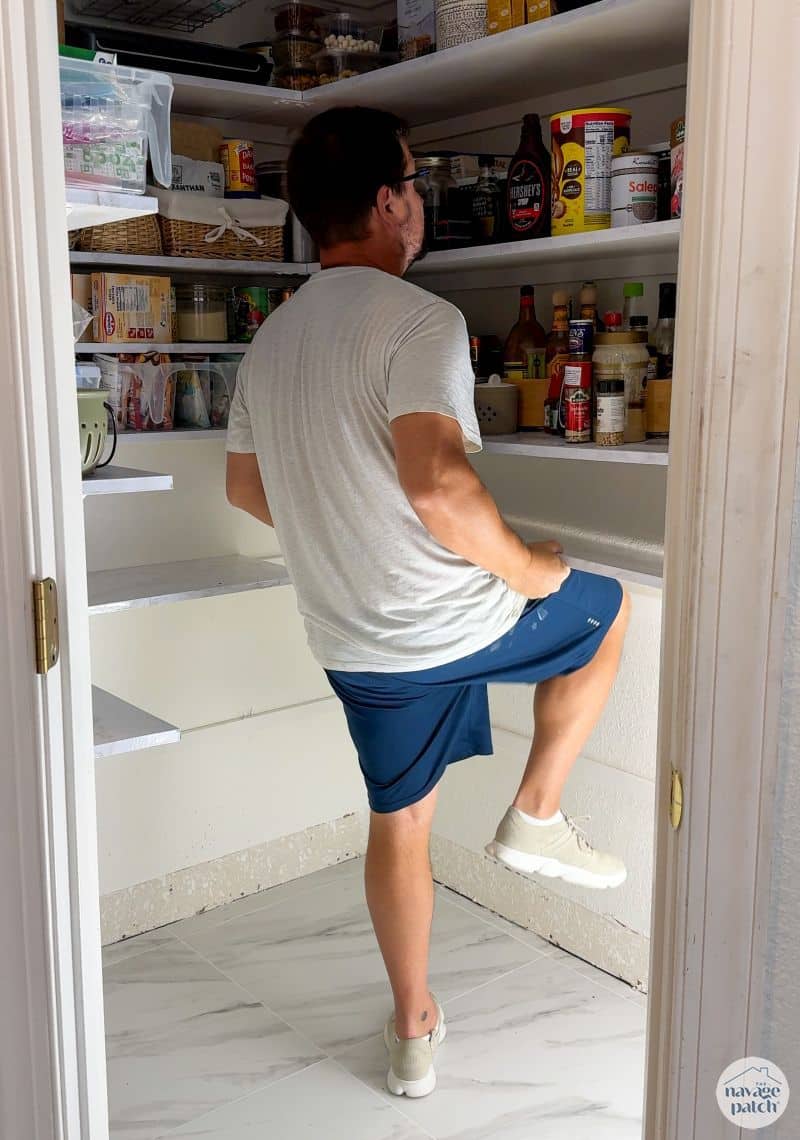
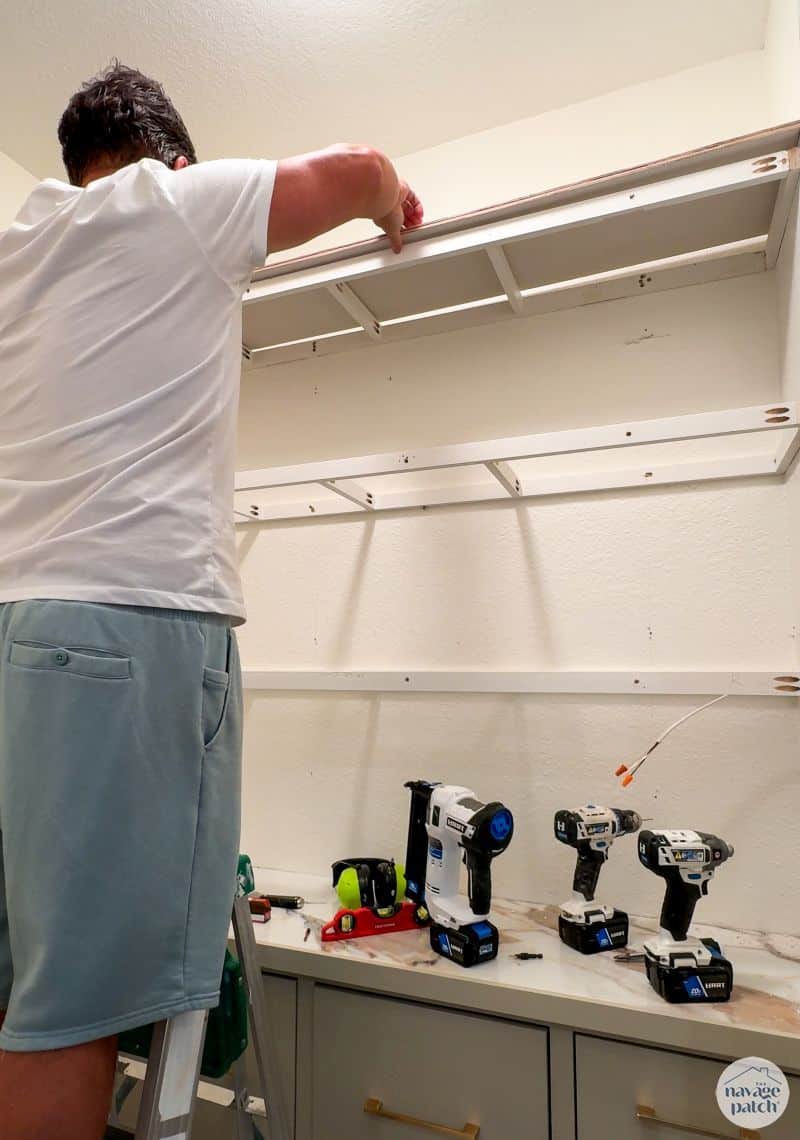
To start with, I removed only enough shelves to accommodate the base cabinets I’d be building. No sense losing all that storage space until it was absolutely necessary!
Meanwhile, Handan whipped up a plan for how she wanted the cabinets.

To save money, I used as much scrap plywood as I could, especially for the drawers and cabinet supports. The only full pieces on the cabinets are the sides. I gave the backs three 2-inch horizontal supports and two on the tops. I put another 2-inch support across the front bottom, and each drawer would have between one and three horizontal drawer divider supports depending on the number of drawers.
I used my new Kreg 520 Pro pocket hole jig. Such a big upgrade over the original master system I got over 10 years ago!


I added the drawer separator supports and tacked them with brads.

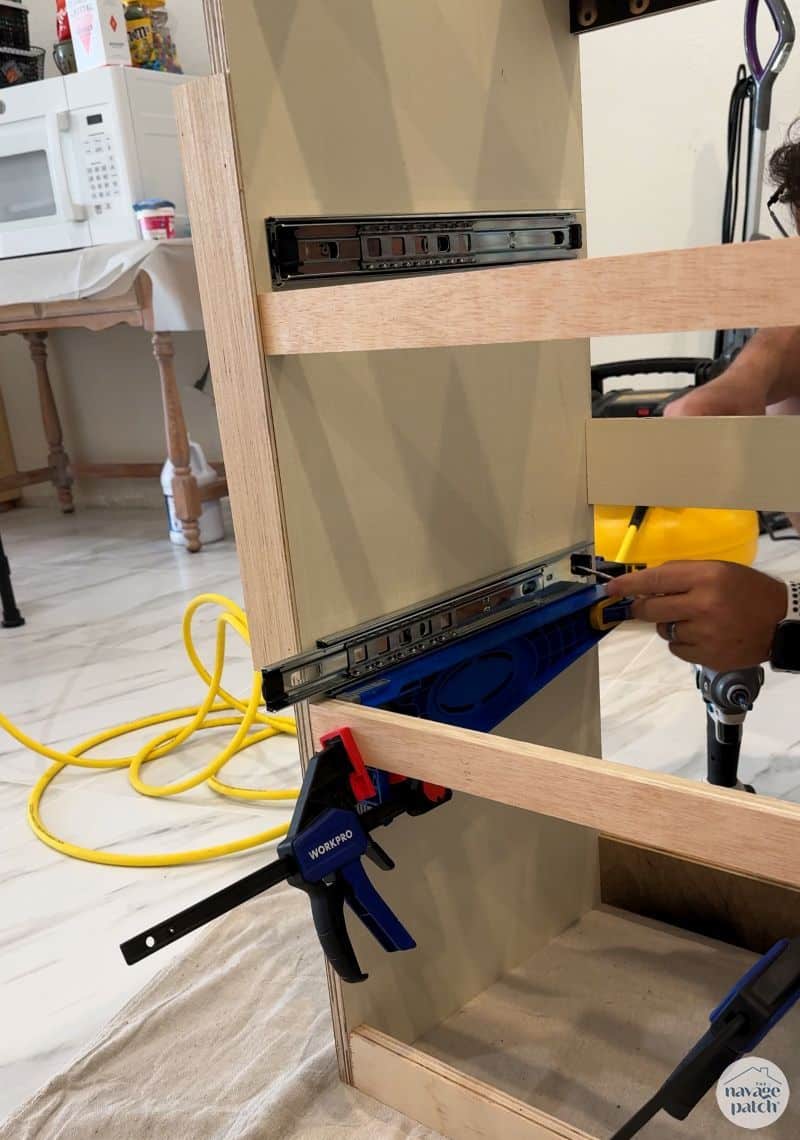
I used a Kreg drawer slide jig to make quick work of the 14 pairs of slides I needed to install for the inset drawers.
With the slides installed, I carried the five cabinets into the pantry and screwed them to each other and to studs.


Next I got to work on the drawers, again using my Kreg 520 Pro to drill pocket holes.

I assembled 14 drawers of various sizes but left off the faces – I’d be installing those later.


I installed the slides, inserted the drawers into their cubbies, and wasn’t the least bit surprised to find my babes’ had already started to test-fill the drawers!

Satisfied with the fit and ability to store Turkish desserts, I took the drawers back outside and painted them white.

Back inside, I added a face frame to the cabinets made of utility panel that I attached with construction adhesive and brad nails.


Next, I attached the drawer faces with construction adhesive and brads. I used a 1/8 inch spacer shims on the bottom and sides to keep the look consistent between drawers.


We planned to use some sort of tile for the countertop, so I first laid down one layer of scrap 3/4 inch scrap plywood and topped it with another layer made from the shelves of the old pantry.

The Shrimp jumped in at this point to help with painting the cabinets. We used Sherwin-Williams Shiitake left over from our laundry room remodel last spring.

What a delightful shrimp!

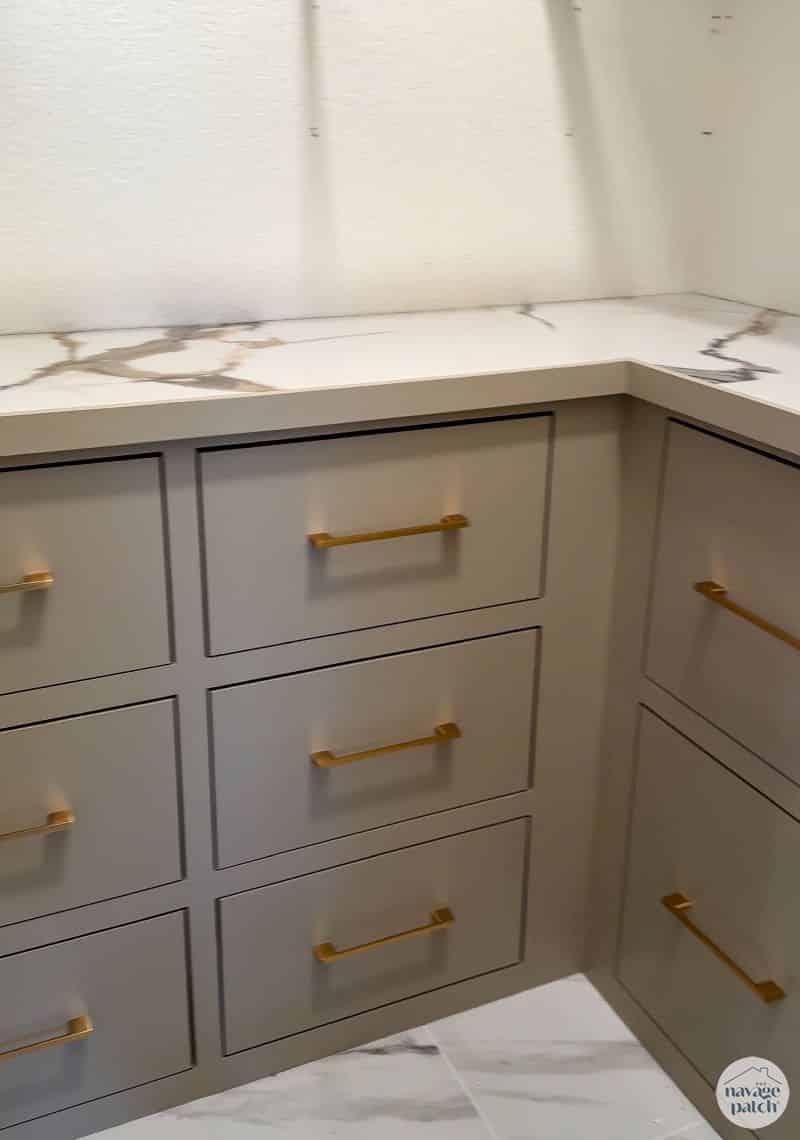
I installed pulls with the help of my Kreg cabinet hardware jig. I don’t know how I lived without this thing for so long!

The pulls Handan bought are beautiful! They’re perfect for this pantry, and they’re surprisingly affordable!

Our original idea was to use the same adhesive vinyl tile we were planning for the backsplash (more on that in a minute), but when we laid out a mockup, we were both like, meh.
We then lit out for Home Depot and Lowe’s to find a suitable tile for the countertop. Tile instead of a “real” countertop was going to save us a ton of money.
After coming up empty in Home Depot, we popped across the street in Lowe’s. I had some lumber sticking out the back of my truck, so I told Handan to go have a quick look since I wasn’t expecting much.
After a time she called and told me what she found. She sent a picture and I said, “I’ll be right in!”
What she found was incredible!

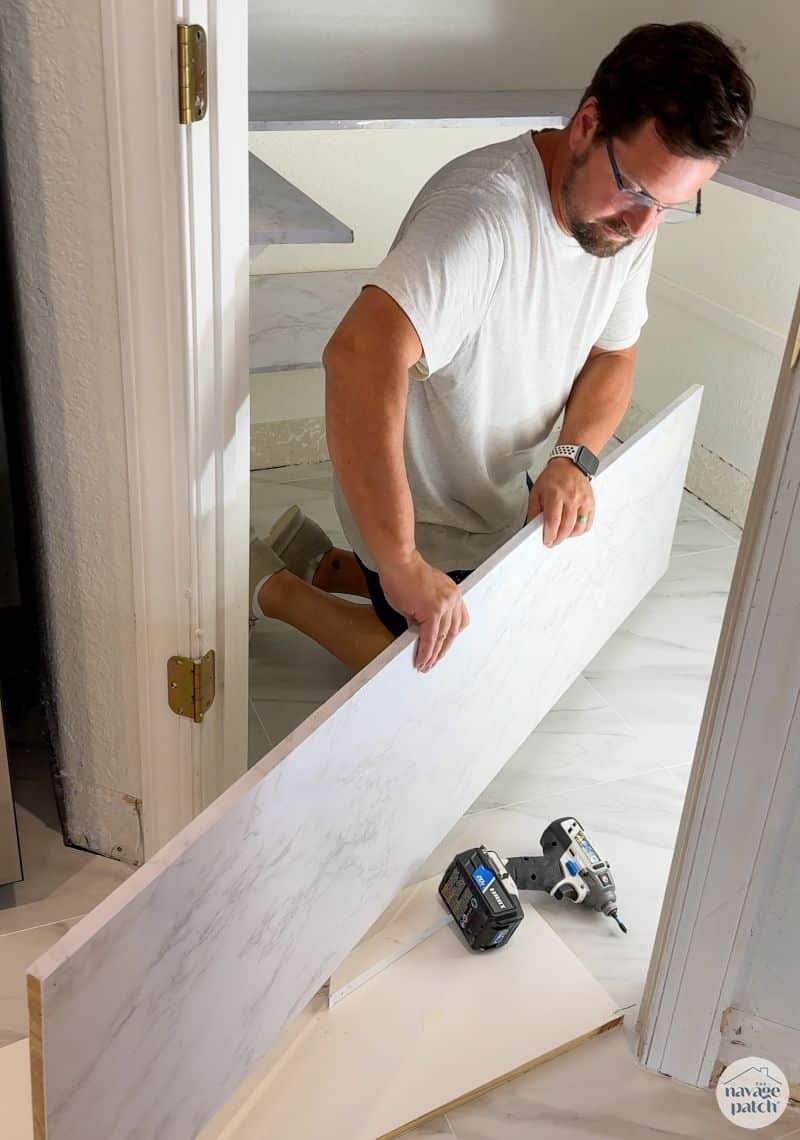
It had the same tones as the cabinets and the backsplash we were intending! The tiles were 24×48, so we’d need three of them to fully cover the cabinets. But at $34 per tile, that meant our countertop would only cost $102!
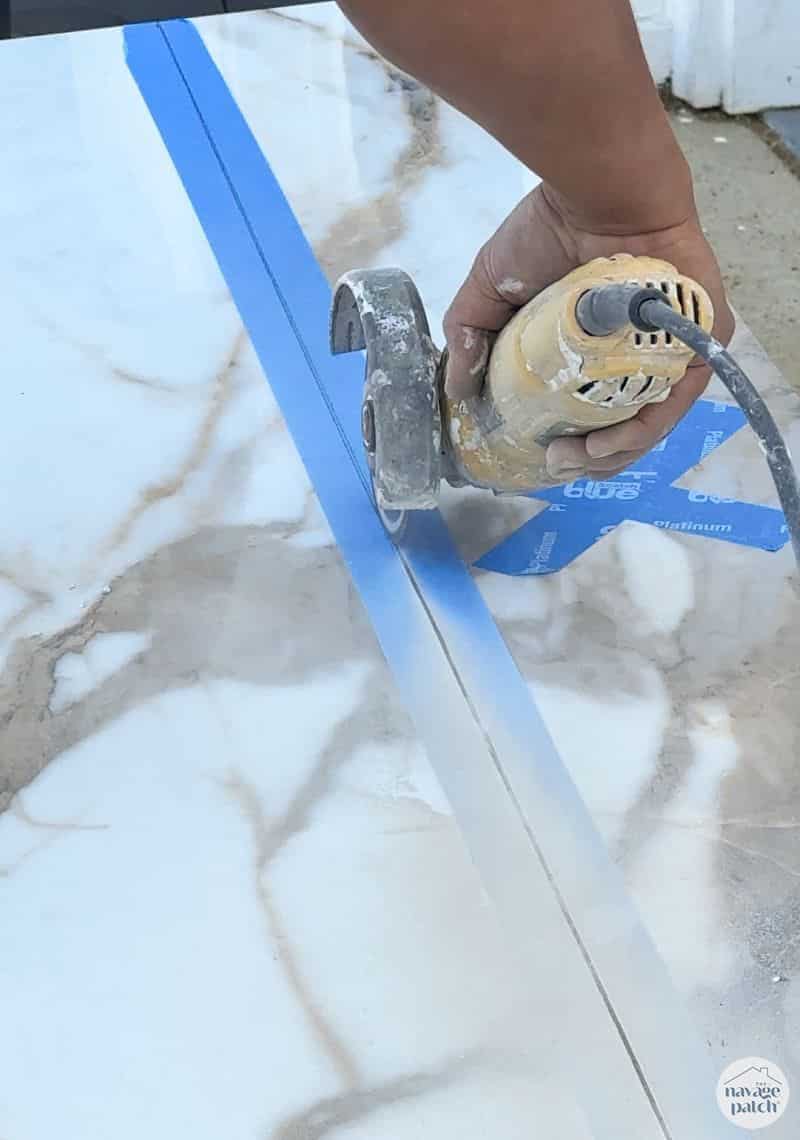
Cutting a straight line on something this big seemed a little above my pay grade, so I asked the guys who installed our tile floor to come back and help me out.
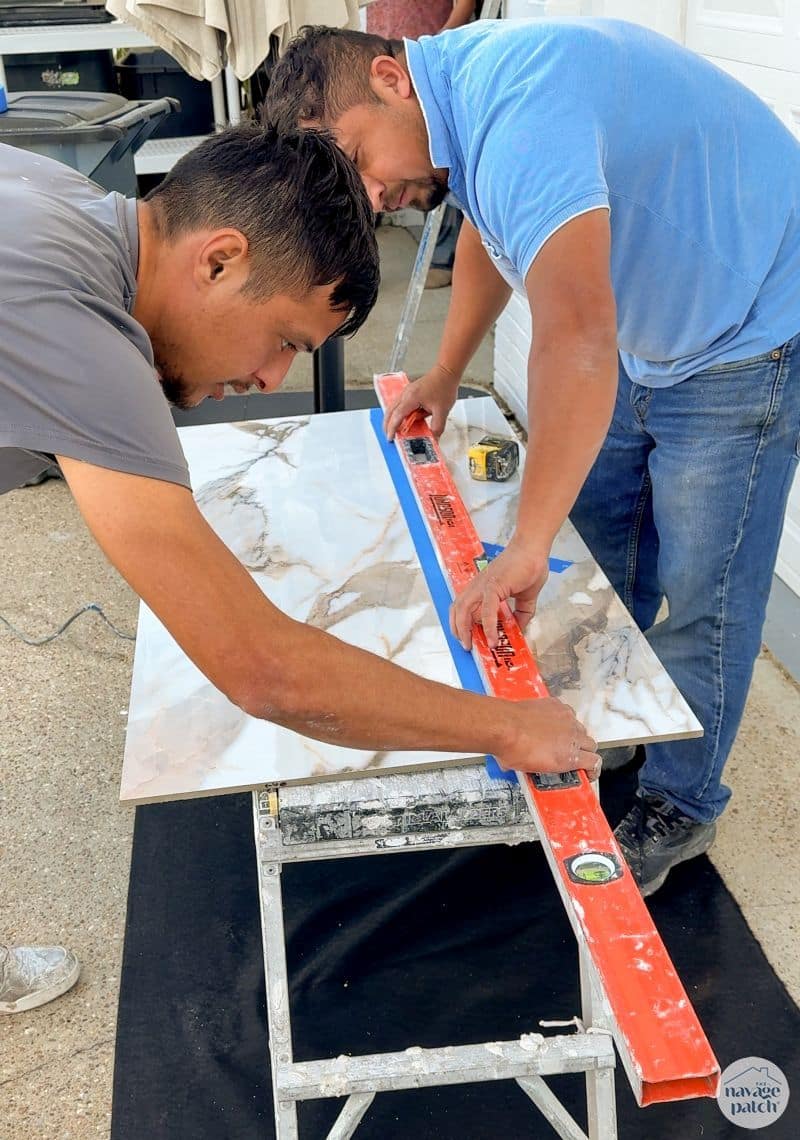
I thought they’d use some sort of fancy tile cutting machine.
Nope! He freehanded it!
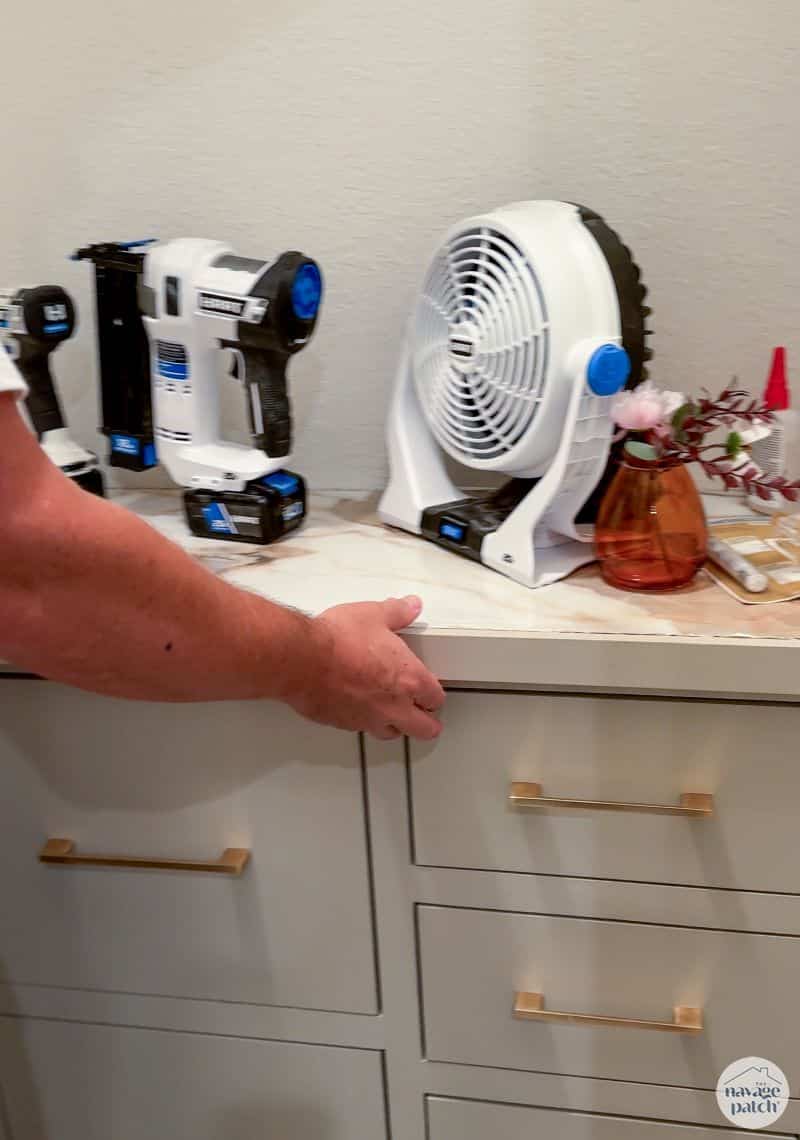
Handan and I installed the pieces with just a little construction adhesive underneath. The tiles are heavy, and they are bounded on all sides, so they’re not moving anywhere! I made a trim piece for the front to complete the look.
Where the tiles meet each other, we added caulk to hid the very thin black line. The seams are all but invisible now! I’ll give you a better look in the beauty shots, but here’s a glimpse.
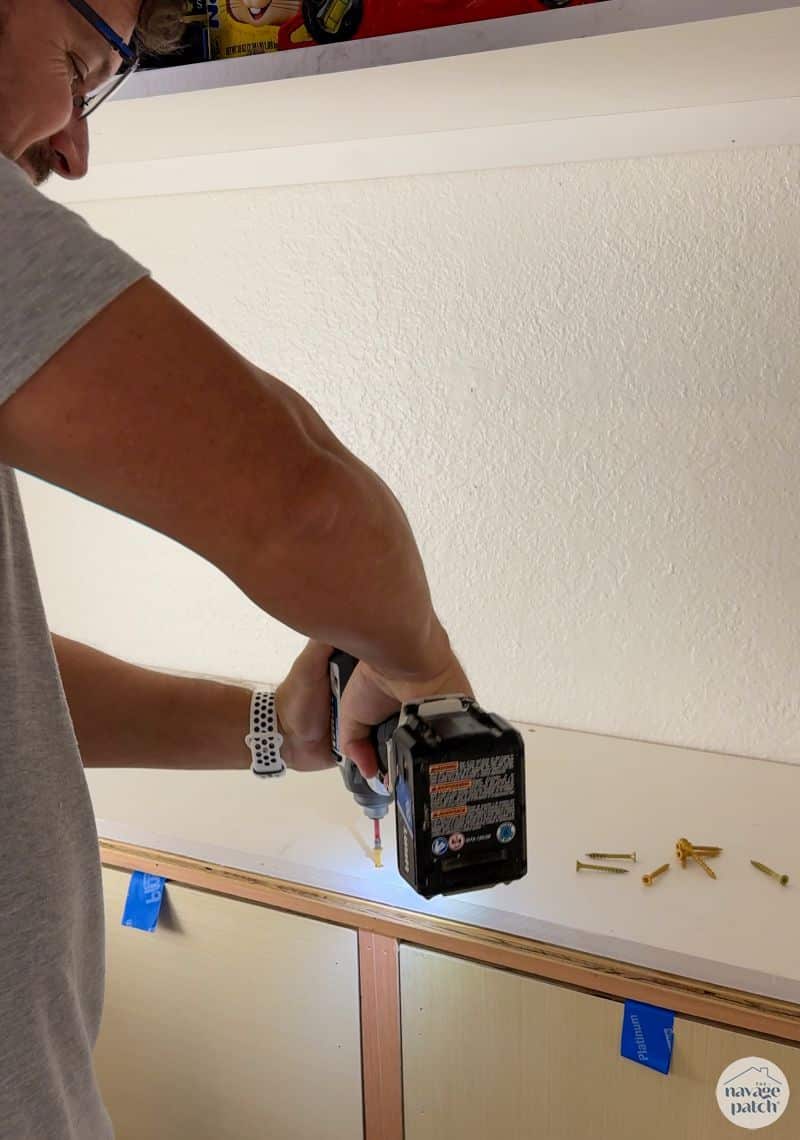
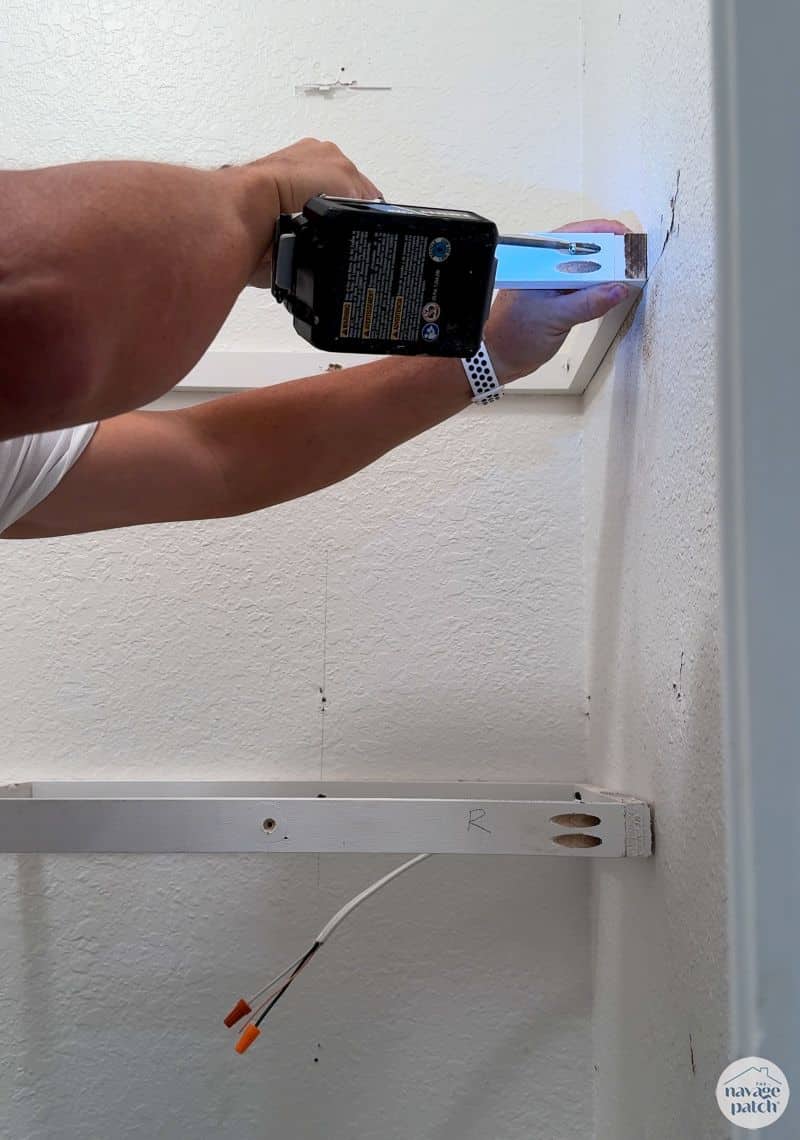
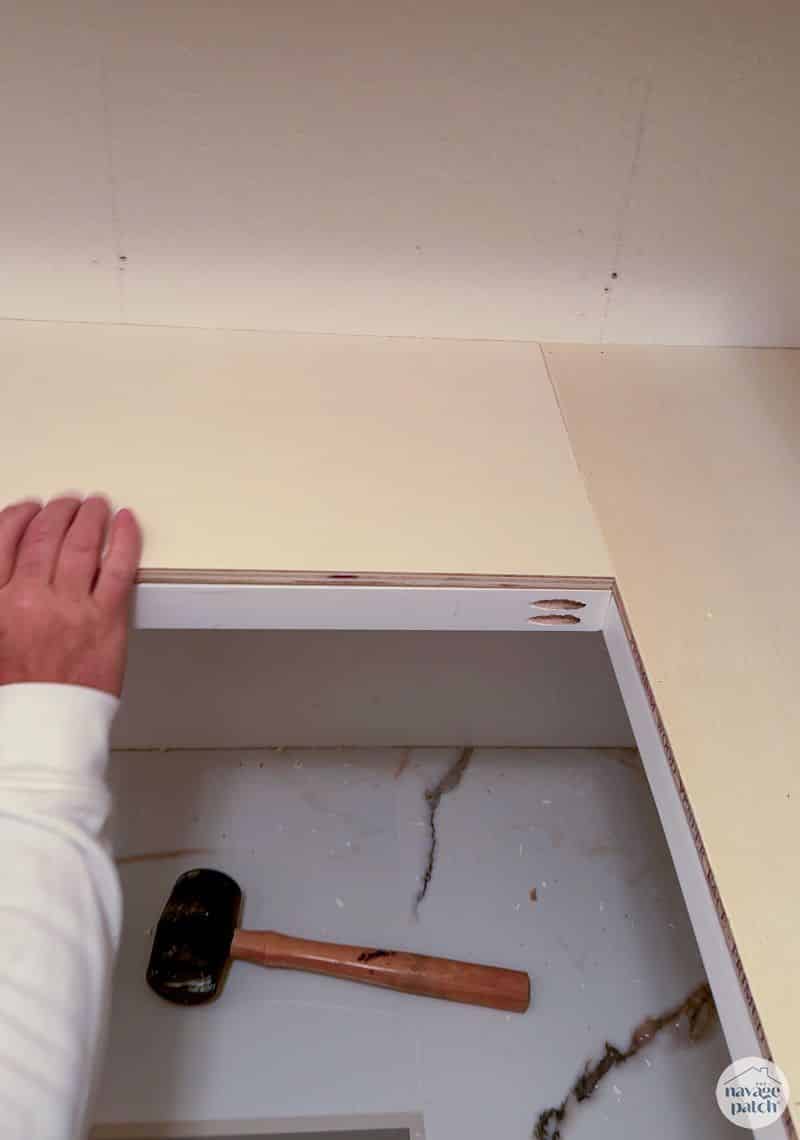
With the countertop installed, I turned my attention upwards. My babes planned for 3 floating shelves which I installed with the same method I used for the guest room closet shelves.

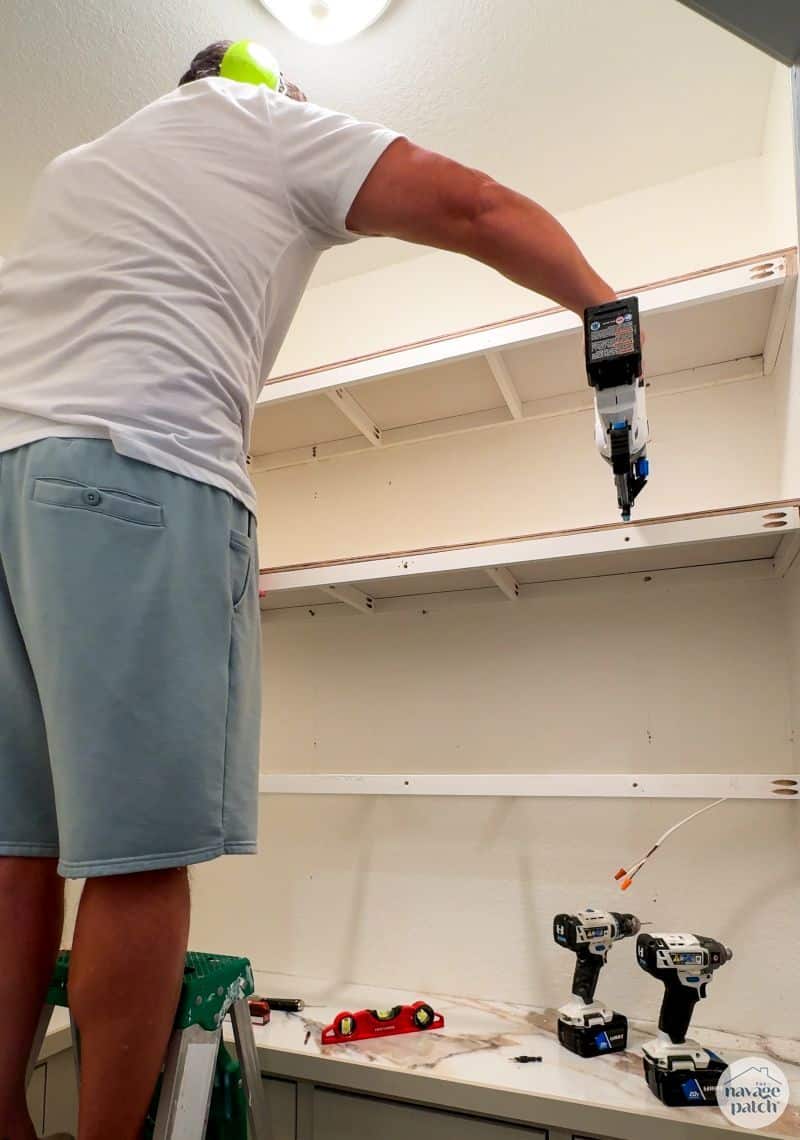
I used the shelf supports from the old pantry to build new supports for this pantry. I screwed the wall supports into studs and then used pocket screws to join the rest.
I laid 1/2 inch plywood on top of the framework and secured it with brad nails.
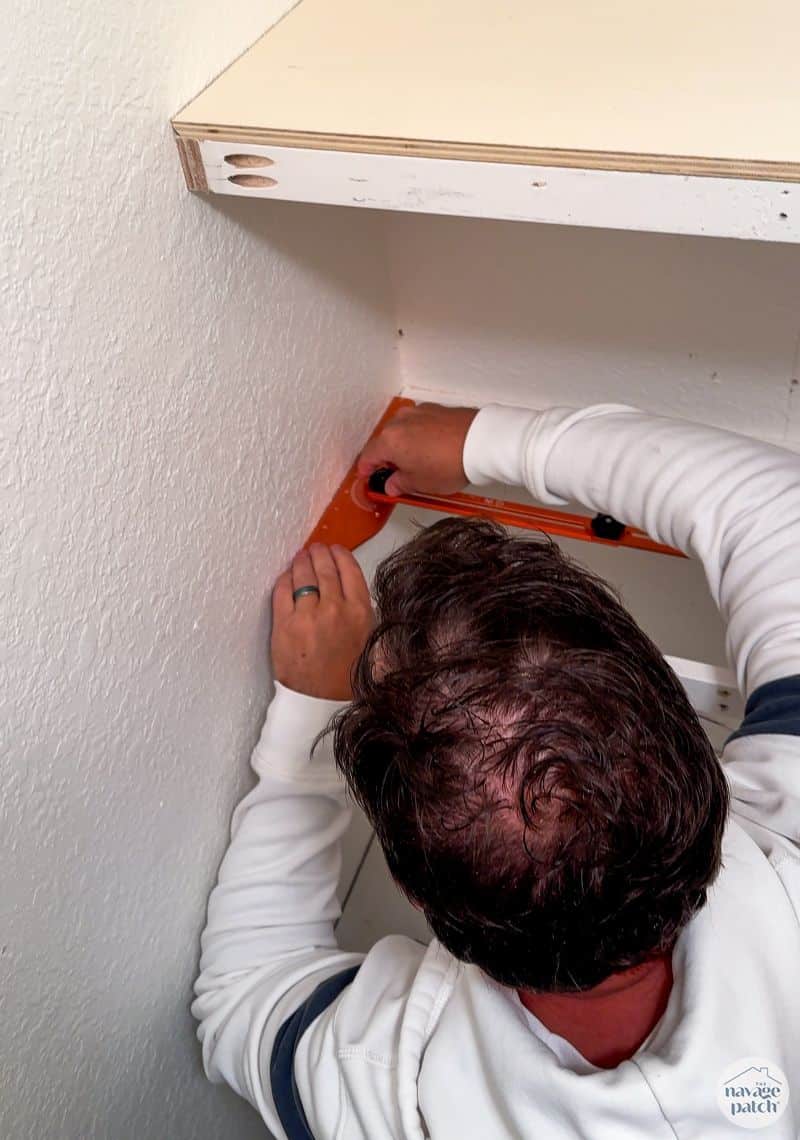
Handan found a really handy tool for measuring and cutting shelves in spaces with unsquare walls. In other words – every house in America.
It’s official function is a stair tread template, but it works wonders for shelves, too!

I set and locked the side angles.
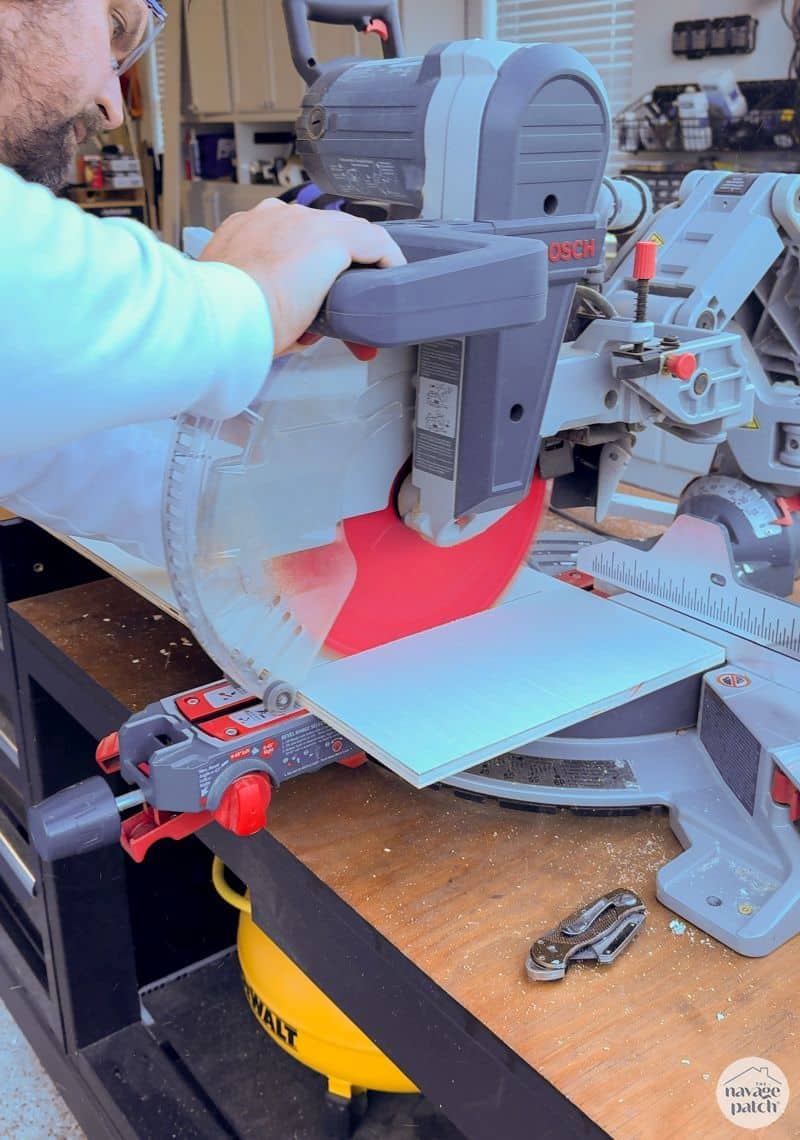
Then I took the template outside and traced those lines onto a piece of plywood.

I cut the wood according to my lines, and it fit perfectly in place.
Before installing the shelf bottoms, I got to work on the backsplash. We had bought some vinyl when we first moved for bathroom makeover I still haven’t gotten around to. The best part about it was its price: 27 cents per square foot. Yep, you read that right!
Handan’s original thought was to use the vinyl tile for the countertop and the backsplash, but thanks to her amazing Lowe’s large-format tile discovery, we were able scale back our plans for the vinyl tile to just the backsplash. To make the look more appealing, my babes suggested we cut the tiles into 2-inch strips. I cut the strips with a vinyl tile cutter but discovered they wouldn’t stick to the textured walls

But they stuck just fine to a piece of painted hardboard!

I installed the backer board to the wall with construction adhesive.
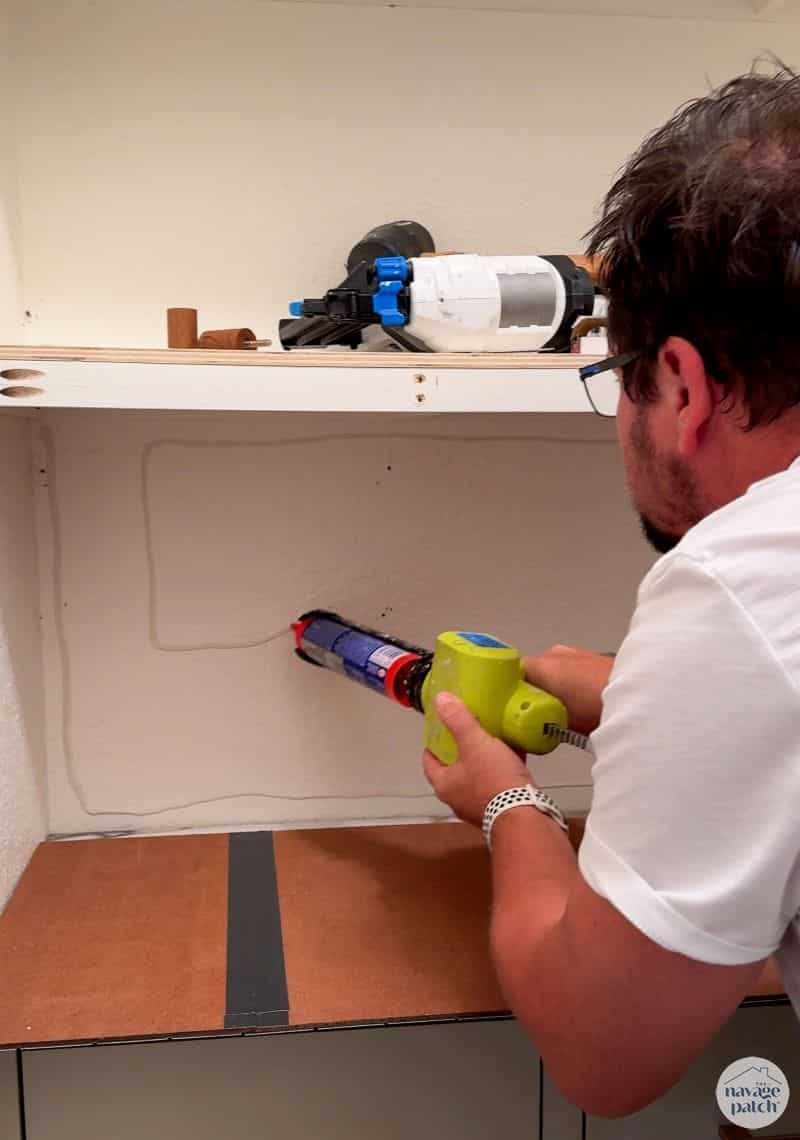

Before grouting the tiles, I installed utility panel to the undersides of the shelves with construction adhesive and brad nails.
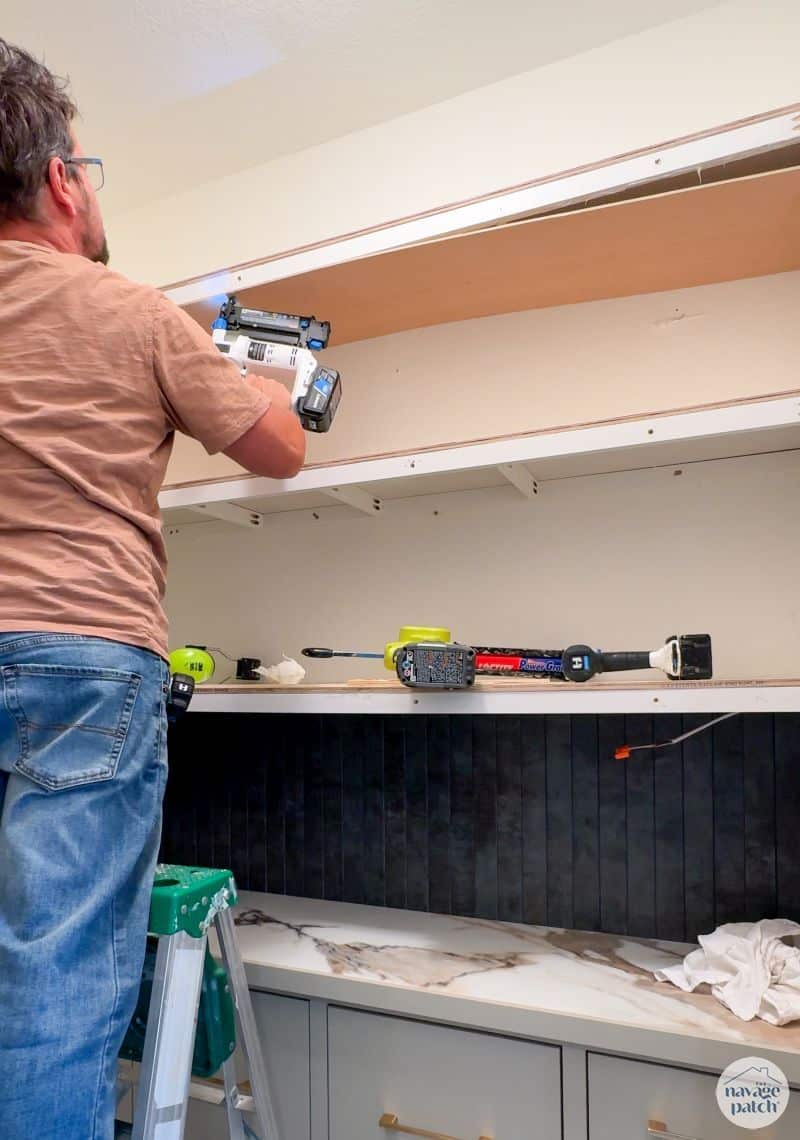
I added more utility panel to the shelf faces, and then I mudded the seams, nail holes and wall damage. The bottom shelf isn’t finished in the pic below because I still had some electrical work to do inside it before closing it up.

I used gray grout and worked one tile at a time, and they turned out great!

Once again, my babes was right for suggesting Natural Gray grout, and I was a gibbering doofus for thinking Charcoal gray would be best.

After wiring up a power strip under the bottom shelf, I filled more holes and then sanded everything smooth.

A little paint, a little prime, and Bob’s your uncle! This DIY pantry remodel on the cheap was almost finished.

But first, I had to do something about the frosted boob light sagging mirthlessly from the ceiling.


I replaced with a light Handan found. I mean, obviously my babes found it. What are the chances I’d find anything stylish if ever I waded into the murky waters of online light shopping? Pffft!

It makes a beautiful pattern on the ceiling and walls!

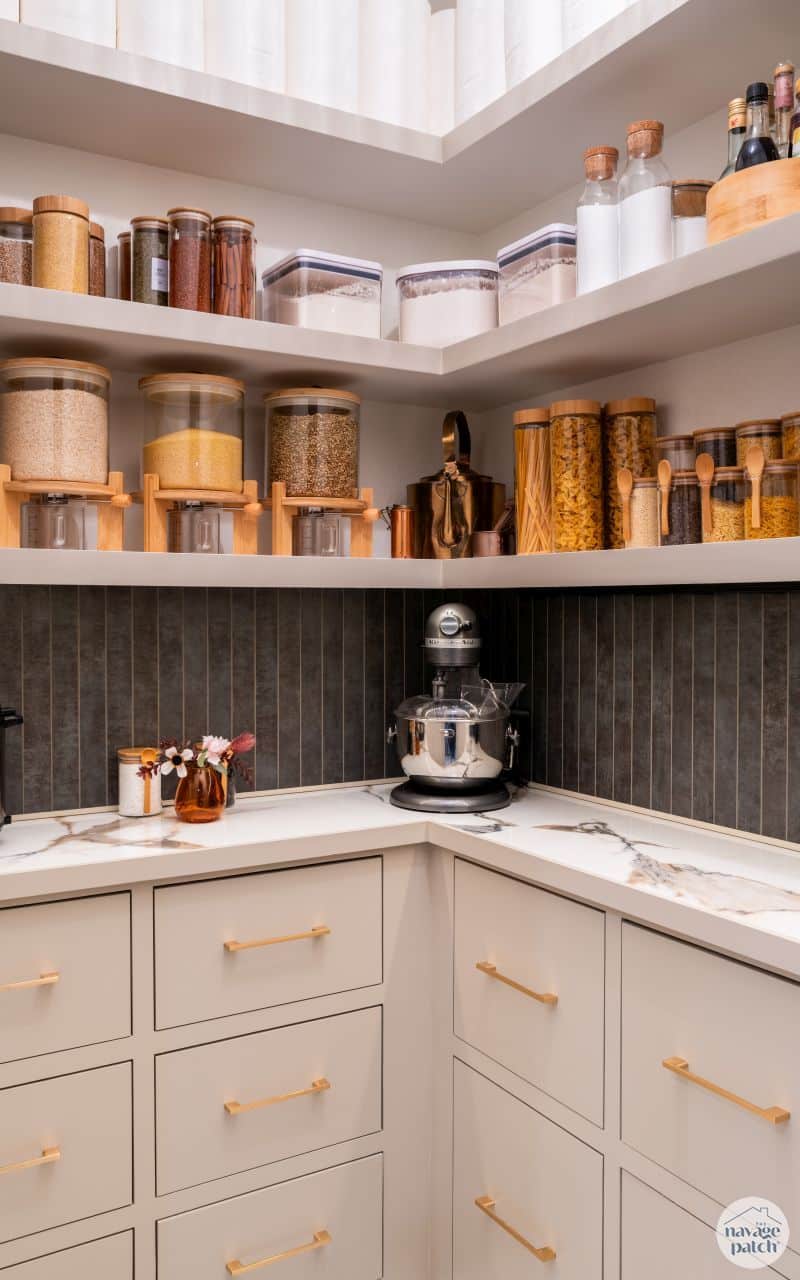
And now let’s see how it all turned out!
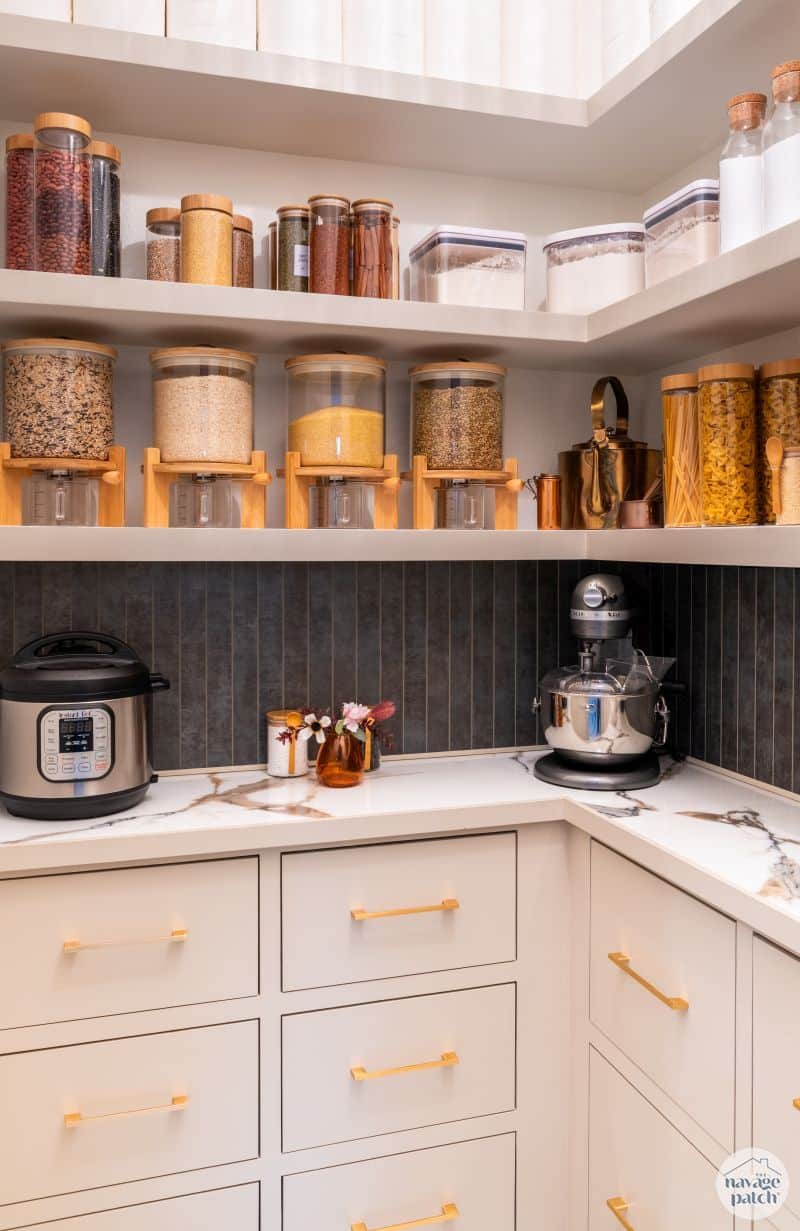

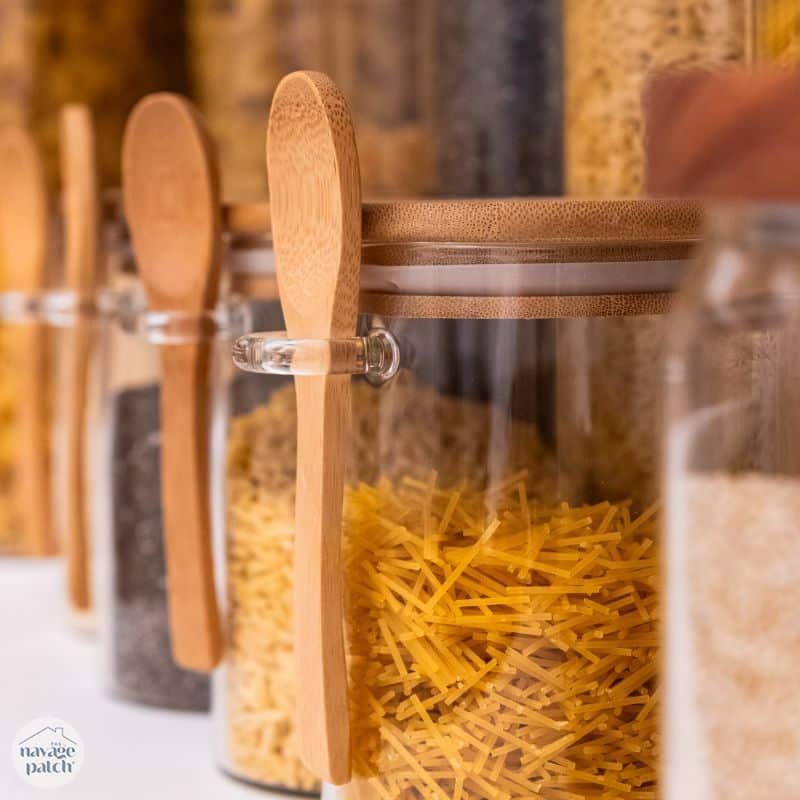
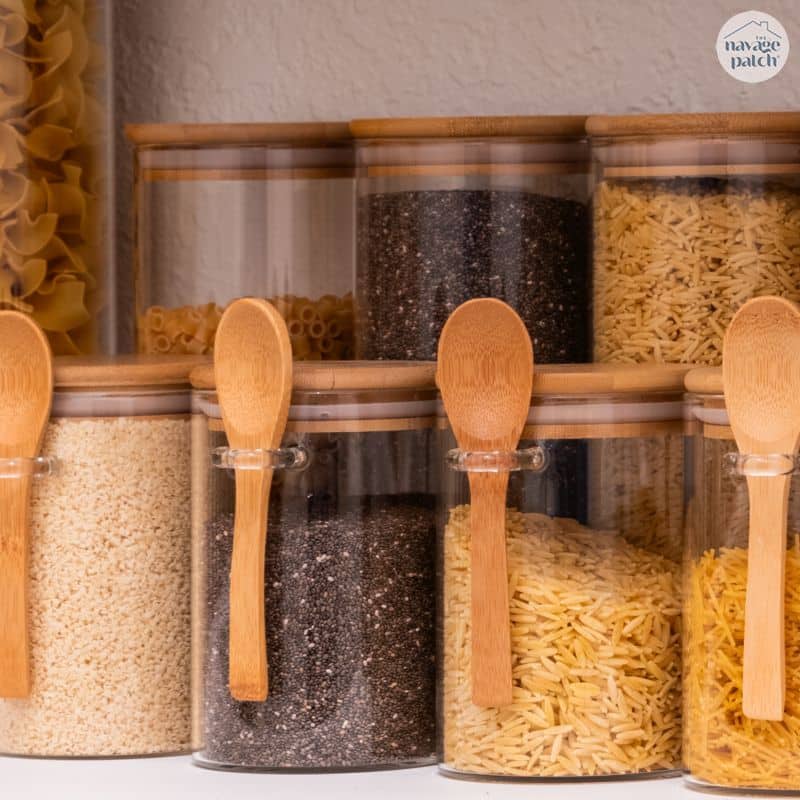
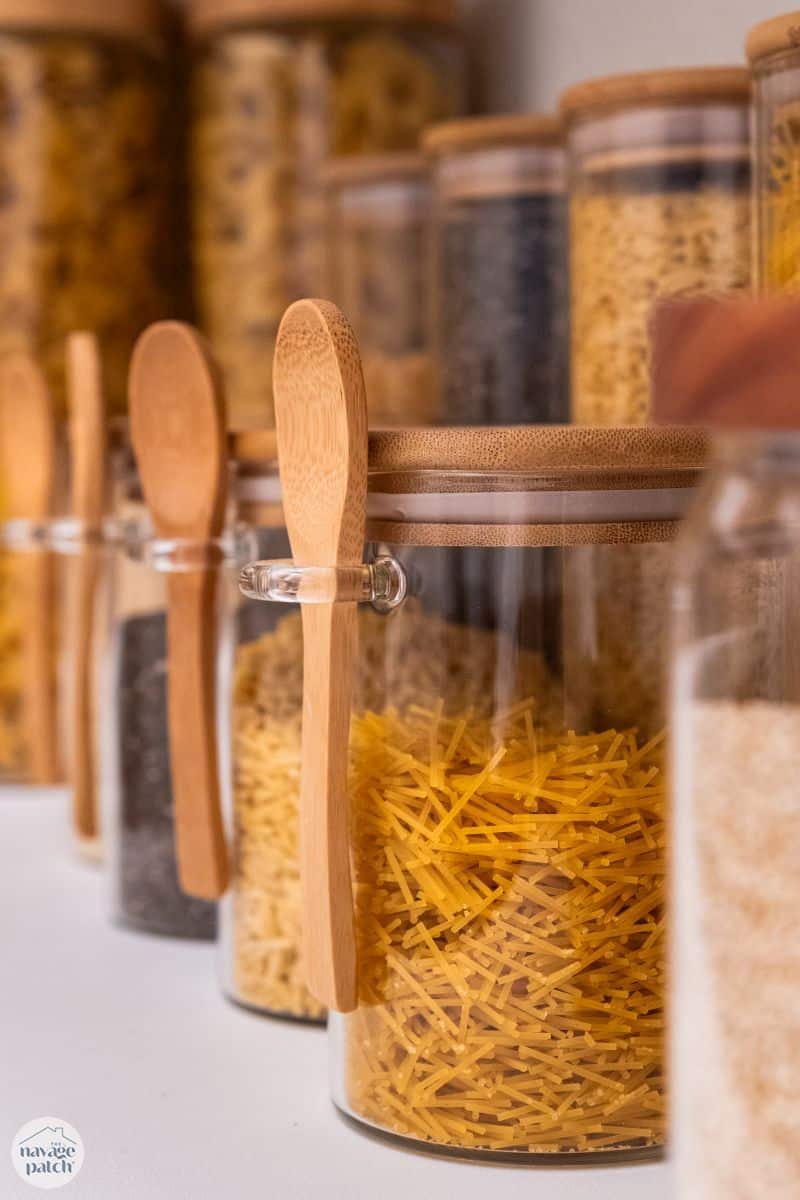
I’m amazed and pretty proud of what I built! And the Shrimp is over the moon! She wasted no time purchasing and filling all these beautiful containers.

Now, I’d be a hypocrite if I didn’t address the elephant in the room that most likely only I can see. But anyone who does a little digging would see it too. I’ll explain after the beauty shots.


Now let’s have a gander at that elephant.
Two years ago, I wrote these words in my pantry makeover reveal post:
You may also note that (besides the aforementioned exceptions) we don’t go in for those rows of identical containers to store things like cereal and snacks. Our reasons for this are many, but it boils down to a few key points:
- It’s more work. Filling and re-filling those containers takes time. Ain’t nobody ’round here got time fo’ dat!
- When does it expire? It’s good to see the date on some packages. Saves a trip to the nose for a sniff test.
- We find those row upon row of identical containers to be a little too clinical looking – like you’re peering into the laboratory at a hospital, not at the food you’d like to consume.
- Last (and most importantly) – we like using our own baskets that we’ve collected over the years.
Allow me to revisit the points of my slightly younger self.
- Yes, it’s more work, but Jeezum Crow, life is work so suck it up and fill them! Seriously, it’s not much work, and it looks much better. Bonus: these jars have way better seals, so food stays good longer!
- Ugh, really? When did I ever give a fig about expiration dates? When I travel I take blood pressure pills from 2010, so I think some rice from a few years ago won’t kill me. Besides, my nose is a national treasure. It can smell rancid food from two counties over. Even the dry stuff like rice and flour goes bad, and when it does, this nose knows!
- No we don’t – at least not when they’re done right. And that means having a little variation. We have containers of all different shapes and sizes, so there’s nothing clinical about it.
- Our baskets are old and tired, and frankly, we’re sick of them. Oh sure, we’re still keeping some around, but the rest can go out to pasture, find a sheep and start chewing grass because we’re done! 😂

DIY Pantry Cost Breakdown
Watch our short and fun video below for the cost breakdown of our pantry. And no – the dispensers are not included in the cost of build 😁.
On Tiktok
So there ya have it: we’re converts to the fancy new pantry aesthetic. I hope you like it as much as we do, and I can’t wait to show you the new kitchen when it’s installed!
This makeover is INCREDIBLE! I usually get annoyed when I see other bloggers redo something “so soon” after finishing a project but this project took the pantry to a whole new level of beauty. Did you just add 1/4 round where the counter meets the backsplash? And is it painted to match the grout or the countertop? It’s great that the build portion of the project was able to be done using a lot of materials you had on hand because I know those gorgeous containers add up quickly 😉 Always love seeing what you build and reading your witty descriptions.
Thanks, Angie! it’s not 1/4 round – it’s some other small trim piece we found in either Lowe’s or Home Depot. I can’t remember which.
Who says beautiful can’t be practical? This pantry is both! Great job, as always. Thanks for sharing!
Thank you so much! :!
Beautiful new pantry and you’re new kitchen will look incredible! Are you relocating the stairs?
I’ve been following you two for a few years. Enjoyed reading your love story 😍 and seeing all the home projects!
Thanks, Andi! Yes, we already relocated them! Check my recent post about the garage entry makeover!
Exquisite! Loved the light you chose. It was the cherry on top of all your hard work. Can you share the shopping info? Which online shop? Thanks,
Hi Penny, the light is linked in the supplies list in the post, but here it is again!
You are the BEST, Greg! Your panty is gorgeous!
hi Gail, thank you so much! This was a hugely impactful project – can’t wait for the kitchen now!
It looks beautiful! Makes me want to get my pantry in order!
Thank you, Lynne!
“But the Shrimp works in mysterious ways, so if she wants a new pantry, she’s gonna get a new pantry!” You ae a wise man, Greg. And shrimp is very lucky.
You have outdone yourself. The pantry will stand tall next to the new kitchen. The beautiful containers really set it off. Do you have a link for the dispensing containers? They are awesome.
Hi Lyn, I ‘m the lucky one, that’s for sure! Here’s the link to those containers
Wow and wow! When you said flooring for the backsplash I was skeptical but it looks fantastic! I’m wondering where in my ridiculously small house I can do the same.. Everything is beautiful and I love the containers.
As soon as it quits snowing in WI I am off to make my two drawer craft tool organizer and I am fully confident as I have watched 89 videos on how to build a drawer! Oh, that Kreg tool thing for aligning handles is genius. Thanks Greg, you guys are an inspiration!
Thank you so much, Jean! I hope you find the place in your home! 🙂
Definitely “thumbs up” on your new pantry – just beautiful
Thank you, Sue! 🙂
An awesome transformation! The pantry looks great!
Thank you, Carmel! 🙂