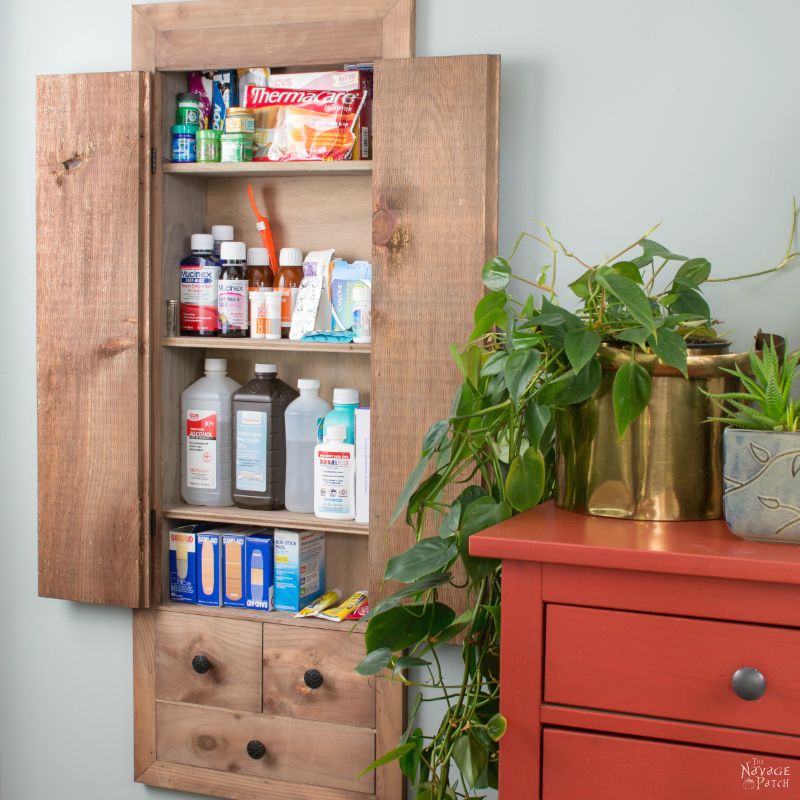
DIY In-Wall First Aid Cabinet
When space is at a premium, sometimes you have to cut into the walls to find more storage. See how we do it in Space Hacker: DIY In-Wall First Aid Cabinet.
Walls: the Final Frontier
I work with my hands. Any given day may find them thrust into dirt, wrapped around a wrench, grasping boulders or feeding wood into machines with sharp, fast-moving parts. Hands slip. Skin flies. Since I’ve started on this road of DIY self-sufficiency, I’ve become well-acquainted with the first aid drawer – the second drawer of Big Red.
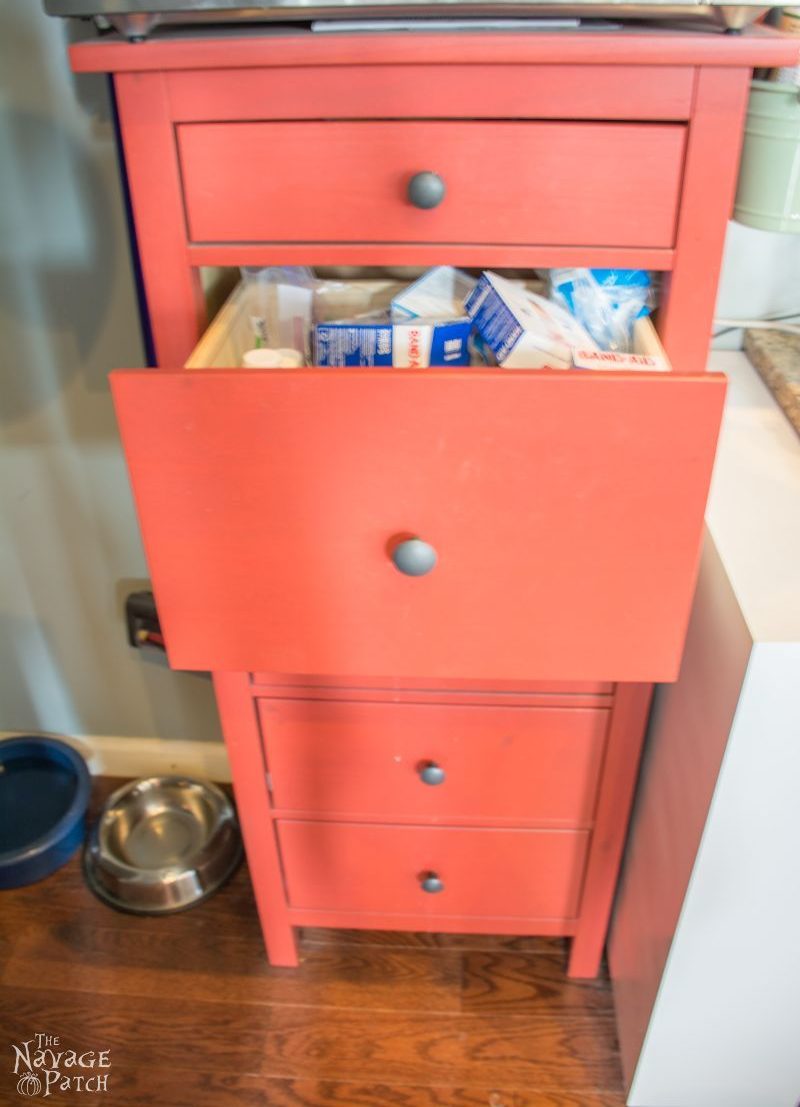
It held everything I needed for my near-daily ministrations to my flayed and battered hands – Band Aids, Neosporin, rubbing alcohol, hydrogen peroxide, tweezers – if I could find them. Band Aids were easy – they were always on top. The alcohol and H2O2 were also easy – they reside in large bottles. But the tweezers and the Neosporin – they could have been anywhere, hiding down in the cracks, laughing as blood dripped from my palm, snickering at the splinter sticking out from my fingertip. And then there was Handan.
Any time Handan needed to find something in that deep drawer of discontent, a lozenge or an antacid pill or some cortisone cream, she would fume that it was not there. I would come over and find her sought-after pill, ointment or tincture, but I couldn’t leave without an earful about the state of the drawer.
“Why can’t I find anything in here? I had this drawer perfectly organized!”
“I know, but…” But I use the damn drawer every day, so of course it’s going to get messy!
“You need to put things back in their proper place after you use it!”
“Okay, my Babes. I’ll keep it neat and organized from now on.” Ha! Fat chance!

The last straw fell onto the camel’s back not long ago when I ran out of large Band-Aids. I still had hundreds of those useless little ones – you know the ones that are so small, they can’t even wrap around a finger – but I needed bigger. On my next trip to the supermarket, I stocked up. I felt like I hadn’t bought bandages in decades. Who knows, maybe I hadn’t. Maybe the box I’d been using was a gift. Anyway, I went a little wild and bought one of almost every type. Heavy duty fabric ones? Check. Ugly-but-functional plastic ones? Check. Invisible-but-weak shear ones? Check. And I got all sizes, too. I could patch up anyone, from the Jolly Green Giant to Tinkerbell. The problem was that all these glorious new boxes of sterile bandages would no longer fit in the first-aid drawer. I needed a first aid cabinet. But where to put it? My kitchen has no wall space. None. The only patch of wall is in the narrow transition from the mud room/laundry room to the kitchen. There, you see? Next to Big Red and above the dog bowls. But that space is so cramped. I blanched at the thought of something sticking out of the wall. Big Red was bad enough, but at least she held lots and lots of stuff.
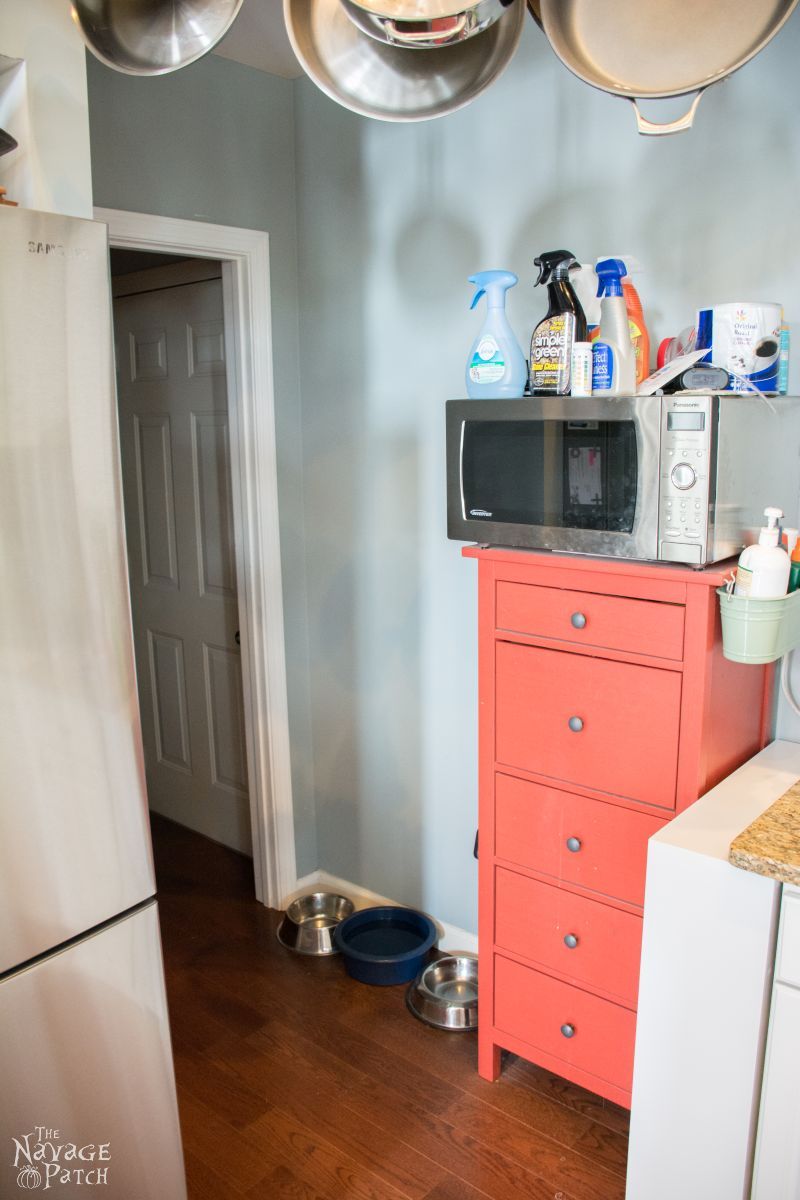
Well, if I couldn’t go outward, perhaps I could go inward? I grabbed a tape measure so I could visualize. Yes. Sixteen inches between the stud center points – that gives me about 14 1/2 inches of width. Subtract another inch for the 1/2 inch plywood I would be using for the sides. Okay, so far so good…let’s look at the length. I eyeballed the tape and came upon a number. Looks good! I grabbed my stud finder and went looking for studs.

I found the studs right where I was expecting to find them. But I found something else as well. Let’s call it The Anomaly. In construction, studs are always set 16 inches apart. This makes it easy to remove pieces of drywall or screw heavy things into the studs. If you can find one, you can find them all. So my two sides were well established, but I kept getting an odd reading on the stud finder in-between the two studs. Back and forth I went, always the same anomalous reading. I decided to probe for The Anomaly with a small drill bit. I went across the top line I had drawn on the wall, drilling in every so often to see if I hit resistance.

Nothing! No resistance. Figuring my finder was more dud than stud, I whipped out my multi-tool and started hacking apart my wall. What could possibly go wrong? I had probed!

I cut out my pre-marked rectangle and pulled out a big slab of drywall. Success!
Wait, what!?! What the hell is that thing?!?!
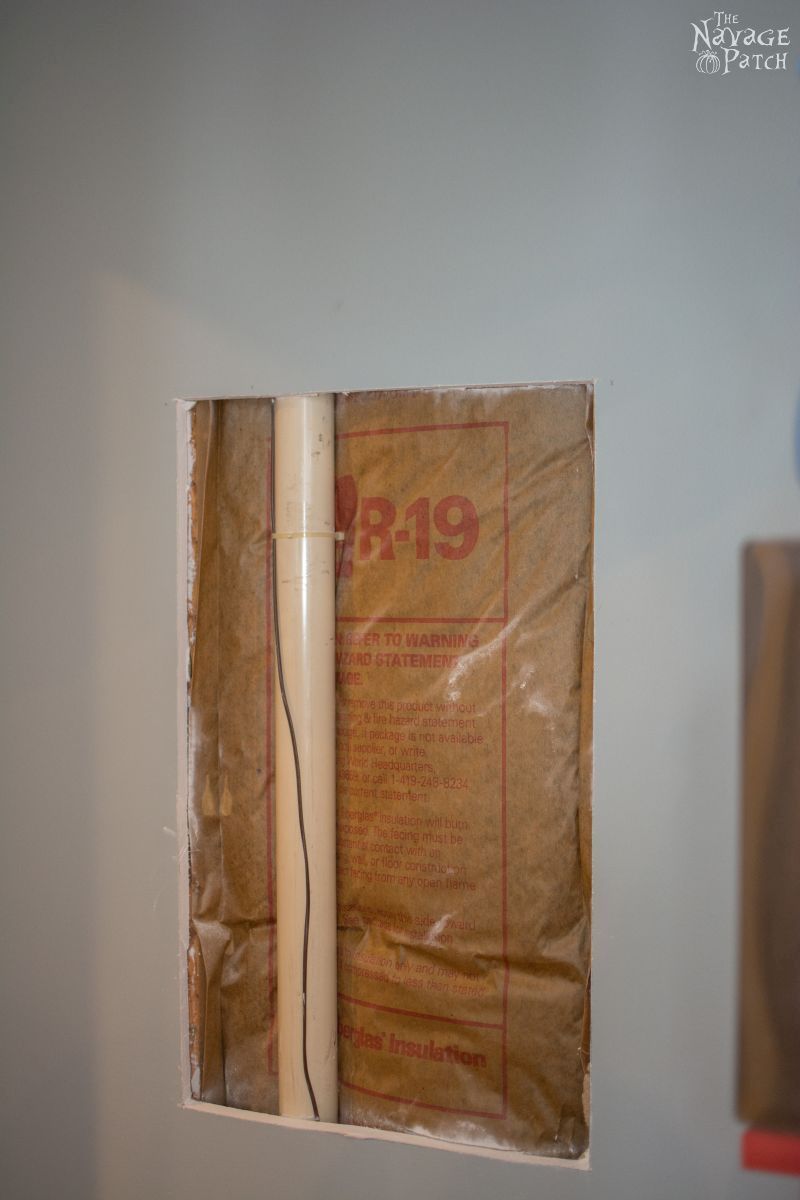
My mind popped and sputtered as it tried to make sense of this thing. I had probed, dammit!
But what was it for? Couldn’t be a poop pipe – it wasn’t below a toilet. Couldn’t be an air duct – it was way too small. And what was with that dinky brown wire? I decided to go down to the basement to see if I could find the pipe’s terminus. Yup, there it was. And this pipe connected to….nothing.

Ditto the wire.
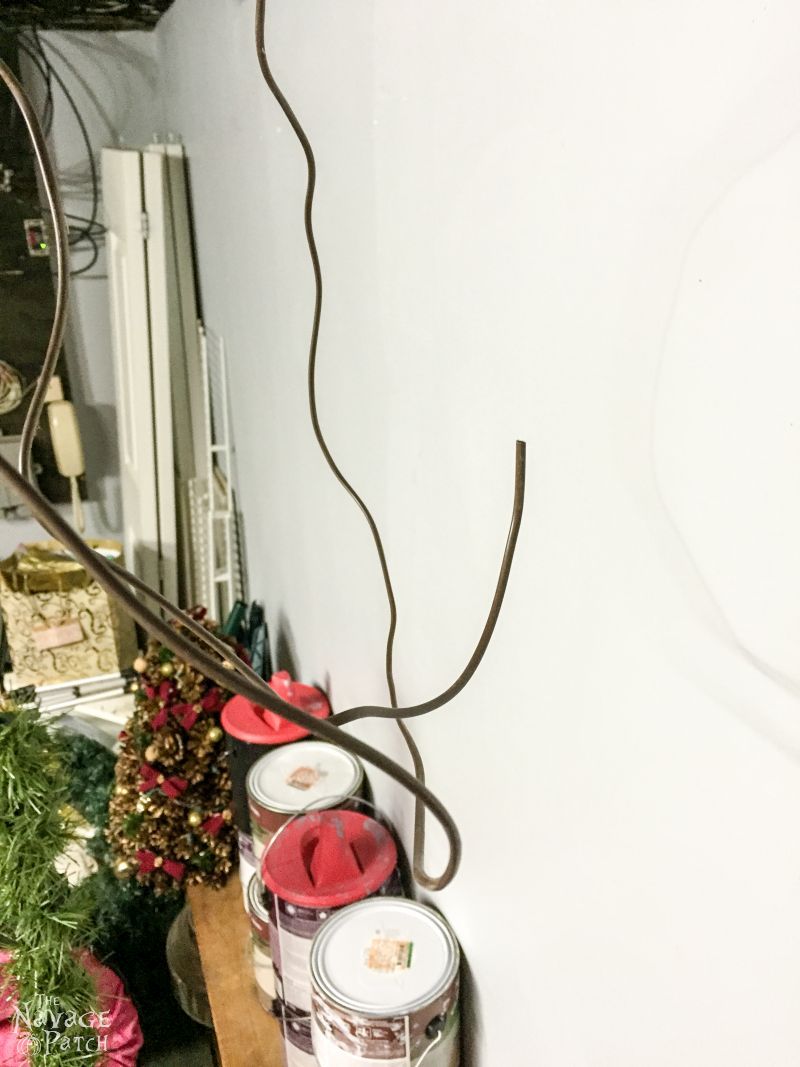
Who the hell builds a house with phantom pipes and ghost wires? Hmmmmm…
I went up two floors to look for the other end, and there it was, just outside Barish’s door at foot level.

I forgot that this house was plumbed for central vacuuming, but the original owners never had the vacuum unit installed. Excellent. I went back downstairs and cut through the pipe and the wire, as I have no desire for central vacuuming.

Next I donned the appropriate PPE (personal protective equipment) to handle fiberglass insulation…

…then pulled out the pink stuff.

So I was back on track and ready to build. I went downstairs to my sawdust warehouse workshop and got to work on the cabinet.
I created a highly detailed and precise blueprint for my work.

I built the cabinet and shelves out of a mix of 1/2 inch and 1/4 inch plywood.

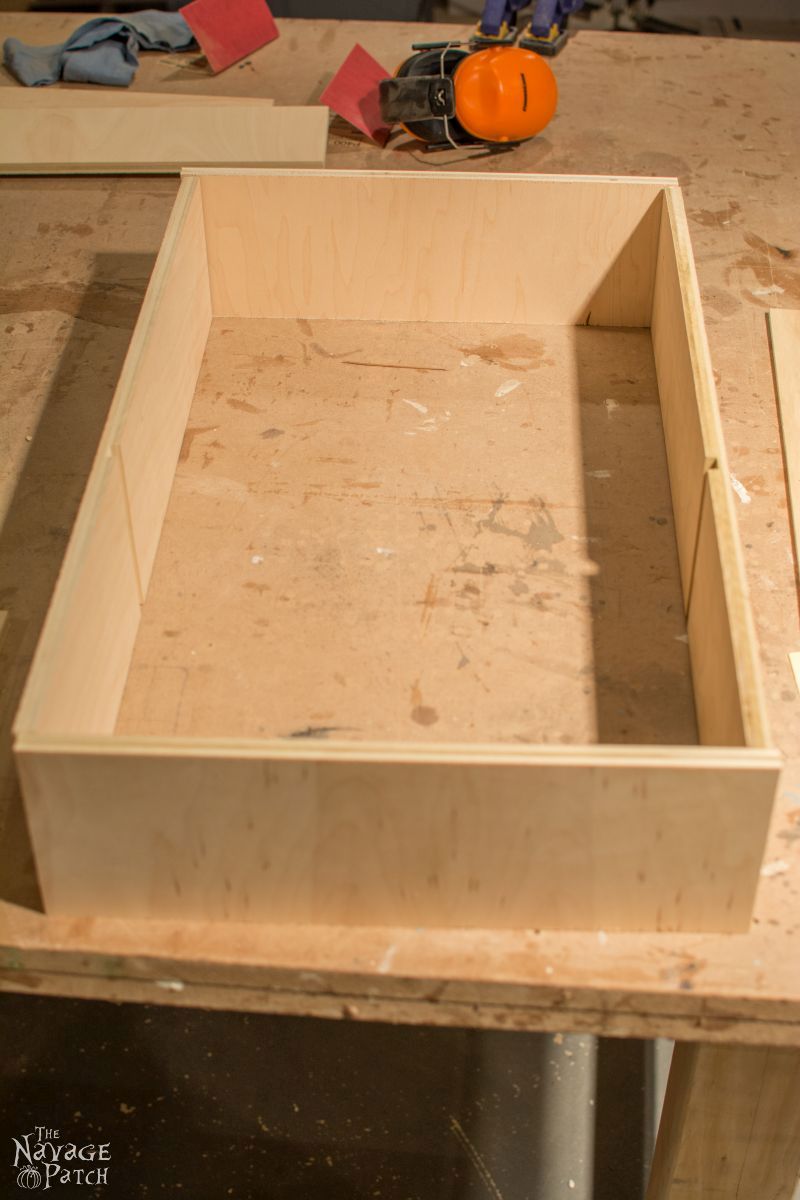

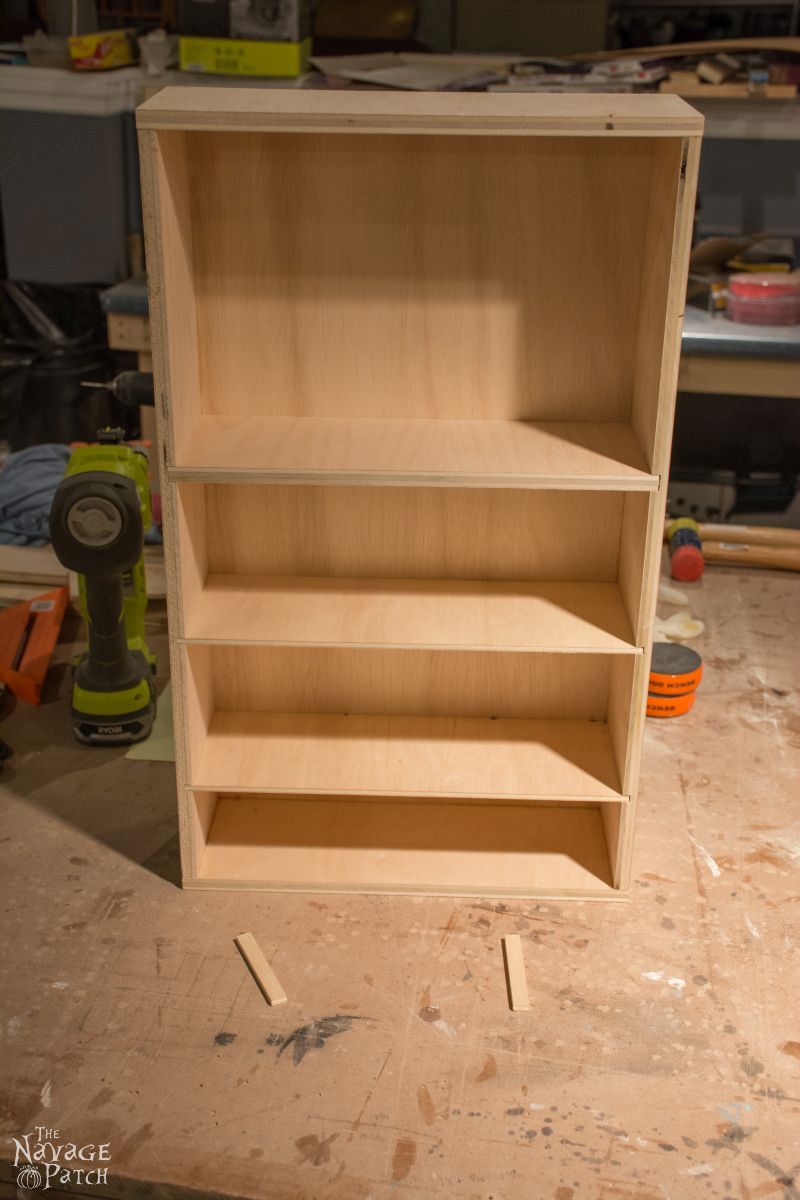
At this point, I brought it upstairs to see if it fit in the hole. It did. I left it there until Handan came home so she could see it and shower me with praise.
Handan walked in. “Are you sure it’s big enough? Did you fill it with all the things from the drawer?” she asked.
“It’s big enough.” I said.
“But did you check if everything fits?” she asked again.
“No, but it’s big enough!” I said.
She looked at me.
“Fine!” I said and started cramming all the crap from the drawer onto the shelves. I got about halfway through the drawer, then the shelves were full.
She looked at me.
“Dammit!” I said. “I’ll make it bigger!”
She looked at me. “It’s okay, my babes. I love you.” She turned and walked away.
I retreated to a corner to lick my wounded pride. The cabinet sat in another corner for the next month.
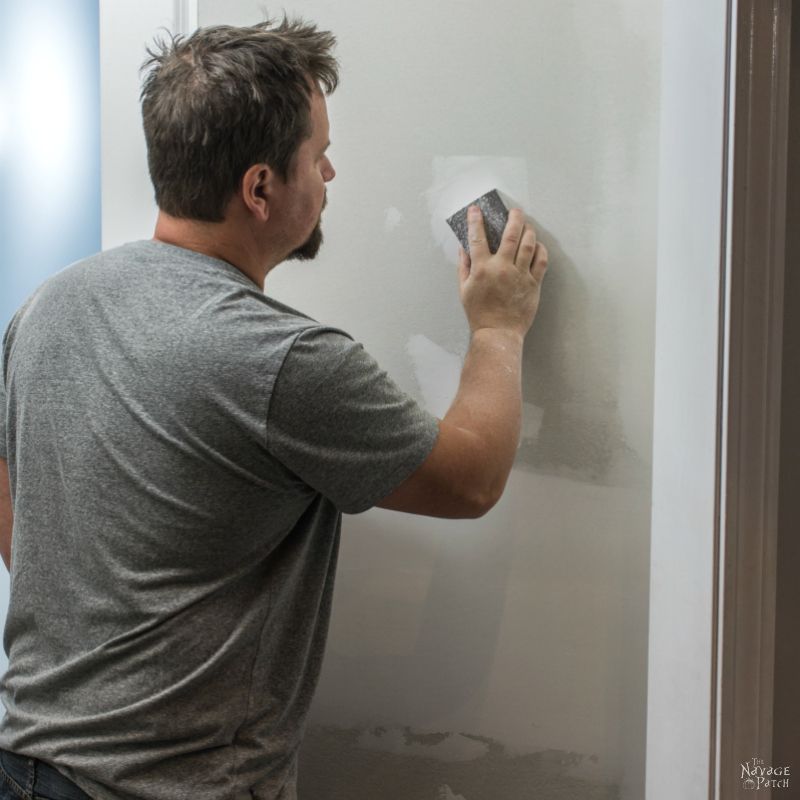
When I was ready to restart the project, I made the hole bigger. I had put a thin layer of insulation back into the hole, thinking that I would be able to compress it with the finished cabinet, thus gaining a little bit of a barrier between the cabinet and the cold of the garage in winter. It didn’t work out, so I ended up ditching the insulation.

My plan was to add three drawers to the bottom of the cabinet and have doors up top. I was winging it at this point: no blueprint, no measurements – just making it up as I went. I started to build the drawers, and since I wasn’t using any sort of drawer slide, I decided that I would have the back sides of the drawer stick out a bit and make it so they would hit stop-blocks I would put in the front of the drawer cavity. Yep, that was my awesome plan. I started to glue the front stop-blocks in place.

And then my walnut brain figured out that if I put the stop blocks on, I wouldn’t be able to insert the drawer. Yep, the old brain was chugging full-steam ahead that day! So I took out one of the blocks for each drawer, leaving one in place.

That way I’d be able to coax the drawer past the one block. When the time came, I’d somehow glue the second stop-block in place while the drawer was in its drawer-hole. Yep, that was the plan!
I put a divider in the next shelf up, so I could have two drawers there, side-by-side.

Then I started building drawers out of 1/4 inch plywood. I would leave the faces for later. I intended to use some scrap ship lap for the drawer faces, the doors and the face frame that would go around the whole cabinet.

Hey, neat! It fit! But it was such a tight fit that it compressed the air on the way in and created a vacuum on the way out. Three big holes took care of that problem!

I rubbed the bottom and sides with wax, figuring it would make it slide in and out easier. Not sure it did a damn thing.

And I built the small drawers.


Because I knew they would be forever trapped within the cabinet once I attached the last stop-blocks, I figured I ought to slap on some stain while the slappin’ was still good. I mixed Minwax Red Mahogany stain into the the last of a can of Watco Danish Oil Medium Walnut. I liked the resulting color. Then I realized I wouldn’t have enough to cover the whole project. Meh, I’d deal with that problem later.

Click on ‘Next’ to continue.
We love it when you share our posts on Facebook and Pinterest!





For a Dummy you sure are smart! I love the cabinet. If you ever run out of projects I have a whole house full! Lol!
Hi Giselle! Run out of projects? HA! You’ve never met Handan… 🙂
Cool cabinet but I added a central vac to my home and you couldn’t take it from my cold dead hands! Crazy suction, no dust, no noise, and no dragging a cannister or pushing an upright.
LOL, a lot of people tell me that, Darlene! That wall will be demolished in the future when we renovate my kitchen. At that point, we’ll relocate the central vac pipe just in case I change my mind 😉
Love the twists and turns you take us down in the tale of The Little Cabinet That Could! Clever idea and looks great. Still swooning over your basement workshop.
Thank you, Marie! Yes, I love my workshop…but I really should clean it more often!
Yeah, right! We all know that is never gonna happen unless I get to it 😉
I’ve always wanted to do a “between the studs” project! It’s such wasted space.
Finding the pipe must have been awful, I’m so glad it wasn’t needed and you could work around it.
thank you for sharing your fabulous tutotial at Talk of the Town.
gail
Thank you, Gail! Yeah, my first thought was, Handan’s gonna kill me! Fortunately it all worked out!
What a great idea, and funny story! We have a central vac (was here when we moved in) but I could live without it. Your finished product is just perfect! Thanks for sharing at Vintage Charm! xoKathleen
Thank you, Kathleen!
What a great idea! Thanks for linking up with us at The DIY Collective! Please come back and party with us next Thursday! xoxo! -Cassie @ Little Red Window
Thank you, Cassie!
Oh man that pipe, it is amazing what you find when you open a wall!! This is just beautiful, I have always wanted to do this just like Gail. Amazing job and hilarious read!!
Thank you, Mindi!
Pinning this, a very smart idea and a funny read!
Thank you!
Love this project!
Thank you, Marie!
Small between the studs cabinets like this could be so useful all over the house, and this one is perfect! thanks for sharing on craft schooling Sunday!
Thank you, Sara!
I LOVE IT!!! I do think in some areas you made it a little harder on yourself than you had to (And I’m not talking about the obvious areas… LOL!!!). That being said, are you also thinking that you should’ve made it just a little bit bigger? It appears that everything just barely fit!!! Also, I too have been dying to do this in many areas of my home…. I think it just makes sense to make use of that space!!! I’m just “gun shy” when it comes to actually chopping a hole in my wall!!! Even with a stud finder, you’re nit guaranteed not to “run into” something!!! I also like that you show all through the project, and especially the “unexpected anomalies” that happen when you’re doing a project!!!! Thank You!!!
Thank you!
This was great! I enjoyed reading about the project ALMOST more than the project. Y’all sound like me and my Honey when we work on projects. And we “fix” projects with a similar “on the fly” type remedy like you.
What an awesome project. I am walking around looking at all the beautiful storage I could add. Thanks for sharing your smart storage solution and your adventures getting it done!
Thank you, Christine! Yup, mistakes come fast and furious around here, but there’s no better way to learn than by screwing something up! 🙂
I had a laugh at the phantom pipe! How funny! I love the built in you created. Looks like its always been there.
Thank you, Audra! It’s always something when I do a project!
Great use of space! This sounds like my husband and I when we work on projects. Thank you for sharing at Ravenwould!
Thank you, Kileen!
Love your cabinet. Greg, you crack me up. I love reading your take on your ahem, adventures. And might I say, Handan is a saint! 🙂 Thanks for sharing at the #ThisIsHowWeRoll Link Party.
Thank you, Susan! She must be a saint for putting up with me for the past seven years! 🙂
Awesome job – and what a great idea! I have to admit that I LOLed at the “poop pipe” – we have those same weirdo, nonsensical things in our home too, that leave us scratching our head. This is a great idea and turned out beautifully!
Thanks for sharing for I DIYed that!
Thanks, Jen! 🙂
LOL Greg, I’m so glad everything fit in the end. The whole searching for studs thing has always fascinated me. We don’t build houses like that in South Africa so I could never understand what people were on about. Now I finally get it (I think). Pretty neat way to make use of “wasted” space in the wall. P.S Where did the microwave disappear too 😉
Yeah, Handan is the same way. Everything in Turkey is built of concrete. She thinks our houses are weird and flimsy, lol!
Greg when the earth is a shakin; it better be concrete that’s holding everything together. Having grown up in NY I can never get used to the earthquakes. The cabinet was a smart idea in a very clever space.
Can I ask what color by red is? Looking for singing similar to paint my daughters bed frame.
Thanks!