DIY Bird Bath
I have great news for you guys 🙂 Other than some bits & bobs, such as parts of the lighting and yard decor items, we are finally done with our pond makeover. Greg will soon be publishing the “Reveal” post, but he was waiting on me to finish the final touches on the landscaping, such as my DIY Bird Bath.
You might have seen the pictures of this metal one in our Pond Project Part 1 and Part 2 posts. It is a broken bird bath+water feature which was left behind by the previous owners of our house. I bet it made a great water feature and bird bath back in its heyday, and hopefully I will turn it into something good and useful when I get to it. But now it serves no purpose other than a space filler, since the seal of pump’s housing is broken and thus doesn’t hold water at all.
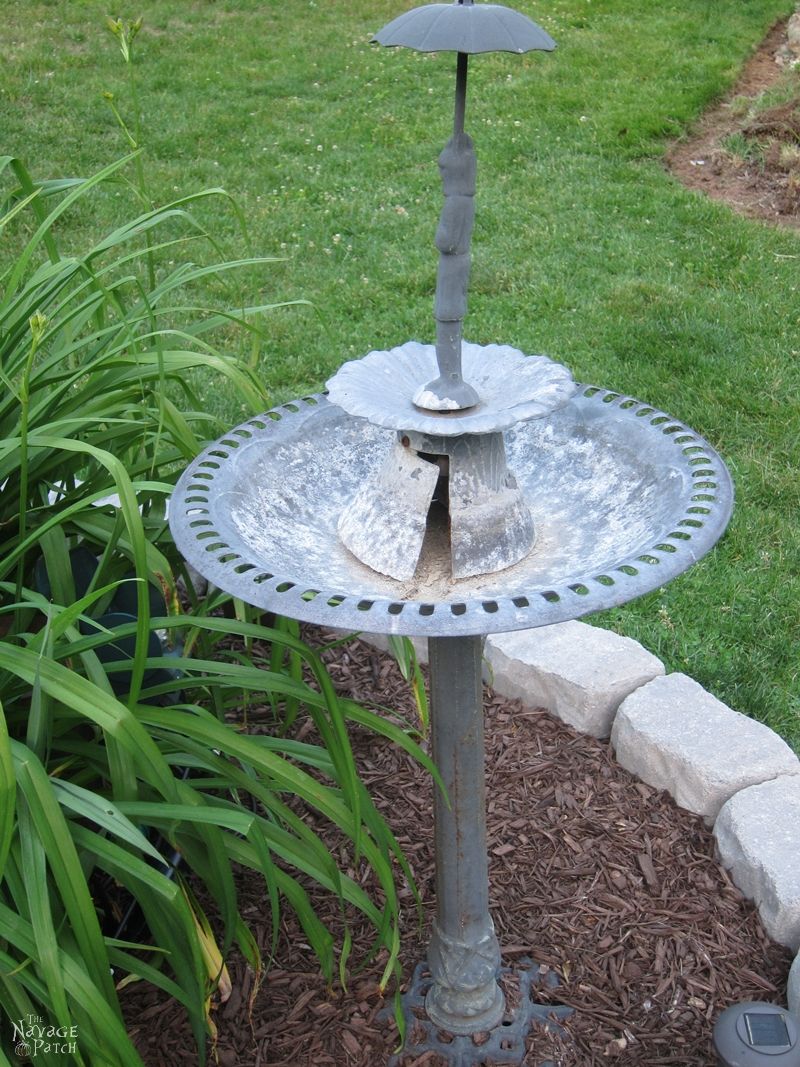
As I am not sure if I’ll be able to fix it, I thought instead of spending time trying, I should check our basement for something that could be quickly turned into a birdbath.
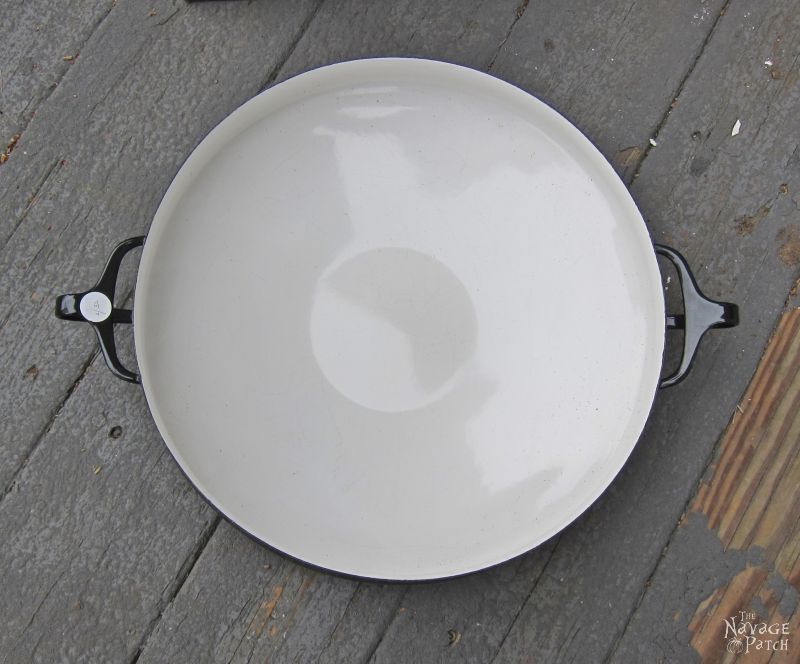
Last summer I bought this big pan-ish thing for 2 dollars from Mom’s shop (aka Second Chance Shop). It was marked as $4, but the household items were 50% off. Although I didn’t know right away what I could do with it, I really liked its shape. Yes, unfortunately, I am a sucker for anything ornate or with nice curves. Anyway…
Last summer we also found two beat up garden columns at the Put & Take. A normal mind would have put 2 and 2 together right after finding the columns. But I must have had beach fever last summer, as it never occurred to me that I could match these things together and turn them into something useful. Duh… Well “Duh” at least till last week 😉
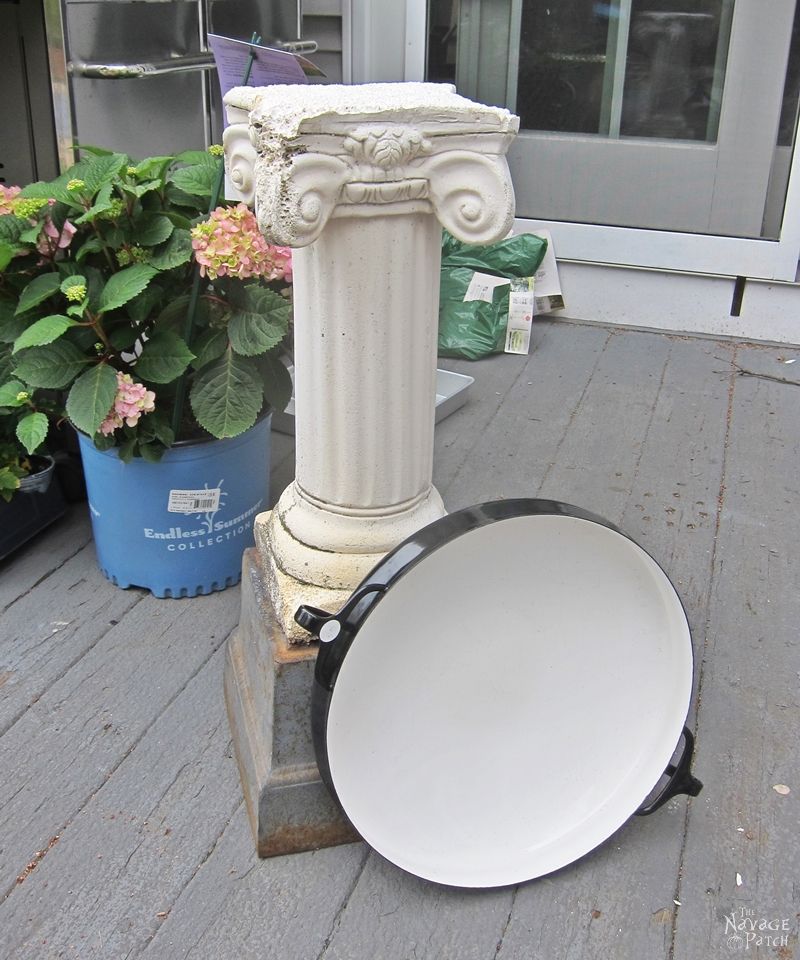
Having found these guys laying around, I got on with the work. Thinking it would be as easy as sticking the two things together I first spray painted the pan.
But when I placed the pan on top of the column I saw the bottom part had gaps, and that wasn’t the look that I envisioned. I forgot to take pictures of it but it looked something like this.
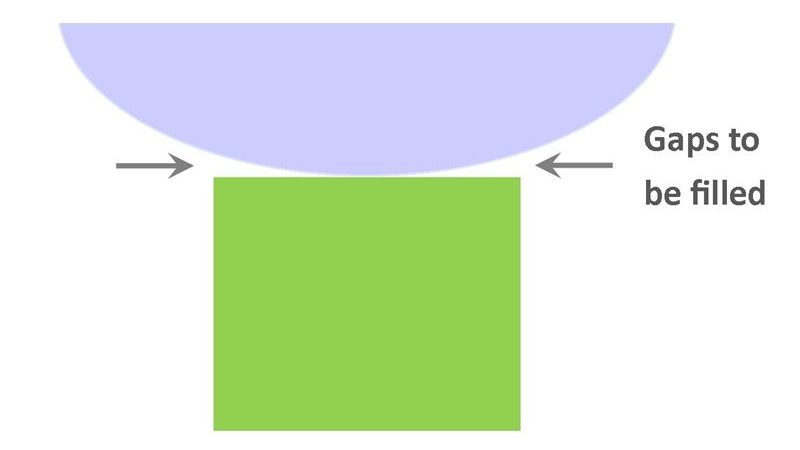
Since I decided to fill the gaps, that first painting was a total waste of time. Oh well… I grabbed some spackling and started filling all the sides. And with that, what I thought would be a one-afternoon project turned into a four-day project! It wasn’t at all hard, but I had to wait for the spackling to dry and set itself before filling another layer.
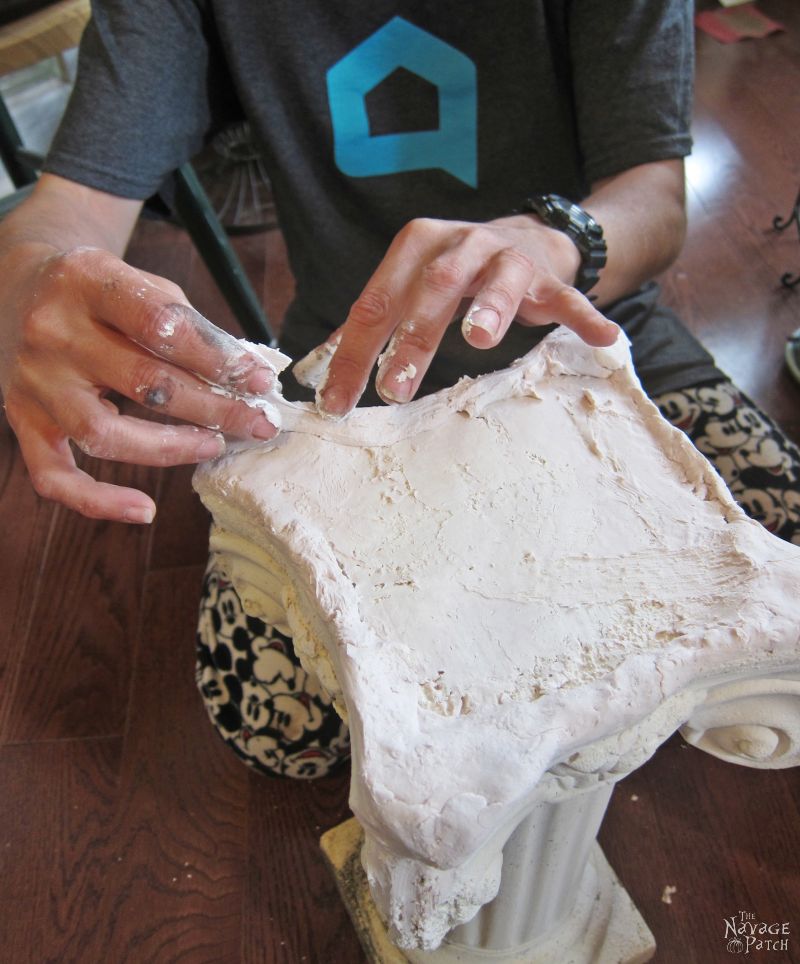
Every day some filling and letting it dry.
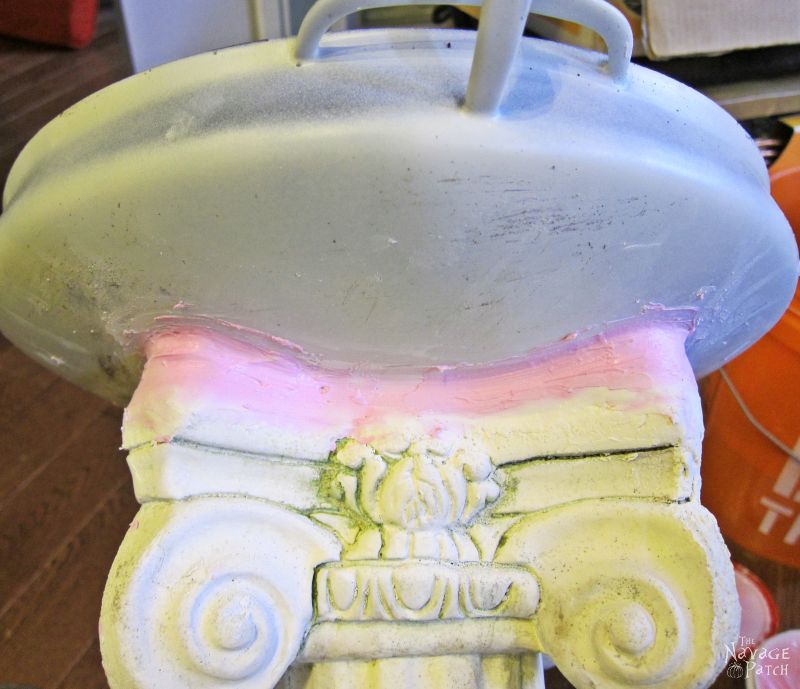
Layer by layer I kept filling and finally when the entire area was filled, I let the spackling settle properly for another day. Then I sanded the spackled area slightly in order to get rid of the lumps and bumps.
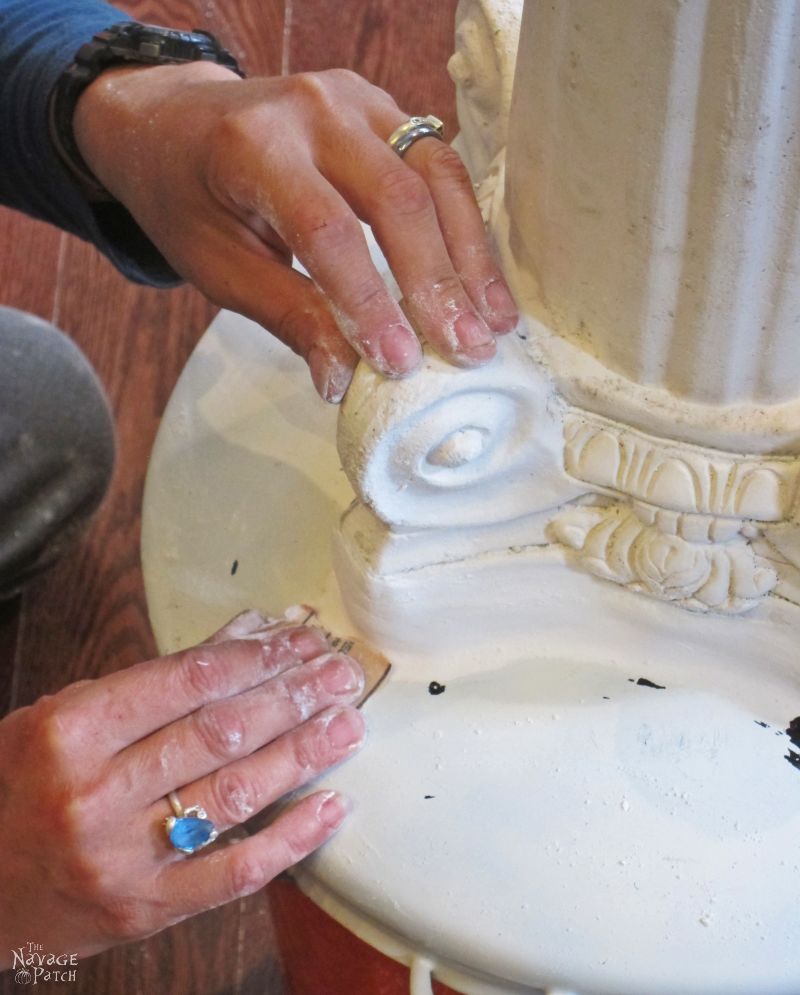
Spackling made an excellent filler, as the whole bond between the column and the pan was strong enough for me to carry the bird bath by holding the pan only.
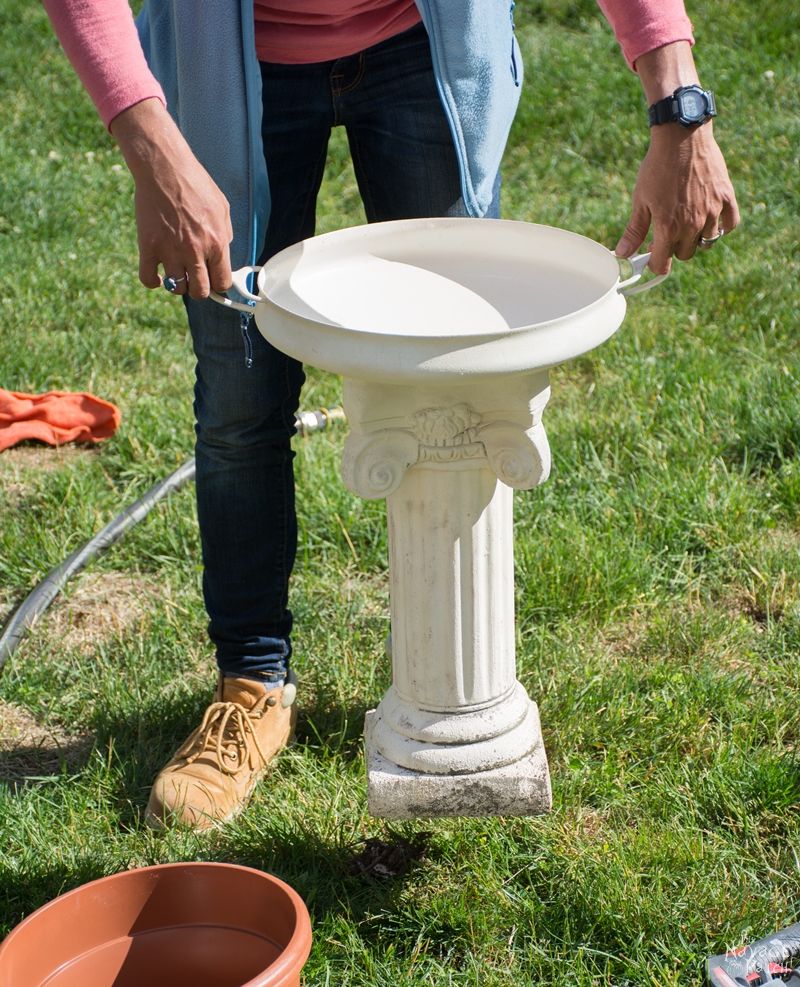
But I don’t consider spackling to be a very hardy material for outdoors, therefore I felt it would be better to add some sort of outdoors protection. So before painting the whole thing, I first put two layers of outdoor spar urethane over the spackling. In fact, just to make sure, I covered 2 inches above and 2 inches below the spackling as well.
Once that dried, I started spray painting the top metal part and the spackled area with Rust Oleum Heirloom White. But here is a little trick I have to tell you: you know the instructions on the spray paint cans? They usually recommend shaking well for 2-3 minutes. It is because when you don’t shake them properly whatever settled at the bottom of the can comes out first and that part usually creates a gritty surface which is not something you would normally want. Well…in this case the transition from the gritty column surface to smooth metal surface wasn’t looking that exciting. Therefore I had to get that metal pan to resemble a stone finish, which is why I needed to create a gritty surface. And to achieve it I grabbed a new can of spray paint (Rust Oleum Heirloom White) and without shaking the can, I started spray painting the outer part of the metal pan.
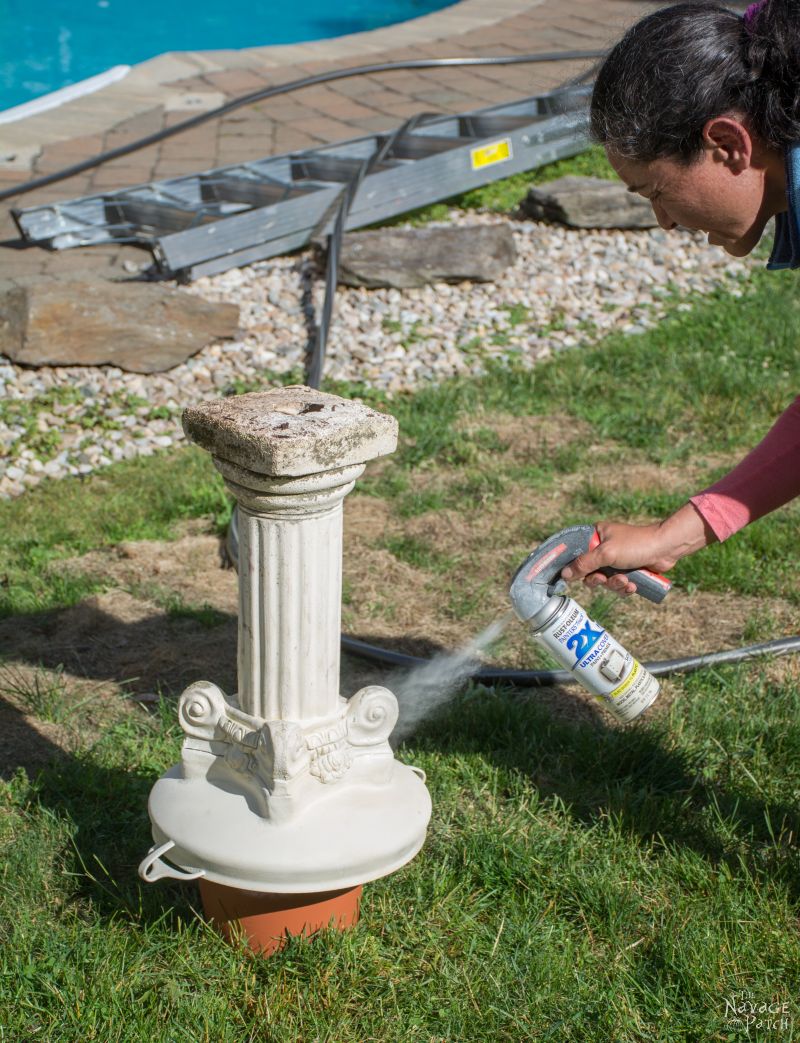
Voila! Do you see the gritty surface I was talking about? That is what exactly I wanted as it matches the column’s surface now.
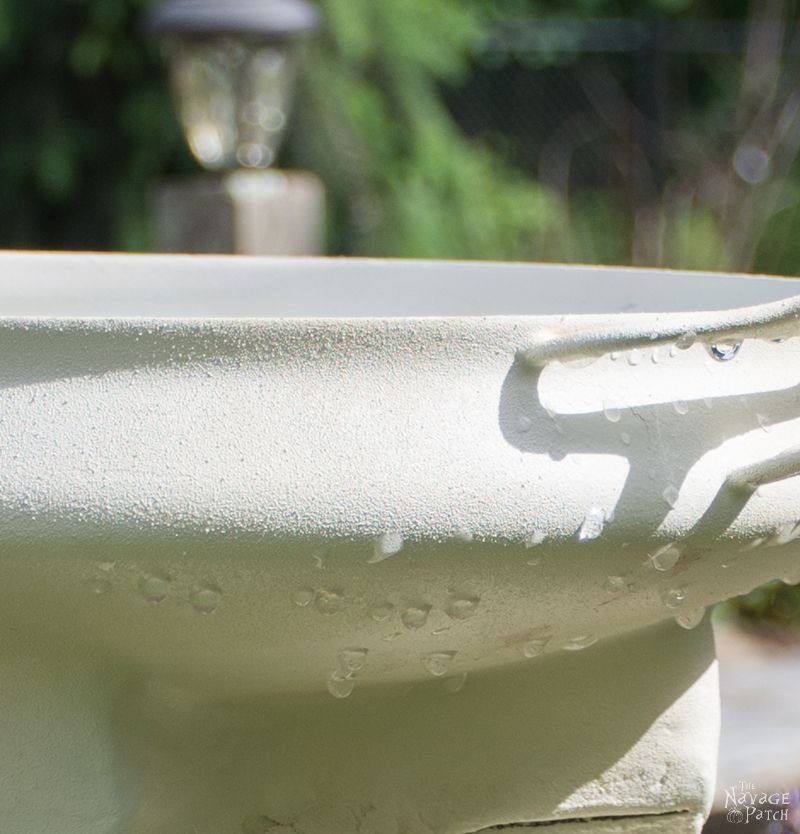
Once the paint dried, I gave it one more coat of protective coat and let the whole thing dry.
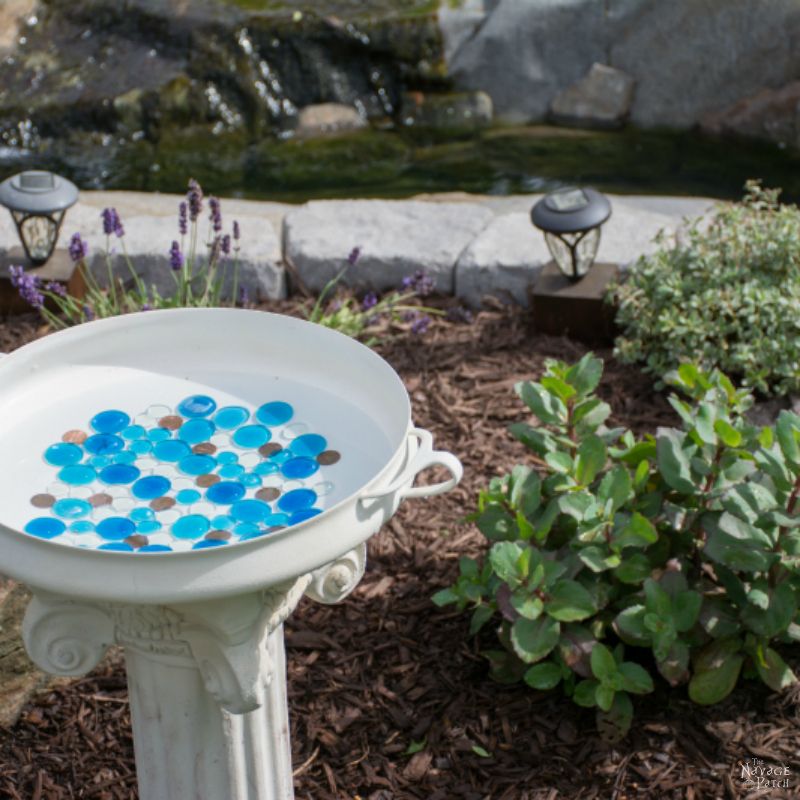
Next, I placed my bird bath to its place, filled it with water…
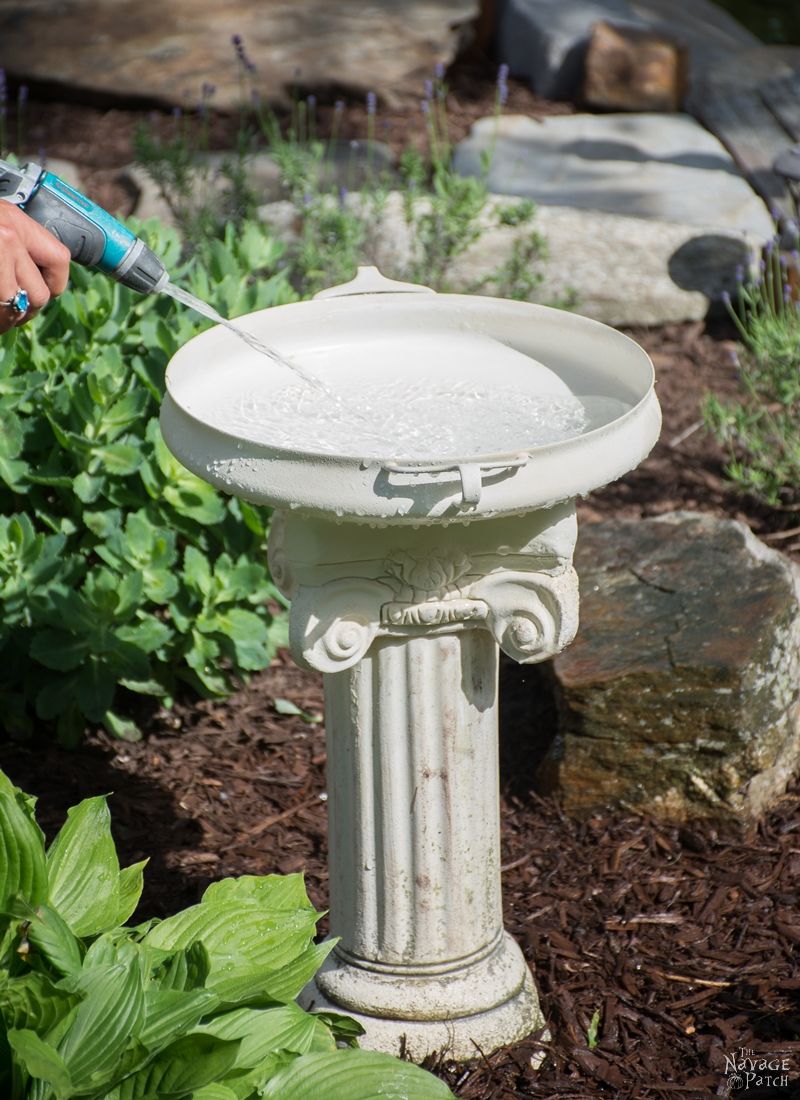
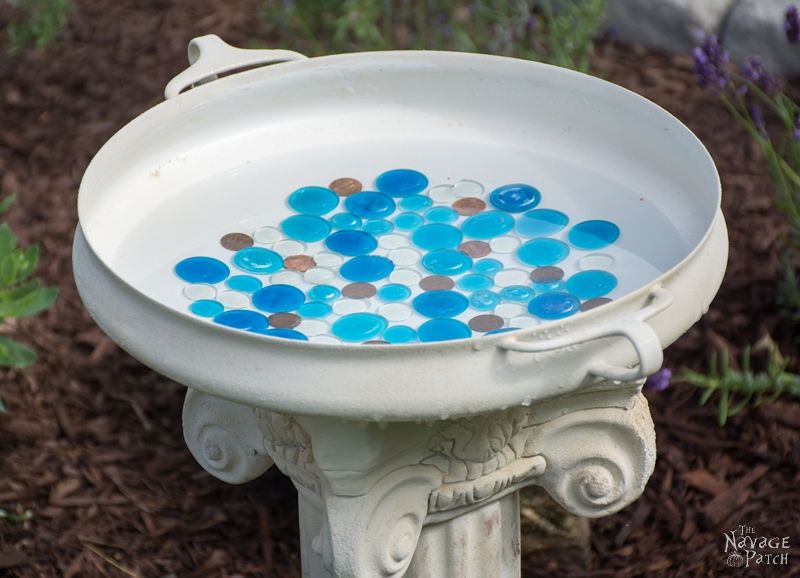
…added some beads for decoration…
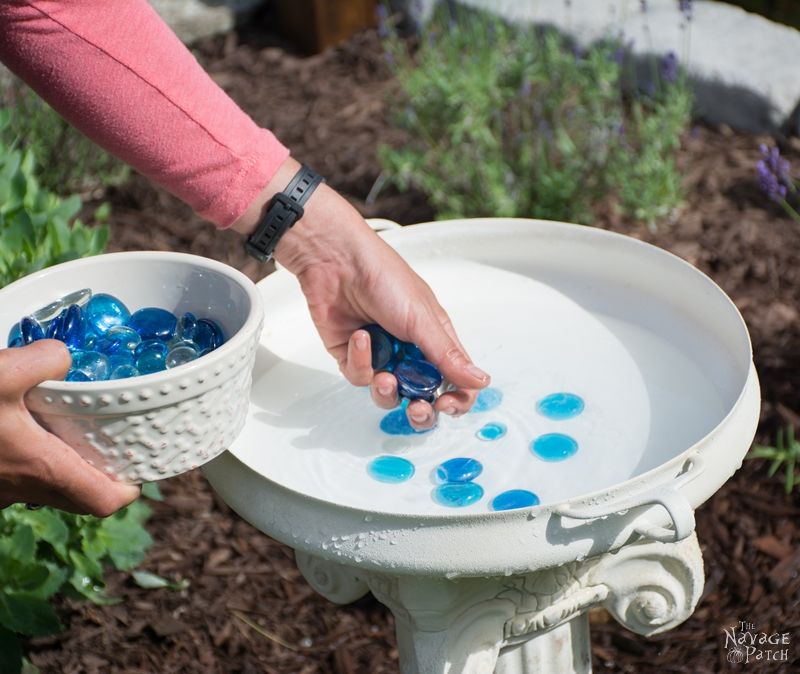
…and pennies to help with the algae…
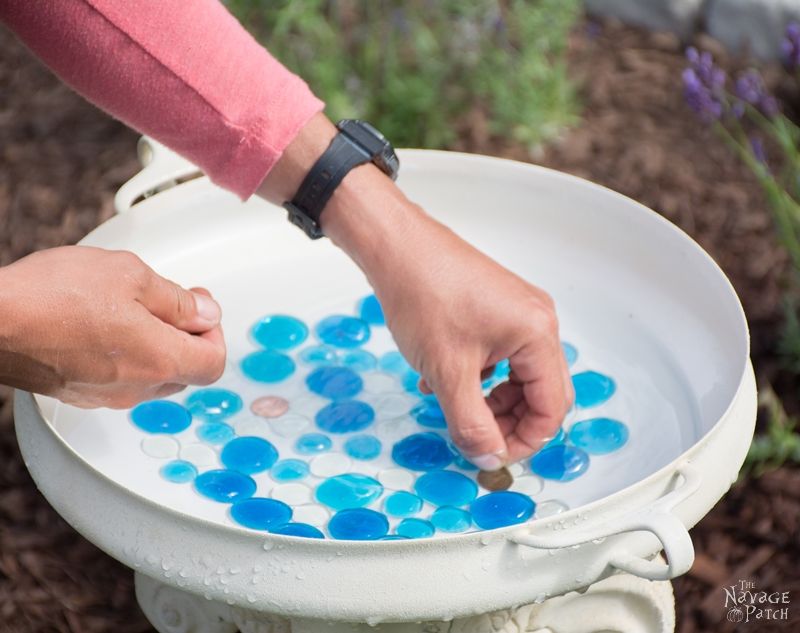
…and it was ready to serve our feathered friends 😉
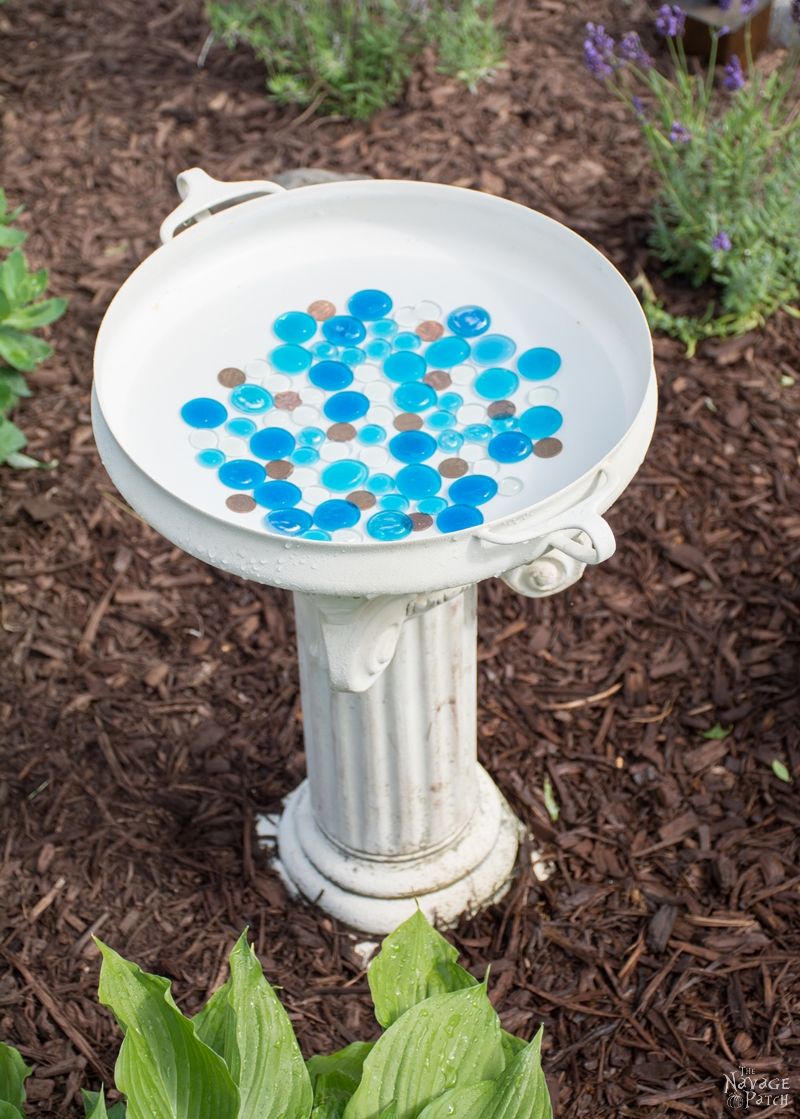
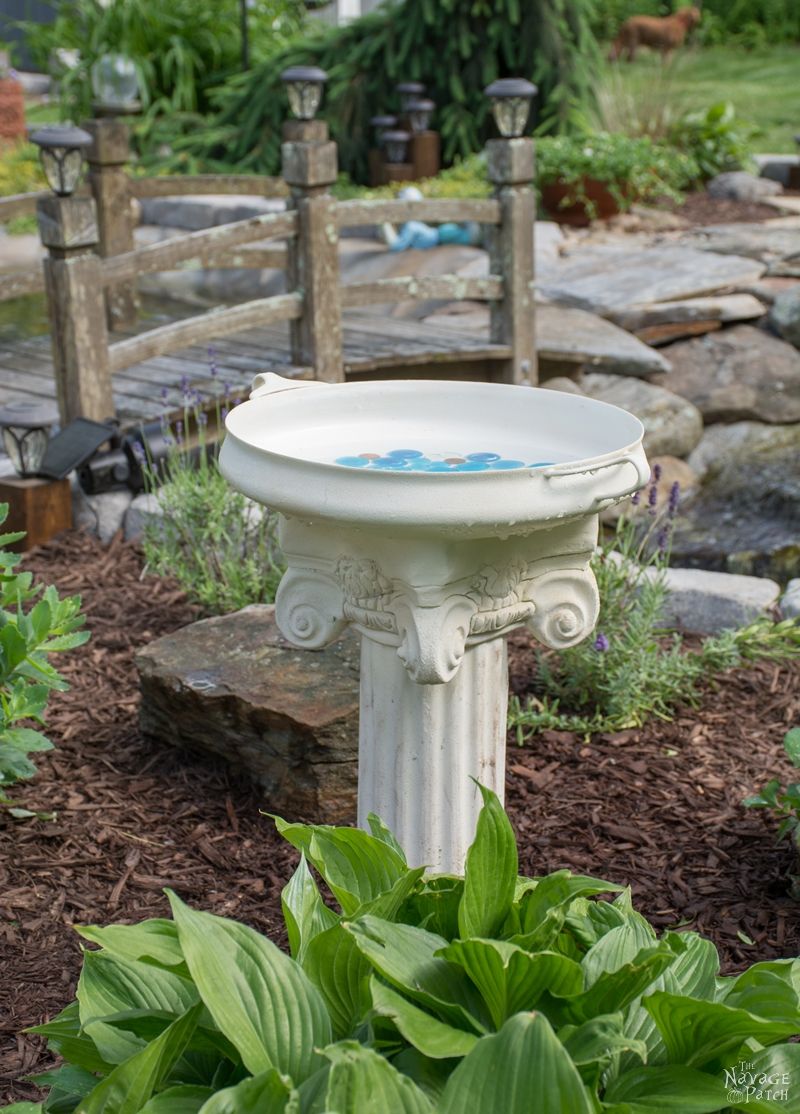
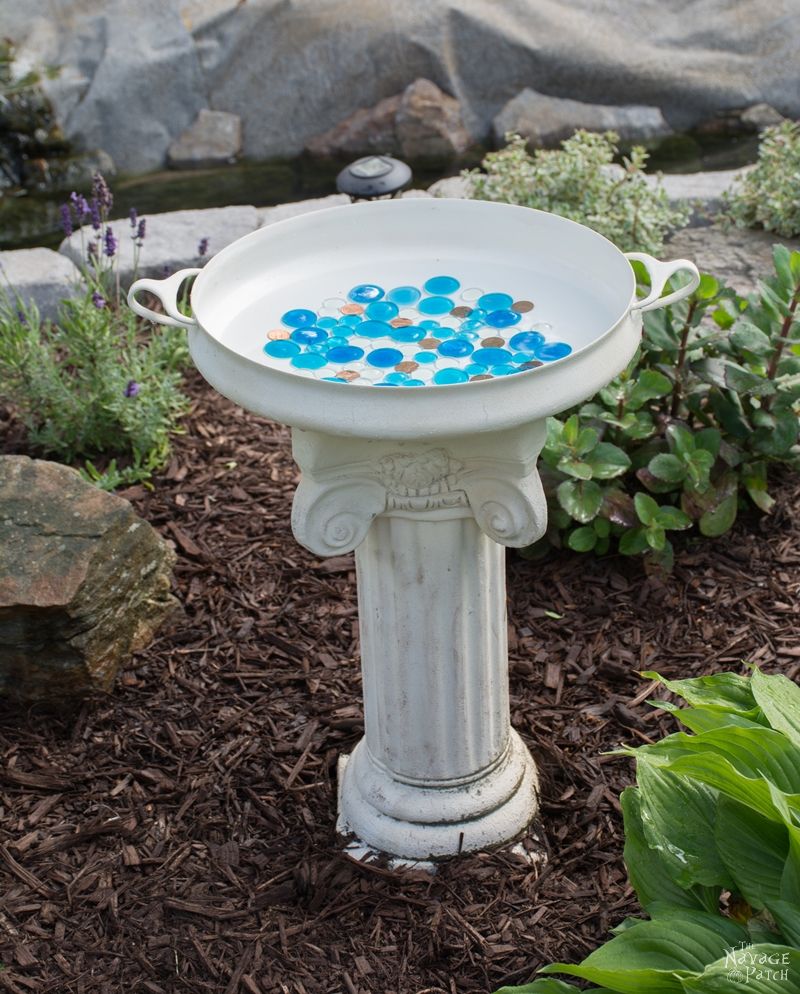
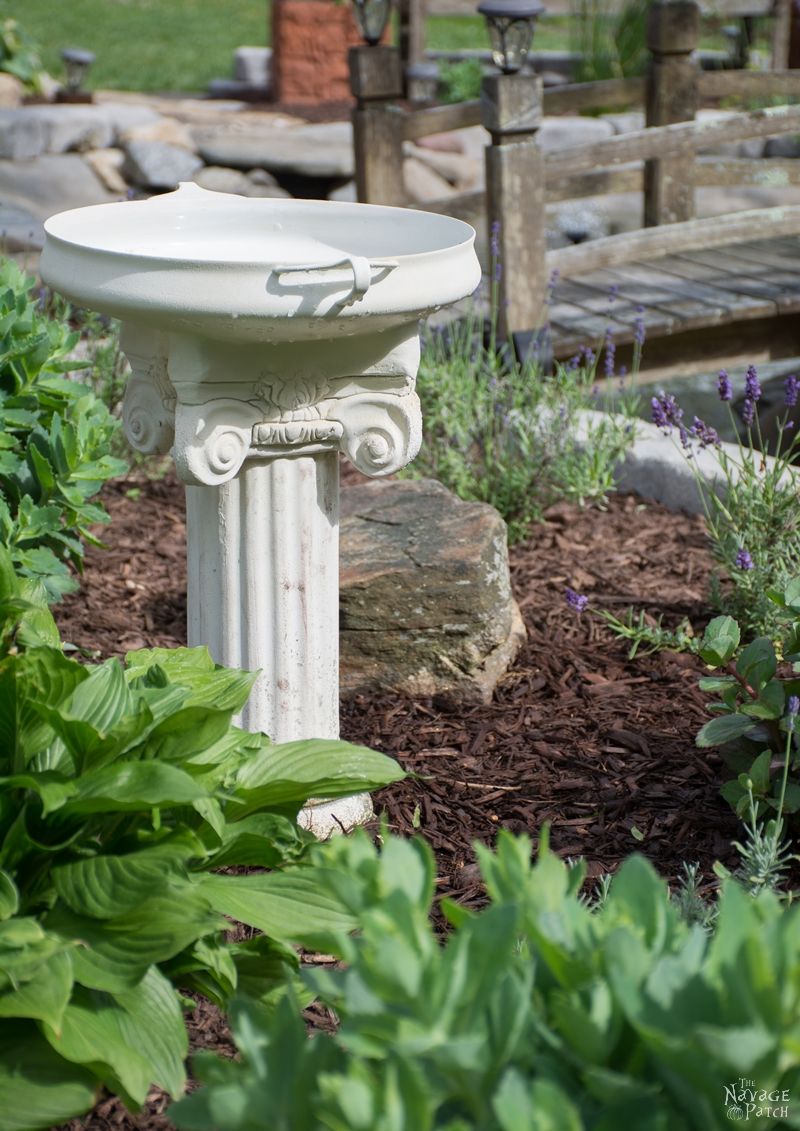
Other than the fact that it matches our garden theme perfectly (which you’ll be able to see in Greg’s “The Pond Project: Reveal” post), the whole thing cost me less than $10, and for that price I know I couldn’t have gotten a better one. Hence I couldn’t be happier with the result.
Handan, xo
We love it when you share our posts on Facebook and Pinterest!



This is such a cute idea! This week on Talk DIY to Me link party our theme is DIY Garden Decor! This project would be a perfect fit! I would like to invite you to come on over and party with us!
Oh that is awesome, Leanne! Of course I will be there…we have at least 2 posts to link up if not more 😀 Thank you so much for the invite!! xx
Beautiful bird bath! I love to watch birds play and splash around in the water. Great idea!
Thank you so much, Andi! Oh I can’t wait for you to see the Pond Reveal post. I am sure you will love it 🙂
What is it about the pennies that keeps the algae at bay? Is it better to use the old copper ones or the newer zinc?
Hi Derry, it is the copper what keeps the algae at bay 🙂
I use pennies in my pond to help with algae. However, I only use, 1972 and older. as I don’t believe the Zinc pennies will work the same.
Ahhhh…good thinking!
What an awesome DIY! I’m sure the birds love it 🙂
Blessings,
Edye | http://gracefulcoffee.wordpress.com
Thank you so much, Edye! Oh yes, they are pretty happy with it 🙂
I should have known this was one of your fabulous projects when I saw the link at the Wake Up Wednesday party! Very clever idea for a bird bath and oh my it looks so good near your newly refurbished pond. Where did you get that fabulous trigger handle for the spray paint cans? Mama needs one of these!
Thank you so much, Marie! I have to say the spray paint triggers are so handy. I bought mine from HomeDepot and here is the link for the Homedepot one: https://fave.co/2NapC9X
But also Amazon has the same product for around a dollar cheaper. Here is the link for the same thing on Amazon: http://amzn.to/1UQpewH
Hope you have a great week 😉
this upcycled bird bath looks great and love the addition of the color beads! Had no idea about the pennies, good to know!
Thank you so much, Millie! Oh yes copper pennies are great for birdbaths 🙂
Hi Handan, what a nice looking bird bath you created out of not much. I love the tip about the pennies, our water featured collects algae really quickly. I’ll try putting some copper coins in there and see if that helps.
xx
Thank you so much, Debbie!
Beautiful! What a great idea to pair the bowl with the column. it IS perfect! Thanks for sharing at Vintage Charm! xoKathleen
Thank you so much, Kathleen!
This turned out great! So clever! What a great tip about not shaking the spray paint to get a textured look. I would love to have you share this and other posts at Family Joy Blog Link-up Party happening every Sunday at noon EST on Ava’s Alphabet and 5 other fun blogs. Have a great week!
Thank you so much, Cristina! I will definitely share it at your party 🙂 You too have a great week!!
It turned out lovely!!Thank you for sharing with us at #HomeMattersParty . We would love to have you again next week.
Thank you so much, Sahana! Of course… I will definitely be attending your party every week 🙂
Amazing, creative, and oh so beautiful! Thanks for sharing.
Thank you so much, Valerie!
Wow this came out so great! Looks store bought now! Great job!Thanks for linking up to Merry Monday! Sharing on G+! Have a great week!
Kim
Thank you so much, Kim! Now I added a little solar fountain in it, it became a joyful place for birds 🙂
Handen, I learn new things every time I stop by. Love that in a blog! This turned out beautifully. We have a corner in our yard that I would like to create a little sanctuary. We buried our beloved dog there when she died 2 years ago. She loved to be outside and loved chasing birds and butterflies. So I want to have butterfly friendly plants and a bird bath in that area! Now I’m going to be looking for “found” objects like your pan and pillar, I know that making one will be less expensive and much more interesting than buying one!
I love the spray paint trick, brilliant. I had no idea that was why you shake the can, other than to mix it up good. And the spackle? Incredible! It took time, but it looks fantastic!
Thank you so much, Nikki! I am so sorry to hear about your dog. Our girls also love chasing everything in our backyard, including birds. Hence I thought I should make something for the birds so they don’t get disturbed when trying to have a bit of a drink or bath. Although we have a pond and birds were using the pond for that purpose, this bird bath turned out to be a better solution as it is raised and our dogs can’t get to it 🙂
Love it! I think it would be fun to have a bird bath and watch all the birds. We have a hard time where we live because they attract mosquitos. Thanks for joining the Family Joy linky party!
Thank you so much, Samantha! You might want to consider buying a solar bird bath fountain if you are ever planing to have a bird bath. Amazon sells them for really reasonable price (around $10 -$15). I am thinking that could eliminate the mosquito issue as they only breed/lay eggs in still water.
Great idea! I love that you didn’t shake the can for the pebbly effect! Thanks for sharing with us at Throwback Thursday!
Mollie
Thank you so much, Mollie! 🙂
This is so much better than the $10 one I wanted to buy and my friendly neighborhood store!
Thank you so much, Sandra! 🙂
That turned out super cute!! I love that you used a pot since it had handles…very cleaver!! Thanks for sharing on My 2 Favorite Things on Thursday! Hope to see you again tomorrow! Pinned!
Thank you so much, Elaine!
Handan, this bird bath is so cool!! You did an amazing job put these two pieces together! Very clever!! It looks great!
Thank you so much, Keri! 🙂
Beautiful!! I need to make one! Thanks for sharing on the Pleasures of the NW’s DIY party!
Thanks so much, Helen! 🙂
The bird bath turned out fabulous! I love that pan, great find. Thank you for linking up at Funtastic Friday!
Thank you so much, Lacie! Yes that pan was indeed a great find 🙂
This is gorgeous. I love the spray paint to match the base! The blue beads for decoration really make it pop.. and I’m sure the birds will love it.
Thanks so much for sharing at the Monday Mish Mash!
*Hugs*
Thank you so much, Amy! I indeed love your party, hence I try not to miss it. Thank you for hosting it every week 🙂
Your so creative. I adore old things reused. Very nice! Thanks so much for sharing!
Thank you so much Sharleen! 🙂
How did you add the little water spray?
It is solar powered floating water sprayer I bought on Amazon for the bird bath. As it is floating no installation is needed. Here is the link if you want to read more about it:
http://amzn.to/2asopbs
I love the idea! Never thought of combining an old skillet of wok with a stand. My best takeaway was the pennies for algae but is that safe for the birds? I have plenty of copper tubing and wire I can use instead since it is pure copper, not mixed like pennies.
Thank you so much, Heather! Ever since I read this article from garden.org I believe using pennies are safe for the birds: http://garden.org/ideas/view/flaflwrgrl/602/Prevent-Algae-from-Growing-in-Your-Birdbath/)
Note that they say to use pre 1982 pennies in the article. This is because prior to 1982, pennies were 95% copper. After 1982, Treasury cheaped out and made them out of zinc with a thin copper coating. But the copper coating is still copper, so still would give the same benefit as an older copper penny.
That said, if you have copper tubing, then using that of course would be much better than using pennies 🙂
I hope this little info will be helpful!
Have a great week ahead!!
Thank you for the link. This is very helpful and will save me some time as I am usually scrubbing birdbaths every few days. So afraid to use anything other than elbow grease.
Nice idea, really like the pennies.
Did you ever do anything with the broken metal bird feeder?
I have the same one!
My husband wants to put a new pump in it but it needs help…very old.
Hi Kathy, no I didn’t get the chance to do anything with it so far, but I’m planning to turn it into some sort of outdoors light. 🙂
Hi, what type of adhesive can be used to glue decorations inside the bird bath? I use silicone adhesive on the outside. ? Thanks
Melinda
Hi Melinda, it depends on what the bird bath is made from, but any sort of construction adhesive or E6000 glue should work just fine.
Love the diy project, my question is, do the birds use it? I have a black acrylic painted bird bath and they love it, I have a cement one that someone gave me and it never gets used. I tried switching them to see if that would change and again black bird bath used all the time white one never. I think birds do not like white at all. Now maybe with the blue stones you have it made a difference? Just curious as to if birds use it?
They loved it, Kate! We’ve moved twice since then, and that bath stayed in CT, but they did love it while we were there!
Can I ask what paint did you use on the inside of the bath that is safe for birds? I just aquired cast iron bath that needs an update and I can’t seem to find what paint is best for the inside of the bath. Help please.