DIY Faux Aged Terra Cotta Pots
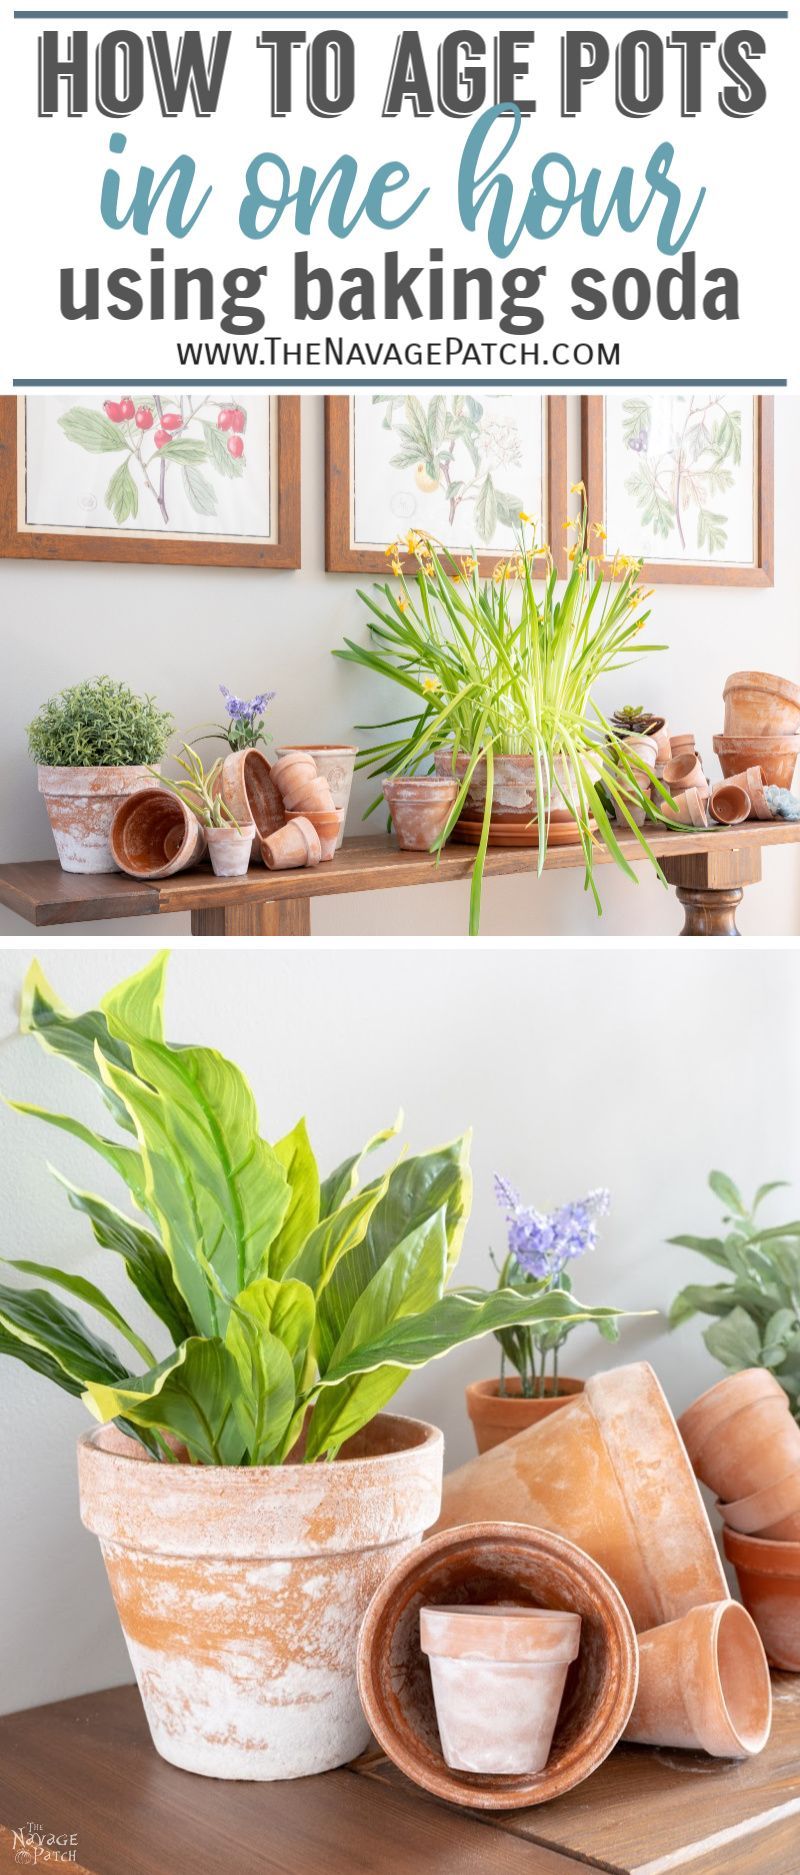
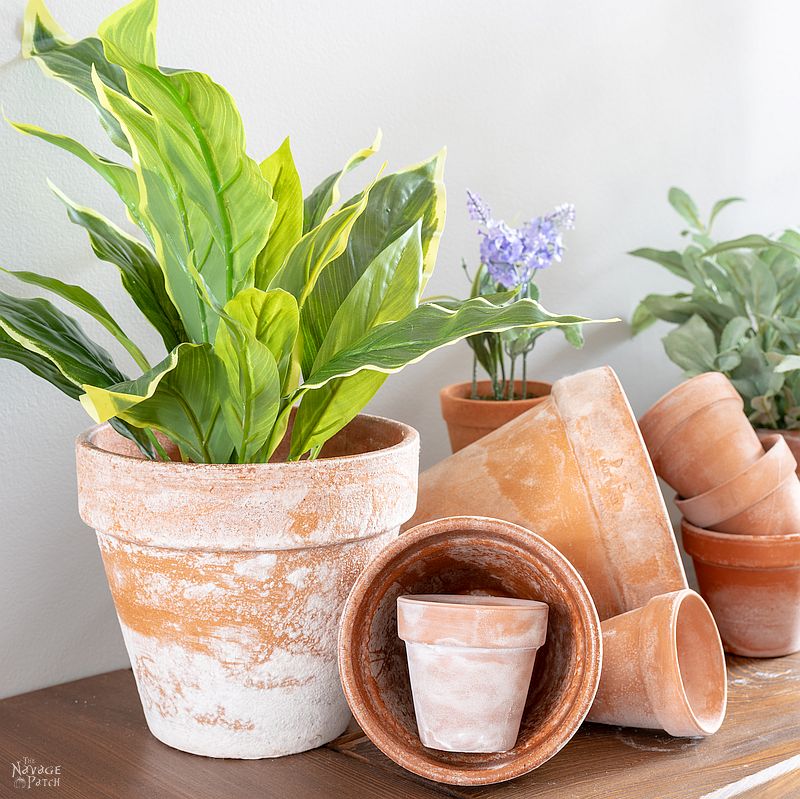
Our DIY Faux Aged Terra Cotta Pots can be made in minutes, and they can be used with both fake and real plants!
My wife is a pothead.
I’m serious!
Oh, wait.
No, not that kind of pot. Yeesh, it’s still illegal here!
What I mean to say is that my dearest Handan has a minor terra cotta addiction.
But we don’t talk about it.
That would be crass.
Instead, we just accumulate terra cotta pots.
Sometimes, she’ll score from Dollar Tree.
Other times, she’ll hit up the dealer-man at Home Depot.
Occasionally, when she’s really strung out after work, we’ll stop by Ocean State Job Lot on our way home so she can get a T-C fix on the cheap.
But the problem is once we get those orange beauties home, she shuns them.
They’re not good enough for her.
They’re not old enough for her.
What can I say? The woman likes old crap.
And that is fantastic news for Yours Truly, because I’m getting older by the minute, and I have the wrinkles, aches and bad memory to prove…
Huh?
What was I talking about?
Oh right! Terra cotta pots, like men, look better with age!
Oh, sure, the bright orange of a pot’s youth is all well and good, but people start taking notice – people start paying attention – people start craving – when the orange starts to fade behind a patina of mineral deposits.
There’s something about a distinguished and crusty white pot that you ladies find irresistible.
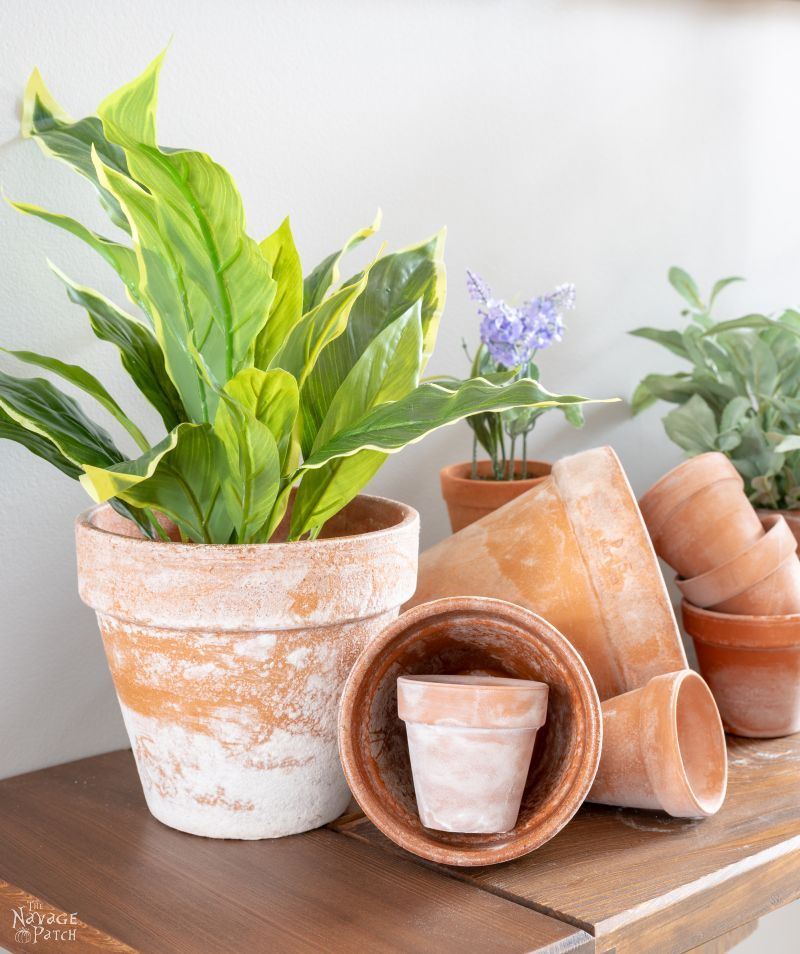
We had a bunch of terra cotta pots kicking around various nooks of our house, garage, basement and shed, and Handan wanted to experiment with some faux aging techniques.
I mean, who’s got the time to age things the old fashioned way these days?
How would you ever post it on Instagram?
Would Instagram still exist by the time the pot aged?
We wanted to try our hand at two techniques that are already out in the wilds of the internet – salt and garden lime – but we wanted to give each a little twist.
For the salt-aged pots, we wanted to see if we could make them safe for plants.
For the garden-lime-aged pots, we wanted to see if we could achieve similar results with baking soda.
The primary ingredient in garden lime is calcium bicarbonate (the same ingredient in Handan’s now World-Famous Chalk Paint Recipe). Baking soda is sodium bicarbonate. The two are similar in that they are both bases (the opposite of acids). The key differences are baking soda is more basic (not important to our experiment) and dissolves better in water (important to our experiment).
We sourced out terra cotta pots from Home Depot, Ocean State Job Lot, Dollar Tree and all over our house (unsure where they were bought). Where the pot came from had a noticeable effect on how well the pot took the faux aging. More on that later.
Let’s start with the salt-aged terra cotta pots.
DIY Faux Aged Terra Cotta Pots – Salt Technique
Let’s get one thing clear right away: salt kills plants. Kills ’em dead. Just wanted to get it out there at the beginning though. So don’t go salt-aging your pots and then planting them until you read all of this section.
Salt is fantastic for aging terra cotta, as it dissolves completely in water (up to a point). Dry terra cotta absorbs the salty brine, and when the water in the brine evaporates, it leaves a beautiful white crust behind.
If you’d like to faux age your terra cotta pots for use with FAKE plants only, you merely need to soak the pots in salty brine for a few hours, or spray the pots with a brine from a spray bottle.
Set them aside to dry (or use a hair dryer), and in a few hours, you’ll have beautifully aged terra cotta pots with a soft white patina that is very durable, as long as the pot stays dry.
But what if you want to actually plant something in it?
Is it possible?
We wanted to find out, so we came up with a plan.
If we could keep the salt on the outside and away from the inside of the pot, we should be able to plant actual live plants. One way would be to line the pot with a plastic bag.
But that wouldn’t look very good.
We decided to spray the inside of the pots with shellac. When cured, shellac is perfectly harmless. Water on the inside would stay on the inside. The salt on the outside wouldn’t be able to penetrate the shellac.
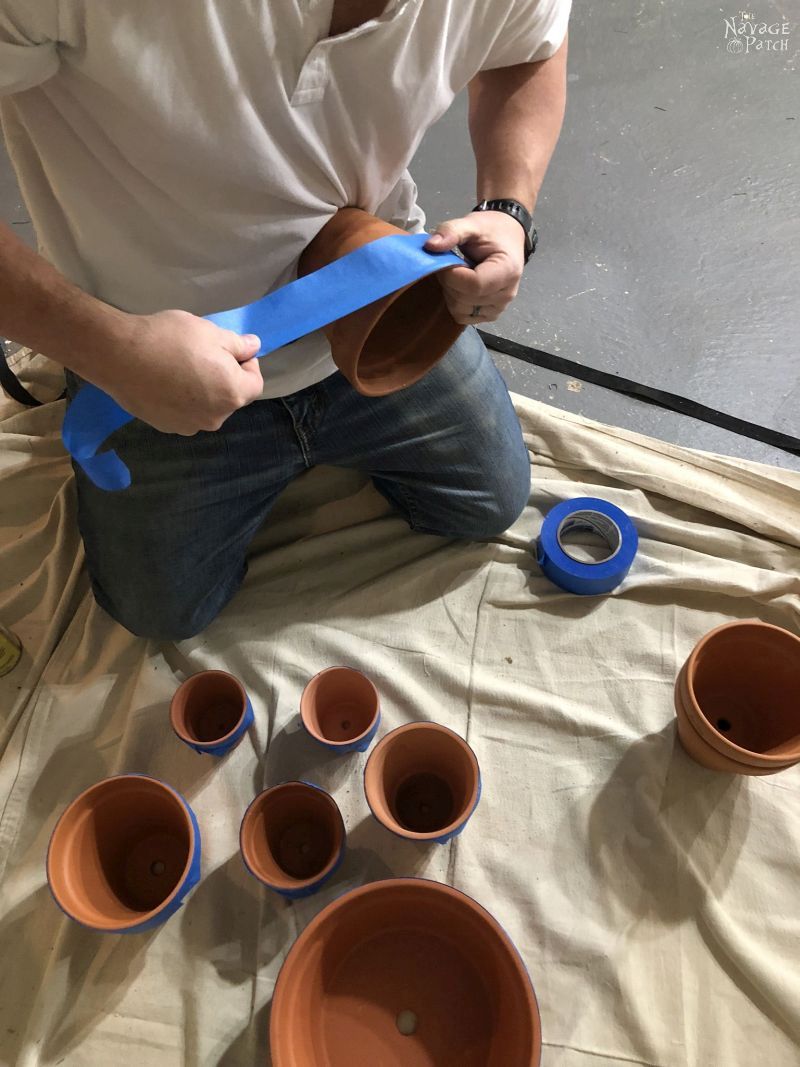
I taped off the tops of the pots – we didn’t want to get any shellac on the outside of the pots, as that would prevent the salt solution from getting absorbed by the terra cotta.
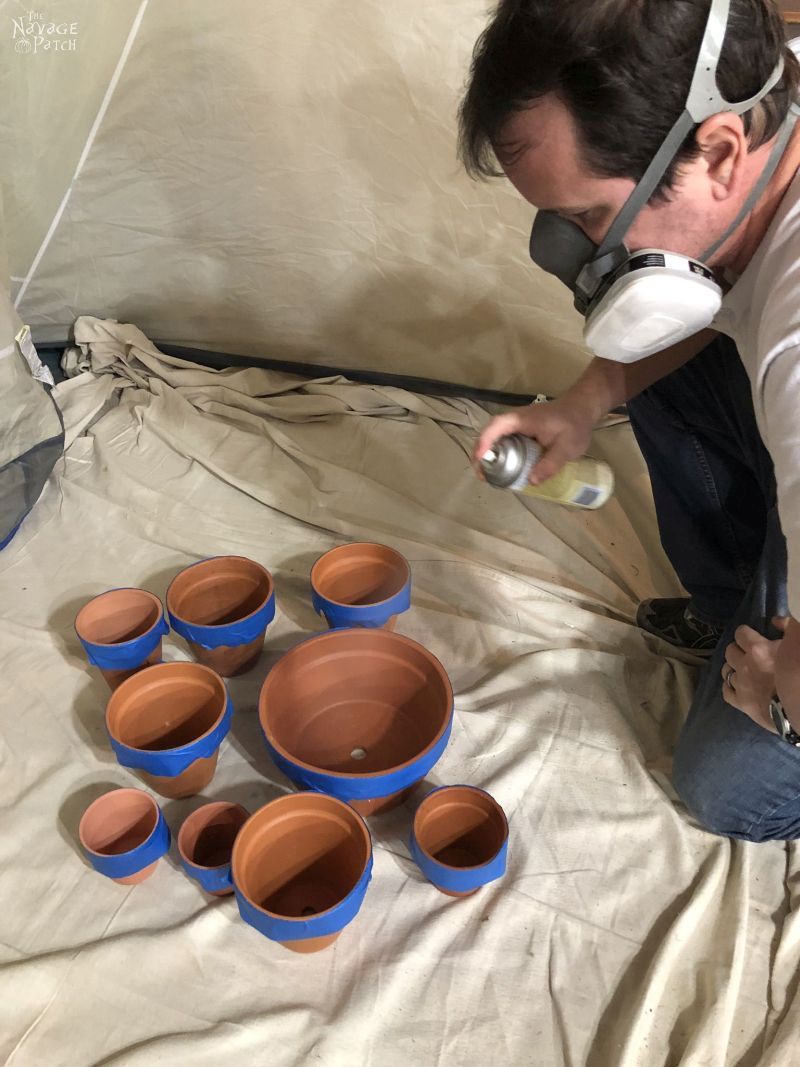
I sprayed the pots with 4 good coats of shellac. If you have the time, you can also spray the outer bottoms of the pots, being careful not to get any shellac on the outer sides.
After the shellac had cured, I mixed up a big batch of brine. I used Diamond Kosher Salt – it is by far the cheapest around here.
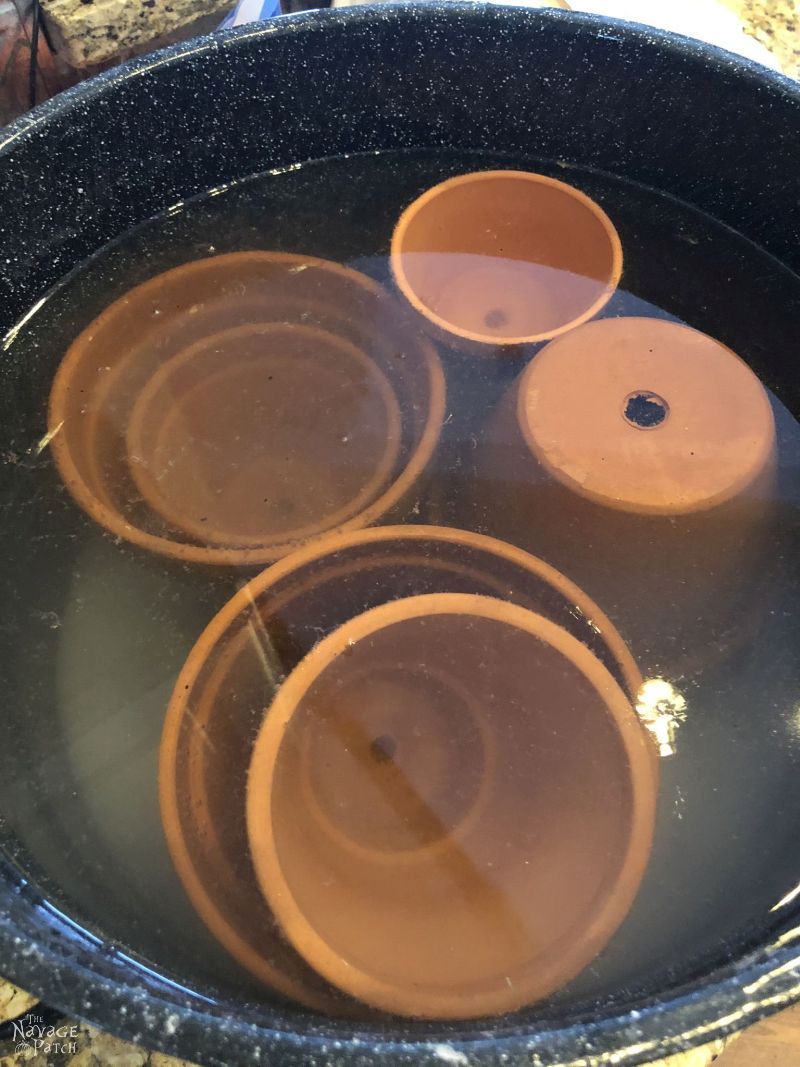
I filled the container with hot water and kept adding salt until it stopped dissolving. I thought I would be able to use the big plastic jug shown below, but it was too small for my needs.
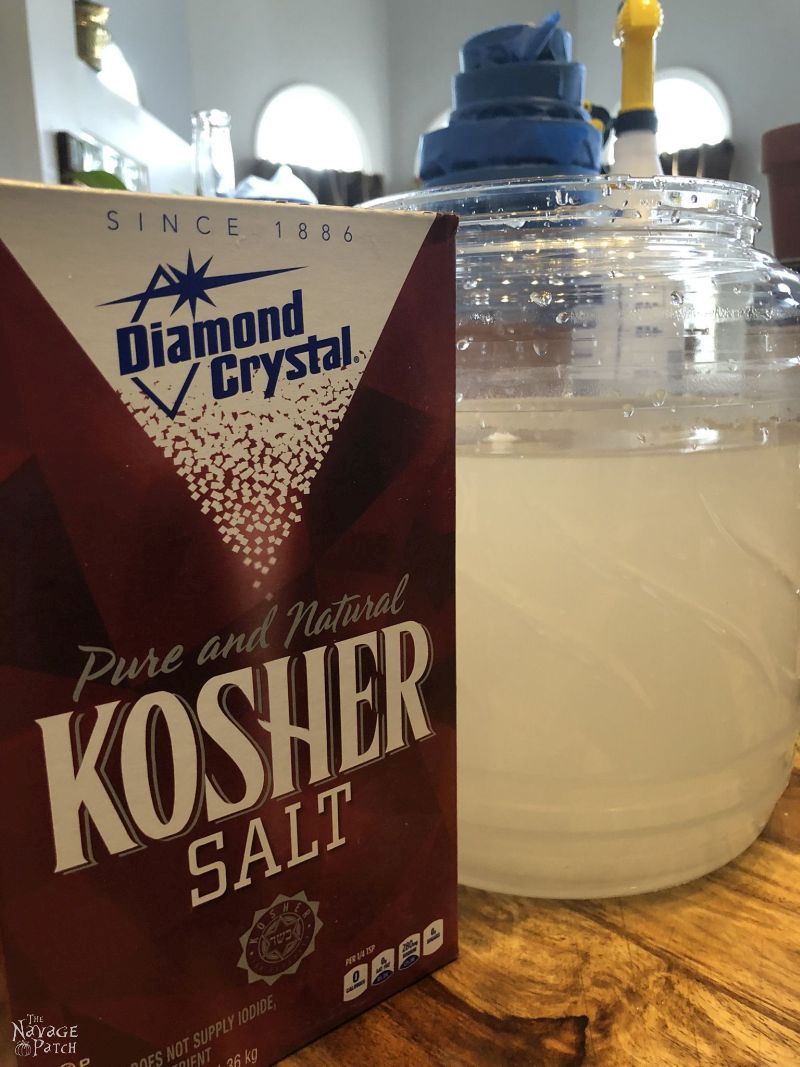
Instead, I dumped it into a bigger pot, added more salt and water and then added the terra cotta pots. I let them soak overnight, but really, I think they become saturated with brine in a matter of minutes.
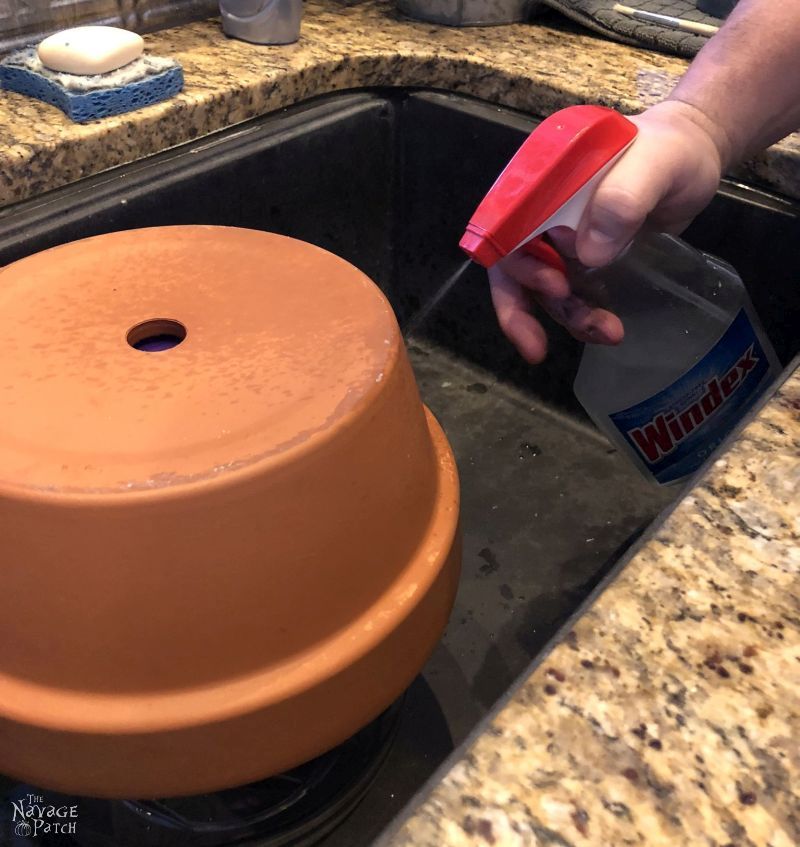
My biggest terra cotta pot wouldn’t fit with the others, so I sprayed it with brine.
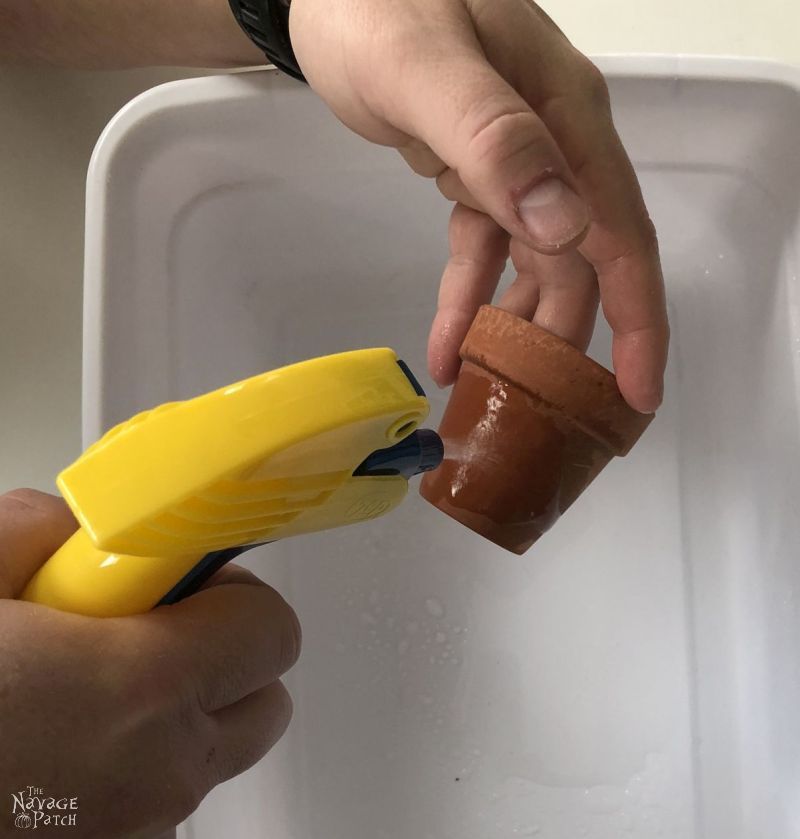
I also sprayed some of the little Dollar Tree pots. Others, I soaked.
Using a hair dryer sped up the whole process. We could watch the terra cotta pots age before our eyes!
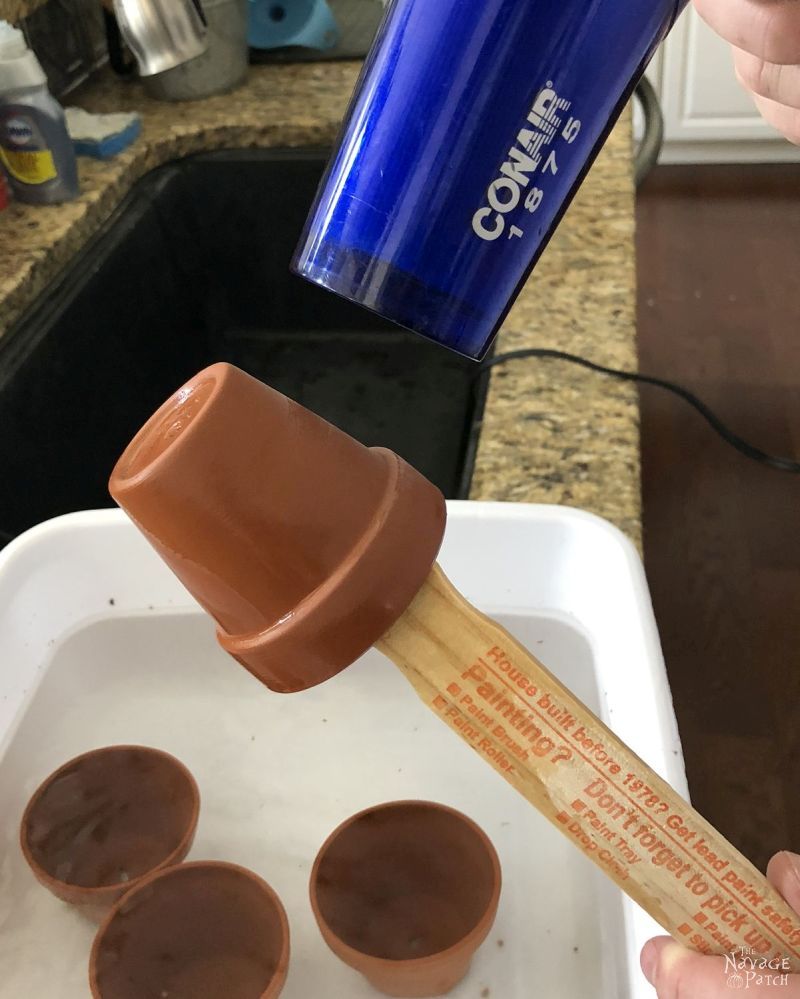
In a few seconds, the patina started to show…
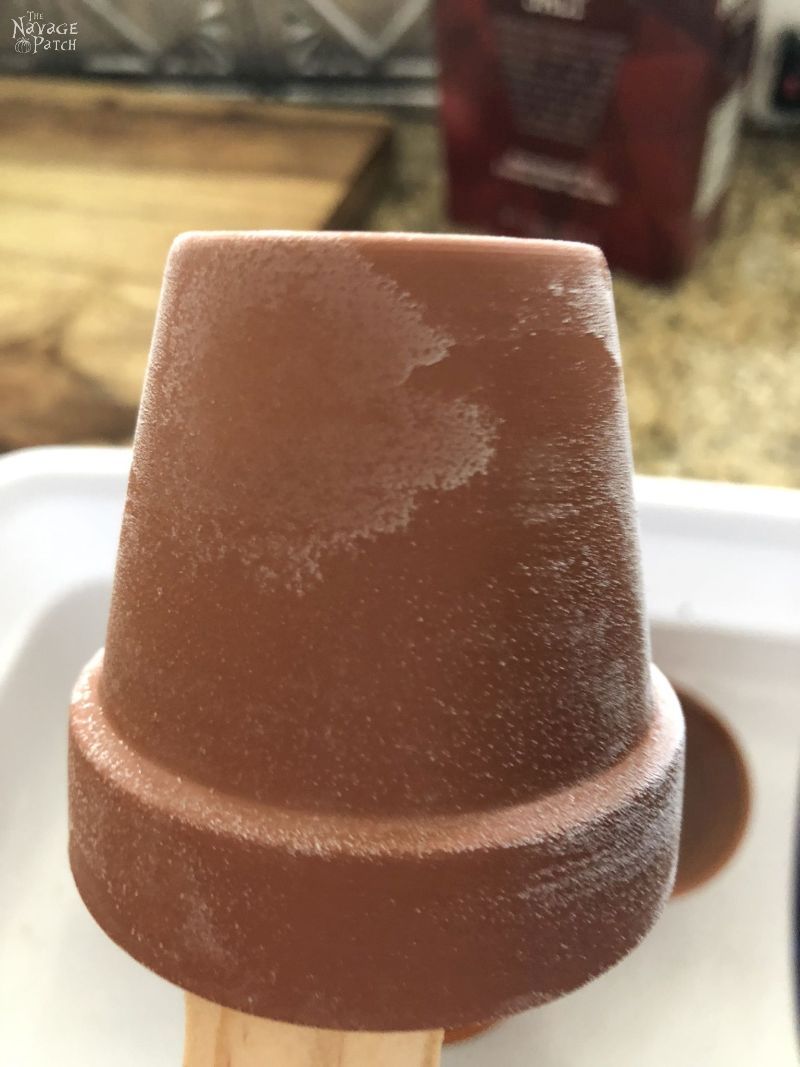
And a few seconds later…
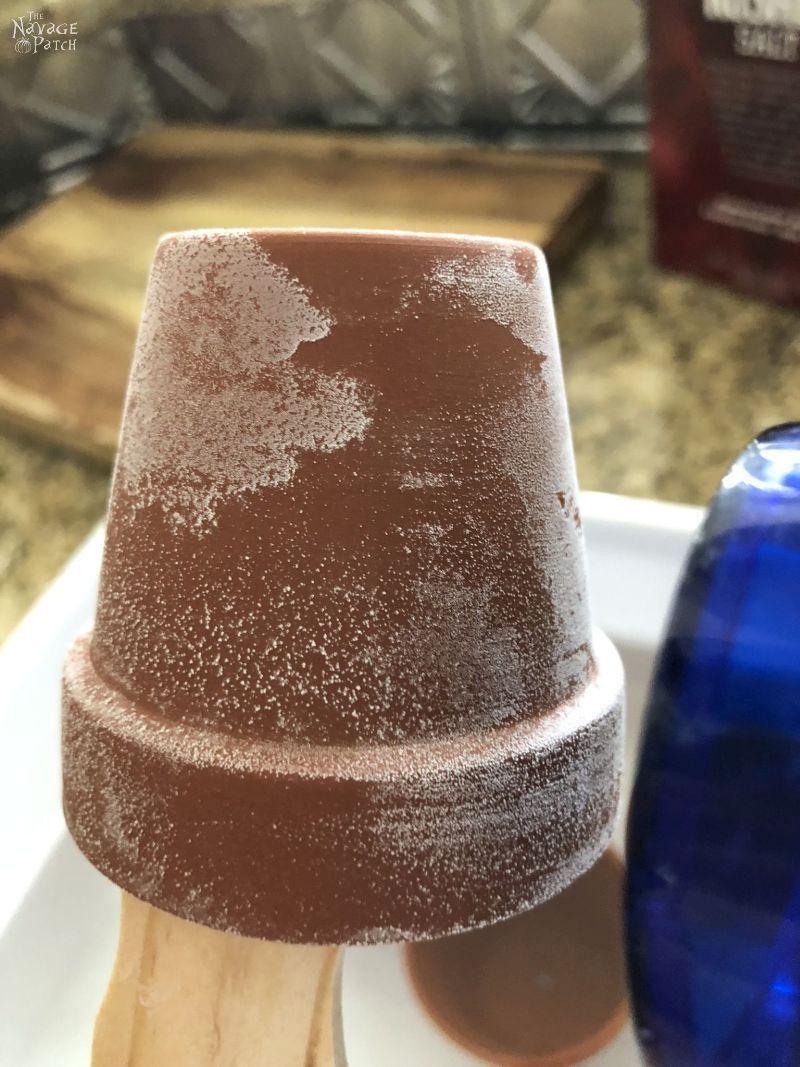
I hadn’t shellac’d these little pots, so these are for faux plants and faux succulents only!
If you soak the shellac’d pots and want to use them with live plants, be sure to rinse or wipe the inside to remove any salt residue. If you sprayed the brine, you shouldn’t have any on the inside to worry about.
One thing that really struck us with the salt brine was how variable the results were. Some pots turned fully white, like this beauty! I don’t know where the pot came from, but it is stunning!
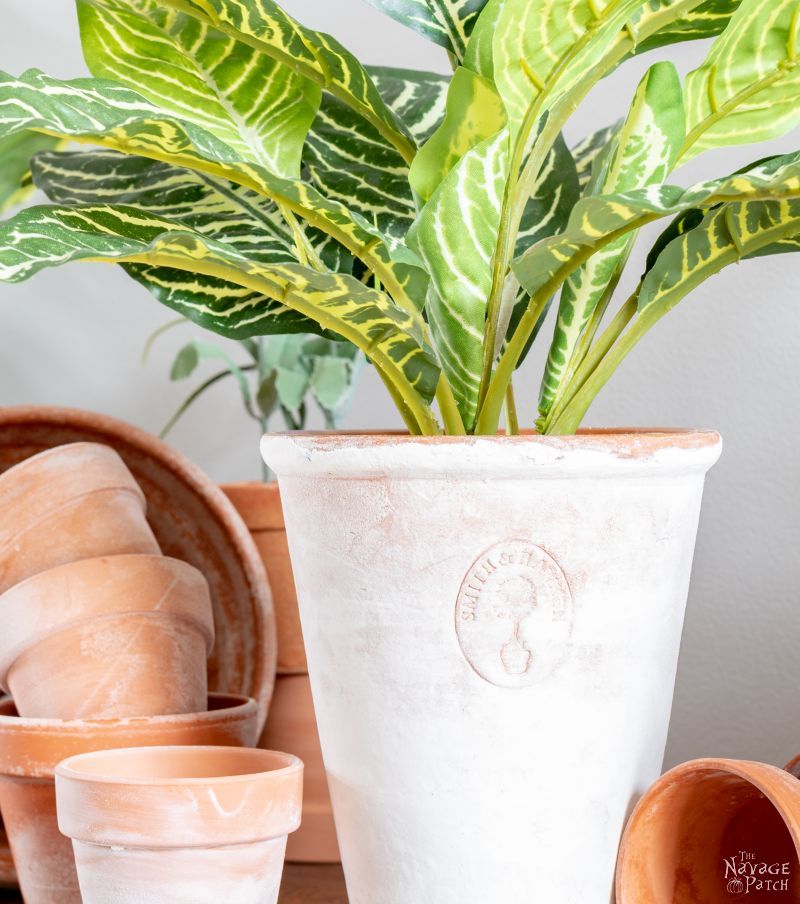
Others only showed a light patina, like this pot from Home Depot.
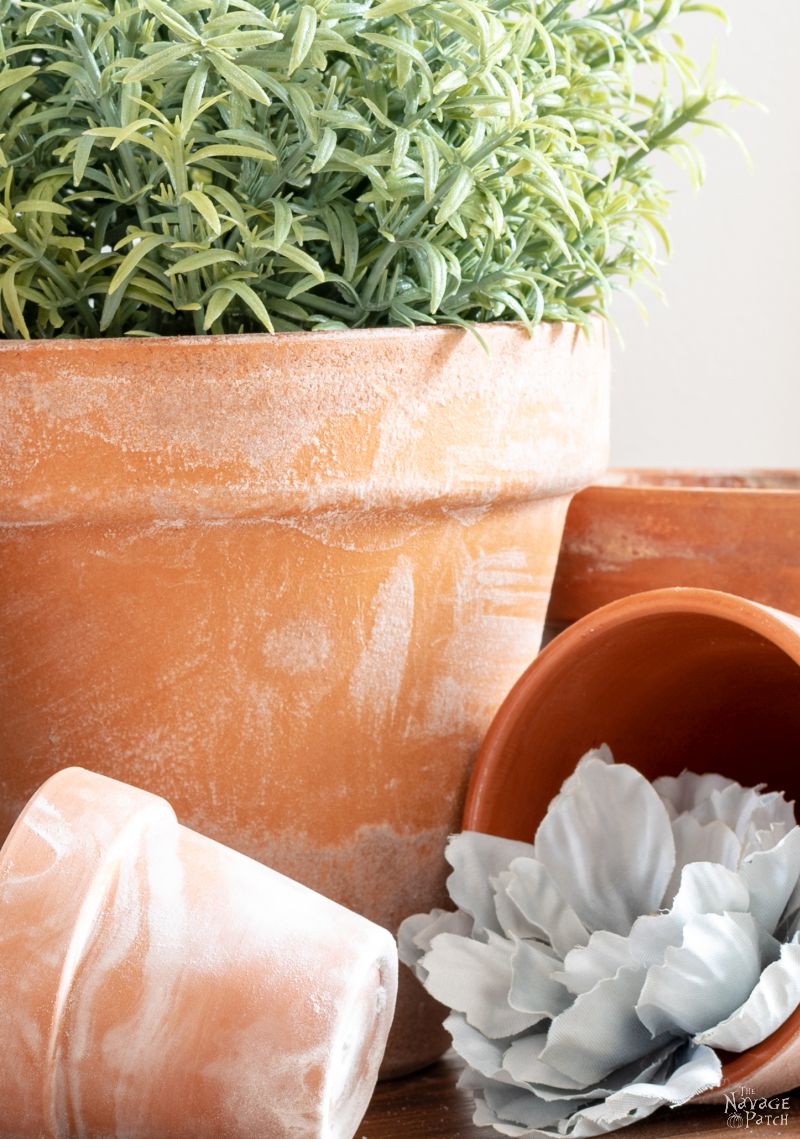
The small pots from Dollar Tree took the patina very well. Home Depot pots took the least, and Ocean State Job Lot pots were in between.
It was time to test our idea.
We planted our big salt-aged terra cotta pot with daffodils.
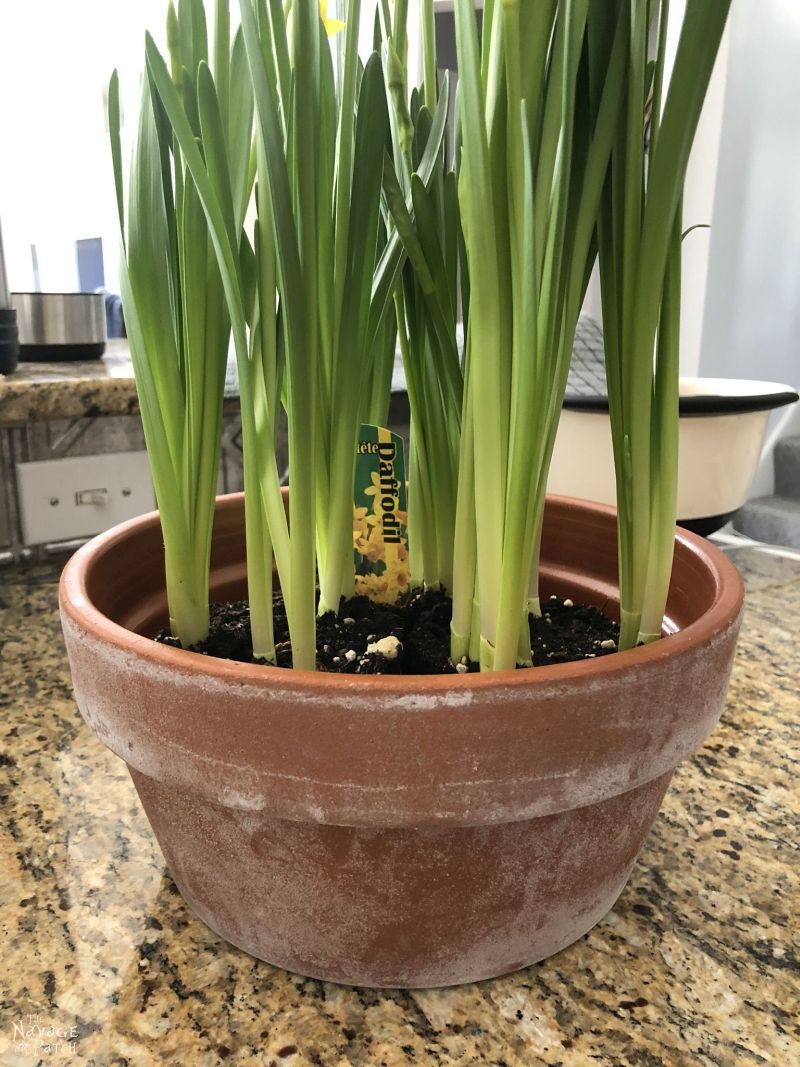
One thing became clear once we put this pot on a base and watered it – the salt near the bottom will dissolve when excess water flows down into the base.
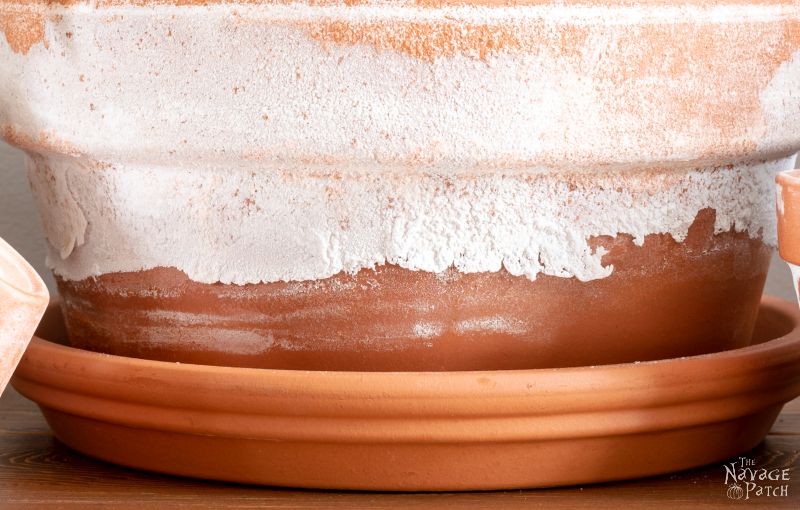
But we actually liked the way that looked!
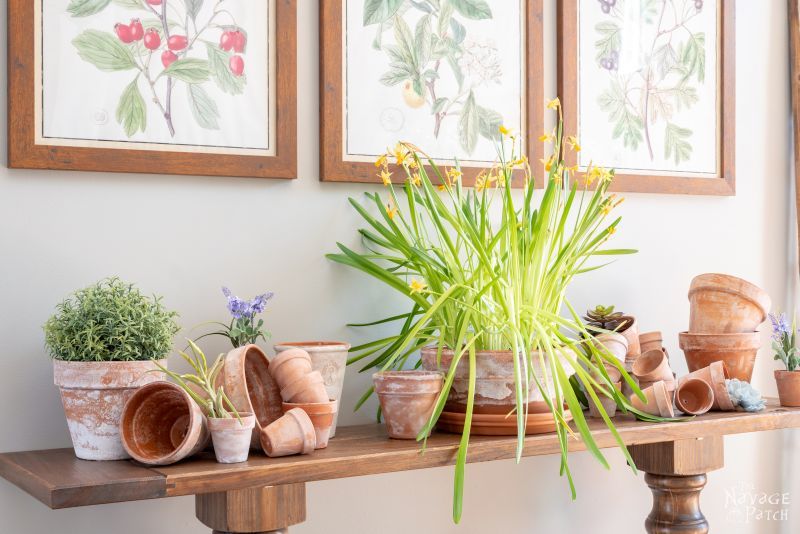
In order to make a legitimate claim about the viability of these flowers, we needed to give them enough time in the pot. After 2 weeks, the daffodils were still going strong, though they were nearing the end of their useful indoor life.
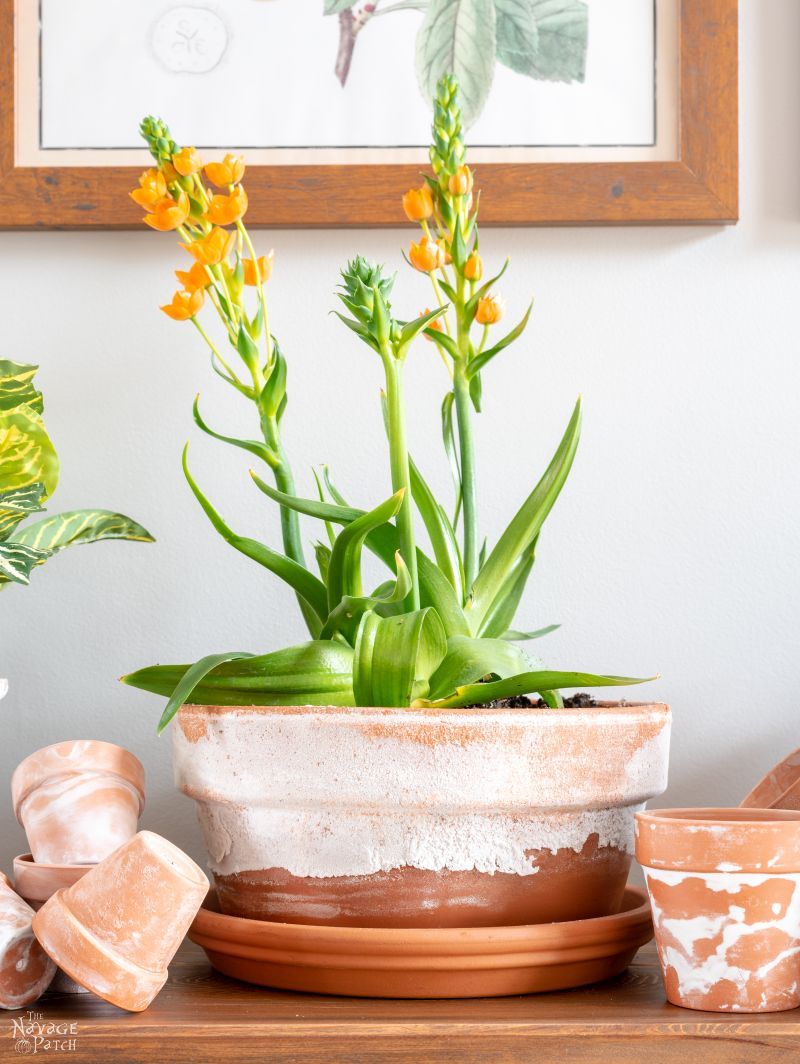
After 3 weeks, it was time to remove the bulbs to plant outside. I replaced them with an orange star, and it’s as healthy as can be.
DIY Faux Aged Terra Cotta Pots – Baking Soda Technique
Though the garden lime technique works, most people don’t have garden lime kicking around.
But most people do have baking soda!
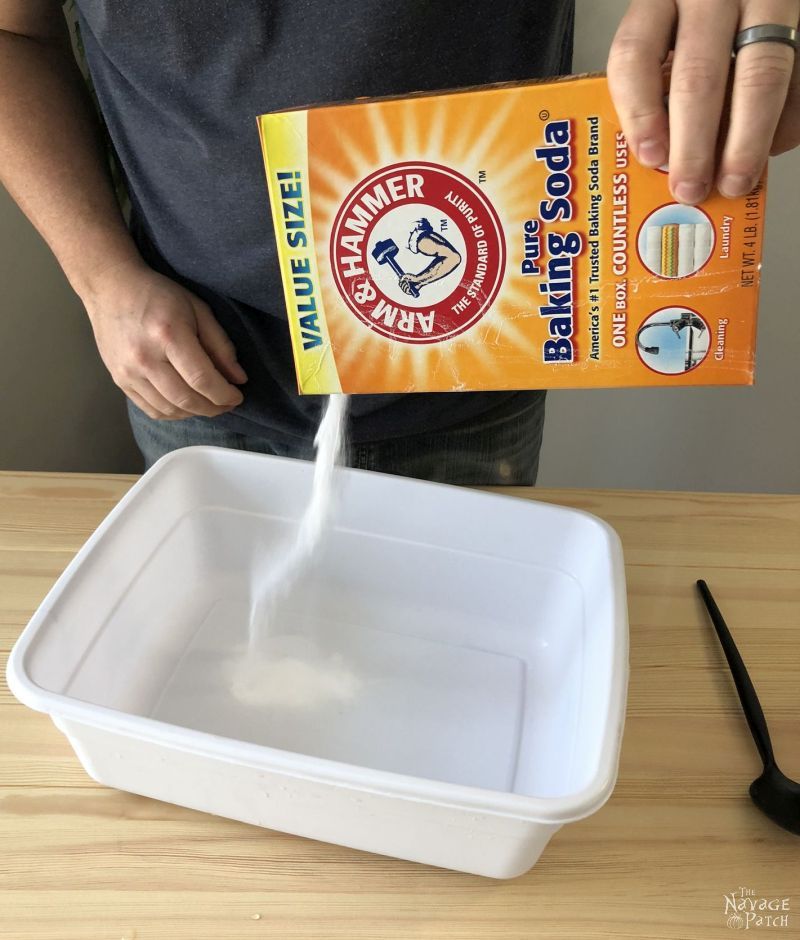
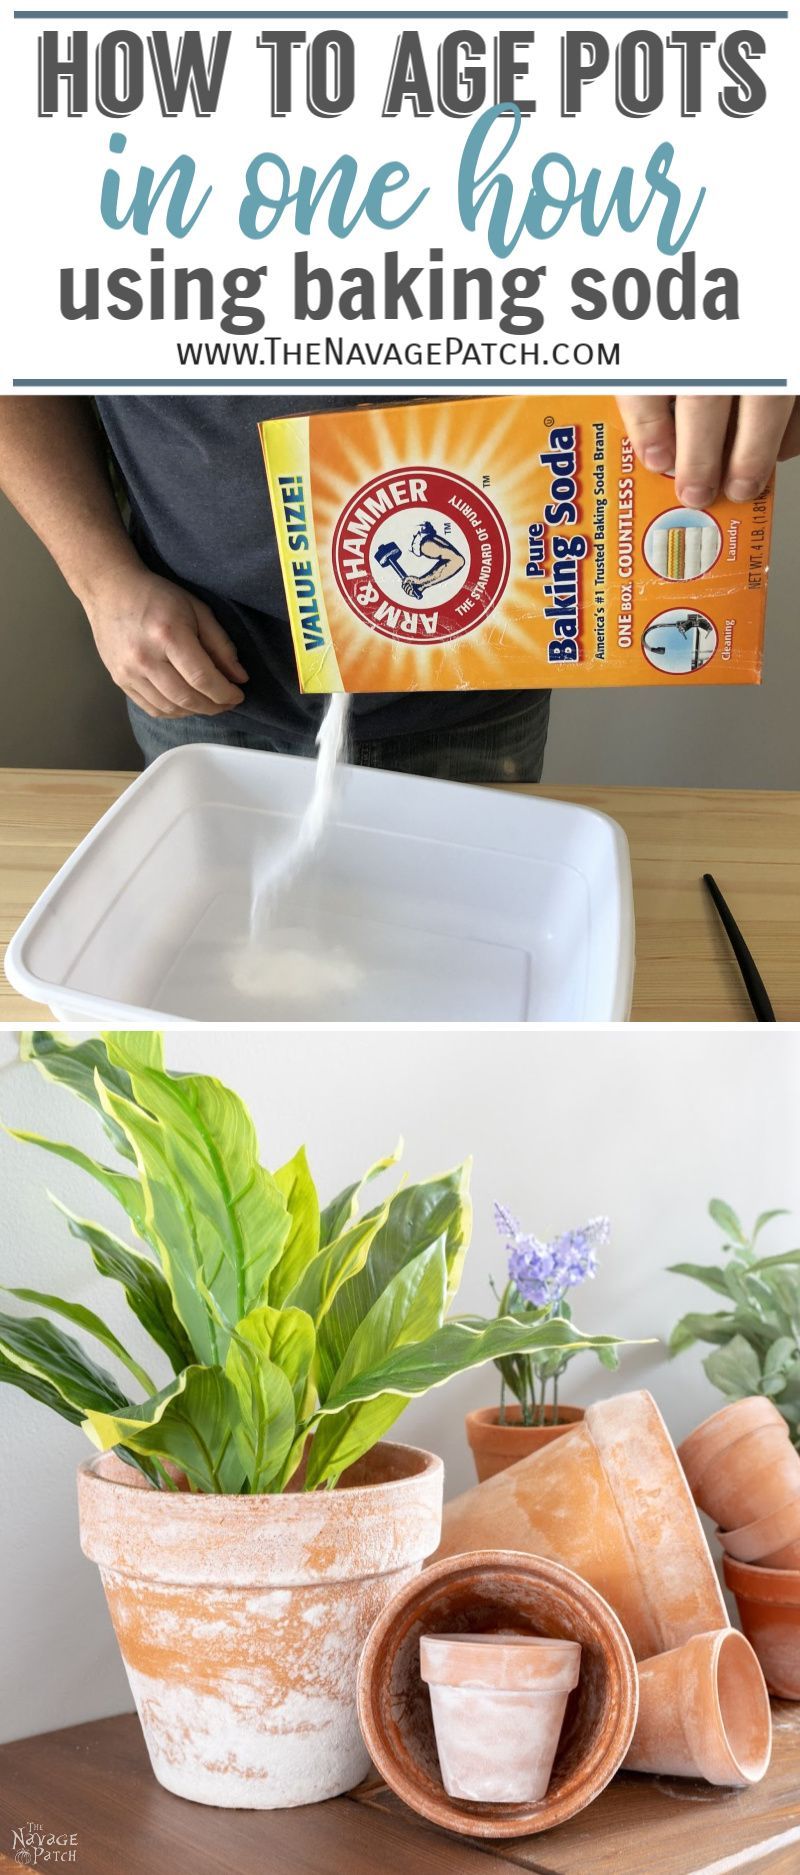
We carried out our experiment in a plastic tub. I first added some baking soda.
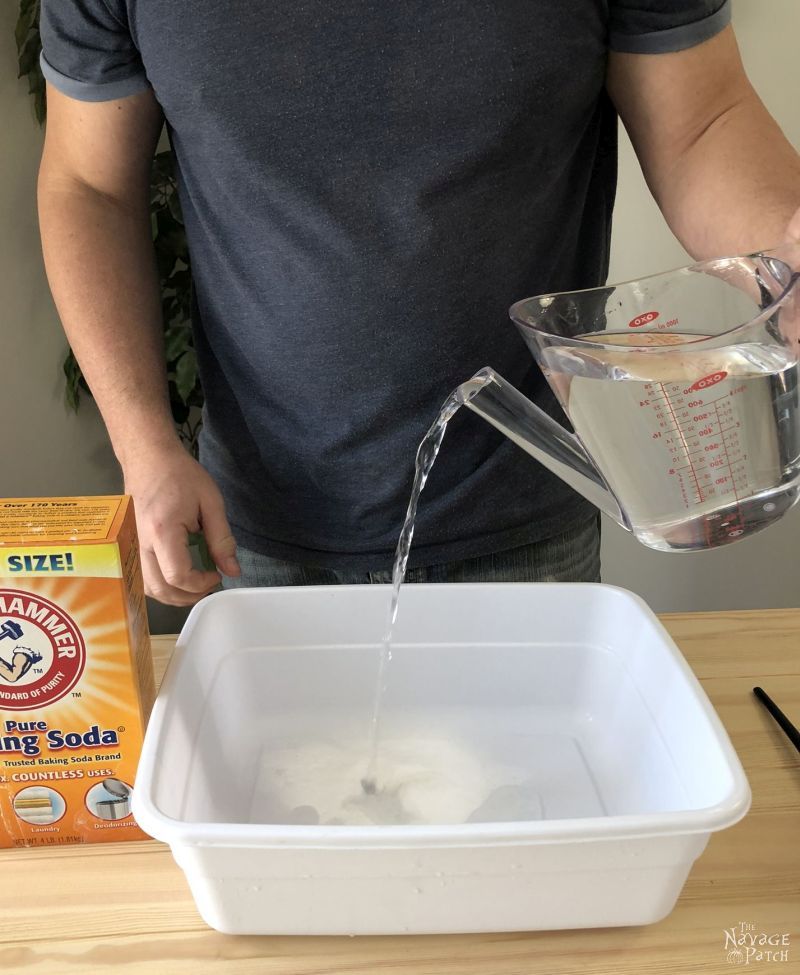
Then I added a couple of cups of water.
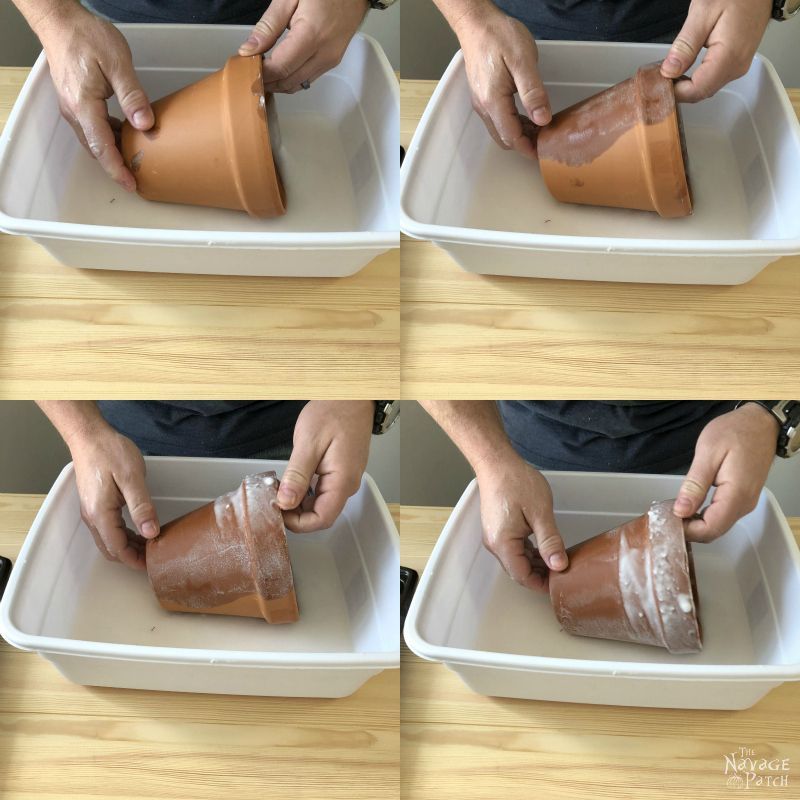
After some experimentation, we found that dry pots work best, as they immediately absorb the liquid. That said, we found it was best not to leave the pots in the liquid, but to roll them quickly and remove them right away.
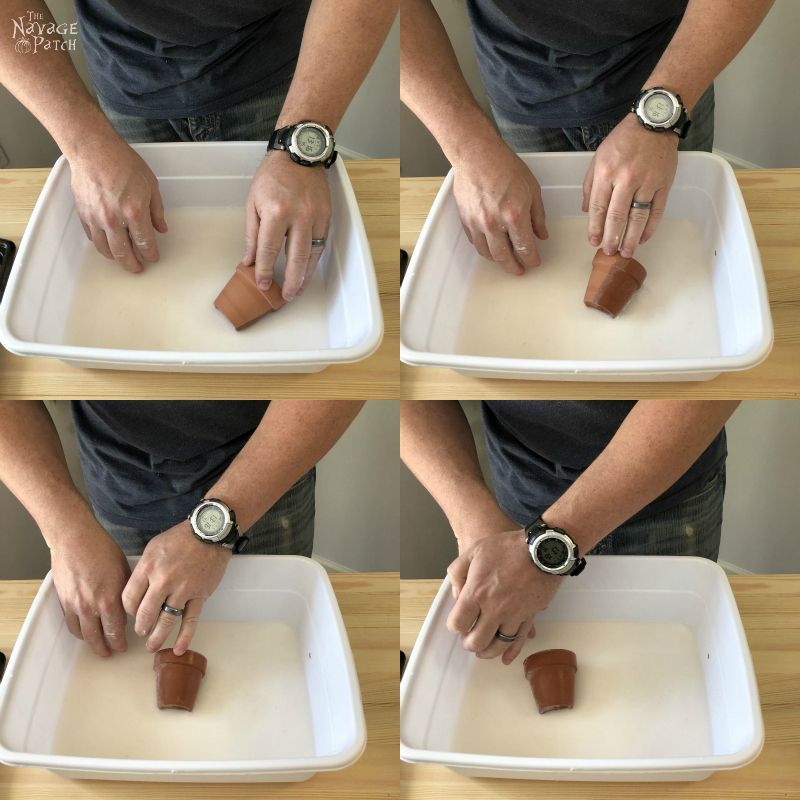
You can see how quickly the patina forms, as the water gets drawn into the terra cotta.
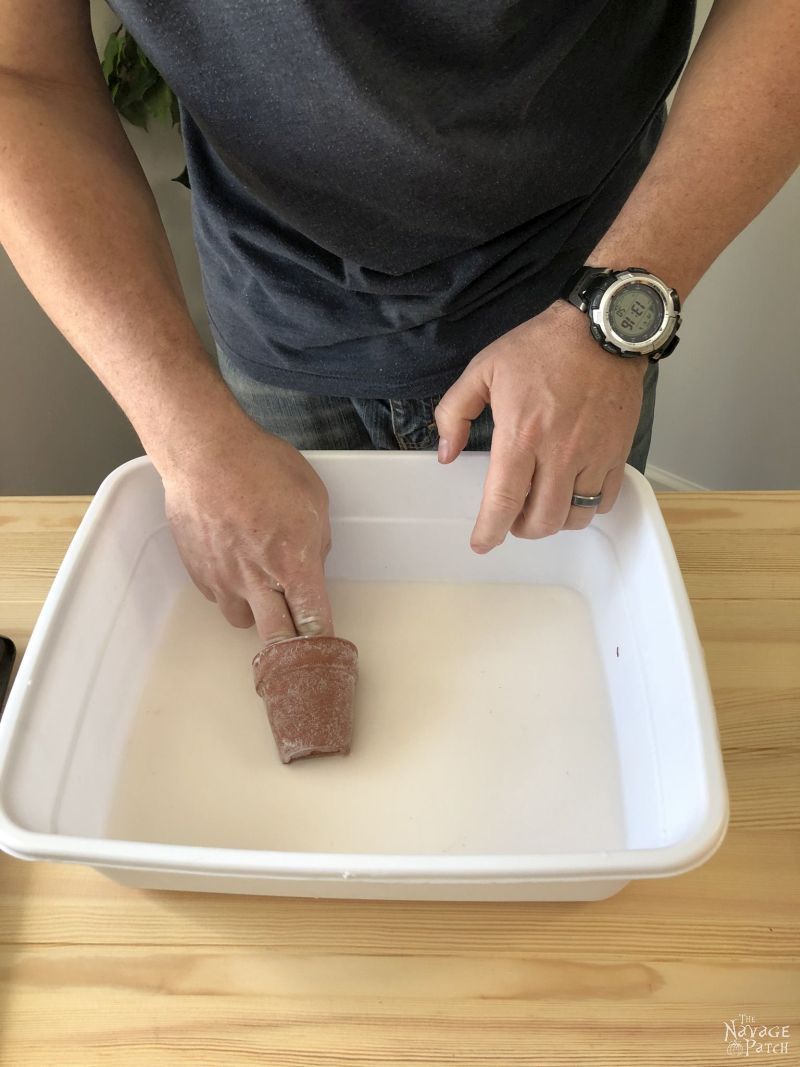
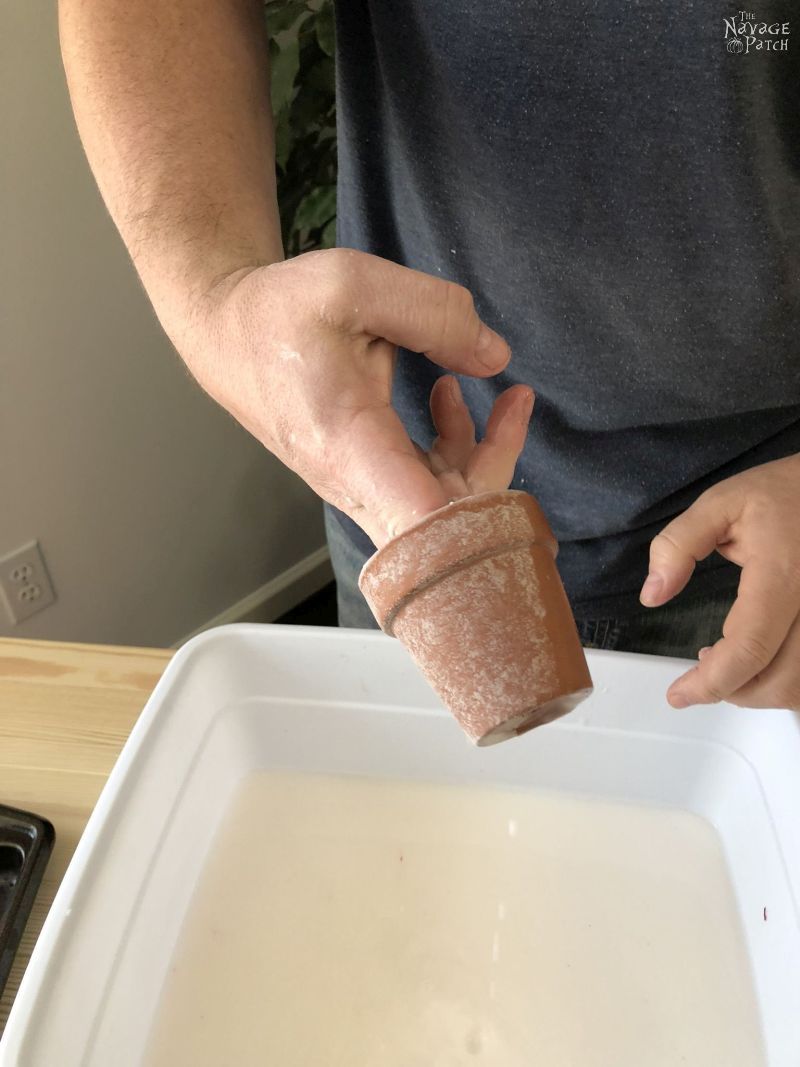
I set it on a baking tray to dry.
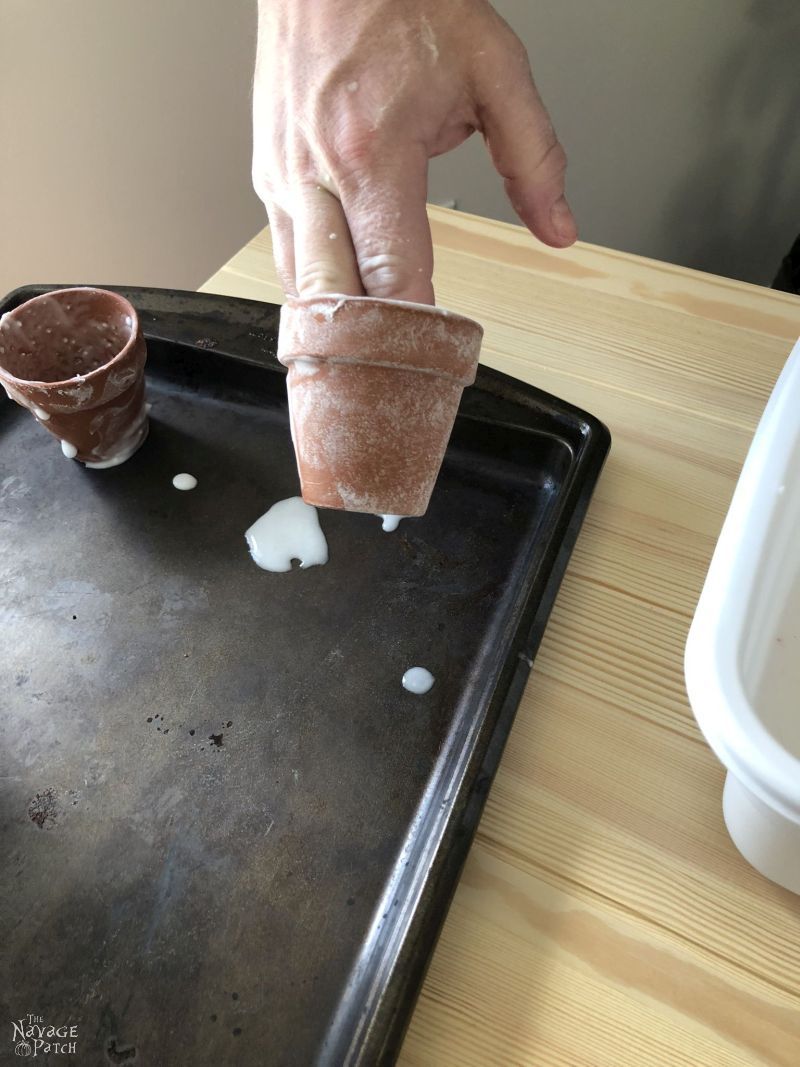
I used the same method for the bigger pots.
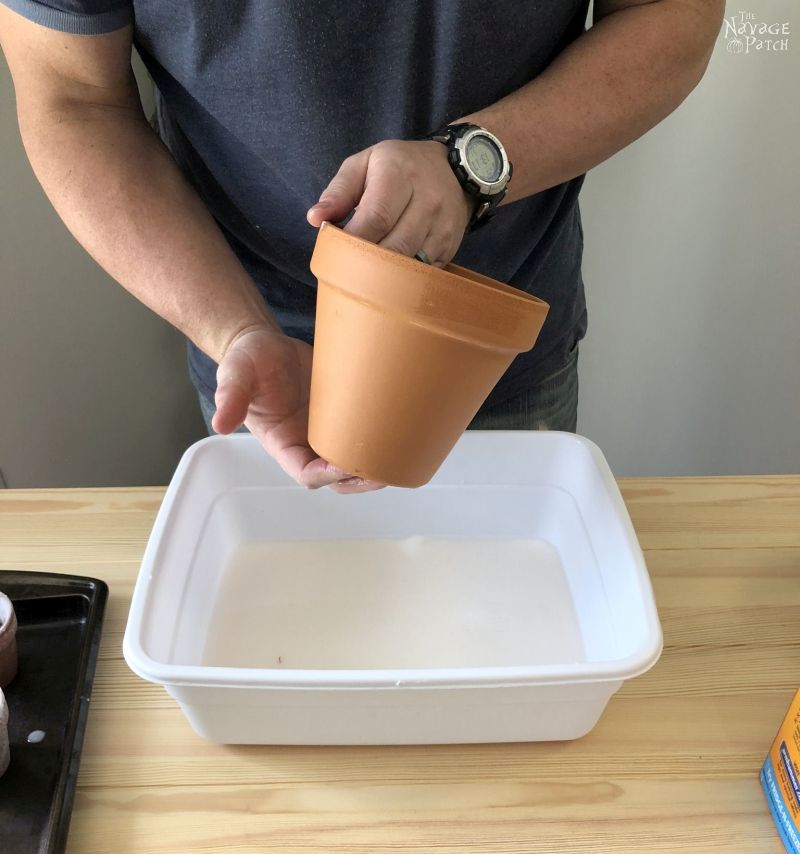
Quick roll and remove.
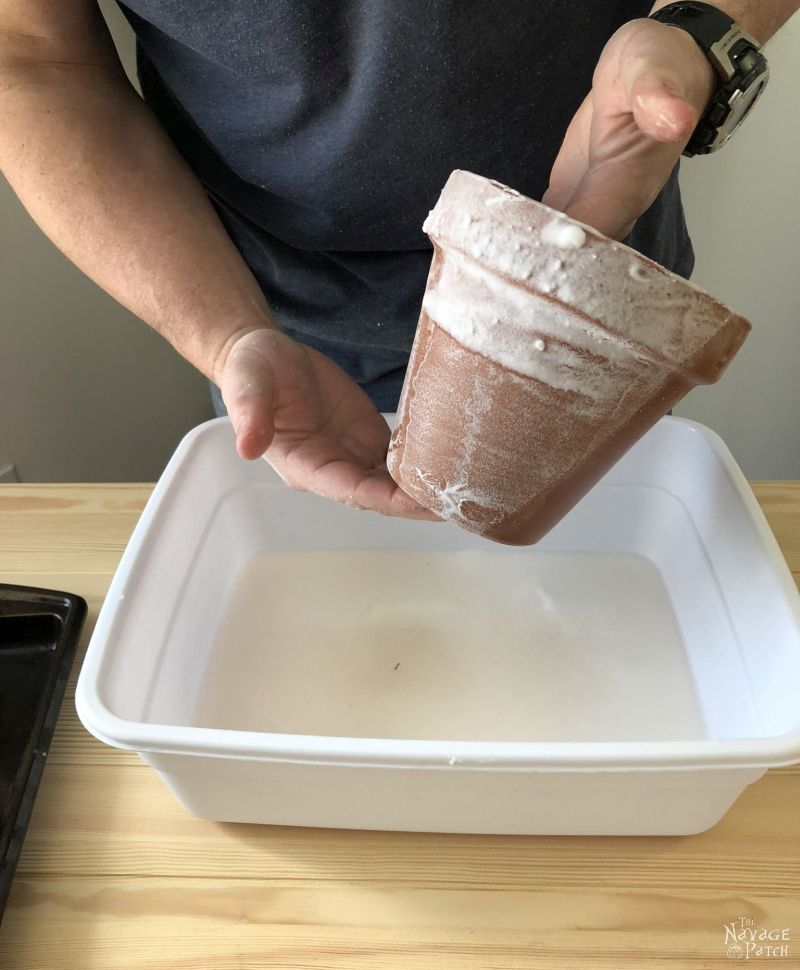
A quick note about baking soda. As I mentioned earlier, baking soda is a base – that’s the opposite of an acid. Whereas acids have a lower pH than 7, bases have pH levels higher than 7, making it mildly alkaline. I noticed that after prolonged exposure to the basic baking soda/water mixture that my fingers started to hurt around my cuticles (I have a tendency to chew on them, so they’re kinda always cut, lol). I would recommend those with sensitive skin use gloves to avoid any discomfort.
When dry, I used my fingers to scoop any baking soda from the inside.
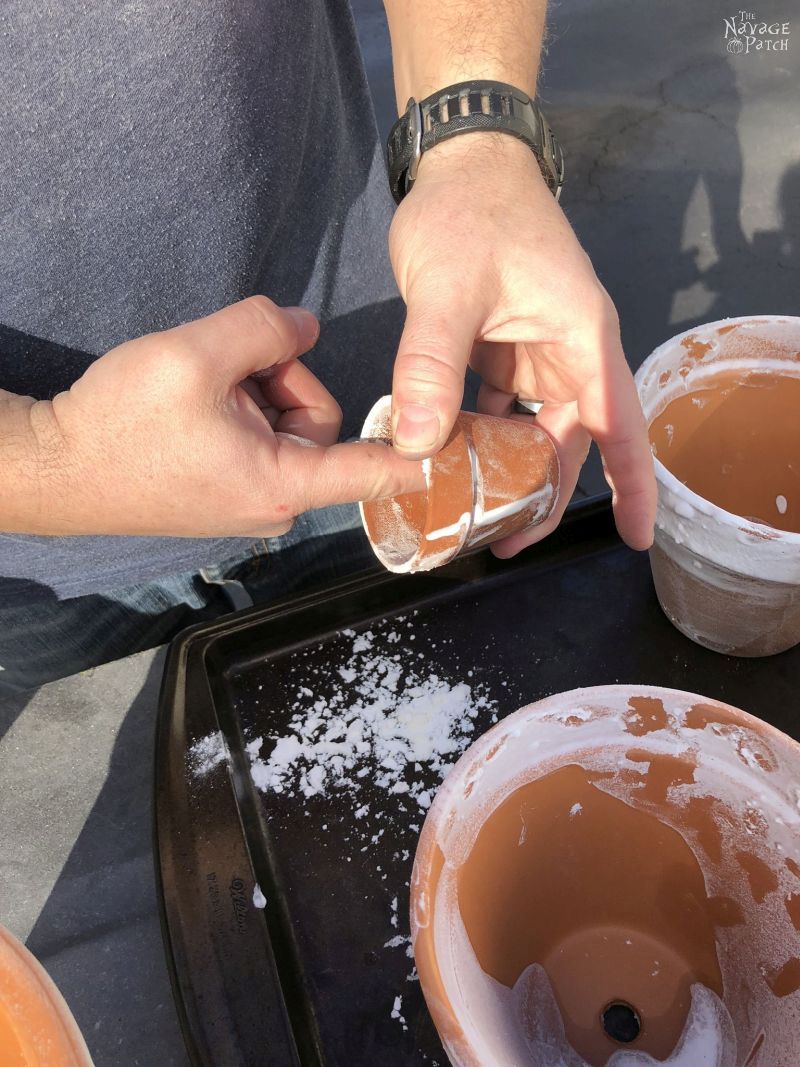
I also used my fingers to rub off any excess on the outside of the pot. The baking soda doesn’t adhere as well as the salt, so it’s easily shaped.
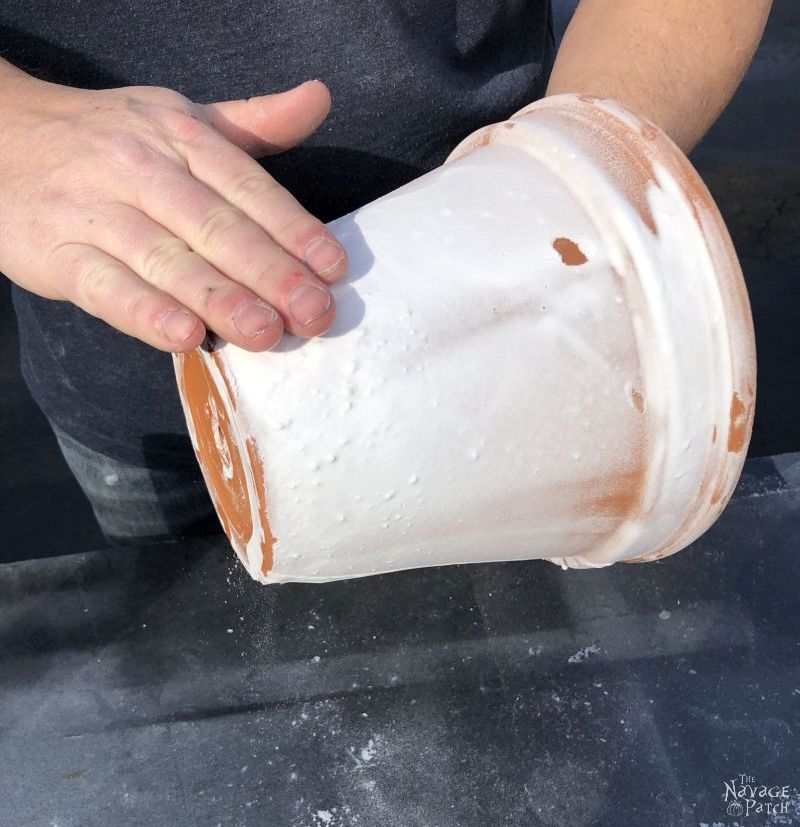
You can remove as much or as little as you like.
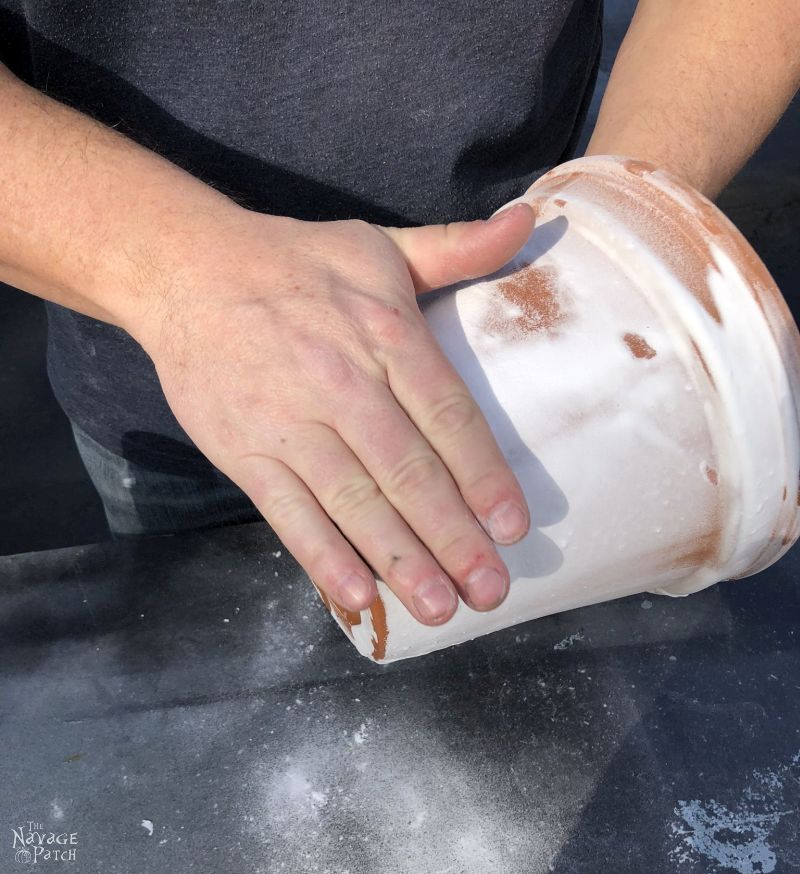
The downside to this is that the baking soda patina is very delicate. Pots aged in this manner shouldn’t be handled excessively.
Unless you spray them with clear coat!
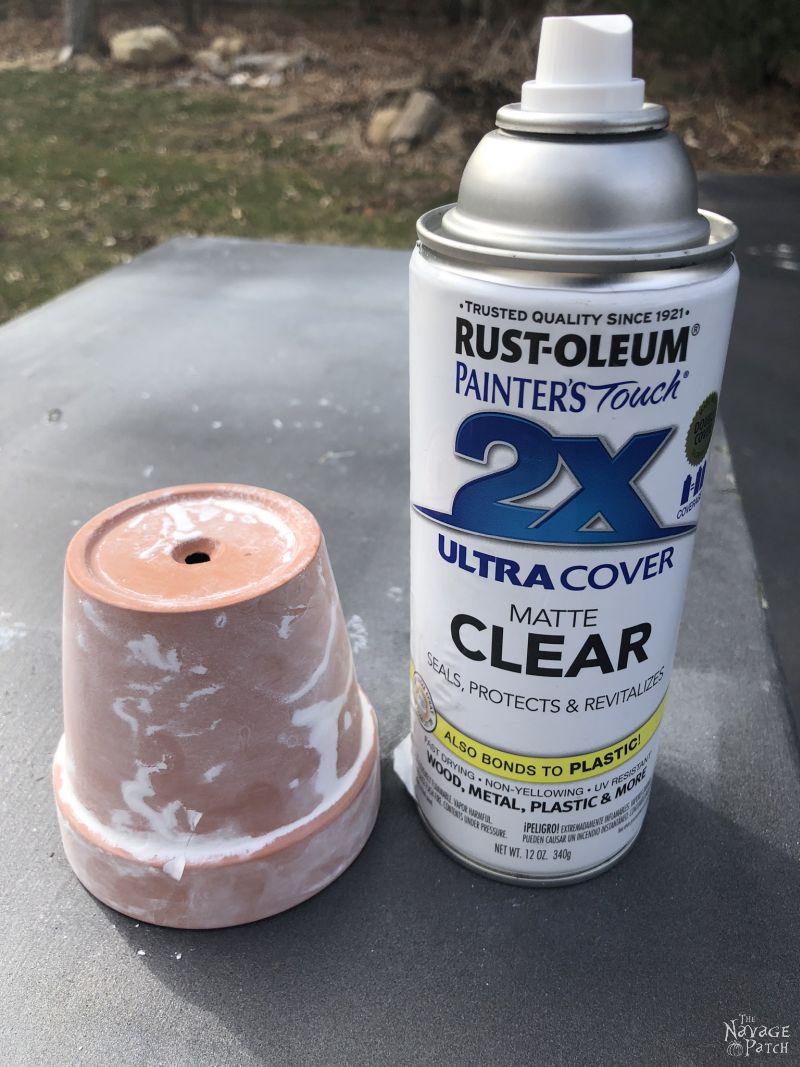
One or two very light coats of matte clear coat semi-permanently locks the baking soda in place. If you want to plant real plants, spray the inside, too, or water will soak through and loosen the baking soda patina.
The clear coat will tend to erase some of the lightest areas of baking soda patina, so don’t rub too much off before applying.
There’s no need to worry about baking soda getting in your soil. It will sweeten the soil if it is too acidic, and baking soda is a natural fungicide!
DIY Faux Aged Terra Cotta Pots – Conclusions
Both of these techniques are fantastic for faux plants or if you’d just like to show off some aged pots. They also work well for live plants, but you’ll need the added step of shellacking or clear coating the insides (and outsides with the baking soda).
The salt and baking soda aged pots look more realistic and are less permanent than pots that have been painted to faux age them. The salted pots can be cleaned by soaking in water, and the baking soda pots can be rubbed clean with your fingers or with some water and a rag. I was curious to see if the baking soda pots sprayed with a couple of light coats of clear coat could be cleaned, and I was surprised to find that they could! Though the clear-coated baking soda patina holds up perfectly well when handled, it’s easily removed with a little scrubbing. All it takes is a scrubby sponge and some warm water.
So if you’re like Handan, and you’re always changing your mind when it comes to decor, you’ll love these faux aging techniques for terra cotta!
I think both of these methods would look amazing on embossed terra cotta pots, so if you have a few lying around, give it a go!
We love it when you share our posts on Facebook and Pinterest!






Greg,
I’m with Handan! That’s great looking, although the thought of using salt gives me the willies.
Have you ever tried this with Calcium Carbonate – basically limestone dust?
grace
Thank you, Grace! I also tried it with calcium carbonate, and it worked exactly like the baking soda. I didn’t include it in the post since most people don’t have it on hand.
I have it on hand because I make Handan’s chalk paint! lol!
Ahhhh! 🙂 Well, it works great, too!
Good! I also have calcium carbonate for making chalk paint. 😉 Guess I’ll give it a shot.
Seems the salt use would bleach into the soil at some point and kill the plants…
Great job on the soda use.
Hi Tammy, the shellac keeps the salt out of the soil. We’re doing a long-term experiment to see how well it holds up over time. So far, so good. That said, the method is perfect for faux plants, which we also have a lot of. It’s also great to make pots to display by themselves.
Hi there – I recognized the pot that took the brine so readily. It was from Smith and Hawkens https://en.wikipedia.org/wiki/Smith_%26_Hawken . I used to shop their store all the time – they had truly quality products. I was very sad to see them go the way of so many quality places.
Oh, cool, thank you, Kathie! It is a great pot, and by far the best one for aging! Too bad they’re gone 🙁
Have you ever tried the moss and yogurt trick on terra cotta. It takes a bit longer but makes great looking pots!
No, but I did read about it, Derry. Might give it a go this summer! 🙂
How is that? Can u please give me details? Or post pics? I’m very interested to do it? I got from Michael’s ones Teracota posts with moss on them and some little of kind of white on them…
Thank you to u all for the comments and this post. I’m ready to try.. with salt and with bicarbonate 🤞🤞🤞. Totally nervous …
It’s so easy, Camelia! You’re going to love doing it and love the result!
Thanks so much!! Have been upcycling my planters (all plastic) with paint – chalk and/or acrylic and graphics but have a few terra-cotta planters and would love to try this.
Hi Harjith! Yeah, give it a try – they’re both great techniques!
Hi! Thanks for the info! How much baking soda did you use? I put in a small box and it’s not leaving any patina. Is the liquid a pasty consistency or runny? Mine is very runny.
Hi Barbara, we used a pretty good amount of baking soda. The liquid was runny, but a bit thick. I found I got the best results starting with a dry pot and quickly rolling it through the water and then removing it immediately. And some pots just took the patina better than others.
I have been trying this for a few days and my pots aren’t showing any white residue. I’ve tried soaking them, dipping them and even sanding them in case there was some sort of coating. I’m using canning and pickling salt. Is this different? (My sidewalk is nicely “aged” now from where the pots are drying in the sun. :))
Hi Jennifer, the type of salt you use shouldn’t make a difference, but I’m no scientist, so maybe it does? But before trying new salt, let’s first make sure your pots haven’t been painted or sealed at some point in the past. The clay pores need to be open to absorb all that salt water. So if your pots are new and unsealed, the first thing I’d suggest is to try it again with kosher salt, as I know for sure that salt works. I’m also wondering where you got your pots. I tried with pots from a few different sources and got very different results. Lastly, is your brine as saturated as it can be? I added salt to hot water until the solution was fully saturated not capable of dissolving any more salt. Good luck and let me know how it goes! 🙂
Hi Craig, have you ever tried to give plastic terra cotta pots this white aged look? I’m not having any luck. Not plastered, fully painted but the look you have created. Where it looks like calcium deposits re built up.
Hi Jan, we never tried it on plastic since this technique relies on terra-cotta’s porous surface. The solution wouldn’t be able to penetrate the plastic, so when dry, any build-up would fall right off.