Topiary Wall Art
Window shopping online is a passion of mine and I do it every spare minute I get. Although I have great potential to be diagnosed with “compulsive buying disorder”, living on a tiny budget, my passion almost never ends with a purchase. But it certainly keeps me up to date with the recent decor styles and sometimes gives me great ideas for new projects, such as this topiary wall art I found on Joss & Main.

As much as I wanted to have these hanging on our walls, their abstract look and our budget held me back from future buyer’s remorse. I was quite determined to have something similar in our home but less abstract and more natural and cozy.
Since I needed two frames of the same size, I went to our basement and searched for something suitable for my new project. I didn’t take long to find these twin ladies.

They were pretty beat up, but with a quick makeover they would pair nicely with my moss wall art. You can find the details of that redo in my How To Fix A Beaded Frame {The Easy Way} post.

After refinishing the frames, I asked Greg to cut 2 panels to fit in the frames from 1/4 inch plywood. Those would be the background for my wall art. As I wanted my art look cozy, I decided to give the background an aged brick look. I started off painting the boards with a coat of Folkart Home Decor Castle color.

When first coat dried, I dry-brushed the board with Folkart Home Decor Parisian Grey color. This would be the grouting for the bricks.

Next, I designed and cut two brick wall stencils with my Silhouette Cameo. I placed the stencils on the boards.

The stenciling was quick and easy, as I didn’t worry about the bleeding. Since my plan was to have an aged brick look, I knew bleeding could be easily camouflaged.


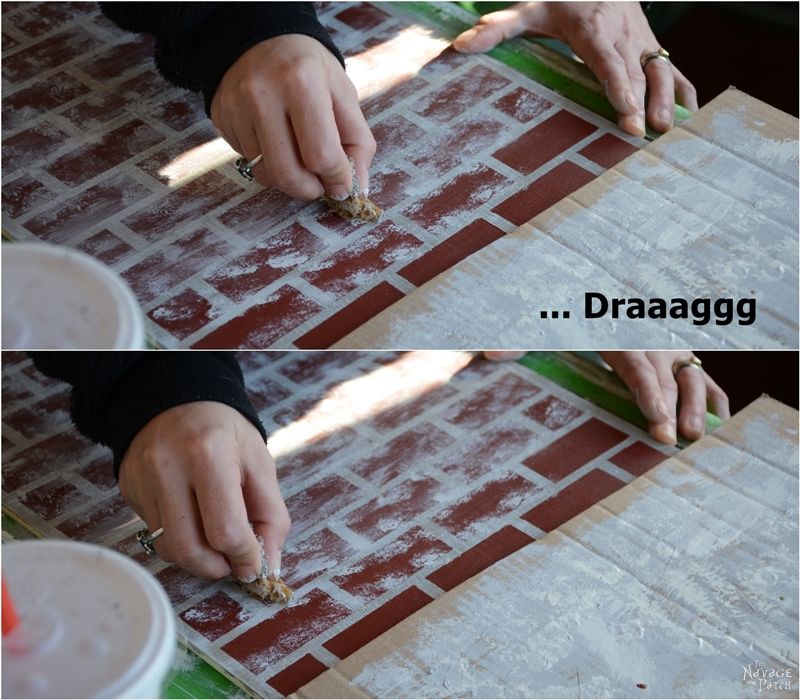
After stenciling, I started giving the aged affect, working in sections. First I dry-sponged the bricks with the grey and white paint mixture, then I dragged the sponged areas with the clean side of the sponge.

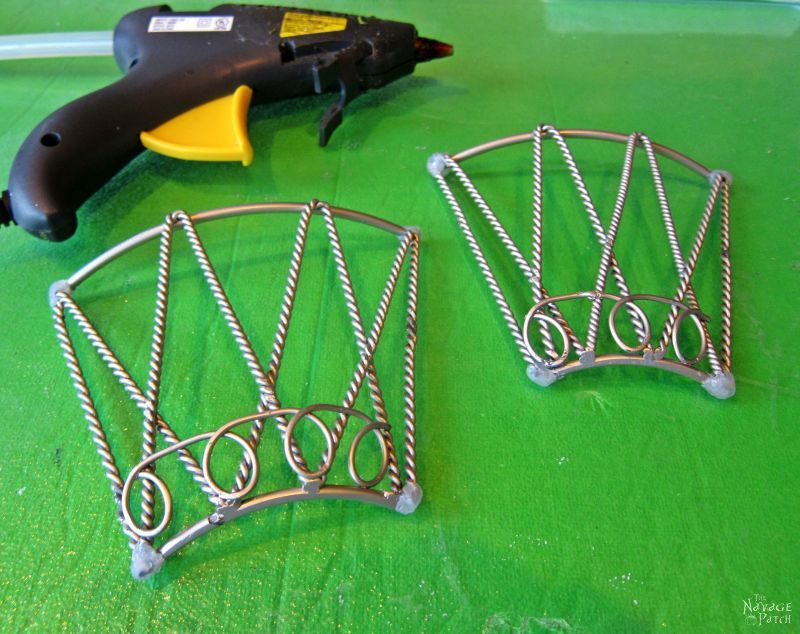
Once the background was finished, I started creating the pot. A broken terracotta pot would also work for this part, but I liked the idea of an iron pot. To search for something suitable I went to the basement and I found this.

I am not sure what this is (looks like the top tier of a 2 or 3 tiered metal fruit basket) nor do I have any idea why I would pick this broken thing from Put & Take, but lucky I did, as it was the perfect candidate for the pot I wanted for my art. Using heavy duty wire cutters, I cut it to the shape I wanted, then I hot glued all the sharp edges so it wouldn’t hurt anyone when touched. Also, the hot glue blobs on the corners would look the welded areas which would add to the realistic look I was going for.
Next step was painting again. First I primed the metal pot with 2 coats of Modern Masters Acid Blocking Primer.

When the primer dried, I painted the metal pots with Modern Masters Reactive Metallic Iron paint until I reached the iron color I was going for. After giving enough time for the paint to dry, it was time to create 2 different layouts for 2 pieces of topiary wall art.
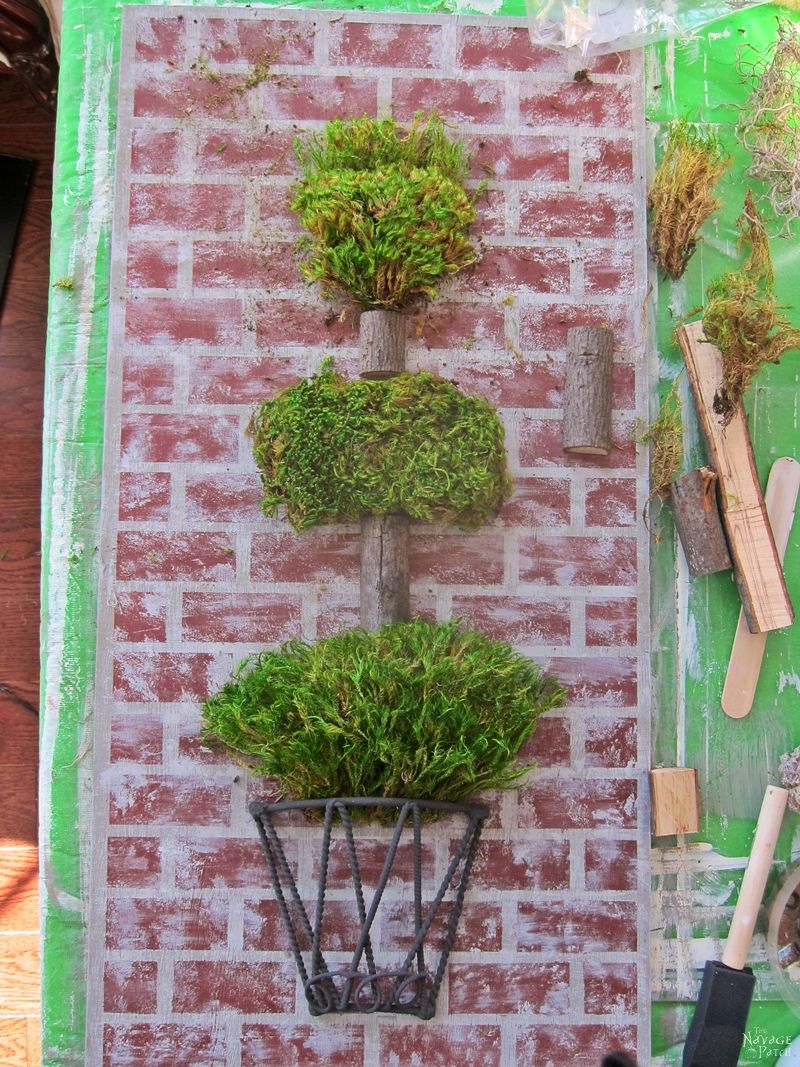
Once I decided on each element’s placement, I started hot gluing all the elements on the backgrounds: the metal part, preserved moss and branches (cut in half).

Next I placed the finished pieces into their frames and secured the back with my Logan Dual Point Driver, and that was it!

Here is my finished topiary wall art.
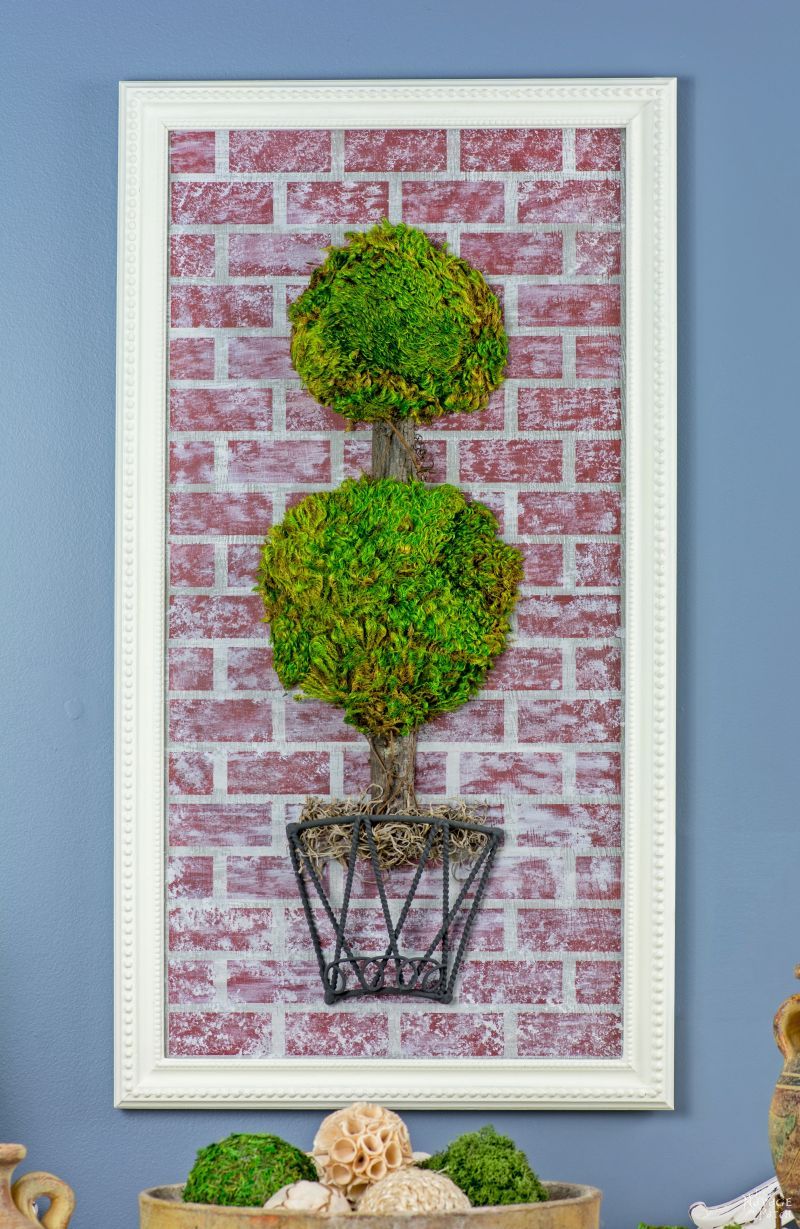

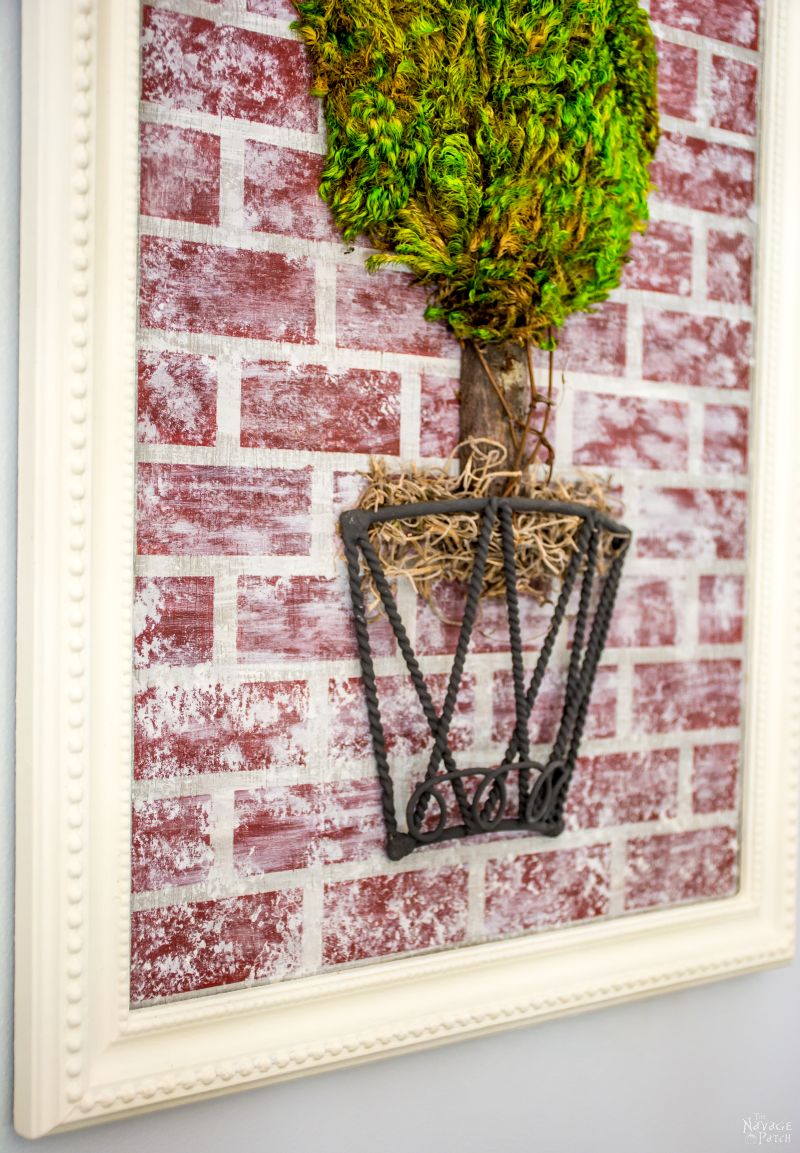


I really love the way they turned out!
For now I will be hanging them by the front entry, but eventually they will be taking their places on the gallery wall I am planning to have.
Handan, xo




I like yours much better than the Joss and Main ones. Thanks for sharing the tutorial, I love these!
Thank you so much, Khadija! I am so glad you liked them 🙂
What is the green stuff you used for the topiary?
Hello Debbie,
Thank you so much for your question which made me realize that I never mentioned that in the post. Now I corrected that part of the post 🙂
It is preserved moss I bought from Amazon. Here is the link if you’d like to check it out: http://amzn.to/26sE0QG
Thank you once again!
Handan, x
Thanks for answering so quick.