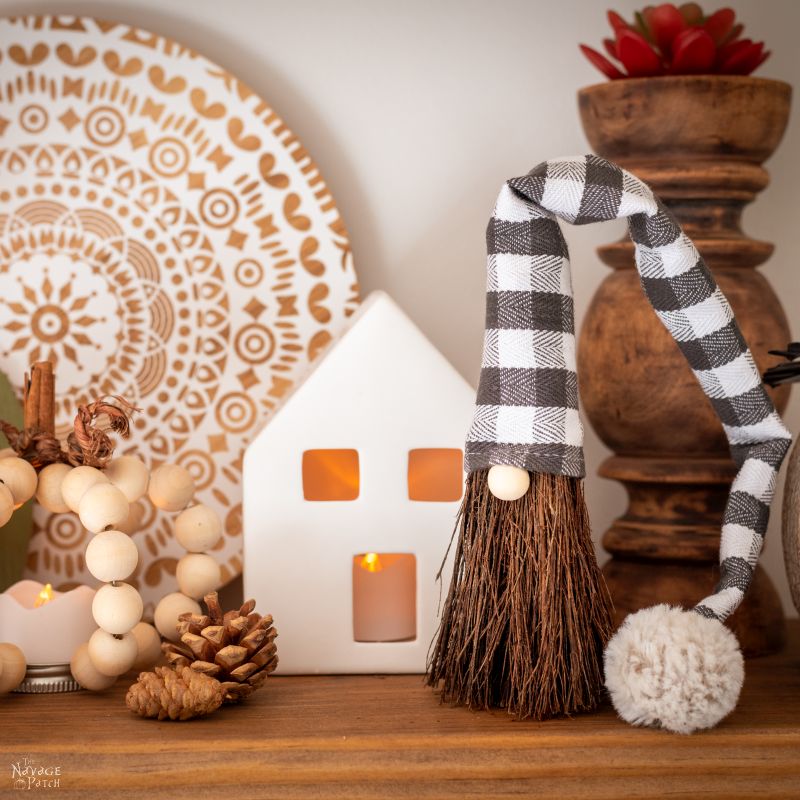
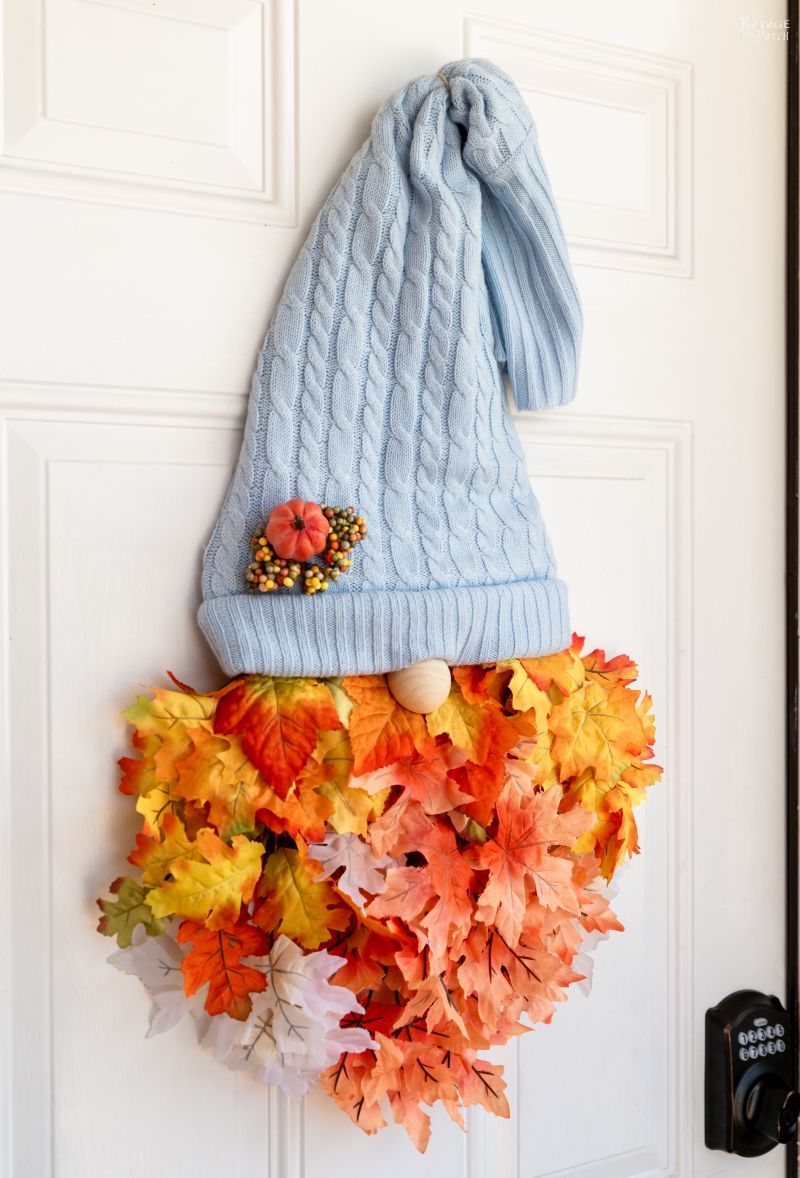
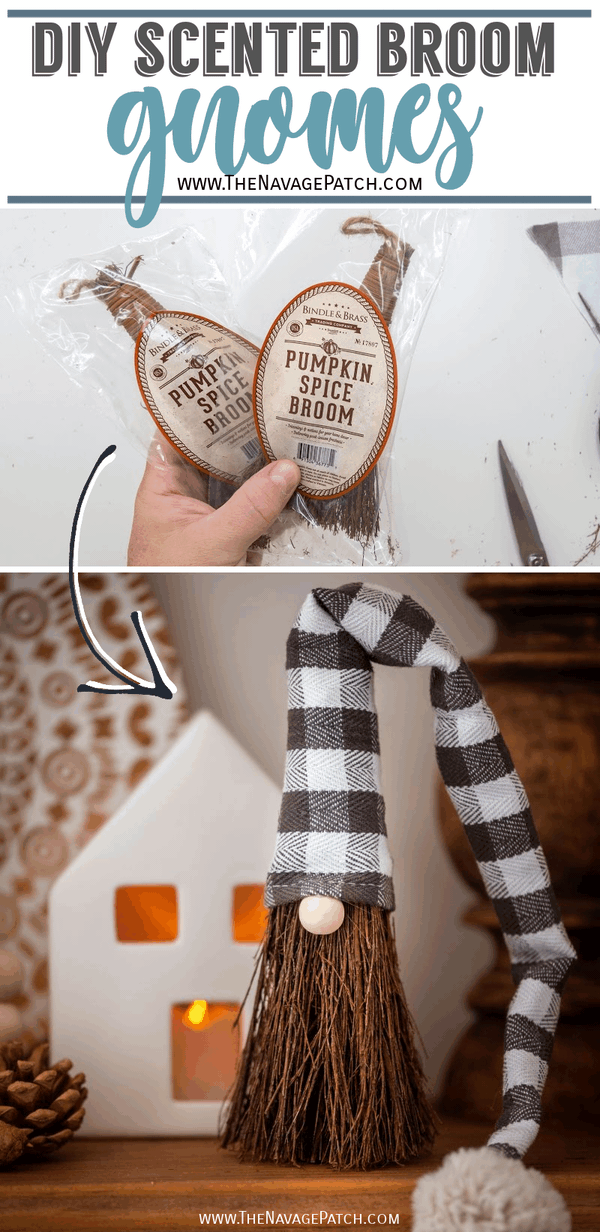
DIY Scented Broom Gnomes
These scented broom gnomes are a quick and easy craft that are a feast for the eyes and the nose! Make a bunch for a heavenly-scented fall display!
It all started last year around Christmas.
I was settling into my usual winter Sunday routine: pajamas, slippers, and a cleverly-played round of “Avoid the Wife.”

Everyone knows the old saying, “Where there’s a Wife, there’s Work,” so on those blustery weekend mornings when my old bones just want to melt into the nearest sofa, and my brain wants to turn the dial down to zero, it takes some hard work to be lazy.
The best tactic is to wake up early. It’s counter-intuitive, I know. Who wants to wake up to be lazy?
But, fellas lemme tell you – the best peace you’ll ever find when married with children is the peace of an early Sunday morning when your wife and kids are heavy sleepers.

So there I was, coffee in hand, and a whole universe of sloth before me. But instead of taking the logical route and depositing my carcass onto the sofa, I instead ventured into the craft room.
Before me on the crafting table were scraps of faux fur and bags of lentils. Just the day before, Handan had tried to show me how to make Christmas Gnomes. She overthought the damn thing, and her engineer brain totally derailed her efforts.
That’s when I stepped in.
Since my brain is rarely afflicted by any condition that could even remotely be considered “overthinking,” I was able to whip together a Christmas Gnome, lickety-split.

I stood there staring at the crafting table full of Christmas Gnome supplies. The logical part of me screamed, “Turn around, you fool! The sofa is behind you!”
But like a moth drawn to a candle, I shuffled forward, plopped my rump on the stool and started making gnomes while my family slept.
They were so easy and so fun to make, I just couldn’t help myself.
By the time Handan awoke, I had assembled a small army of Christmas gnomes.
It was the beginning of my Gnoman Empire.
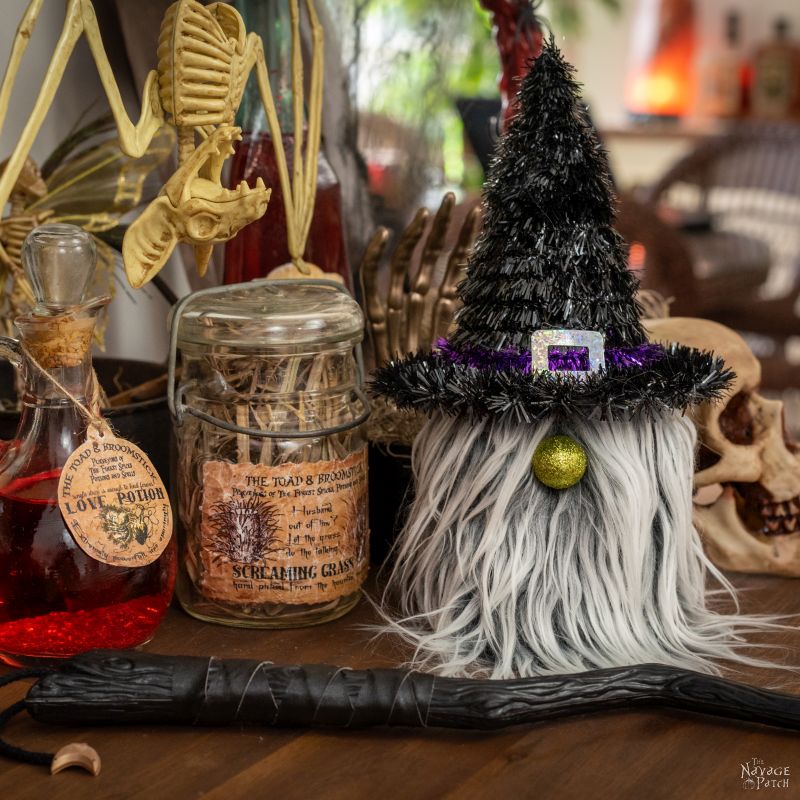
Earlier this fall, I added to my Empire with the even easier and even cheaper Dollar Store Halloween Gnomes.
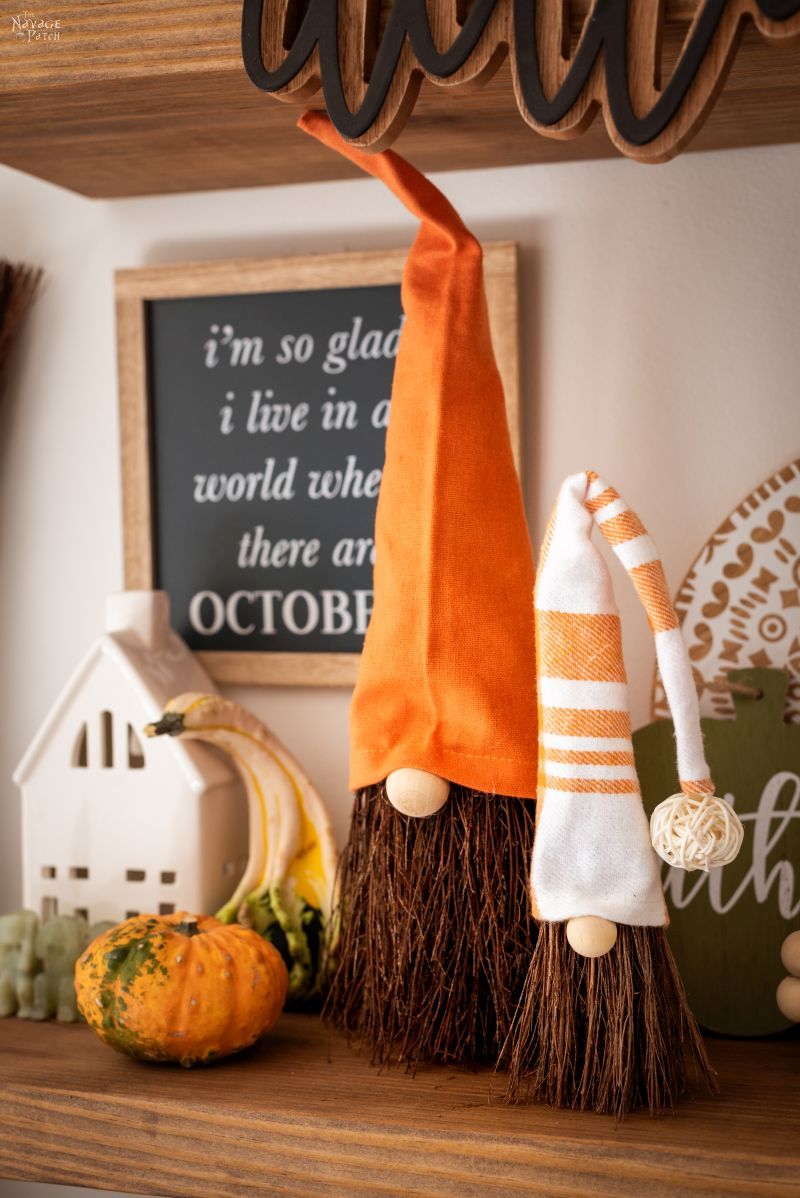
Eager to help expand my Empire, Handan came up with the idea for the latest recruits. We’d been seeing scented brooms everywhere this fall. From big ones sold in supermarkets to medium-sized ones in Home Depot and even tiny little ones meant as car air-fresheners.
After buying a few for their smell, Handan struck upon the idea to make some Scented Broom Gnomes. I was sold!
If there are two things I’m a sucker for, it’s the smell of cinnamon and the promise of an easy project.
This prompted a scented-broom buying-spree and a tour of the local Dollar Trees, Target’s Dollar Spot sections, Walmarts and Goodwills in search of fall-themed gnome-hat material. We bought a selection of dish towels, napkins and even a couple of small side-tablecloths.
My babes started to explain how I should go about making these fall gnomes, but I held up my hand and told her I got this.
I’d been making gnomes for nearly a year – I didn’t need no stinking instructions!

I gathered my tools and materials and set myself to the task of expanding my Gnoman Empire.
DIY Scented Broom Gnomes
SUPPLIES LIST
Affiliate links are provided below. Full disclosure here.
- Scented brooms (we used both big ones and little ones)
- Pruning shears or small hand saw or miter box
- Scissors
- Zip-ties
- Hat material (fall-themed dish towels, napkins, fabric, etc.)
- Beads for the nose (we used half-sphere beads left over from our Wood Bead Wreath project as well as smaller regular wood beads)
- Adornments of your choice (like pom poms for the hat tips)
- Glue gun


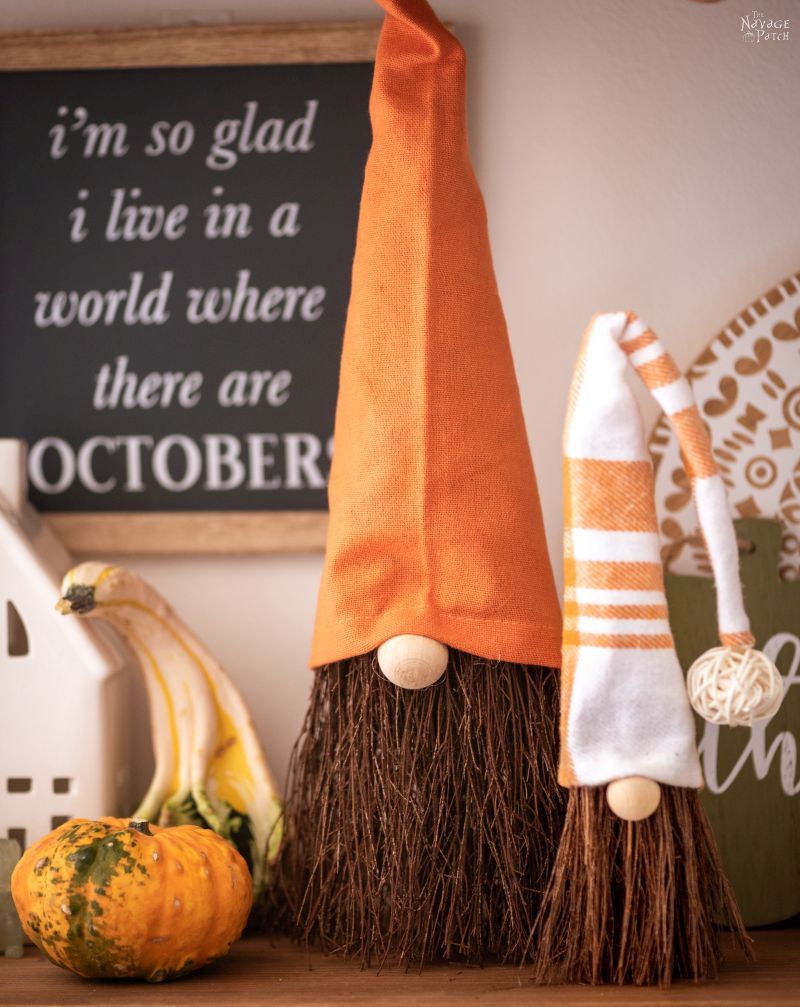
How to Make a 2-Broom Gnome
For some of the gnomes, I used two scented brooms. When placed one atop the other, they give a nice, full beard that will support the rest of the gnome.

Here they are stacked.

I zip-tied them together.


And then I trimmed the ends of the zip-ties.

I was easy to cut through the brooms with my small hand saw, but I also cut through some with garden shears.


I then trimmed the broom with scissors. You can also use pruning shears for this step – it’s a little easier than scissors. The goal here is to make the bottom flat so the gnomes stands up straight and balanced.

I chose the little side-tablecloth for this one’s hat.

I wrapped it around to see how much material I needed to cut.


I folded it the fabric in half and started cutting up towards the opposite corner.

I made some by cutting all the way up and through for a standard conical gnome hat. But for this one, I stopped short.

I then cut across, leaving the fringe.

More Easy DIY Fall Decor Ideas
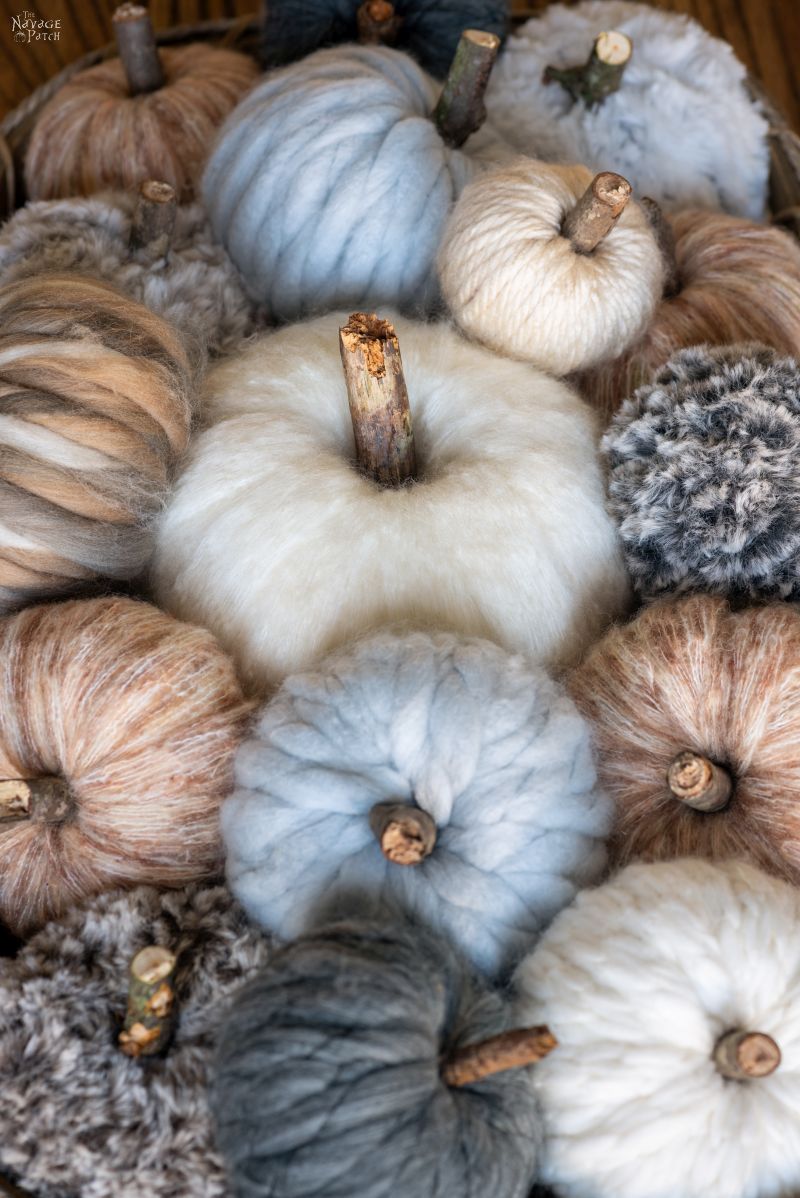

- Easy DIY Yarn Pumpkins
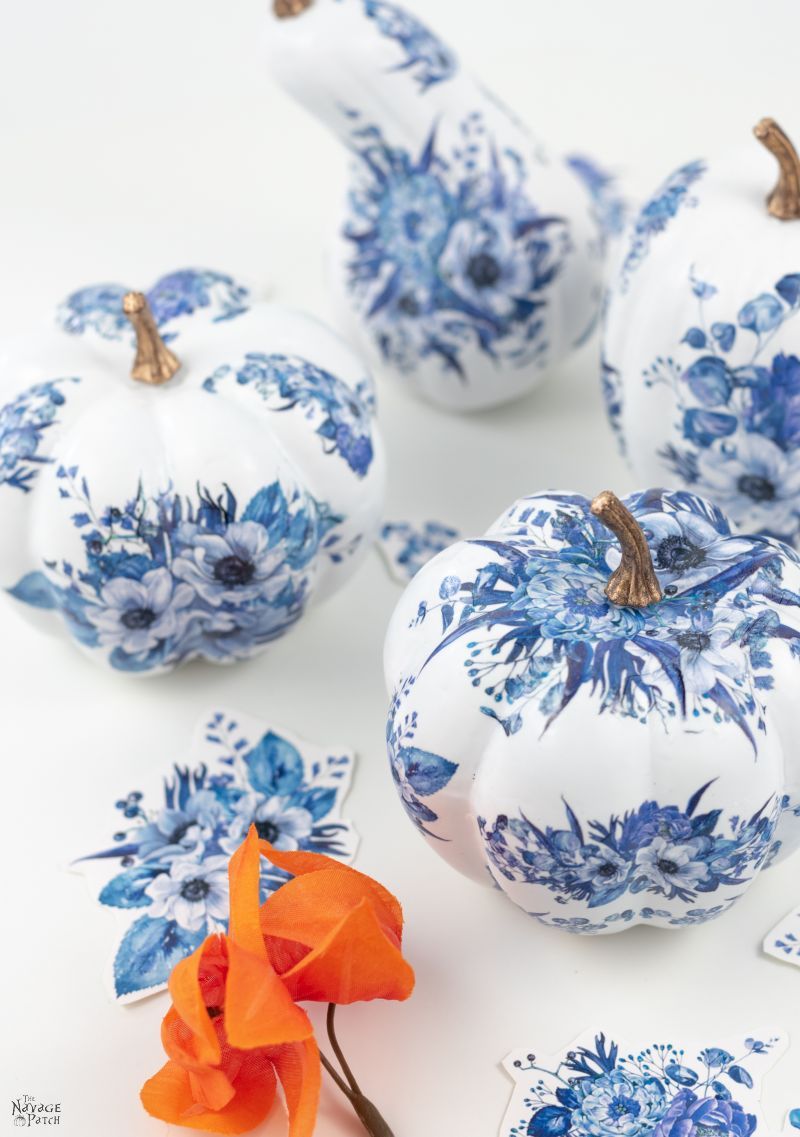
- DIY Dollar Tree Blue & White Porcelain Pumpkins
- DIY Sisal Twine Pumpkins
- DIY Dollar Tree Fall Wreath
- DIY Wood Bead Pumpkins
- DIY Fall Bead Wreath
- Free Watercolor Fall Printables
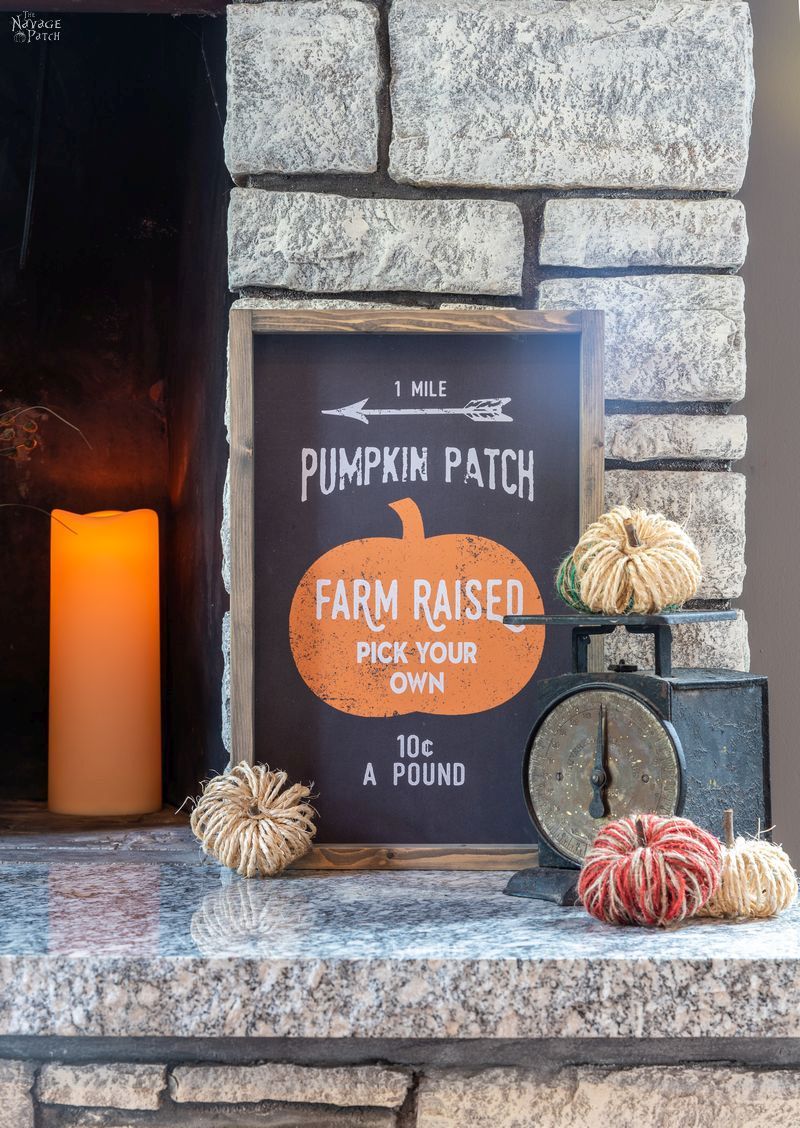
- Pottery Barn Inspired DIY Fall Signs (With Free Printables)
- Amazing FREE Vintage Botanical Prints
- Pottery Barn Knockoff Metal Pumpkins
I opened the fabric.

Then I added a line of hot glue along the bottom, after which I folded up some of the fabric.

This will make a clean hem for the bottom of his hat.

I folded the fabric again, keeping the hem on the outside of the fold.

I ran another line of hot glue down the fabric and pressed the two sides together.


When the hot glue had cooled, I reached in and pulled the hat through.


I then pulled the hat over my scented broom gnome.

Once it was pulled down to it’s resting place, I put a glob of hot glue where the nose would go. For this bigger gnome, I used a half-sphere bead left over from our Wood Bead Wreath project.

After gluing the nose, you can glue the hat in place if you’d like. I did on some of these gnomes but not on others.
And this one’s done!

Here are some pics of the 2-broom scented gnomes.


If you love gnomes as much as we do, be sure to check out our other gnome tutorials!

- DIY Dollar Store Lighted Mop Gnomes
- DIY Christmas Gnome Wreath
- Easy DIY Dollar Tree Fall Gnome Wreath
- DIY Scented Broom Gnomes
- Easy No-Sew Christmas Gnomes
- DIY Gift Box Gnomes
- Dollar Tree Halloween Gnome Wreath
- Cheap & Easy DIY Dollar Store Halloween Gnomes
- DIY Dollar Tree Christmas Gnome Wreath
- DIY Dollar Tree Scarecrow Gnome Wreath
How to Make a Mini Scented Broom Gnome
I also made a couple of gnomes with these mini brooms.

These are flatter brooms, so I needed to find a way to fluff them out a bit.

Just pulling them apart seemed to do the trick. A bunch of the twigs half-snapped, but that was okay, as they didn’t fall off.

Much better.

I placed them one atop the other.

And tied them with a zip-tie.


Again, I trimmed the bottom so it would stand on its own.

Pruning shears are easier on the hands than scissors for this step, but both work.

I chose a napkin we got at Target’s Dollar Spot section for this gnome’s hat and made it like the others.

These little guys are Handan’s favorite, and it’s not hard to see why!


How to Make a 1-Broom Scented Gnome
Handan wanted me to make a medium-sized gnome – one that would fill the gap between the 2-broom big gnomes and the little ones.
I made two using just one big scented broom each. The method is similar to the 2-broom gnome, with one difference.

I grabbed the broom and squeezed. This made the flat bristle pattern form into a more stable round shape.

I then tied it off lower than I did for the 2-broom gnomes.

I cut off the handle.

And from here it was the same procedure as the other gnomes.


I even made one with the leftover from one of the 1-broom gnomes.

So there you have it. Another simple fall craft that not only smells amazing, but will satisfy that apparently-universal desire to decorate with gnomes!


We love to see our craft projects out in the wild! If you try this seasonal craft project, take a picture and post it on Instagram, be sure to tag us – thenavagepatch

Here are some more super cute DIY gnome ideas for you!
DIY Christmas Gnomes
DIY Dollar Store Gnomes
DIY Dollar Store Lighted Mop Gnomes
DIY Dollar Tree Gnome Wreath
Share it on Pinterest & Facebook!

Love your army of gnomes and the story behind them! As I’ve said before, you are a great story teller and I truly enjoy reading about what’s going on as you create your fabulous projects. I do have one question – You called the first fabric used a “side tablecloth,” which I had never heard of before. Where did that come from? I’m probably old enough to be your grandmother, for crying out loud, and that saying is new to me! It does look like a cold weather scarf you throw around your neck and not something to put on top of a table.
Hi Gail! First – thank you so much! Second – I probably wrote it wrong – it is a tablecloth for a side table. Does that have it’s own name? You’re right, though – based on it’s size and weight, it could certainly double as a scarf! 🙂
squee!!!1 these are so cute!!!!
Thank you, Jennifer! Handan shares your exact sentiment. Every time I made one, I showed it to her, and she gushed SQUEEEEEs like a schoolgirl, lol! 😀
These gnomes are so cute. Y’all are so creative. I always love your sense of humor and writing style.
“It was the beginning of my Gnoman Empire.” I caught that 😉 Also, your step- by- step tutorials are top notch. Thank you for sharing these now, I have to go out and find me some witches brooms.
Thank you so much, Kelly! LOL, I’m happy to hear my humor is appreciated! 🙂 Have a great weekend!
Love these little guys, you have started a gnome sanctuary Greg ;-), what a lovely surprise for Handan when she got up. In the UK we have pound shops but they don’t have interesting stuff like your dollar stores. I have never seen these scented brooms i have to be careful because anything with an artificial scent triggers my allergic asthma it makes shopping a pain, so many shops i can’t go into because of smelly stuff. I’m going to find a way to make these fabulous little folk, maybe with some unscented brooms and add my own natural essential oils. I have visions of gnomes taking over your home like tribbles now you have the gnome making bug 😉
LOL, the Trouble with Tribbles! I wouldn’t have pegged you for a Trekkie, Catherine! Good luck in your Broom Quest – hope they let you buy “non-essentials” like that!
I always love your sense of humor and writing style. I have never seen these scented brooms I have to be careful because of anything with an artificial scent triggers. I’m probably old enough to be your grandmother, for crying out loud, and that saying is new to me.
Thank you, Emma! Oh my, if you have artificial scent allergies, then you’ll want to steer clear of these brooms, lol!
I absolutely adore your “Gnomen Empire”! I plan on starting my own and you’ve just given me some wonderful ideas! I just have 2 questions…I have NEVER heard of scented brooms…where do you get them and how are you making the hat stand to tall and straight?! Keep up the good work!
Thanks, Annie! I had never seen scented brooms until this fall in Georgia. They sell them everywhere down here – grocery stores, craft stores, Home Depot. Those hats stand tall on their own, but you can always stick a wire or piece of hanger in there to help it keep its shape. I did that with a few of my Christmas and Halloween gnomes.
Greg–those narrow tablecloths are table runners (also good for an end table or scarf!) I love your gnome collection. I bet the “sawed off” parts of the brooms would be great in a bowl of potpourri, simmering potpourri or even sachets (we don’t waste much in this house!). One of my favorite sachets is lavendar, cinnamon sticks and rosemary; great in front of the car fan!
Hi Kathy – we save the sawed off parts for something – we just don’t know what yet! They sure do smell good!