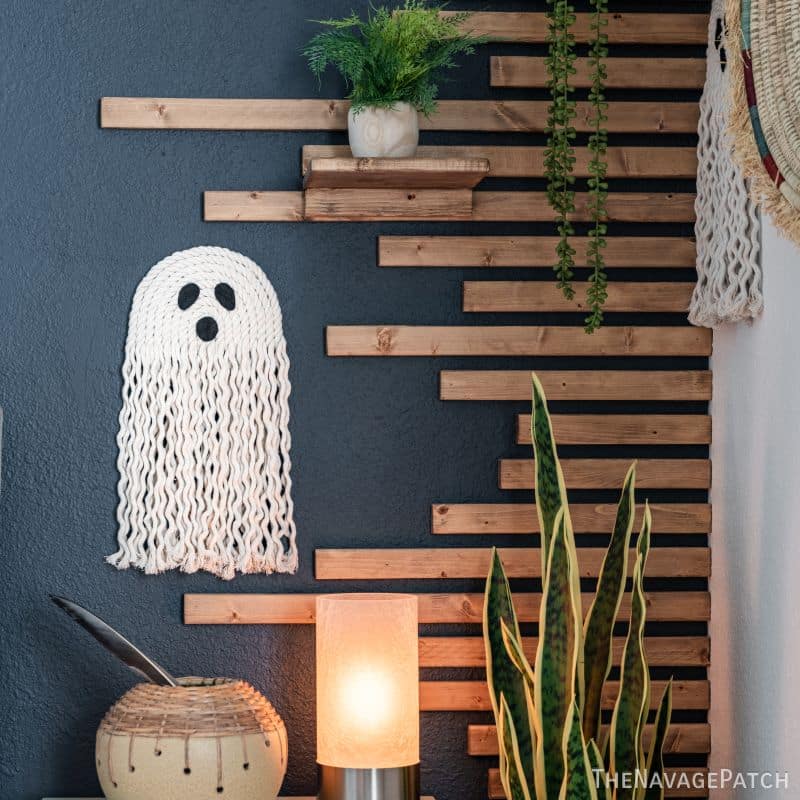
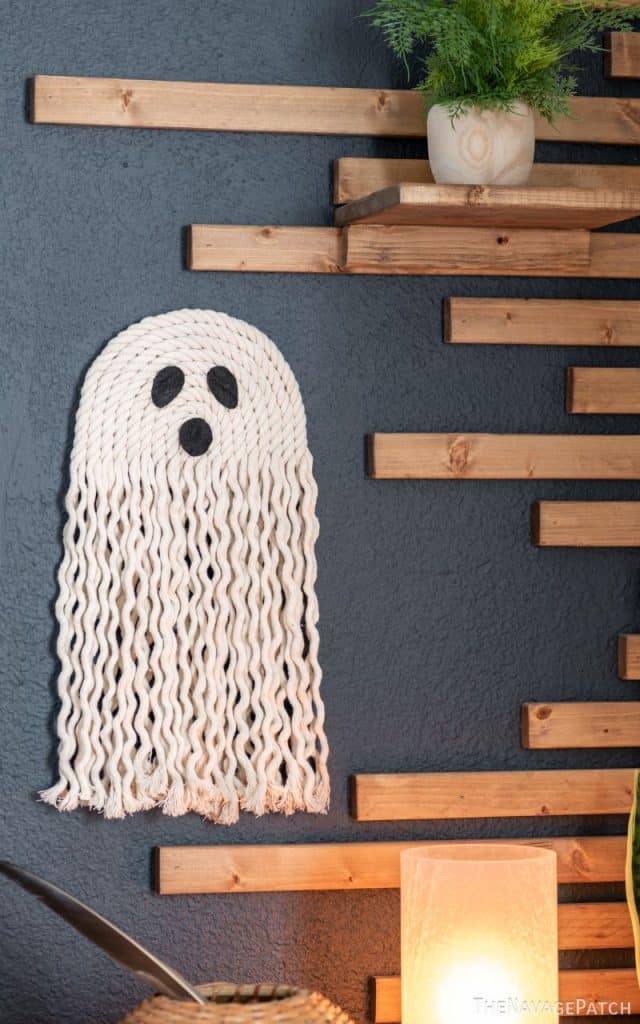
DIY Macrame Ghosts (aka Rope Ghost)
This macrame ghost is a cute and simple Dollar Tree craft that can be made in minutes for less than $3, so each ghost can have a friend!
The weekend started like any other: with a list of projects 3 miles long that would take Superman and his lovely wife Superwoman half a century to finish. But my babes wouldn’t be my babes if she didn’t think Grand and try to fit eternity into a day.
Of course when it comes to Handan, there’s always room for one more.
Day booked solid from sunrise to midnight? No problem! Here’s another project to do oh and by the way I need it now and please make the TikTok so we can post it by this afternoon and then I’m going to get it on Pinterest oh and you can post it on Instagram too and then yeah can you take me to Dollar Tree in Panama City?
Such was my Saturday. I dragged my aging carcass out of bed and pondered the day ahead. Let’s see, there were projects and then a little break for some work, then more projects and a few work-related activities and then catching up on some more work.
As I pinballed my way to the coffee try to make sense of my fate, I heard the call.
“Hey Babes!” It woke me up faster than a quad-shot triple-caff X-tra-presso.
The idea factory inside my babes’ head has been stuck in overdrive for the past couple of months, and the resulting workload has left me in a perpetual fog. Most of the time, I don’t even know what day of the kneecap it is.
Well this Saturday, I had to rearrange my schedule to fit the Latest and Greatest idea to bloom inside Handan’s brain: a macrame ghost.

When I heard it, I had to agree it was a good one.
And the best part? No trip to Dollar Tree or anywhere else was needed, because we already had the supplies to make this macrame ghost!
Now before you go all Webster’s Dictionary on me and lecture me on how this isn’t macrame, I’m just gonna stop you there. I know it isn’t macrame. And you know what else it isn’t? It isn’t a ghost either. Everyone knows real ghosts live under your bed and only come out when you’re asleep to play with your toes.
So let’s all agree to call it a macrame ghost because it looks like a macrame ghost. But if you’re dead-set against that, may I suggest an alternative? Since this little rope ghost has a bohemian vibe going on, we can say he’s a booho ghost.
Enough yapping, let’s make a macrame ghost!

DIY MACRAME GHOST SUPPLIES LIST
Affiliate links are provided below. Full disclosure here.
- Scrap piece of cardboard or foam board
- Dollar Tree cotton nautical rope (0.4″ thick) – if you can’t find this rope in Dollar Tree, here are the similar ones from Amazon.
- Hot glue and glue gun
- Black felt or fabric, or black paint or vinyl – Dollar Tree has black felt/fabric or you can find single sheets in any craft stores for less than 50 cents.
- Small ribbon for a cute bow (optional)
We love to see our DIY Halloween decor out in the wild! If you make this Halloween DIY decor for your home, take a picture or video and post it on Instagram, be sure to tag us – thenavagepatch
DIY MACRAME GHOST VIDEO Tutorial
Watch our short and fun video below for an overview of our DIY macrame ghosts before you read the detailed step-by-step tutorial.
More Easy DIY Halloween Decor Ideas
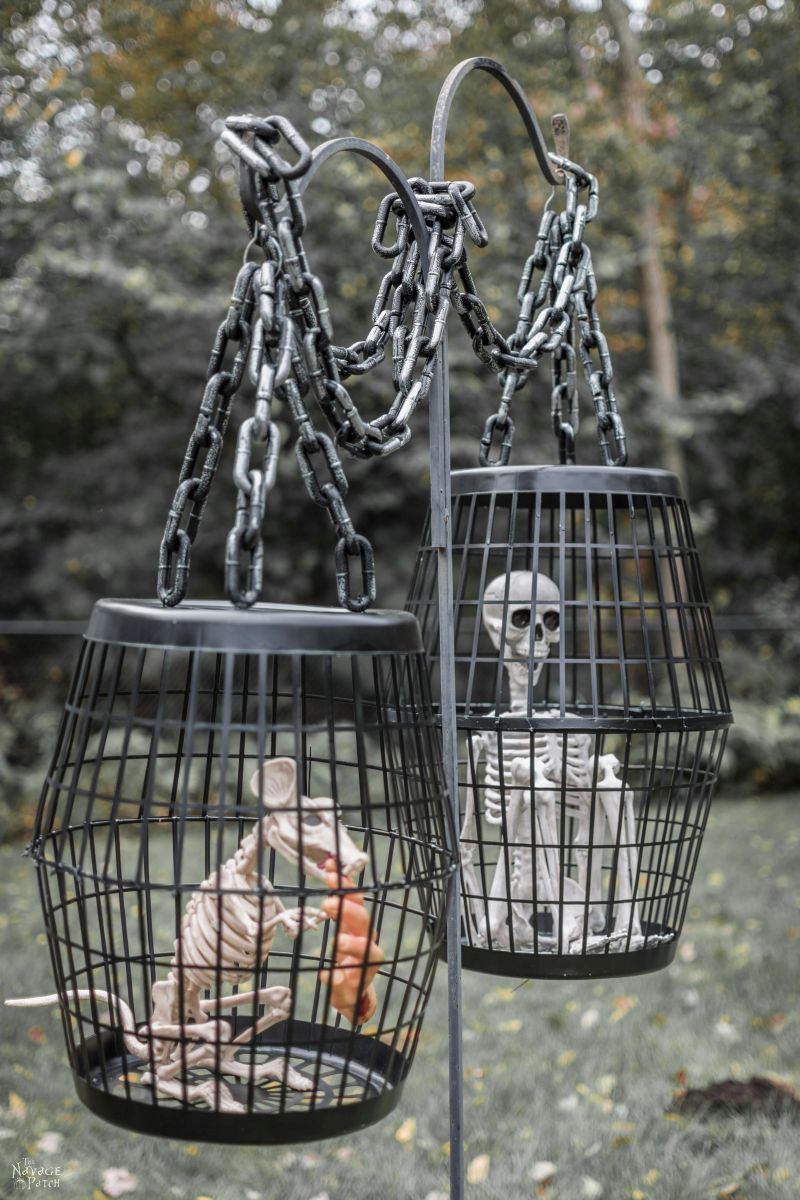

- Hanging Cage Halloween Prop
- DIY Dollar Tree Halloween Lights
- Easy Lighted Hanging Ghosts (A Dollar Store DIY)
- Free Vintage Movie Monster Printables
- DIY Halloween Fire Wreath
- DIY Cousin Itt Pathway Light
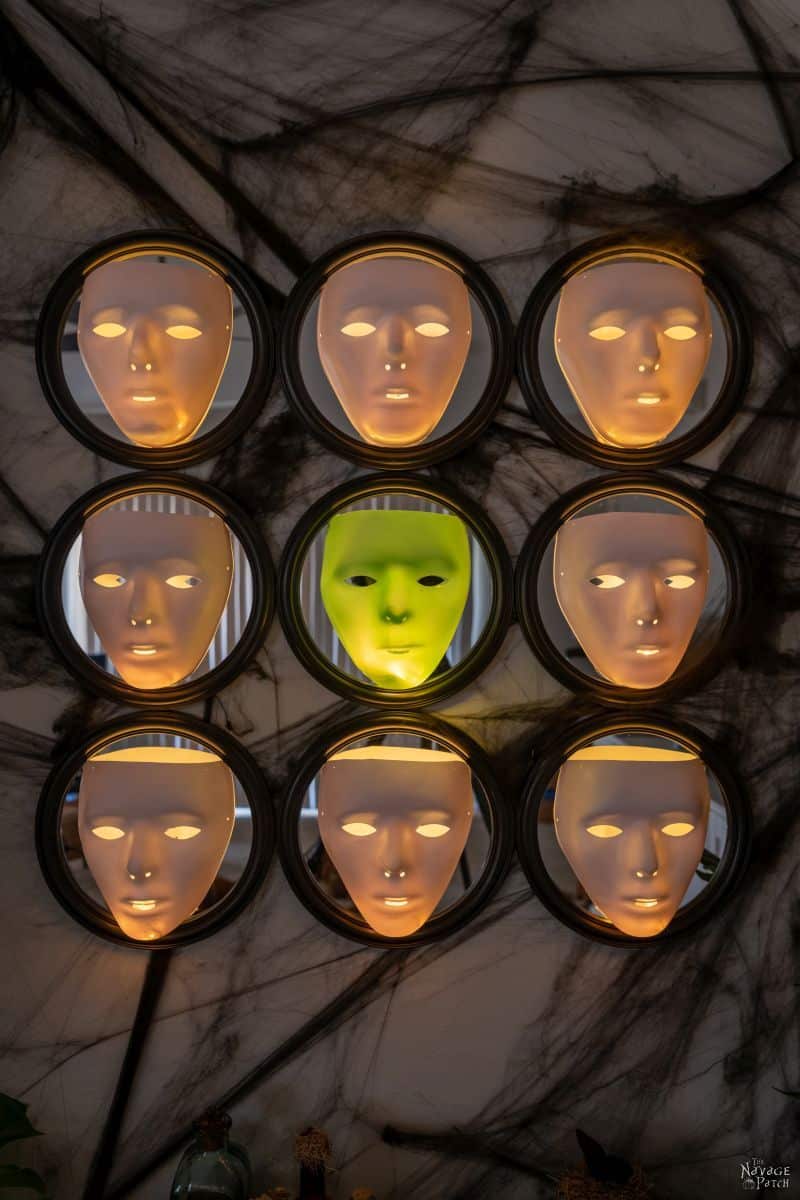
- Gallery Of The Faceless – Easy Halloween Wall Decor
- DIY Lighted Witch Hat (Grandin Road Inspired)
- Apothecary Jars And Free Printable Labels
- Free Vintage Witch Printables
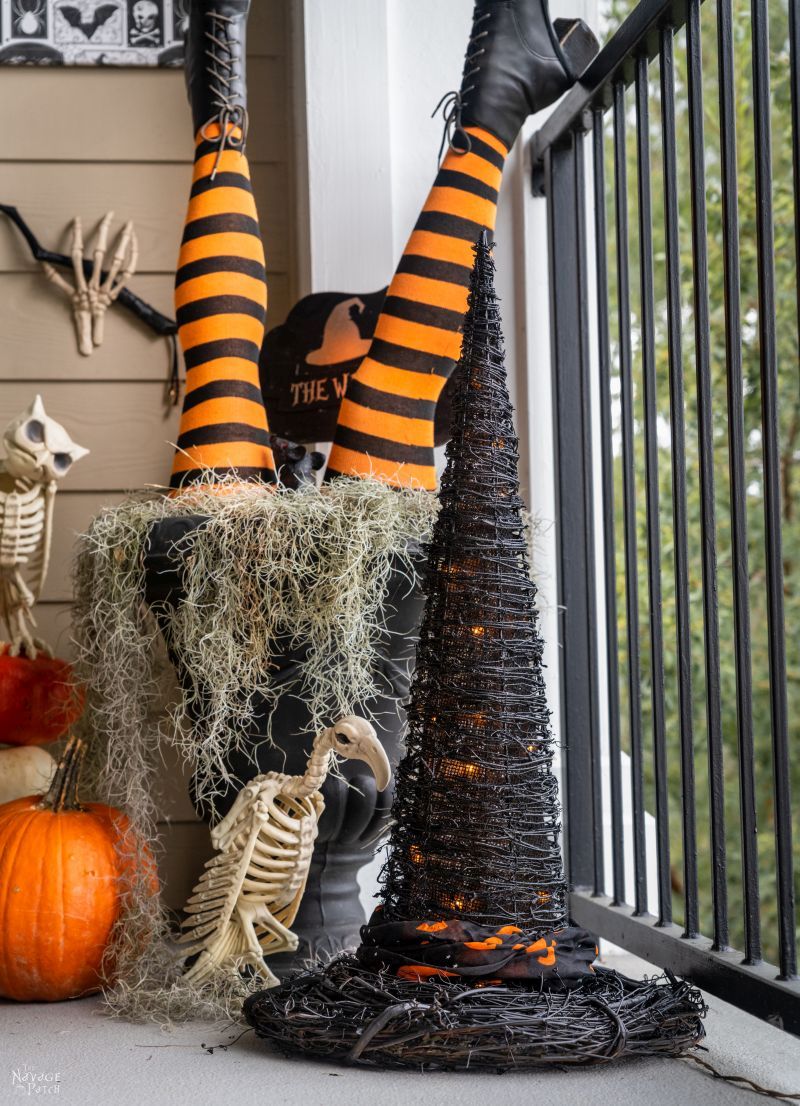
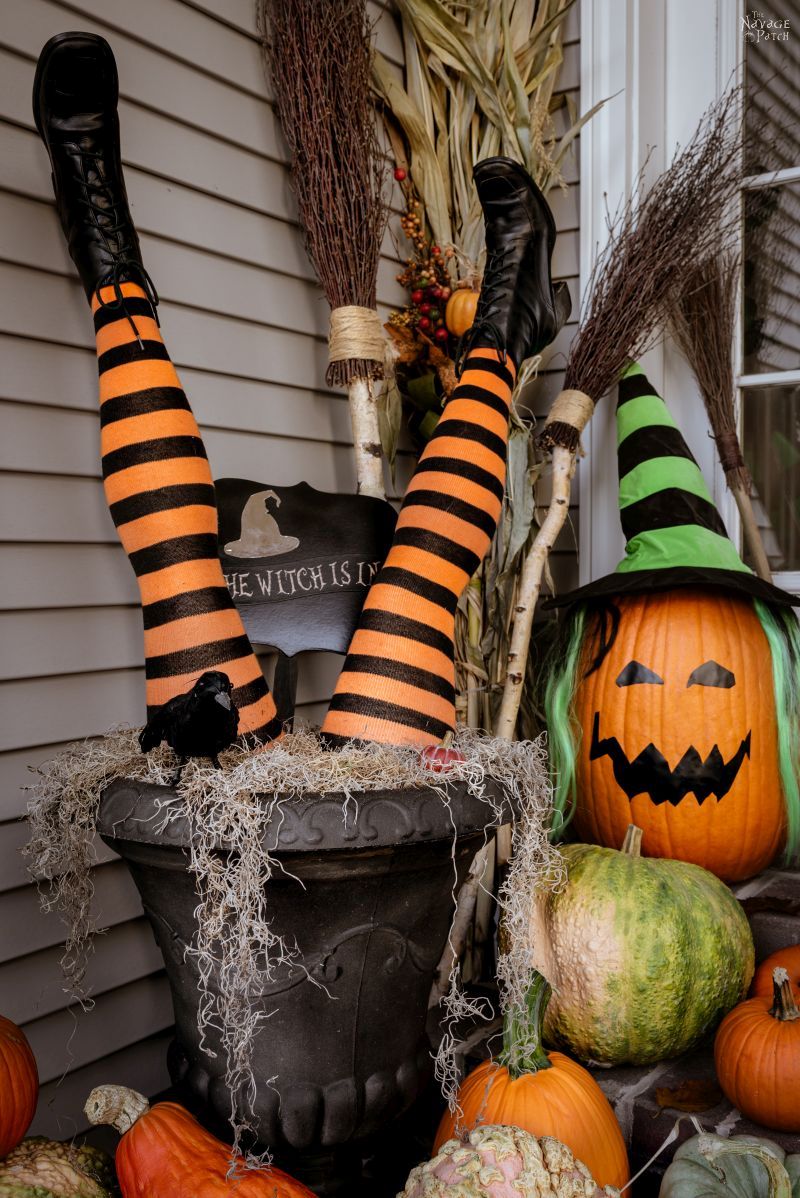
- DIY Witch Legs (Grandin Road Inspired)
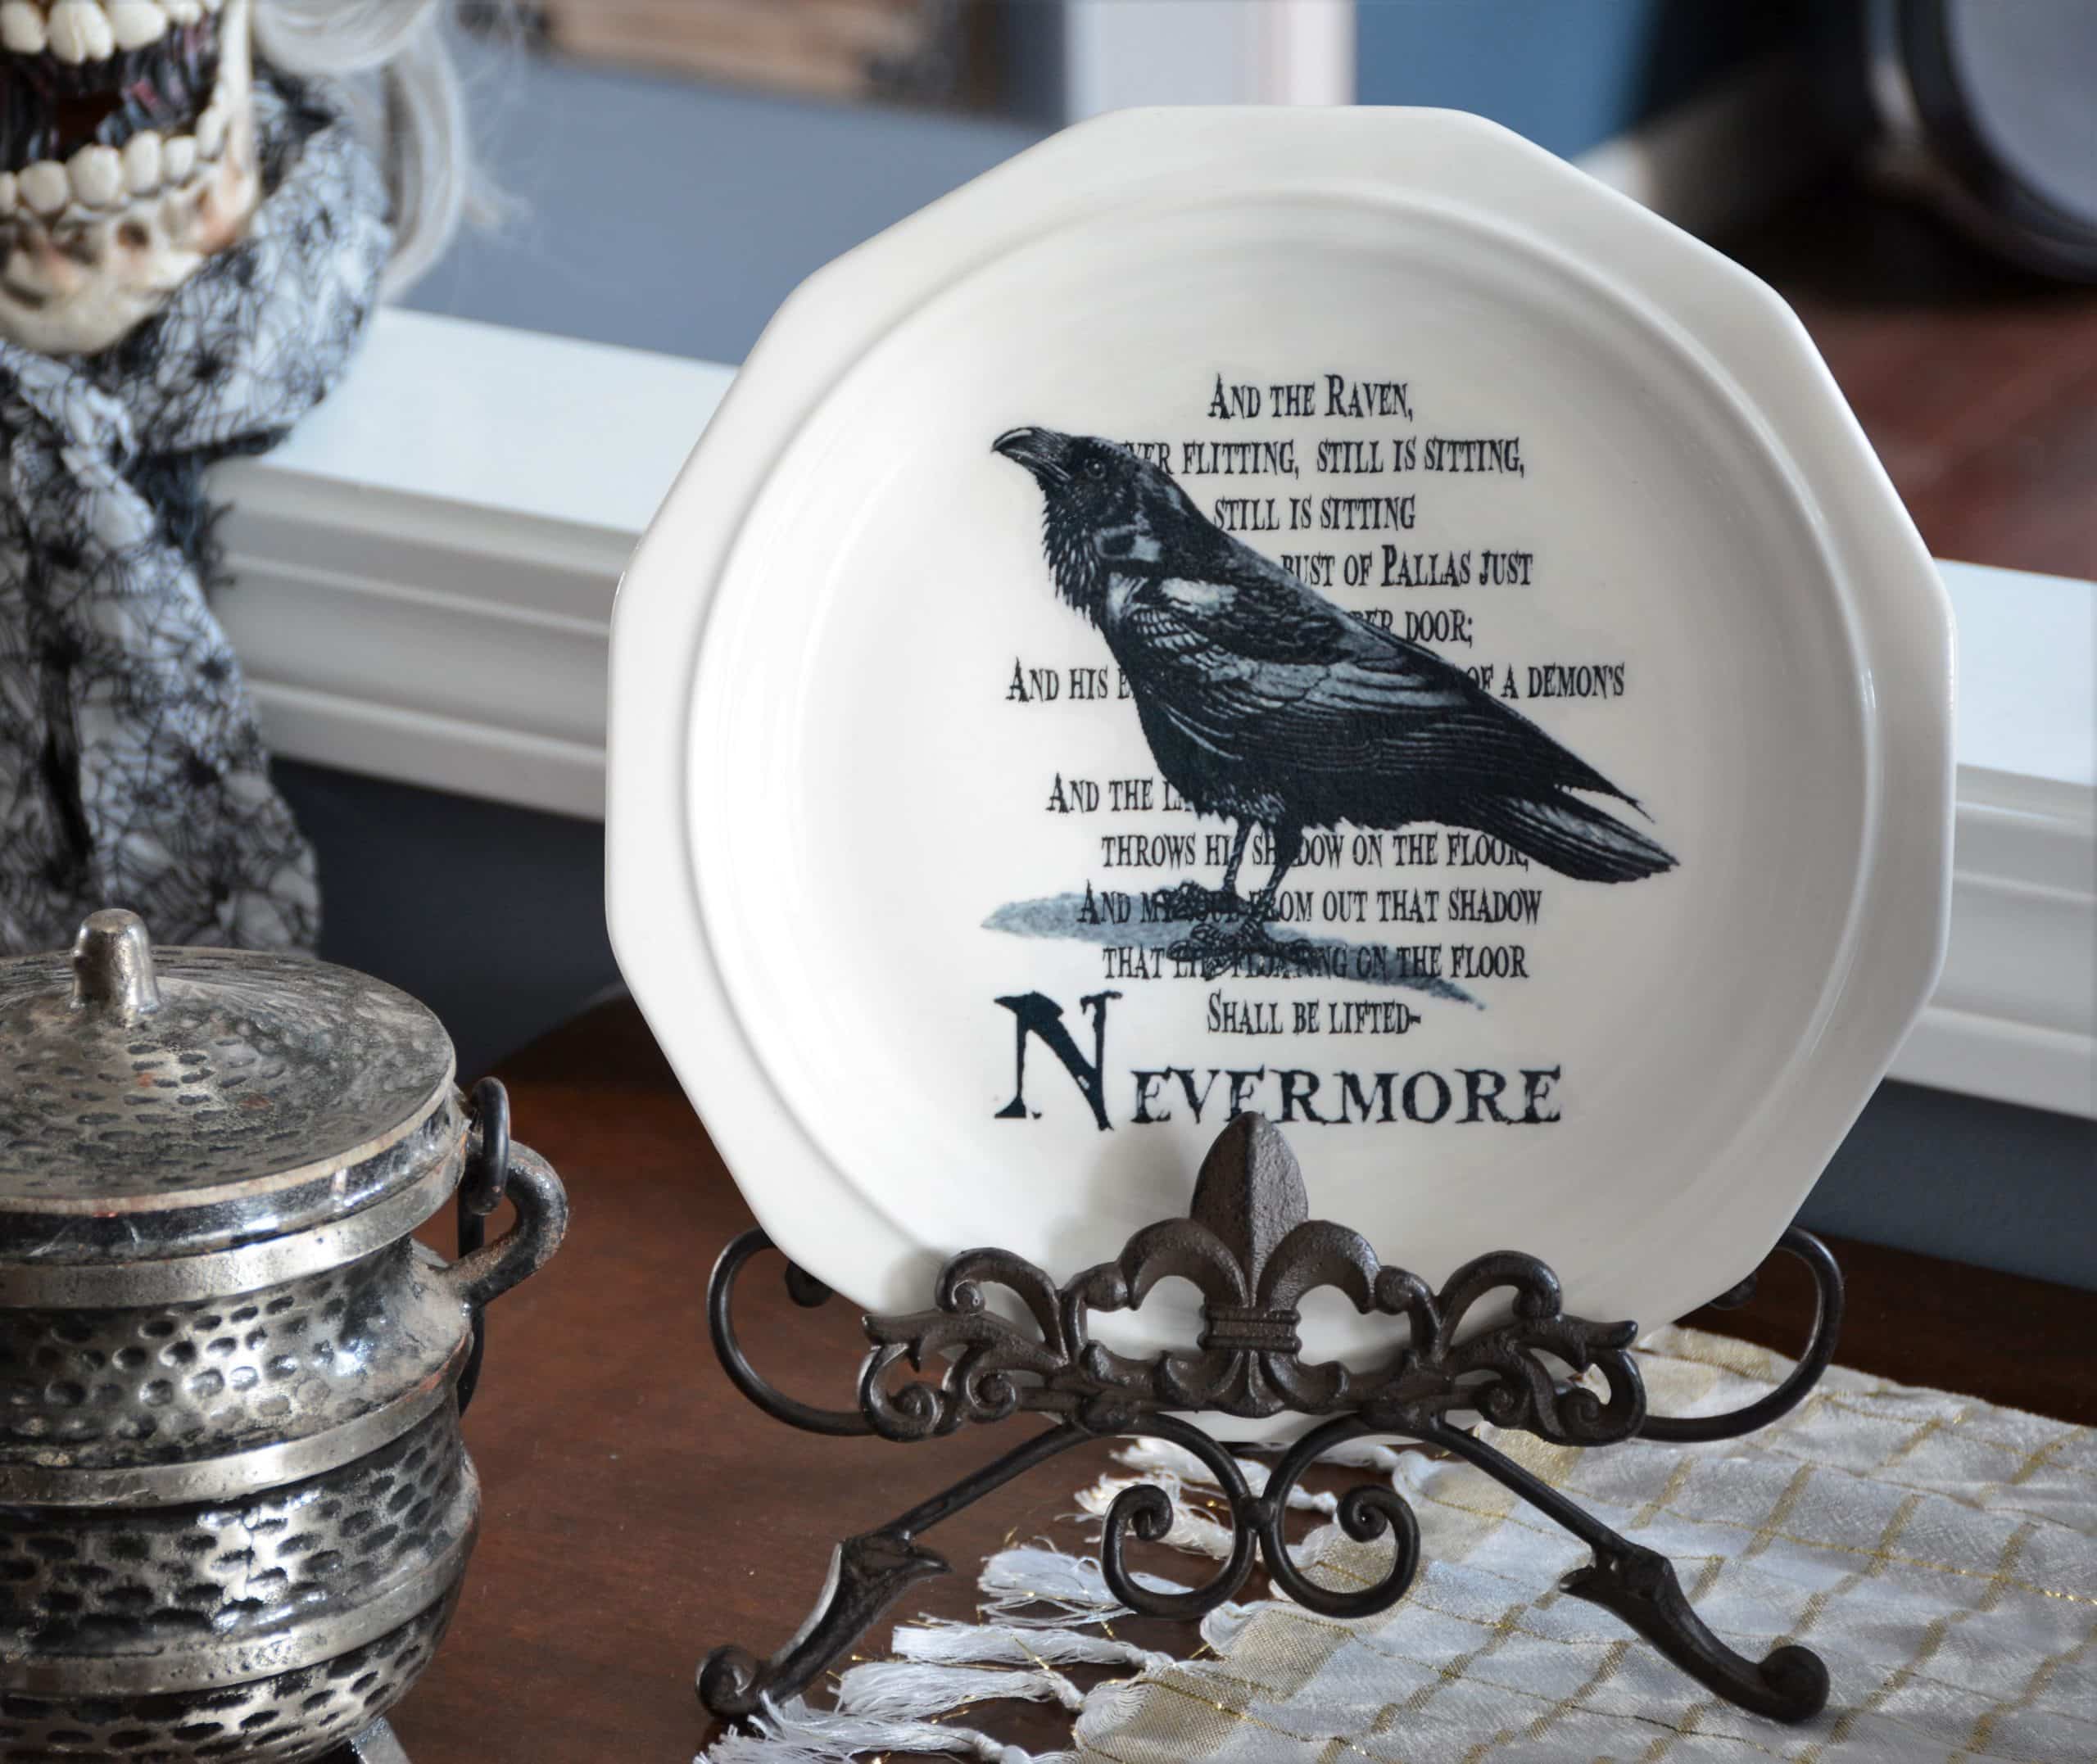
- Dishes Of Darkness: Pottery Barn Inspired Halloween Plates
DIY Macrame Ghost Tutorial
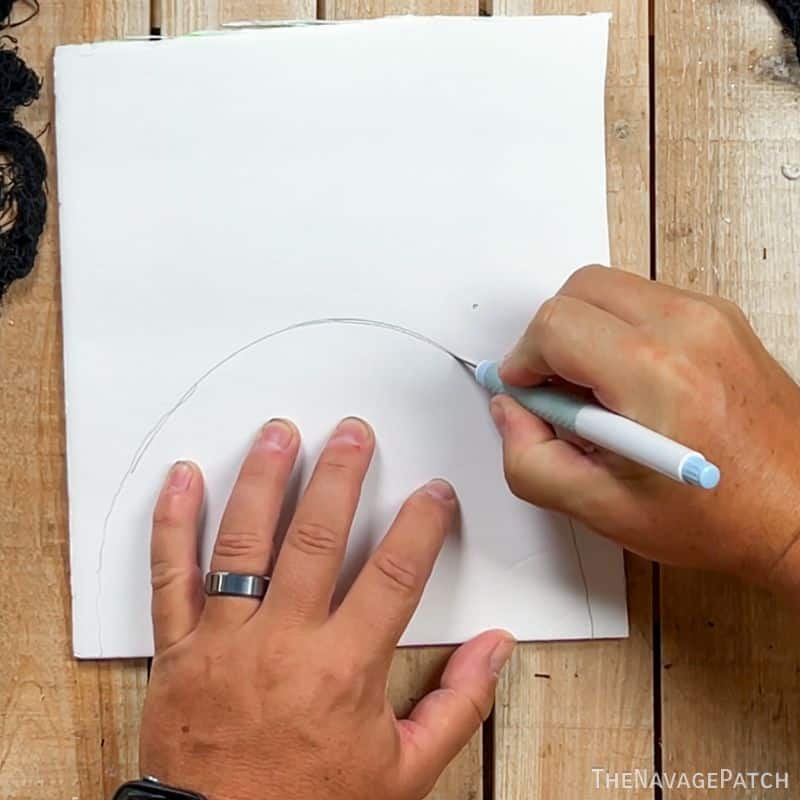
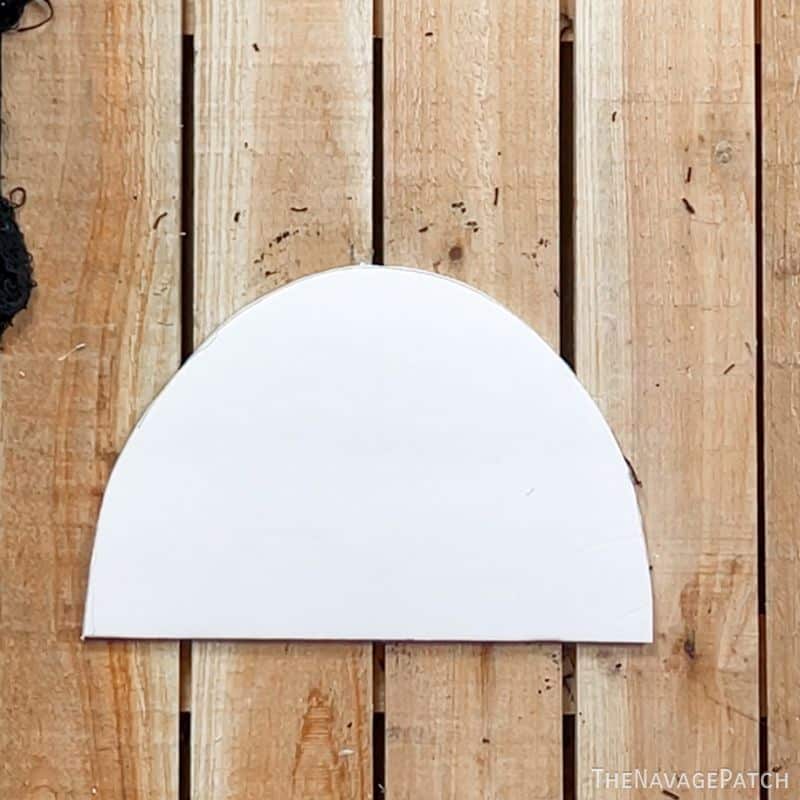
Step 1 – Cut foam board
I cut a half circle with an 7 1/4-inch diameter into a piece of foam board. You can also use cardboard or any other stiff, cut-able material. You may want to make yours 8 inches and trim down at the end just to be safe. I found an X-Acto knife worked better than scissors on the foam board.
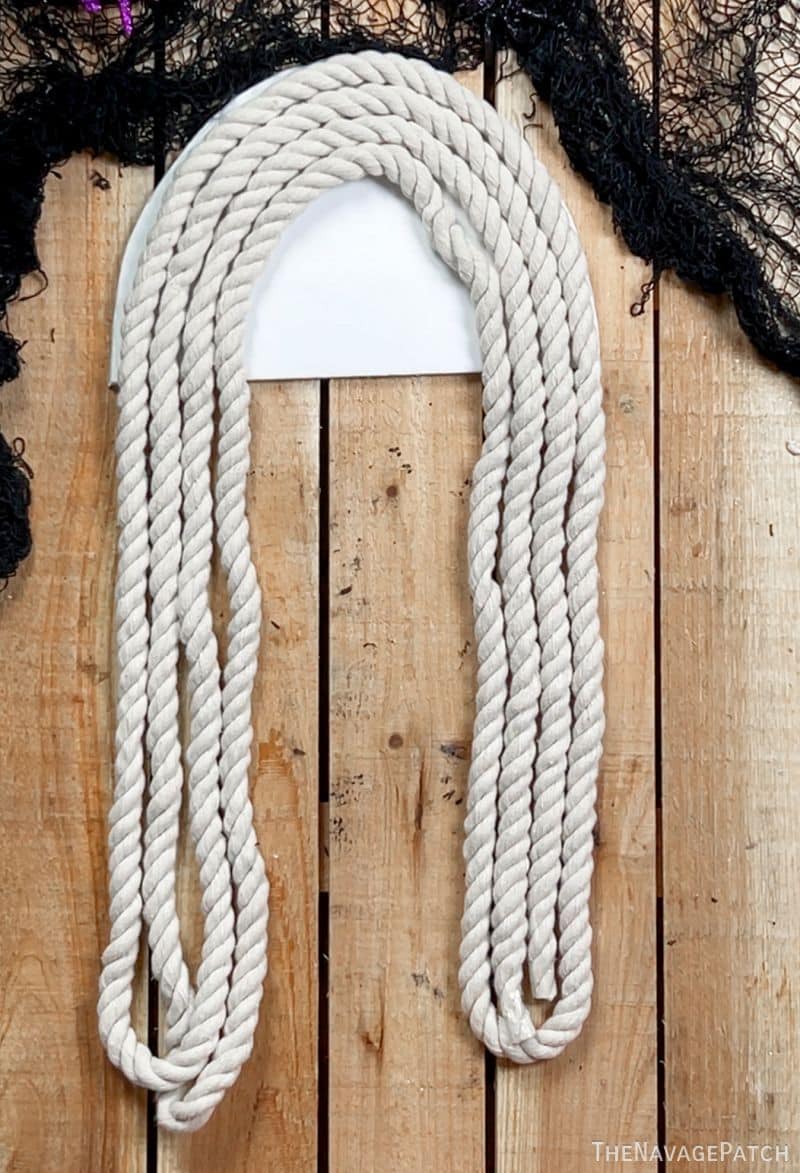
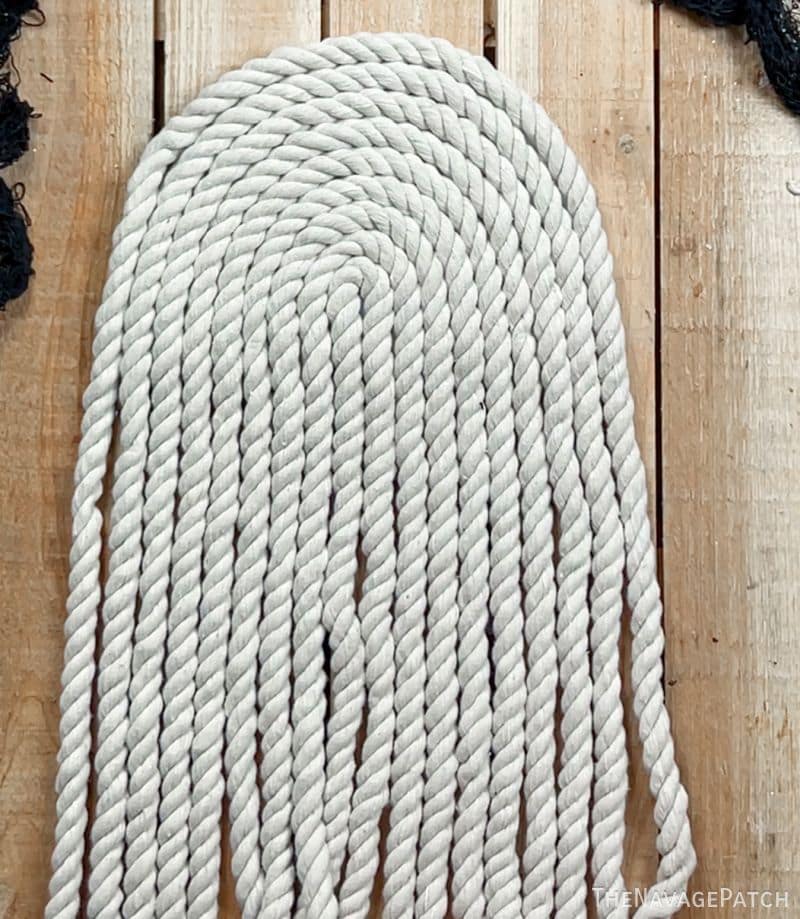
Step 2 – Arrange the first rope
Make sure you’re getting the 10mm (0.4″) diameter rope from Dollar Tree – they sell different sizes.

Double the rope over twice to get 4 strands of equal length.

Arrange the rope on the foam board as shown below.
Step 3 – Arrange the second rope
Fold the second rope into 5 equal lengths.
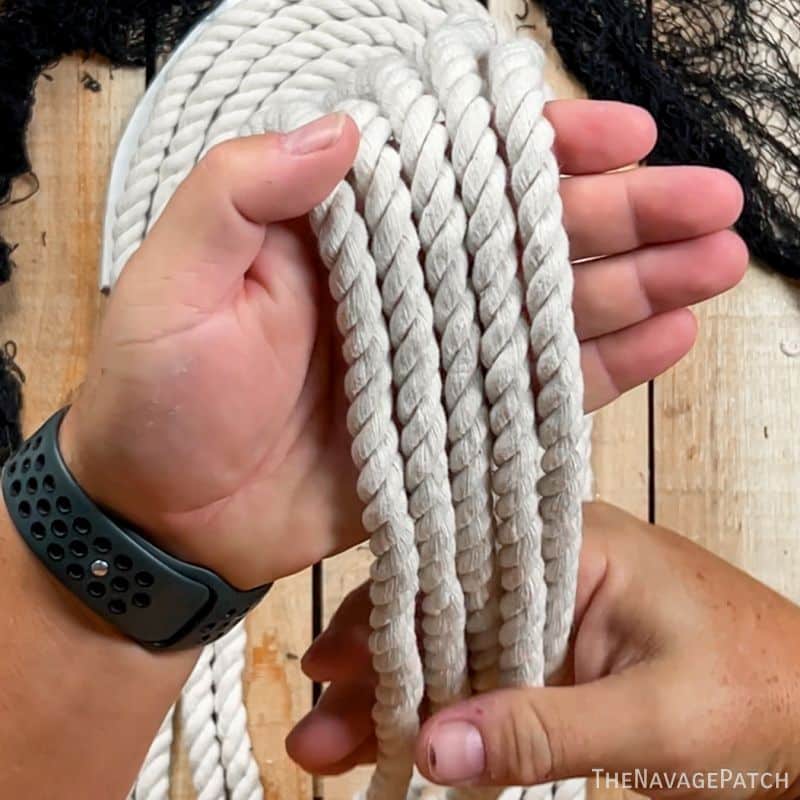
And then nestle them inside the first rope as shown below.

Make everything tidy and even out any uneven strands.
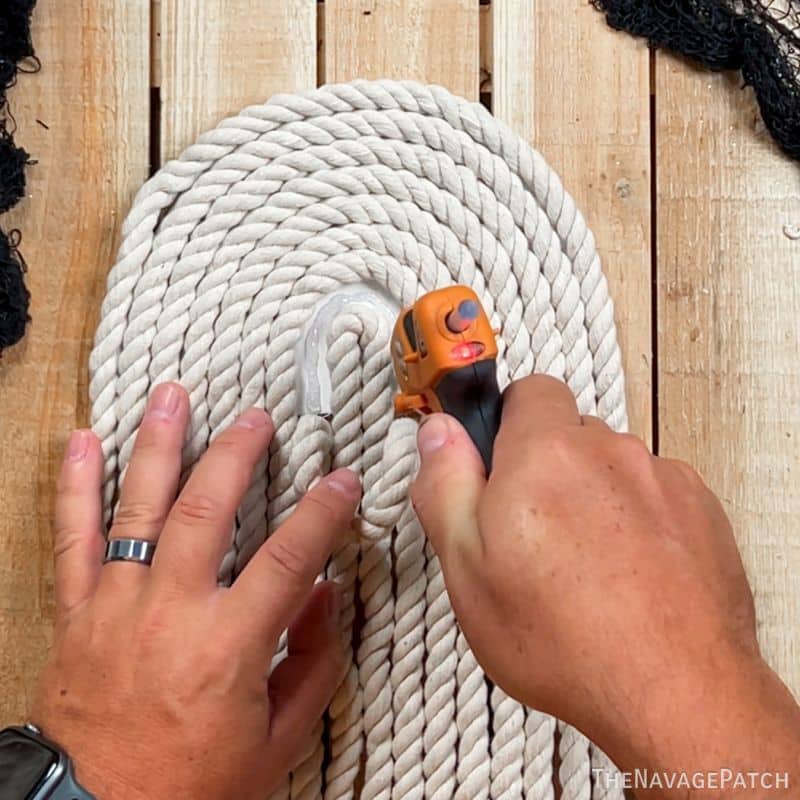
Step 4 – Glue the rope
Starting with the innermost strand pair, peel it back, squeeze hot glue onto the foam board and then return the rope to its place.


Repeat this with all the strands, making sure to nestle them snugly against one another.

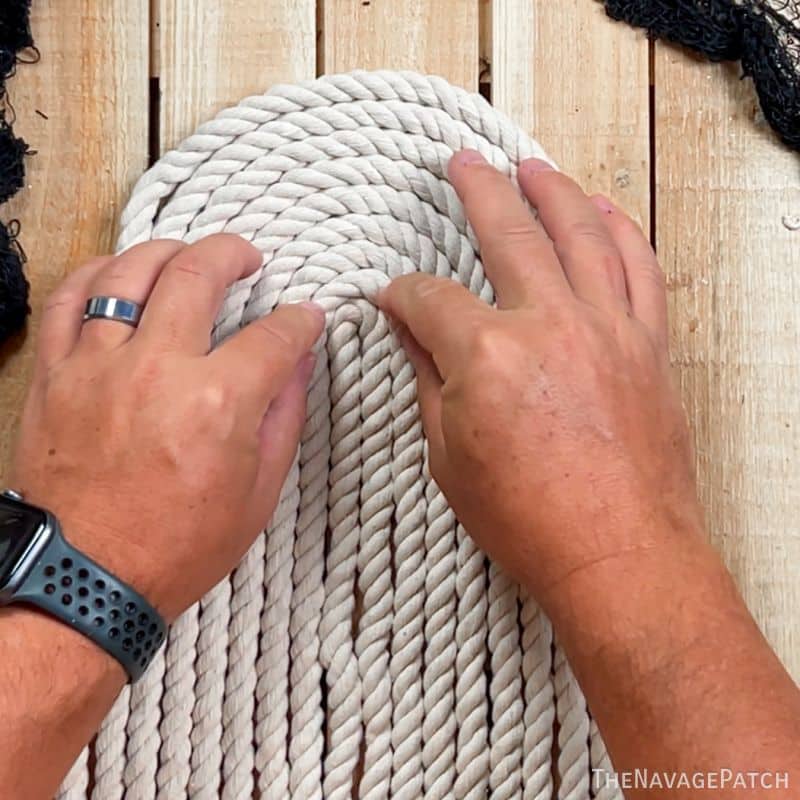
The foam was the perfect size, as the last row of rope overhangs it slightly.
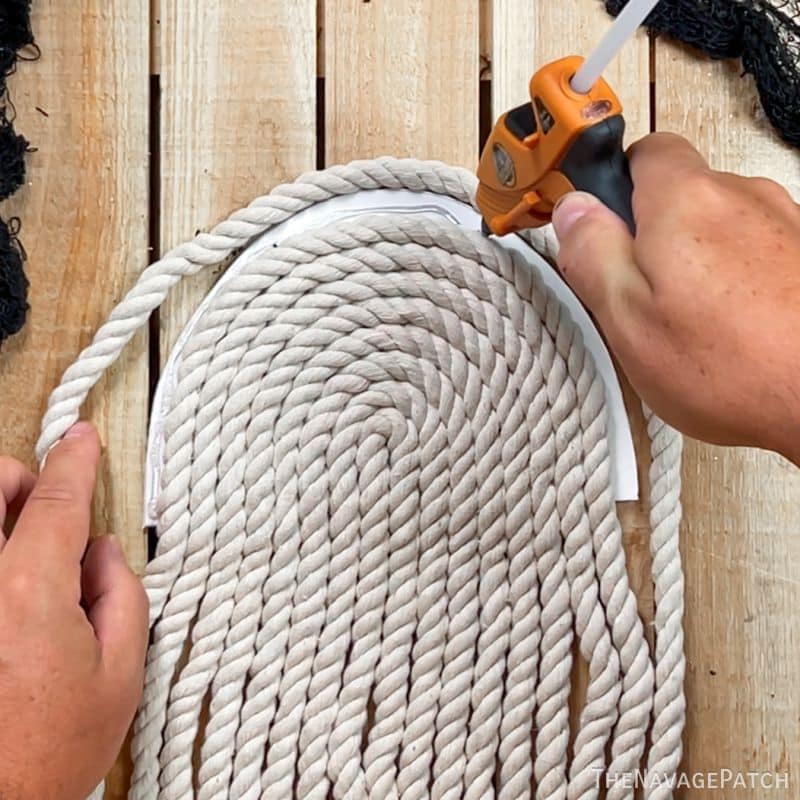
If you have excess foam board, now is the time to trim it so the rope overhangs slightly.
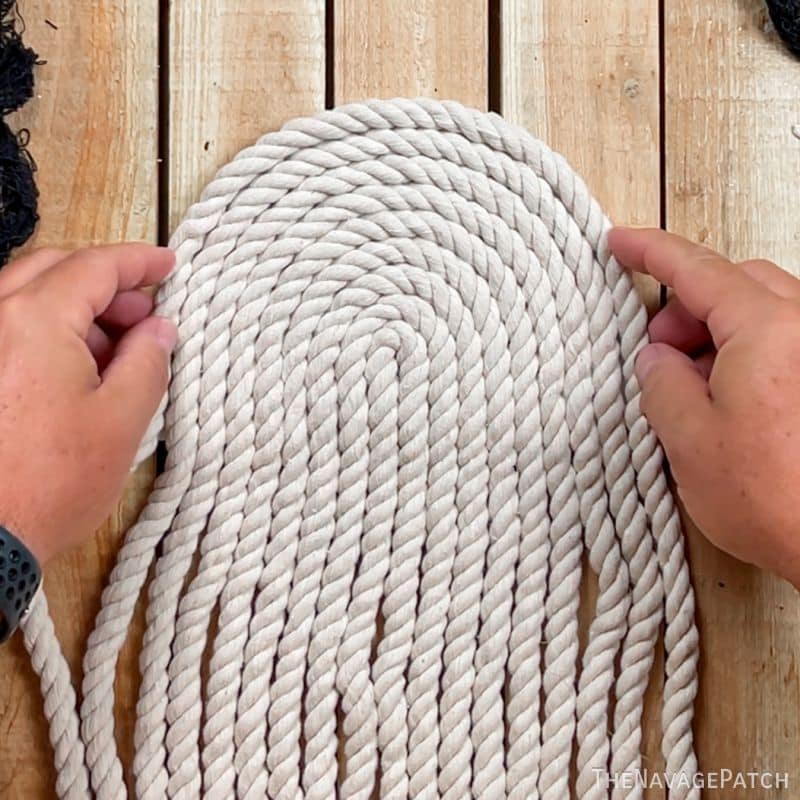
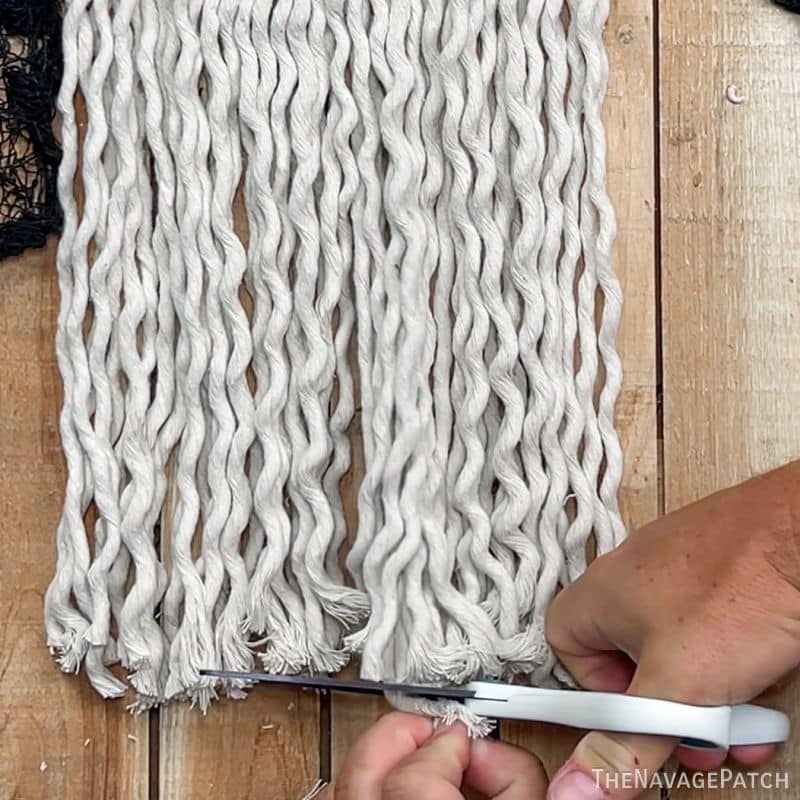
Step 5 – Cut the loops
Next, I cut the loops at the bottom of my macrame ghost.

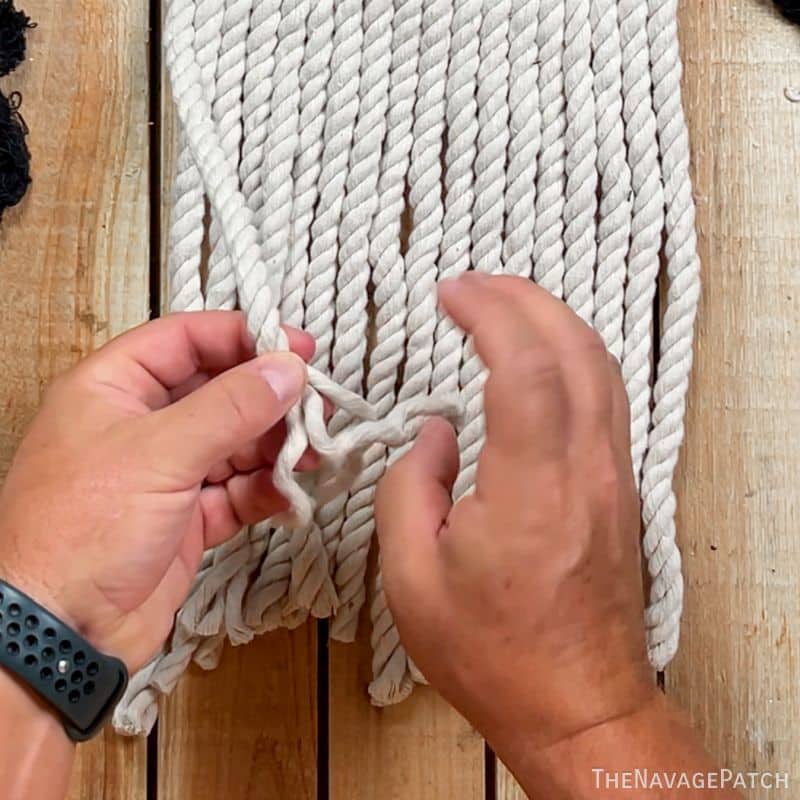
Step 6 – Untwist the strands
I untwisted each strand of rope to get 3 smaller strands.

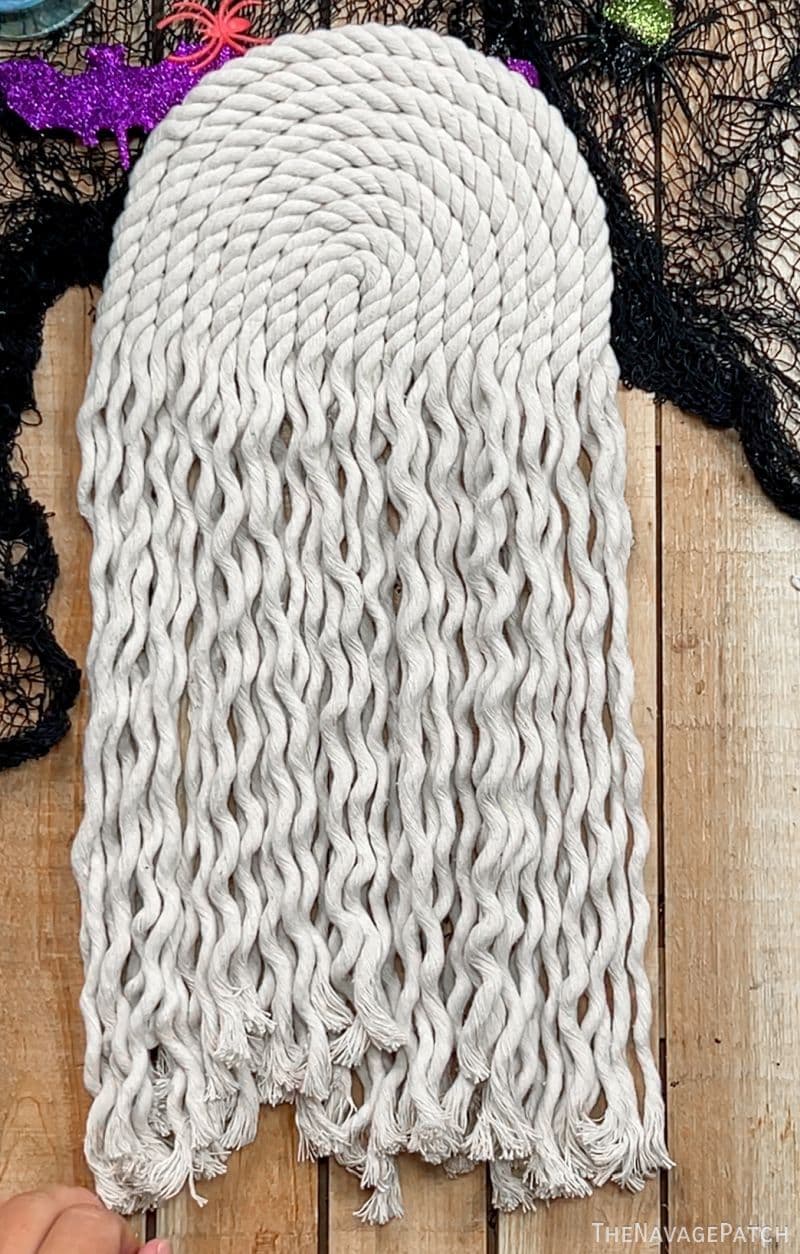
Step 7 – Trim
I trimmed the bottom edge with scissors. If you’re feeling saucy, you can give him a wavy bottom.
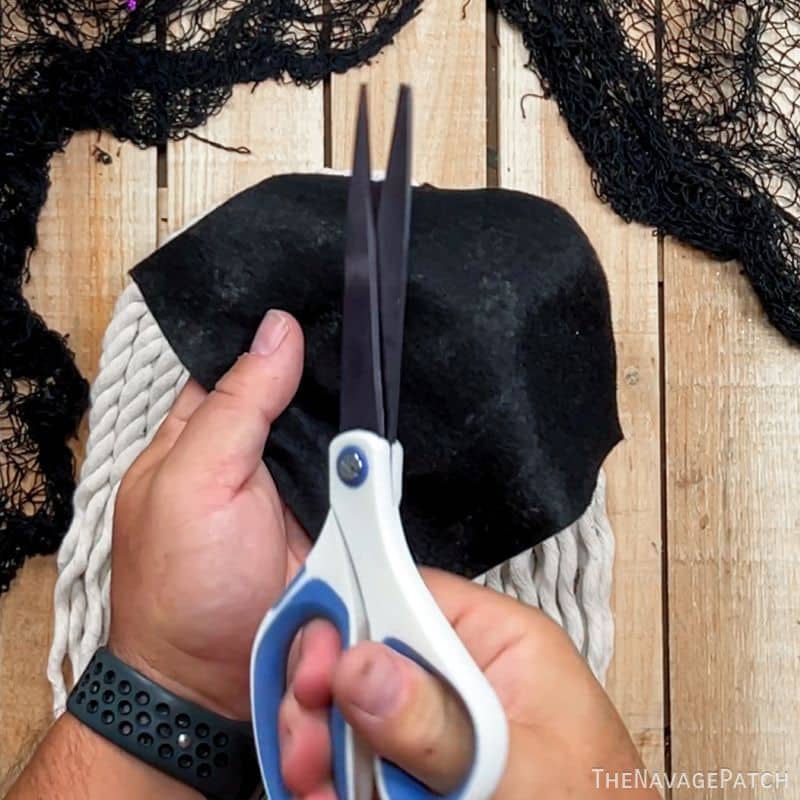
Step 8 – Make eyes and mouth
I cut eyes and a mouth from black felt. If you don’t have felt, you can use any black fabric. If you don’t have any fabric on hand, you could always paint them on or use adhesive vinyl.
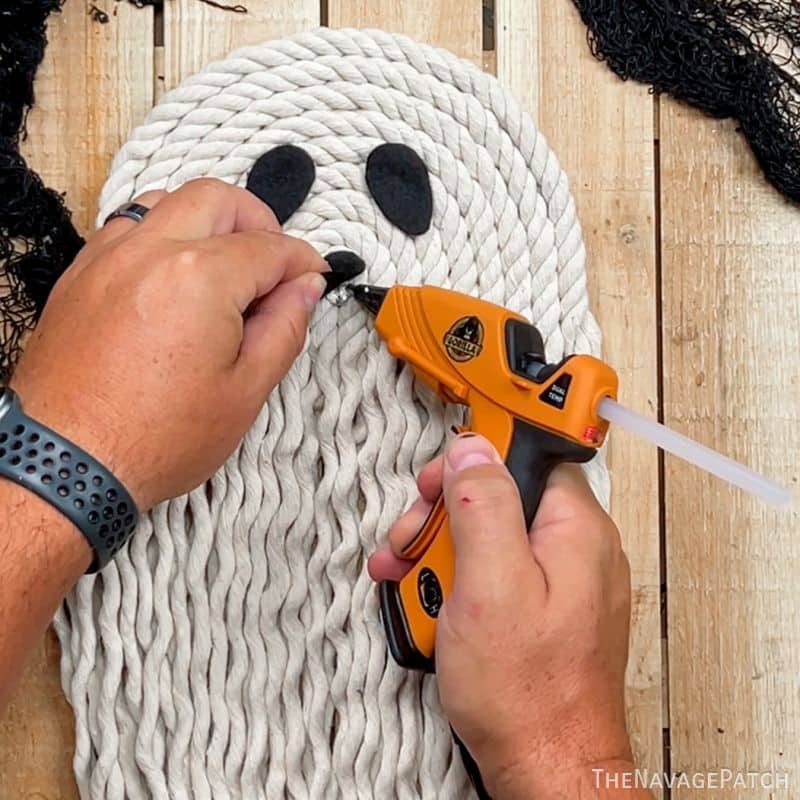
The final step was to glue the eyes and mouth in place.
Okay, let’s see these little ropey rascals on the wall!
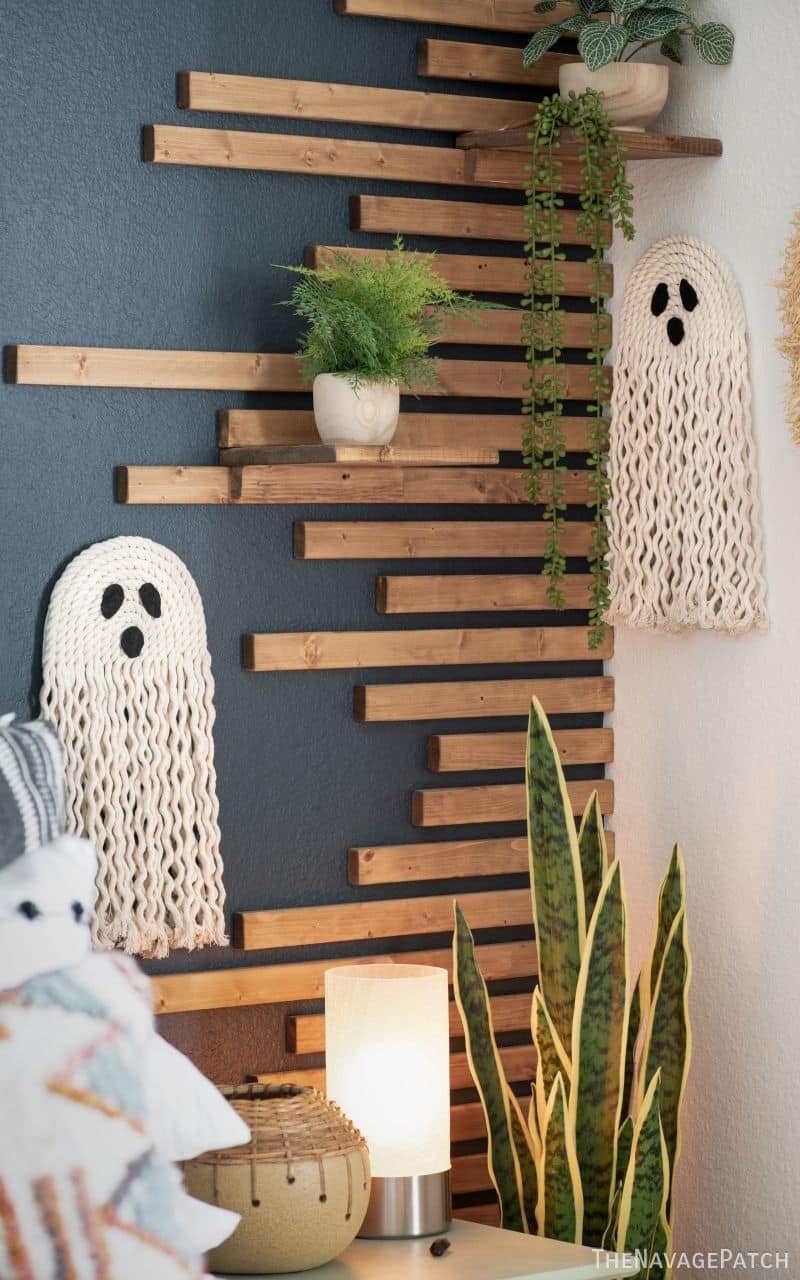
I hung them with Command Strips.

Handan has informed me that these are the cutest ghosts ever.
Ever.

There are no ghosts cuter than these. None. This is the final word on the matter.
My babes has spoken.

Totally agree with Handan….cutest ghosts EVER. I’m going to do this with the kids!! Great idea! Thank you 🙂
Have fun with it, Christine! 🙂
I am not really a fan of Halloween, but if the ghosts and skeletons are cute I’m just fine with them, and these are super cute and look so easy! I might make some and leave them up all year 😀
I’m happy to hear it! Have fun, Marina! 🙂
Omg SO simple and the cutest ghost ever!
I know, right? 🙂
Adorable! Next time our grandchildren are here, we’ll make these ghosts! Thanks y’all.
For an under the sea party, these could also serve as jellyfish maybe using different colors of rope!
Love the jellyfish idea! 🙂
Well the Mrs is right (but she’s always right, right !!??!!) These are the cutest ghost-ies ever….now allow my inner W(b)itch to be heard as I say, at first, I thought (G)no. (G)no. (G)no more Gnomes (I’m sure that’s an unpopular opinion), but…..it’s my reality. So I am slightly ashamed 🙄 but a whole lot happy that I was wrong (unlike Handan who is always right. Right ??!!??) 👻 😂😘
LOL, I figured some folks would think another gnome was coming, lolol!
Those are adorable and I love the name Booho ghosts.
Heheheh.
Hello! These are adorable. Hoping to make them, but I’m in the UK. How much total length of rope do I need? I see you bought 3.4m but you referenced a first and second rope, so I’m confused about whether you used one or two of those. Thanks!
Booho ghosts. Sir, you have outpunned yourself! With some coloured rope, these would also make super cute summer or pool decorative jellyfish. Or multicoloured rope just for a cute updo on the whole rope rainbow thing. These are cute as – soon you’ll have a whole post full of just cute Halloween crafts, too!
Yes! Tons of people on TikTok suggested jellyfish as well – it’s a great idea!
OMGosh, those are super cute and fun! I may have to pick up some of the rope when I pick up my Dollar Tree order and give these a try 🙂
Thanks, Mo! Have fun! 🙂
Handan scores big time on this one! They are cuteness overload, for sure!
I know, right? 🙂
She is not wrong! They are the cutest ghosts ever!
Can’t argue with that!
Marina I was thinking the same thing in fact I posted just awhile ago how my post of hating Halloween would not be popular but these are adorable. I might just make one for my porch to go with all my fall decorations! Thanks Greg and Hadan for a not creepy Halloween alternative! Love your creativity.
We try to offer something for everyone! 🙂
They are cute!! It doesn’t seem like they would be difficult to make double-sided and hang them outside – as long as it is cool enough that the hot glue doesn’t melt! You did a good, easy, fast, inexpensive one here!! Thanks!!!
That’s a great idea! The hot glue we use holds up just fine in 100 degree FL heat. Hot glue sticks are definitely not all created equal!
They are the cutest ghosts ever
Thanks, Amanda!
Your ‘babes’ was right. Very, very cute and fast to make. I did not use the accelerated video, but still very quick to make. Thanks!!
Awesome! Glad you made them, Mona! 🙂
I had a thought as I looked through the tutorial and I can see this with a few additions… A couple of changes… And a gnome for any season or holiday. I’m sure you could refine the idea into creations.
Oh yeah, we’ve been thinking along those lines, too! 🙂
I love this! If I can find enough of everything, I think my group of after-school Craft Club crafters will be making one! Thank you!
Awesome, Bonnie! Have fun! 🙂
Handan is right, these ARE the cutest ghosts ever! 🙂
I know, right? 🙂
Made 3, 2 small and 1 large . So easy and fun and everyone loved them.
How many packages of rope were needed for 1 ghost?